
A screw and small-parts drawer
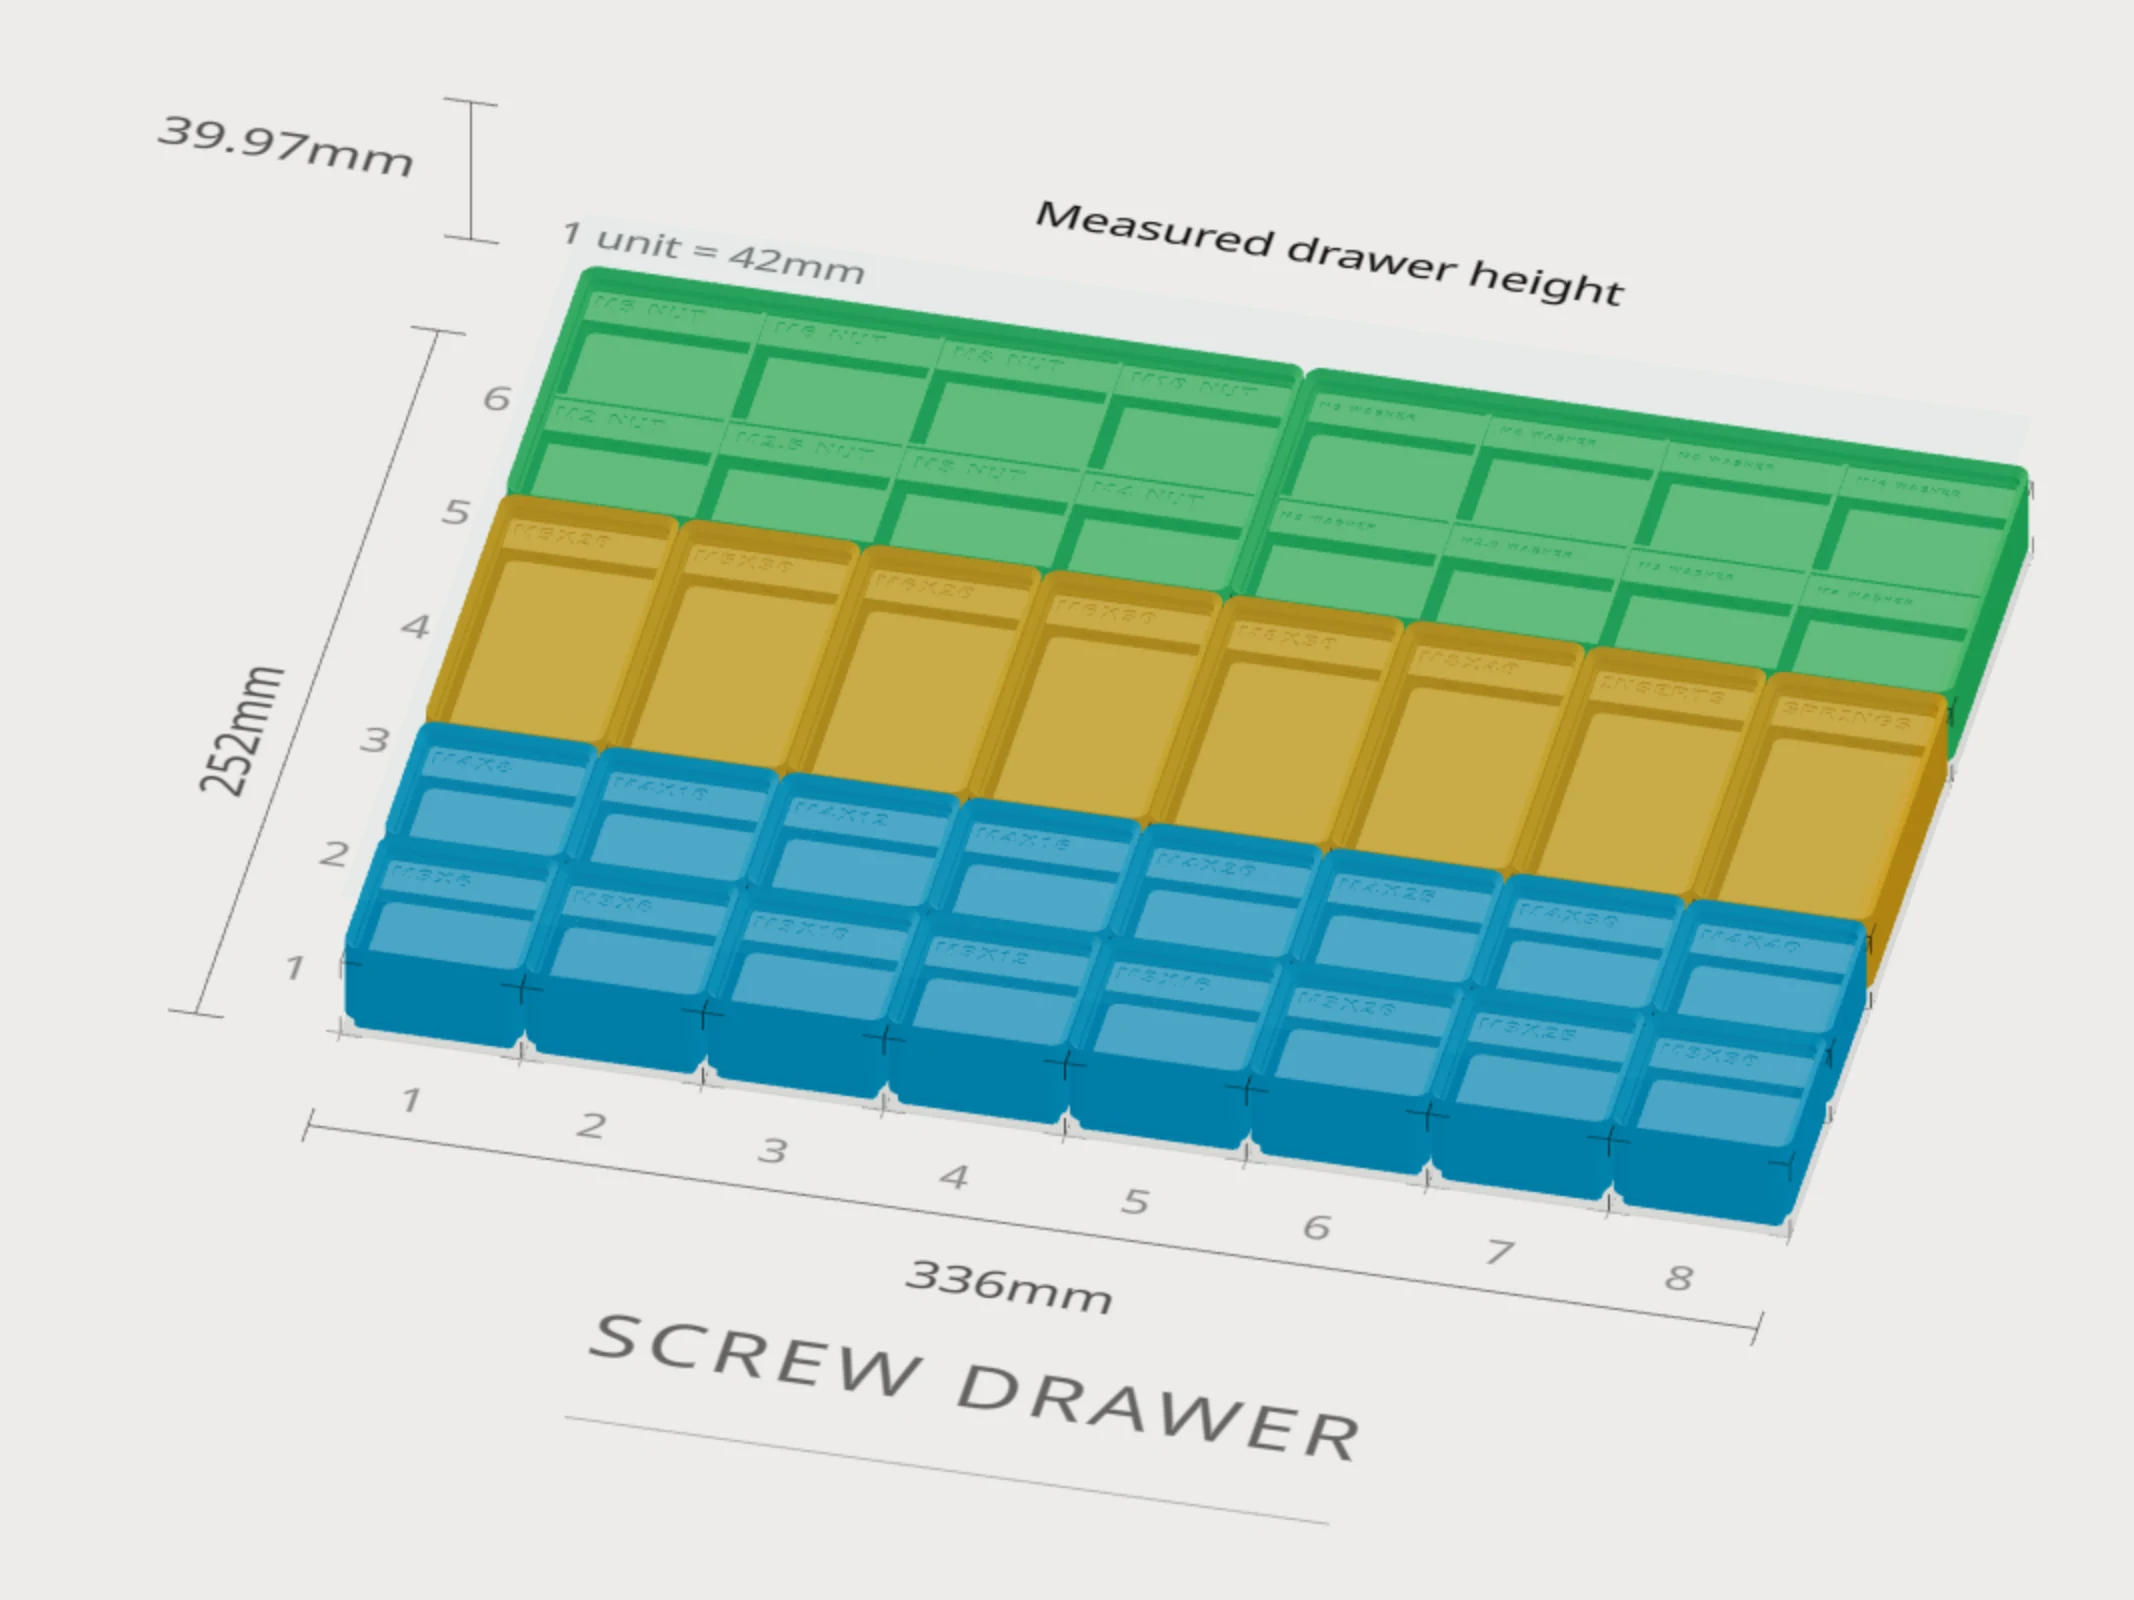
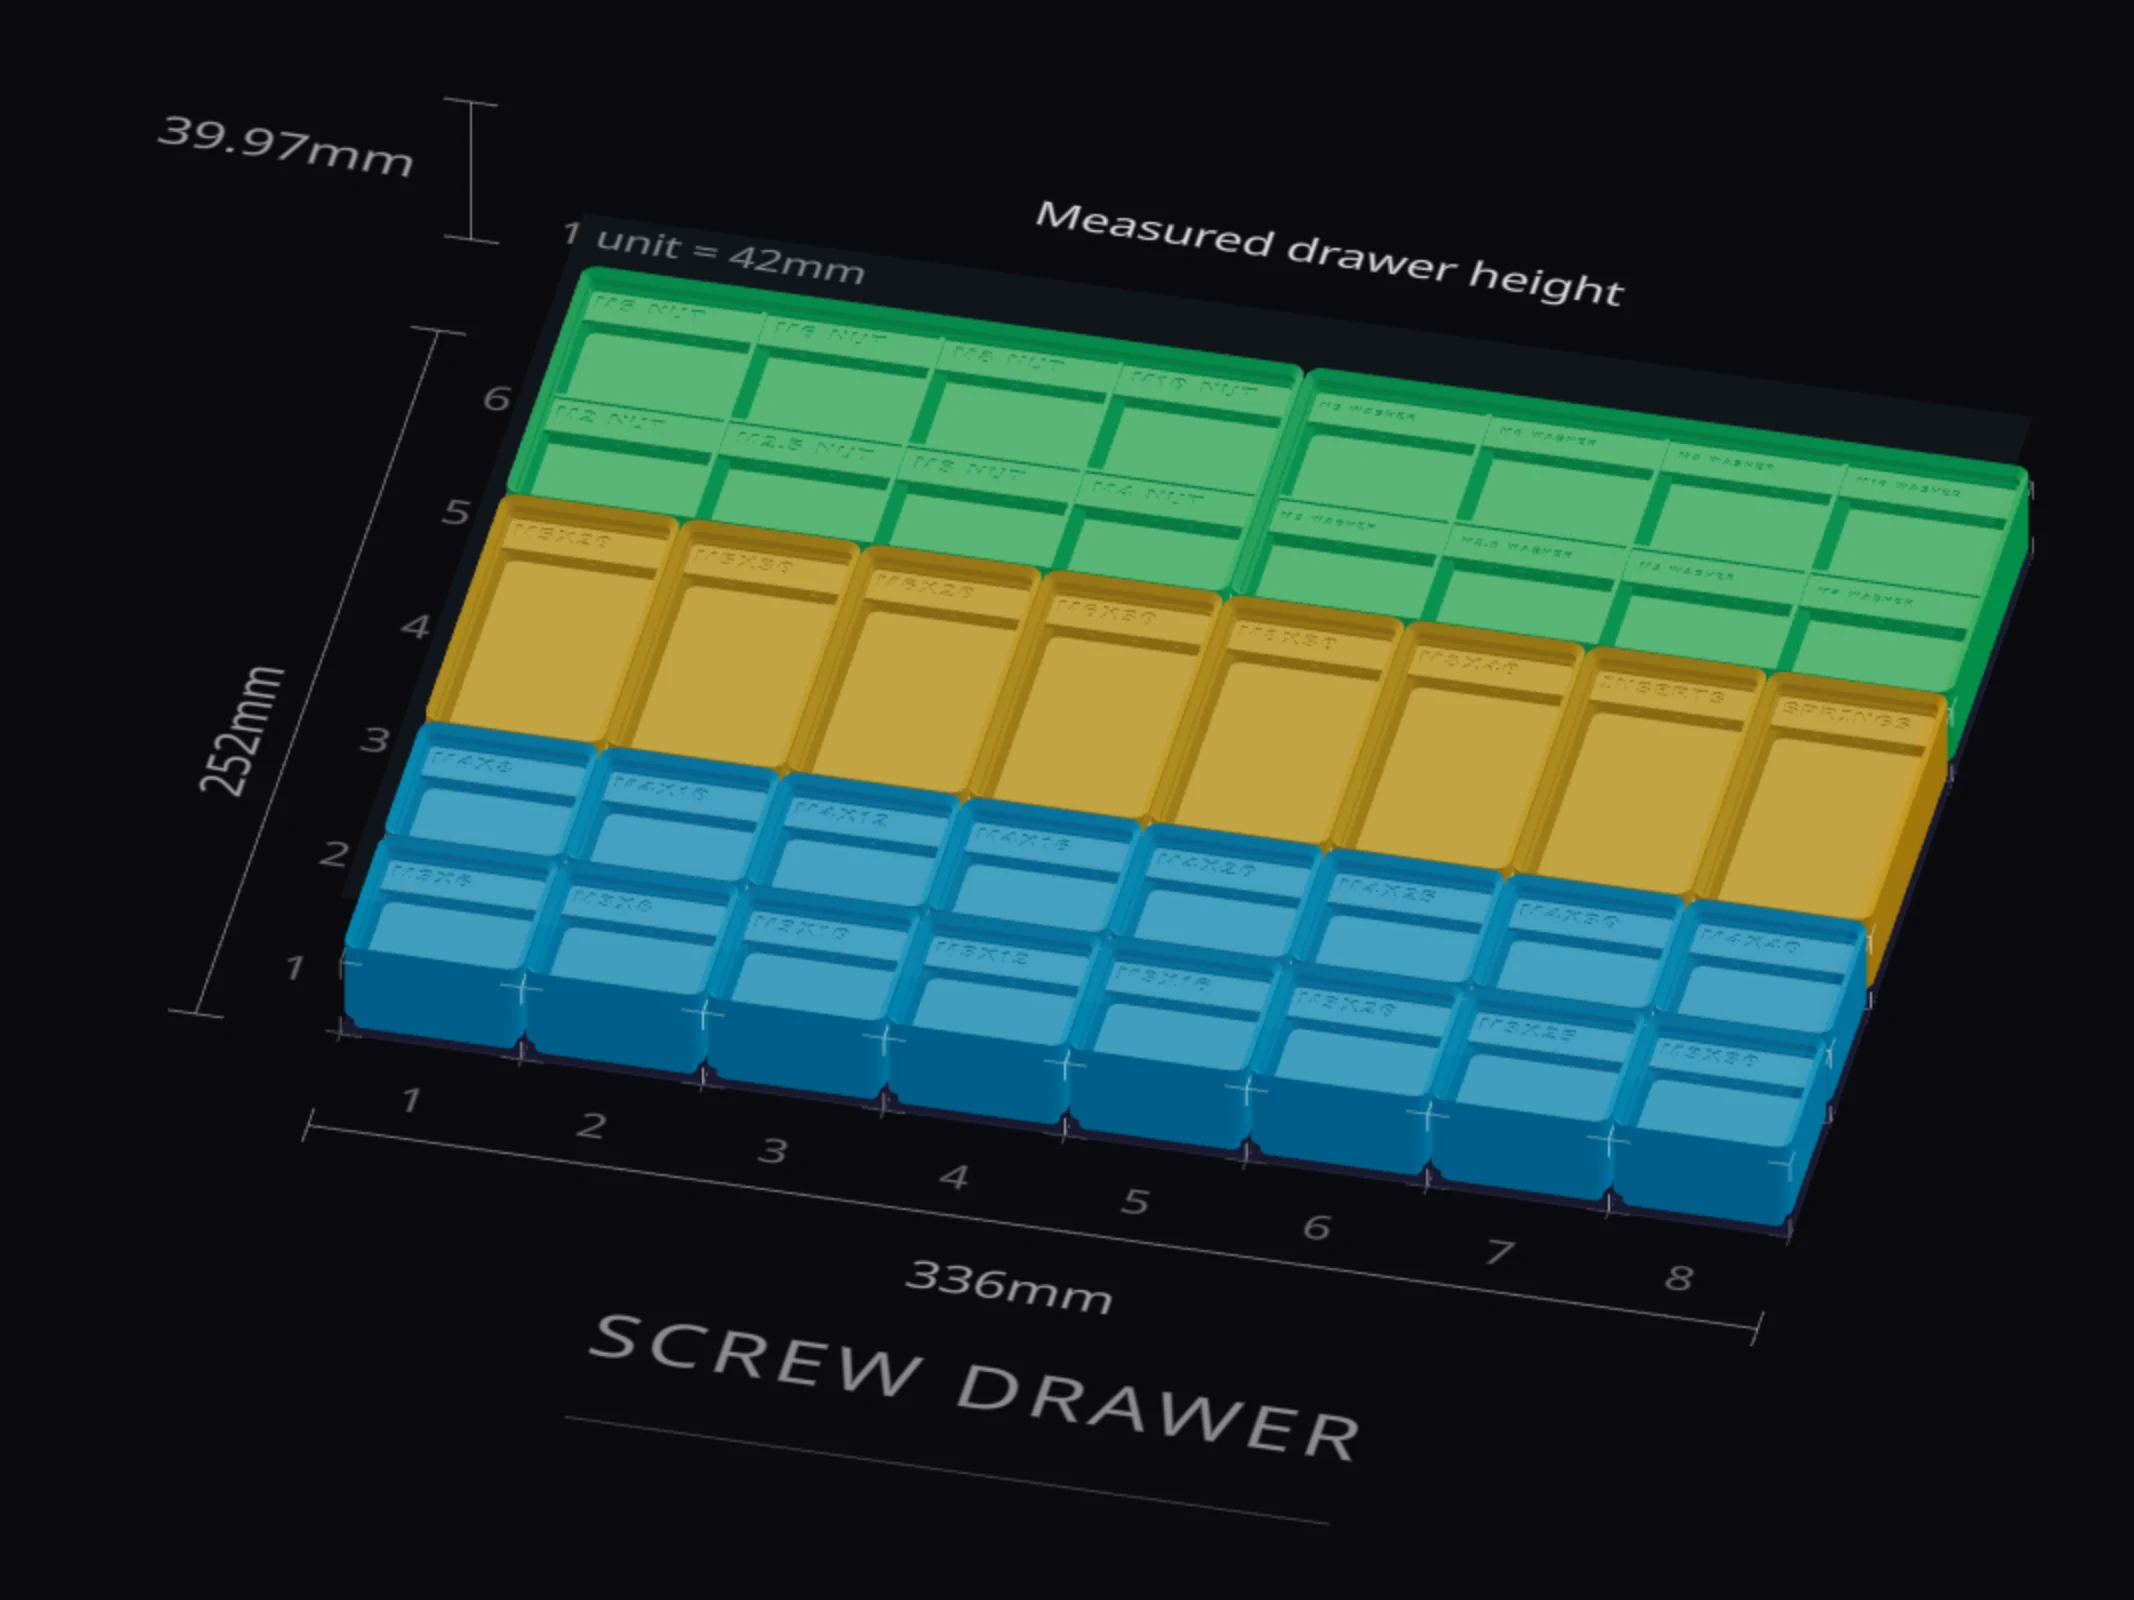
Every workshop has a drawer of loose screws. Here, you turn a shallow drawer into 26 labeled bins. Small bins hold one screw size each, longer bins hold bolts, and two divided bins hold nuts and washers. You design the small bin once, and every copy prints its own label, such as M3x8.
What you need
- The inside size of your drawer. This recipe uses an example drawer of 345 × 260 mm, 40 mm high. Your own numbers change the results, so measure first.
- A print bed of 256 × 256 mm, the default size in the Gridfinity Layout Tool. A smaller bed works too, with more baseplate pieces.
- About 274 m of PLA, or 83% of a 1 kg spool. That's the estimate in the bin list for these bins, with the default settings.
- Magnets of 6 × 2 mm, only if you want them. Step 6 helps you decide.
The plan
| Bins | Size in grid units | Height | Holds |
|---|---|---|---|
| 16 | 1 × 1 | 3u | One screw size each |
| 8 | 1 × 2 | 3u | Longer screws, bolts, inserts |
| 2 | 4 × 2 | 3u | Nuts or washers, 8 sizes each |
A 3u bin has a 21 mm body (3 × 7 mm) and a 4.4 mm stacking lip, so it stands 25.4 mm tall. Inside, it has 14 mm of room above the floor. That's plenty for screws, and you can see into a short bin from above.
Step 1: Fit the grid to the drawer
- In the layout editor, click Add your drawer's measured size in the Grid size group.
- Type 345, 260 and 40, and press Enter.
- Click Fit grid on the card.
The grid becomes 8 × 6 grid units, or 336 × 252 mm. Here's the math: 345 ÷ 42 = 8.2, so 8 whole units fit and 9 mm stays free. Front to back, 260 ÷ 42 = 6.2, so 6 units fit and 8 mm stays free.
Want to know how tall a bin can be? Open Fit bins to your drawer under Physical units. For a 40 mm drawer, one bin can be 5u (39.4 mm tall). Our 3u bins leave 14.6 mm free above them. Plan your first drawer shows these controls in more detail.
Step 2: Draw one bin of each kind
New bins take the height of the active layer, and the first layer starts at 3u. So you can draw right away.
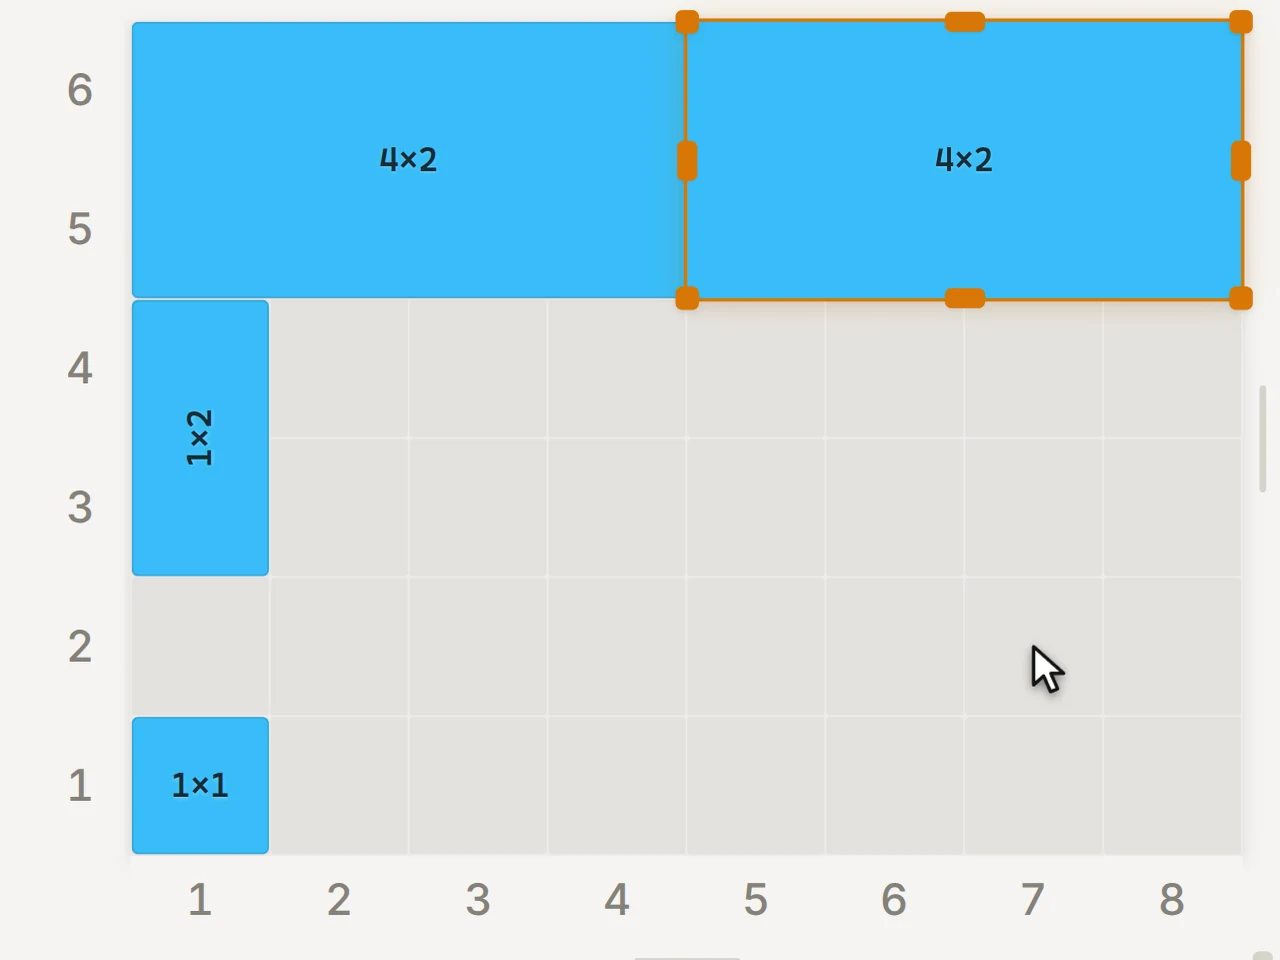
- Draw a 1 × 1 bin in the bottom-left corner of the grid. The bottom of the grid is the front of the drawer.
- Leave the row above it empty. Draw a 1 × 2 bin (1 wide, 2 deep) in rows 3 and 4, at the left edge. The row numbers count up from the bottom.
- Draw a 4 × 2 bin in the top-left corner, and a second one beside it.
Step 3: Design the screw bin once
- Select the 1 × 1 bin. In the right panel, under Linked design, click Create.
- Name it "Screw bin", and click Create & open designer. The bin designer opens with a 1 × 1 × 3u design.
- In the Interior group, turn on Label tabs. Leave the text box empty. It reads Left blank, linked bins print their layout labels.
- Turn on Finger scoop. It starts on the front wall, so screws slide up and out.
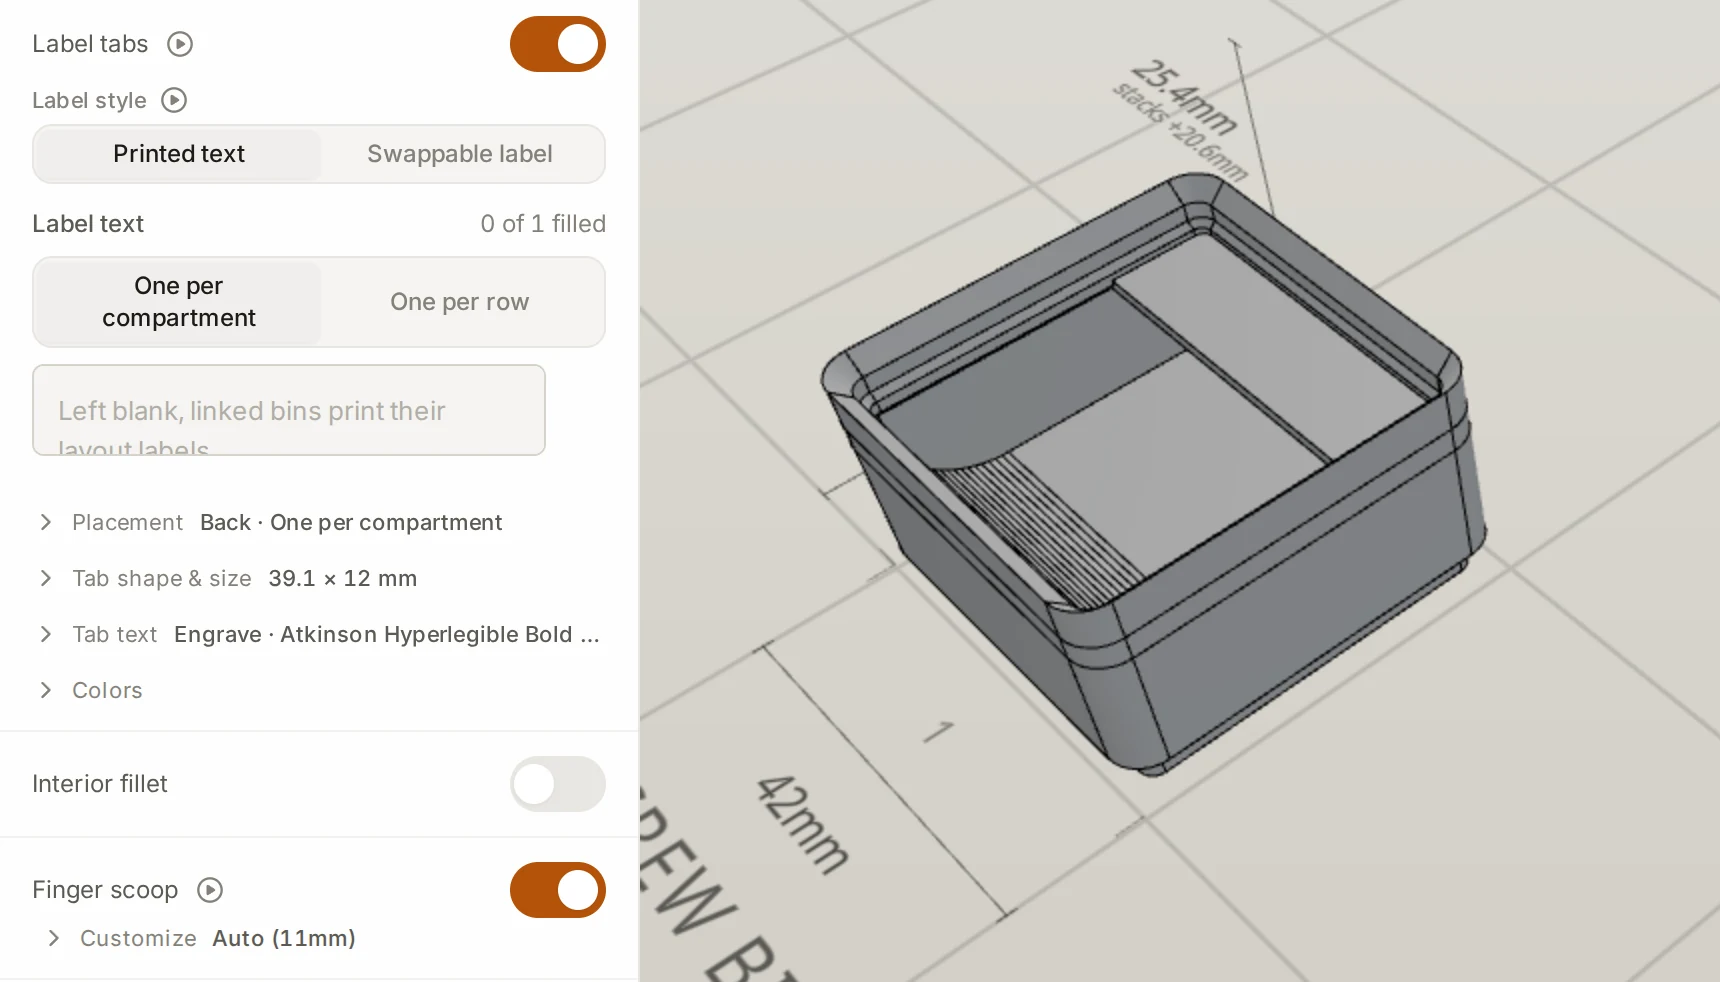
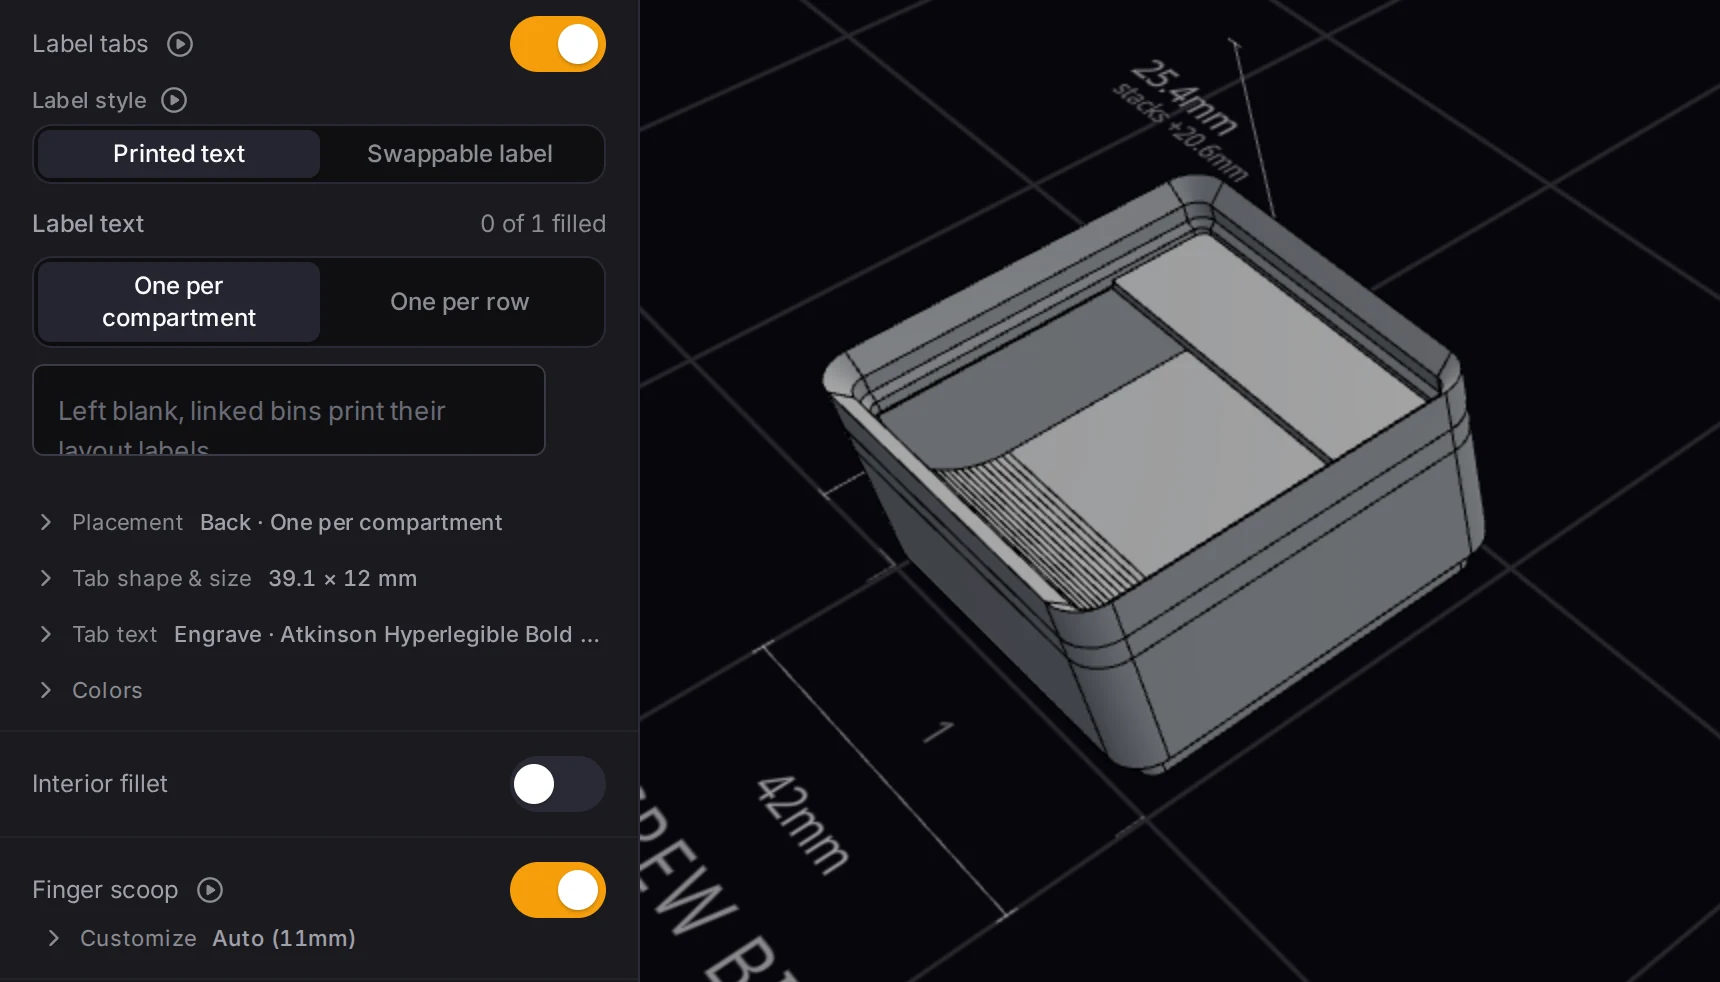
The empty box is the trick. A design with one blank caption prints the Bin label of each linked bin instead. So 16 bins share one design but get 16 labels.
Click Layout to go back, and repeat steps 1 to 4 for the 1 × 2 bin. Name that design "Bolt bin".
Step 4: Copy the bins and label them
Copies of a linked bin keep the link, so copy the bins instead of drawing them.
- Select the 1 × 1 bin and press Ctrl+D (Cmd+D on a Mac) seven times. Each copy lands to the right of the last one, until the row is full.
- Click the number of that row at the edge of the grid to select all 8 bins. Press Ctrl+D once, and the row copies into the row above.
- Do the same with the 1 × 2 bin to fill rows 3 and 4.
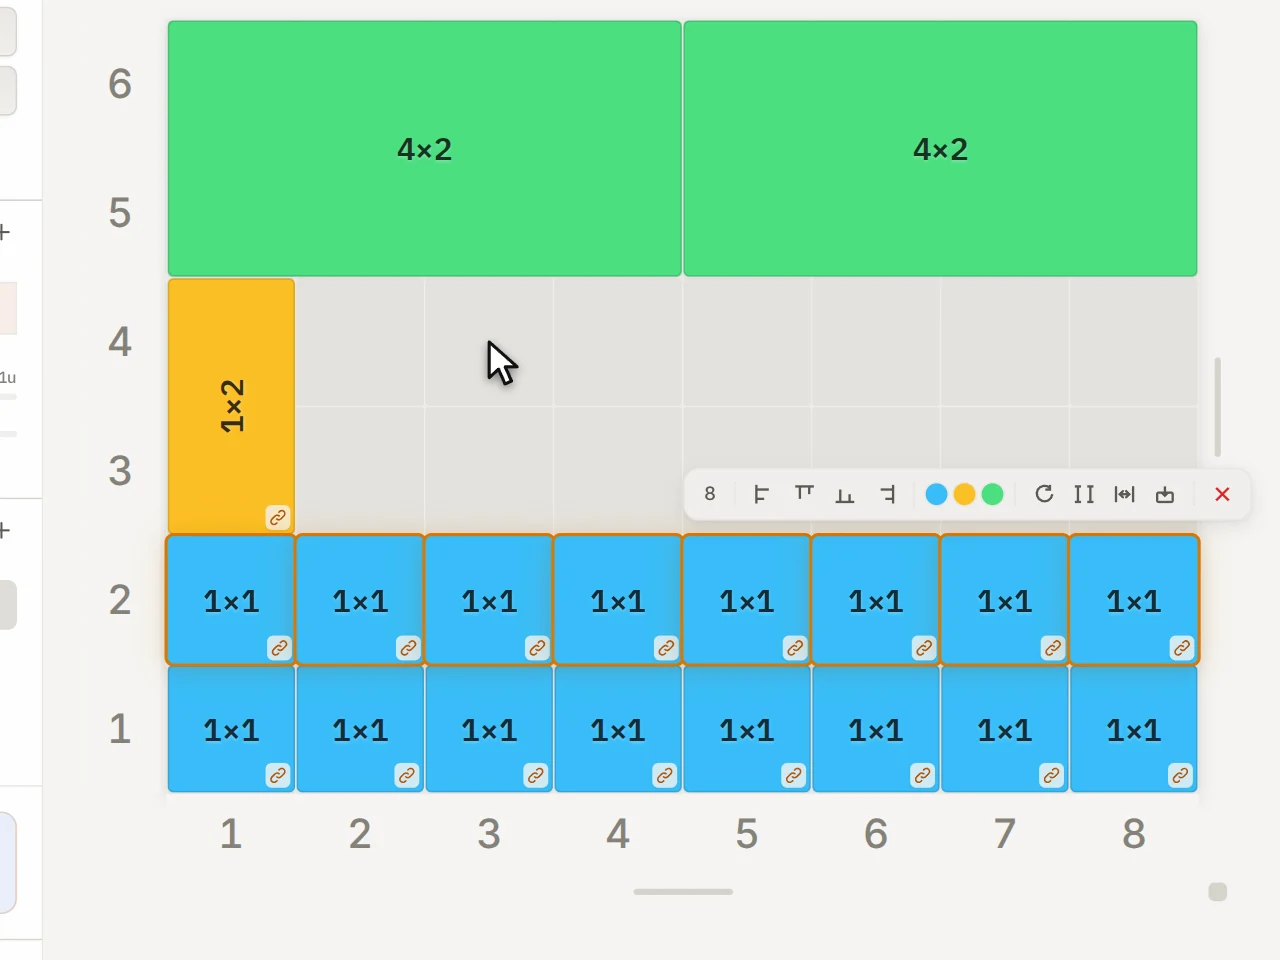
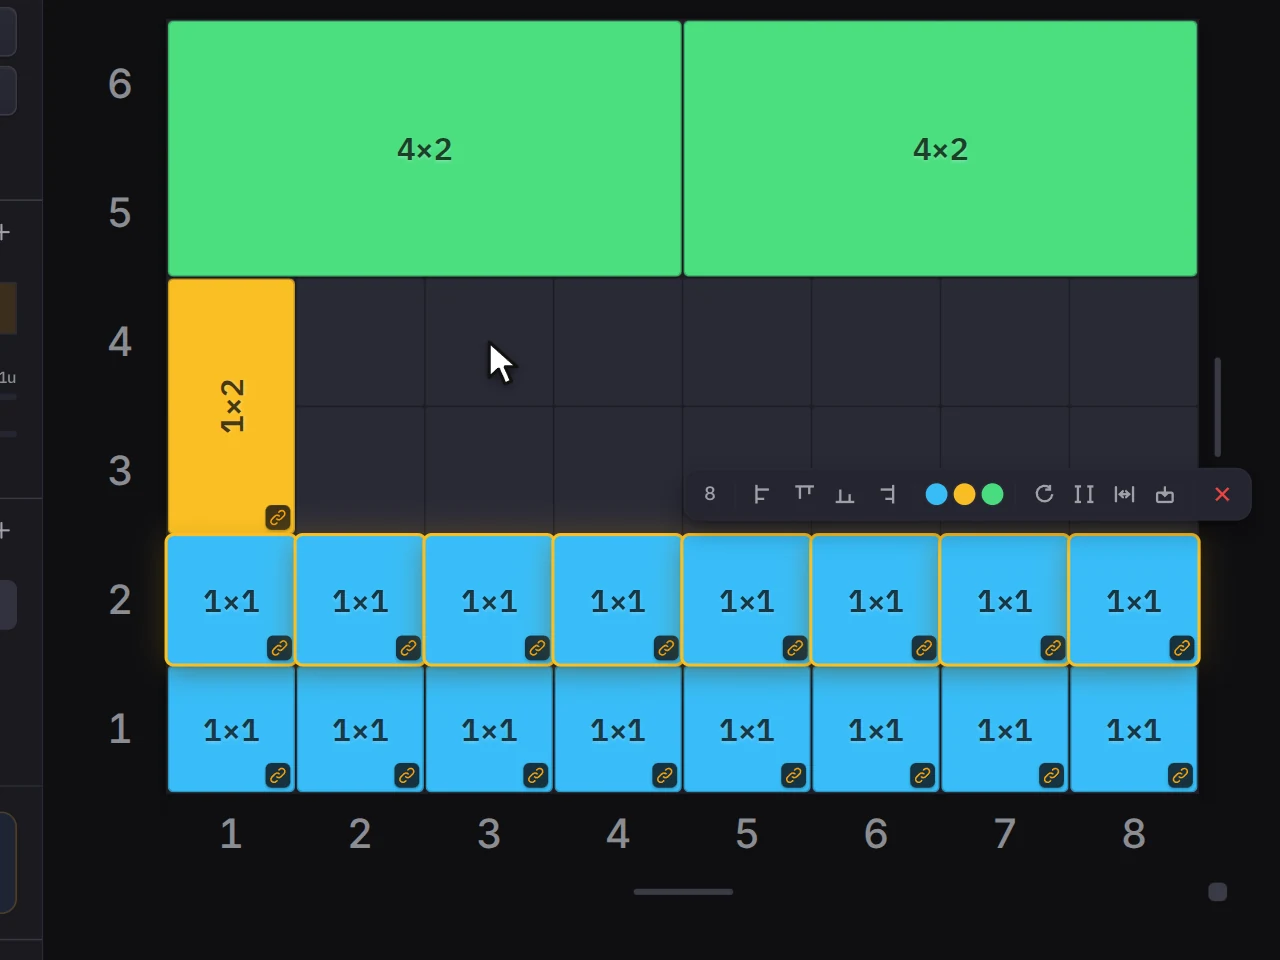
Now name each bin. Select it, and type its size in Bin label, such as M3x6. Label the next bin M3x8. From then on, the suggestion list offers M3x10, marked next in set. Press Tab to accept a gray suggestion.
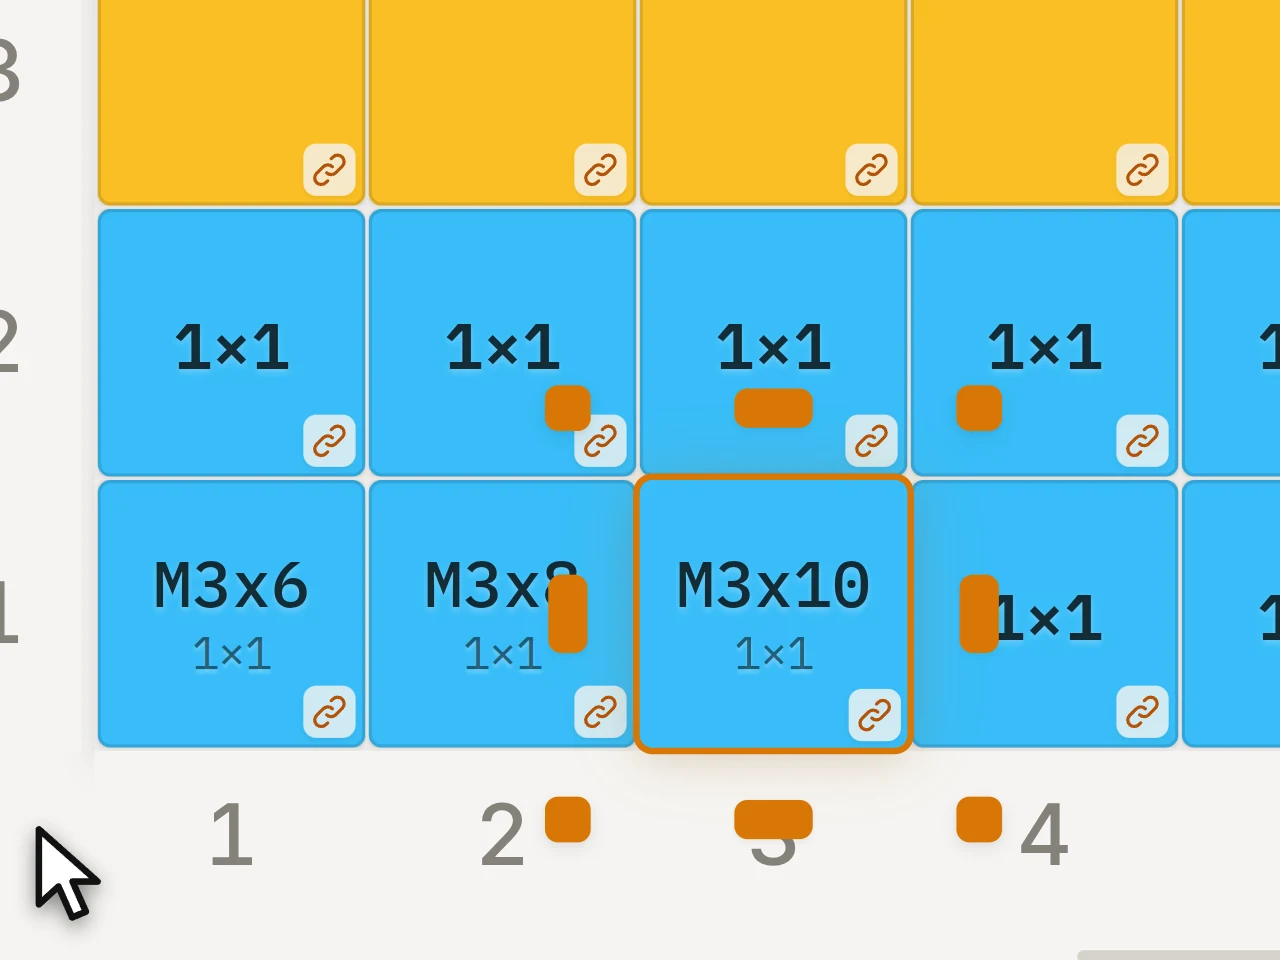
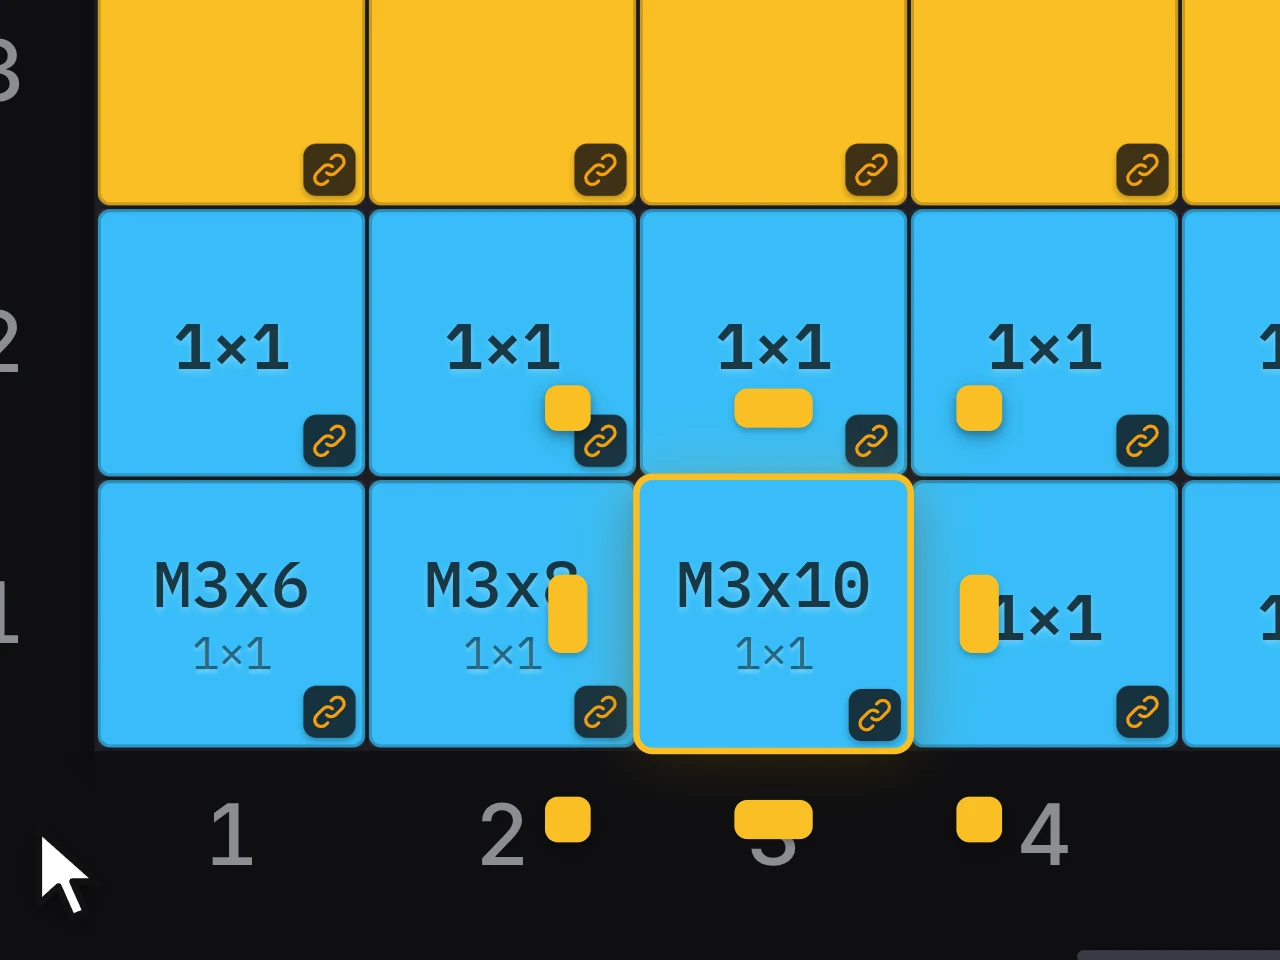
Press V to open the 3D preview. Each tab shows its own label.
Step 5: Divide the nut and washer bins
- Select a 4 × 2 bin and click Create.
- In Interior, keep Grid dividers, and set Columns to 4 and Rows to 2. You get 8 compartments of about 40 × 40 mm.
- Turn on Label tabs, and type a caption for each compartment: M2 nut, M2.5 nut, and so on.
This design has 8 captions, so it prints them and ignores the layout label. For the washer bin, open Saved designs, use Duplicate on the nut bin, and change the captions. Then select the second 4 × 2 bin in the layout and click Link to pick the copy.
Step 6: Decide on magnets
Magnets hold bins to the plate. Skip them for a drawer that stays put, because the feet hold bins well. Add them for a box that you carry, like a Milwaukee Packout drawer.
If you add them, count first. Each grid cell takes 4 magnets, in the bins and in the plate. This plate has 48 cells, so it takes 192 magnets. The bins take 4 for each cell too, unless you turn on Corners only.
- In each bin design, open Base and turn on Magnet holes. The default hole suits a 6 × 2 mm magnet.
- In the baseplate generator, turn on Magnet holes in the Base group.
Step 7: Make the plate and export
Open the baseplate generator. It takes the 8 × 6 size from the layout. The plate is 336 × 252 mm, too large for a 256 mm bed, so it splits into two 4 × 6 pieces. They print in two build-plate loads.
Then go back to the layout editor and click Export, then Download ZIP. The ZIP holds one file for each label, the nut and washer bins, and the plate pieces. Print each file as many times as manifest.txt says.
TIP
Print one 1 × 1 bin first, with its magnets if you use them. It tells you if the label is readable and the fit is right.
When it goes wrong
A label tab prints blank
The bin has no Bin label, or you exported it from the bin designer. Only the layout knows the labels, so give every bin a label and export the layout ZIP. The bin list marks a row with Label tabs are blank before you print. See Troubleshooting prints.
The drawer no longer closes after you add magnets
A plate with magnet holes keeps 0.5 mm of floor under each 2 mm magnet, so every bin sits 2.5 mm higher. In a 40 mm drawer, the tallest bin drops from 5u to 4u. The 3u bins still fit, with 12.1 mm free. Read the free space under the measured size in the Grid size group.
The divided bin is hard to lift out
32 magnets hold a 4 × 2 bin very firmly. Turn on Corners only in that design, and it uses 4. See The base.
Next steps
- Labels and text: pick the font, size and finish of the captions
- Magnets and screws: magnet sizes and crush ribs for the plate
- An electronics and craft organizer: labels that you can swap when the contents change
- A deep tool drawer in two layers: stack bins in a deeper drawer