
A deep tool drawer in two layers
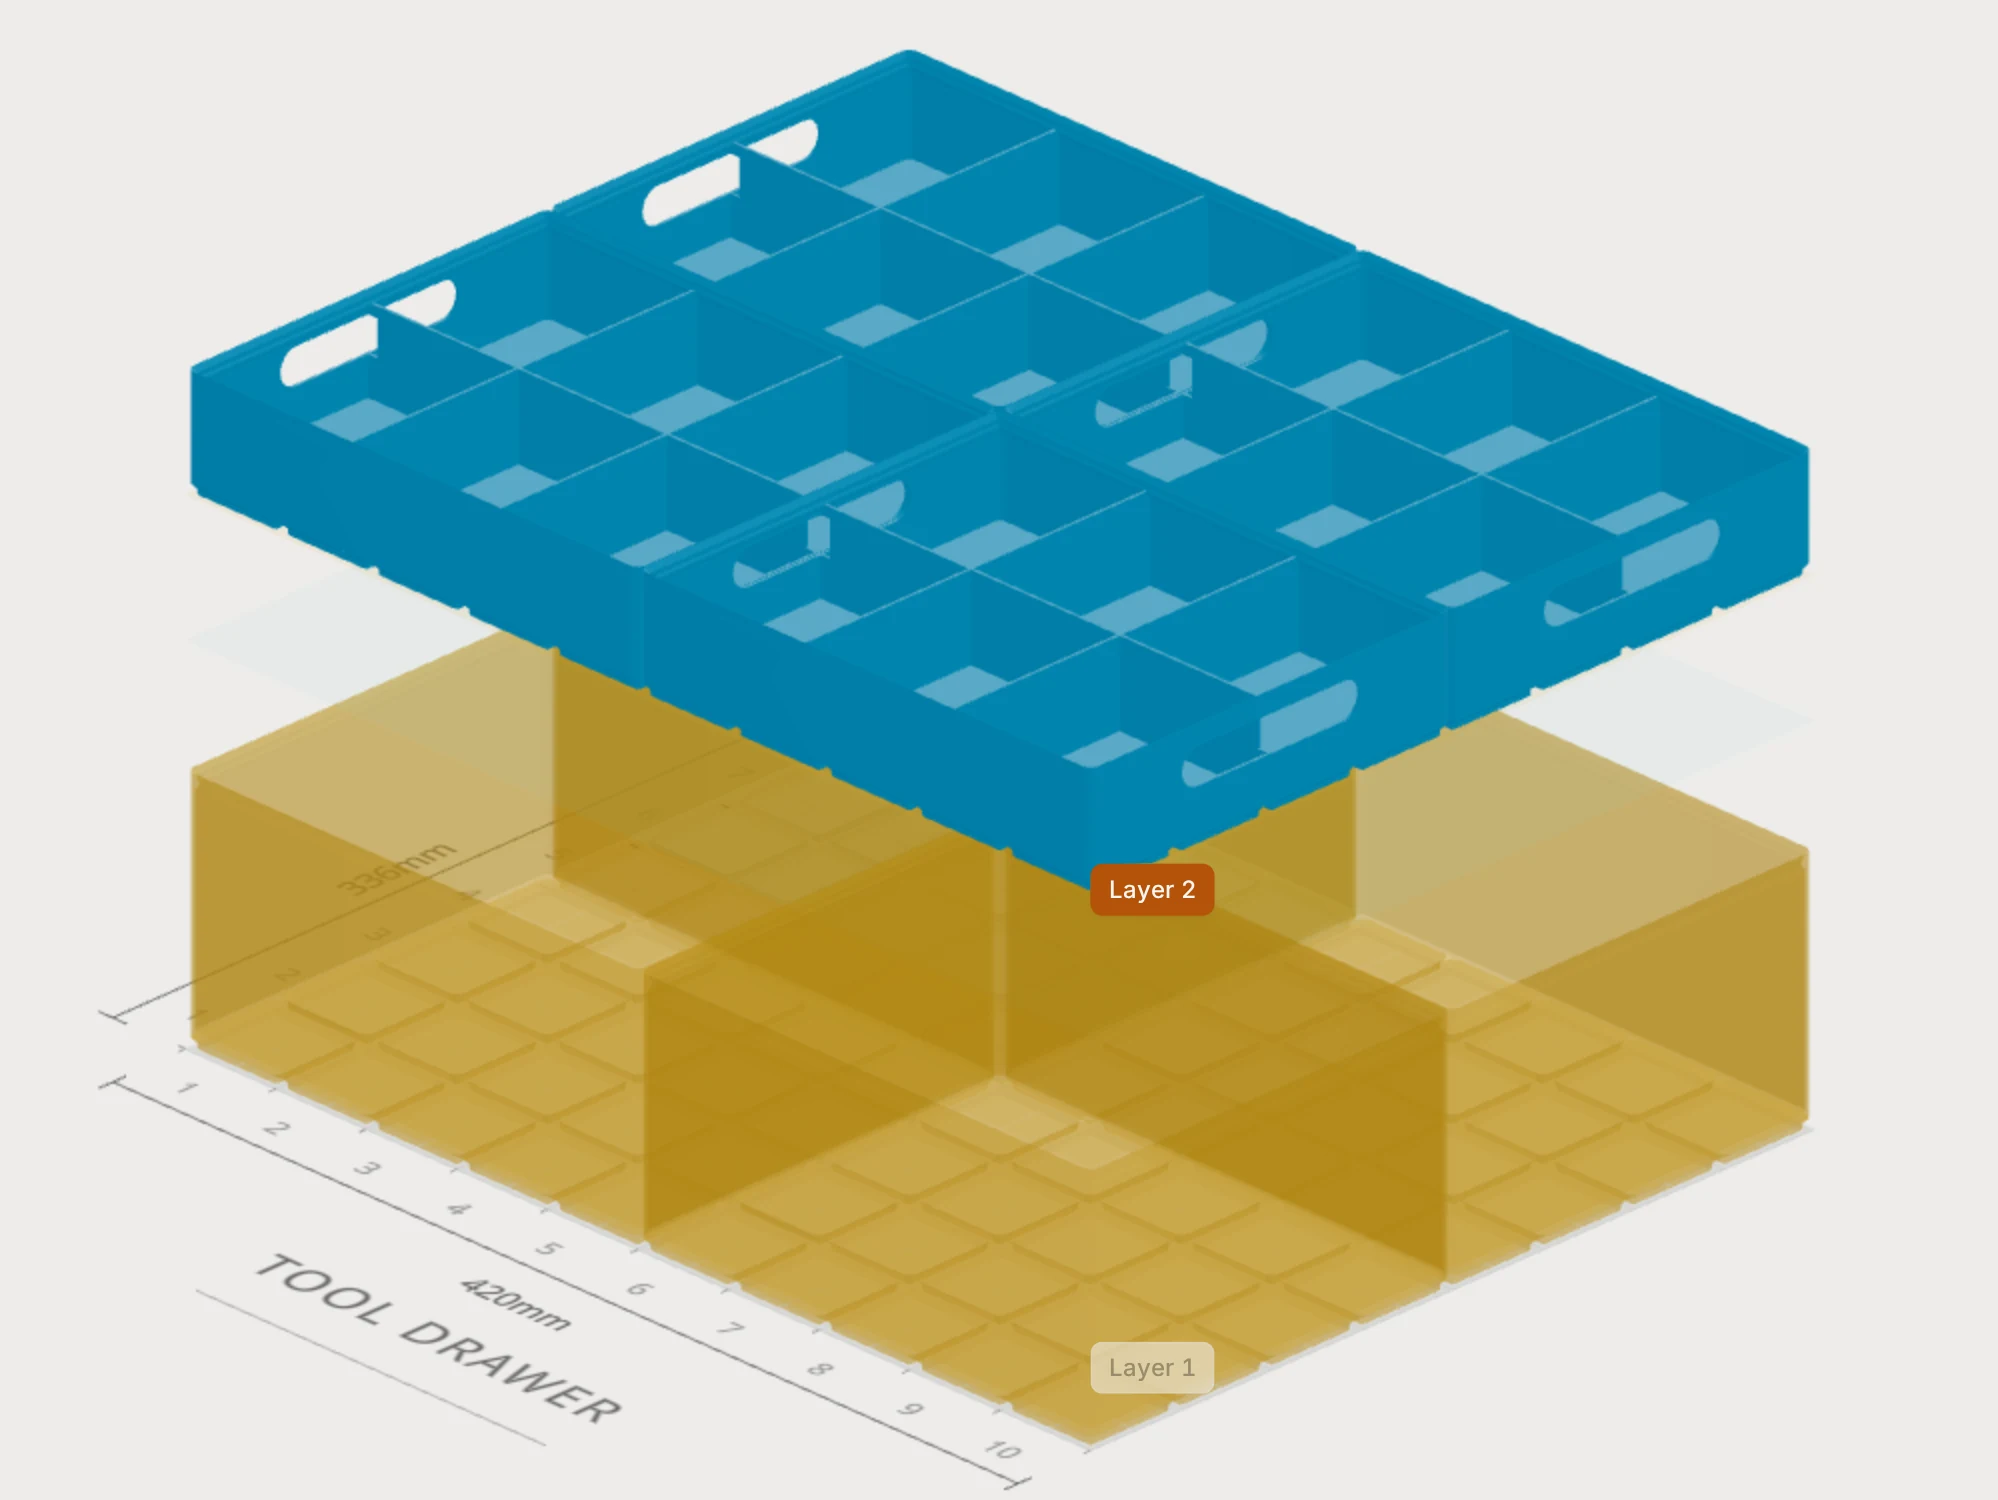
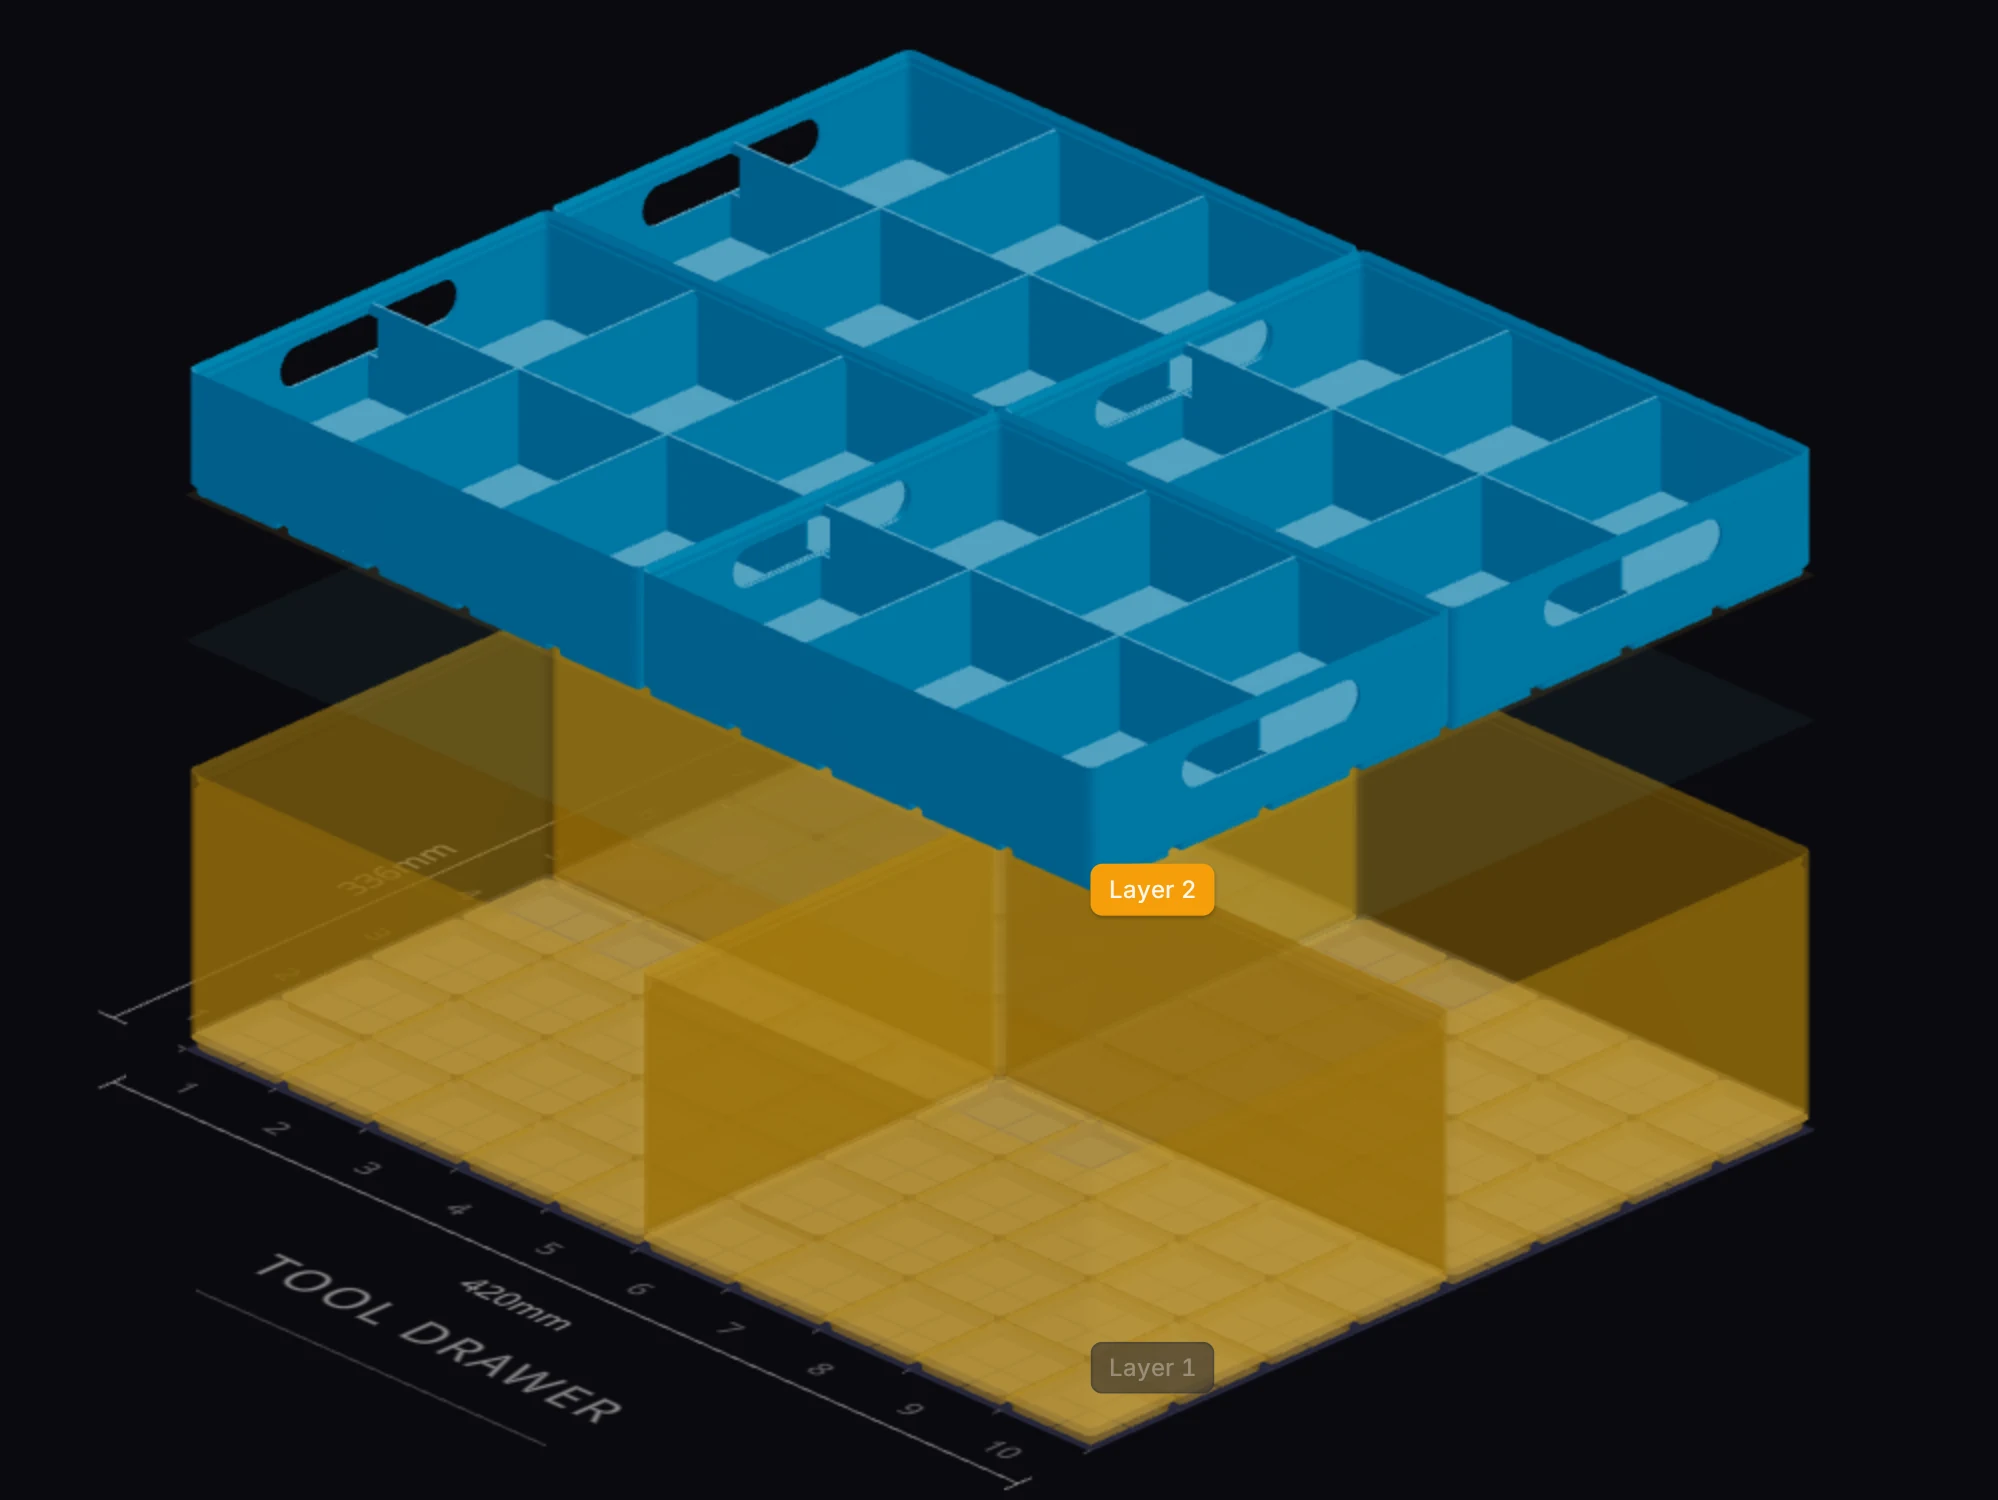
One layer of bins at the bottom of a deep drawer leaves a lot of air above it. Use two layers instead. Bulky tools go in tall bins at the bottom, and the tools you grab every day ride in trays on top. Lift a tray off to reach the bin under it.
What you need
- The inside size of your drawer. This recipe uses an example drawer of 440 × 345 mm, 150 mm high. Measure the height from the drawer floor to the lowest point above it.
- A print bed of 256 × 256 mm. The largest part here is a 5 × 4 bin, 210 × 168 mm, so it prints whole.
- About 926 m of PLA, or 2.8 spools of 1 kg. That's the bin list estimate with the default settings. Tall bins take a lot of plastic, so this is the costly recipe.
The plan
| Layer | Bins | Size | Height | Inside height | Holds |
|---|---|---|---|---|---|
| 1 (bottom) | 4 | 5 × 4 | 14u | 91 mm | Drills, batteries, bulky tools |
| 2 (top) | 4 | 5 × 4 | 6u | 35 mm | Hand tools, in 6 compartments |
Each tray has the same footprint as the bin under it. Its feet drop into the stacking lip of that bin, so it sits firm and lifts straight off.
Step 1: Fit the grid to the drawer
- In the layout editor, click Add your drawer's measured size in the Grid size group.
- Type 440, 345 and 150, and press Enter.
- If a card shows, click Fit grid.
The grid that fits is 10 × 8 grid units, or 420 × 336 mm. That leaves 20 mm across and 9 mm front to back. A new layout is 10 × 8 already, so you may see no card. That only means the grid fits.
Step 2: Find two heights that fit
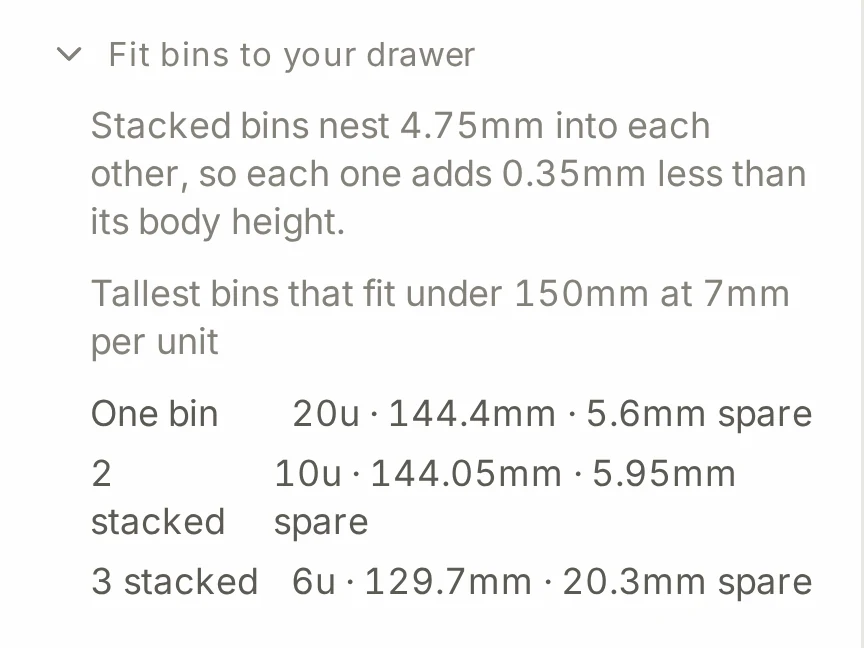
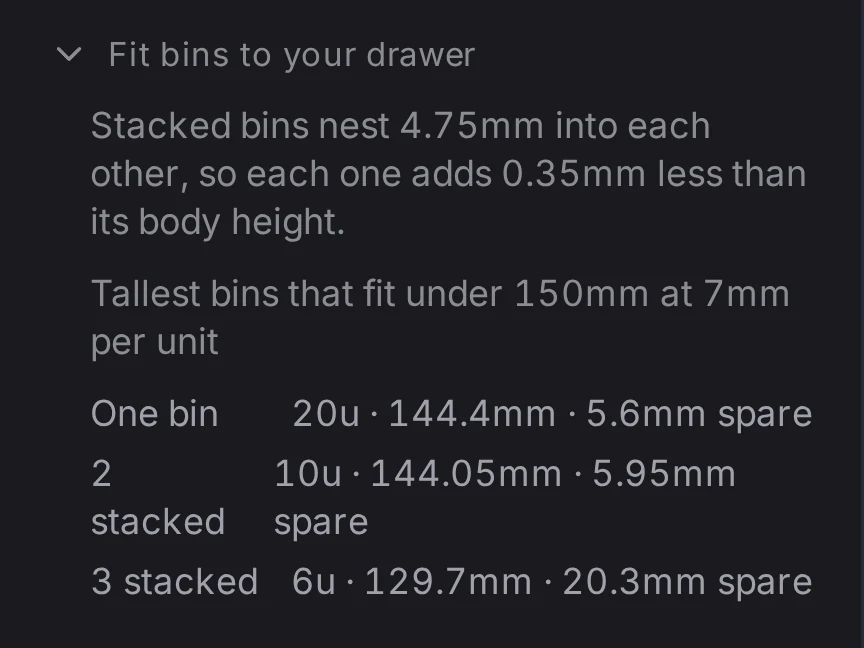
Open Fit bins to your drawer under Physical units. For a 150 mm drawer, it lists the tallest bins for each stack:
| Stack | Tallest bins | Stack height | Spare |
|---|---|---|---|
| One bin | 20u | 144.4 mm | 5.6 mm |
| 2 stacked | 10u | 144.05 mm | 5.95 mm |
| 3 stacked | 6u | 129.7 mm | 20.3 mm |
The two bins in a stack don't need the same height. Here's why. Each unit adds 7 mm, each bin adds a 4.4 mm lip, and the top bin sinks 4.75 mm into the lip below. So a 14u bin under a 6u tray is 20 × 7 + 4.4 + 4.4 − 4.75 = 144.05 mm, the same as two 10u bins. Any pair that adds up to 20u fits with 5.95 mm spare.
Step 3: Fill the bottom layer
- In the Layers panel, set the height stepper of the layer to 14. New bins on this layer are now 14u.
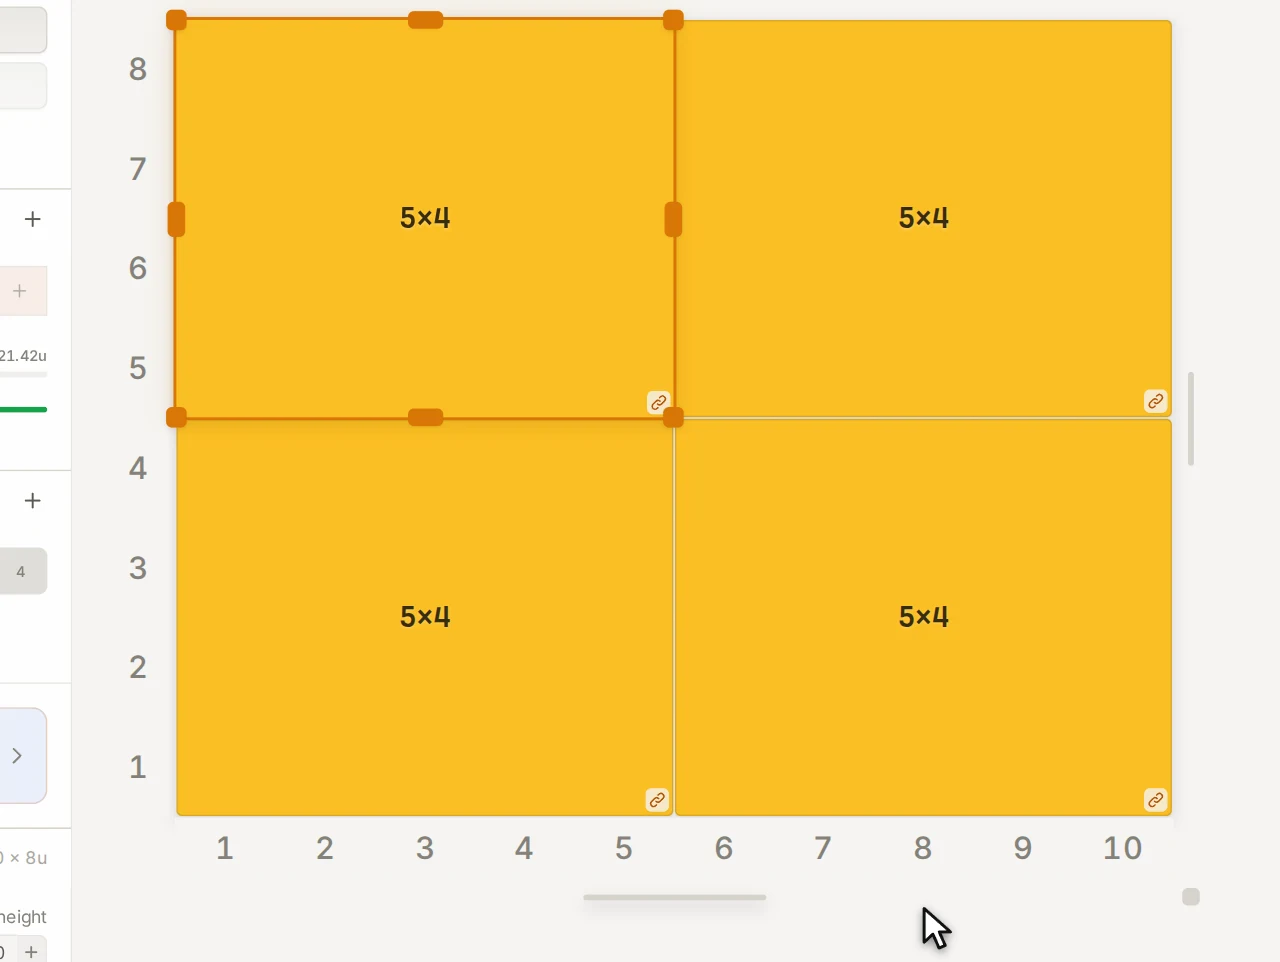
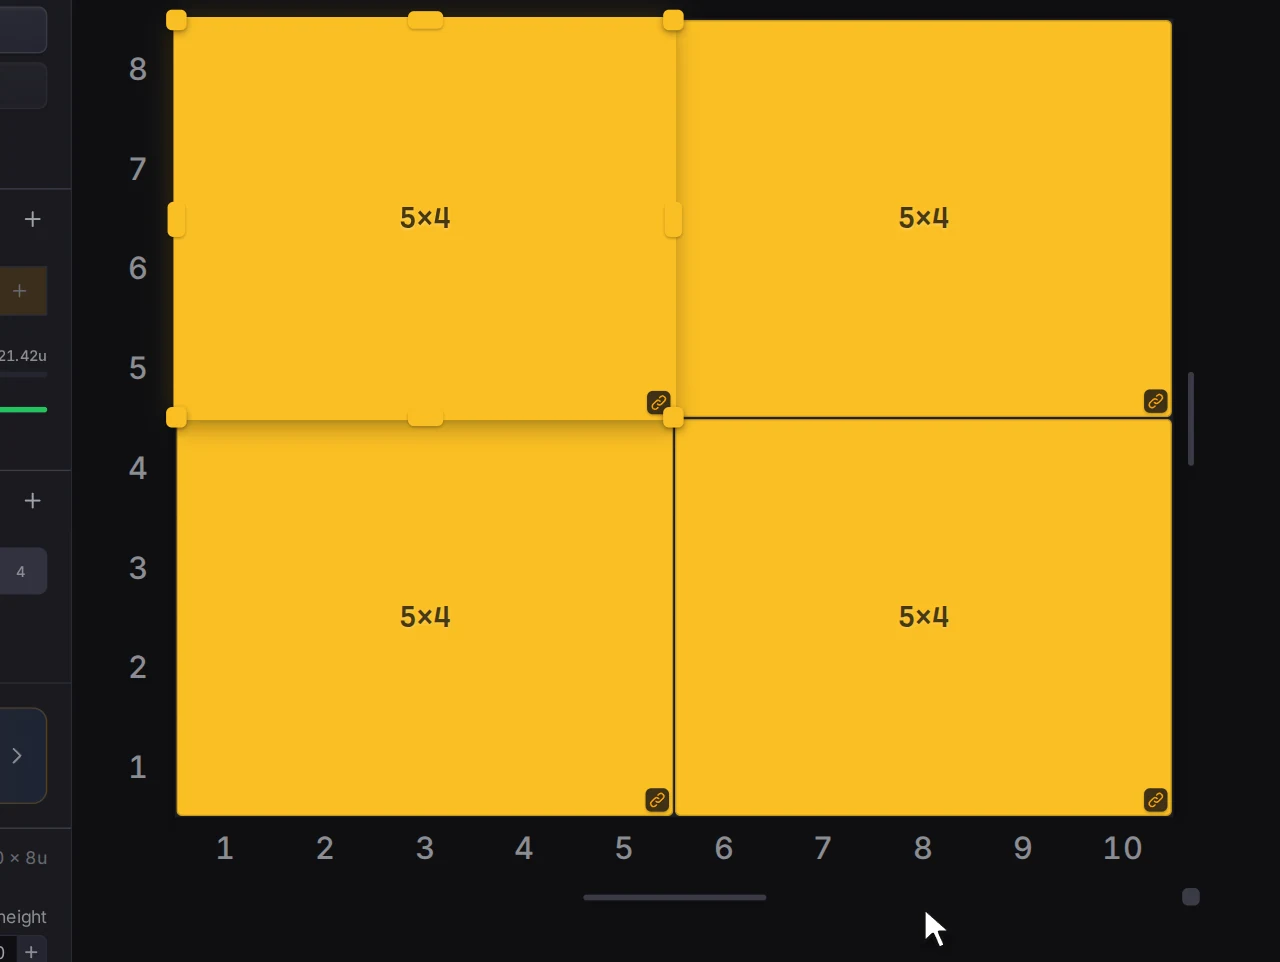
- Draw a 5 × 4 bin in the bottom-left corner.
- Under Linked design, click Create, then Create & open designer. A plain bin is fine, so go back with Layout.
- Select the bin and press Ctrl+D (Cmd+D on a Mac) three times. The copies fill the other three spots, and each one keeps the link.
Step 4: Add the tray layer
- Click Add new layer in the Layers panel. The new layer goes on top and becomes active.
- Set its height stepper to 6.
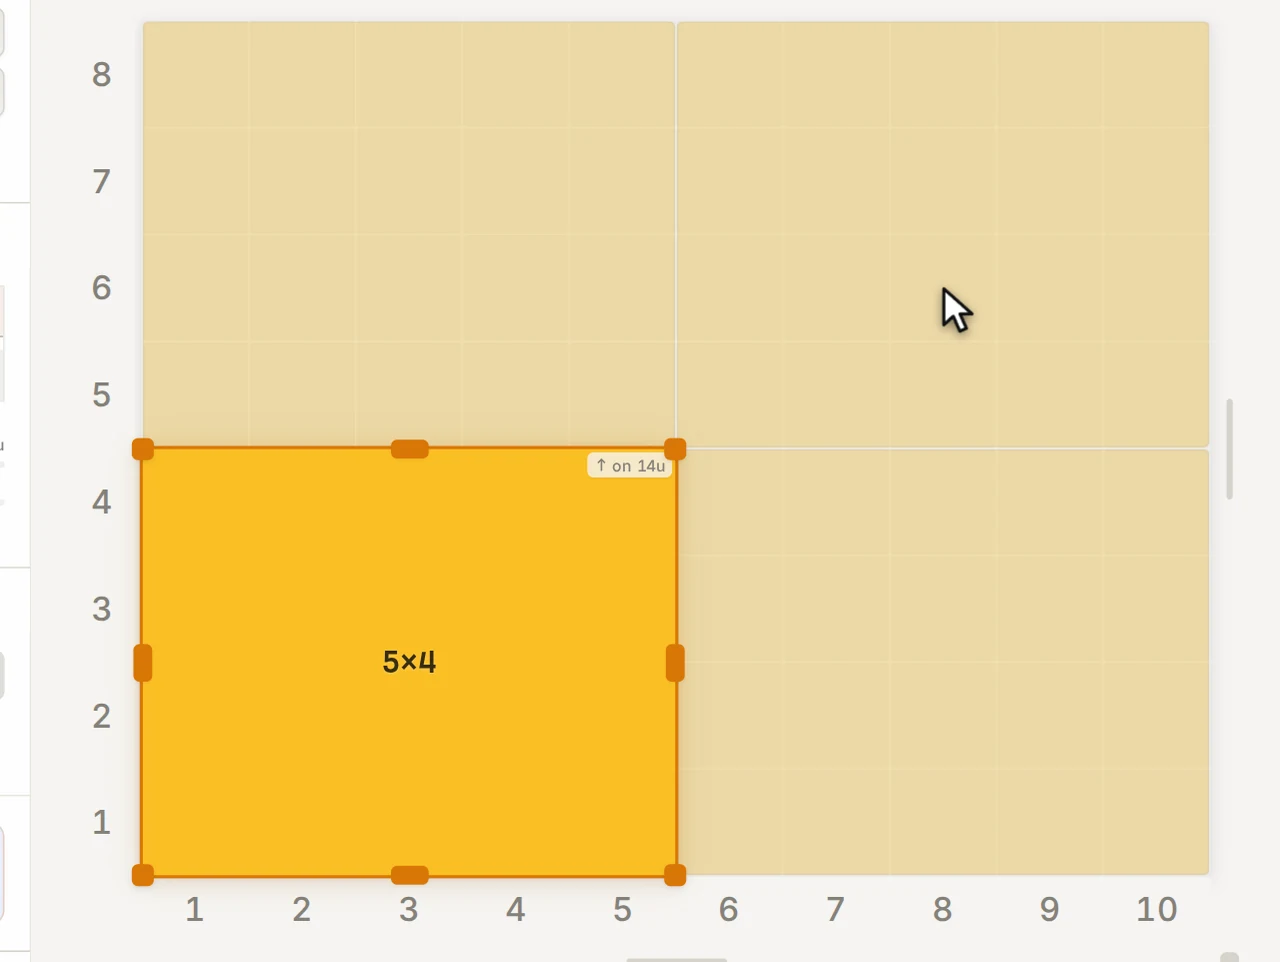
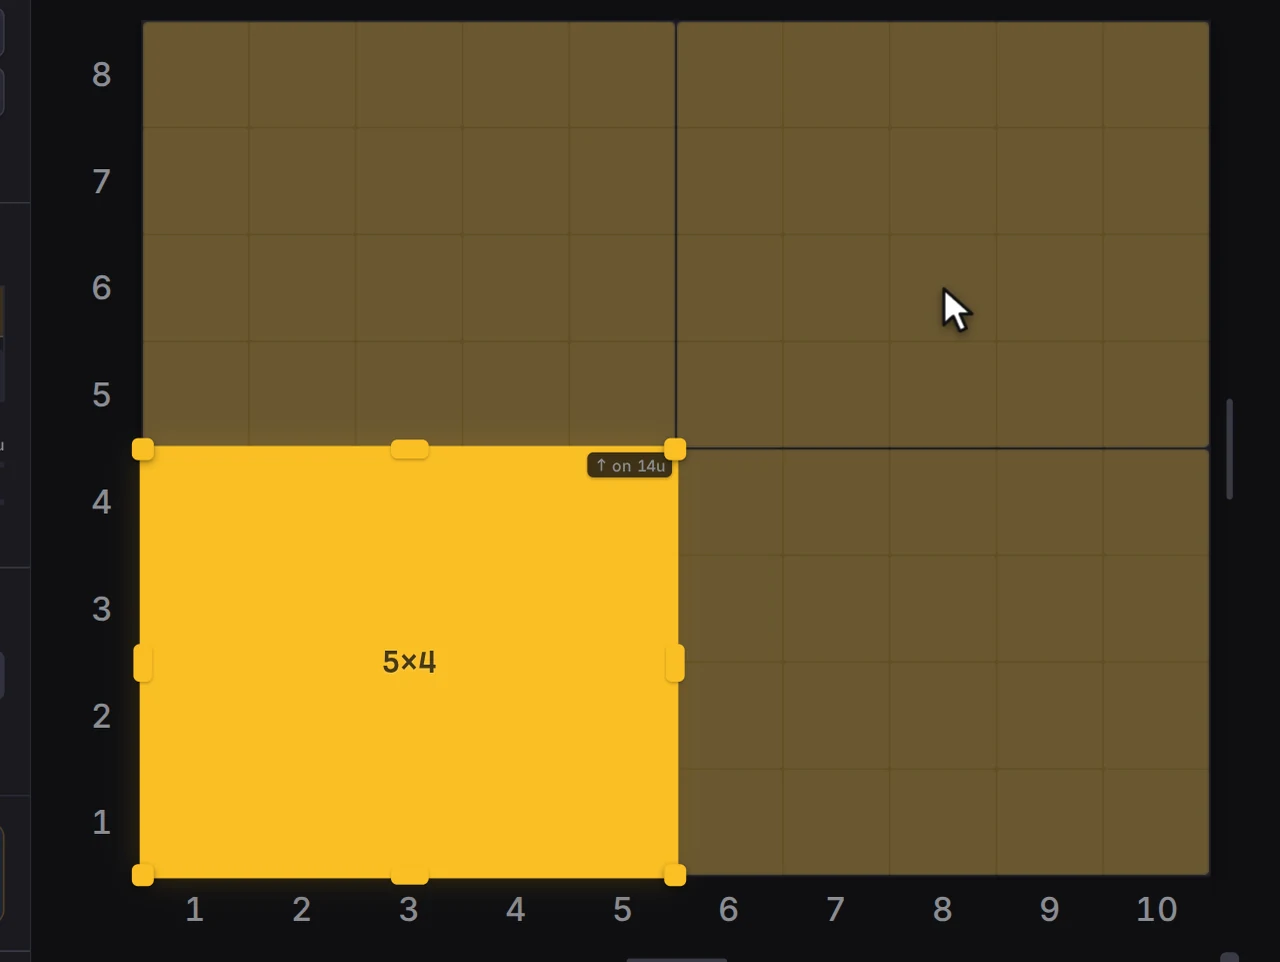
- Draw a 5 × 4 tray over the bottom-left bin. A small tag on the tray says that it rests on a 14u bin.
- Create a design for the tray, as in step 3.
In the bin designer, give the tray its compartments and hand holes:
- In the Interior group, set Columns to 3 and Rows to 2. Each compartment is about 68 × 82 mm.
- In the Lid group, turn on Handles. They start on the front, left and right walls.
- Click the front wall in the wall picker to turn it off. Keep the left and right walls.
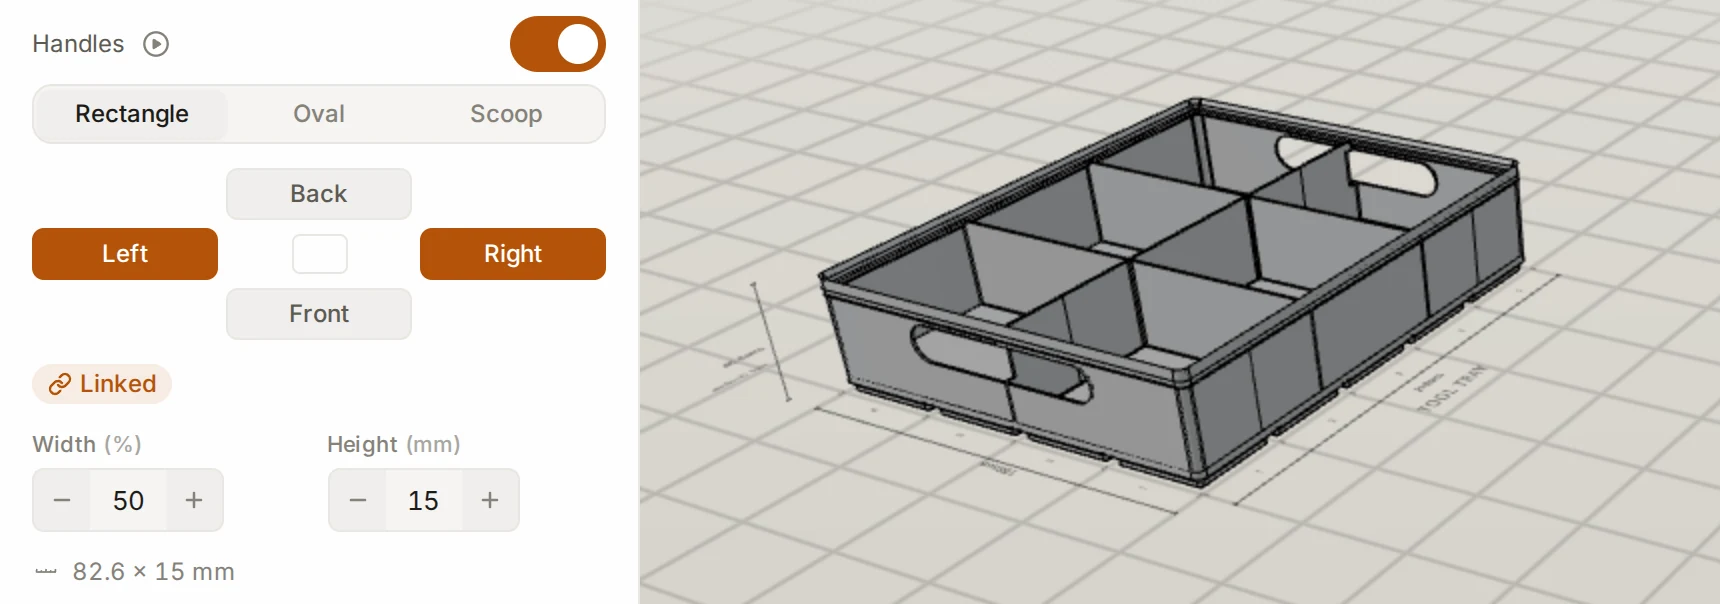
Go back to the layout, select the tray, and press Ctrl+D three times. The copies land over the other three bins.
TIP
Why handles and not a pull tab? A pull tab stands above the rim and adds to the height of the stack. Hand holes cut into the wall and add nothing. The Assembled height readout in the bin designer shows the difference.
Step 5: Check the stack and the space above it
Look at the line under the measured size. It says that the tallest stack fits, with 5.9 mm to spare. Press V for the 3D preview, and turn on Explode to see the trays lifted off their bins.
Does a bottom bin hold something that stands taller than the bin, like a drill on its end? First move the tray above it to the stash, because the field hides while something rests on the bin. Then select the bin and type the extra height in Clearance (mm). No tray can rest above it now, and the drawer check counts the extra height. See Reserve space above a bin.
Step 6: Make the plate and export
Open the baseplate generator. The plate is 420 × 336 mm, so on a 256 mm bed it splits into four 5 × 4 pieces in four build-plate loads. Then export the layout with Export and Download ZIP.
Print one tray before you print all eight parts. It shows you if the trays sit and lift the way you want.
When it goes wrong
The drawer doesn't close
The editor lets you place a bin when the height units fit. Try a 7u tray: 14u + 7u = 21u, or 147 mm, which is under 150 mm. But the printed stack has its lips too, so it stands 151.05 mm tall. The line under the measured size warns that it stands 1.1 mm above the drawer. Trust that line, and make the trays 1u lower: select them and change their height, or change the height of their design.
The layer's own height is only the default for new bins, so it does not resize bins you placed. See Check the drawer height.
A tray rocks
A tray needs full support under its feet. If it spans two bins of different heights, or hangs over an empty cell, its inspector shows Part of its base is unsupported. Put the tray over bins of one height, or lift a short bin with a spacer. See Make short bins finish flush with spacers.
A small tray slides around on a big bin
A tray smaller than the bin under it has nothing to hold it in place. In the design of the lower bin, open Base and turn on Lip notches. The lip then locks a smaller bin to one grid cell. See Stacking.
Next steps
- Work in layers: reorder layers and look between them in 3D
- Stacking: the stacking lip and the assembled height
- Walls: every handle shape and size
- Tool drawer organizer: ideas for bits, sockets and wrenches