
Size and shape
Every custom bin starts here. Set how big it is, give it an odd outline if your drawer needs one, and stretch it into the gaps at the drawer edges. All the other features of the Gridfinity Layout Tool fit inside this size, so it pays to get it right first.
- Open the bin designer with the Bins tab.
- Find the Shape group at the top of the panel.
Every group of the panel starts open. Click a group title to fold the group away. A small dot next to a title marks a group with changes. Hover over the dot to read Changed from defaults.
Set the width, depth and height
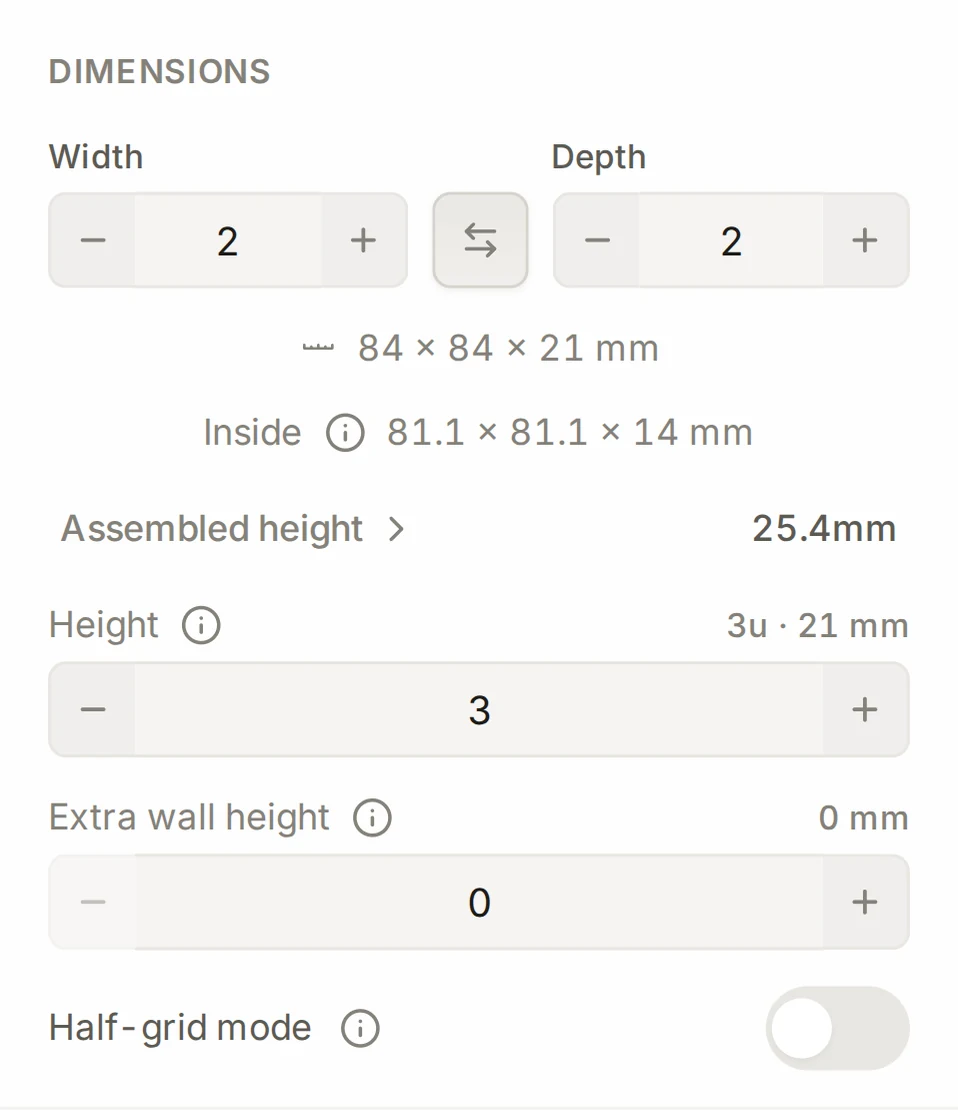
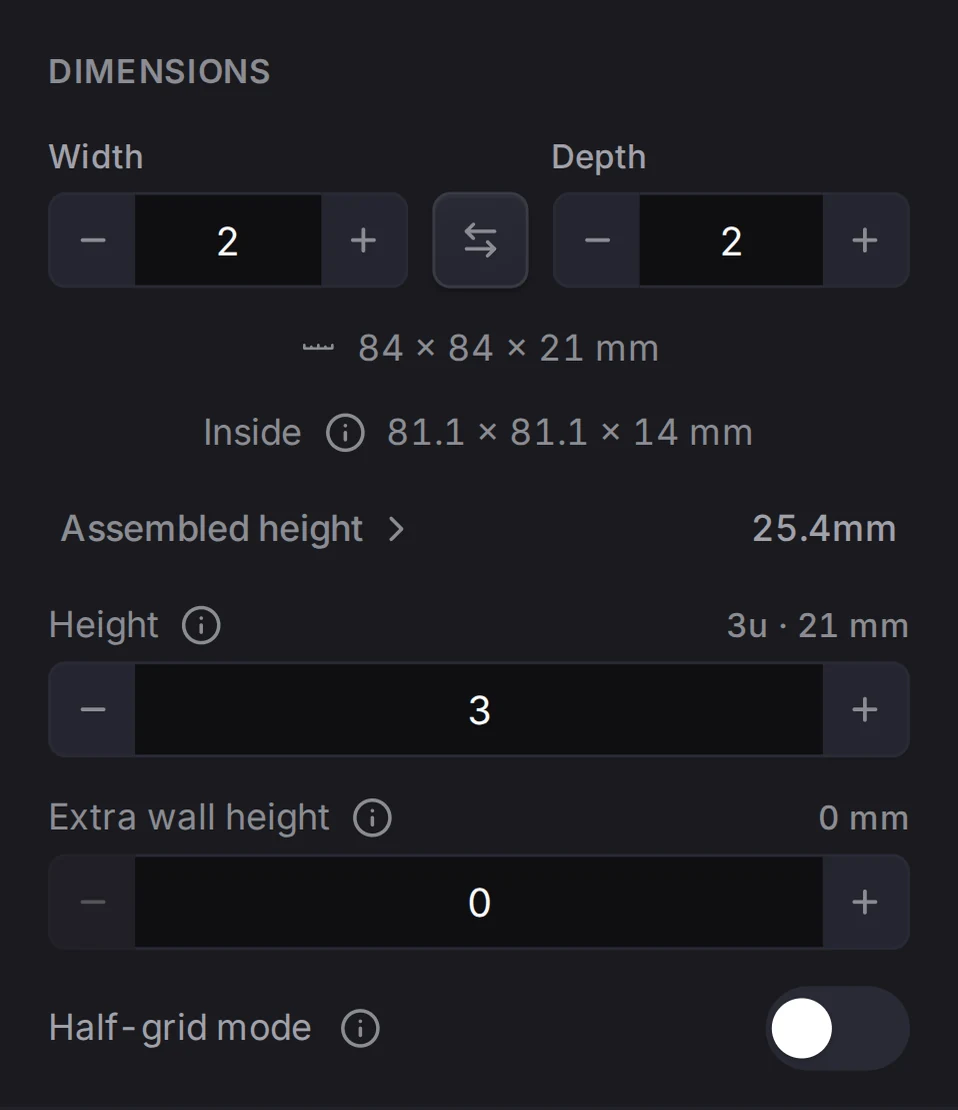
The Dimensions section holds three steppers. A new design is 2 units wide, 2 units deep and 3 units tall.
| Control | Unit | Range |
|---|---|---|
| Width | grid units (42 mm each) | 0.5 to 16 |
| Depth | grid units (42 mm each) | 0.5 to 16 |
| Height | height units (7 mm each) | 2 to 50 |
A spacer can go down to 1 height unit. Built it the wrong way round? The arrow button between the width and depth fields swaps the two values.
Three readouts show what you get:
- The line under the width and depth gives the printed body in millimeters, without the stacking lip.
- Inside gives the space from the floor to the top of the wall, before dividers, scoops and label tabs.
- Assembled height gives the height of the bin on its baseplate. See Stacking.
Some contents stand taller than the bin, like brushes or pens. Extra wall height raises the outer walls and the stacking lip up to 100 mm above the bin height. The interior doesn't change, so tall contents stay inside the rim.
TIP
Print one bin before you print twenty. A small test shows you how the size feels in your drawer and on your baseplate.
Make half-unit sizes
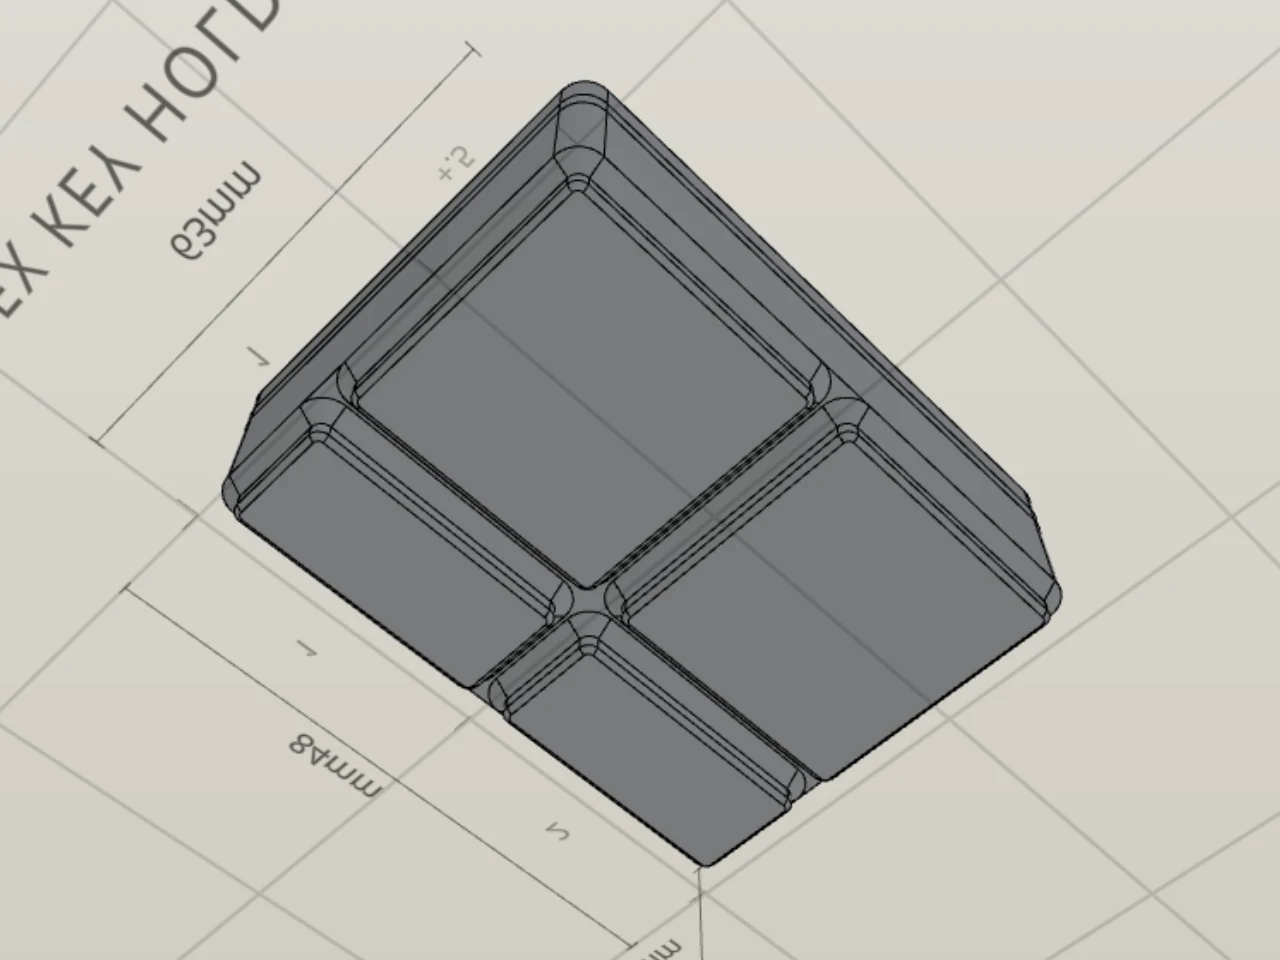
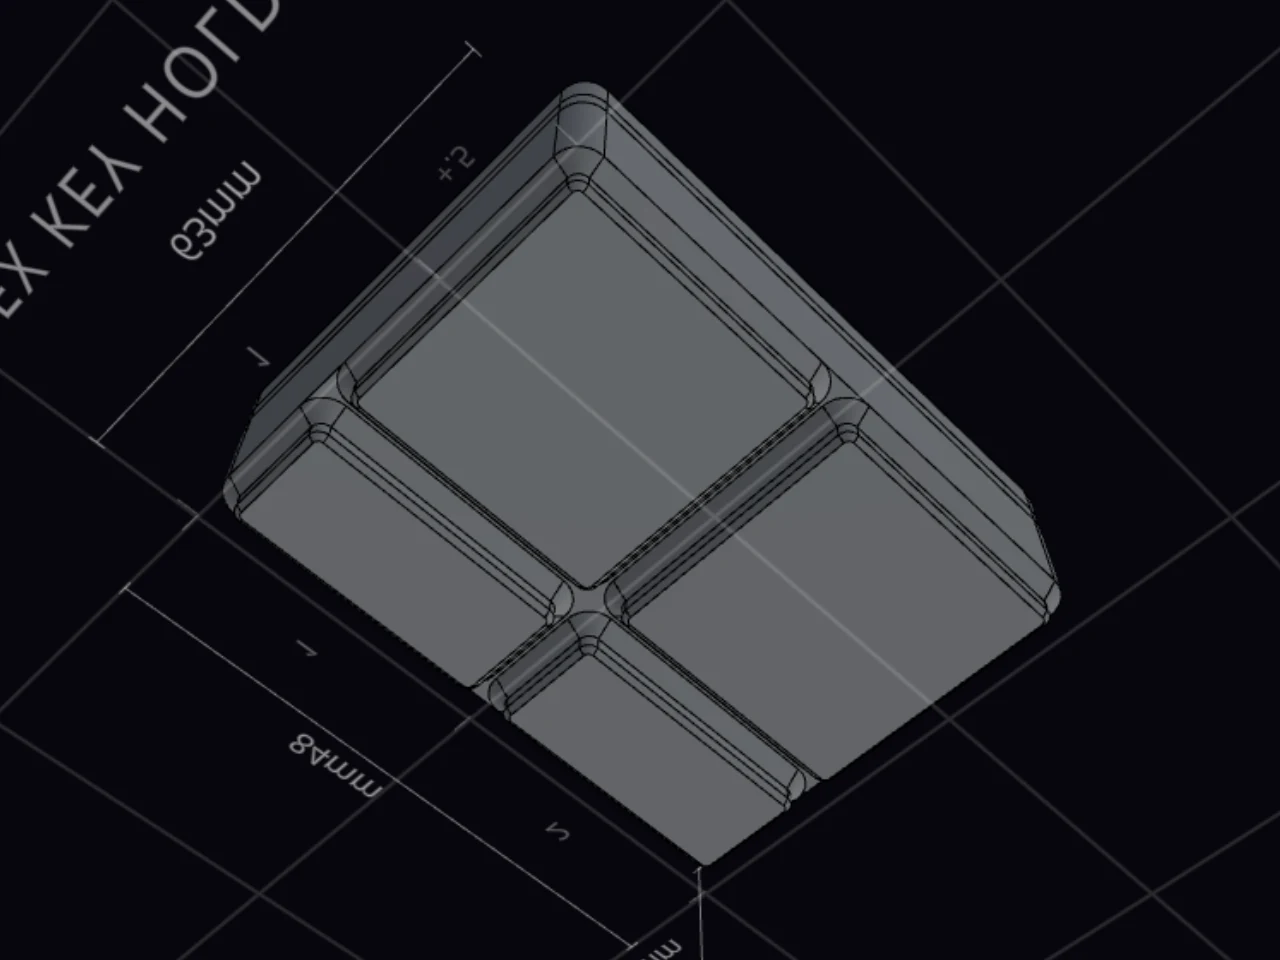
Turn on Half-grid mode to change the width and depth in steps of 0.5. When you step down from 1 to 0.5, the bin designer turns on half-grid mode for you. The smallest bin is 0.5 by 0.5 units.
A side that ends in .5 gets a row of half-size feet at one end. Use Half-unit edge position to choose that end:
- For the width, pick Left or Right.
- For the depth, pick Bottom or Top.
For a base made only of half-size feet, see Half sockets.
Make a bin that is not a rectangle
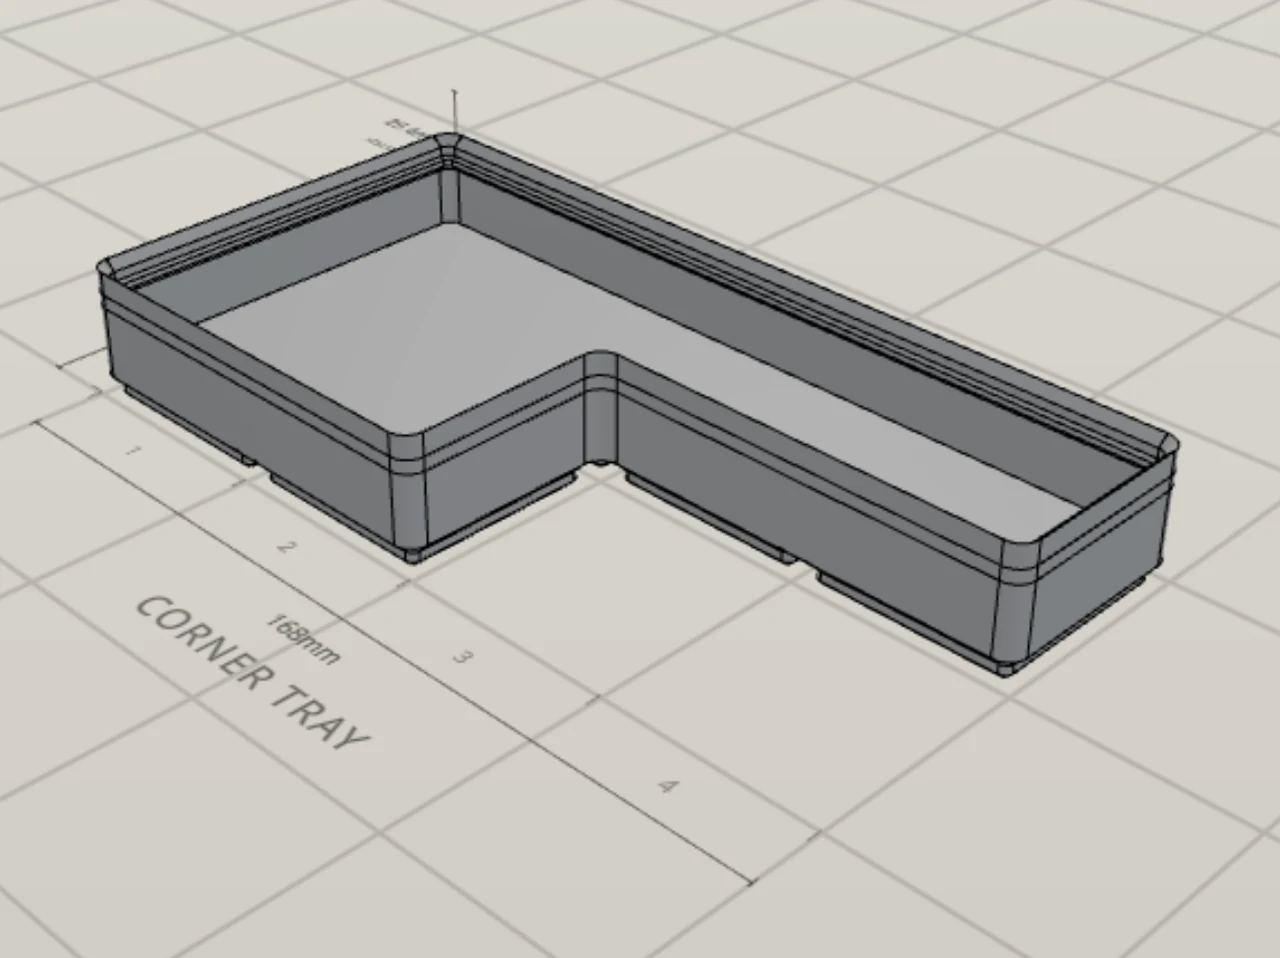
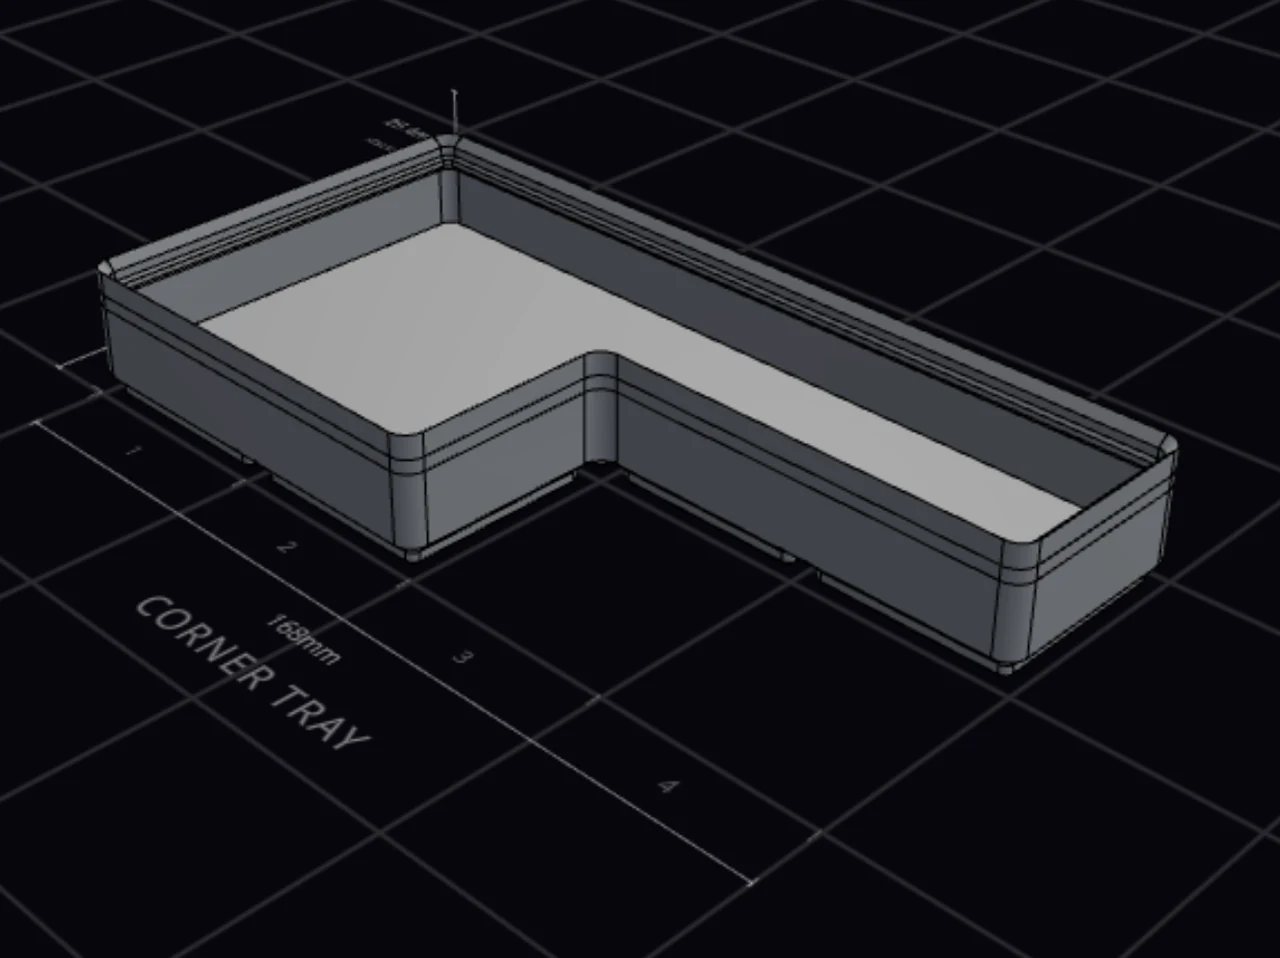
Need a bin that wraps around a drawer post, or fills an L-shaped corner? Custom shape, under Footprint, opens a grid of the footprint. Each cell is one grid unit, or half a unit in half-grid mode.
- Turn on Custom shape.
- To start from a common shape, click a preset.
- Click a cell to remove it. Click it again to add it back.
The L preset needs at least 2 by 2 units. The T and U presets need at least 3 units of width. The shape must stay one piece, so the grid ignores a click that cuts it in two. Reset makes the footprint a full rectangle again.
Wall patterns, wall cutouts and handles follow your outline. Compartments, label tabs, the finger scoop, overhang, pull tabs and label slots need a rectangle, and their controls tell you so.
Pick a body type
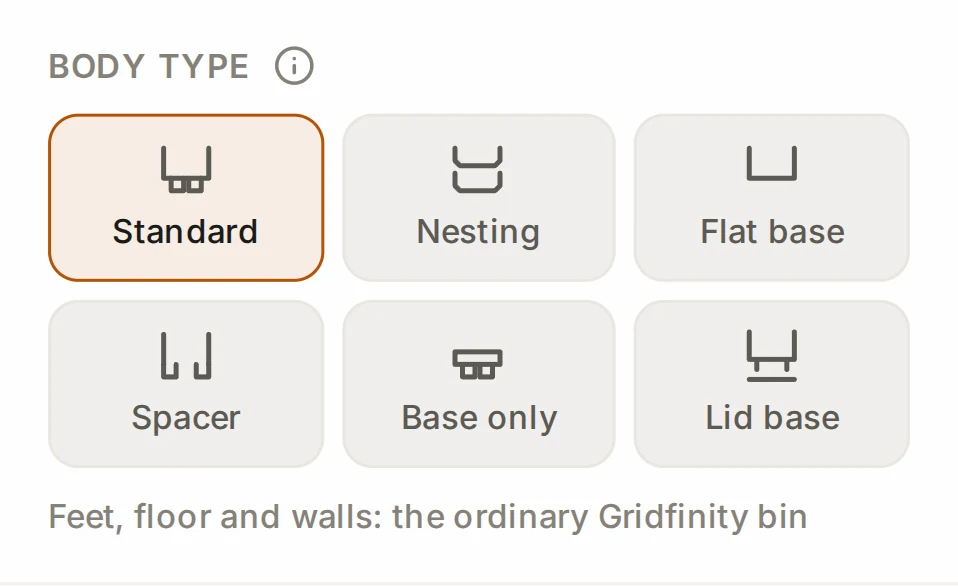
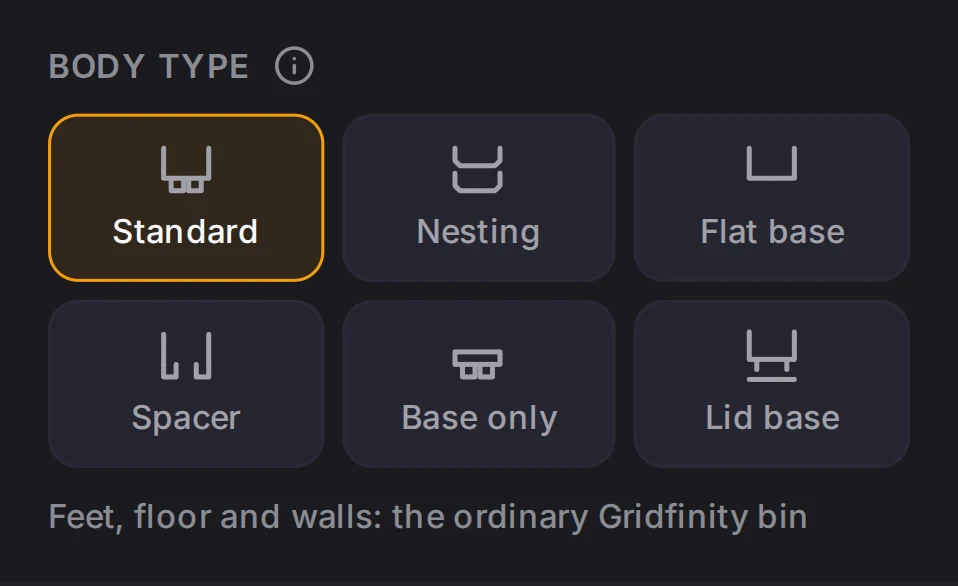
The Body type tiles at the top of the Base group decide if the bin has feet, a floor and walls. You can pick one type at a time. Not sure? Keep Standard.
| Body type | What you get |
|---|---|
| Standard | Feet, floor and walls: the usual Gridfinity bin. |
| Nesting | One tapered base that sits in the stacking lip of a bin of the same size. |
| Flat base | A flat bottom that does not lock into a baseplate. |
| Spacer | An open riser with no floor, to lift a short bin level with taller bins. |
| Base only | Feet and floor with no walls. It still locks into a baseplate. |
| Lid base | The underside is a lid, so the bin sits on top of another bin. |
The base explains the options of each type, and Lids explains the lid base. Removable dividers and Custom cutouts are interior styles, not body types: see Compartments and dividers.
Fit a drawer with overhang and taper
A drawer is rarely an exact number of grid units, so a gap stays at its edges. Overhang grows the walls outward to fill that gap.
- Under Footprint, turn on Overhang.
- Set the millimeters for each side, from 0 to 42.
- If the overhang is wide, turn on Feet under overhang.
The feet stay on the grid, so the bottom of the overhang needs supports when you print it. Feet under overhang adds feet under the overhang where it is wide enough. On a flat base, the overhang rests on the print bed.
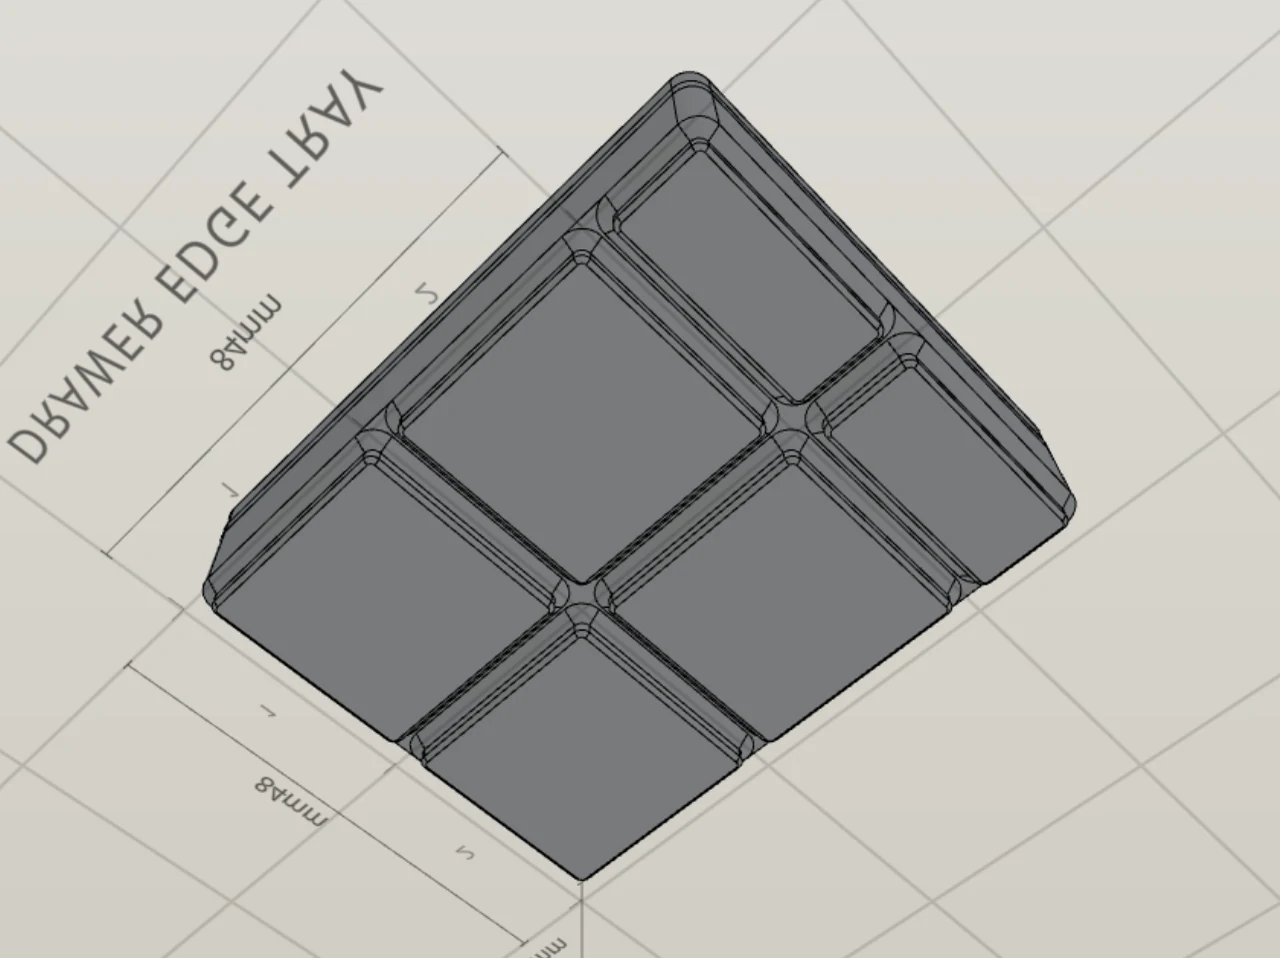
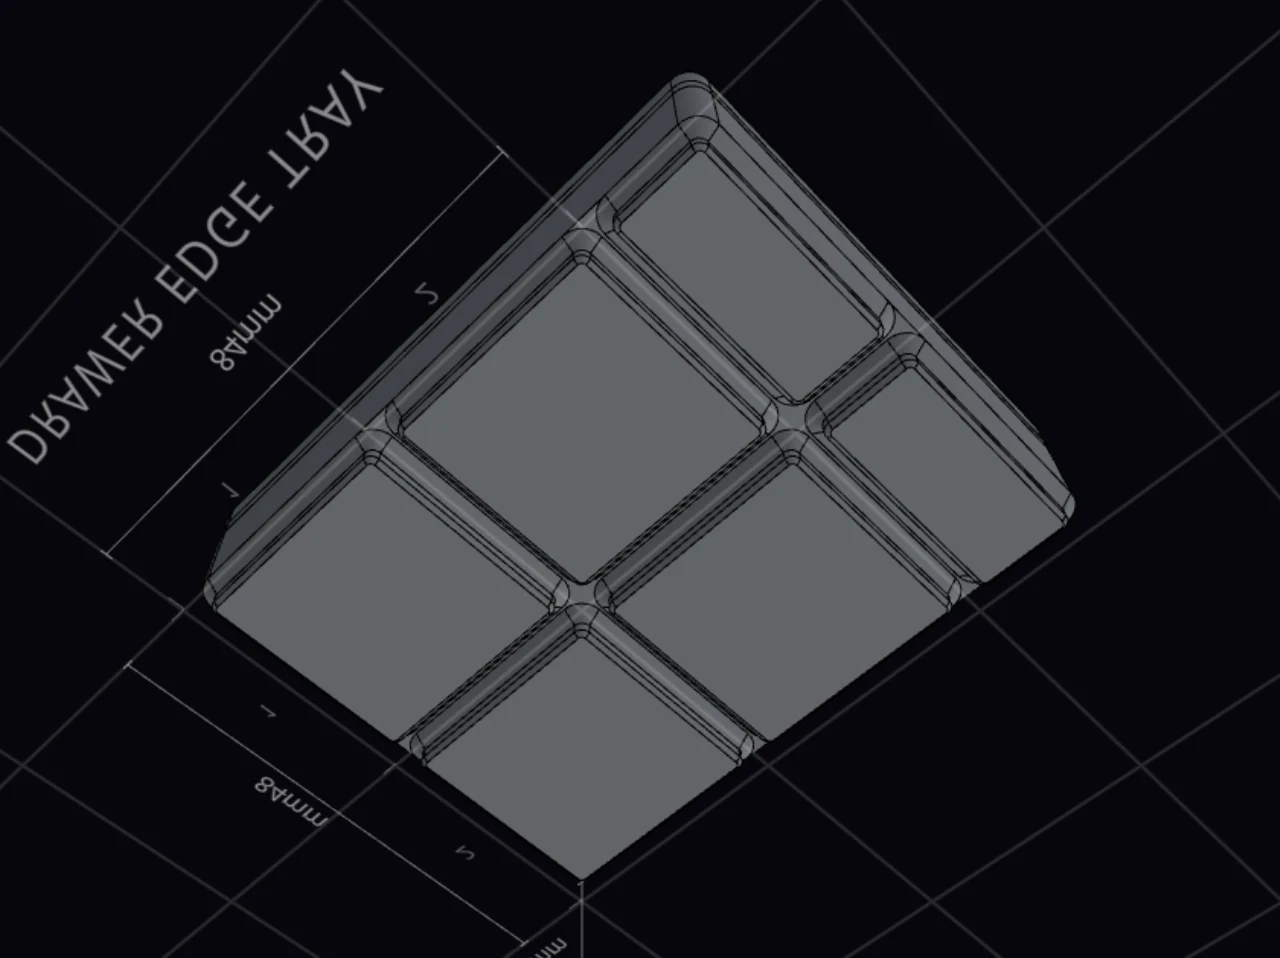
For a drawer with curved sides, Taper walls angles the wall outward above the base:
- Pick the profile: Chamfer or Fillet.
- Set Rises up: how far up the wall the taper goes.
- Set Flare, per side: the width the taper adds at the rim, up to 42 mm.
WARNING
Turn off overhang before you add pull tabs, label slots or lip notches. These features do not work with an overhang.
A bin that the layout extends into the drawer margin shows Overhang from the layout. It prints with the overhang of the layout, so change it in the layout editor.
Slant (Experimental)
Slant is also in the Shape group. It has the Experimental label. It leans the bin to one side so tall items fit a shallow drawer, and the base stays flat on the grid. Special bins explains it.
When it goes wrong
A banner says the half-unit foot is on the wrong edge
Click Match layout in the banner. The bin designer moves the half-size feet to the edge where the bin sits in your drawer.
The banner shows when a bin in the active layout uses this design, and that bin has its half-size feet on the other edge. See Make half-unit sizes.
A feature turns off after you change the outline
Read the note at the greyed-out control. It tells you what blocks it. To get the feature back, click Reset under Custom shape, or turn off the overhang.
Compartments, label tabs, the finger scoop, overhang, pull tabs, label slots and lip notches need a rectangular footprint. Pull tabs, label slots and lip notches also need a bin with no overhang.
The bin is too large for your print bed
Keep Split into pieces on in the export dialog. You get a ZIP file with one file for each piece. To print the bin in one piece, make it smaller. To cut it in your slicer instead, turn off Split to fit the print bed. See Print a large bin in one piece.
The export dialog checks the bin against the print bed size of your layout. Is that size wrong? Change it under Physical units in the Finishing group. If the bin fits only at an angle, the dialog tells you to turn it in your slicer. Fitting the print bed explains the check.
Next steps
- The base: add magnets or screws, and choose the feet and the floor.
- Walls: set the wall thickness, patterns, cutouts and handles.
- Units and sizes: see how units become millimeters.
- Compartments and dividers: divide the inside of the bin.