
Baseplate basics
A baseplate is the grid that your bins sit in. It holds each bin in its place, so nothing slides around when you open the drawer. The baseplate generator in the Gridfinity Layout Tool reads your drawer size from the layout and builds a plate to fit. Here's how to size it, fill the gap at the edges, and keep a separate plate for each drawer.
Open the baseplate generator
Open the layout for your drawer, then click Baseplate in the tool switcher. You can also go straight to the baseplate generator.
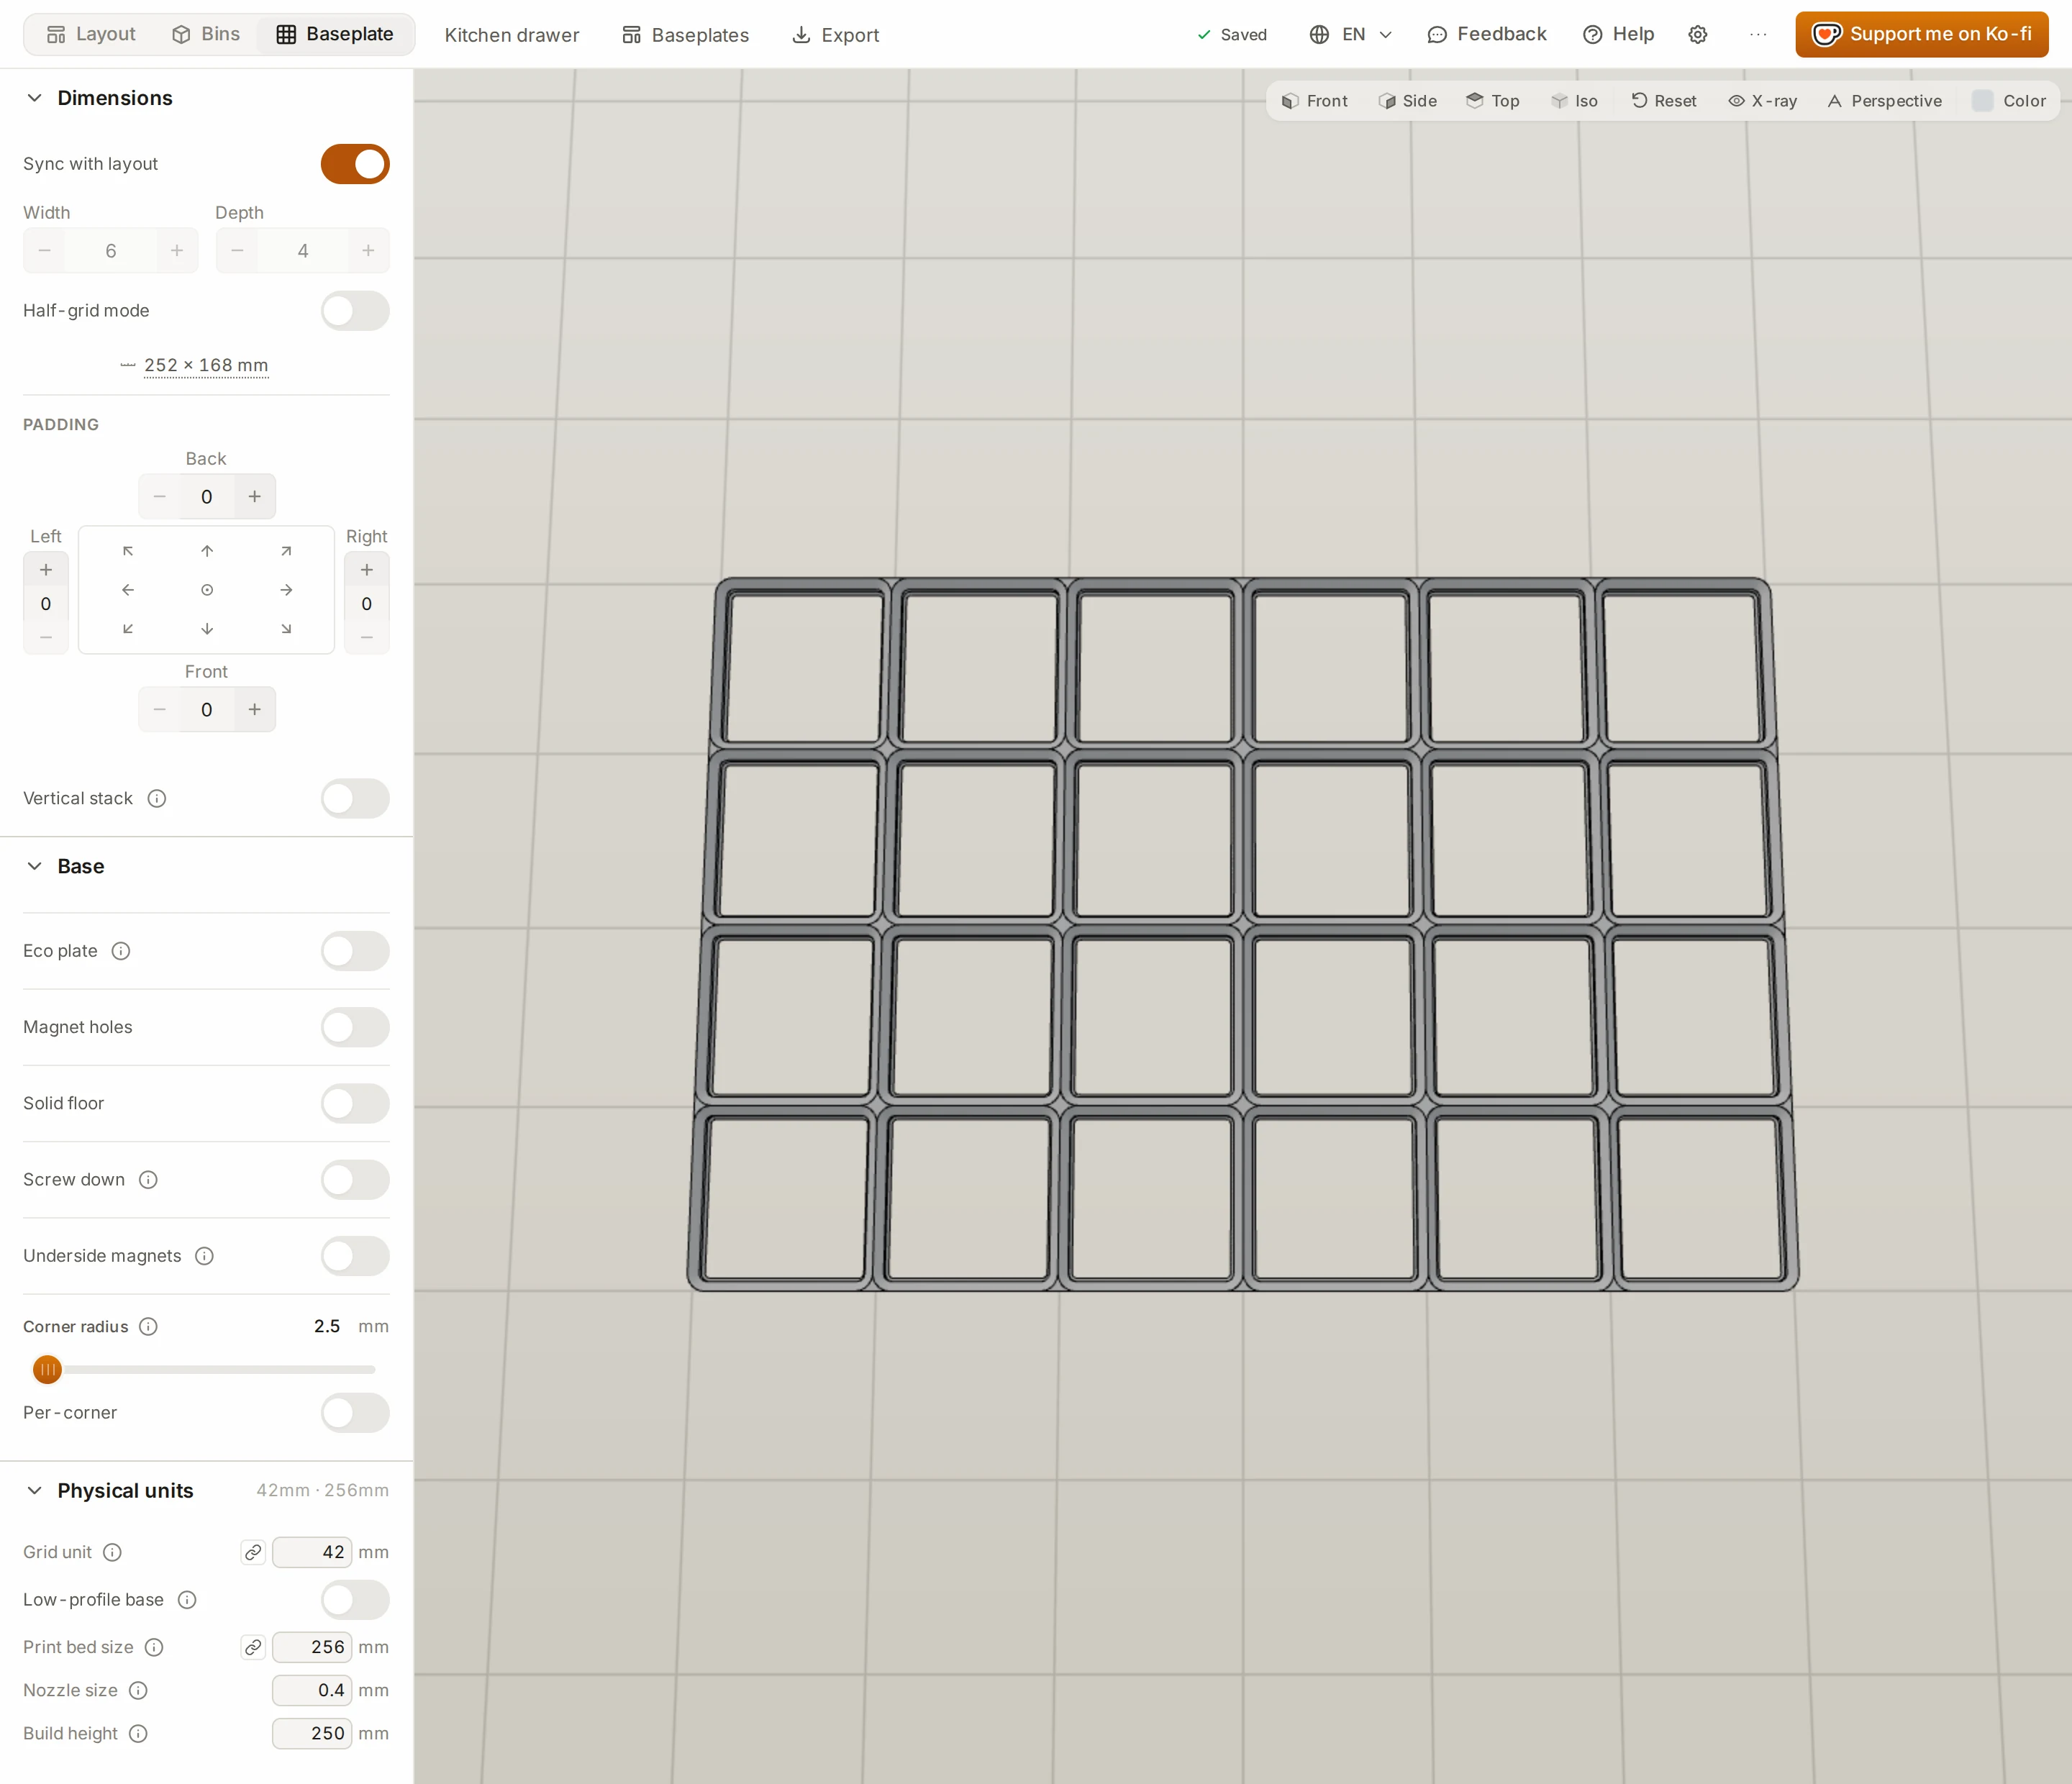
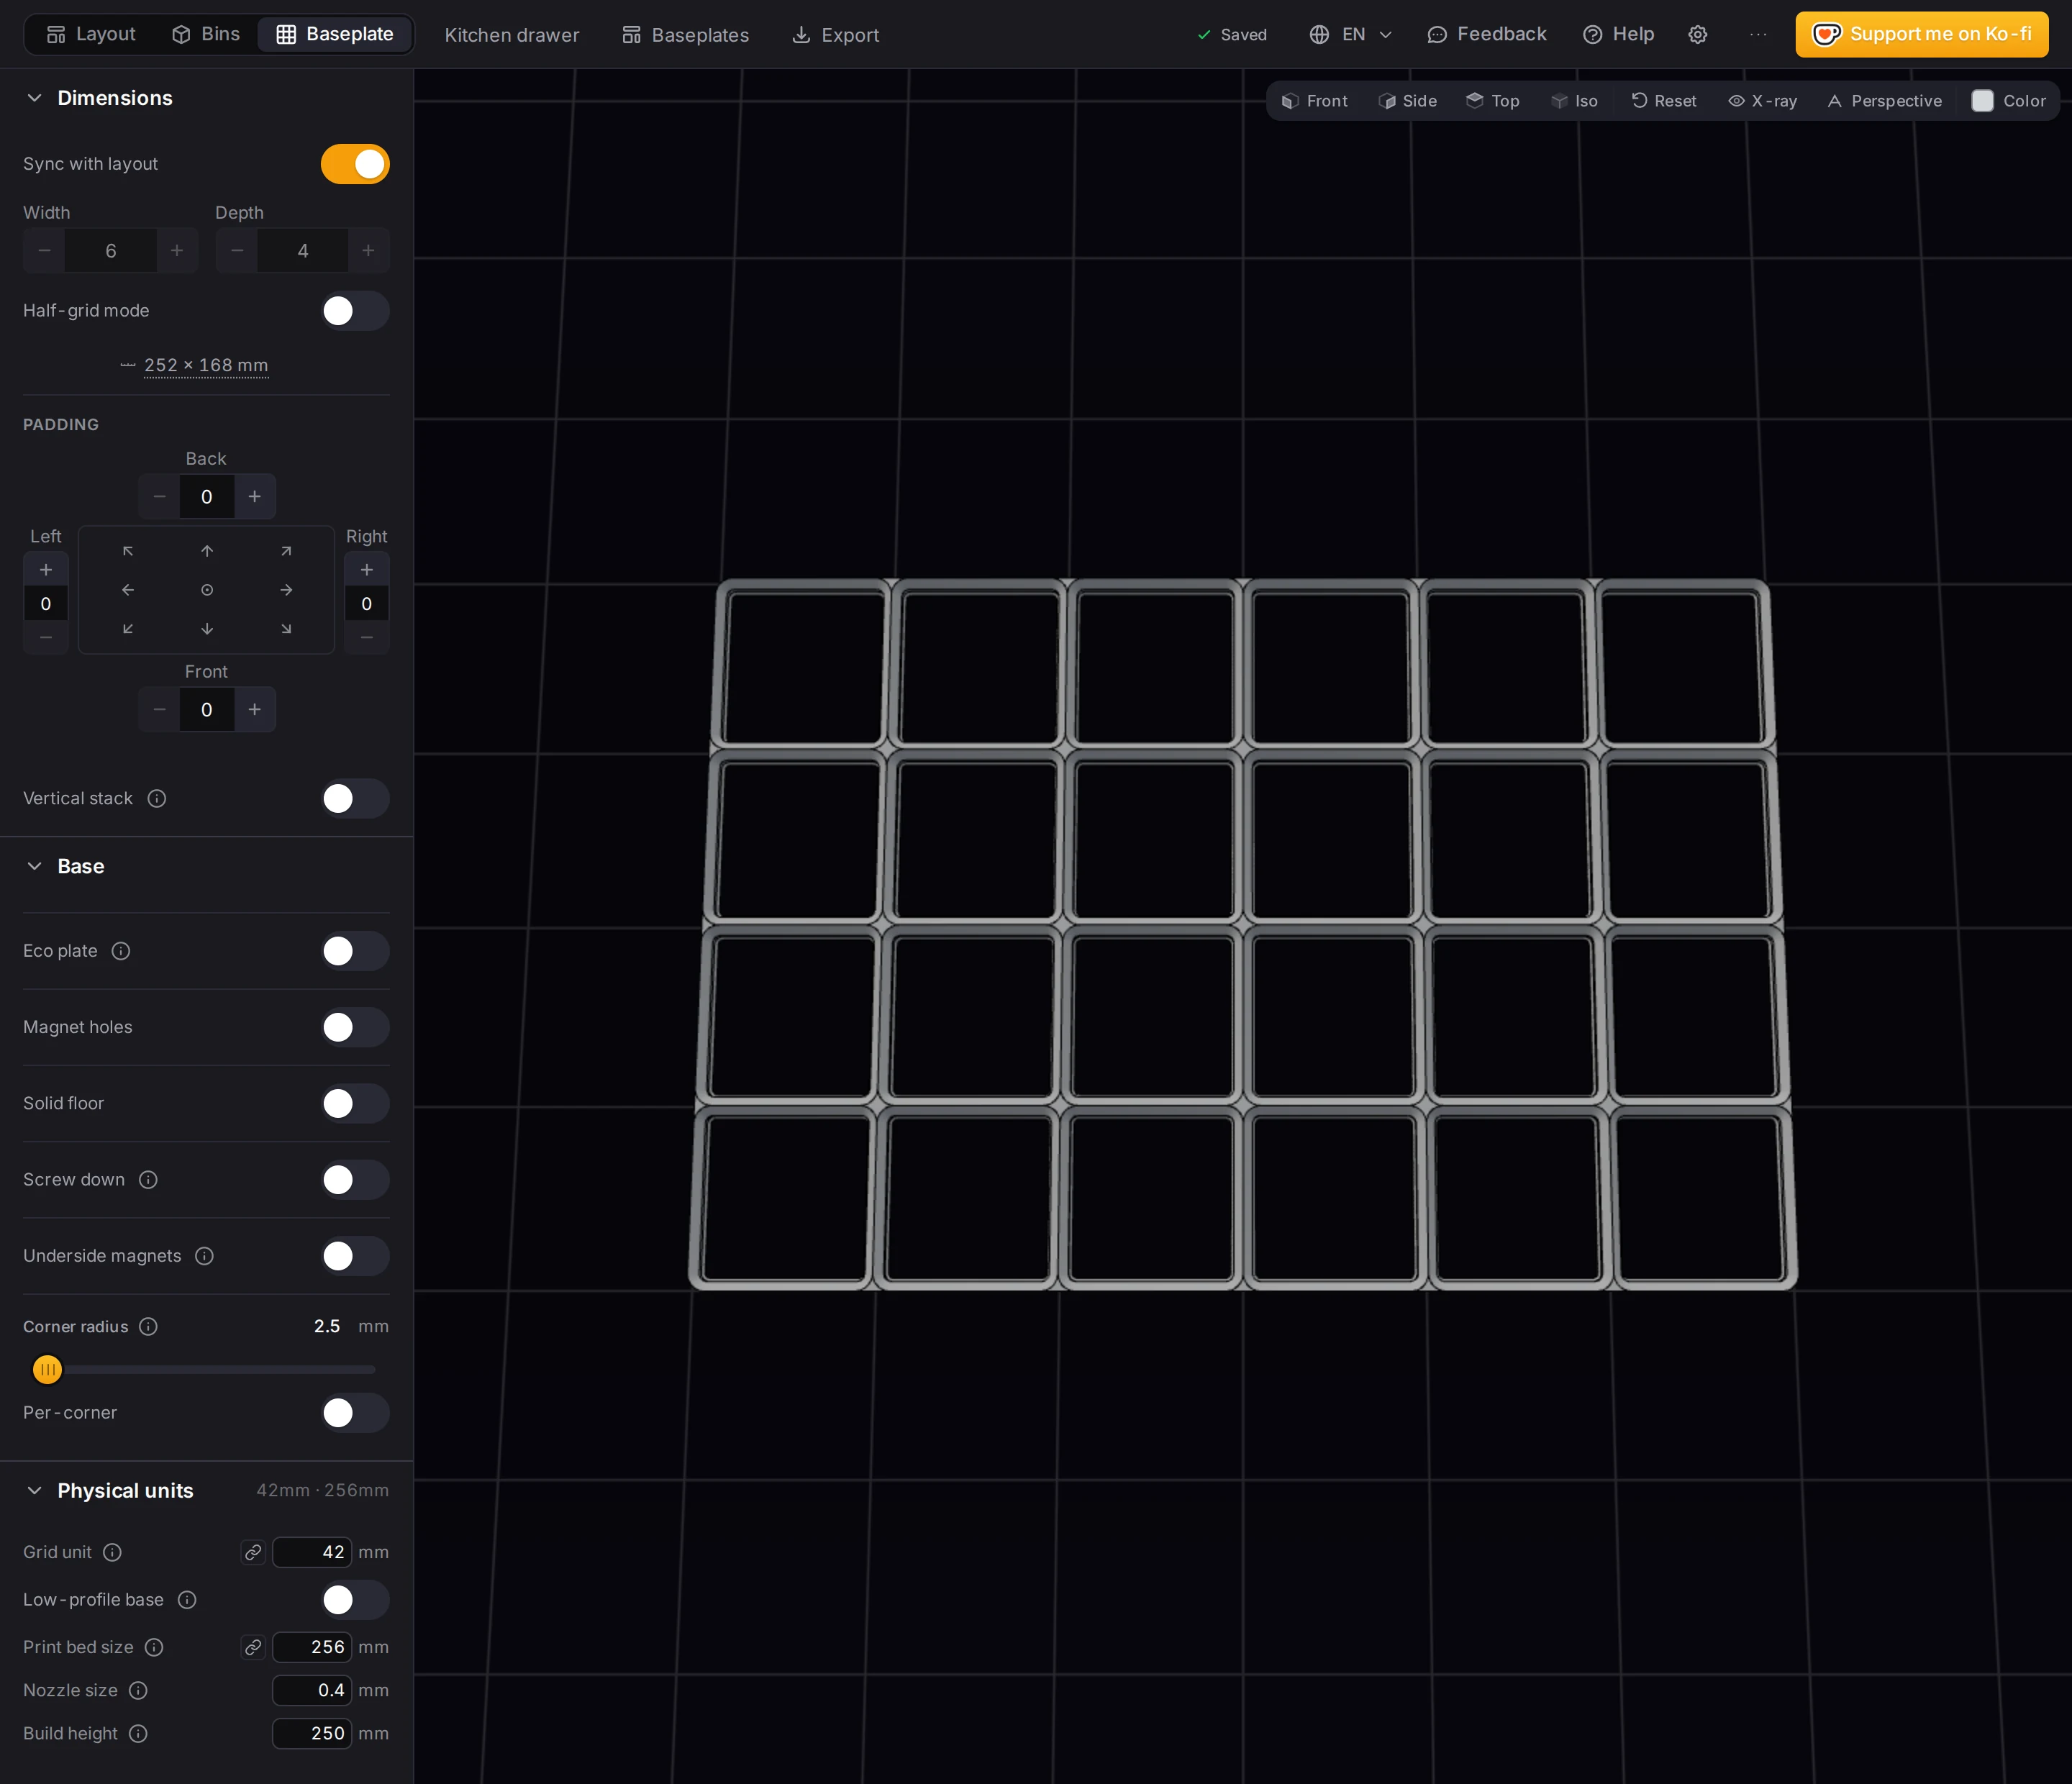
The preview opens in a top view. Its buttons reset the view, turn on X-ray (X), change the projection (P), and change the preview color.
The settings panel beside the preview has four sections, from top to bottom:
| Section | What you set there |
|---|---|
| Dimensions | Plate size, margins and grid position |
| Vertical stack | Stack printing (see Eco plates and stack printing) |
| Base | Magnets, screws, floor, connectors and corners |
| Physical units | Grid unit, print bed, nozzle and build height |
Is the plate bigger than your print bed? Then a map of the pieces appears below these sections. See Split for your print bed.
Size the plate from your layout
Sync with layout is on by default, so the plate matches the grid width and depth of your drawer. The Width and Depth steppers stay locked. When you resize the drawer, the plate follows.
Need a plate of a different size? Turn off Sync with layout. The steppers unlock and start from the drawer size.
Know your drawer in millimeters? Click the millimeter size under the steppers and type the width and depth. The Layout Tool then does three things:
- It picks the largest grid that fits.
- It divides the leftover space equally into left and right padding, and into front and back padding.
- It turns off Sync with layout.
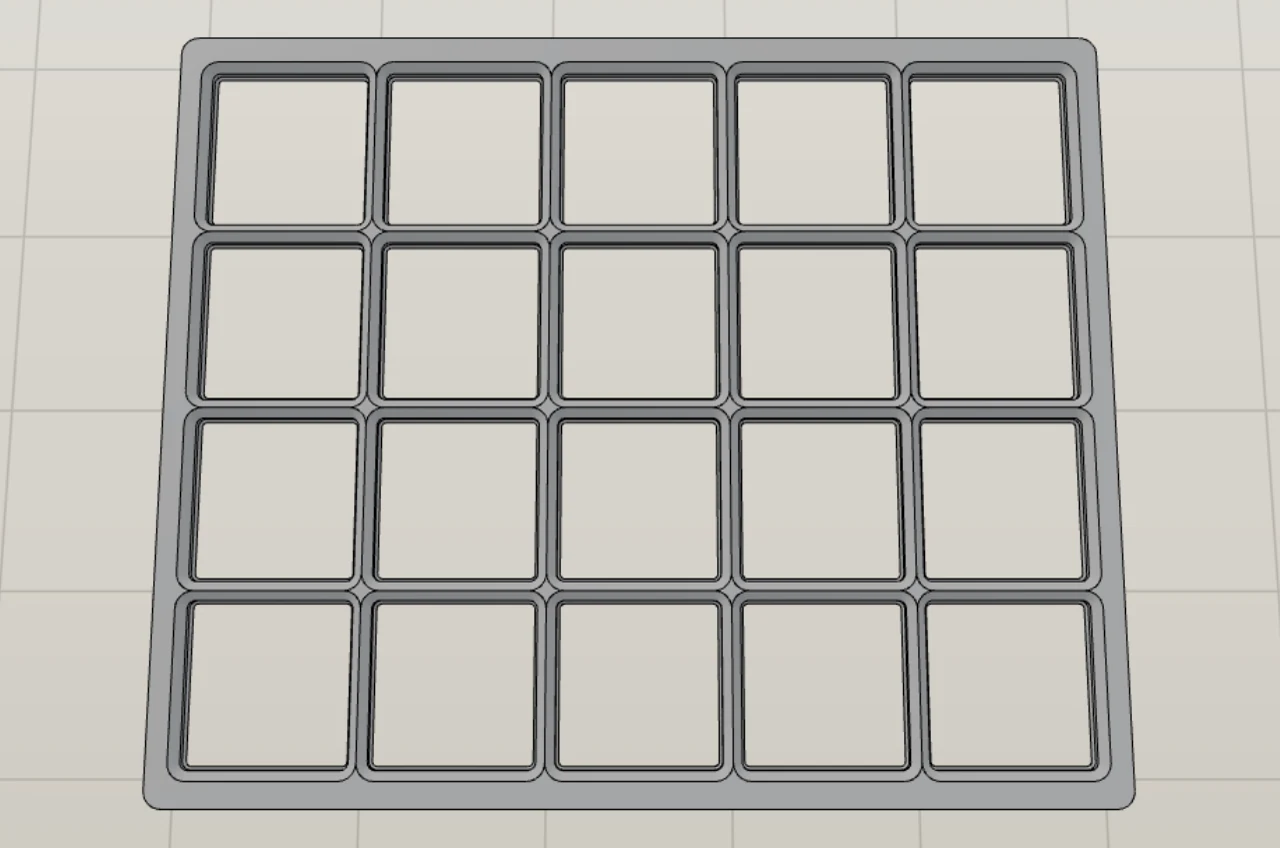
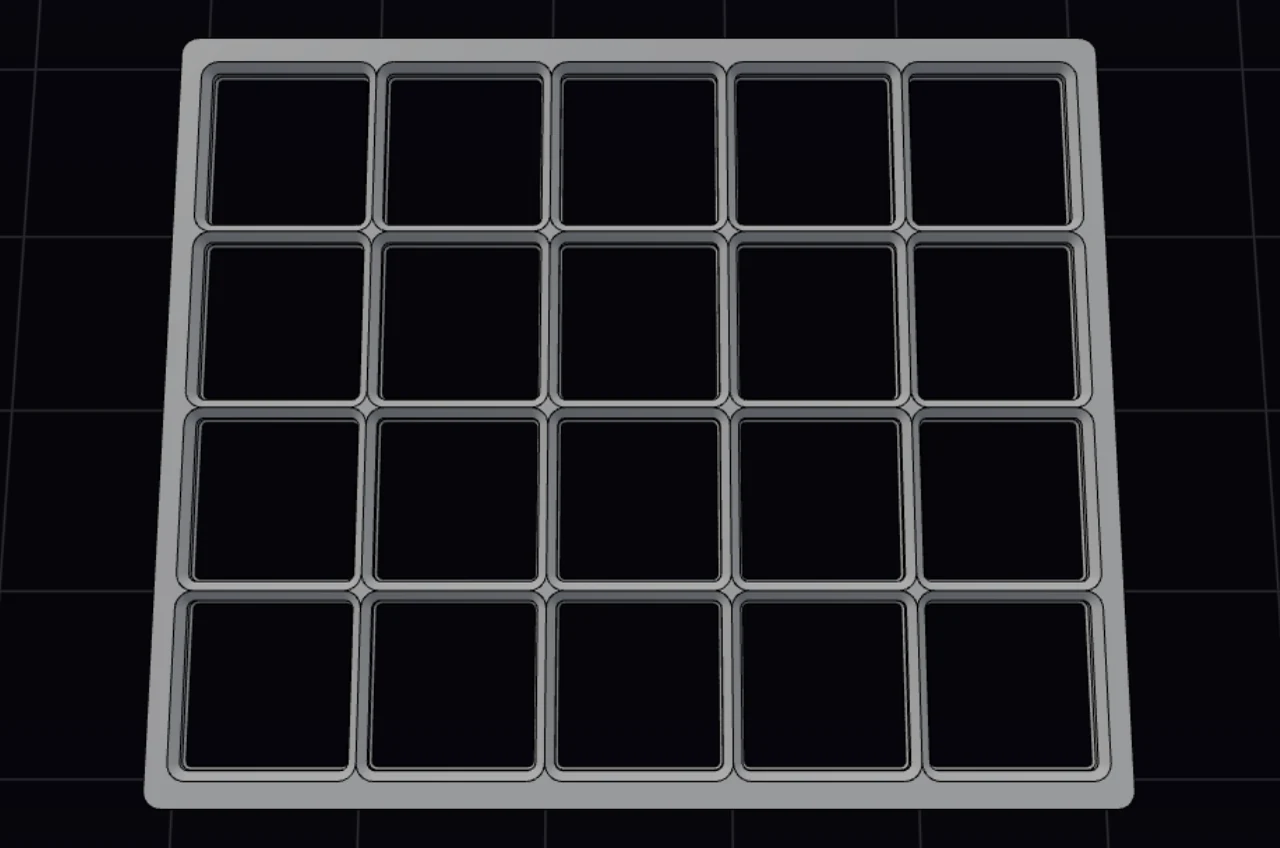
If a half grid unit (21 mm) also fits, it turns on Half-grid mode and uses the half unit. Half-unit edge position then sets which side gets the half cell.
Add margins around the grid
Drawers are almost never an exact number of grid units wide, so you usually get a gap at the edges. Padding fills that gap with solid plastic, so that the plate fills the drawer. Four steppers set the back, left, right and front margins, from 0 to 100 mm.
The nine buttons in the middle move the grid inside the total margin. Center bins puts the grid in the center, and Anchor bins front-left pushes it into the front-left corner. Change one stepper by hand, and the anchor shows Custom.
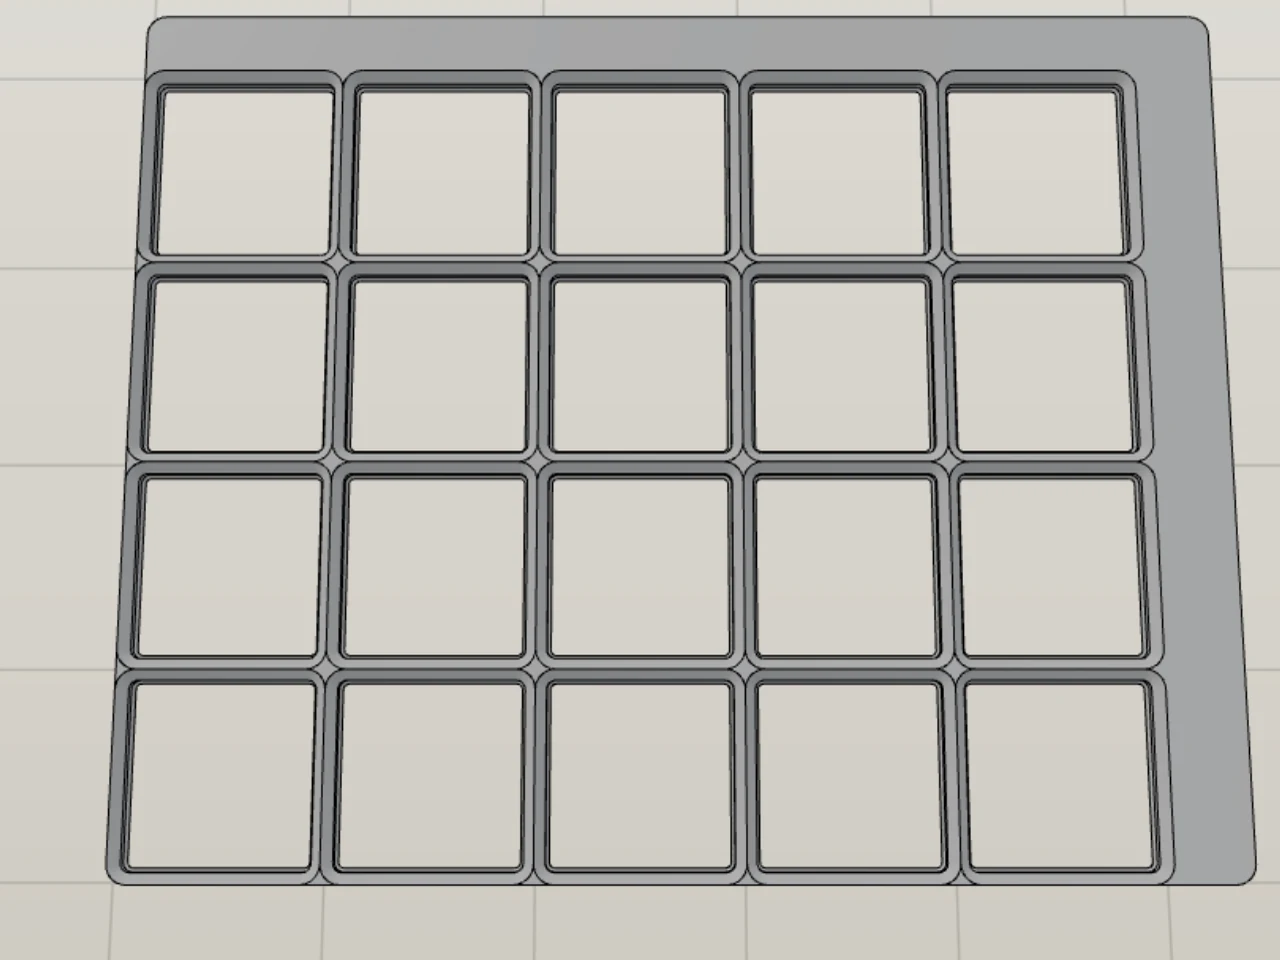
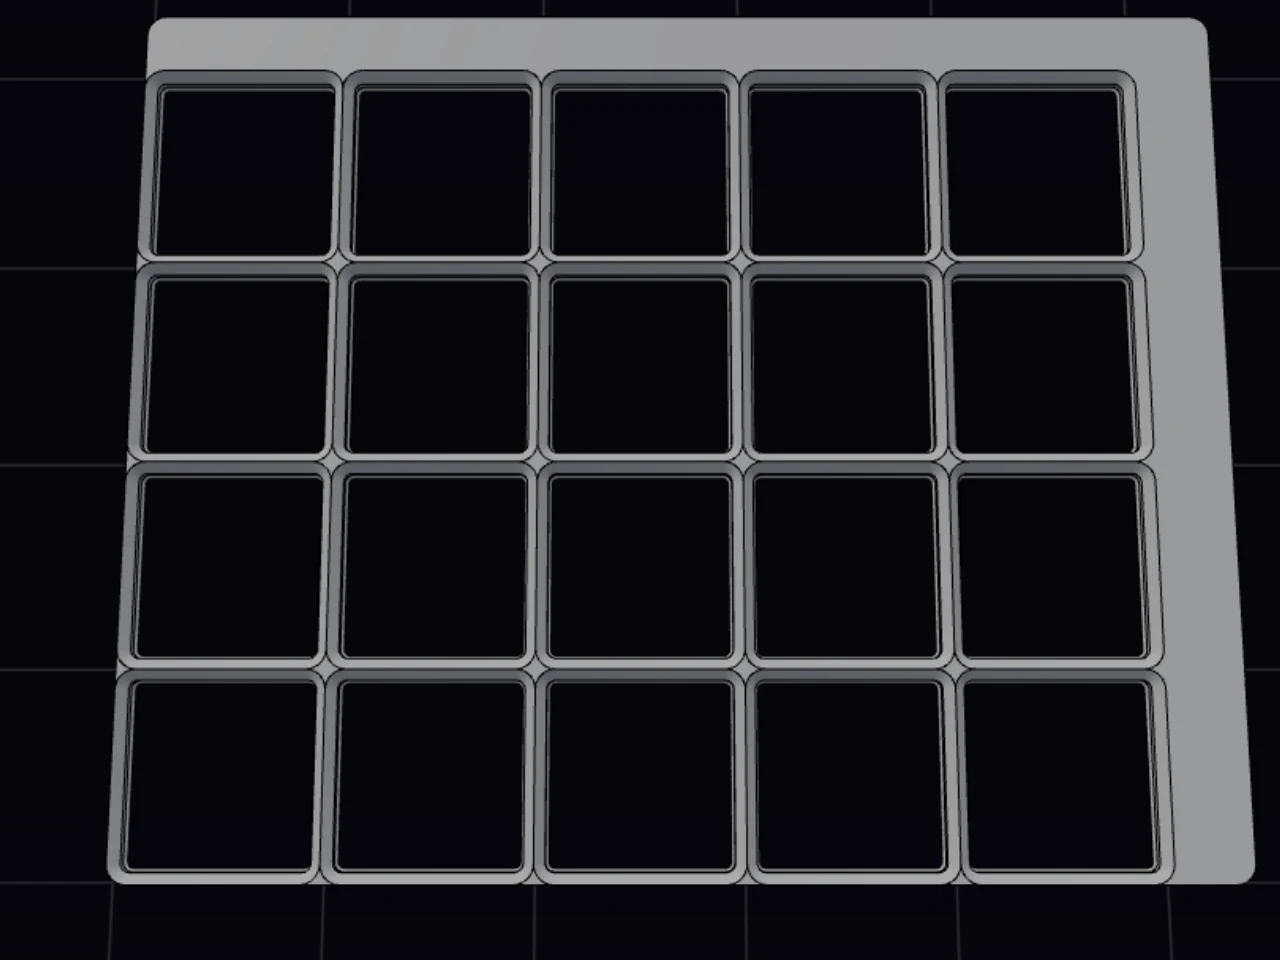
Did you enter the drawer size in millimeters in the layout editor? Then the panel compares the plate with that size. If the plate is too big, a warning shows the overlap and a Fit padding to drawer button. Click it to shrink the margins until the plate fits.
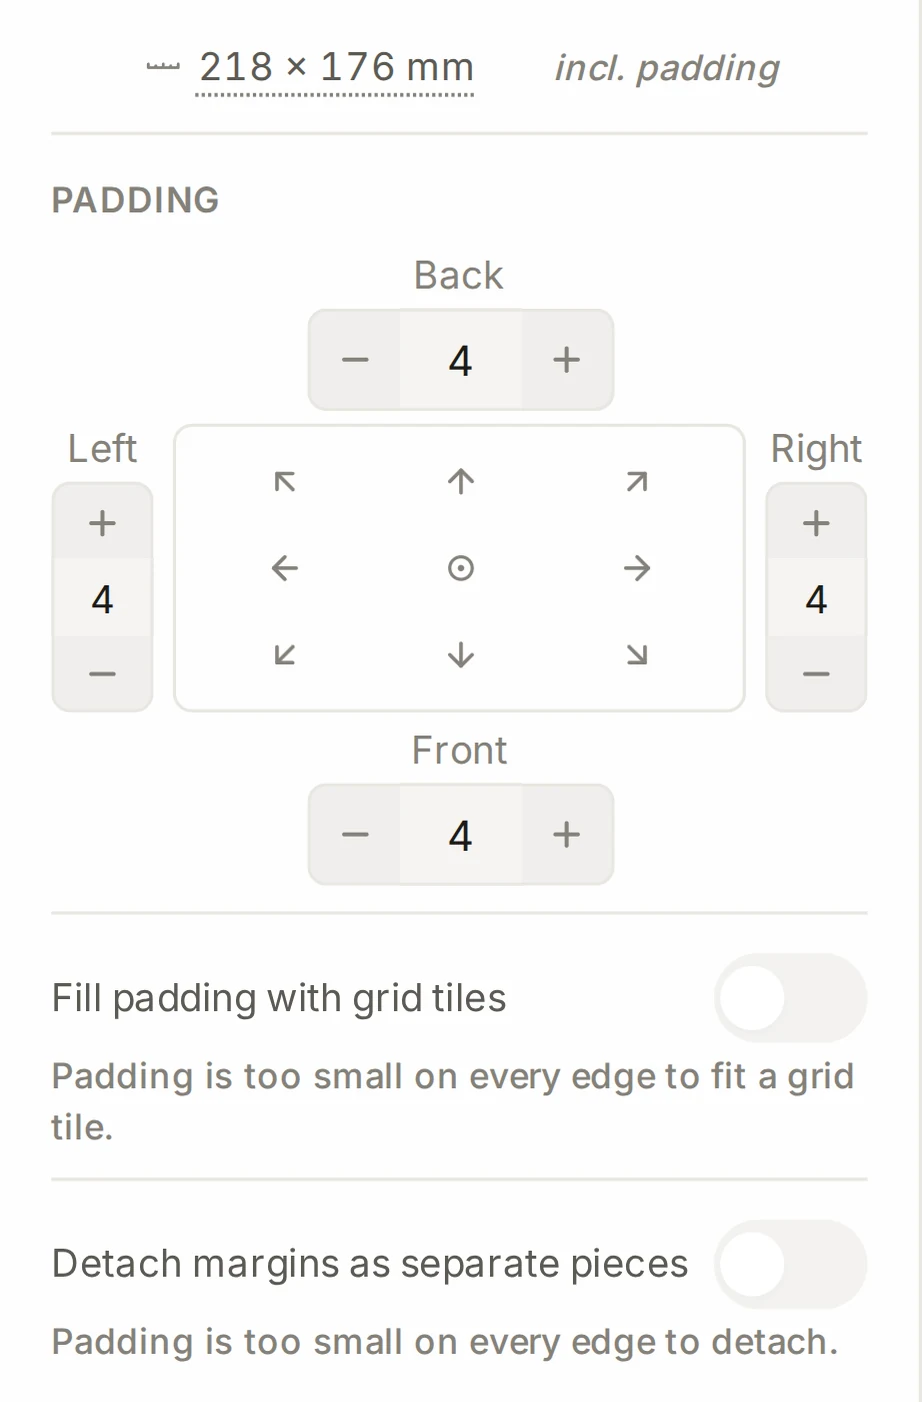
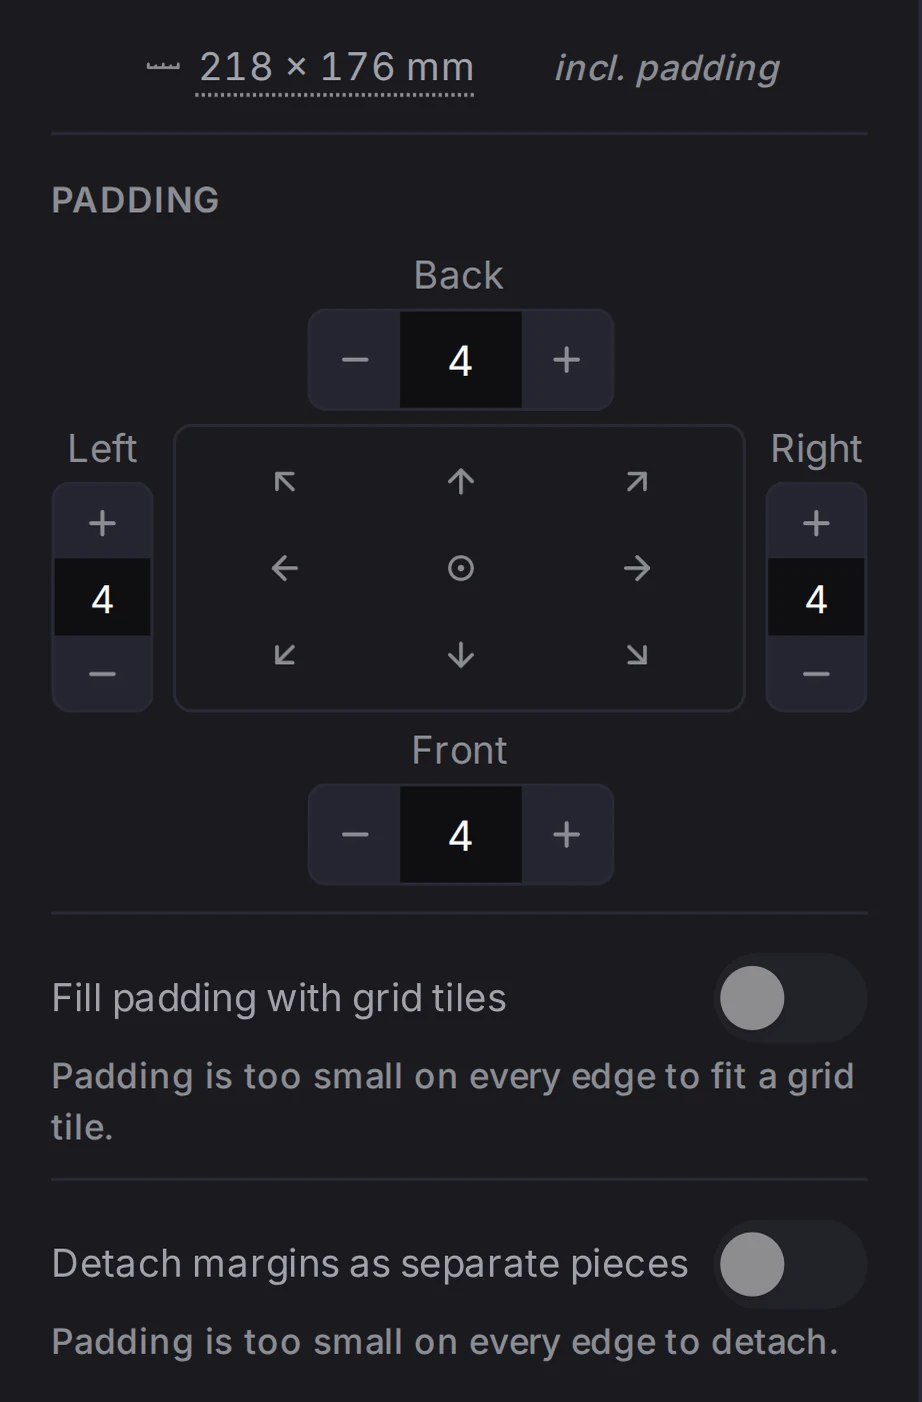
Once at least one edge has a margin, two more options appear:
- Fill padding with grid tiles swaps the solid margin for clipped grid cells, edge by edge. An edge needs at least 8 mm of margin to get a cell. Prefer half-grid cells fills the margin with 21 mm half cells first.
- Detach margins as separate pieces prints the margins as separate strips. See Split for your print bed.
A bin at the edge of the grid can also grow its walls into the margin, so that it fills the drawer. See Set up the drawer.
Set the X and Y grid pitch
Grid unit, in Physical units, is the width of one grid cell. The Gridfinity standard is 42 mm, so leave it there unless you know you need a different size. To set a different pitch for X and Y, click the link button next to the value. For example, a drawer can fit 40 mm cells across and 42 mm cells front to back. The bin designer does not copy the Y value, so set it there too. Fit and tolerances shows where.
WARNING
Change the grid unit only when you know that you need it. The grid unit belongs to the layout, so the change also applies to every bin that you design for this layout.
The same section holds three more settings:
| Setting | What it changes |
|---|---|
| Print bed size | How the plate splits into pieces |
| Nozzle size | The size of connector keys and clips |
| Build height | The maximum height of a stack of plates |
Each layout keeps its own baseplate
Each drawer gets its own plate settings. A change to the plate of one drawer doesn't change the plate of a different drawer.
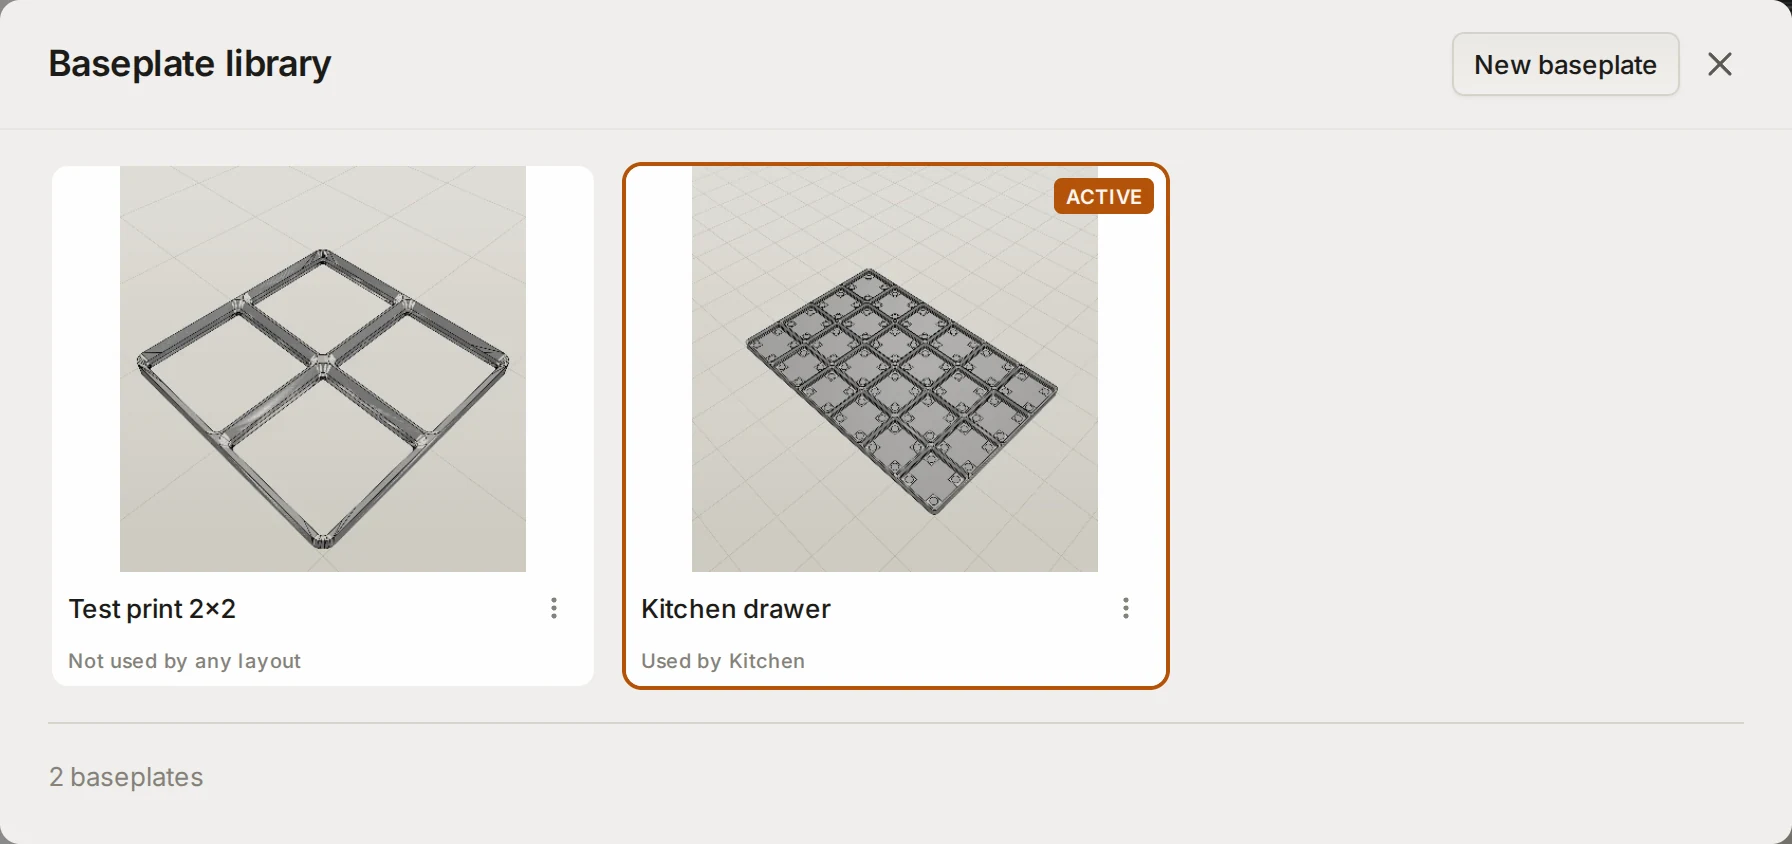
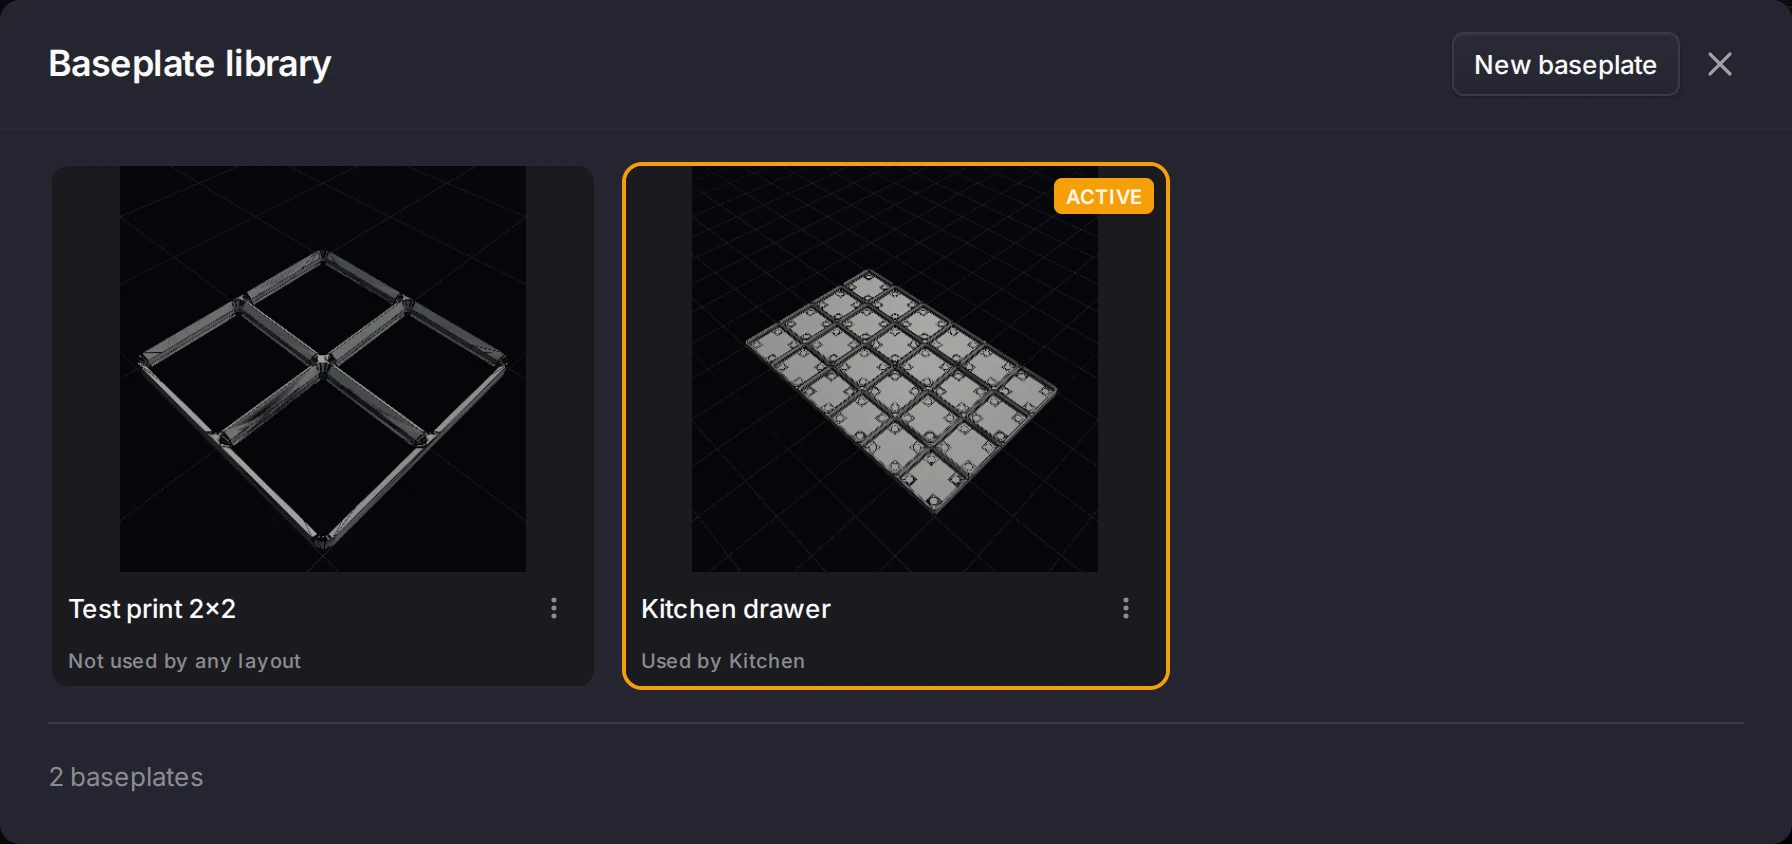
The header shows the name of the active plate design. Click the name to rename it. Click Baseplates to open the Baseplate library, where you can:
- Pick a design to make it the active plate for this layout.
- Click New baseplate to start a design from the default settings.
- Rename, duplicate or delete a design from its menu.
Each card shows which layouts use the design. Pick a design that a different layout uses, and the Layout Tool makes a copy for this layout. The copy gets the design name and the layout name, for example "Baseplate 2 (Kitchen)". Every change saves automatically, so you won't find a save button.
Reset to defaults
Want a clean start? Click Reset to defaults at the bottom of the panel, then confirm. The plate goes back to the default settings: no magnet holes, no margins, and the size from the layout. Your bins don't change. The grid unit and the print bed size keep their values too, because they belong to the layout.
When it goes wrong
The plate is bigger than your drawer
Click Fit padding to drawer under the warning. It makes the margins smaller, but it can't make the grid smaller. Does the warning stay after the click, or is there no button? Then the grid alone is too big for the drawer. Make the grid smaller in the layout editor, or turn off Sync with layout and lower the steppers.
The panel compares the plate and its margins with the drawer size that you measured in the layout editor. The warning gives the overlap in millimeters.
An edge stays solid when you fill the margin with grid cells
Make the margin on that edge 8 mm or wider.
A clipped grid cell needs at least 8 mm of margin. On a narrower edge, the margin stays solid plastic, and the panel lists that edge as too small.
The preview stays empty or shows an error
Reload the page. Does the message say that the browser can't run the 3D engine? Then update the browser, or open the Layout Tool in a recent Chrome, Edge, Firefox or Safari.
The 3D engine builds the plate inside your browser. An old browser, or a security setting that turns off WebAssembly, stops the engine.
The bins are too tight in the plate
See A bin is too tight in the plate. The cause that you can fix is a bin with a different grid unit from the plate.
Next steps
- Magnets and screws: hold the bins in place, or fasten the plate to the drawer.
- Split for your print bed: print a plate that is larger than your printer.
- Drawers that are not rectangles: make a plate for a drawer with a custom shape.
- The print list and ZIP export: export the plate together with all the bins of the layout.
- Gridfinity dimensions: look up the size of each pocket in the plate.