
Colors
Got a printer that takes more than one filament? Give each part of a bin its own color: an orange stacking lip, white label tabs, black text. The Gridfinity Layout Tool writes each color as a separate filament in a 3MF file. In your slicer, you assign each filament to a slot.
For how the 3MF file carries the colors, see Multi-color printing.
Turn on multi-color
- In the bin designer, open the Finishing group.
- Under Color, turn on Multi-color.
- Click a color zone and pick a color.
The 3D preview shows each change right away. All zones start in the same light gray, so the bin looks the same until you change a zone.
Only a 3MF file keeps the colors. STL and STEP files carry no color data, so the export dialog turns them off for a multi-color design. To get them back, see Go back to one color.
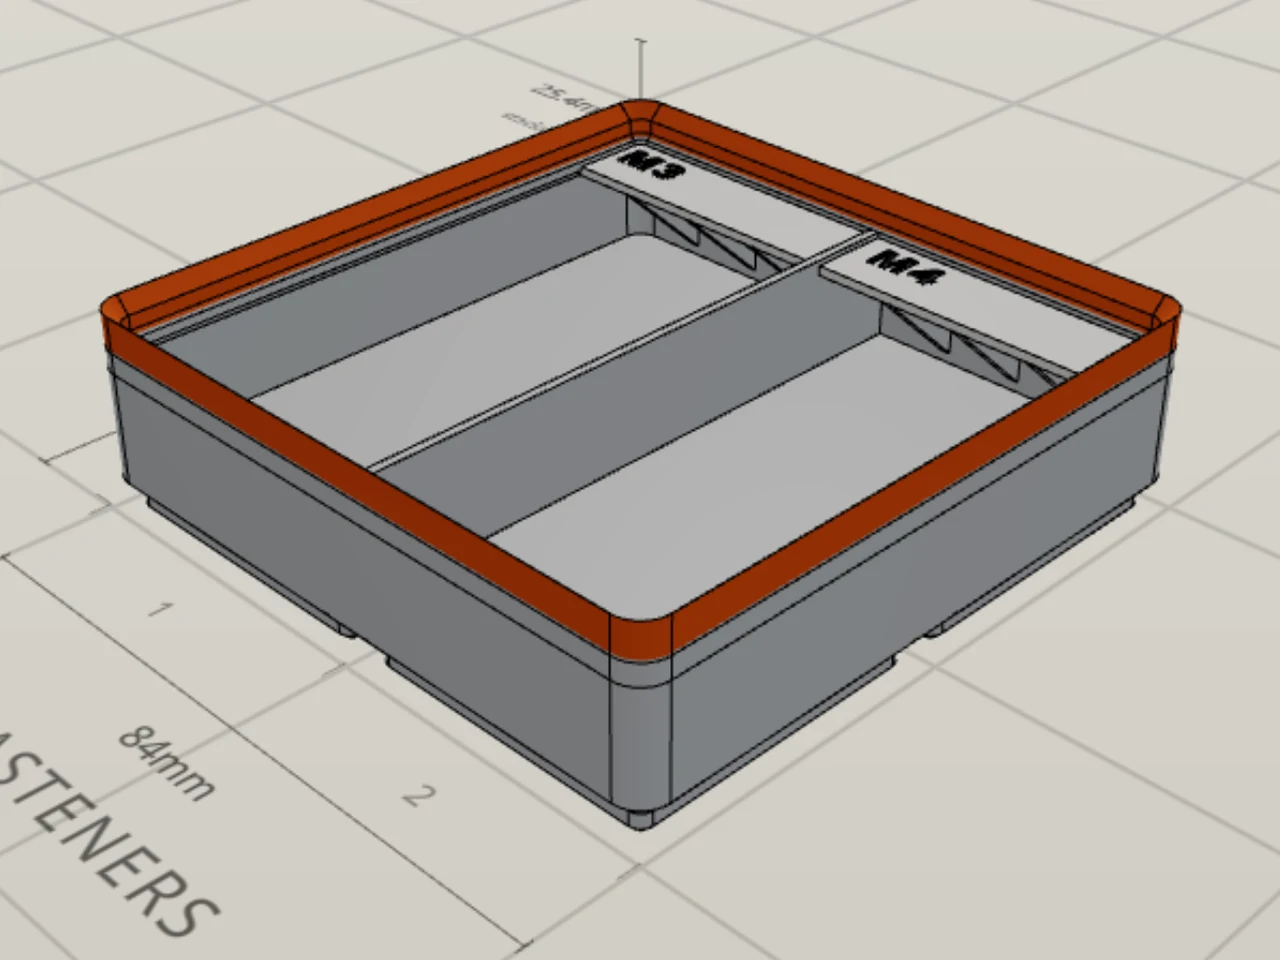
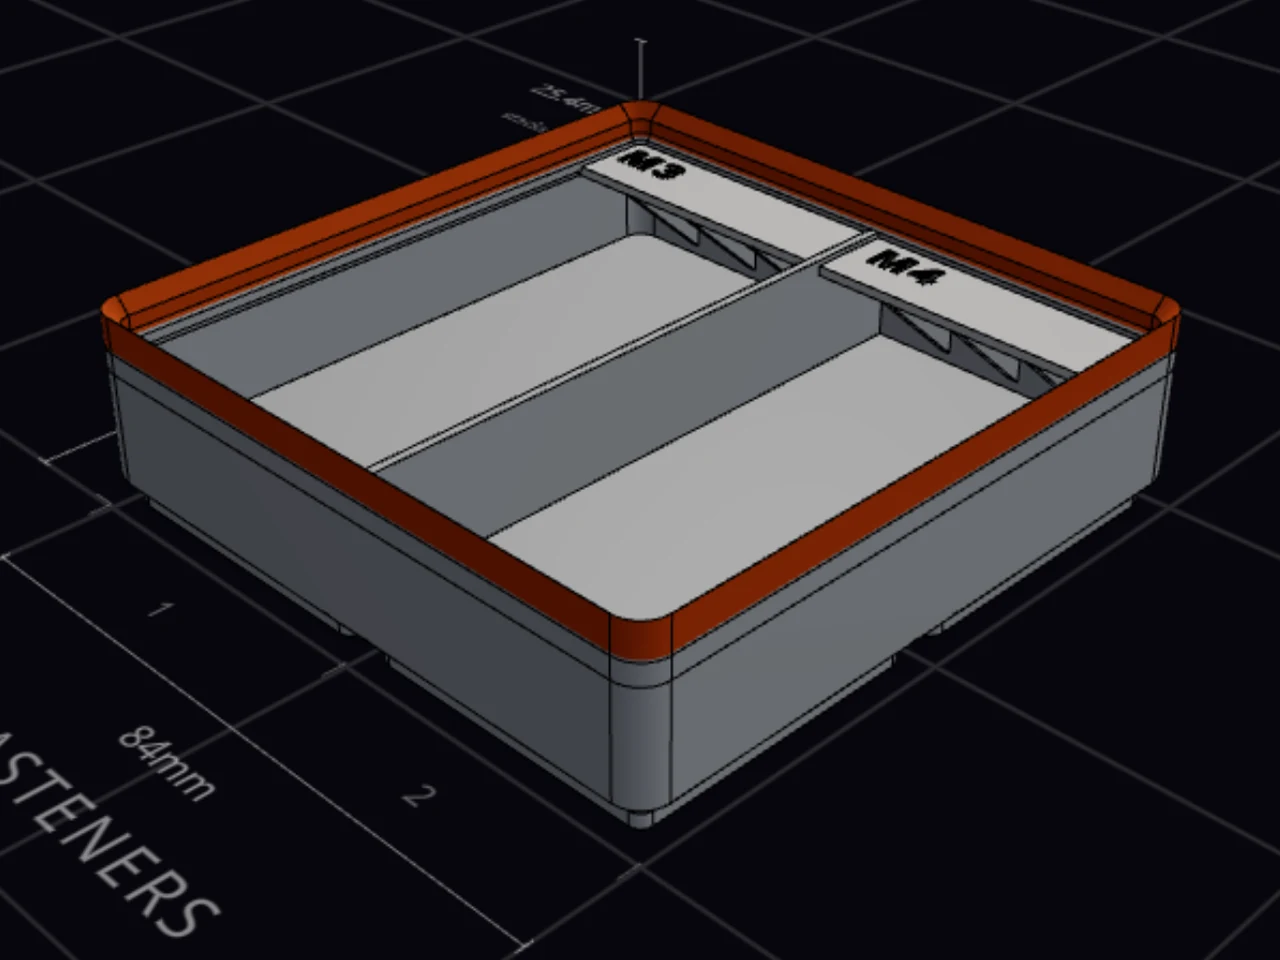
Color zones
The panel shows a zone only when the bin has that part. For example, the Scoop row shows only when the bin has scoops.
| Group | Zone | What it colors |
|---|---|---|
| Exterior | Body | The walls and floor, and every part that has no zone of its own. |
| Exterior | Stacking lip | The stacking lip at the top of the bin. |
| Exterior | Base | The Gridfinity feet under the bin. A base with no sockets has no Base zone. |
| Interior | Scoop | The finger scoop ramps. |
| Interior | Dividers | The walls between compartments. |
| Add-ons | Label tab | The label tab ledges and swappable label plates. |
| Add-ons | Lid | The lid. A stackable lid also gets a grid for its own top lip. |
| Text | Text | All the letters and plate icons on the bin and the lid. |
Two more things can carry a color of their own:
- A cutout, in the Color section of the cutout editor. See Color zones.
- A compartment in the Bento workspace. See Draw compartments with Bento.
Split the stacking lip
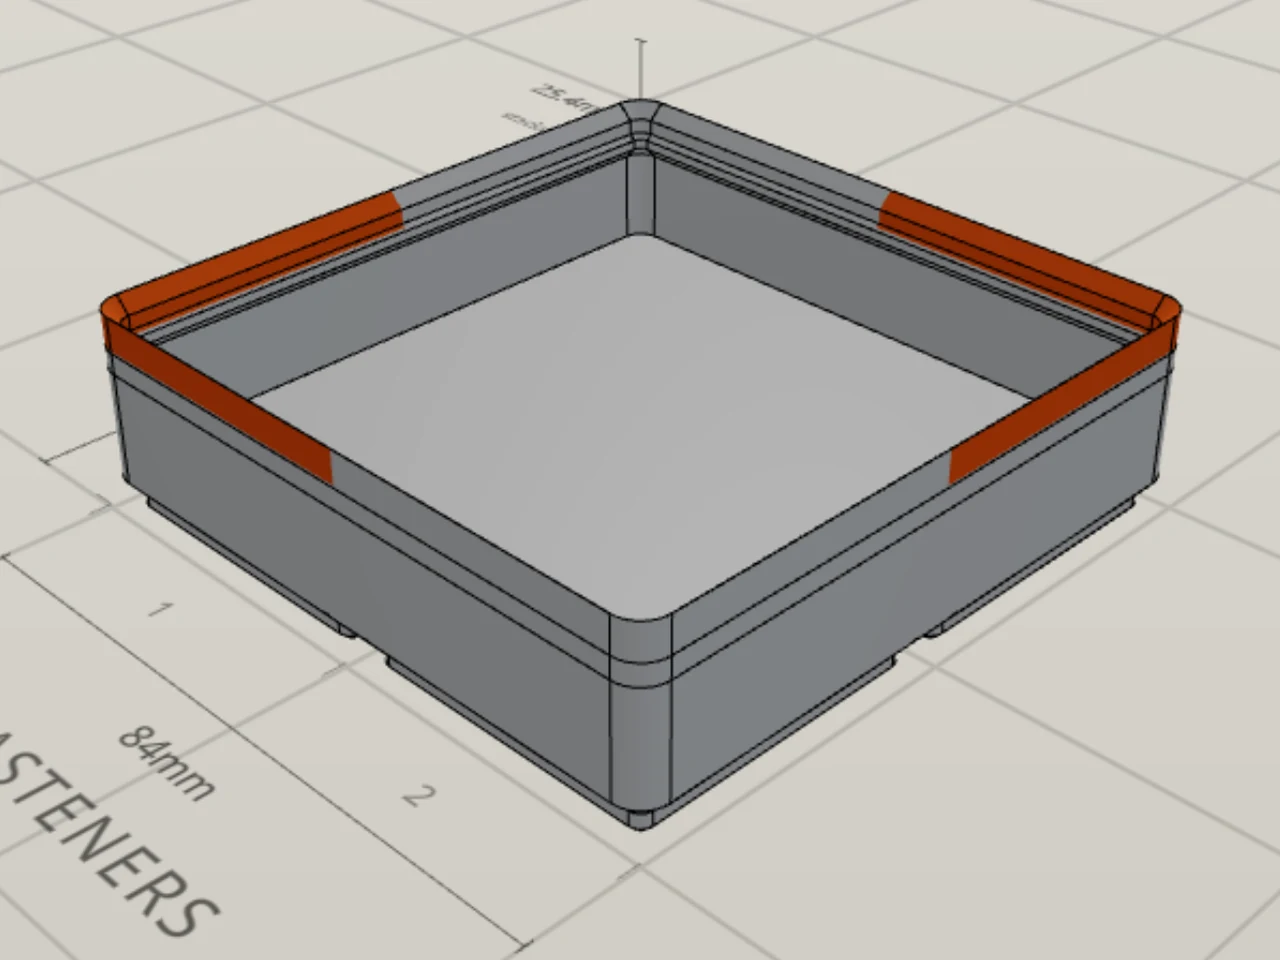
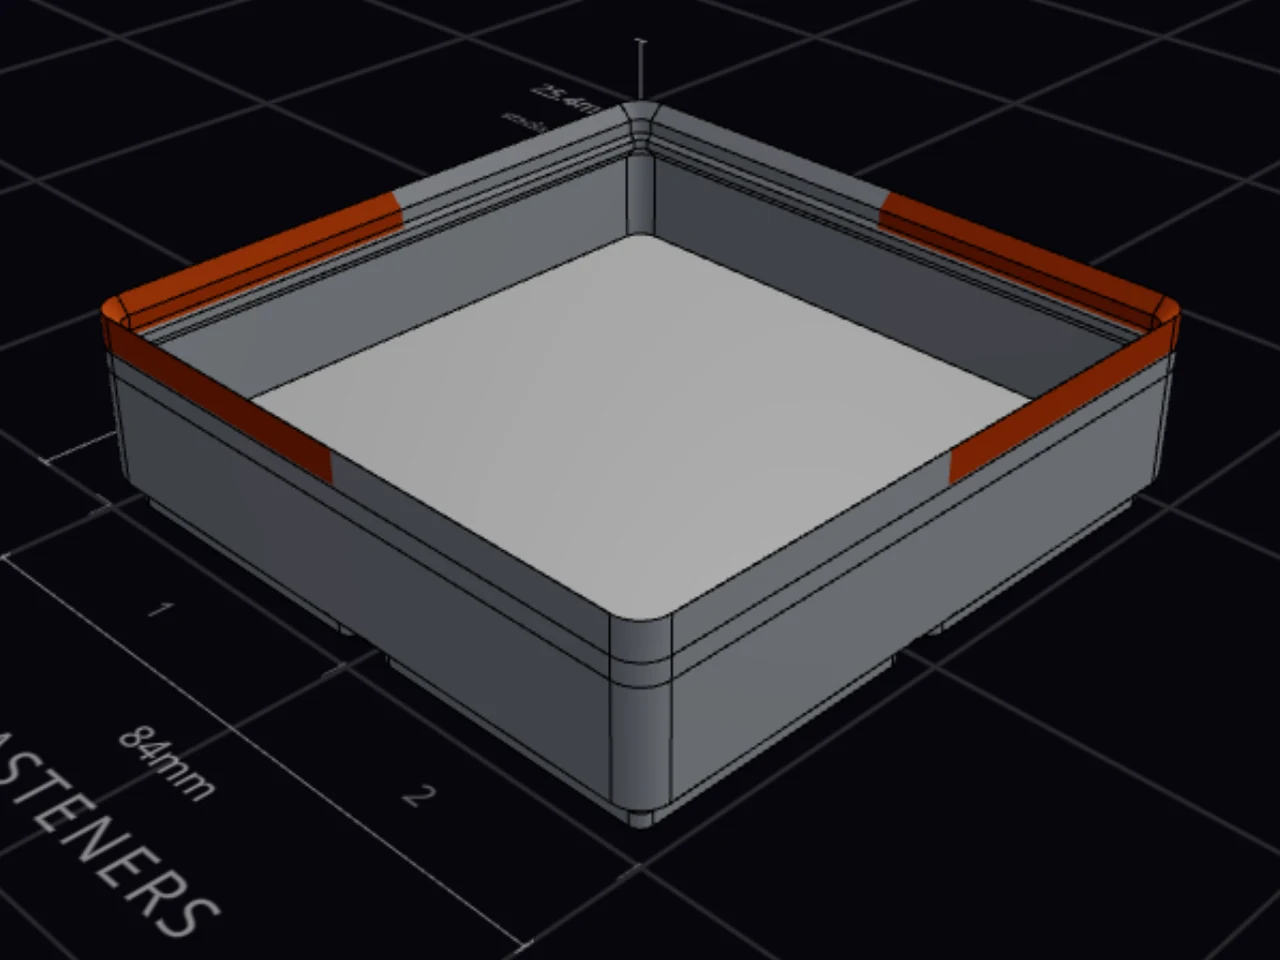
The stacking lip can carry more than one color. Turn on Split into color zones under the lip row. Then set Corners to 1, 2 or 4 and Bands to 1, 2 or 4. Corners split the lip around the bin, and bands split it from bottom to top. The panel remembers every cell color, so if you go back to more cells, your colors come back too.
Label tab supports
The supports under a label tab print in the body color by default. Each support layer in a second color costs a filament change, so this saves print time. To print the supports in the label tab color, turn off Supports in body color in the label section.
Add accent bands
An accent band recolors a strip at the top or the bottom of the bin body. Use it to color-code a set of bins. It works with or without a stacking lip and feet.
- Under Accent bands, turn on Top accent, Bottom accent, or both.
- Set the Band height. A new band is 2 mm high.
- Pick the band color.
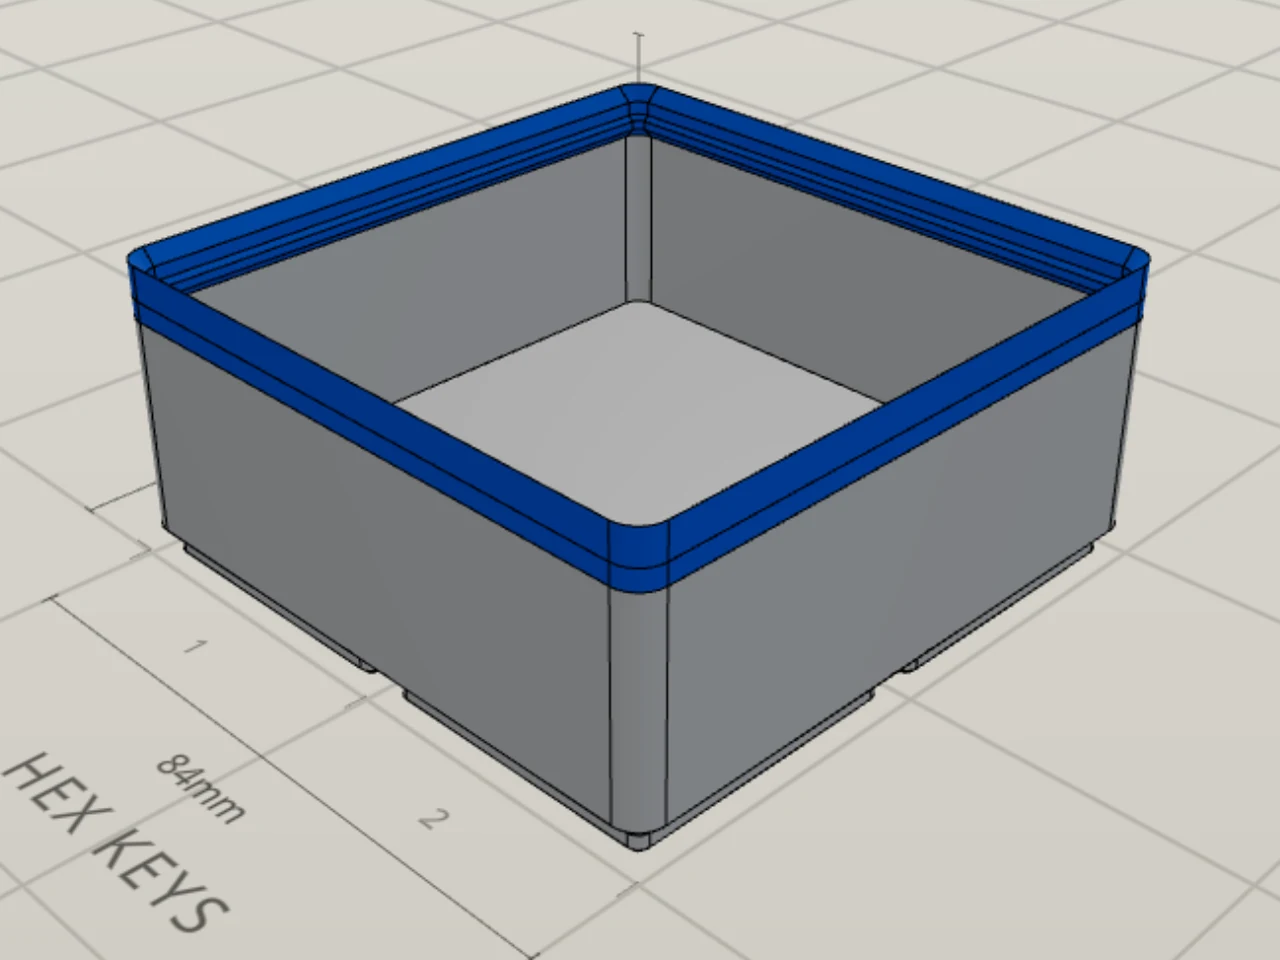
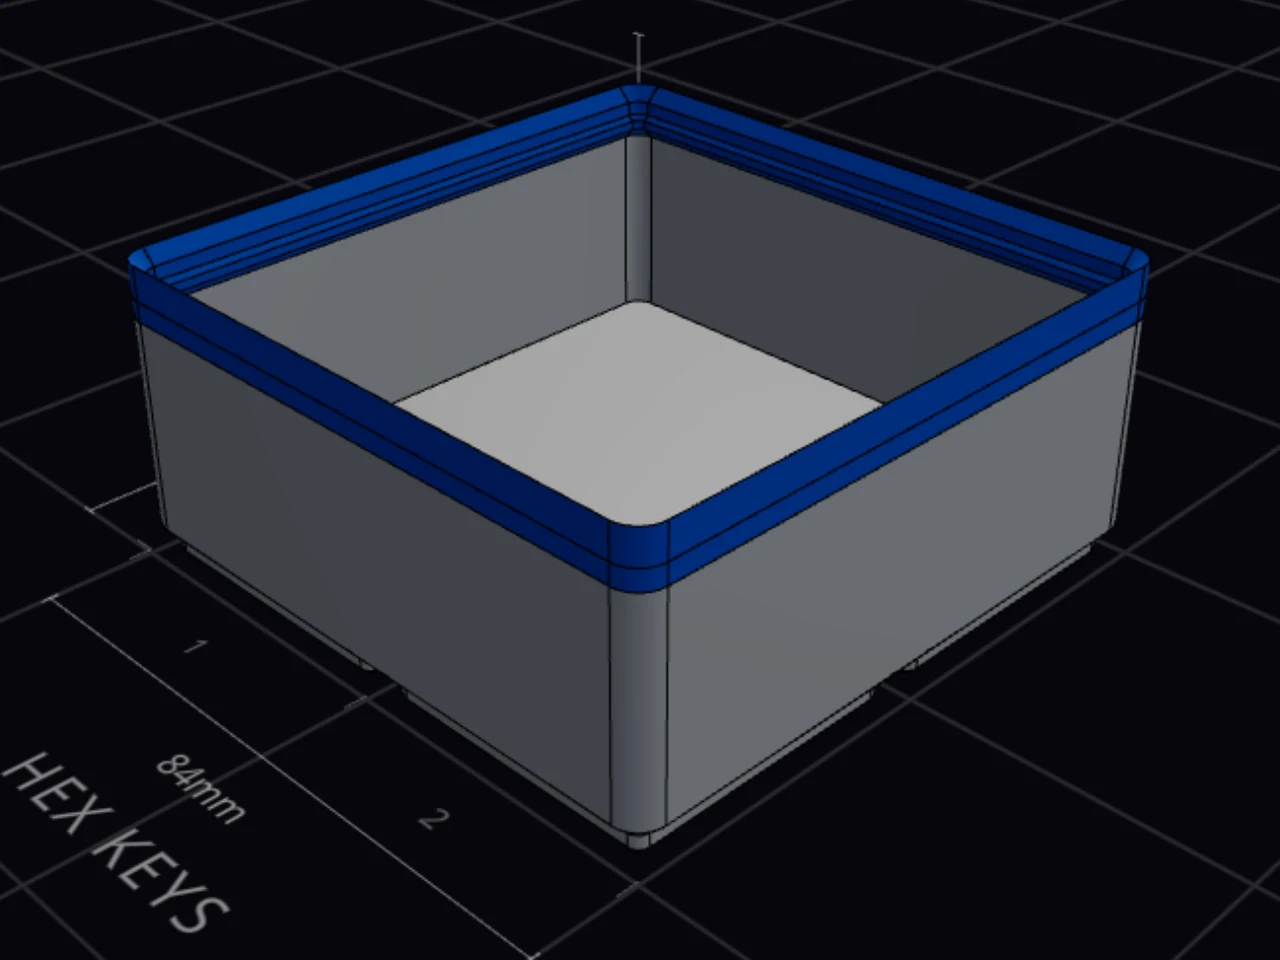
The switch above the bands shows the height in mm or in layers at your layer height. A band covers every zone in its strip except the text. Bands color the bin body only, not the lid or separate feet.
Set the Text color
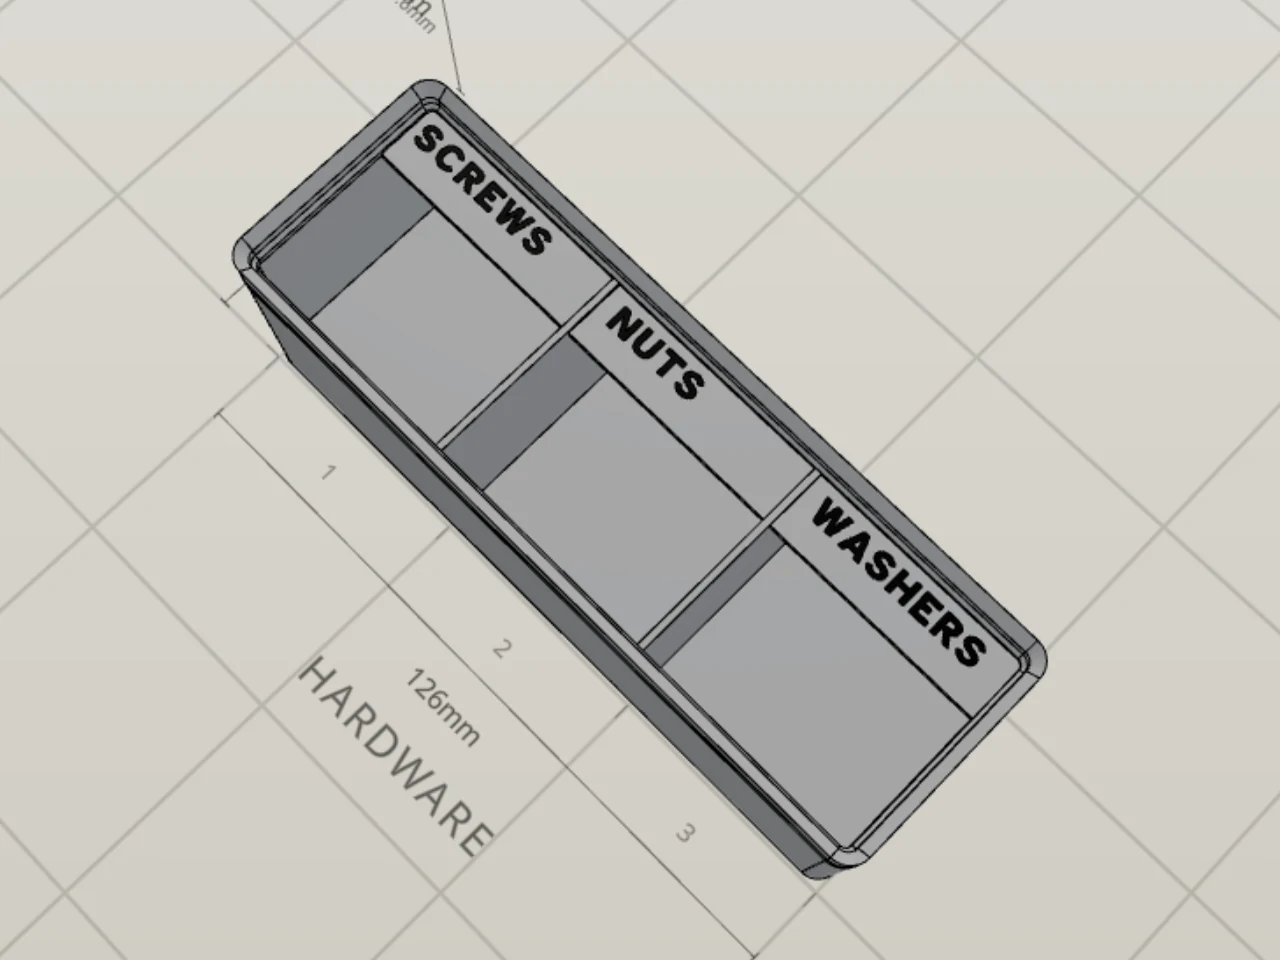
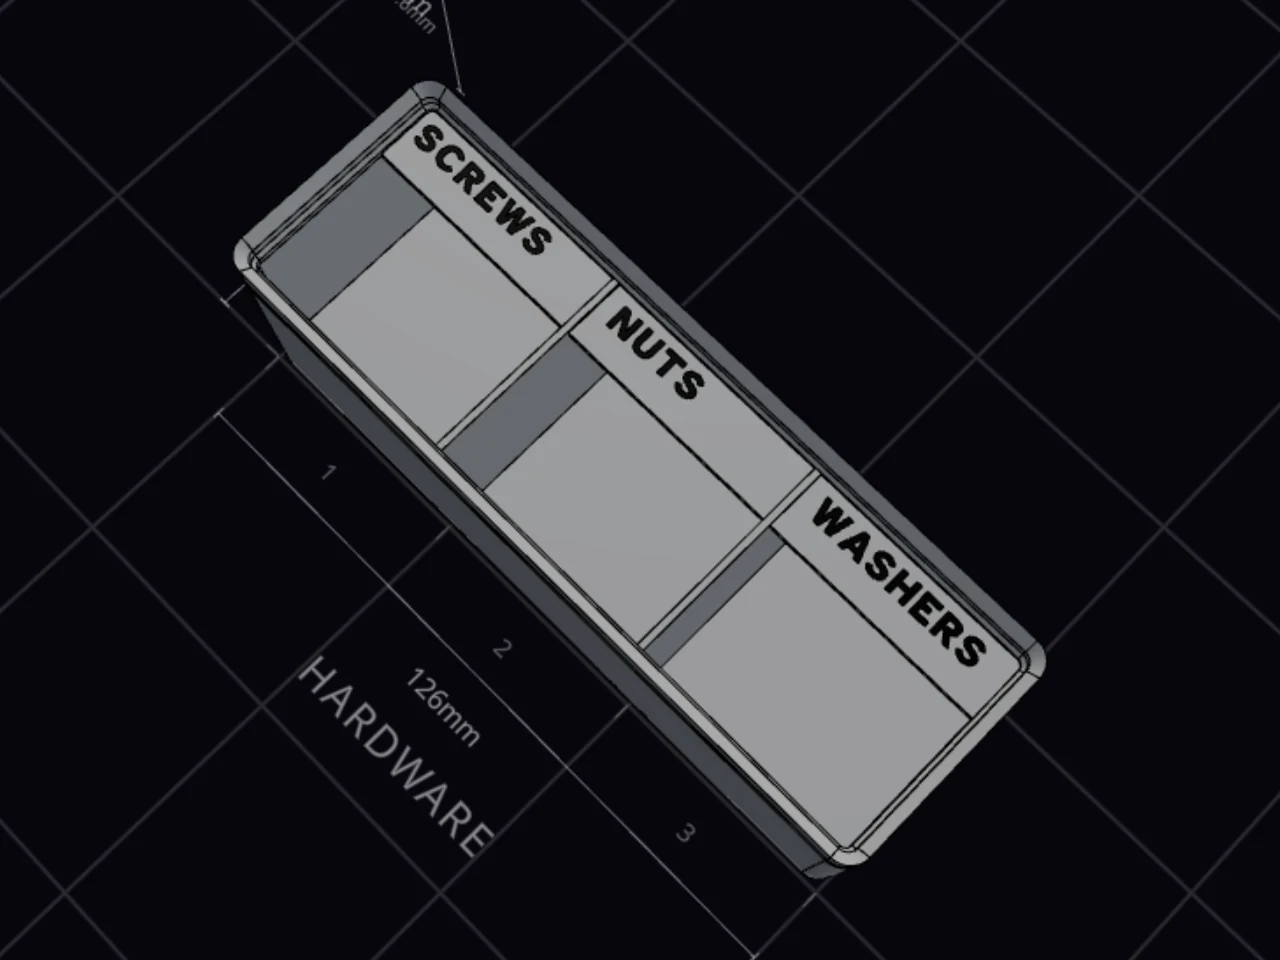
The Text color covers all lettering: label tab text, plate text and icons, cutout labels, and wall, floor and lid text. Set it in the Text group here, or right under each finish picker in the text controls.
Pick a Text color that stands out from the surface under the letters. Engraved and embossed letters show by their shape, even in one color. Flat letters show only by color.
When flat letters have the same color as their surface, the panel warns you that they won't show. Click Use a contrasting color to pick a color that does.
Work faster with the color tools
| Tool | Where | What it does |
|---|---|---|
| Eyedropper | The pipette button | Click any part in the 3D preview to change its color. Press Esc to stop. |
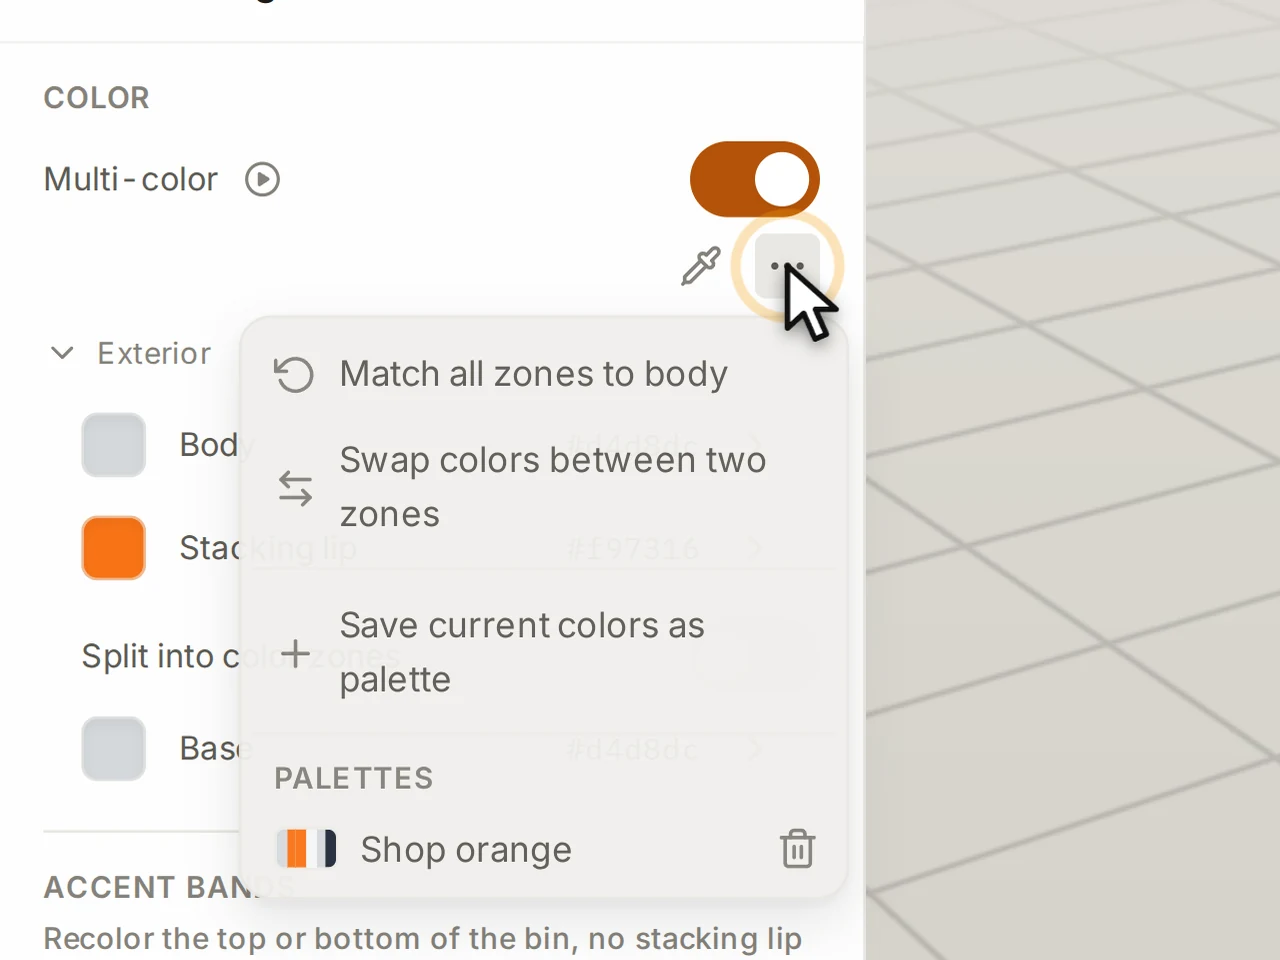
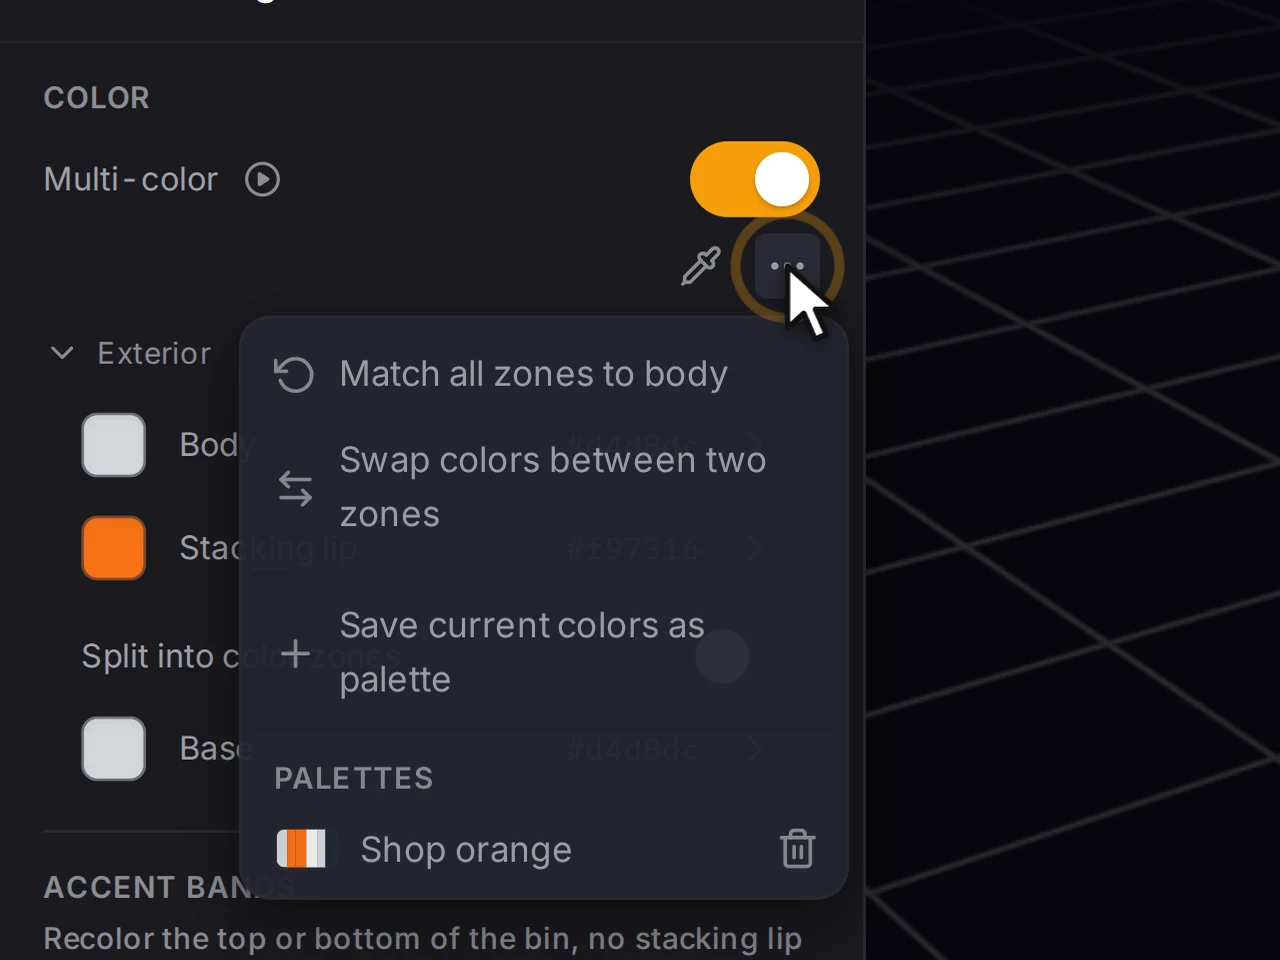
| Match all zones to body | The More actions menu | Sets the lip, label tab, base, scoop and divider zones to the body color. The text, lid and accent band colors stay. |
| Swap colors between two zones | The same menu | Pick one zone and then a second zone to swap their colors. |
| Suggest matching colors | The sparkle button in a color picker | Offers colors that go with the body color. |
The color picker also has Presets of common filament colors, the colors Used in this design, a hex field and Reset to default.
In the label section, the label tab color picker turns on multi-color for you when you pick a color that differs from the body.
Save a palette
Found a color set you like? A palette stores one set of zone colors so you can use it on other bins.
- Open the More actions menu.
- Click Save current colors as palette.
- Type a name and save.
To use a palette, open the same menu and click the palette under Palettes. A palette sets the body, lip, label tab, base, scoop, divider and text colors. The Layout Tool keeps your 20 newest palettes in your settings, so they're there for every design.
Go back to one color
Want an STL or a STEP file of a colored bin? The design must be single-color first. The export dialog treats a design as multi-color in two cases:
- Multi-color is on, and a zone in use has a color that differs from the body.
- A cutout or a Bento compartment has its own color. This counts even with Multi-color off.
To make the design single-color:
- Turn off Multi-color.
- In the cutout editor, open the Color section of each colored cutout and pick Off.
- In the Bento workspace, do the same for each colored compartment.
Your zone colors stay saved, so you can turn Multi-color back on later. Match all zones to body doesn't make a design single-color by itself. It leaves the text, lid and accent band colors as they are, and it doesn't touch cutout or compartment colors.
When it goes wrong
STL and STEP are greyed out in the export dialog
Export as 3MF to keep the colors. For an STL or a STEP file, make the design single-color first. See Go back to one color.
STL and STEP files carry no color data. Is only STEP greyed out? Then the bin has an imported mesh cutout, and STEP can't hold that.
Flat letters don't show
Click Use a contrasting color under the warning. It picks a Text color that stands out from the surface.
Flat letters sit level with the surface, so only their color shows them. When the text color matches the surface, the letters disappear.
A split bin prints in one color
Turn off Split into pieces in the export dialog to keep the colors. If the bin is too large for your print bed, make it smaller, or print it in one color.
A split export writes each piece in one color. The export dialog warns you before it drops the colors. See Fitting the print bed.
The slicer shows only one filament
Add the filaments in your slicer by hand, or update Bambu Studio to 2.9.1 or later. Then assign each filament to the correct slot.
Bambu Studio 2.8 does not add the filaments of a 3MF file when it opens the file on an empty plate. The colors are still in the file. See The colors are wrong.
Next steps
- Multi-color printing: learn how the colors reach your slicer.
- Labels and text: pick a finish that shows in two colors.
- Slicer setup: set up the filaments in your slicer.
- File formats: see which formats keep color.