
Check before you print
A full bin can take hours to print, so find the problems before the printer does. The Gridfinity Layout Tool checks your cutouts as it will cut them, and it can make a small fit test for you to print first. This page shows how to read the warnings, test the fit of your parts, and help a snug tool lift out.
Find the warnings
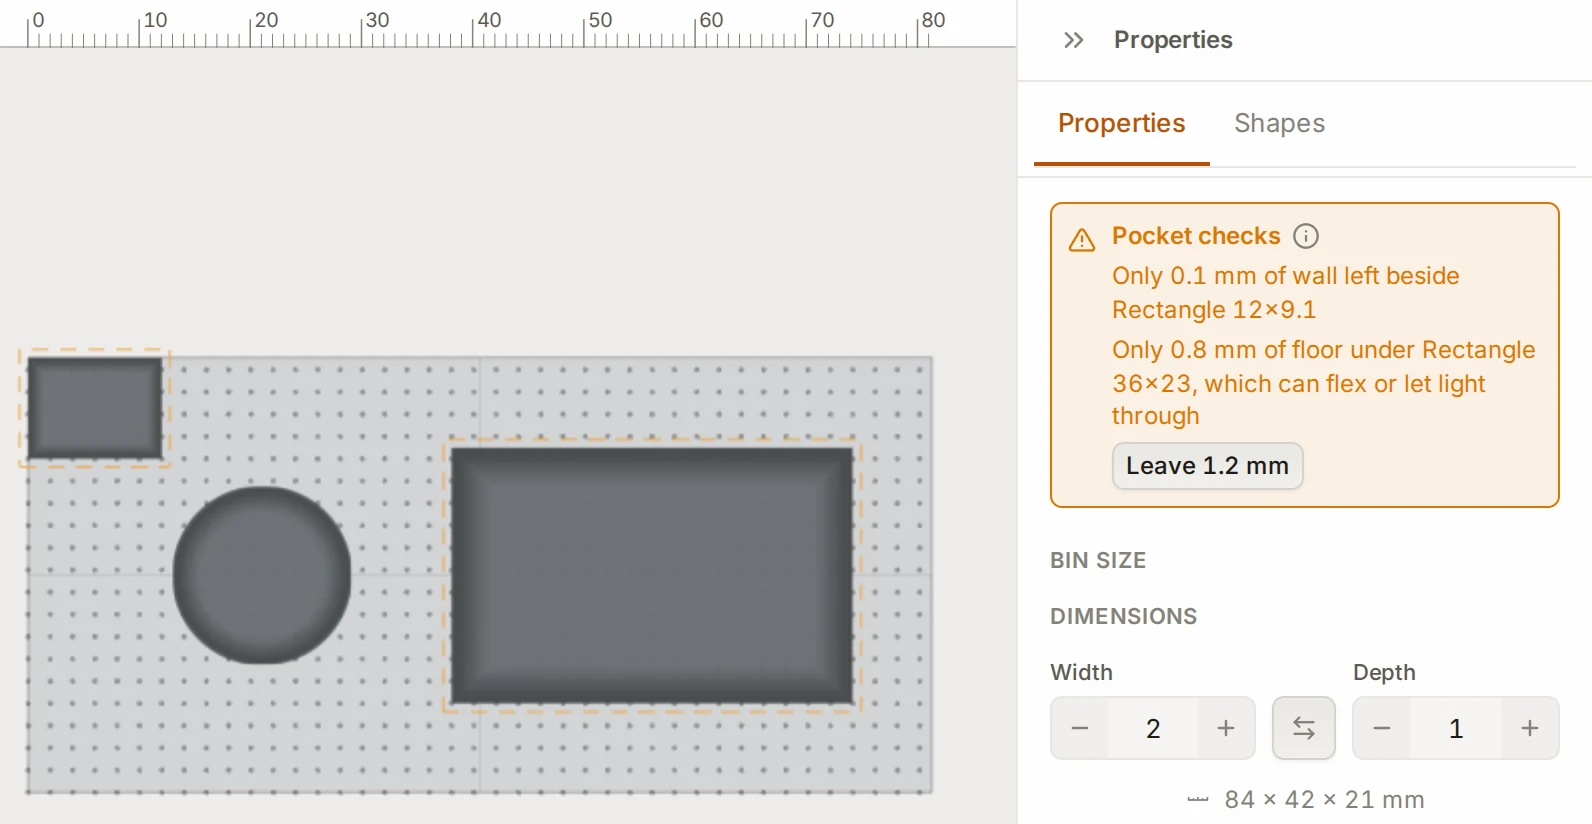
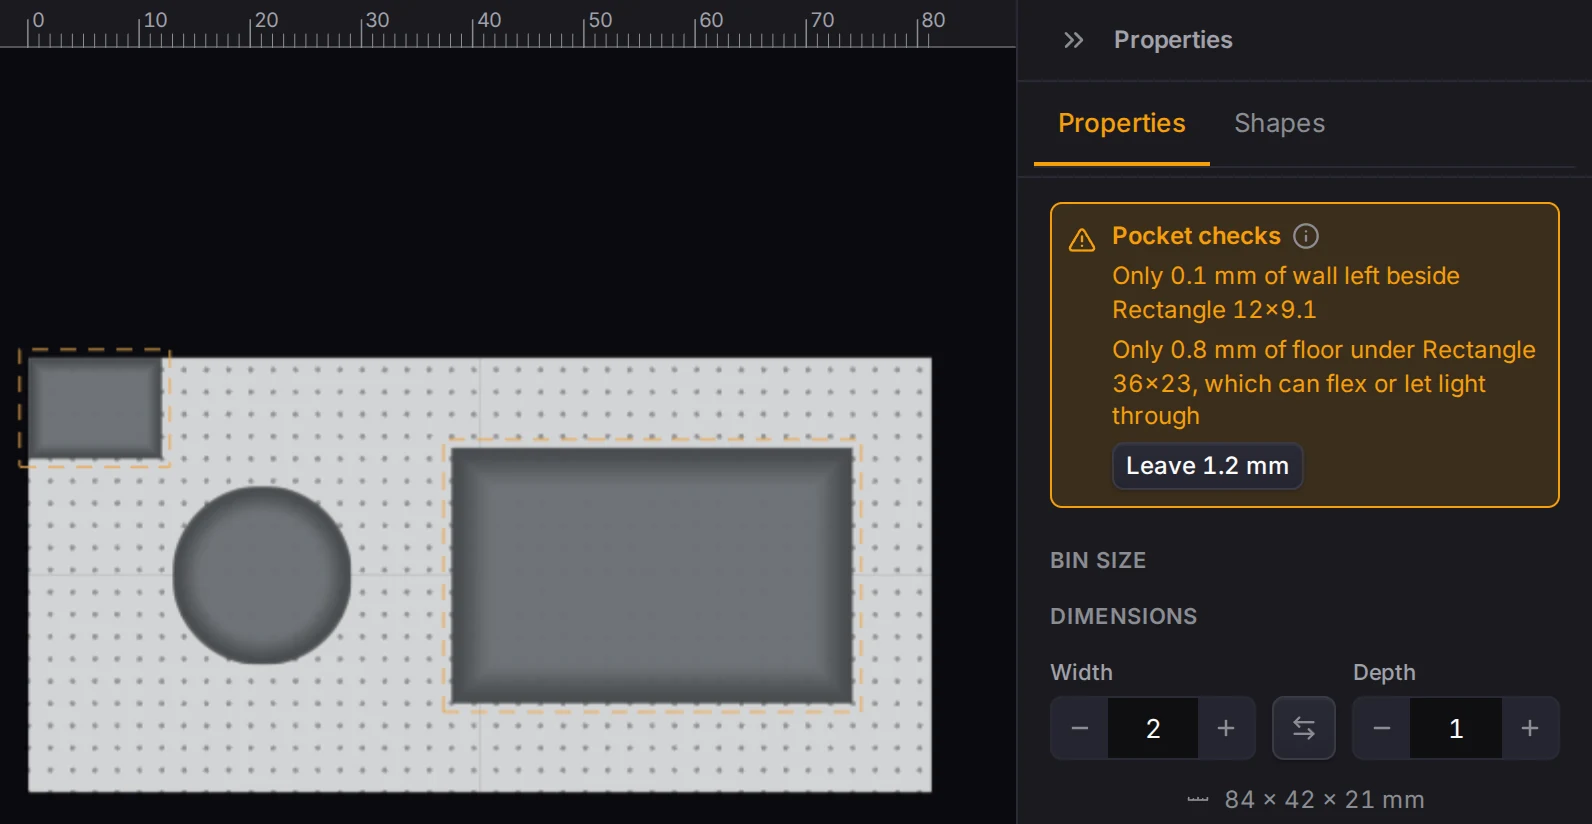
The warnings show at the top of the Properties tab in the cutout editor. They stay there when you select a cutout. They're advice, not rules: no warning stops an export.
Cutouts that are too deep
A cutout can't go deeper than the plastic that the bin has under the top surface. When you ask for more, the Layout Tool cuts the cutout shallower.
- The panel shows how many cutouts the Layout Tool will cut shallower than you asked.
- Select one of them. Under Cut depth, a line gives the depth that the bin has room for.
To sort it out, lower the depth or the lean, or move the cutout away from the edge of the bin. You can also make the bin taller. When you set a tool thickness after a scan or an import, the prompt offers to make the bin taller for you.
Pocket checks
Pocket checks measures each cutout with its clearance and its entry edge, because both make the cutout wider at the top. Each check looks for plastic thinner than 1.2 mm:
| Warning | What it means |
|---|---|
| Two cutouts merge | Clearance and entry edges make the two cutouts touch, so they cut one opening. |
| Thin plastic between cutouts | Less than 1.2 mm of plastic stays between two cutouts, or between two copies of a repeat. |
| Thin wall | A cutout leaves less than 1.2 mm of bin wall, or breaks through the wall. |
| Under the stacking lip | A cutout reaches under the lip, where a tool can catch. |
| Thin floor | Less than 1.2 mm of plastic stays under a cutout. A thin floor can bend or let light through. |
| Thin island | An island in a traced cutout is less than 1.2 mm across at the top. |
Select a warning to select its cutouts on the board. Two warnings come with a fix. A thin floor has a button that sets the floor to the minimum. A thin island has Remove thin islands.
The checks skip cutouts that you drew to overlap, such as a cutout and its finger access.
WARNING
Look at the 3D preview when two cutouts lean toward each other. The checks measure at the top surface, so they don't see two cutouts that meet lower down.
Print a fit test
Print one small test before the whole bin. A fit test shows if your parts fit, for a fraction of the filament.
- In the Properties tab, click Print fit test.
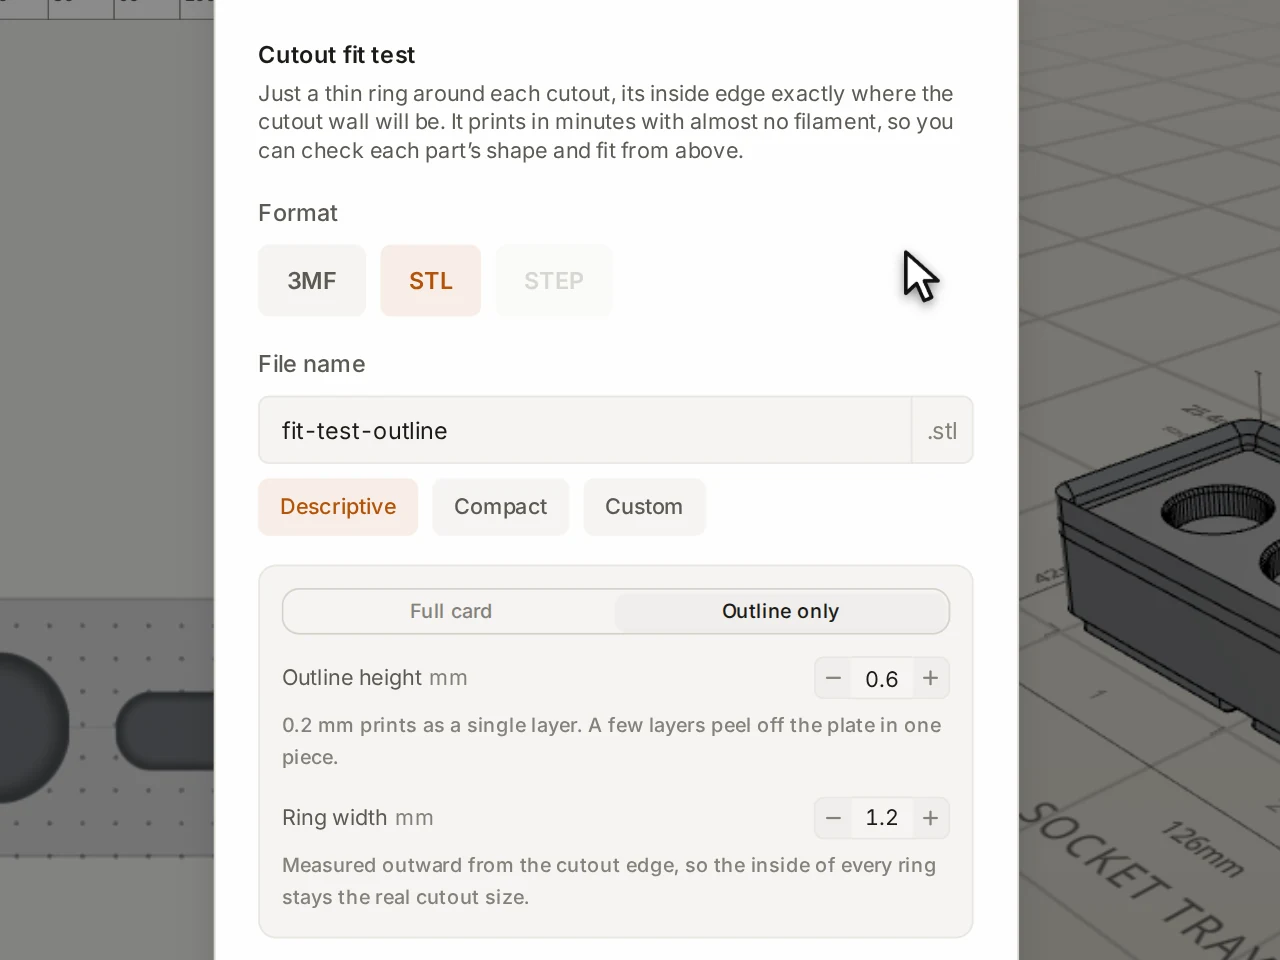
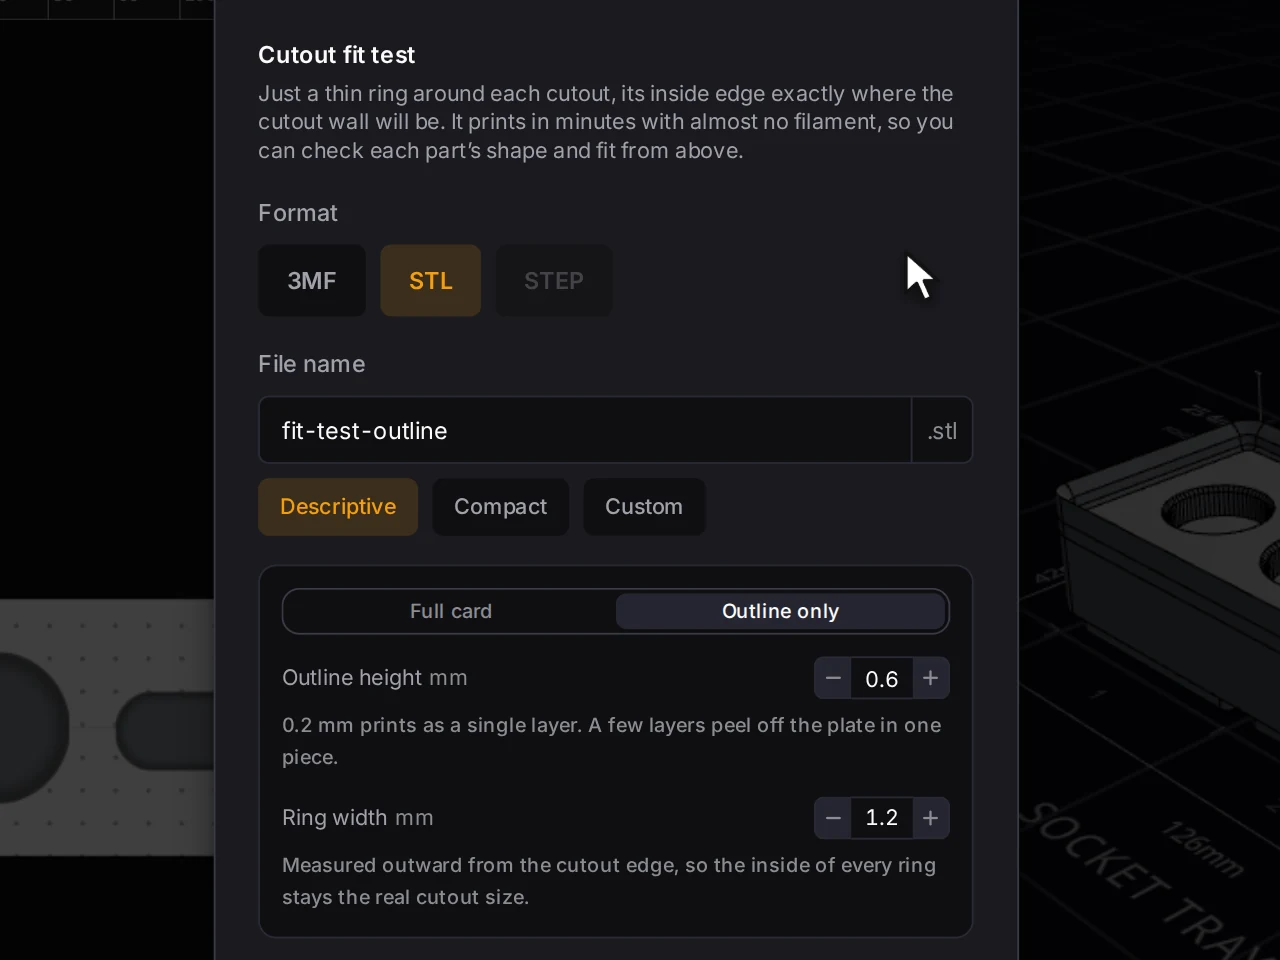
- The Export window opens. Below the file name, pick Full card or Outline only, and set the size fields.
- Pick a file format and export the file.
- Print it flat, the way it comes out, and put each part in its place.
| Type | What prints | Pick it when | Settings |
|---|---|---|---|
| Full card | A thin slice of the top of the bin, with every cutout at its real size, position and spacing. | You also want to check the spacing between cutouts. | Card thickness starts between 3 and 5 mm, from your deepest cutout. A cutout deeper than the card goes through it. |
| Outline only | A thin ring around each cutout. The inside edge of the ring is where the cutout wall will be. | You only need to check how each part fits. | Outline height goes from 0.2 to 2 mm and starts at 0.6 mm. Ring width goes from 0.8 to 2.4 mm and starts at 1.2 mm. |
What it costs compares the filament and the time of the test with the whole bin. A card 1 mm or thicker has the design name, the clearance and the thickness on its bottom face. That way, you can tell your test prints apart.
STEP isn't available for an outline or for a design with STL imprints. Use STL or 3MF. When the test is larger than your print bed, it exports as pieces in a ZIP file.
Correct the fit
- The part is too tight, or it rides up on the ring: increase Clearance on that cutout.
- The part rattles, or a wide gap goes all the way round: decrease Clearance.
Then export a new test, or print the bin.
Add finger access for a snug tool
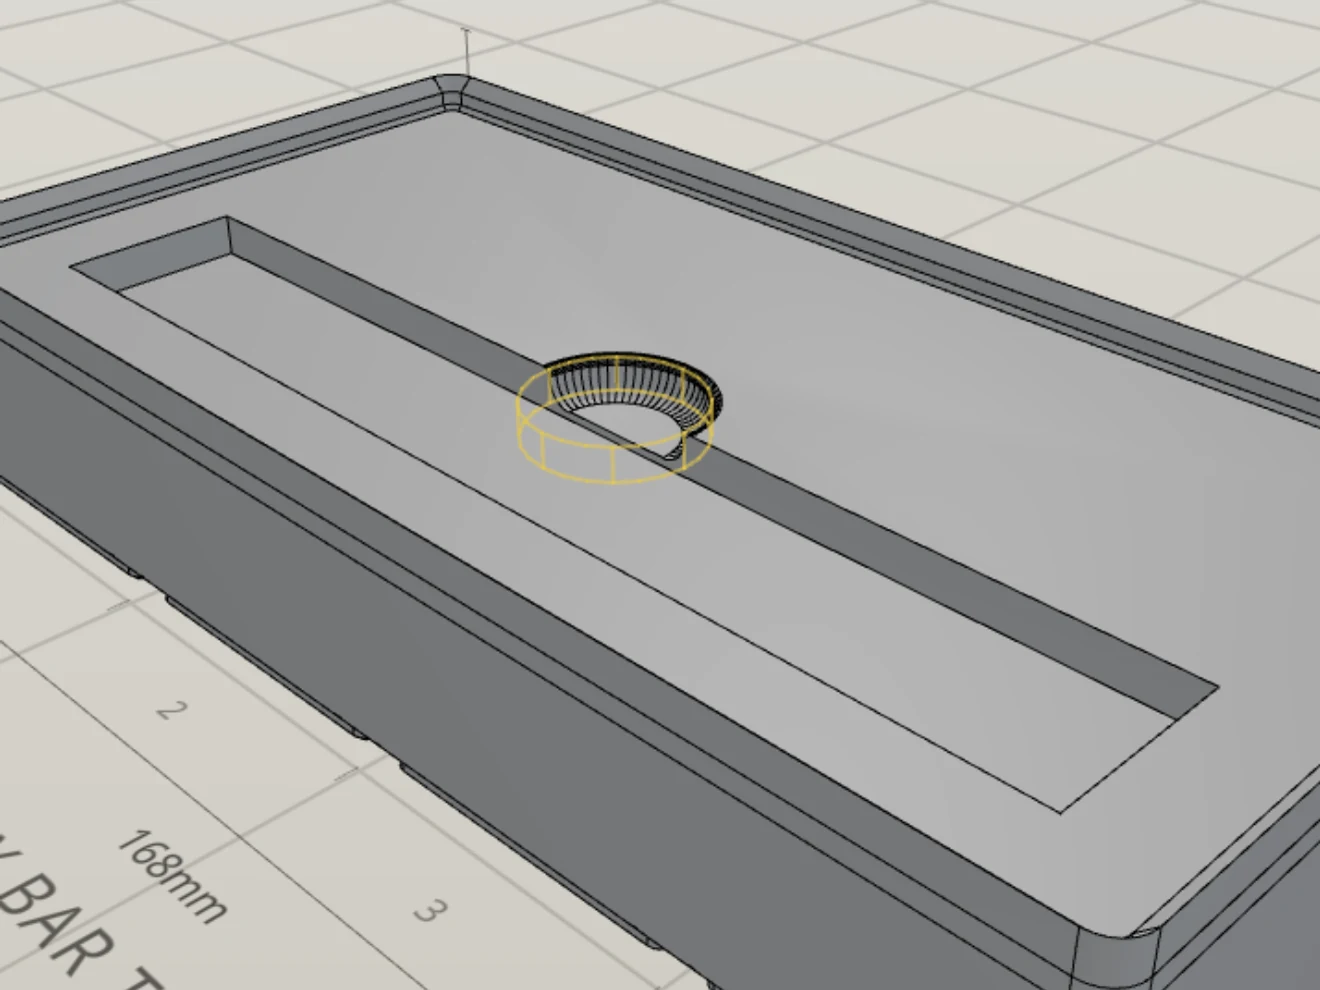
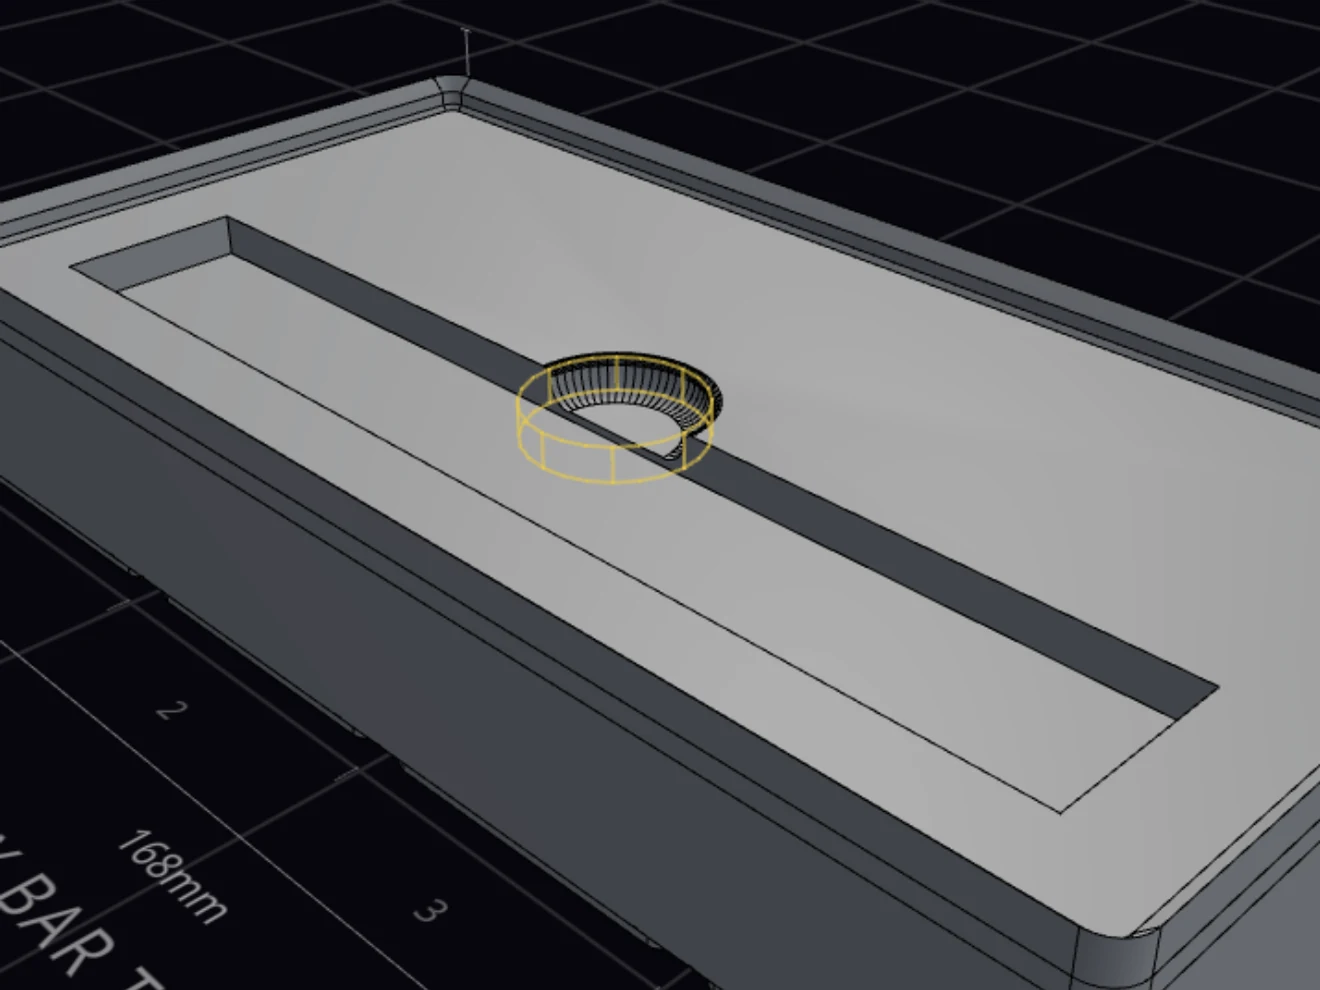
A snug cutout holds a tool well, but the tool can be hard to lift out. Finger access cuts a scoop beside the cutout, so a fingertip gets under the tool.
- Select the cutout.
- In Shape, click Add finger access.
The scoop goes across the middle of the long side of the cutout. It's 20 mm wide and 40 mm long: half of it cuts into the plastic beside the cutout, and half lies over the cutout. It moves with the cutout. Select the scoop to change it:
- Finger cut shape: Slot or Round.
- Finger cut floor: Curved follows the fingertip. Flat keeps the scoop settings of the cut.
Already drew a slot or a circle for your finger? Select it, and you see the Finger access switch in place of the button. The switch changes that slot or circle into finger access.
A repeat can't get finger access, because each copy needs its own. Use Flatten to cutouts first.
When it goes wrong
Two cutouts merge, but they don't touch on the board
Move the cutouts apart. Or, on one of them, lower Clearance or the size of the Entry edge.
The board shows the outline that you drew. The checks measure the cutout as the Layout Tool cuts it, and clearance and the entry edge both make it wider at the top. So two cutouts can meet at the top surface with a gap between their outlines.
A cutout breaks through the wall or sits under the lip
Move the cutout in from the edge, or make the bin larger in Bin size. For the lip warning, you can also turn off Stacking lip in Bin features.
The bin wall needs at least 1.2 mm of plastic beside each cutout. The stacking lip hangs over the inside of the wall, so a tool in a cutout under it can catch as you lift it out.
A seam crosses a cutout on the fit test
Leave a gap across the bin between the cutouts, and export the test again. Also check the print bed size. See Fitting the print bed.
A test that is larger than your print bed exports as pieces. The Layout Tool moves each seam into a gap between the cutouts. With no gap, a seam runs through one cutout, and you can't test that cutout on this print.
Next steps
- Cutout basics: set the clearance, the entry edge and the depth.
- Fit and tolerances: tune the fit of bins in your printer.
- File formats: pick STL, 3MF or STEP.