
Anatomy of a bin
Learn the parts of a bin, and you'll know where to find every option in the bin designer. From the bottom up, every Gridfinity bin has feet, a floor, walls and a stacking lip. Inside, it can have compartments, label tabs and a scoop. On top, it can have a lid.
This page names each part the way the bin designer does, and tells you which group to open for it.
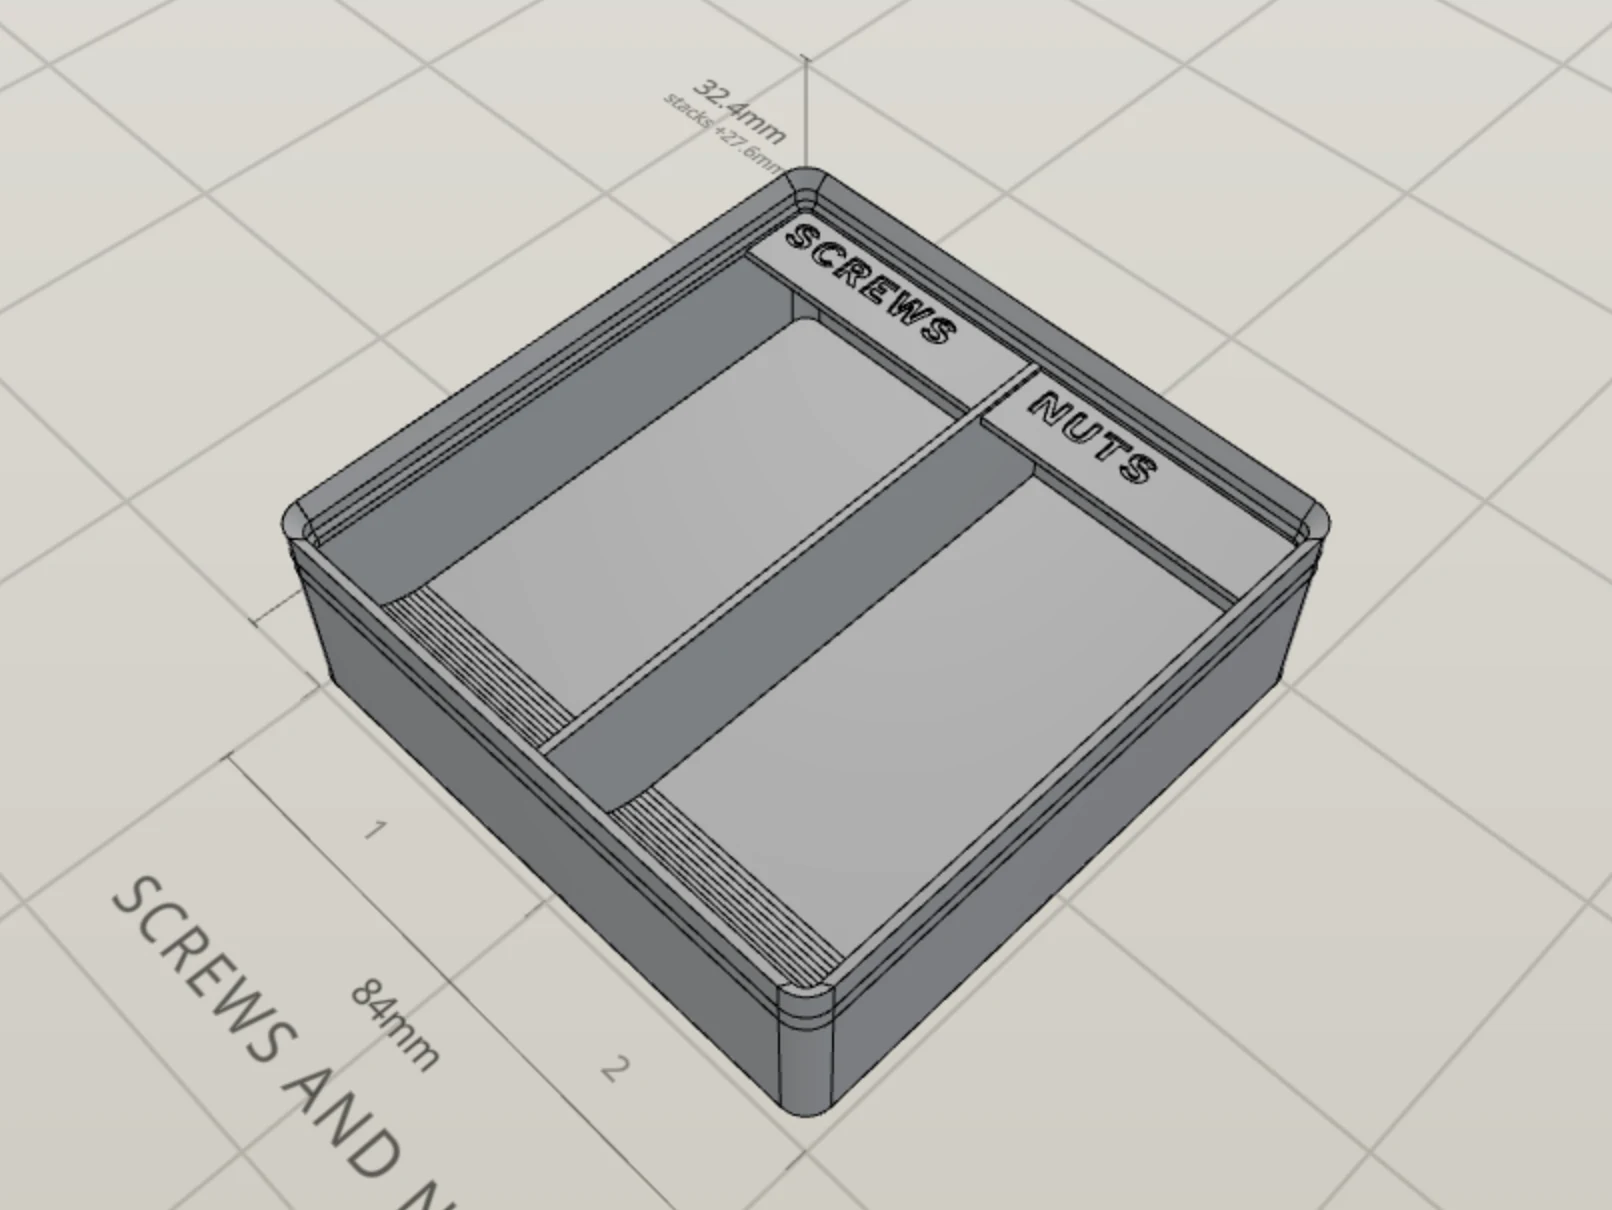
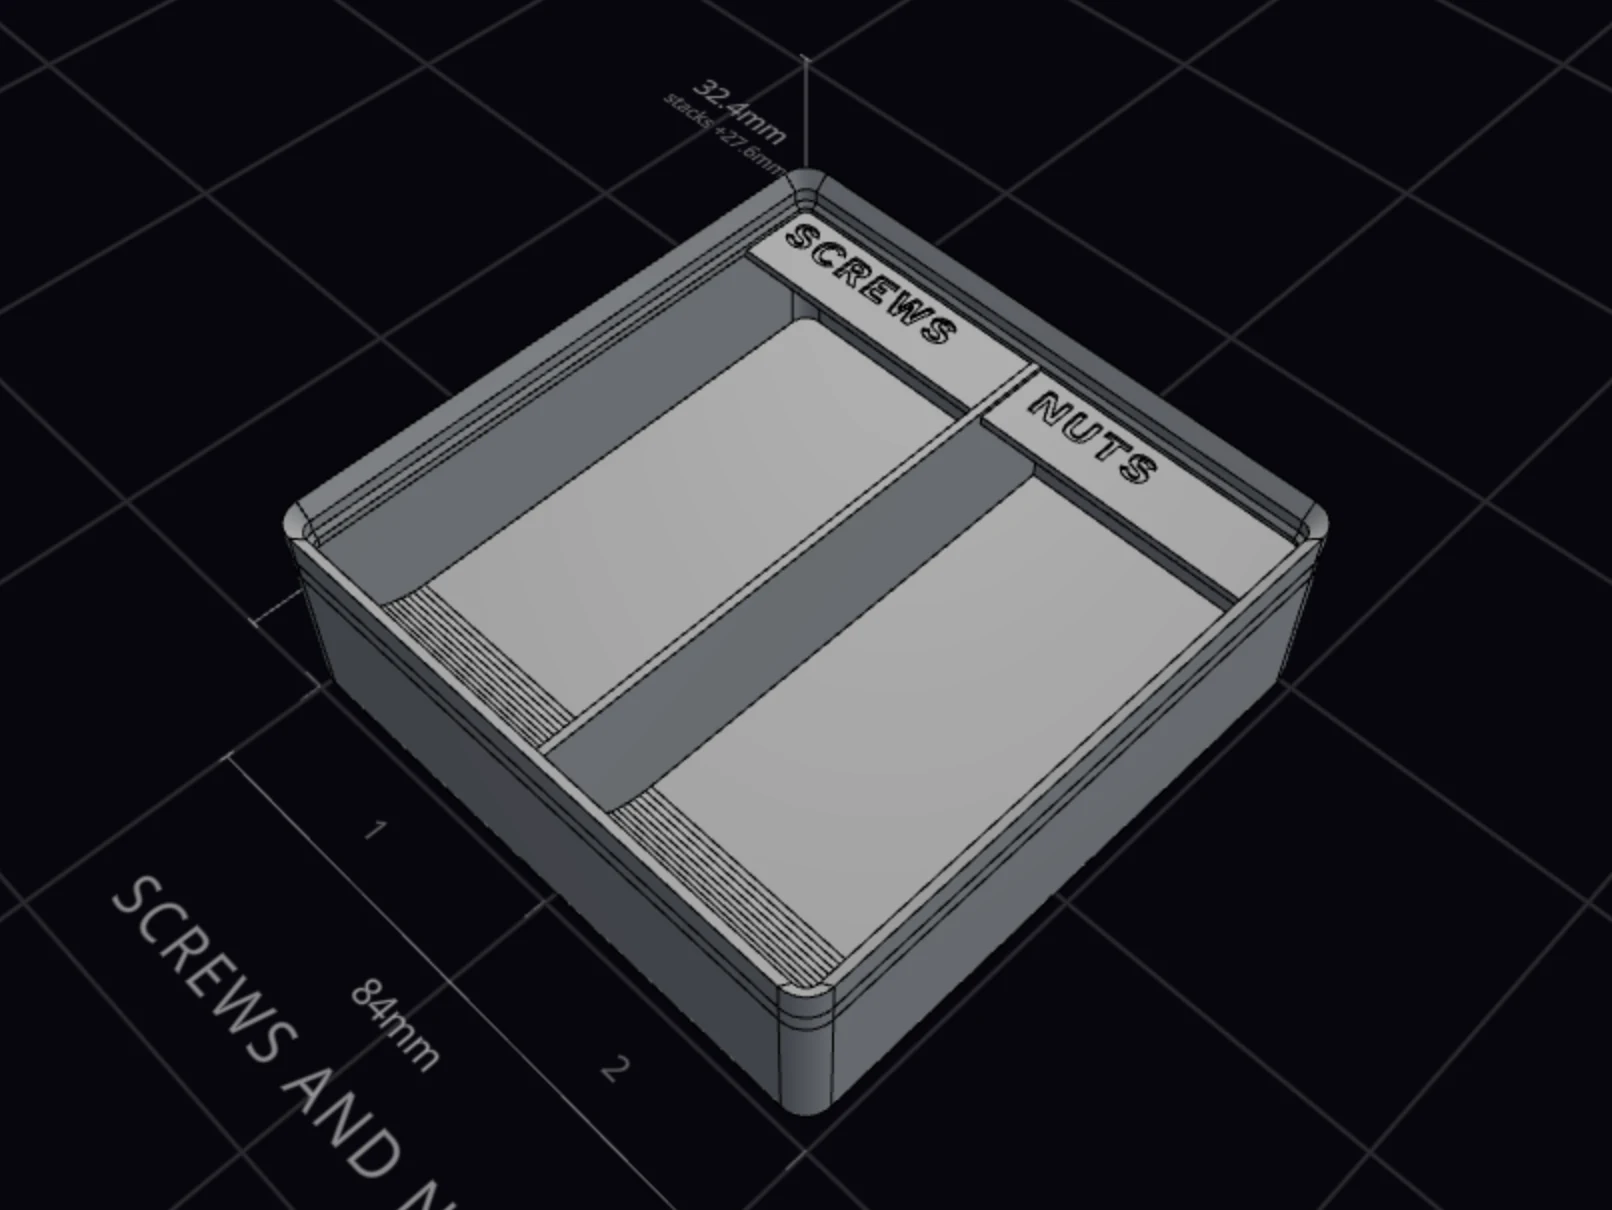
Where each part lives in the bin designer
The bin designer panel puts the parts in five groups:
| Group | Parts in the group |
|---|---|
| Shape | Size, footprint, walls and wall cutouts |
| Lid | Lid, pull tab and handles |
| Interior | Compartments and dividers, label tabs, fillet and finger scoop |
| Base | Body type, stacking lip, magnet and screw holes, feet and floor |
| Finishing | Text, colors, wall surface, floor pattern and physical units |
Feet
Each grid cell under the bin has a foot. The foot is 4.75 mm tall, with sloped sides at 45°. It drops into a pocket of the baseplate and stops the bin from sliding around. The outer walls of the bin are 0.5 mm smaller than its cells, so the feet drop in without force.
The Base group holds the options for the feet.
Holes under the feet. Mounting holds the holes. Magnet holes start at 6.5 mm wide and 2 mm deep, for 6 mm magnets. Screw holes start at 3 mm, for M3 screws.
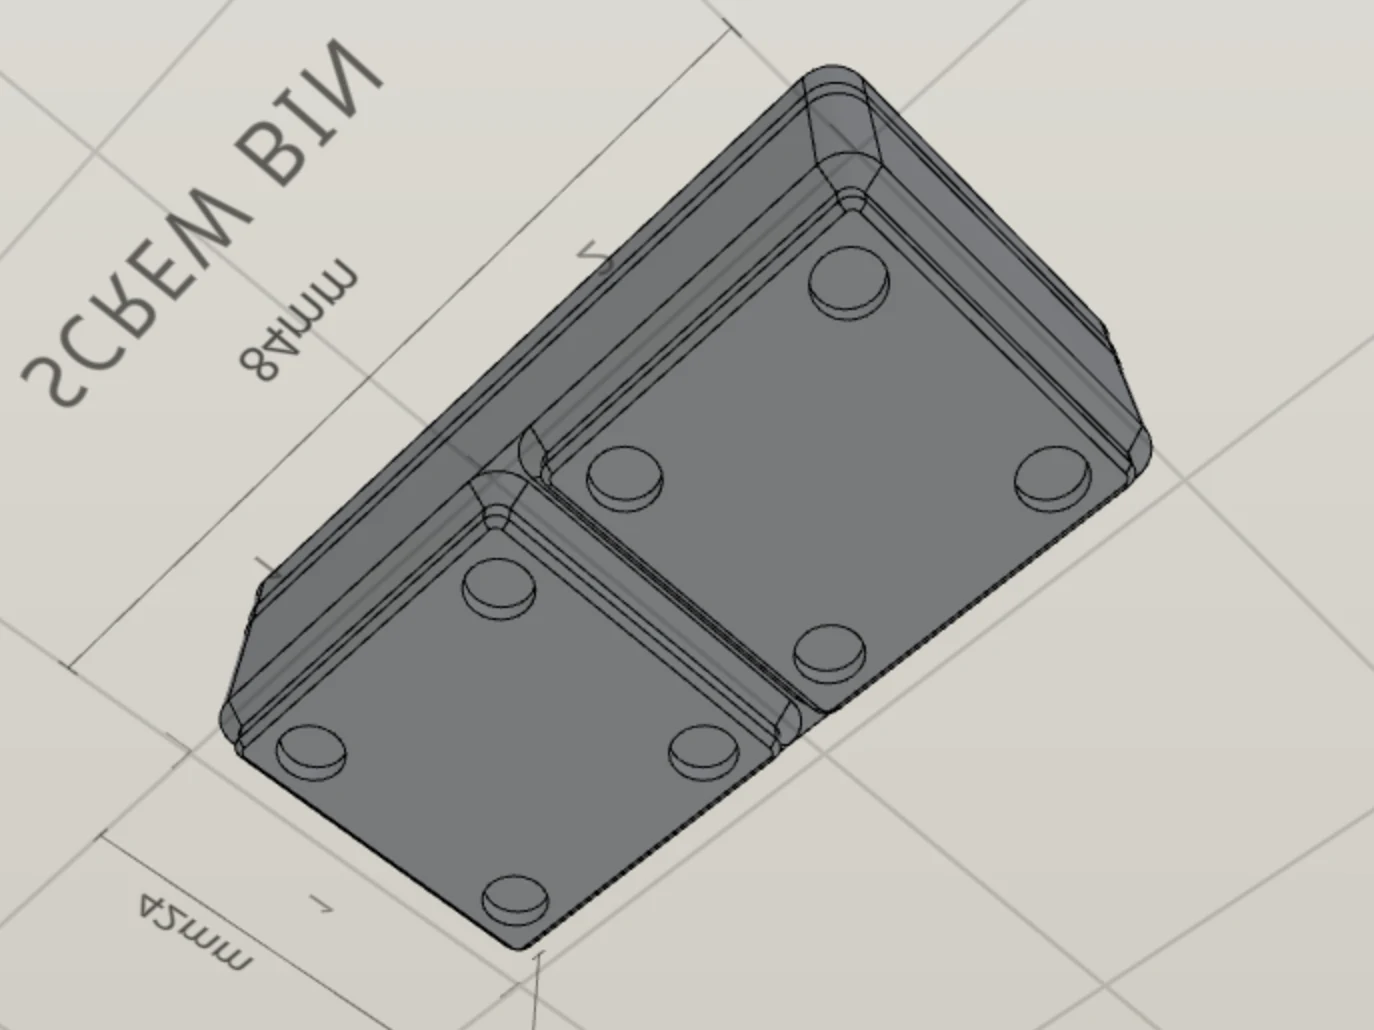
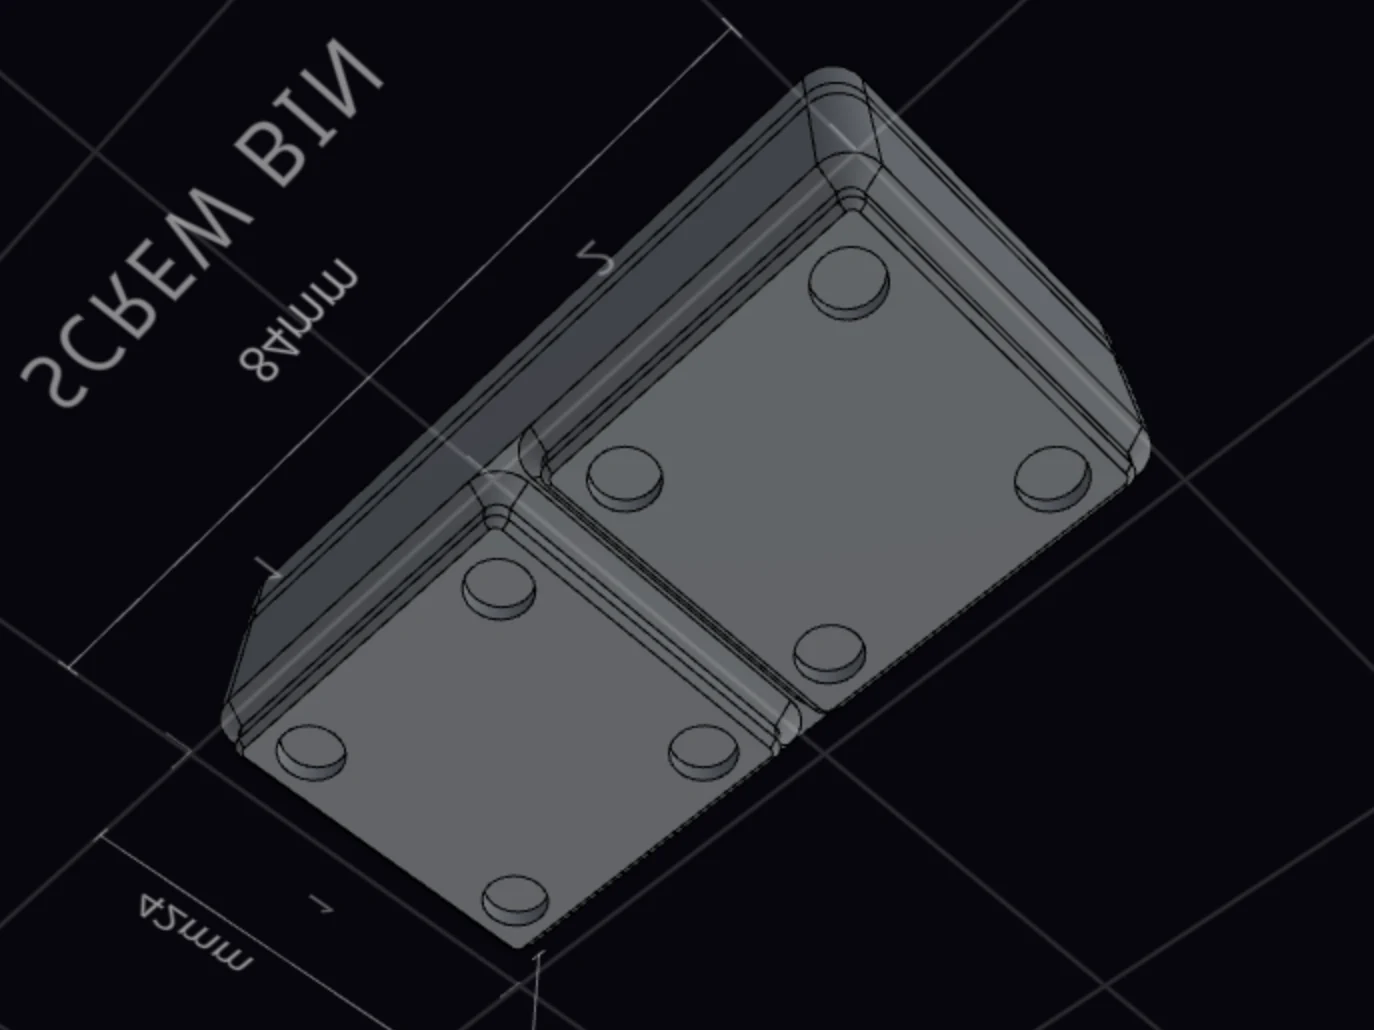
The feet themselves. Feet holds Half sockets, a denser grid of smaller feet. It also holds Detachable feet, feet that you print as separate parts and attach with pins.
Body type changes the bin as a whole. A new design starts as a standard bin.
| Body type | What you get |
|---|---|
| Standard | Feet, floor and walls: the usual Gridfinity bin |
| Nesting | One tapered base that nests in the lip of a bin of the same size |
| Flat base | A flat bottom that does not lock into a baseplate |
| Spacer | An open riser with no floor, to lift a bin |
| Base only | Feet and floor with no walls |
| Lid base | An underside that is a lid, so the bin sits on another bin |
Floor
The floor sits on the feet. On a standard bin, the first height unit (7 mm) holds the feet and the floor, and the room for your items starts above it.
Want to save filament? Under Floor, Lightweight floor hollows the feet. It has two modes:
- Inside hollows each foot from the inside. It saves the most filament, but small items can settle into the hollows.
- Underside hollows each foot from below and keeps the floor flat. Pick this one for a bin of small parts.
Drainage holes in the Finishing group cuts holes through the floor and the feet, so water and dust fall through.
Walls
The walls stand on the floor and set the outer size of the bin. To set how thick they are, open the Shape group and find Walls. There you set Wall thickness.
The bin designer starts at 1.2 mm, which is three lines of a 0.4 mm nozzle. Use a multiple of your nozzle size for the best result. Not sure? Keep 1.2 mm.
Want openings for cables or front access? Wall cutouts cut them through the walls. Wall surface in the Finishing group cuts a pattern of holes through the walls.
Stacking lip
The stacking lip is the rim on top of the walls. It's 4.4 mm tall, and the feet of another bin sit in it, the same way they sit in a baseplate. Turn it on or off with Stacking lip. You find it in the Base group, under Top rim. It sits with the feet because it is the partner of the feet of the bin above.
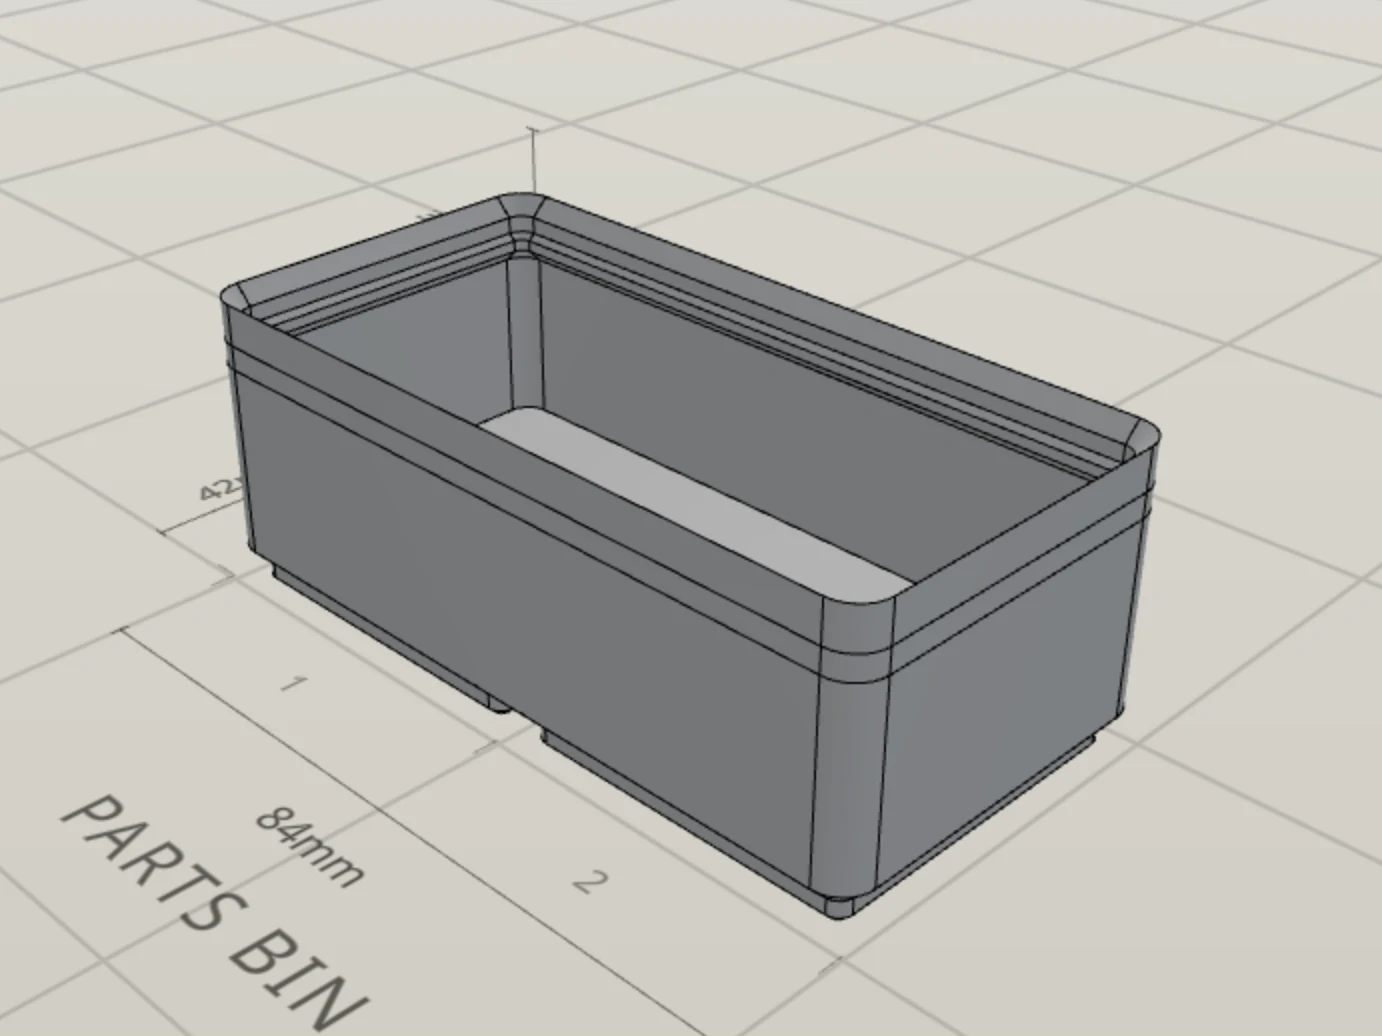
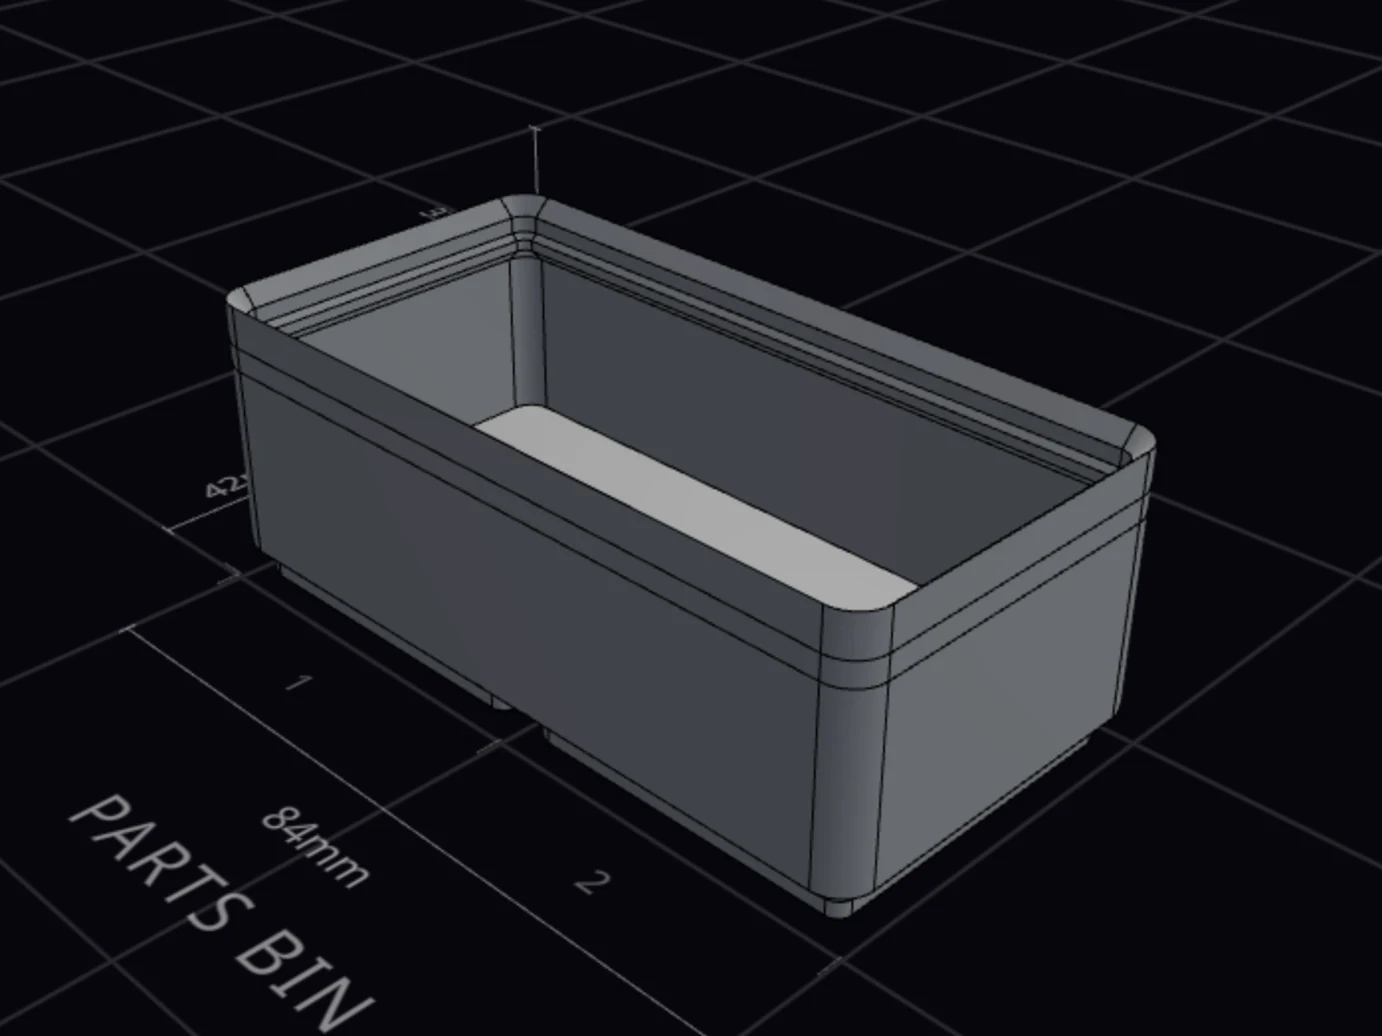
Without a stacking lip, no bin can stack on top, and a lid that sits on the bin has nothing to grip. A slanted bin has no stacking lip.
Interior
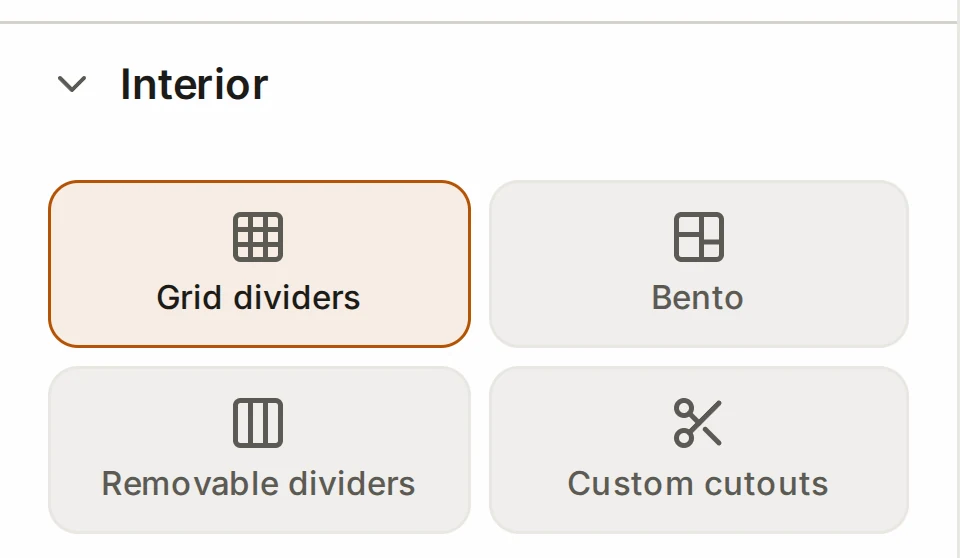
The Interior group sets what's inside the walls. First, pick one of four interior styles:
| Interior style | What it makes |
|---|---|
| Grid dividers | Compartments in a grid, with fixed divider walls |
| Bento | Compartments of any size, with walls where you want |
| Removable dividers | Slots that hold dividers you print separately |
| Custom cutouts | A solid bin with tool-shaped cutouts in the top |
Then add the parts that help you find and grab your items:
- Label tabs are tabs with a slope along a compartment edge. A label sits on each tab.
- Finger scoop is a ramp from the floor up to a wall, so you can slide small parts out with a finger. The front wall is the default.
- Interior fillet rounds the edges where the walls meet the floor.
A bin with a custom footprint (an L, T or U shape, for example) can't have compartments, dividers, label tabs or a scoop. These parts need a rectangular bin.
Lid
The Lid group adds a lid with Lid. The lid is a separate part in the export. Under How it attaches, pick how it holds on:
| Attachment | What it needs |
|---|---|
| Friction | Sits on the stacking lip |
| Click rails | Sits on the stacking lip |
| Magnetic | Sits on the stacking lip |
| Hinged | Sits on the stacking lip |
| Sliding | Runs in a channel of its own |
So for every lid except the sliding one, keep the stacking lip on.
The top of the lid can be Flat or Tray. Pick Stackable to give it a grid of sockets, so bins can stand on the lid.
When it goes wrong
Label tabs and the scoop are gray
Click Edit footprint, and make the bin a rectangle again. The gray controls tell you that they need a rectangular footprint. A bin with a custom footprint can't have compartments, dividers, label tabs or a scoop. See Make a bin that is not a rectangle.
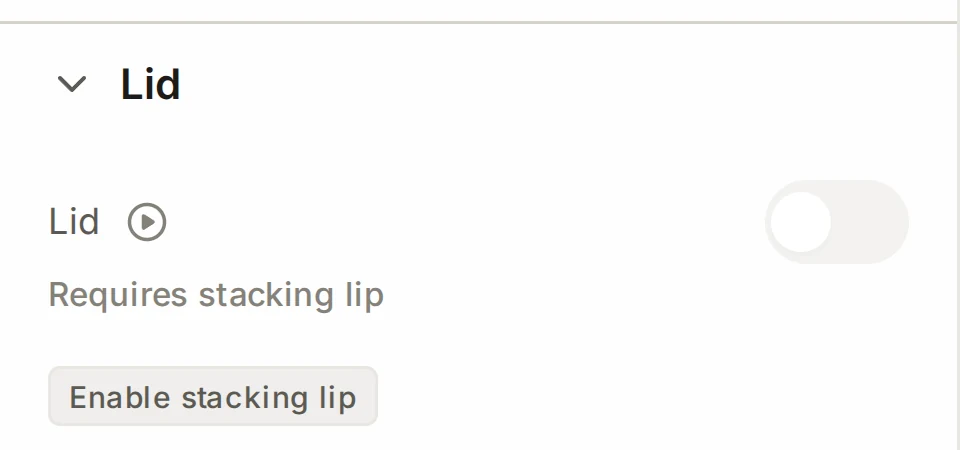
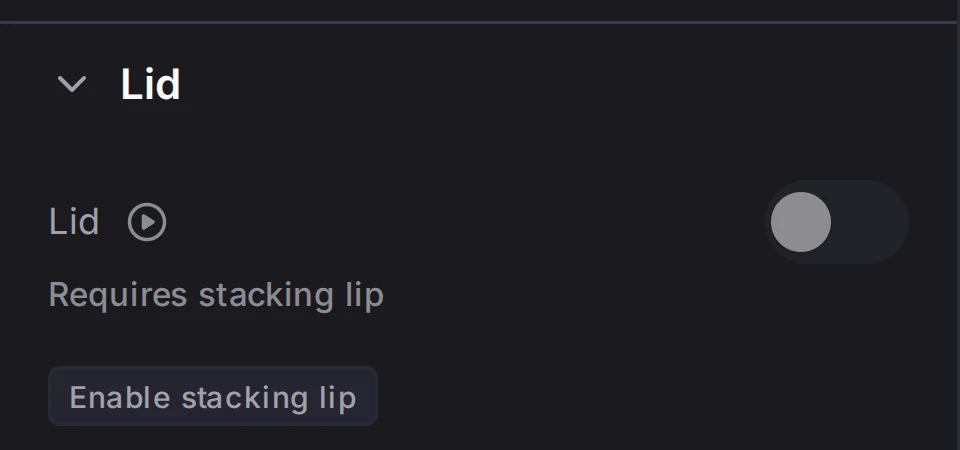
The lid switch is gray
Click Enable stacking lip under the switch. The switch shows Requires stacking lip, because every lid except the sliding one sits on the stacking lip.
The scoop or the fillet won't turn on
Set Lightweight mode to Underside. Then the bin keeps its lightweight floor and gets the scoop too. Inside leaves no solid floor for a scoop ramp or a fillet. The same goes for drainage holes and cutouts in the top of the bin.
Next steps
- The base: set the feet, magnets, screws and floor
- Walls: set the wall thickness, patterns and cutouts
- Compartments and dividers: divide the inside of a bin
- Lids: add a lid and pick how it attaches
- Units and sizes: see how the parts add up in height