
The print list and ZIP export
Your layout is ready. Now you need to know what to print, and you need the files. The layout editor of the Gridfinity Layout Tool counts the bins for you and exports every file in one download. Here's how to read the print list, and what you'll find in the ZIP.
Read the bin list
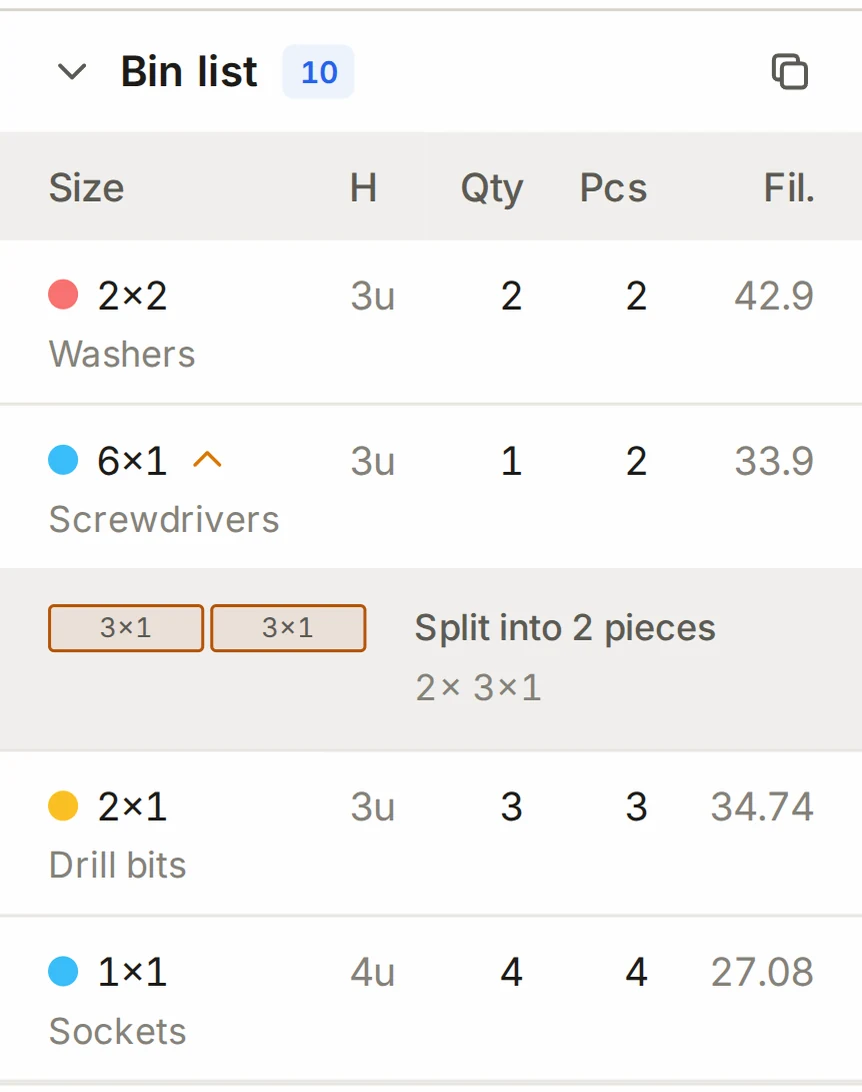
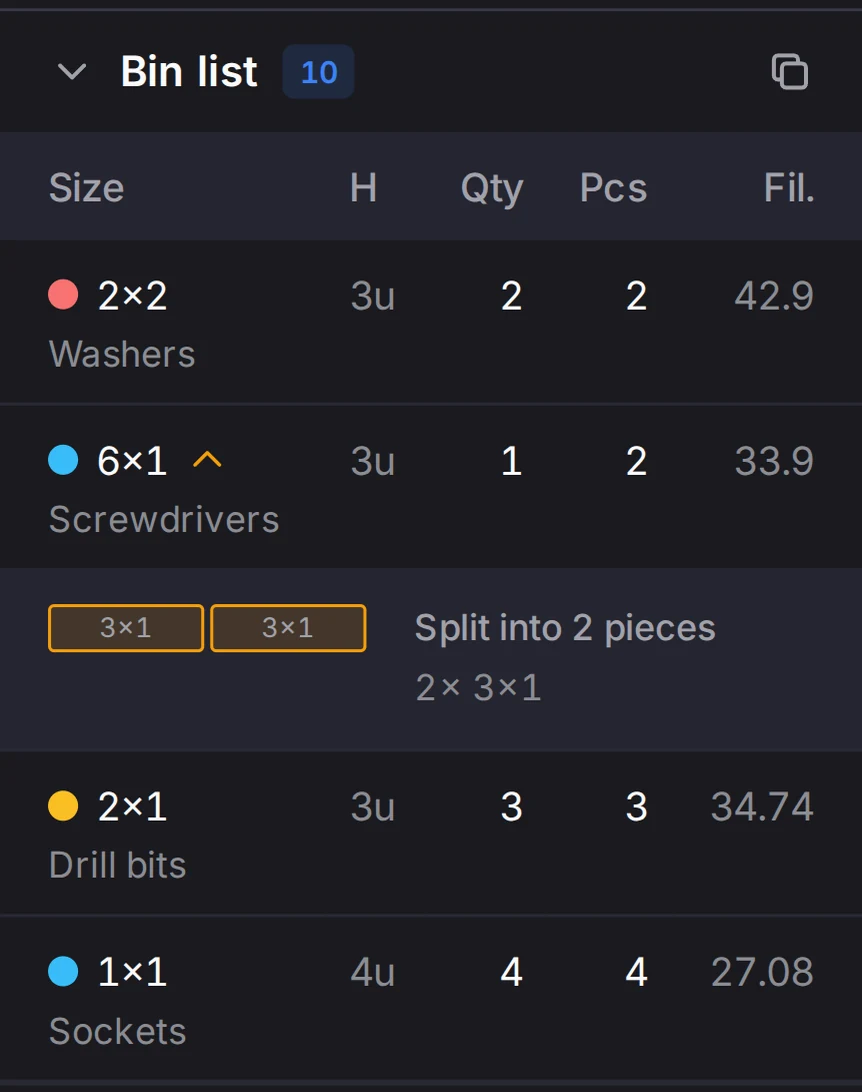
The Bin list in the right panel of the layout editor is your print list. Bins in the stash don't appear in it.
| Column | What it shows |
|---|---|
| Size | The bin size in grid units, with the category colors and the label |
| H | The height in height units |
| Qty | The number of these bins in the layout |
| Pcs | The number of printed pieces after a split. This column shows only when a bin is too large for the bed. |
| Fil. | The filament estimate in meters |
Bins share a row when they have the same size, height, label, category and linked design. A bin that extends into the drawer margin gets its own row.
Click a row to select those bins on the grid. A row that needs a split shows an arrow. Click it to see how the bin divides into pieces. A bin whose design turns off Split to fit the print bed counts as one piece, and its row shows Exceeds print size, prints in one piece.
A row can also show the number of label plates for the bins, or the warning Label tabs are blank. That warning means the label tabs will print with no text.
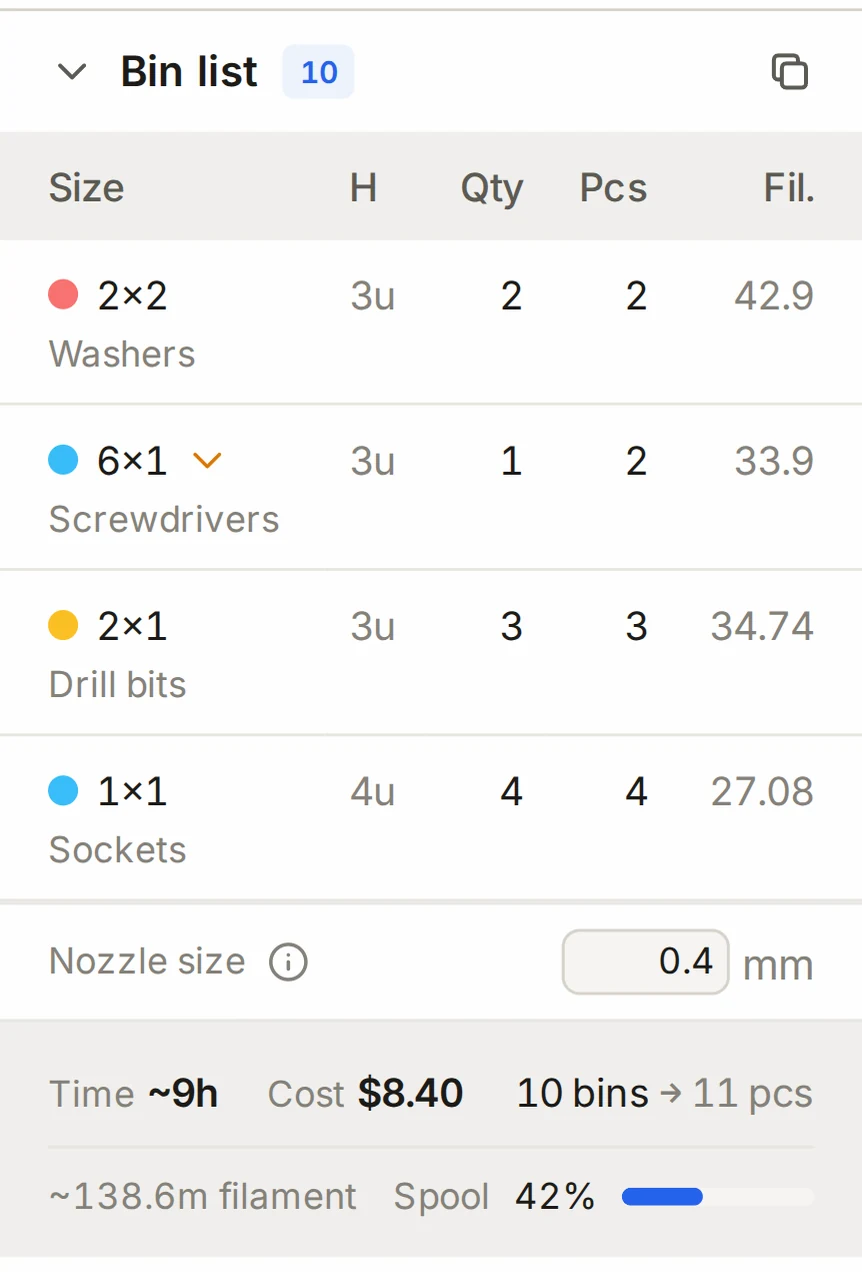
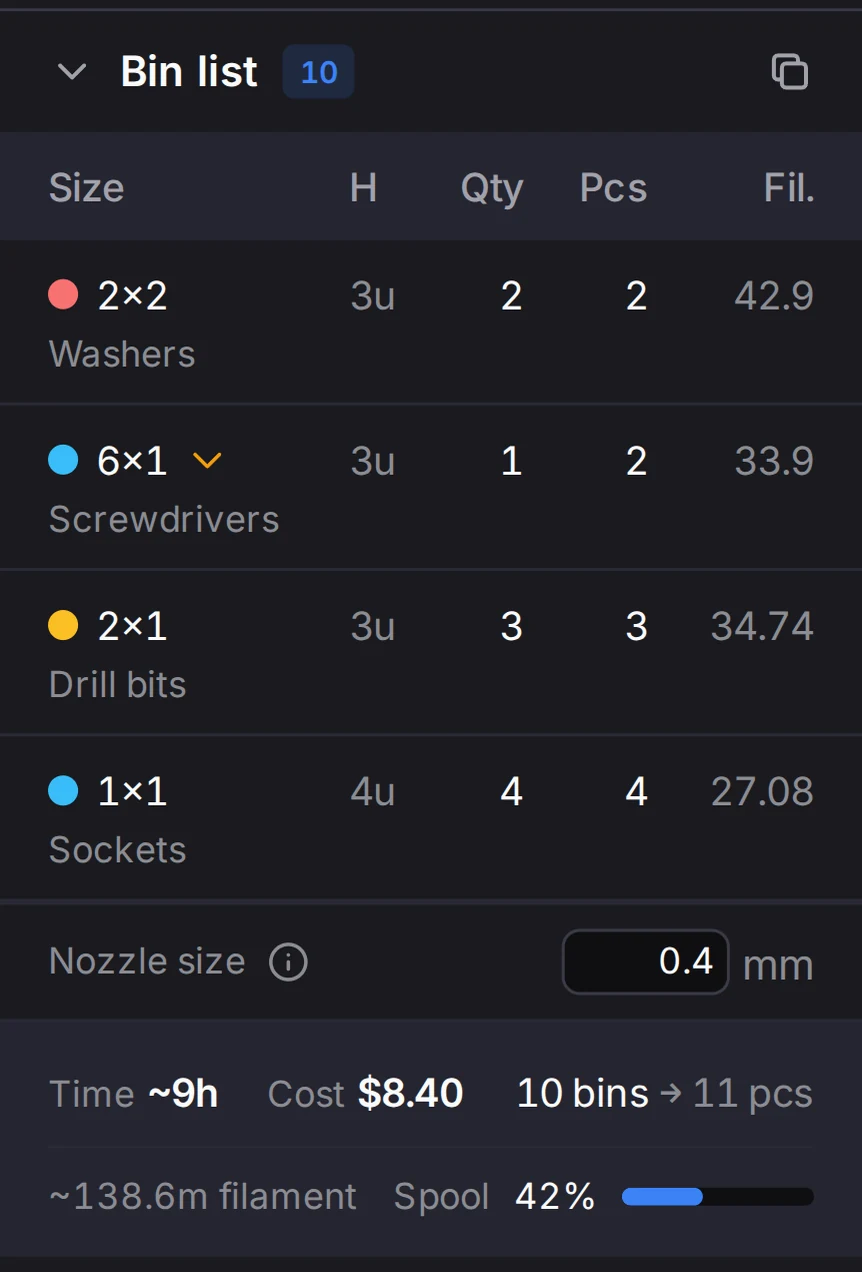
Below the list you'll find the Nozzle size and a summary. The summary shows the print time, the cost, and the number of bins and pieces. It also shows the filament, and how much of a 1 kg spool you'll use. See Filament and time estimates.
Want the list in a spreadsheet? Click the copy button in the list header. It copies the list as TSV.
Find ready-made models
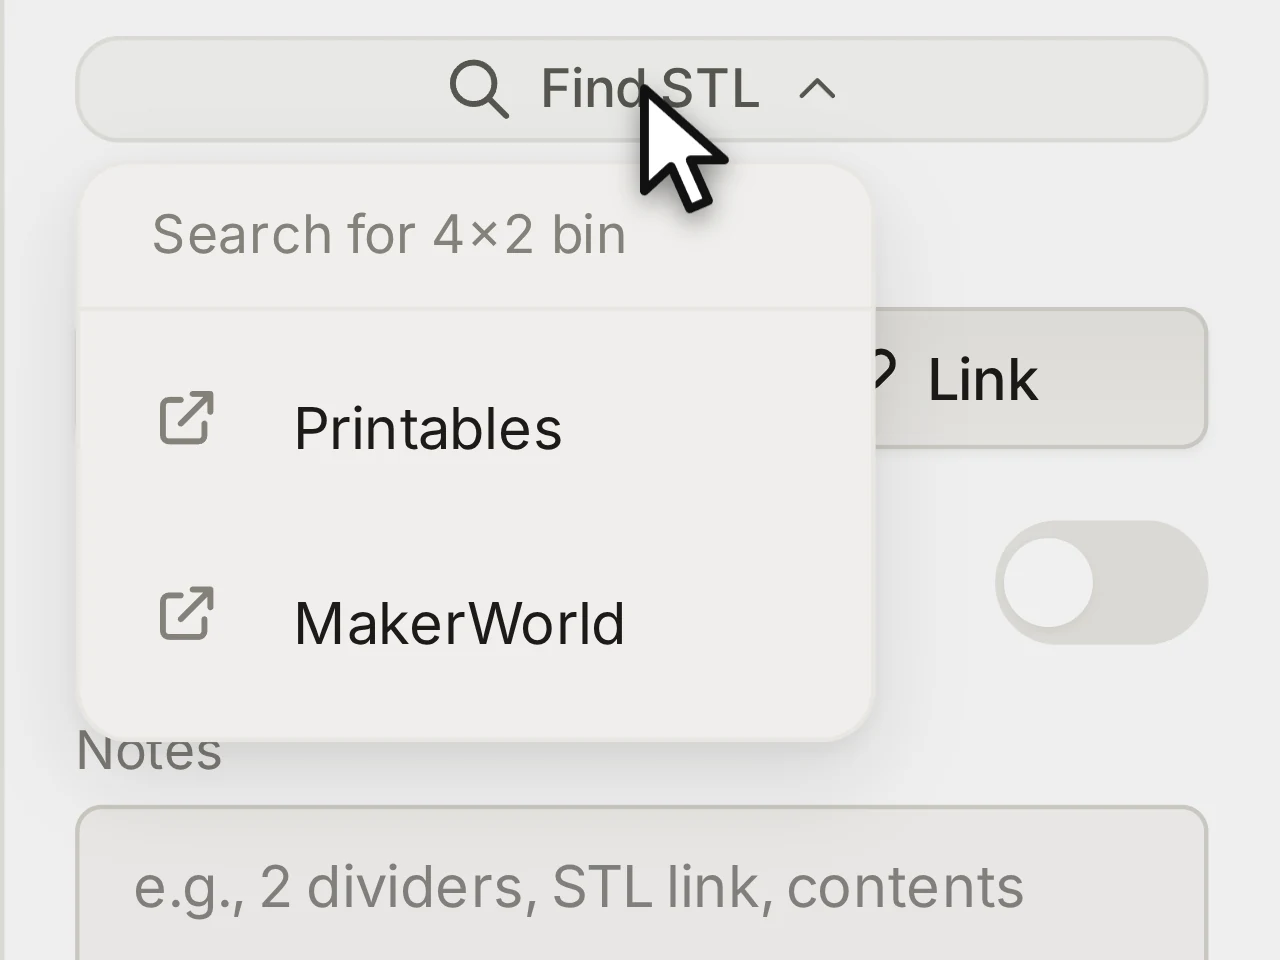
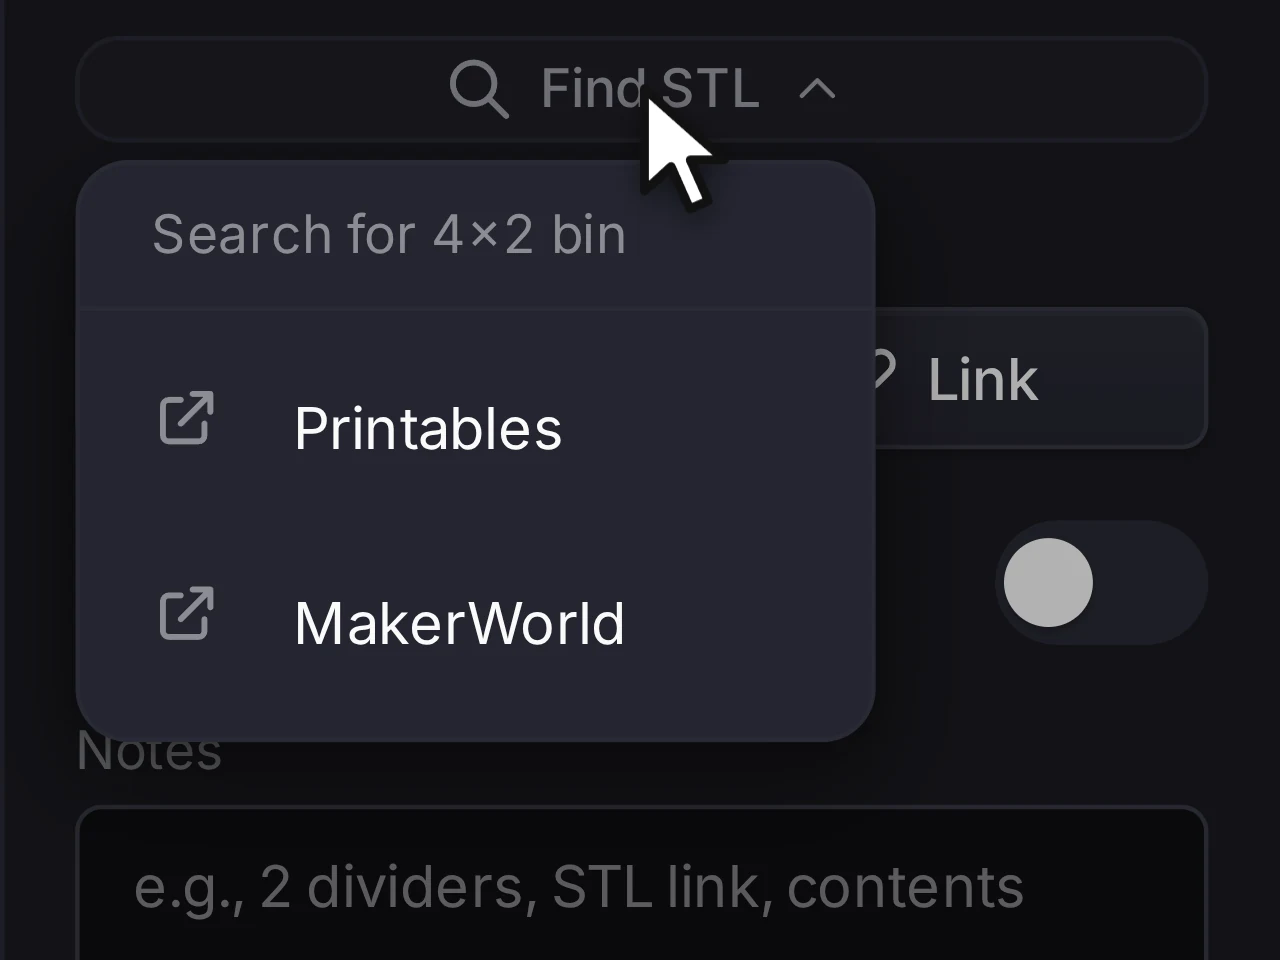
Would you rather print a model that someone else made? Select a bin on the grid, then click Find STL in the bin inspector. It searches model sites for a Gridfinity bin of that size. For a bin that is too large for your bed, it searches for split bin generators.
By default it searches Printables and MakerWorld. To change the sites, open Settings and go to STL search.
Print a paper copy
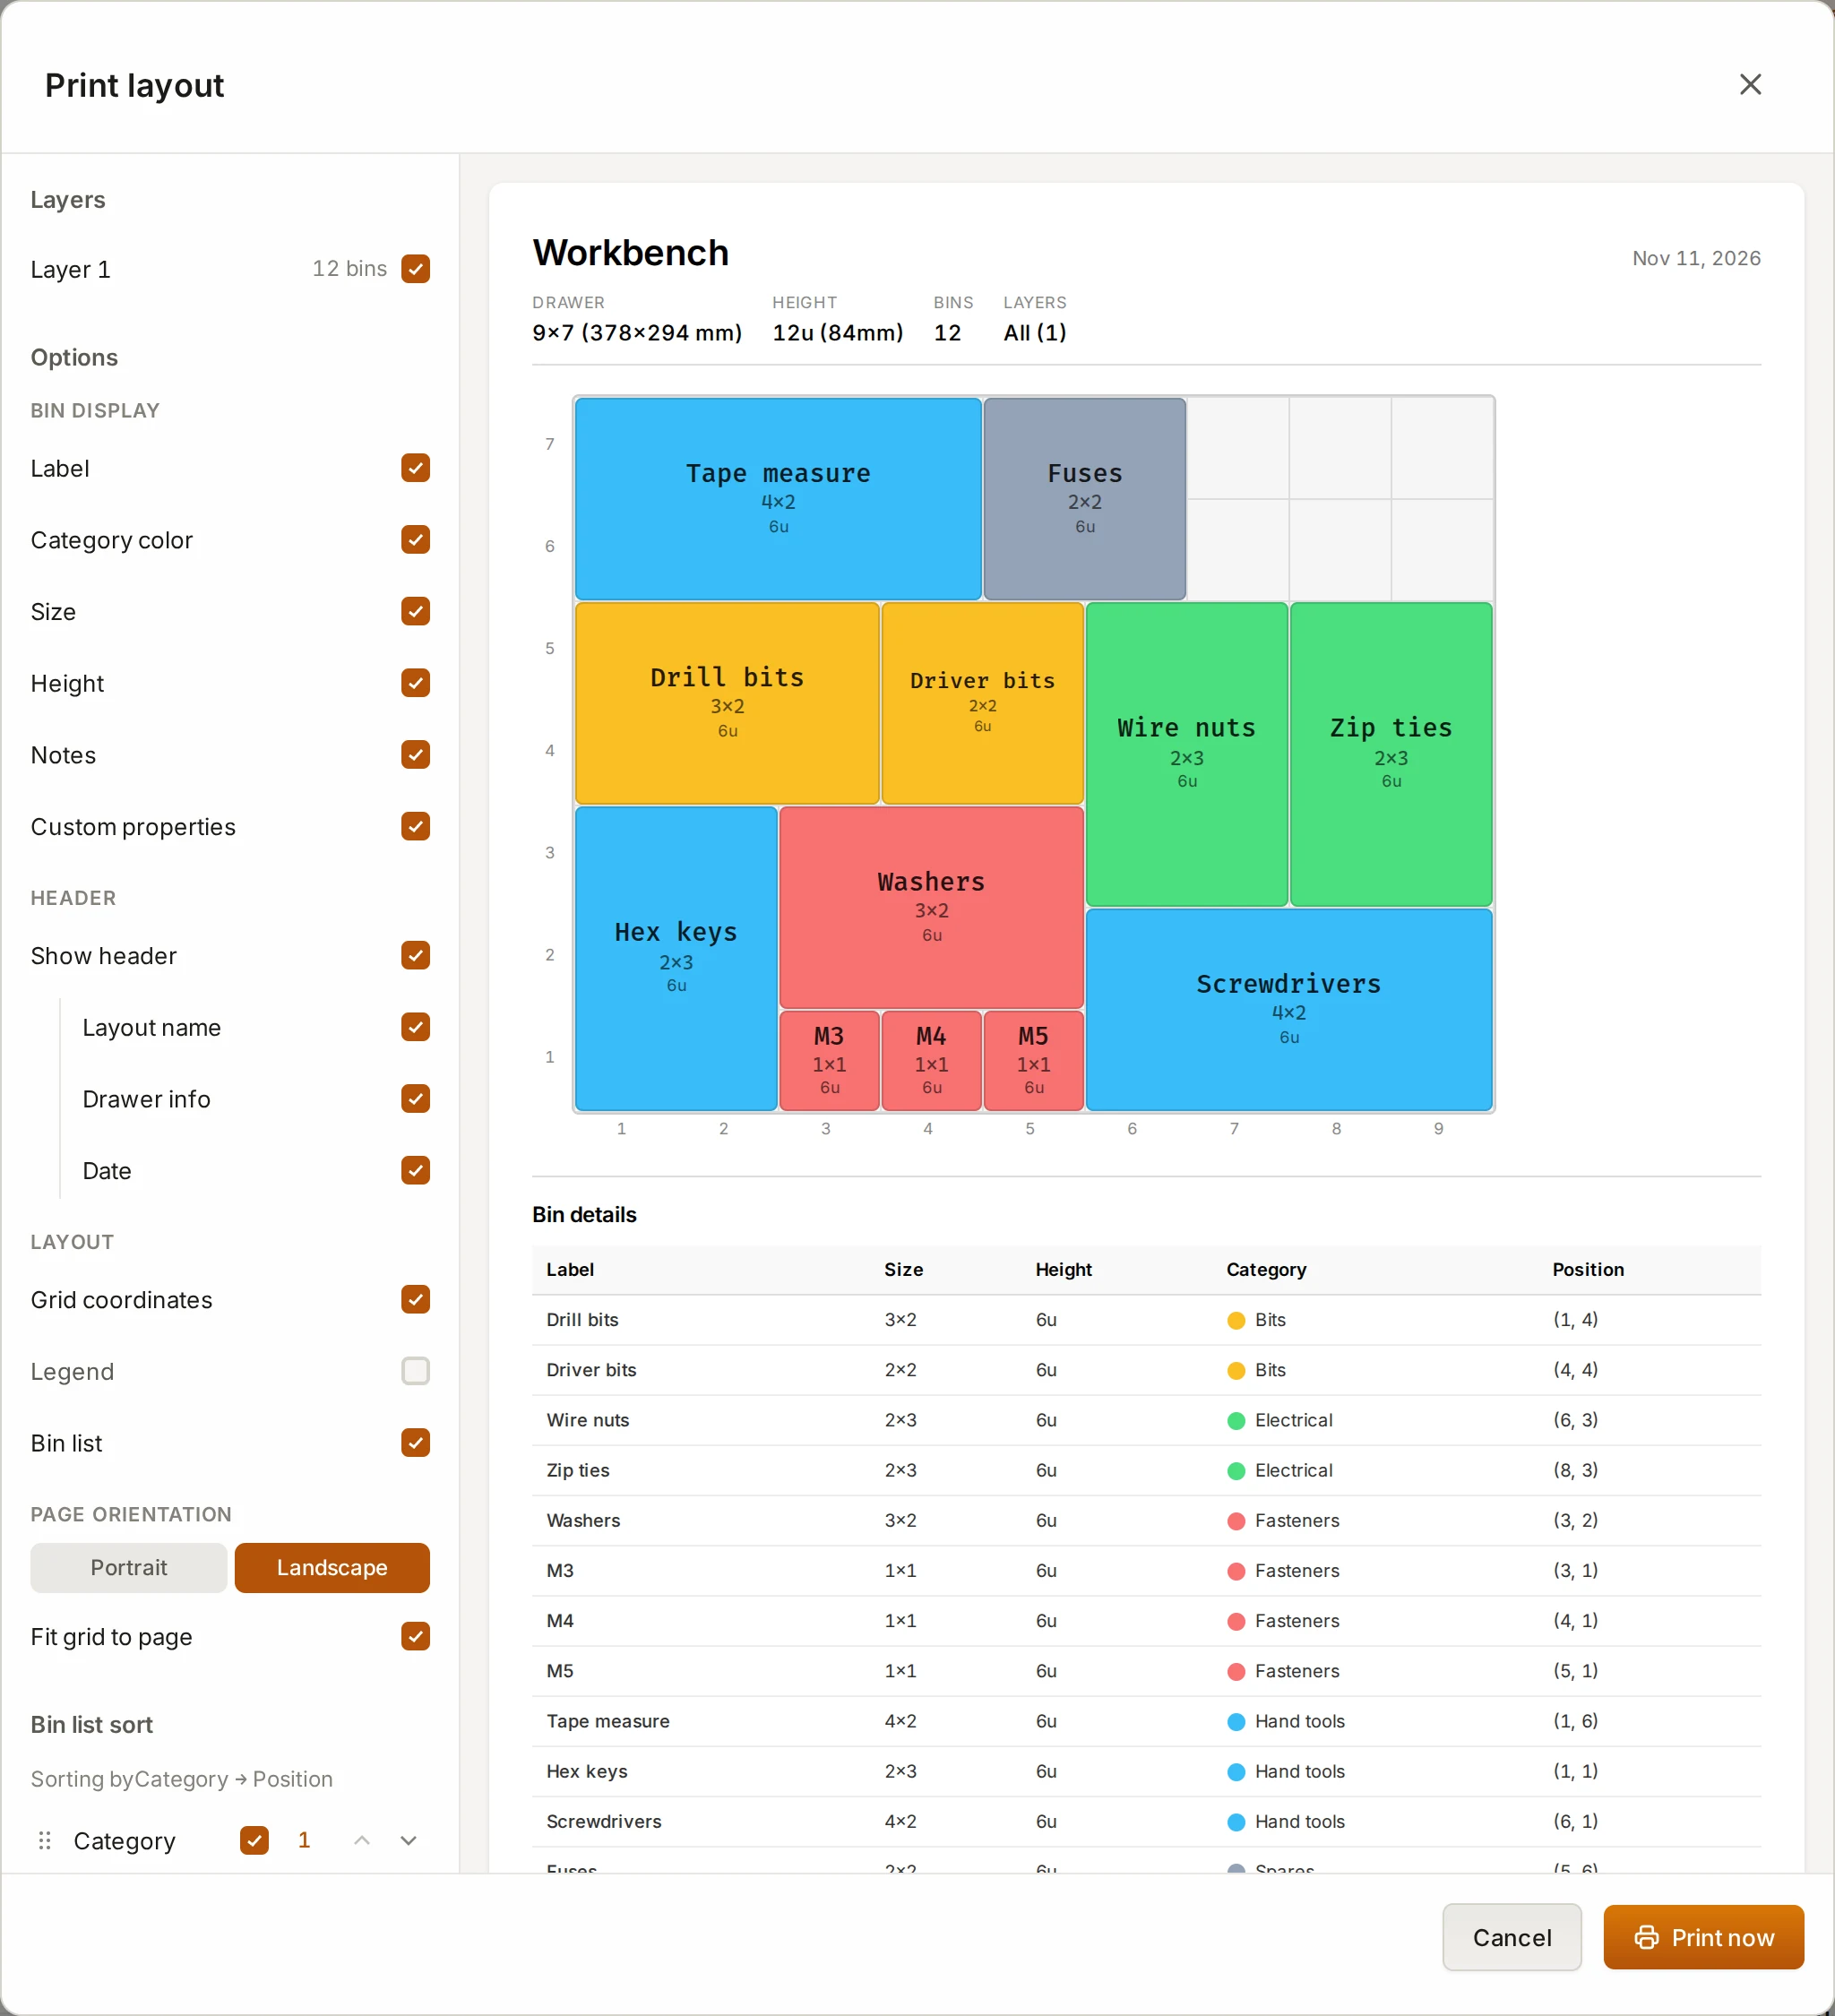
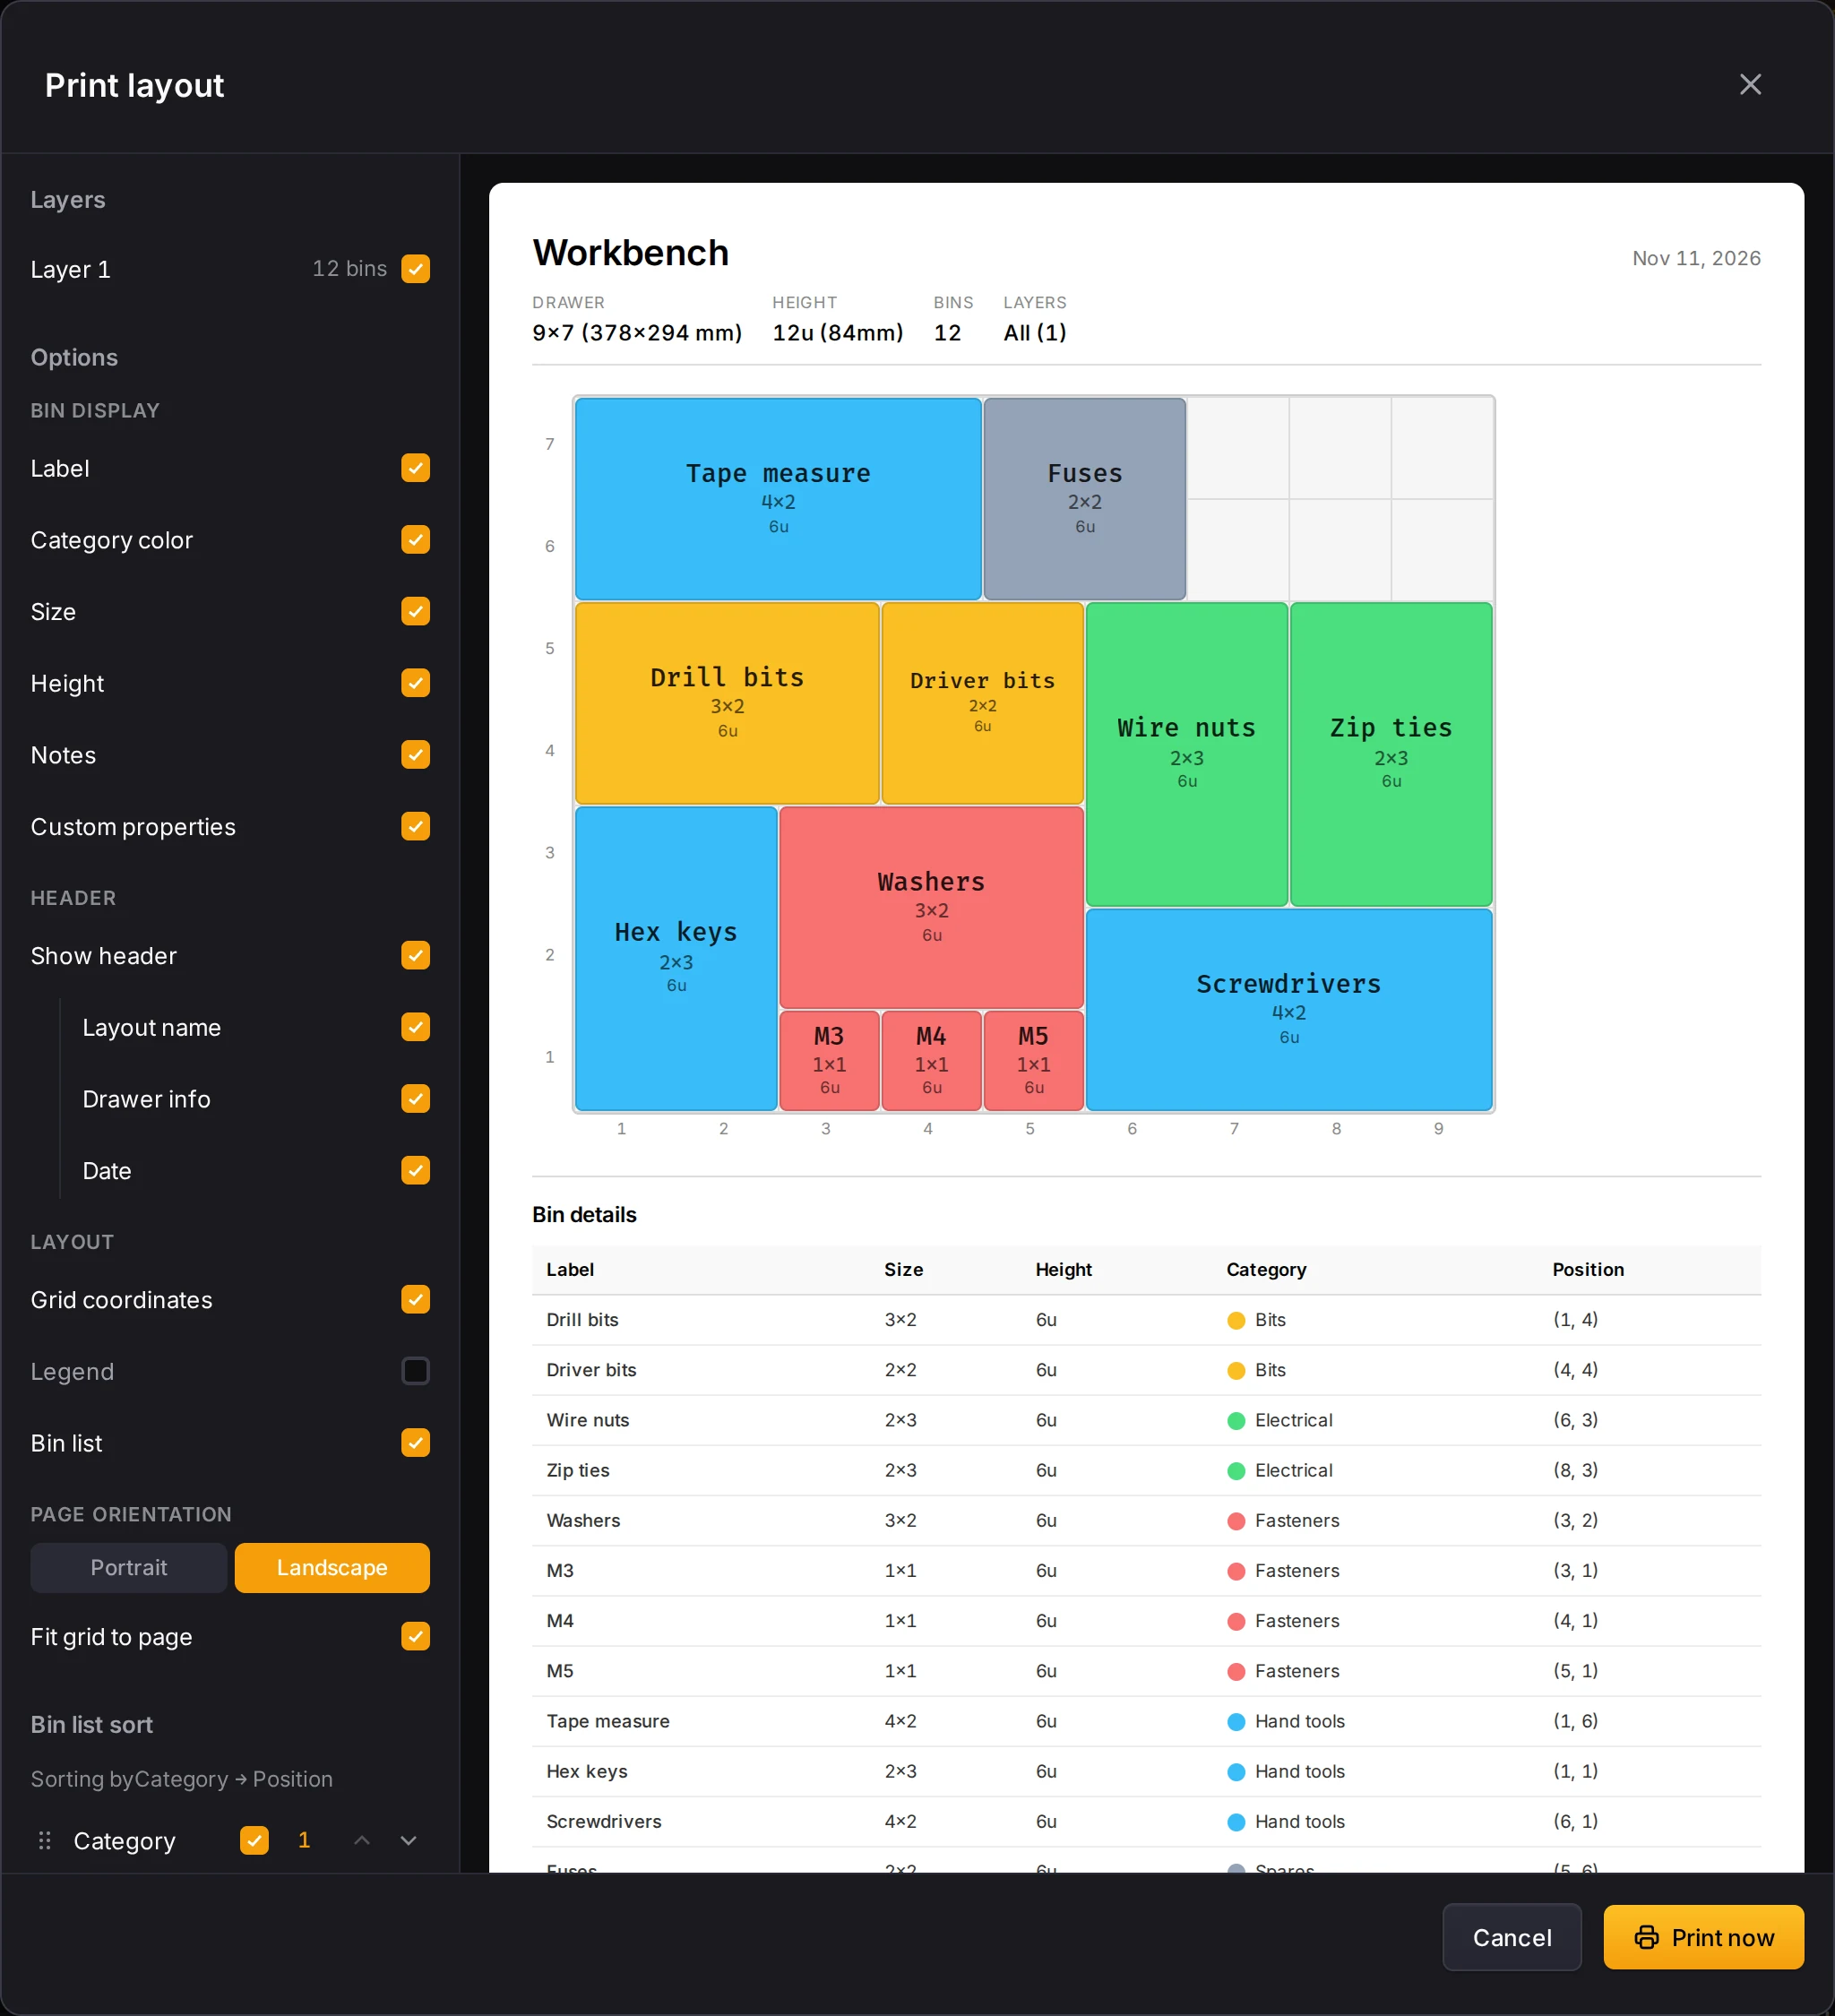
A paper plan is handy to take to the drawer.
- In the header, click Print.
- Pick the layers to print.
- Under Options, pick what each bin shows. Turn on Bin list to add the list.
- Set Page orientation.
- Click Print now.
Export the whole layout as one ZIP
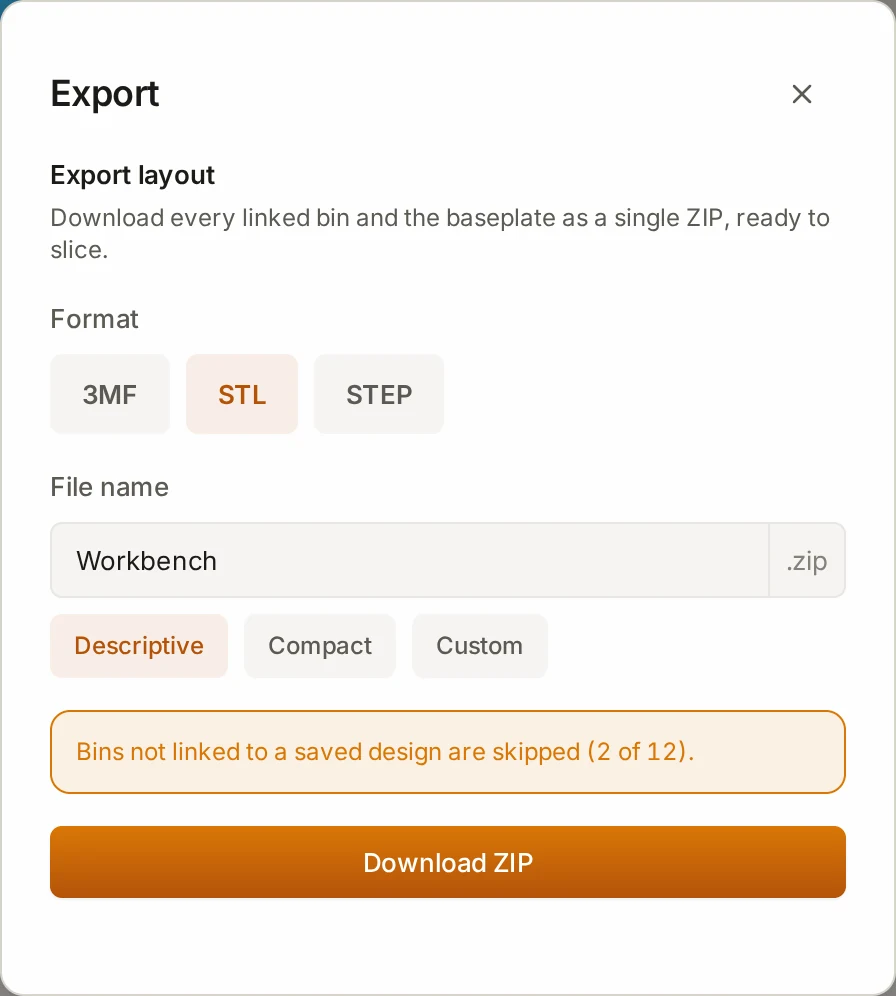
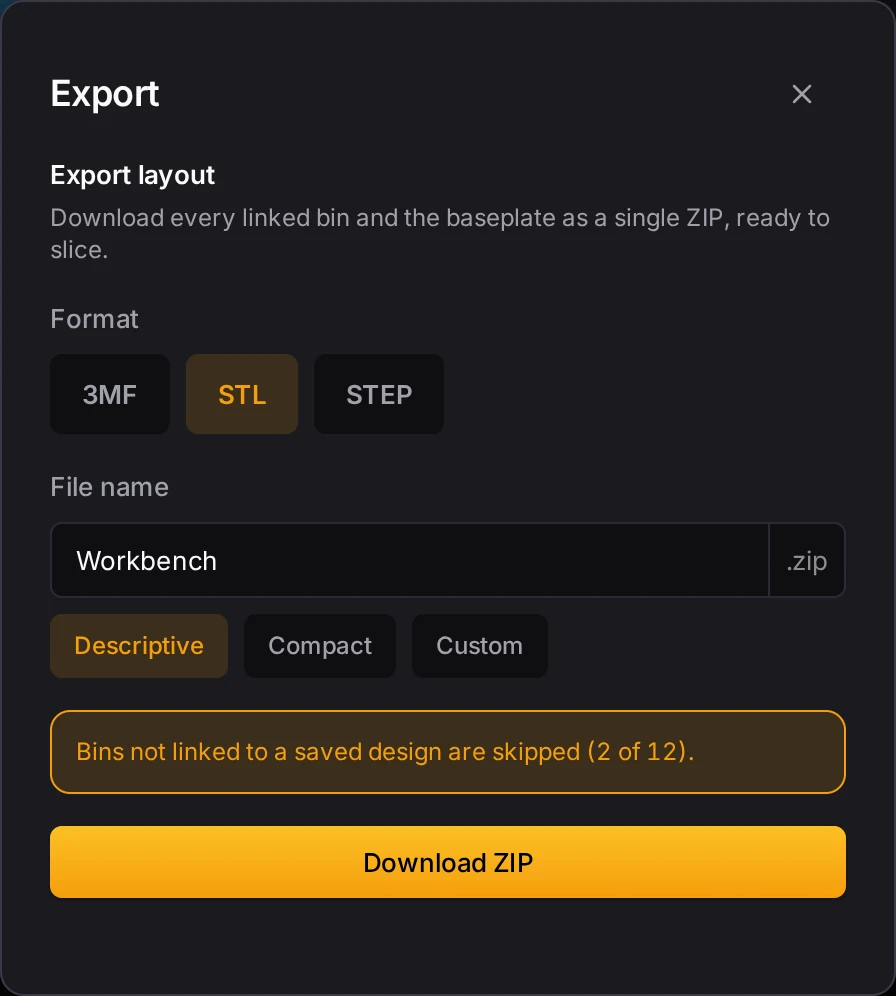
- In the header, click Export. A dialog titled Export opens. Its first section is Export layout.
- Pick a format. See File formats.
- Set the file name. It names the ZIP, and the files inside take their names from each saved design.
- Click Download ZIP.
The download icon in the header of the Bin list opens the same dialog.
WARNING
Link each bin to a saved design before you export. Only a linked bin has a 3D shape. The export skips all other bins, and the dialog tells you how many it skips. To link a bin, select it and choose a design. See Saved designs and linked bins.
What the ZIP holds
A ZIP in STL or STEP looks like this:
my-drawer.zip
├── manifest.txt
├── bins/
│   ├── Screwdriver Bin_2x3x6_magnets.stl
│   ├── Screwdriver Bin_2x3x6_magnets_lid.stl
│   └── gridfinity_8x2x3/            (a bin split for the bed)
│       ├── A1.stl
│       └── B1.stl
├── labels/                          (label plate sheets)
└── baseplate/
    ├── gridfinity-baseplate-10x7_A1.stl
    ├── print-guide.txt
└── assembly-map.png- manifest.txt lists each bin file with its design, size, quantity and estimate. It also lists the bins that the export skipped.
- bins/ has one file for each design, not one for each bin. Print each file as many times as the manifest says. In STL, the lid, dividers and other parts are separate files. In STEP, they are in the same file as the bin.
- A bin that is too large for the bed gets its own folder, with one file for each piece. A bin whose design turns off Split to fit the print bed stays one file.
- labels/ has the swappable label plates, packed onto sheets of your bed size. To export the plates of one bin, see Export the plates.
- baseplate/ has the plate files, the print guide and the assembly map. See Split for your print bed.
Two bins of one design can need different files. A bin that extends into the drawer margin gets a name that ends in its grid position, such as _pos2-0. The manifest lists where each of those files goes. A bin that prints its layout label gets that label in its file name. If two files get the same name, the second one ends in -2.
A 3MF export is one project file
With 3MF, the ZIP holds one .3mf project file in place of the folders. It holds every part of the layout, placed on build plates of your bed size, with the colors of each part. The ZIP also holds manifest.txt, and the baseplate print guide and assembly map. See Slicer setup.
If part of the export fails
Don't worry: the Layout Tool still downloads what it can.
- If the baseplate fails, you get the bins only, and a message tells you.
- If a custom split has a piece that is too large for the bed, the message names the pieces.
- If no bin design loads, you get the baseplate only.
Next steps
- Slicer setup: open the files in Bambu Studio, OrcaSlicer or PrusaSlicer.
- Filament and time estimates: learn what the numbers in the list mean.
- Troubleshooting prints: find out why a file is not in the ZIP.