
Lids
A lid keeps dust out and keeps small parts in their own compartments. The Gridfinity Layout Tool makes the lid as a second part that fits your bin. Pick how it holds on, then shape its top and its grip. Anatomy of a bin shows where the lid sits on a bin.
Turn on a lid
- In the bin designer, open the Lid group.
- Turn on Lid.
- Under How it attaches, pick how the lid attaches.
Most lids grip the stacking lip of the bin. If the stacking lip is off, the panel shows Requires stacking lip and a button that turns the lip on for you. A slanted bin can't have a lid.
Some features get in the way of a lid, for example handles that reach up into the lip. The section lists them under Compatibility notes. Some come with a Fix button that clears the conflict for you.
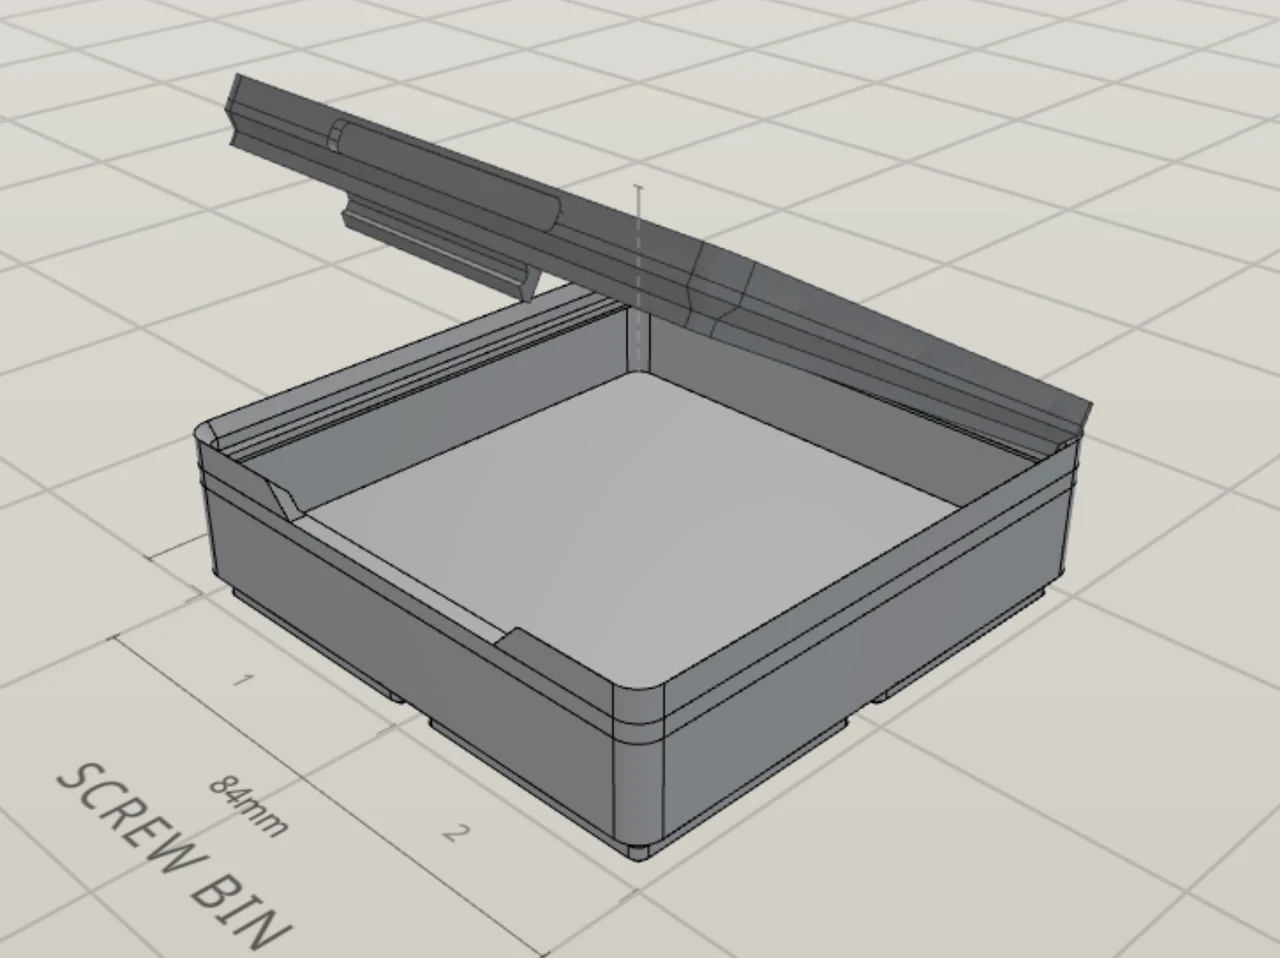
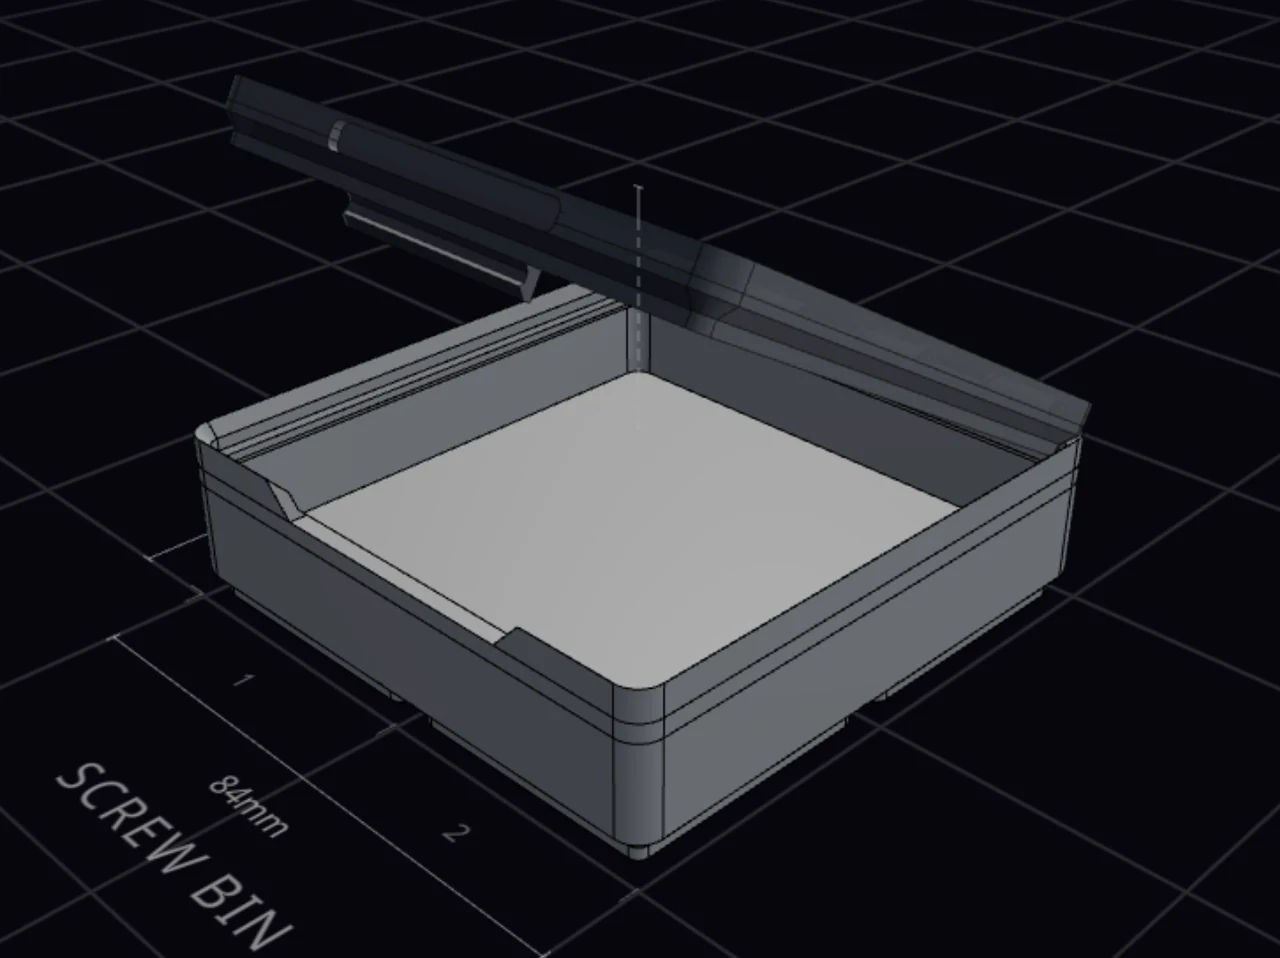
Pick how the lid attaches
Not sure? Keep Click rails, which every new lid starts with.
| Attachment | How it holds | Settings |
|---|---|---|
| Friction | The lid grips the lip by friction alone. It's the easiest lid to print and to pull off. | None |
| Click rails | Snap rails on the lid click under the lip. | Snap-fit sides, Rail coverage |
| Magnetic | A magnet in each corner of the bin and the lid pulls the lid shut. | Magnet diameter, Magnet depth, Edge magnets |
| Sliding | A flat plate slides in a channel along two walls. | See Sliding lids |
| Hinged | The lid swings on a pin of filament. | See Hinged lids |
A new lid starts with click rails on all four sides, each rail half as long as its wall. If the base of the bin has magnet holes, the lid also starts with a stackable top and magnet pockets. Under Snap-fit sides, turn off a side to leave it without a rail. If a label tab, wall cutout or handle is in the way, the panel turns that side off for you.
A magnetic lid takes 6 × 2 mm magnets by default. Glue the back magnets the other way up from the front ones, in the bin and in the lid. Each lid magnet must pull toward the bin magnet under it. The lid then closes only one way round, and a lid that is turned around pushes away. Lidded boxes that stack shows a way to mark the magnets. Edge magnets adds up to three more magnets along each long edge, so a large lid doesn't sag.
Sliding lids
A sliding lid is a flat plate that slides in and out of a channel. It doesn't need the stacking lip.
| Setting | What it does |
|---|---|
| Channel position | Under the lip keeps the stacking lip, so other bins still stack on this one. At the rim gives the deepest inside, but you must turn the stacking lip off. |
| Opens toward | The wall the lid slides out of. The two walls on each side of it carry the runners. |
| Pull | What your finger pulls on: None, Finger notch, Tab or Finger catch. |
| Click shut | Adds a small ramp on each runner. The lid clicks past it, so a knock can't slide the lid open. |
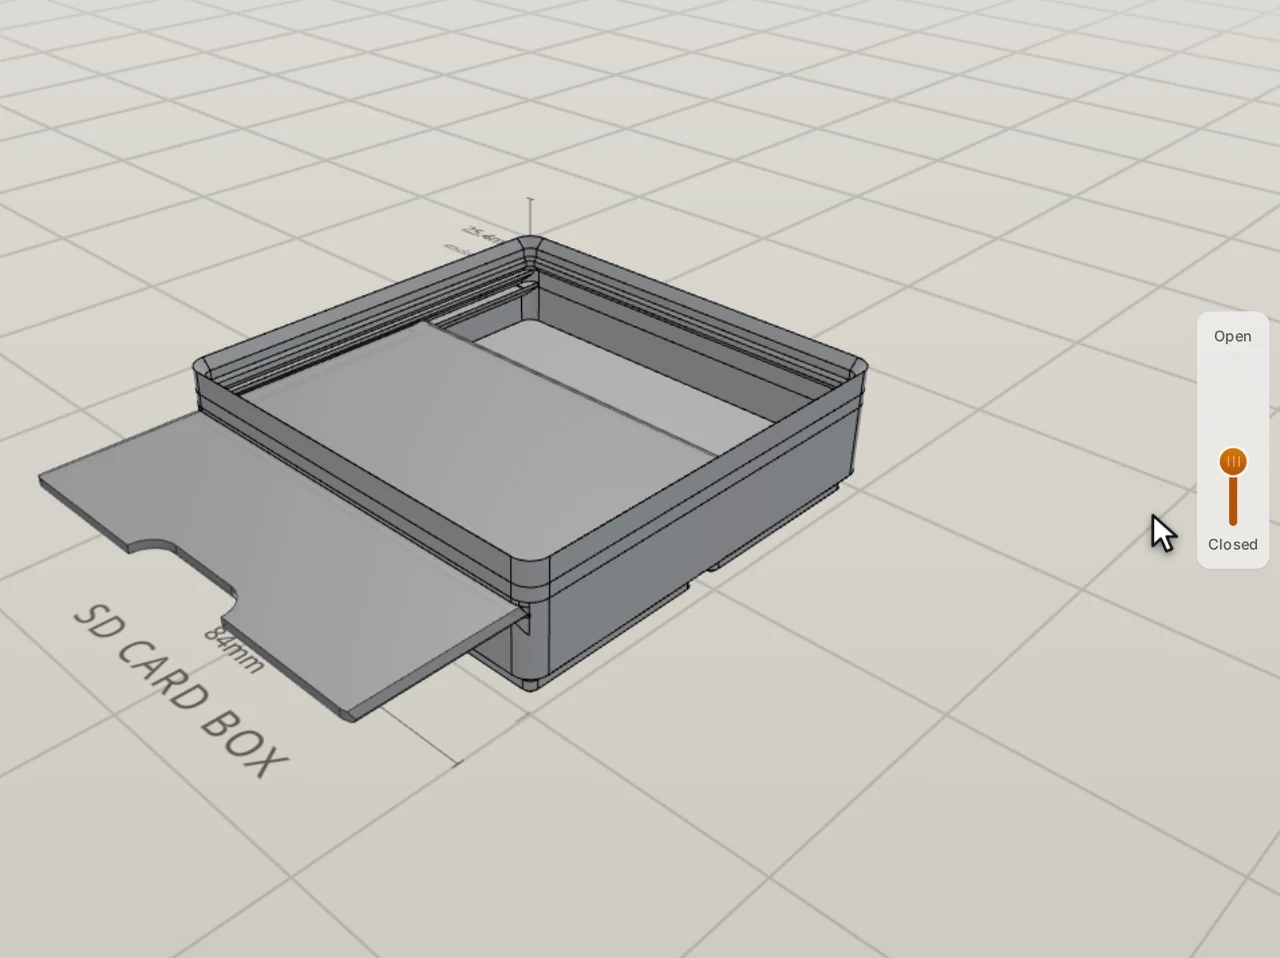
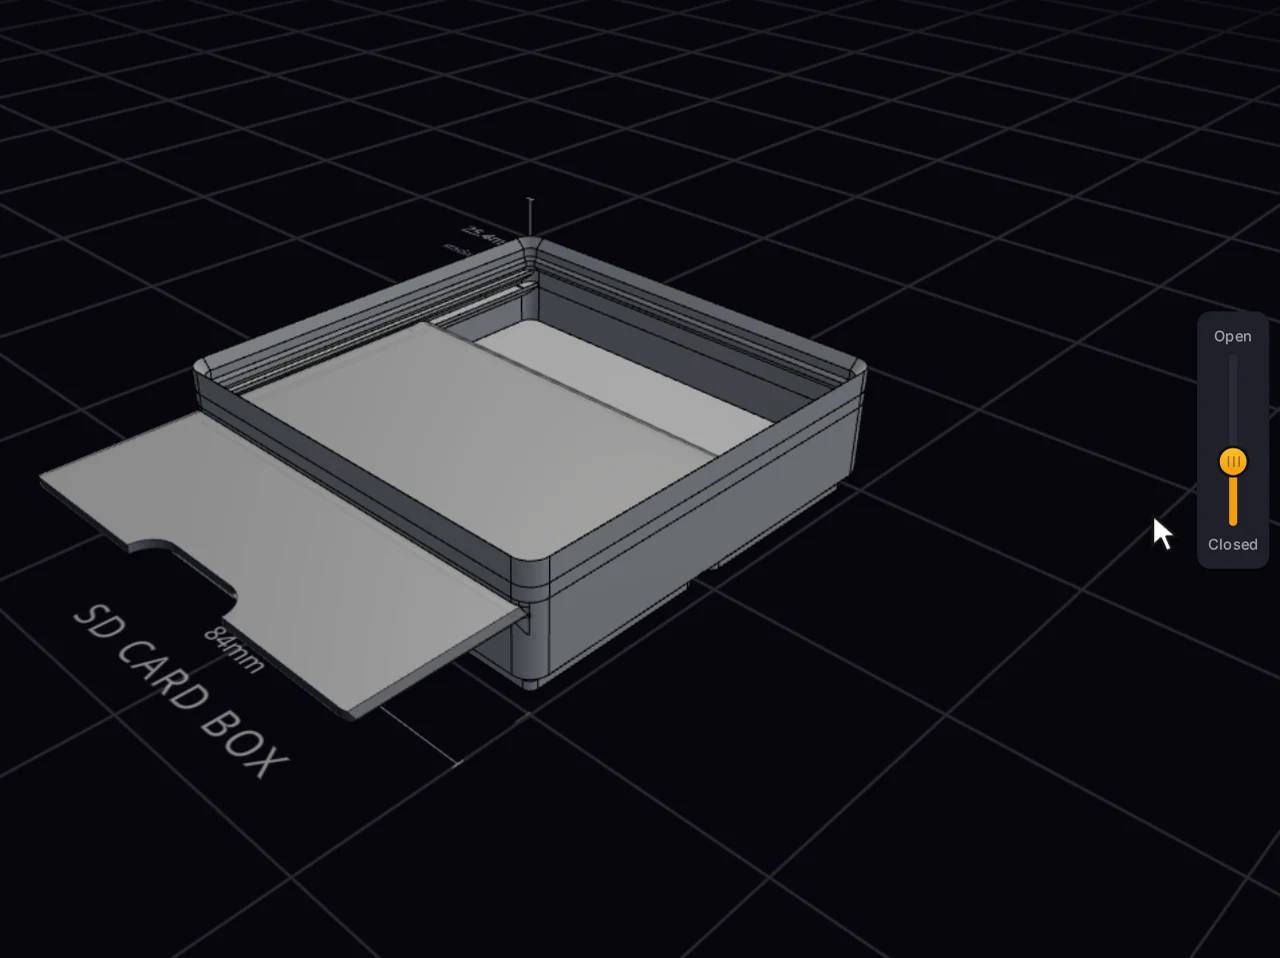
The finger catch is a part of the stacking rim that moves with the lid, so the whole width becomes a pull. It keeps the lip peak shape of the rest of the rim.
Sliding clearance, under Fine tuning, sets the gap between the lid and its channel, from 0.1 to 0.6 mm. If the lid binds, raise it. If the lid rattles, lower it.
Hinged lids
A hinged lid has knuckles on one wall. A short piece of 1.75 mm filament goes through them as the hinge pin, so you need no metal pin. The panel tells you how long to cut each piece.
- Hinge on: the wall the lid swings up from. It starts on the Back wall, so the open lid falls away from your hand.
- Holds shut with: Nothing, Snap (the default) or Magnets. Magnets give the strongest hold, and they still work with a cutout in the wall opposite the hinge.
- Hinge fit, under Fine tuning: the gap between the knuckles and the pin. If the hinge binds, raise it. If the lid rattles, lower it.
When you first pick Hinged, the lid also gets a scallop grip on the wall opposite the hinge, so your thumb can lift it. A hinged lid can't carry a stackable top.
Pick the top surface
Under Top surface, pick what the top of the lid does. A sliding lid has no top surface choice.
| Top | What you get |
|---|---|
| Flat | A plain closed top. |
| Stackable | A grid of Gridfinity sockets, so another bin locks onto the lid. |
| Tray | A shallow recess in the top that holds small parts. Set its Tray depth and Tray rim under Fine tuning. |
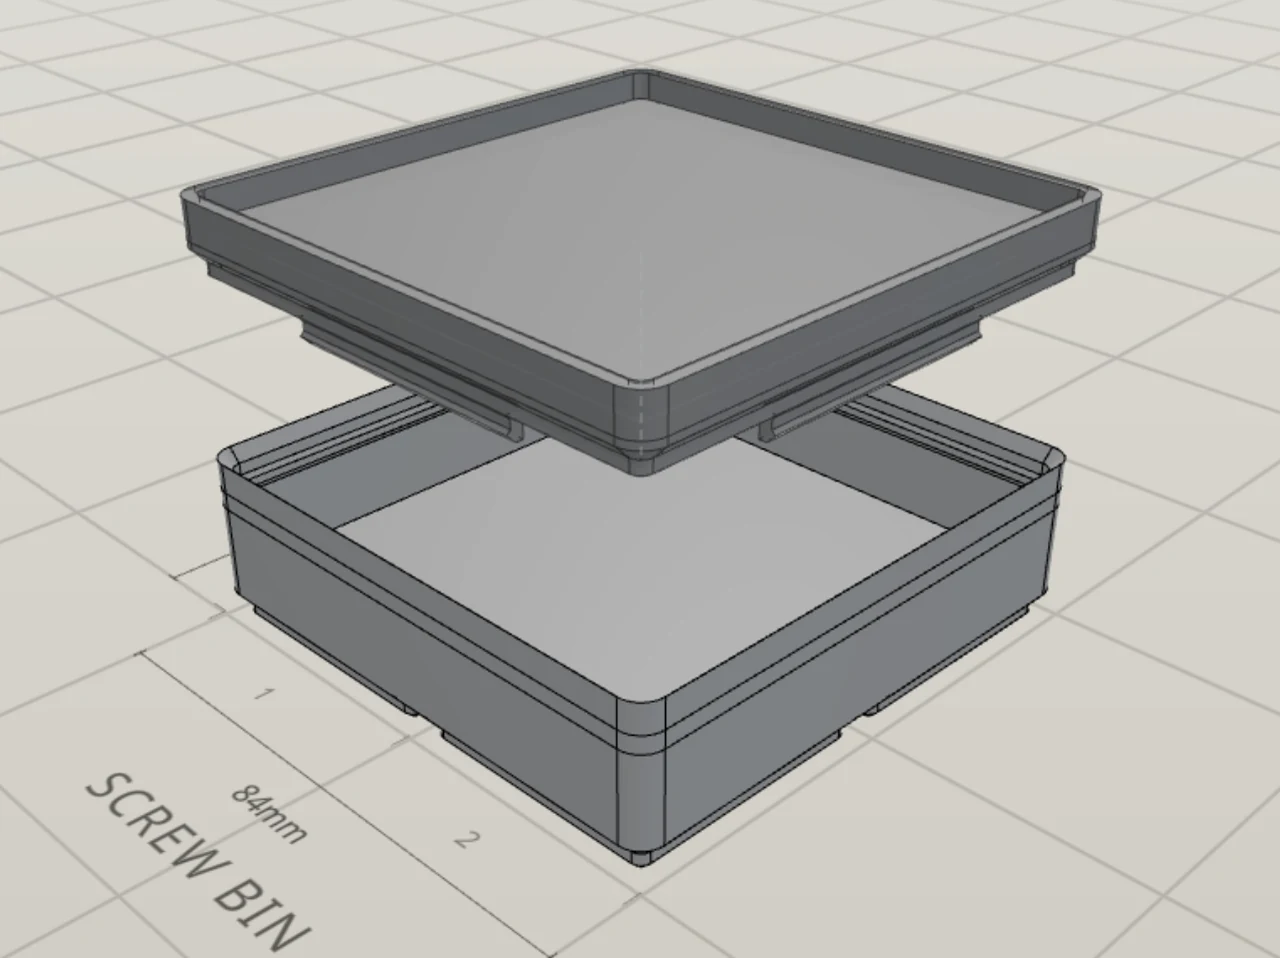
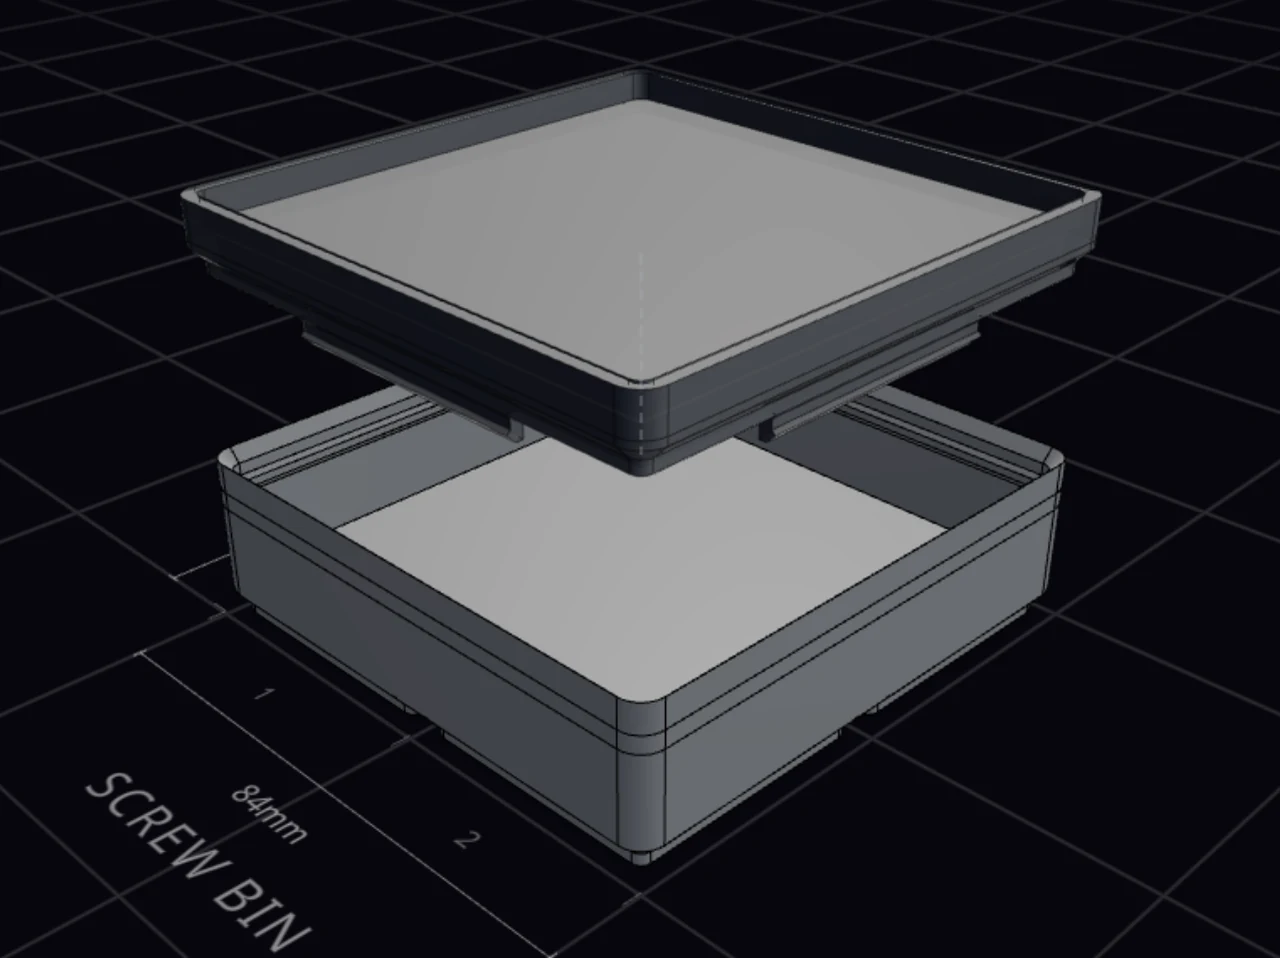
A stackable top has three more options:
- Stacking lip only makes one lip around the edge, not a full grid. The top face stays clear, and it takes less filament.
- Magnet pockets cuts holes for the magnets of the bin above.
- Separate baseplate (glue-on) prints the stack grid as its own flat part. Glue it onto the lid top after you print. The lid then prints without supports.
Set the height and thickness
Tall contents? Extra lid height raises the lid by up to 100 mm. Switch it to height units to line the lid top up with the rim of a taller bin. Lid thickness, under Fine tuning, makes a large lid stiffer.
Add a grip
A snug lid can be hard to get a fingernail under. The Lid grip group removes a little material where the lid meets the bin, so a fingertip gets in.
- Relief: Chamfer, Shadow line or Scallop. A shadow line moves the outer face of the lid, so a stackable lid can't use it.
- Walls and Width set where the relief goes and how wide it is.
- Also dip the bin's lip also lowers the stacking lip of the bin across the same span. A bin stacked on top then has nothing to locate against along that span.
A sliding lid has no grip group. Use its Pull setting.
Cut holes in the lid
Click Cut holes in the lid to draw shapes that go right through the lid: a slot to dispense parts, a vent, or a hole for a cable. The button opens the cutout editor, with the same tools as for a bin. See Draw a cutout.
A lid holds up to 24 shapes, clear of the mating wall and the magnets. Holes need a flat top or a lip-only top, on a rectangular bin.
Other lid options
- Lid text puts text on the lid top. See Labels and text.
- Lid fill fills the lid down to just above the dividers, so small parts stay in their compartments. It works on friction and magnetic lids.
- Create matching tray… starts a new design with the same size as this bin. Its underside is a lid, so it sits on this bin as an organizer tray. To stack whole boxes without a lid, see Nest boxes on each other.
The lid exports with its rails up, ready to print. The default lid needs no supports, but a fused stack grid can need them.
When it goes wrong
You can't turn on the lid
Read the note under the switch. It names the conflict to fix. If the stacking lip is off, click Enable stacking lip under the switch.
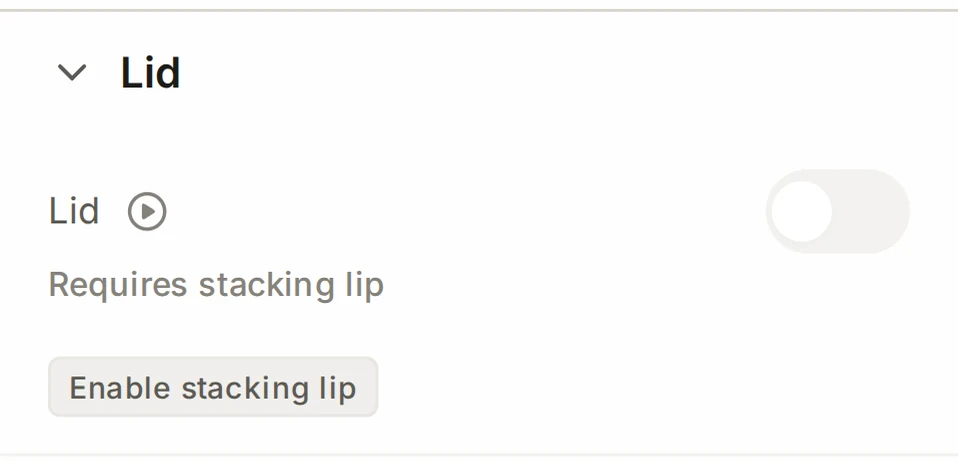
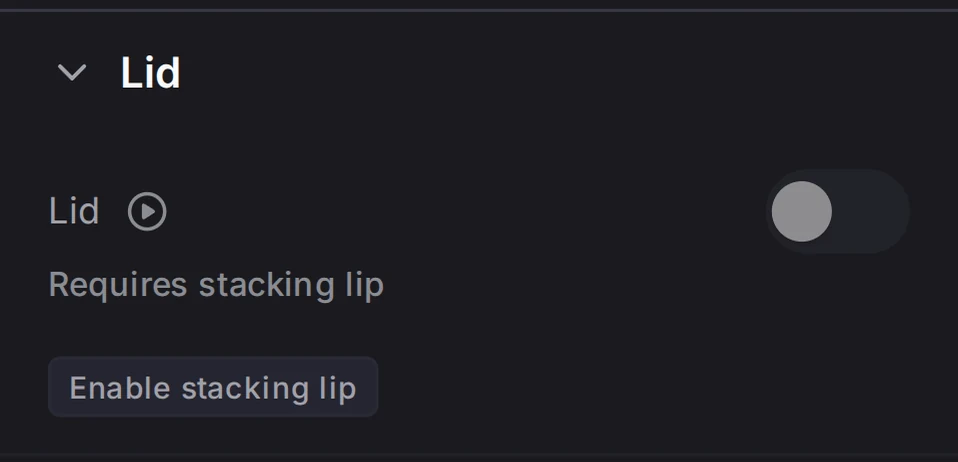
Most lids grip the stacking lip. Wall cutouts or handles block the lid only when they leave no usable lip on any wall. A lid also can't sit down on divider pieces that are taller than the inside of the bin.
One wall has no click rail
Look under Compatibility notes. It names the feature that took the rail. For a finger scoop, lower the scoop height, or turn on Relieve interior at the lid seam under Fine tuning.
A label tab, a wall cutout, a handle or a tall scoop at the top of a wall gets in the way of the rail. The bin designer then makes that rail shorter, or leaves it off.
A sliding lid catches on the dividers
Turn on Relieve interior at the lid seam under Fine tuning. Dividers then stop a few millimeters below the rim, and label tabs sit lower.
The lid sweeps across the whole top of the bin, so dividers, label tabs or a scoop at the rim stop it. While the option is off, the compatibility notes warn you.
A hinged lid won't stay shut
Under Holds shut with, pick Magnets. Or make Extra lid height lower.
On a tall lid, the snap catch can't clear the rim as the lid opens. The bin designer then builds the lid without the catch, and the compatibility notes tell you.
Next steps
- Colors: print the lid and its stack lip in their own colors.
- Stacking: learn how the stacking lip works with lids.
- Lidded boxes that stack: build a set of parts boxes with magnetic lids, step by step.
- Special bins: see other bin types, such as the organizer tray.
- Fit and tolerances: tune fits for your printer.