
Lidded boxes that stack
A box of small parts that goes to a job needs a lid that stays shut. The parts must also stay in their own compartments when the box tips. This recipe makes four parts boxes for a repair kit. Magnets hold each lid shut, and the lid fills the space above the dividers. A grid on top of each lid locks the next box on, so a stack on a shelf stays put. The boxes have standard Gridfinity feet, so they also fit a baseplate in a drawer.
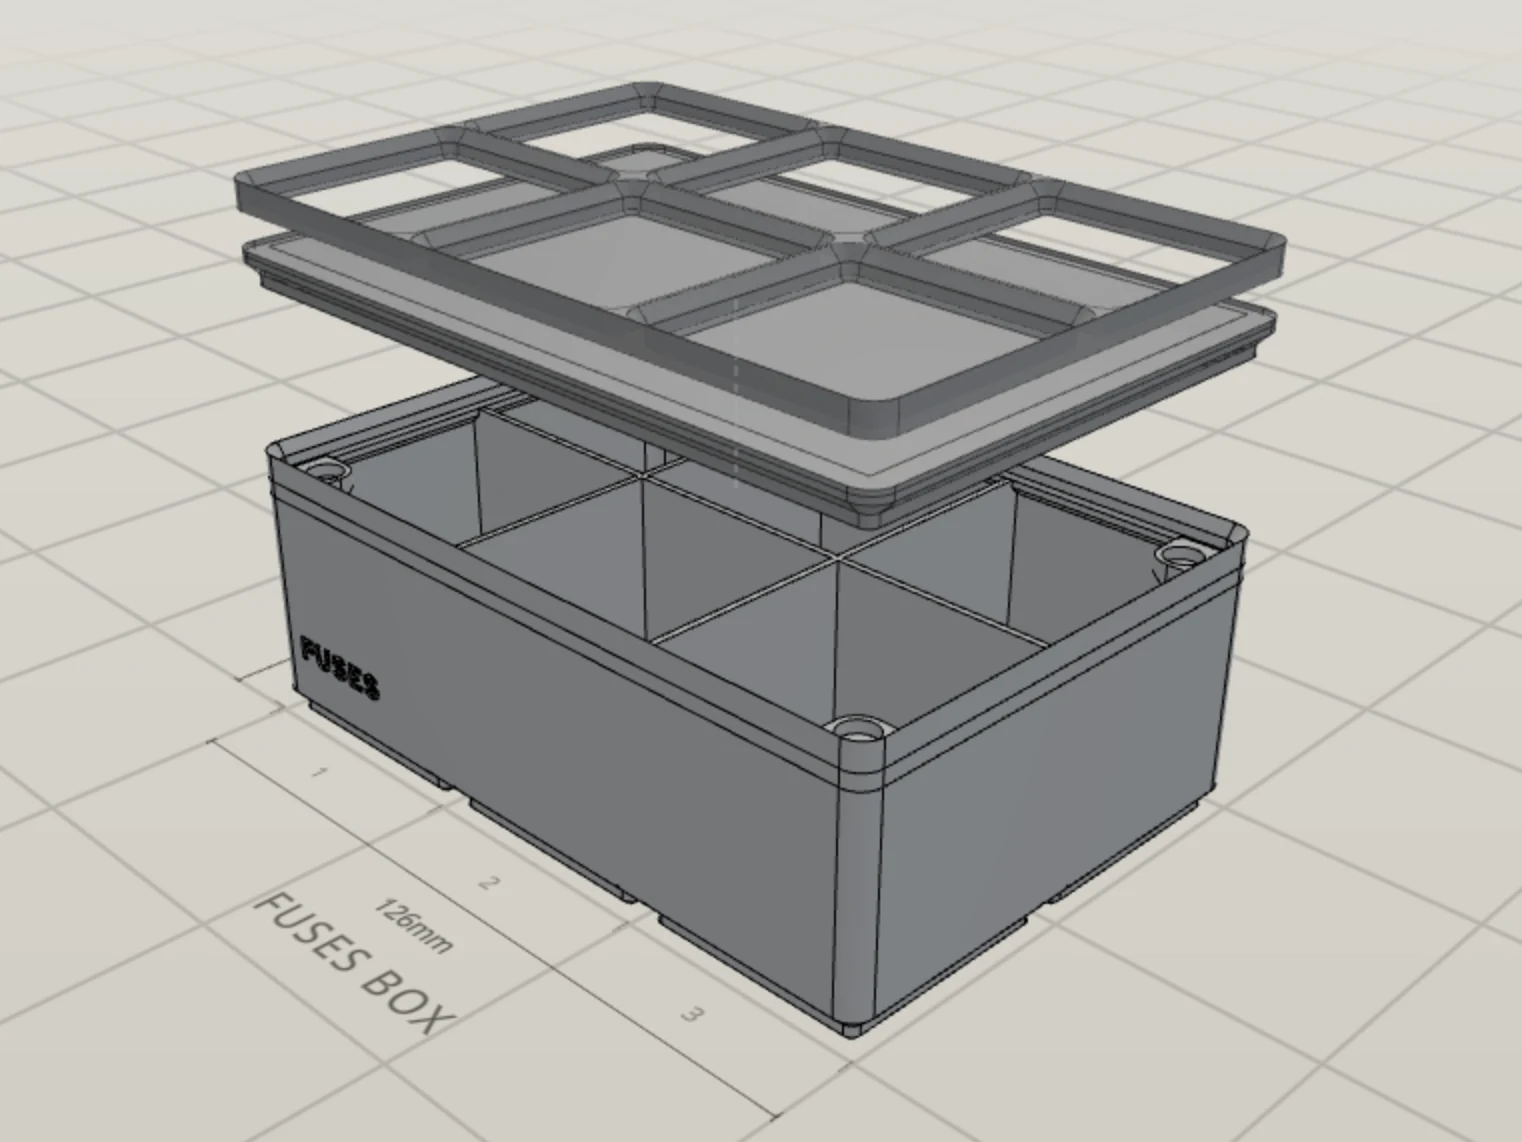
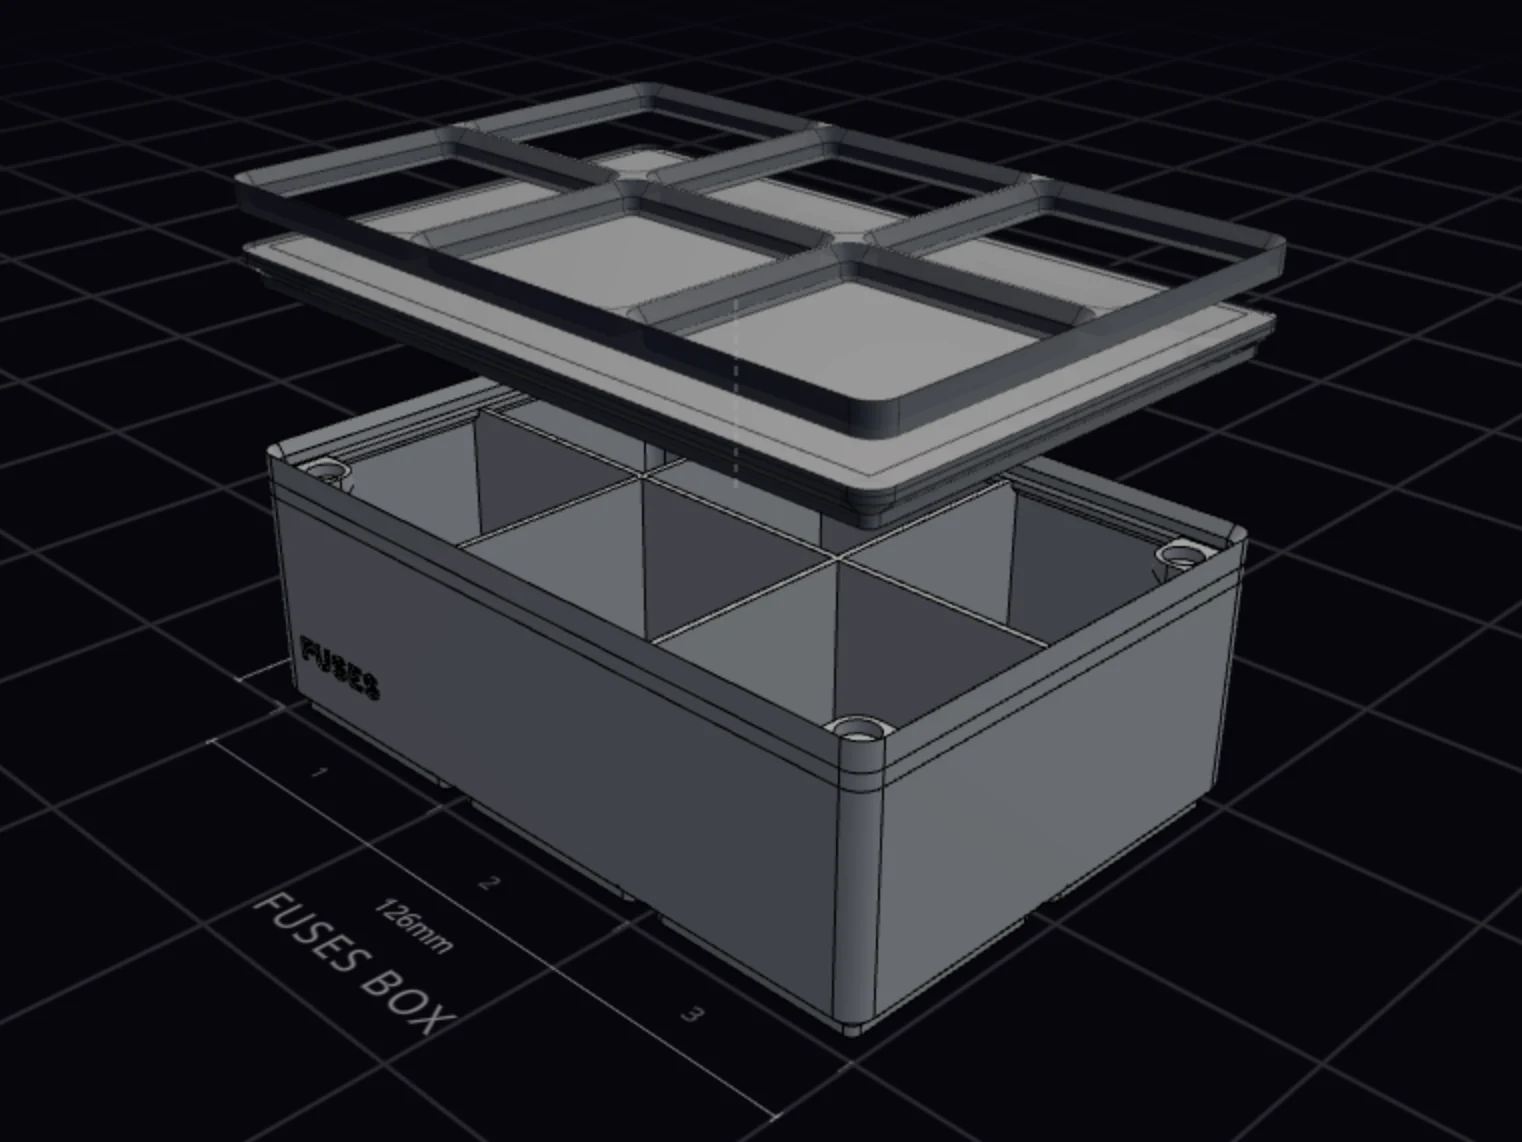
What you need
- A print bed that takes a part of 126 × 84 mm, the size of each box.
- 32 round magnets of 6 × 2 mm: 8 for each box, one in each corner of the box and of the lid.
- Super glue for the magnets and the stack plates.
The plan
Each box is 3 × 2 × 6 with 6 compartments, so you make one design and copy it. Only the name on the front changes.
| Box | Holds |
|---|---|
| FUSES | Blade and glass fuses |
| TERMINALS | Crimp terminals |
| CONNECTORS | Wire connectors and splices |
| SCREWS | Small screws, nuts and washers |
Each compartment is about 40 × 40 mm and 35 mm deep. With its lid, a box stands 52.9 mm tall.
Step 1: Size the box
- Click Bins in the header to open the bin designer.
- Click the button next to the design name, then click New design.
- Click the name in the header, and type Fuses box.
- In the Shape group, set Width to 3, Depth to 2 and Height to 6.
The readout under the size shows 126 × 84 × 42 mm, and 123.1 × 81.1 × 35 mm inside.
Step 2: Divide the box
In the Interior group, set Columns to 3 and Rows to 2. The panel shows the size of each compartment, about 39.8 × 39.9 mm.
Step 3: Add a magnetic lid
- Open the Lid group, and turn on Lid.
- Under How it attaches, pick Magnetic.
- Turn on Lid fill.
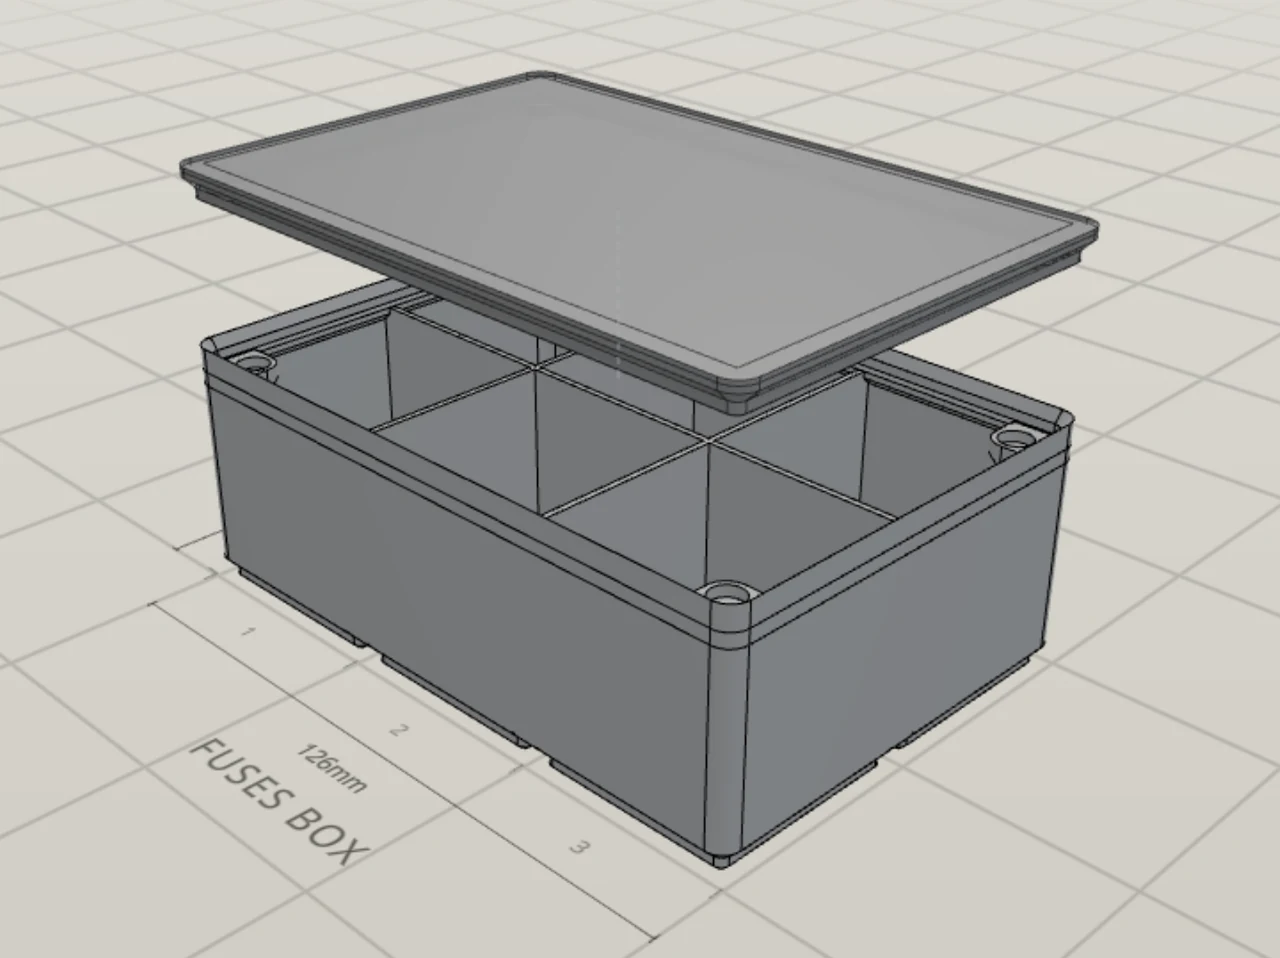
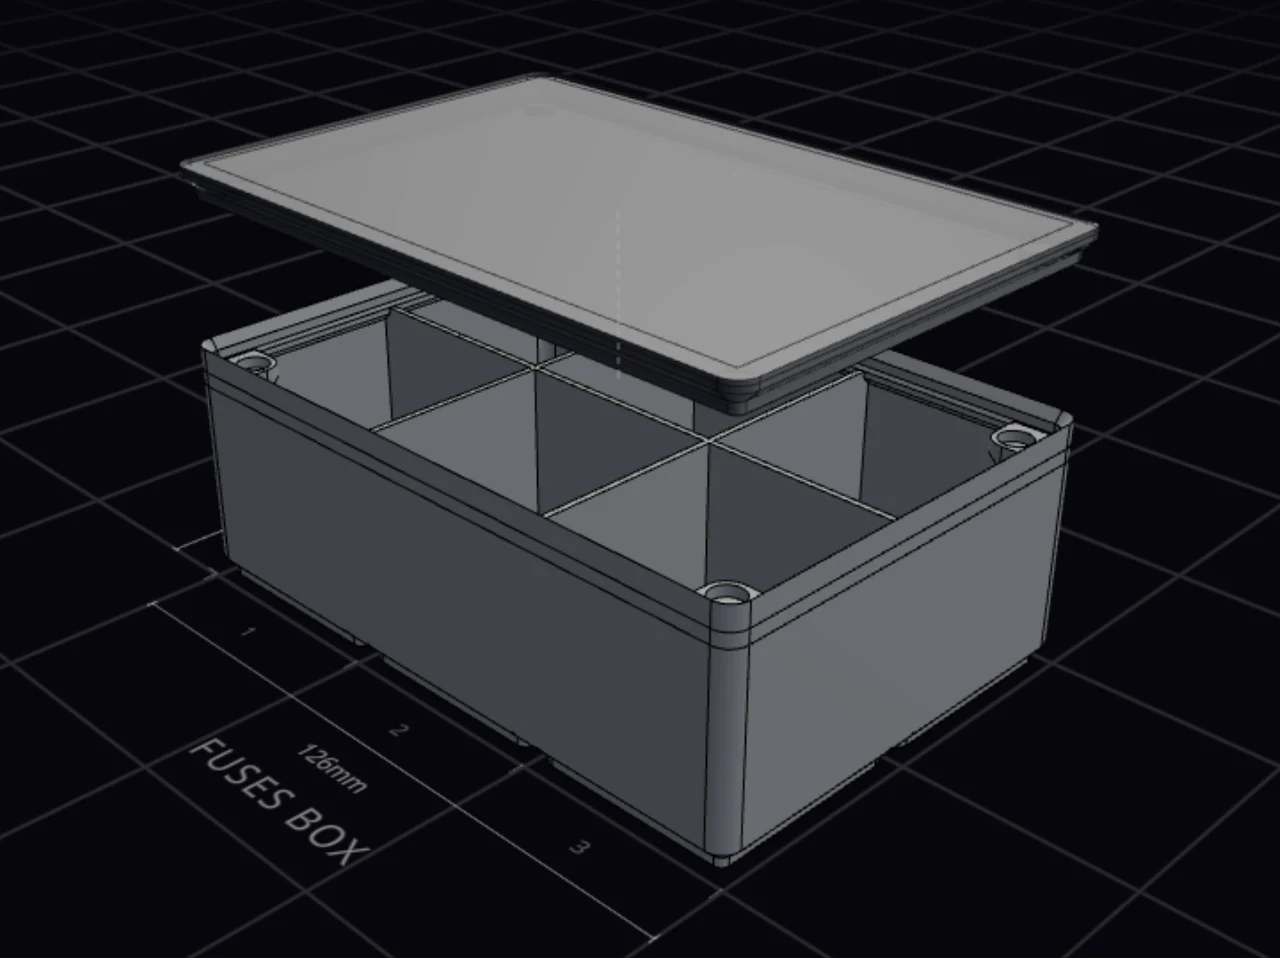
The magnets pull the lid shut. Lid fill fills the lid down to just above the dividers, so small parts stay in their own compartment when the box tips.
Step 4: Put a grid on the lid
- Under Top surface, pick Stackable.
- Turn on Separate baseplate (glue-on).
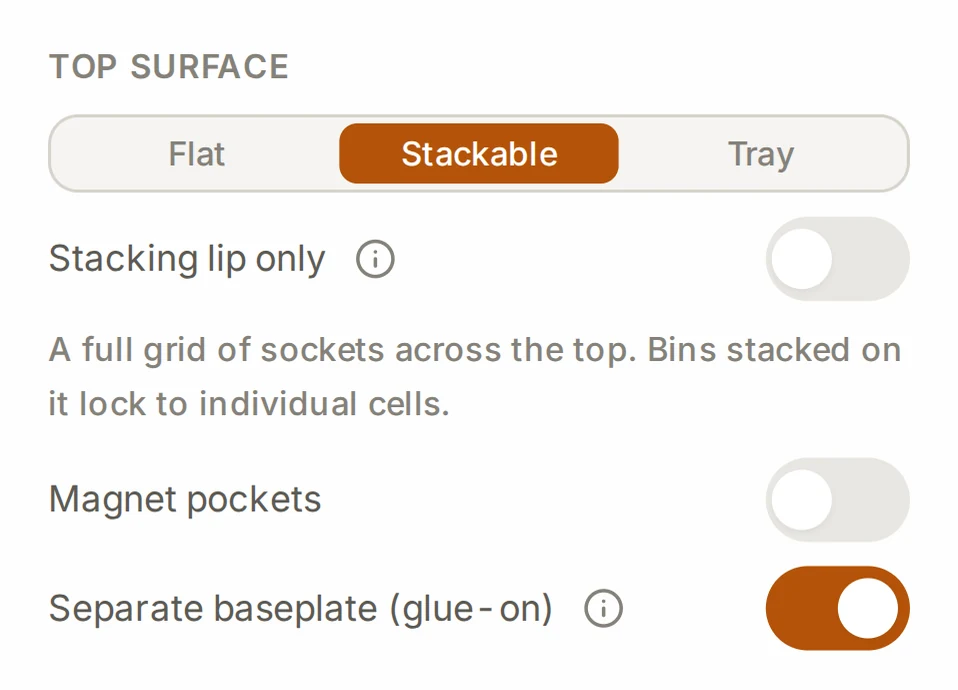
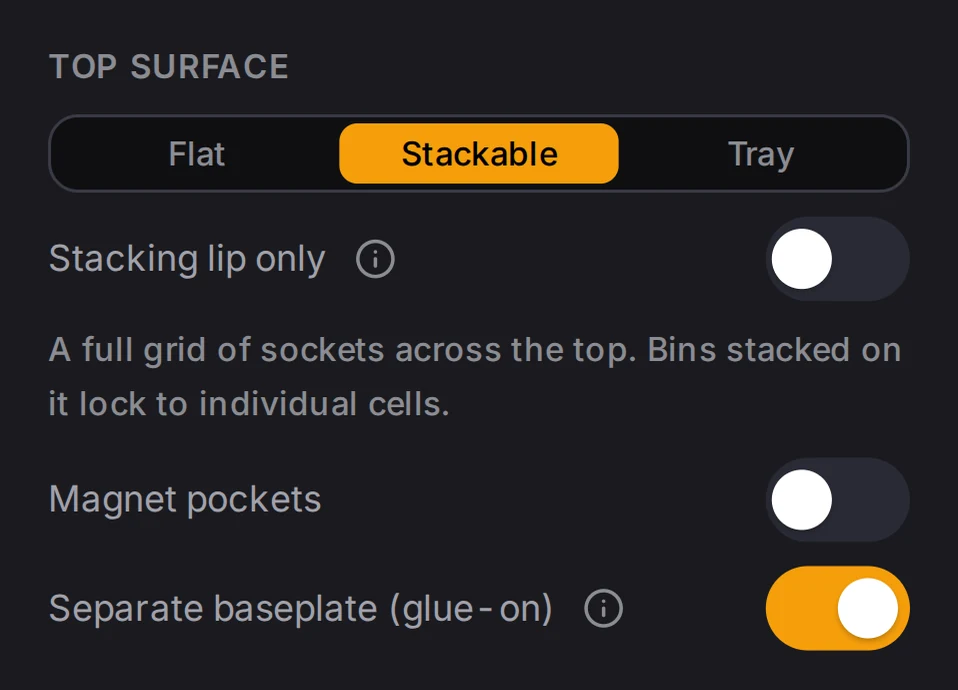
The lid now has a grid of Gridfinity sockets on top. The box above locks onto it, as a box locks into a baseplate. With the separate plate, the grid prints flat as its own part, and the lid prints without supports. You glue the plate onto the lid after the print.
Step 5: Put the name on the front
- In the Finishing group, turn on Wall text.
- Type FUSES in the box for the front wall. Keep Outside.
On a shelf, you read the front of each box. The lid can't carry the name, because the grid covers its top.
Step 6: Copy the box and export
- Click the button next to the design name to open Saved designs. Use Duplicate on the Fuses box three times.
- Open each copy, and change its name and its front text to TERMINALS, CONNECTORS or SCREWS.
- For each design, click the download icon in the header, pick a format, and download.
The bin designer saves each change, so you never press save. An STL export is a ZIP with one file for each part: the box, the lid and the stack plate. See File formats.
Step 7: Print and fit the magnets
The back magnets go in the other way up from the front ones. Then the lid closes only one way round, and a lid that is turned around pushes away.
- Print the box, the lid and the stack plate.
- Glue the stack plate onto the lid top, with the grid up.
- Stack the 8 magnets of one box into a column. Mark the top of each magnet with a pen while it is on the column, so that each mark is on the same pole.
- Glue the 2 front magnets of the box with the mark up, and the 2 back magnets with the mark down.
- Pick one long edge of the lid as its front. Glue the 2 front magnets of the lid with the mark into the pocket, and the 2 back magnets with the mark out.
- Before the glue sets, put the lid on with its front at the front of the box, and make sure that each corner pulls shut. Then turn the lid around, and make sure that it pushes away.
When it goes wrong
You can't find Lid fill
Pick Magnetic or Friction under How it attaches. The other attachments have no Lid fill, so the switch doesn't show.
One corner of the lid pushes away
Make sure that the lid is the correct way round. If it is, the lid magnet in that corner is the wrong way up. Before the glue sets, take it out and turn it over.
The lid closes both ways round
The back magnets face the same way as the front ones. Before the glue sets, turn over the 2 back magnets of the box and the 2 back magnets of the lid.
The box on top slides off the lid
Make sure that the stack plate sits with the grid up, and that the glue holds it flat on the lid. The feet of the box above must drop into the sockets of the grid.
Next steps
- Lids: every way a lid can attach, and its top, grip and holes
- Stacking: the stacking lip, and boxes that nest on each other with no lid
- Labels and text: wall text styles and finishes
- File formats: pick STL, 3MF or STEP