
A kitchen utensil drawer
Kitchen drawers almost never come in steps of 42 mm, and a spatula can be longer than your print bed. This recipe deals with both. You fill the odd width with half-grid cells, print long bins in two pieces, and split the baseplate for a 220 mm bed.
What you need
- The inside size of your drawer. This recipe uses an example drawer of 405 × 480 mm, 75 mm high. Measure where the drawer is narrowest.
- A print bed of 220 × 220 mm. With a larger bed, you get fewer pieces.
- About 603 m of PLA, or 1.8 spools of 1 kg. That's the bin list estimate for this plan, with the default settings.
- Glue for the long bins, which print in two pieces.
The plan
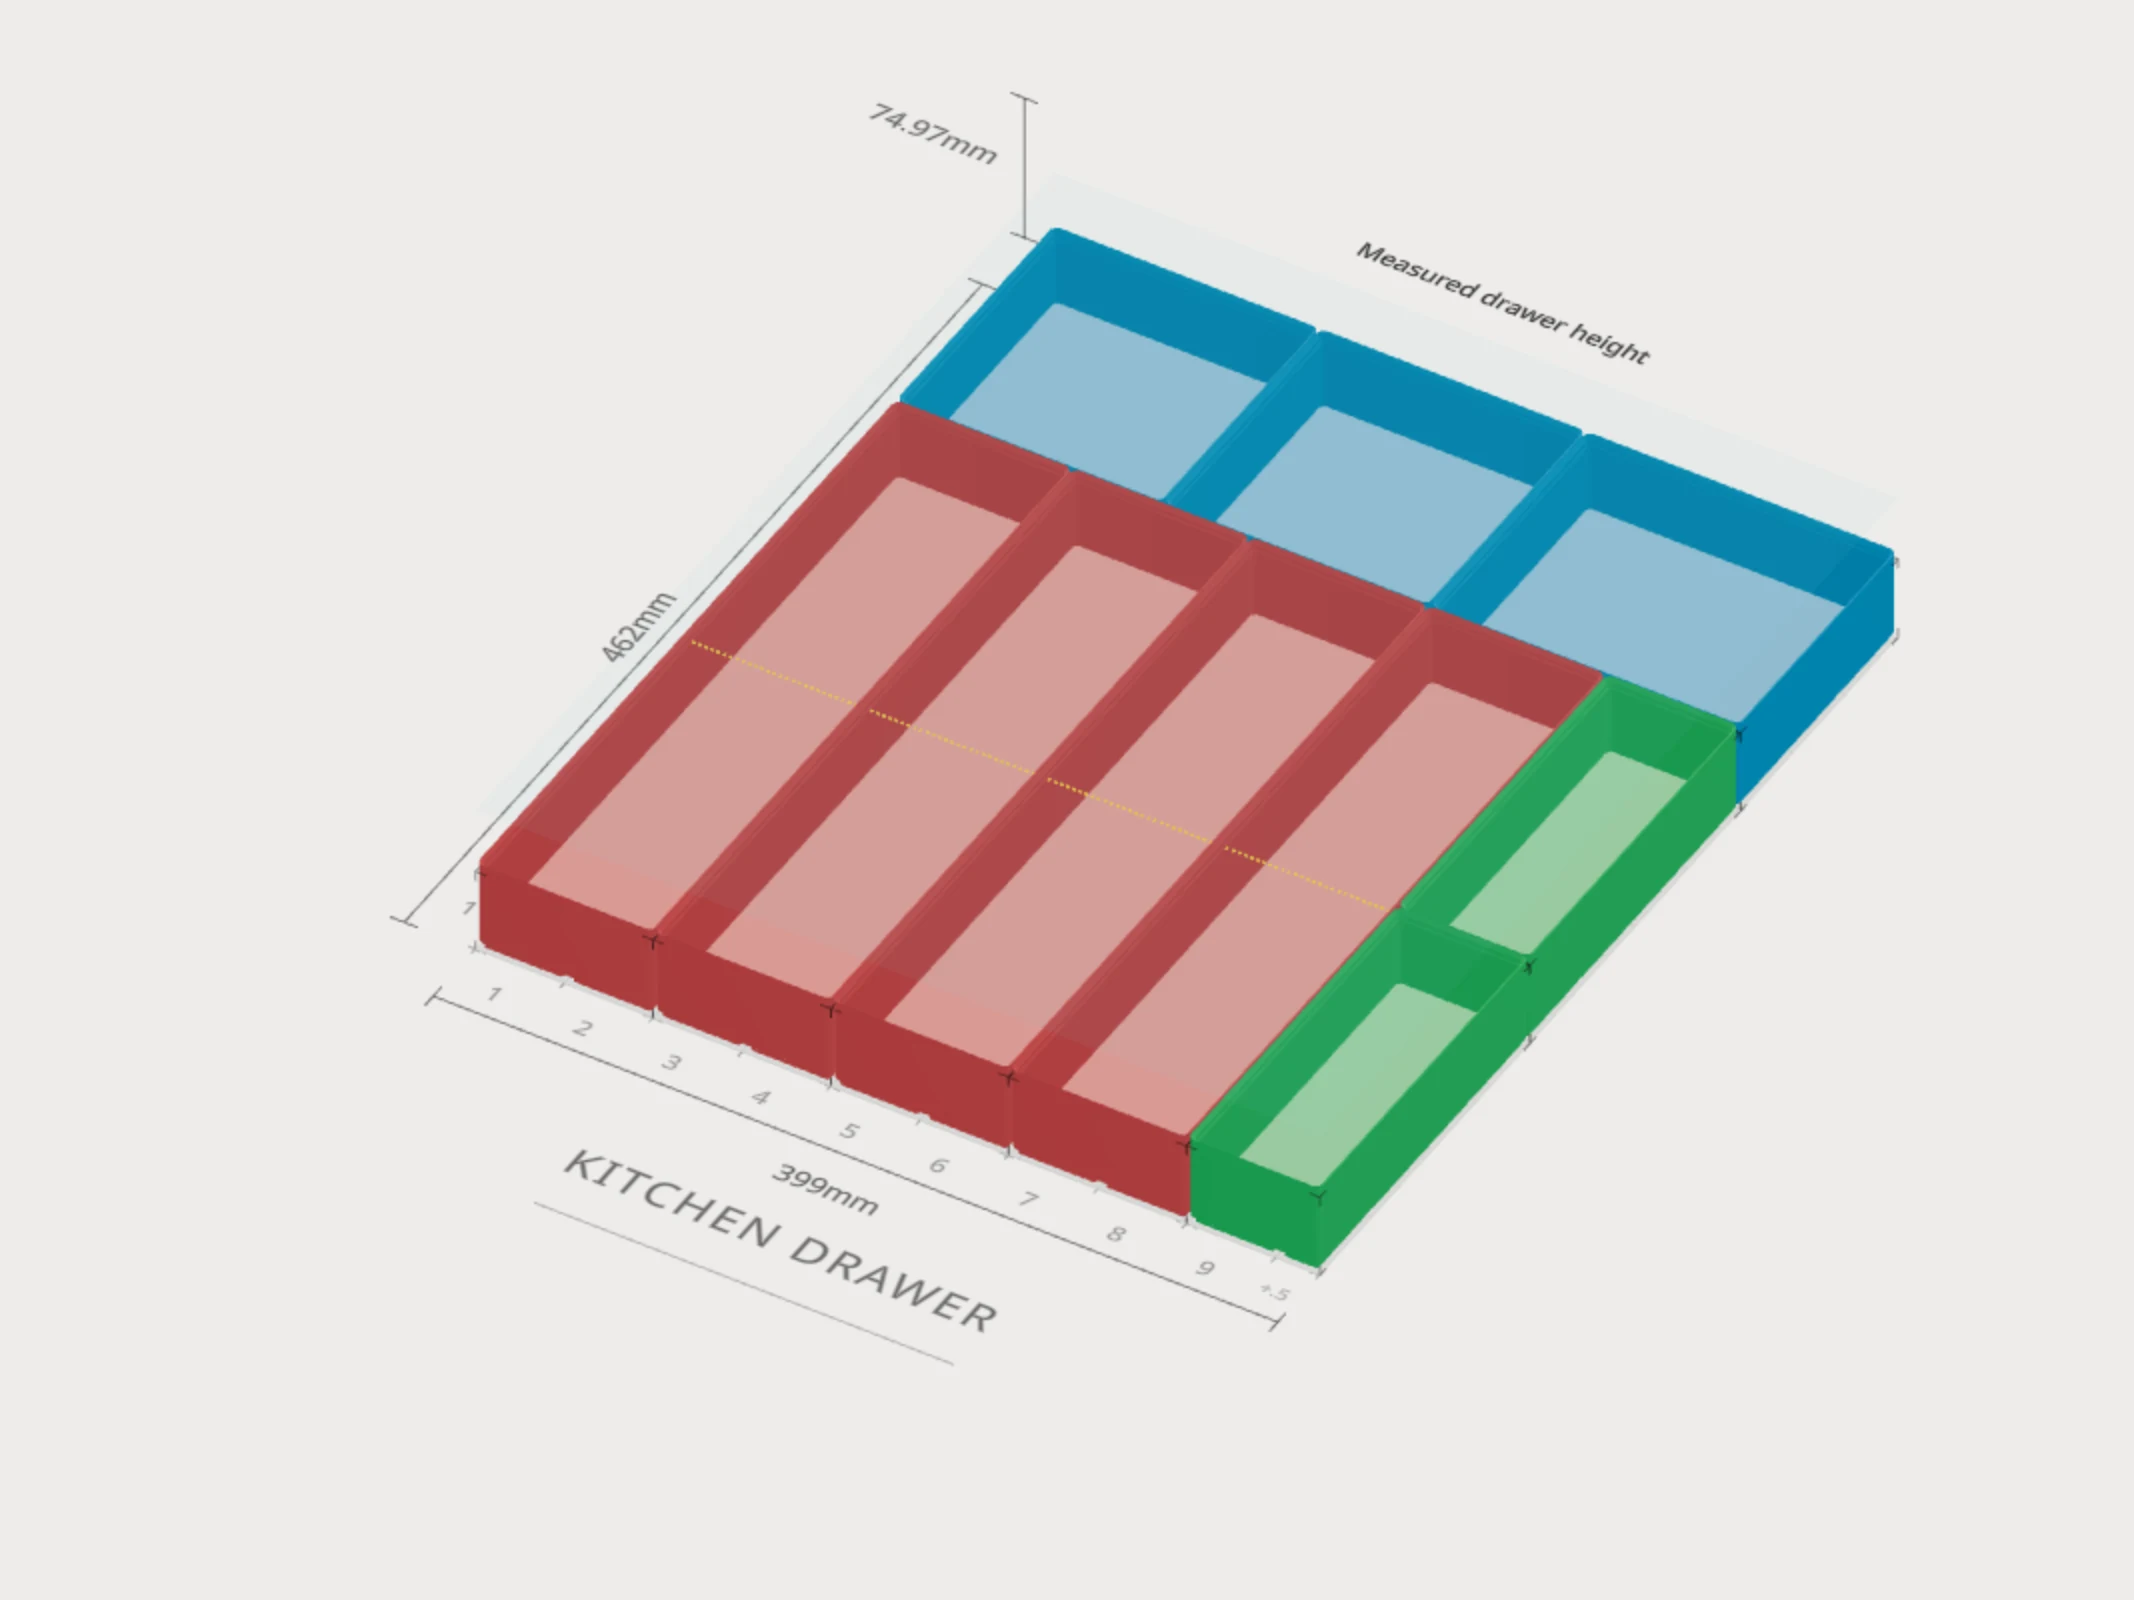
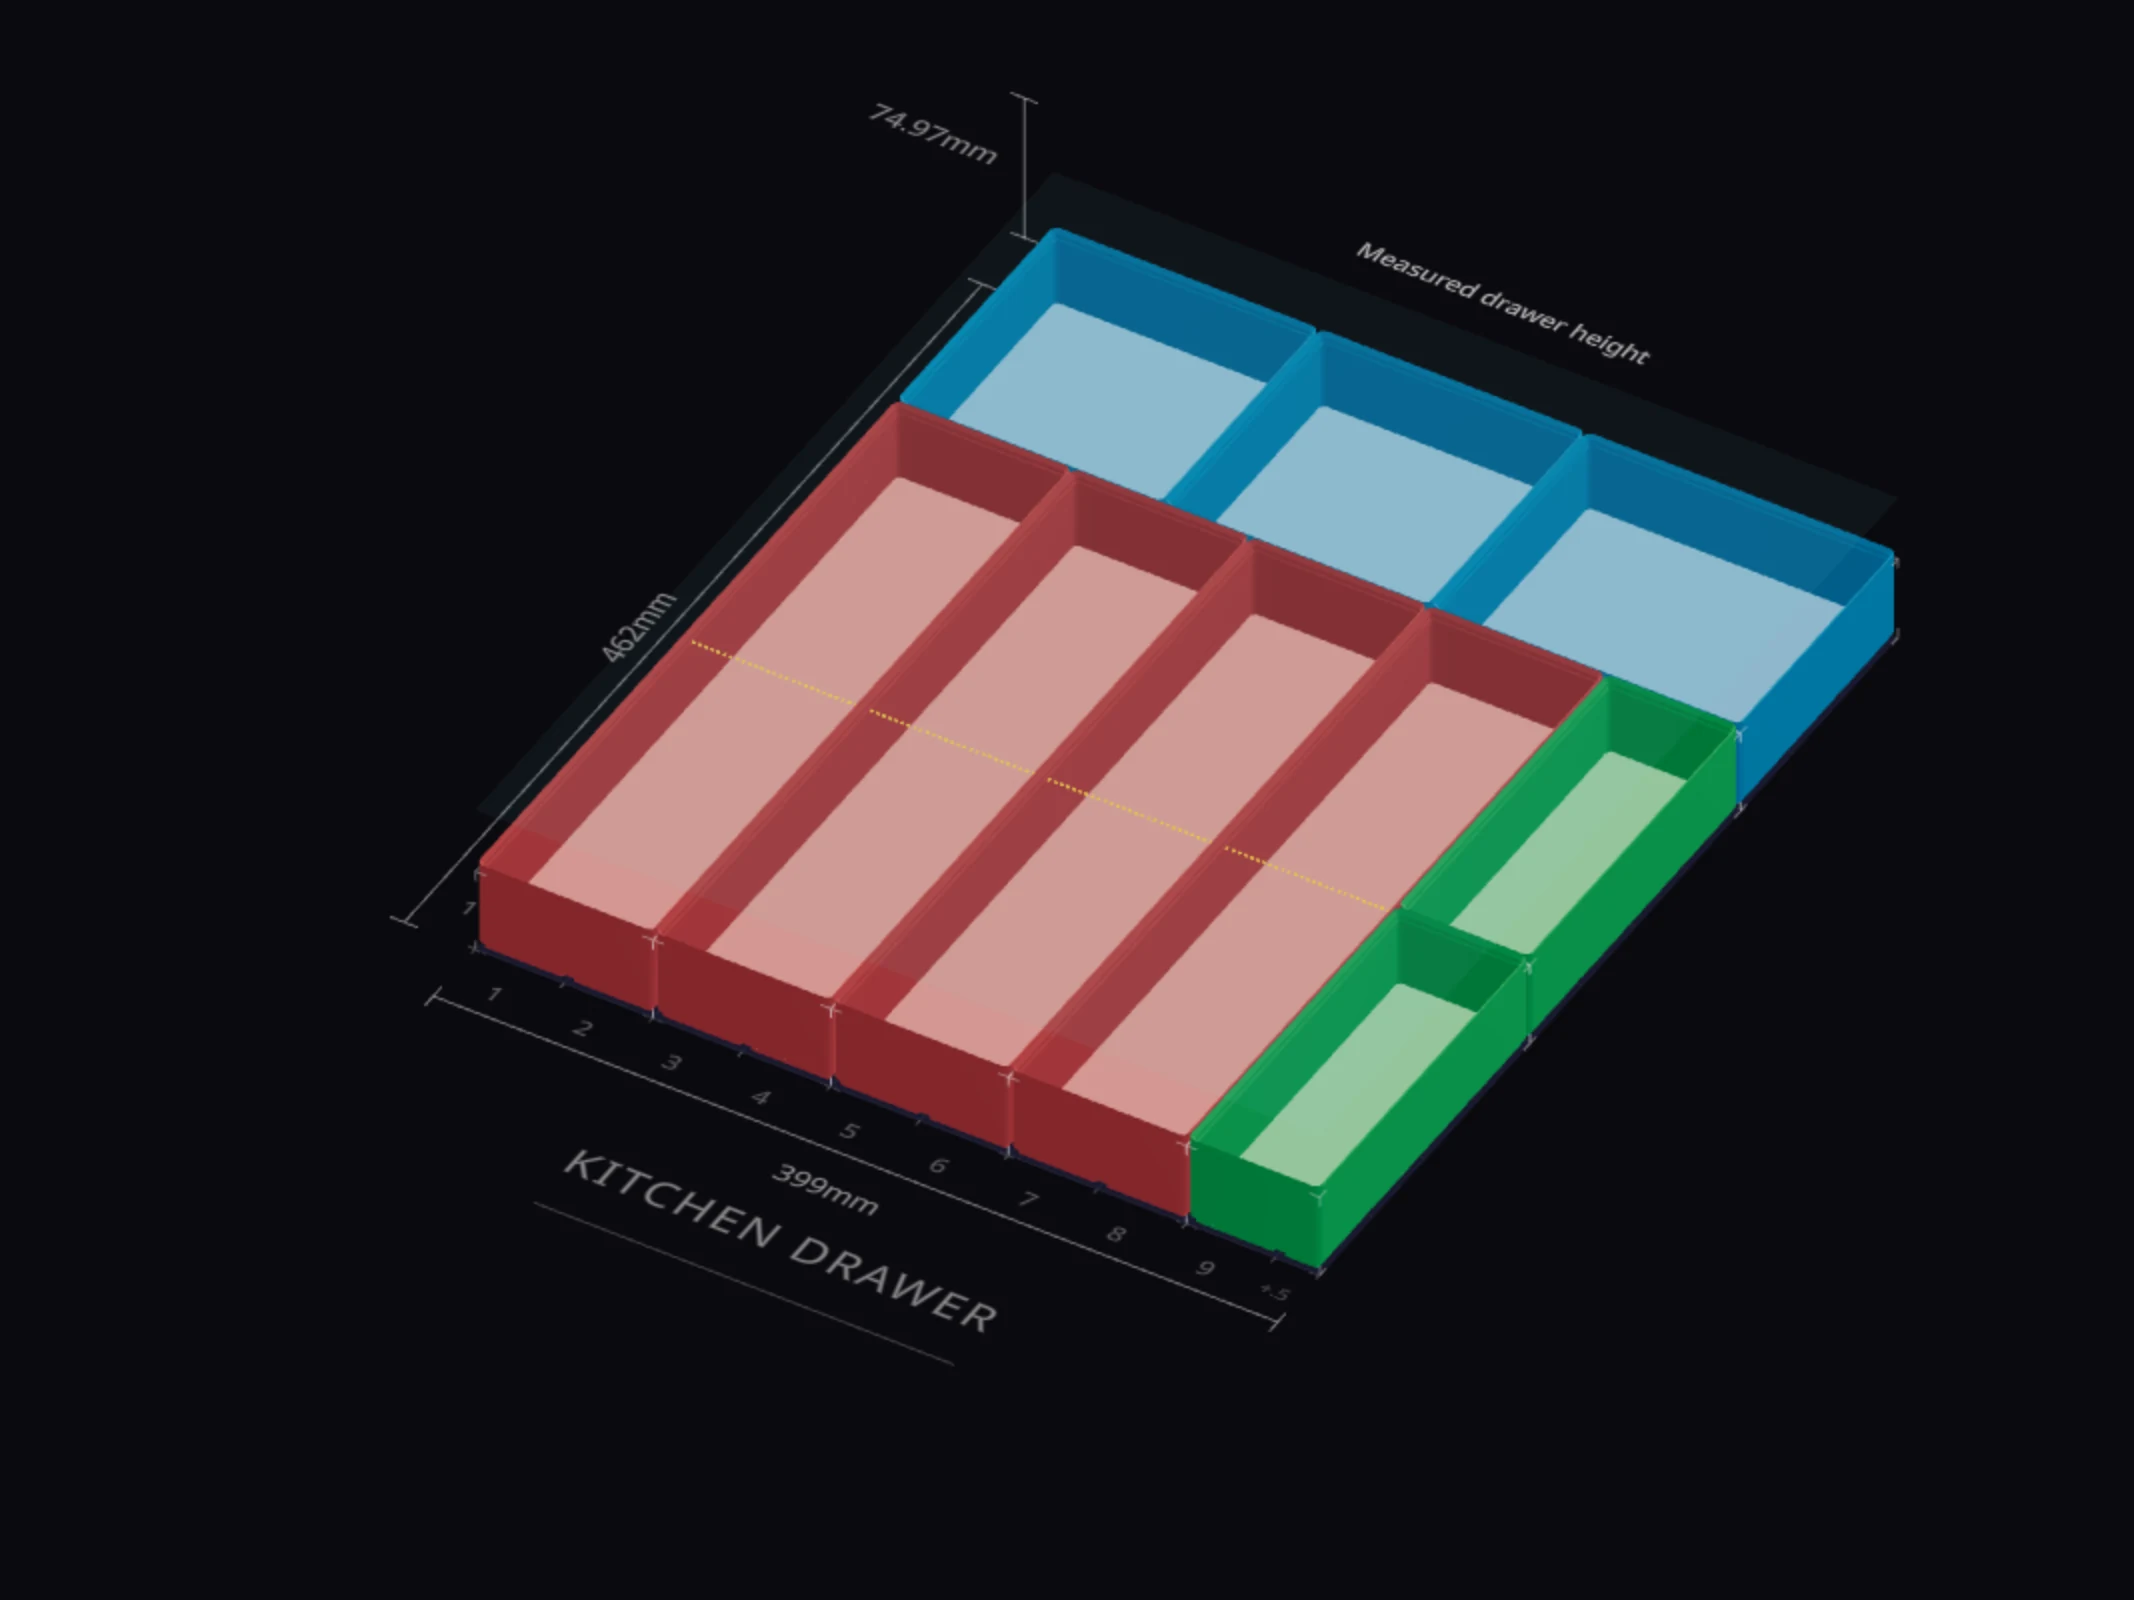
The grid for this drawer is 9.5 × 11 grid units. Utensils lie front to back.
| Bins | Size | Height | Holds |
|---|---|---|---|
| 4 | 2 × 8 | 6u | Spatulas, ladles, spoons |
| 2 | 1.5 × 4 | 6u | Peelers, scissors, thin tools |
| 2 | 3 × 3 | 6u | Measuring cups, gadgets |
| 1 | 3.5 × 3 | 6u | Clips, ties and other small bits |
A 2 × 8 bin has 81.1 × 333.1 mm of room inside: 8 × 42 mm, less 0.5 mm of fit gap and two 1.2 mm walls. A 6u bin stands 46.4 mm tall, so it leaves 28.6 mm free under a 75 mm drawer top.
Step 1: Fit a half-grid to the drawer
- In the layout editor, click Add your drawer's measured size in the Grid size group.
- Type 405, 480 and 75, and press Enter.
- Click Fit grid on the card. It also turns on Half-grid mode.
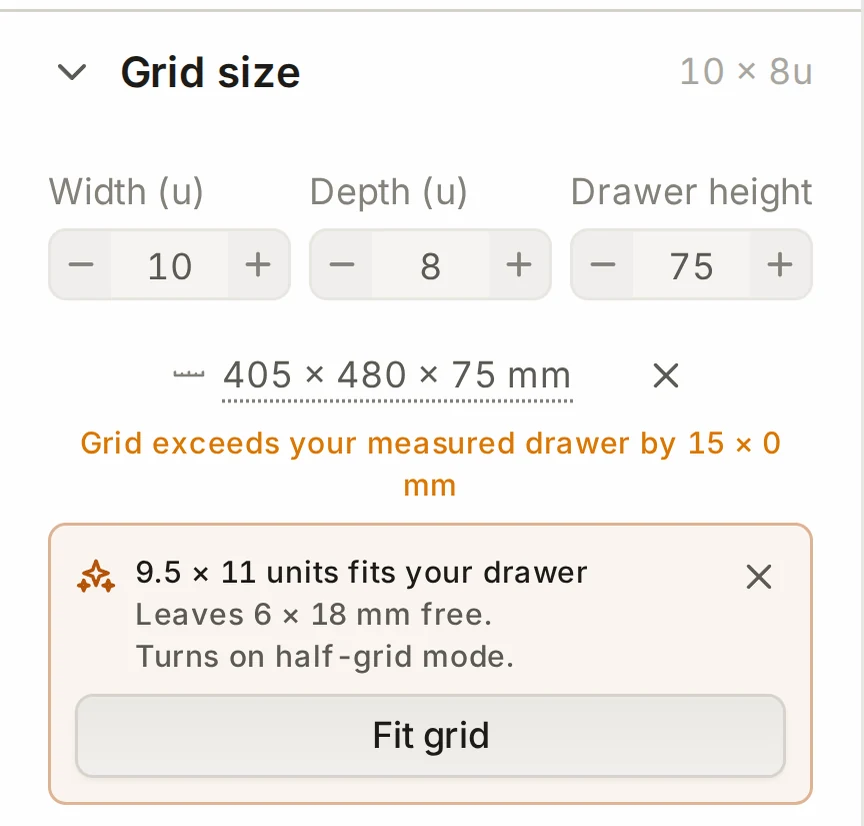
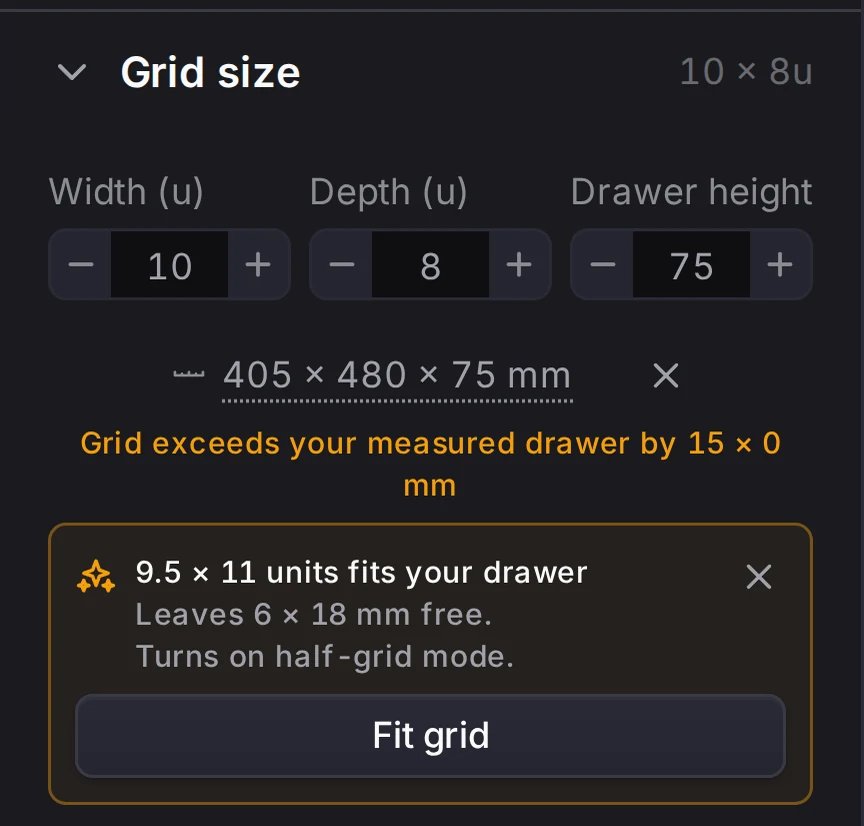
Here's why the half unit helps. Across the drawer, 405 ÷ 42 = 9.6. Whole units give 9 (378 mm) and waste 27 mm. A half unit is 21 mm, so 9.5 units (399 mm) fit and waste only 6 mm. Front to back, 11 units (462 mm) fit and leave 18 mm.
Half-unit edge position shows which side gets the half-wide column. The right side is the default. Units and sizes explains half-grid mode in full.
Step 2: Set the print bed
Open Physical units in the left panel, and set Print bed to 220. The bed size belongs to the layout, so the bin designer and the baseplate generator use it too.
A 220 mm bed takes 5 grid units in a straight line (5 × 42 = 210 mm). Anything longer prints in pieces.
Step 3: Draw and design the bins
Bins on the first layer start at 3u. In the Layers panel, set the height stepper of the layer to 6, and then draw the plan above. Start the 2 × 8 bins at the front edge, which is the bottom of the grid.
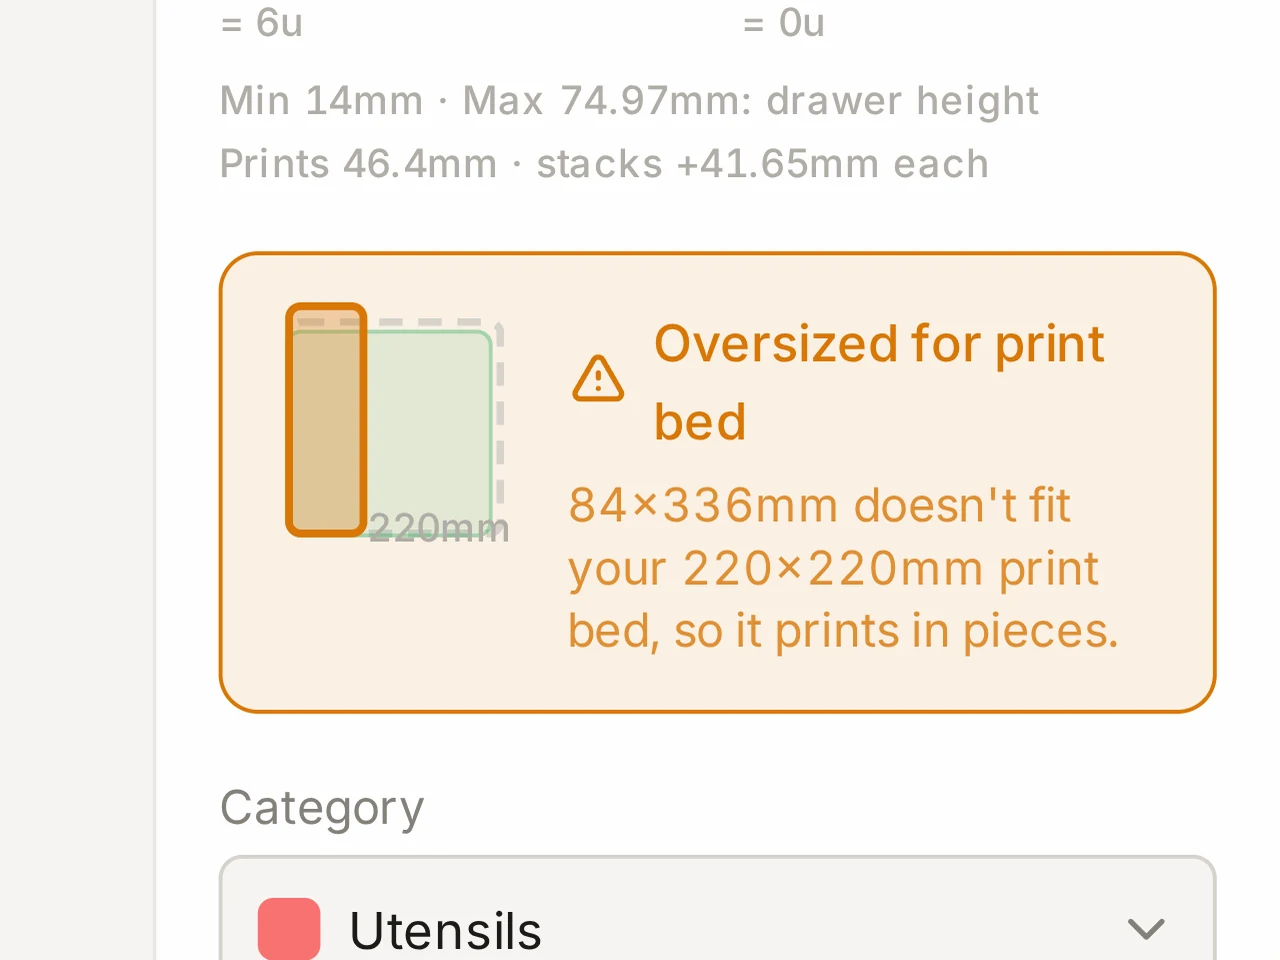
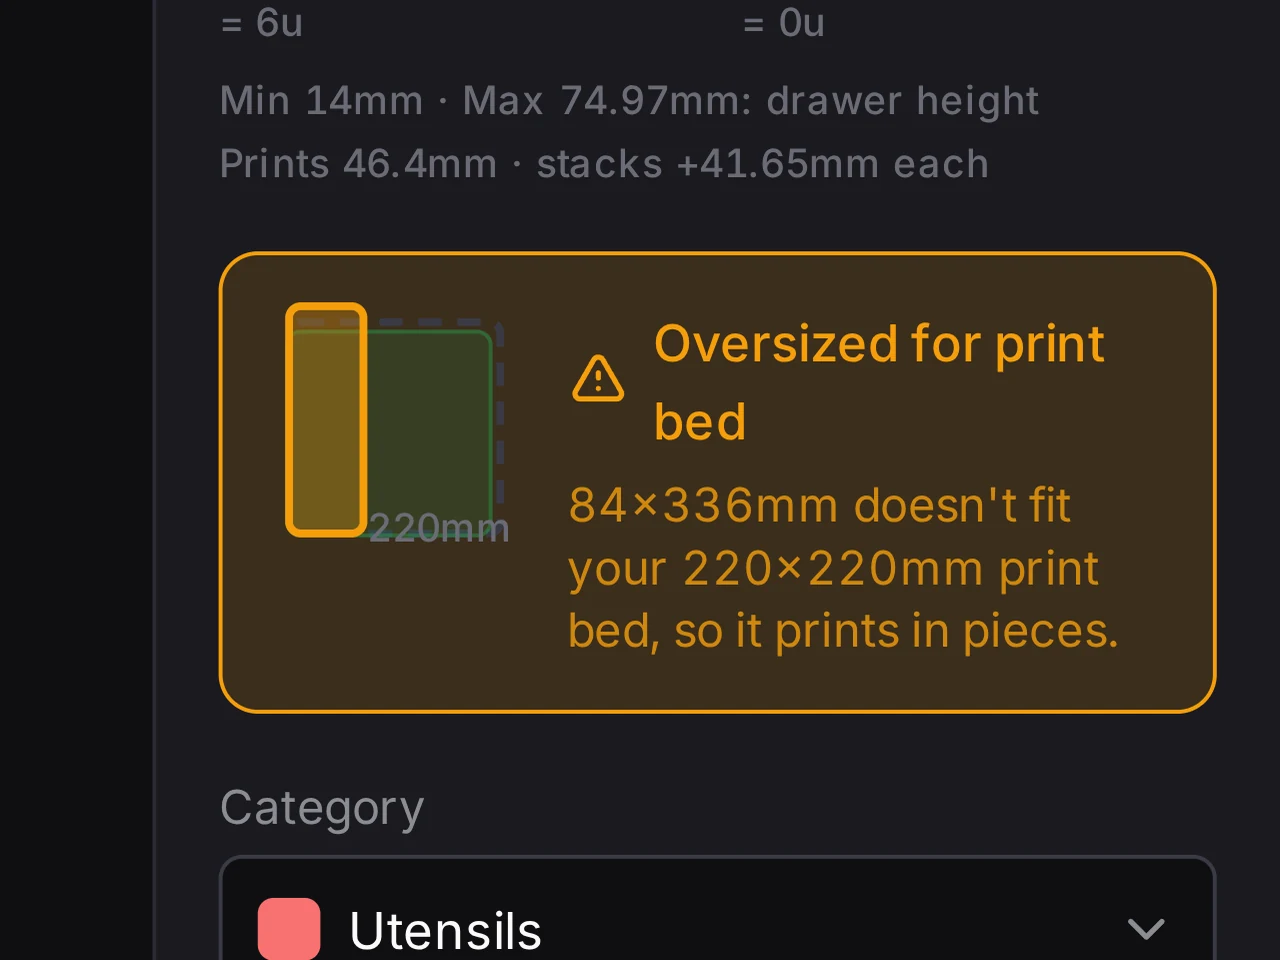
The long bins get a Split tag or a warning mark on the grid, because 336 mm doesn't fit the bed. Select one, and the inspector shows Oversized for print bed, with the size of the bin and the size of the bed. The Gridfinity Layout Tool cuts a long bin into equal pieces, so each piece is a 2 × 4 part of 168 mm. The Pcs column of the Bin list counts the pieces: 2 for each long bin.
Link each bin to a design, as in Plan your first drawer. For the four long bins, one design is enough. Link the first, then use Link on the others.
In the design of the long bin, the Shape group shows the split. Keep Alignment connectors on. It adds a sloped joint in the floor, so the two halves line up, with a small gap for glue.
Step 4: Fill the leftover millimeters
The half-grid used most of the spare width. Now 6 mm stays free across, and 18 mm front to back. The baseplate can fill that space with solid padding.
- Open the baseplate generator with Baseplate.
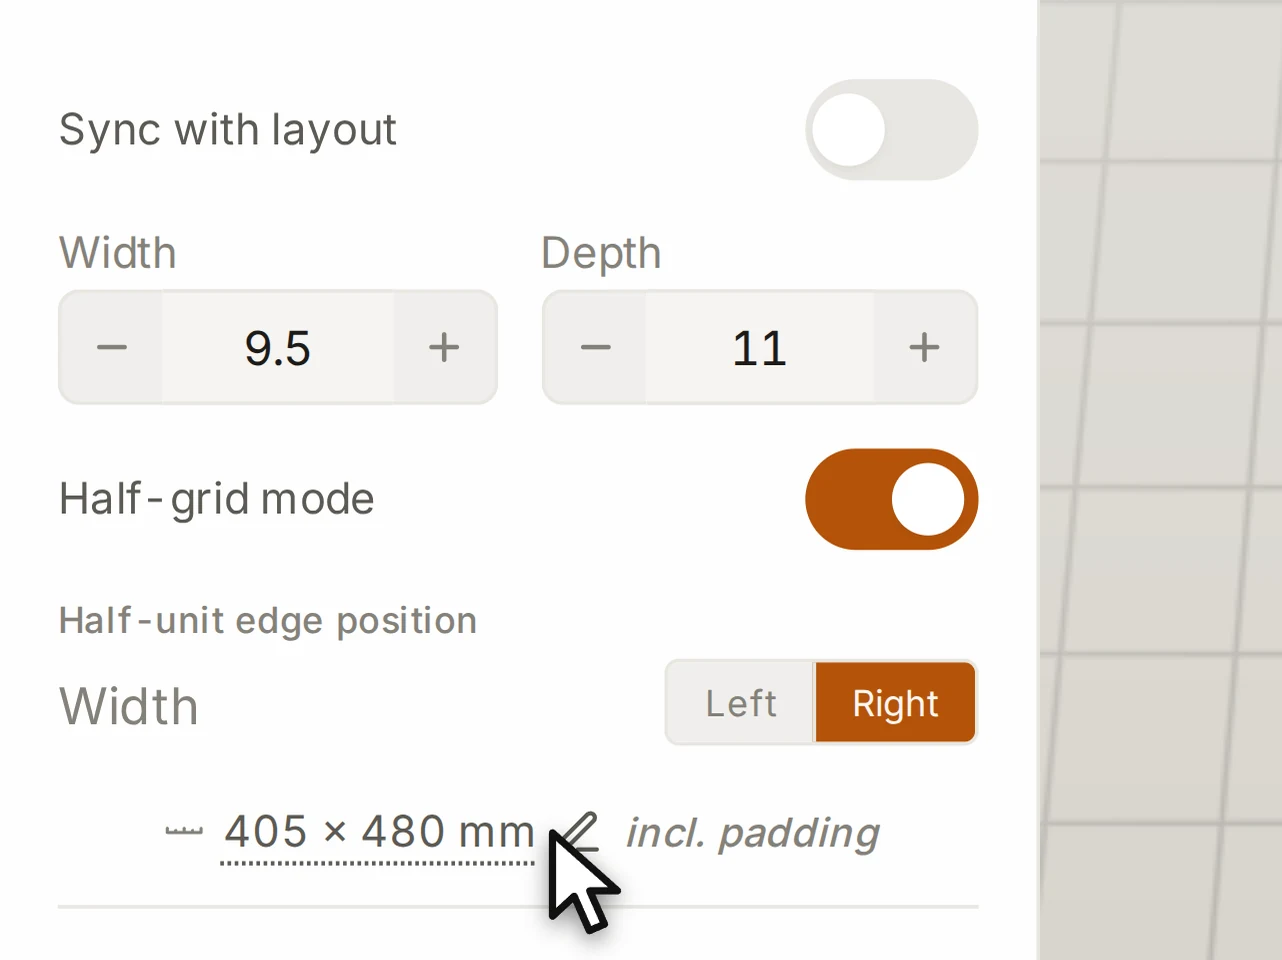
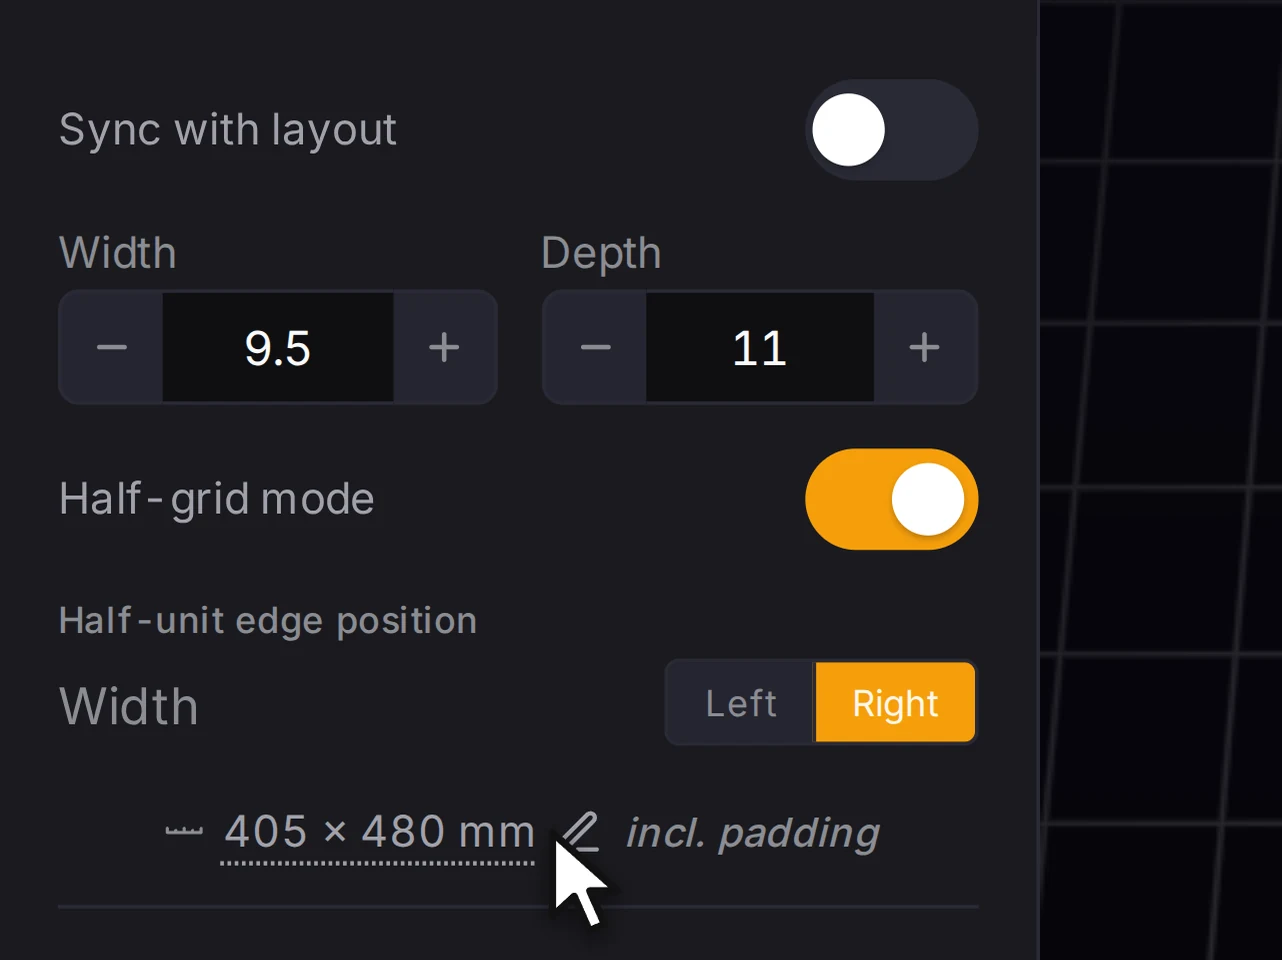
- Click the millimeter size under the steppers in Dimensions, and type 405 and 480.
The plate keeps the 9.5 × 11 grid. It adds Padding of 3 mm at each side and 9 mm at the front and the back. The plate is now 405 × 480 mm, and Sync with layout turns off.
Want the bins to fill the gap too? Back in the layout editor, select a bin that touches the edge. Turn on Extend into drawer margin in the inspector, and its walls grow into the padding. A long bin with 9 mm more at the front still prints in two pieces. Its front piece is 4 × 42 + 9 = 177 mm long, which fits the bed.
Step 5: Split the plate and export
The plate splits for the 220 mm bed by itself. The map at the bottom of the panel shows 6 pieces in 6 build-plate loads. There are two columns, 5 and 4.5 units wide, and three rows, 4, 4 and 3 units deep from the front. The biggest piece, with its padding, is 213 × 177 mm.
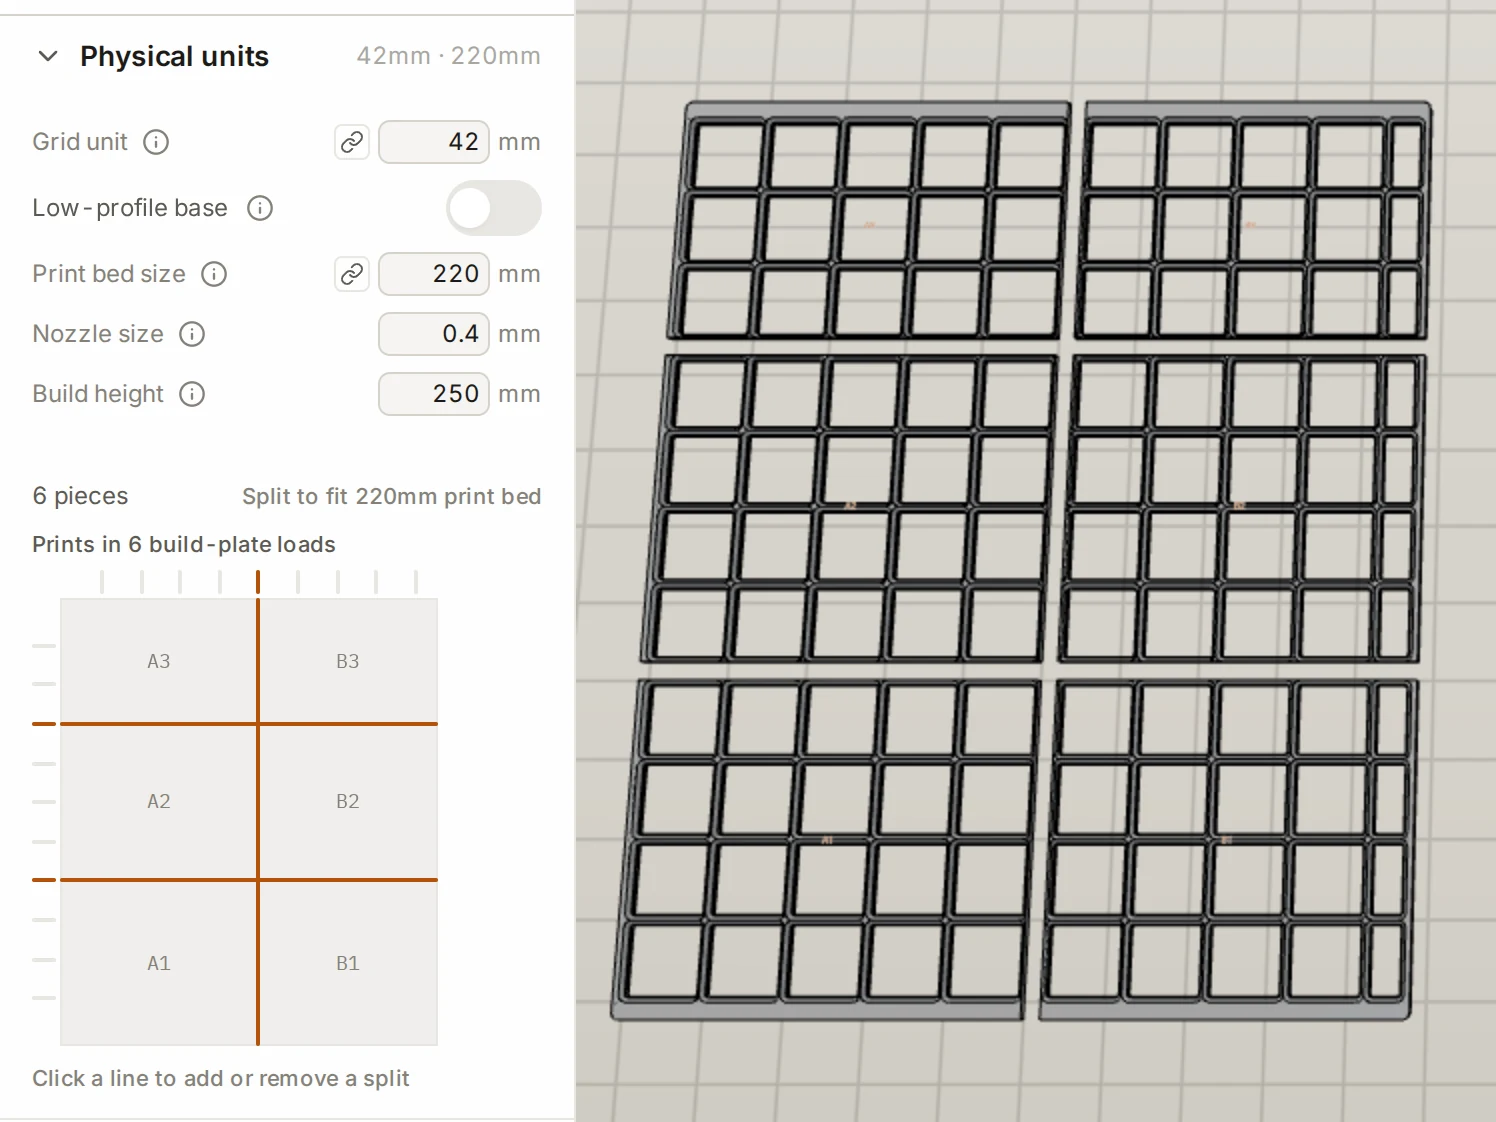
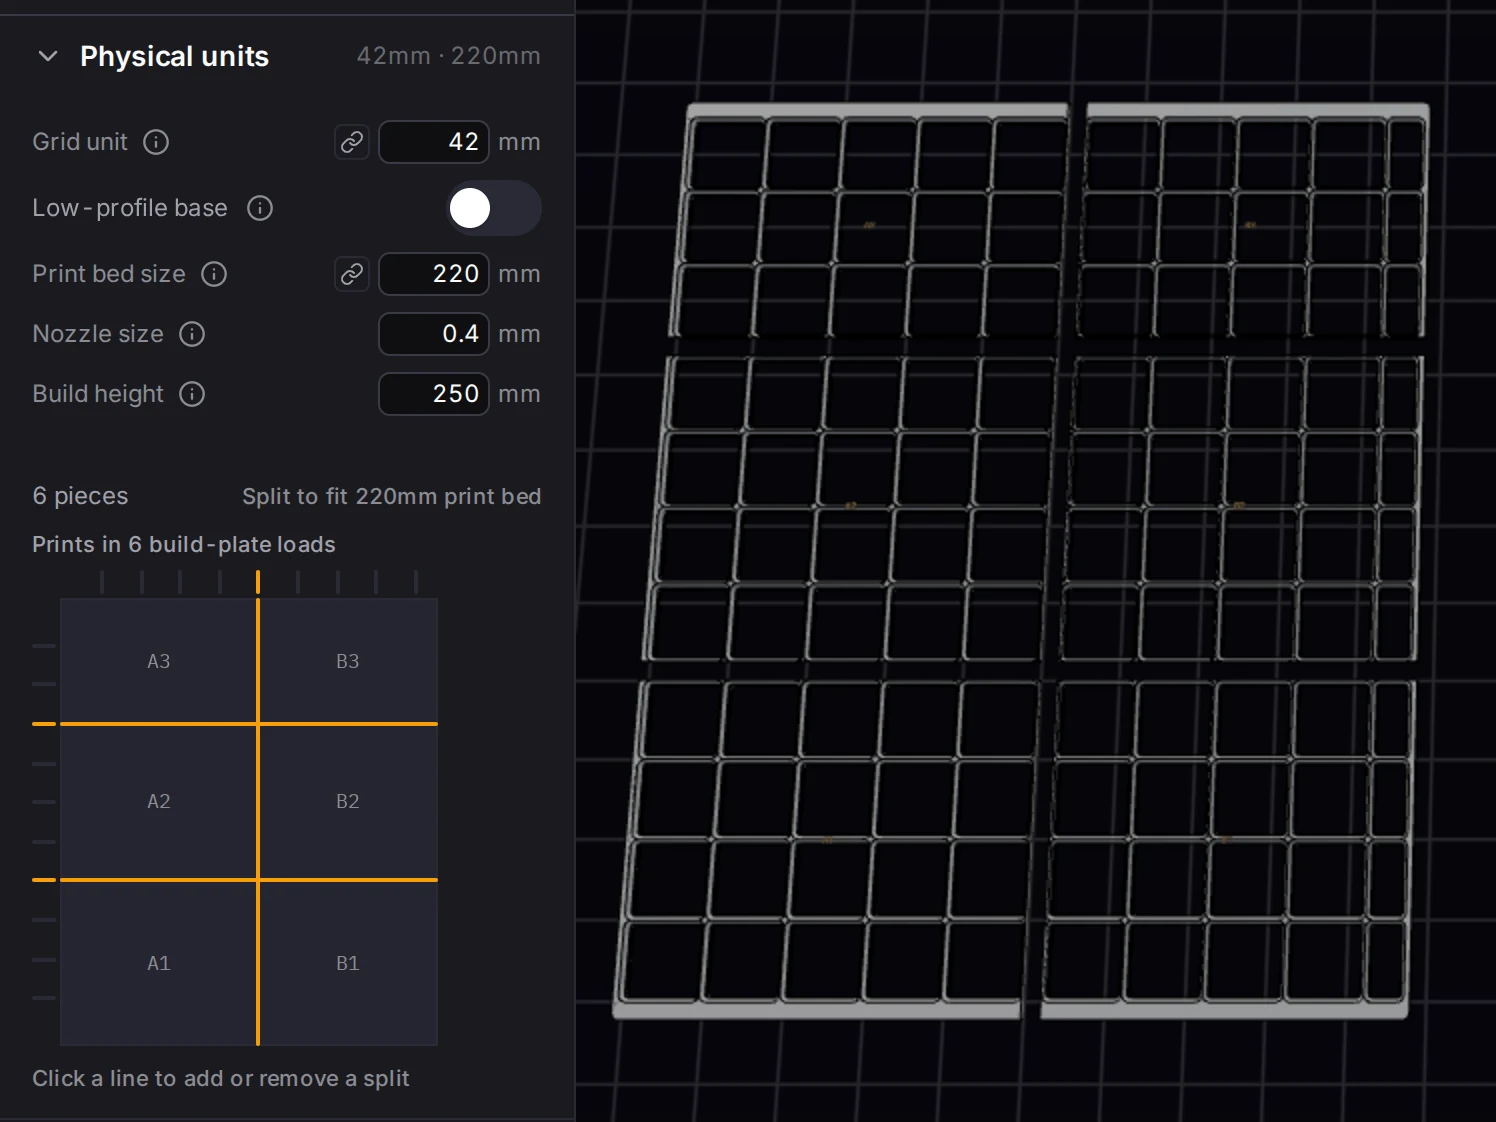
To lock the pieces together, pick a style under Connectors in Base. Then export the layout from the layout editor with Export and Download ZIP. The ZIP holds the long bin as two pieces, and the plate as six. manifest.txt tells you how many of each to print.
When it goes wrong
The plate doesn't go into the drawer
A drawer can be a little narrower at the back than at the front, and a few millimeters is enough to jam a plate. Measure the width at the front, the middle and the back, and type the smallest value as the measured size in the layout editor. The baseplate panel then warns that the plate is too big. Click Fit padding to drawer to shrink the padding until the plate fits.
A long bin doesn't line up at the joint
Keep Alignment connectors on, and glue the joint. The connector needs a solid floor, so it isn't available with a lightweight floor. A split bin also prints each piece in one color. See Fitting the print bed.
A ladle catches on the counter
Long handles can stand above the rim. Select that bin and type how far they stand up in Clearance (mm). The drawer check then counts that height, and the line under the measured size tells you if the drawer still closes.
Next steps
- Split for your print bed: connector styles and your own split lines
- Units and sizes: half units and how heights add up
- Compartments and dividers: angled dividers for a cutlery bin
- Kitchen drawer organizer: ideas for cutlery, spice and junk drawers