
Eco plates and stack printing
A drawer full of baseplates takes a lot of filament and a lot of print jobs. Two options cut both down. An eco plate leaves out plastic that the bins don't need. Stack printing builds a tower of plates, so one print job makes many plates.
Save filament with an eco plate
In the baseplate generator, open Base and turn on Eco plate.
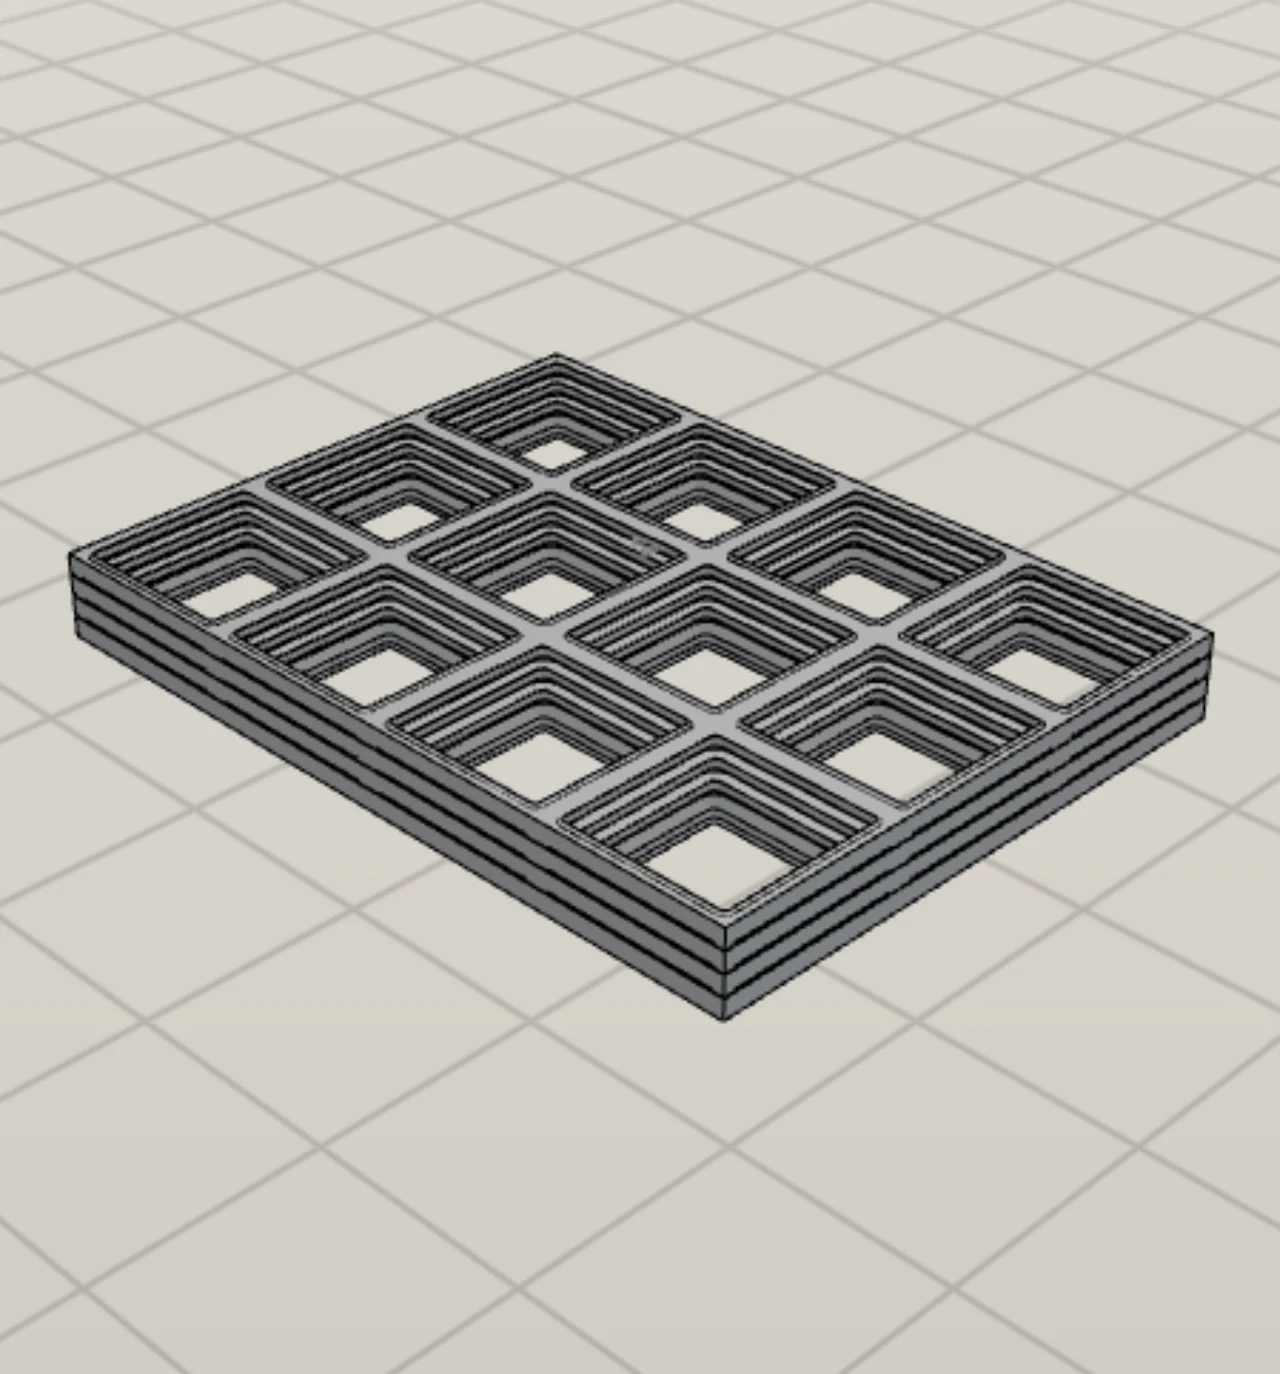
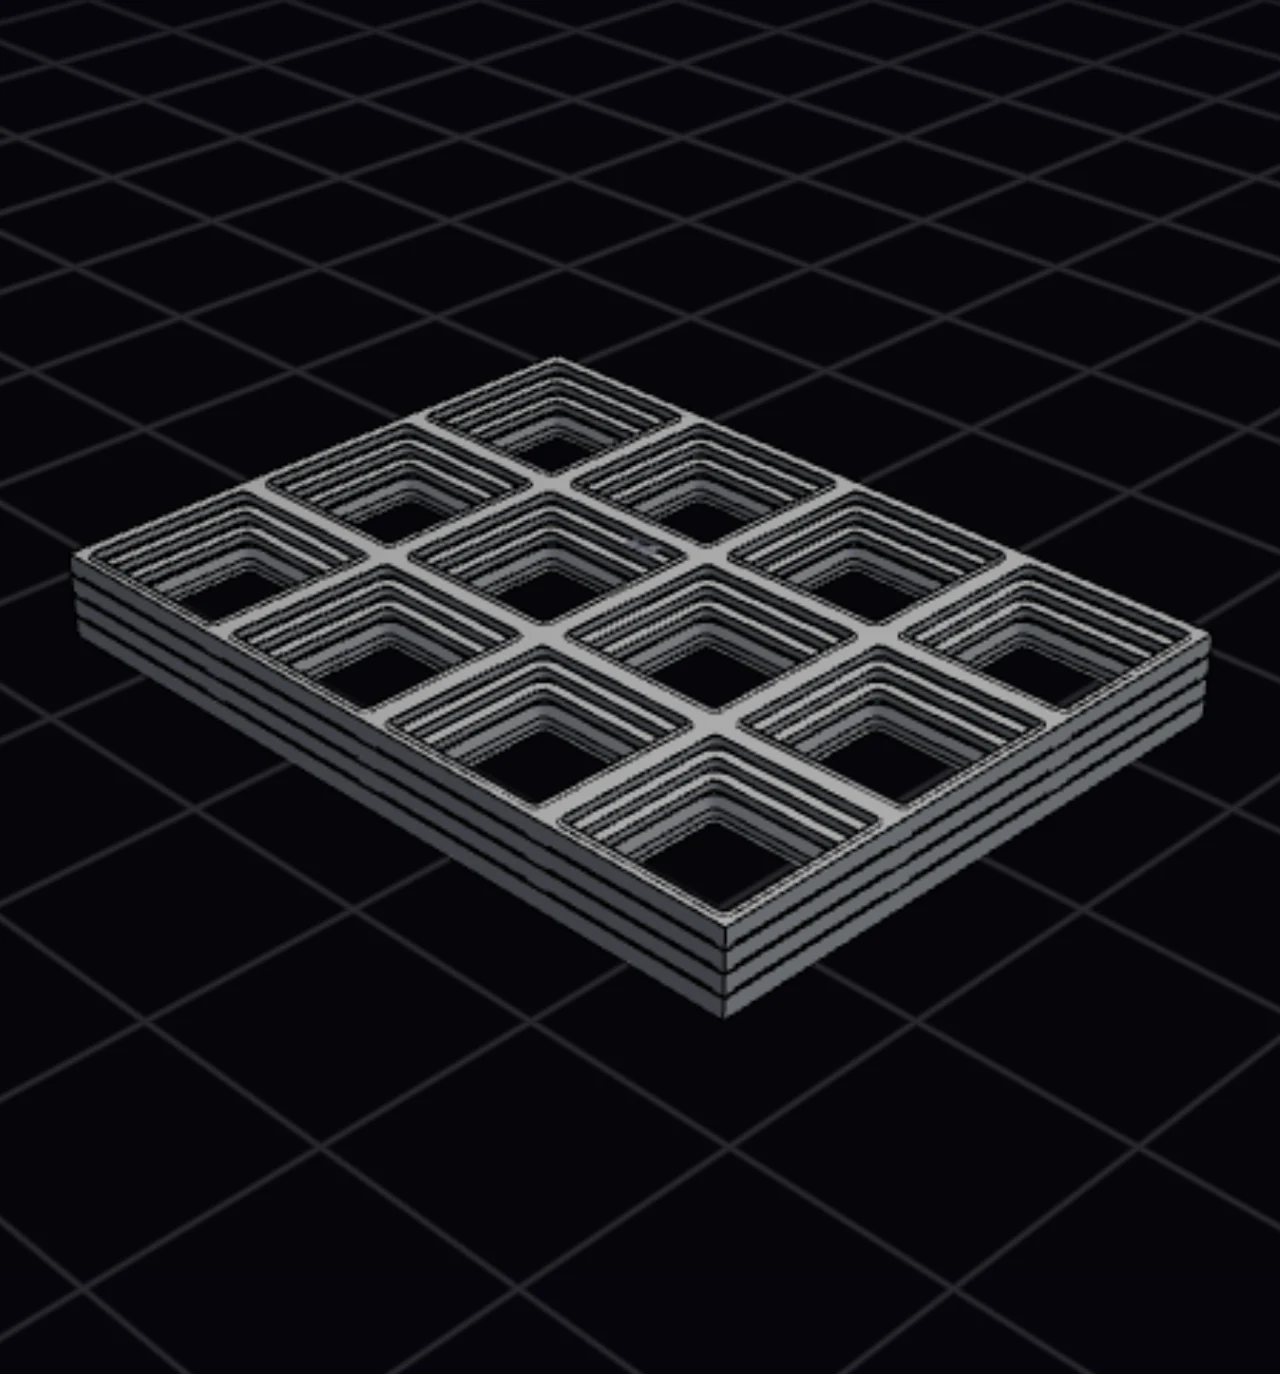
The Layout Tool cuts the straight joints between the corner posts down to a thin bar. A plate then uses up to a third less filament. The bins sit on the corner posts only.
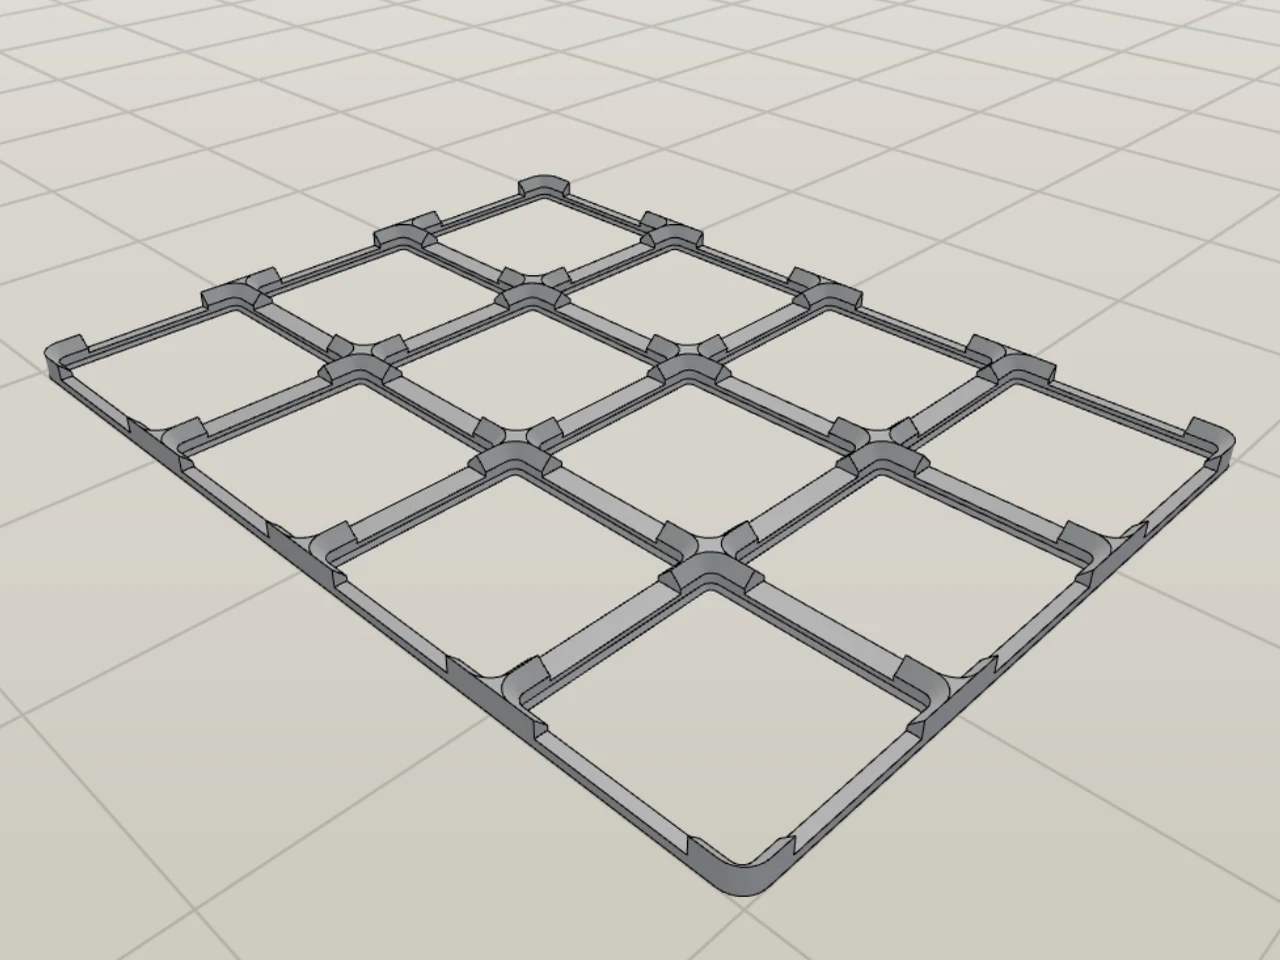
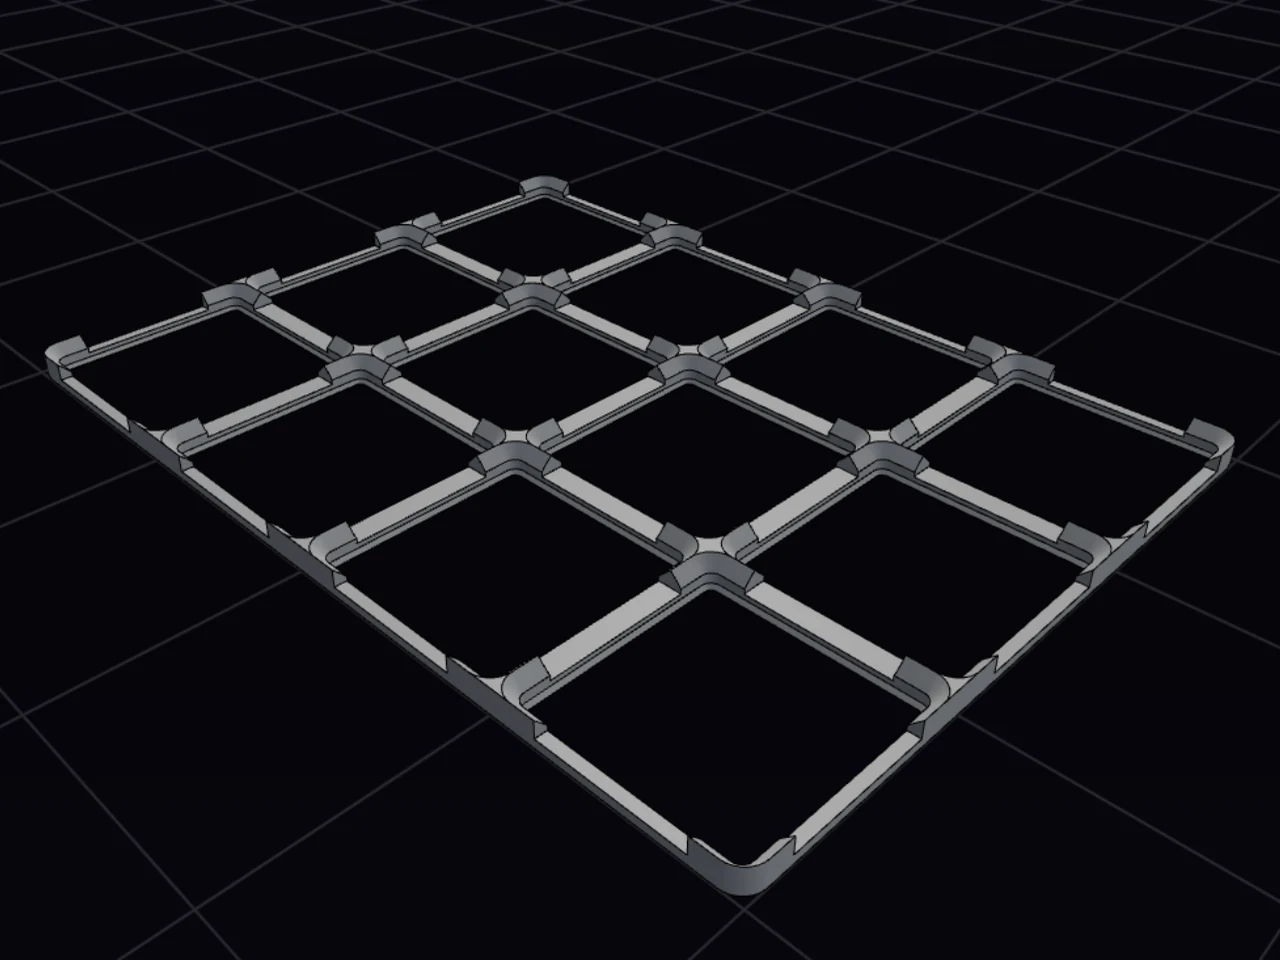
Split pieces keep the eco plate setting. With Vertical stack on, the eco plate stays only when Stack plates of different sizes is also on.
Print plates in a stack
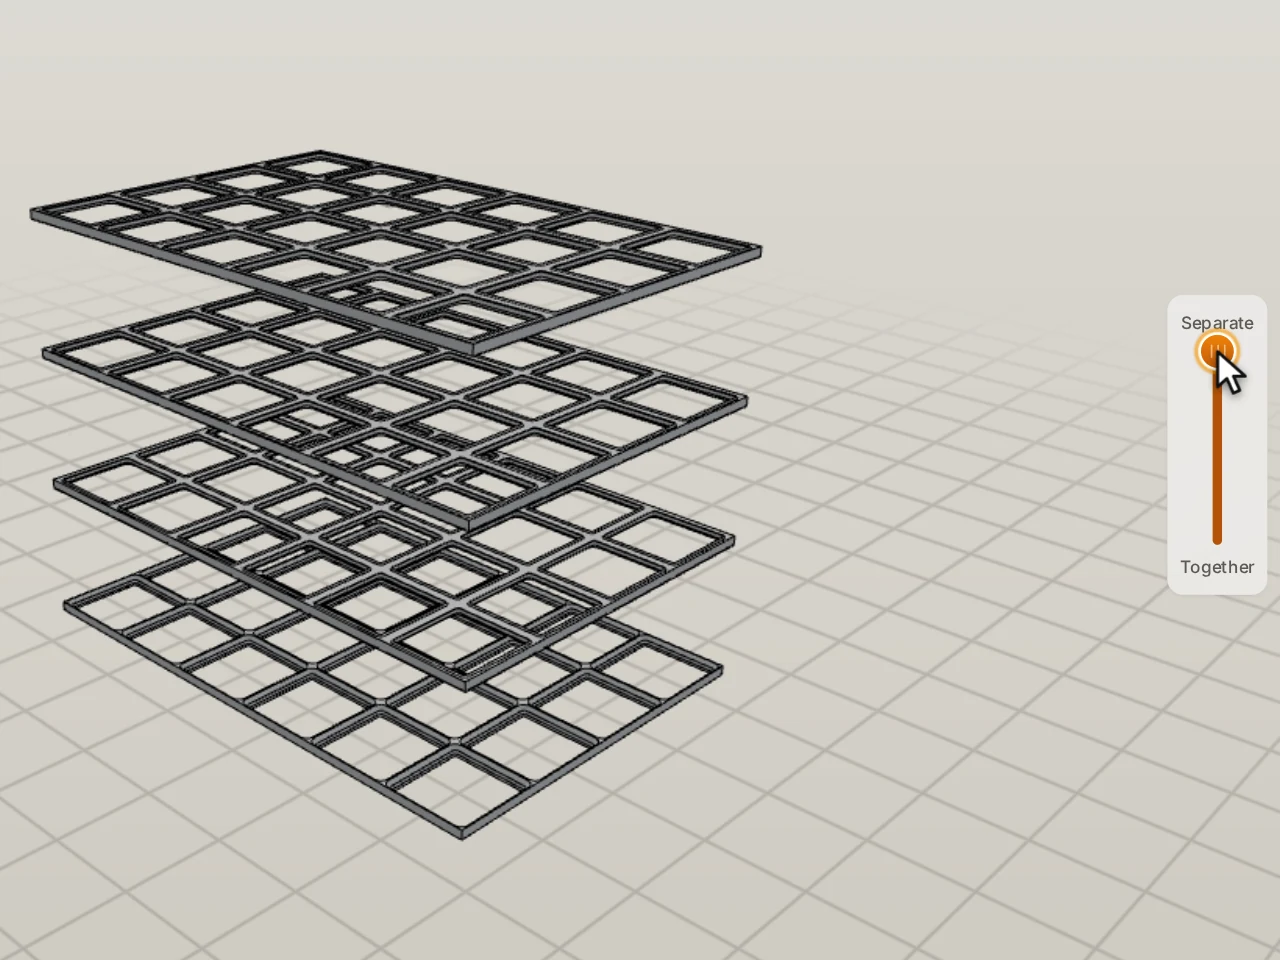
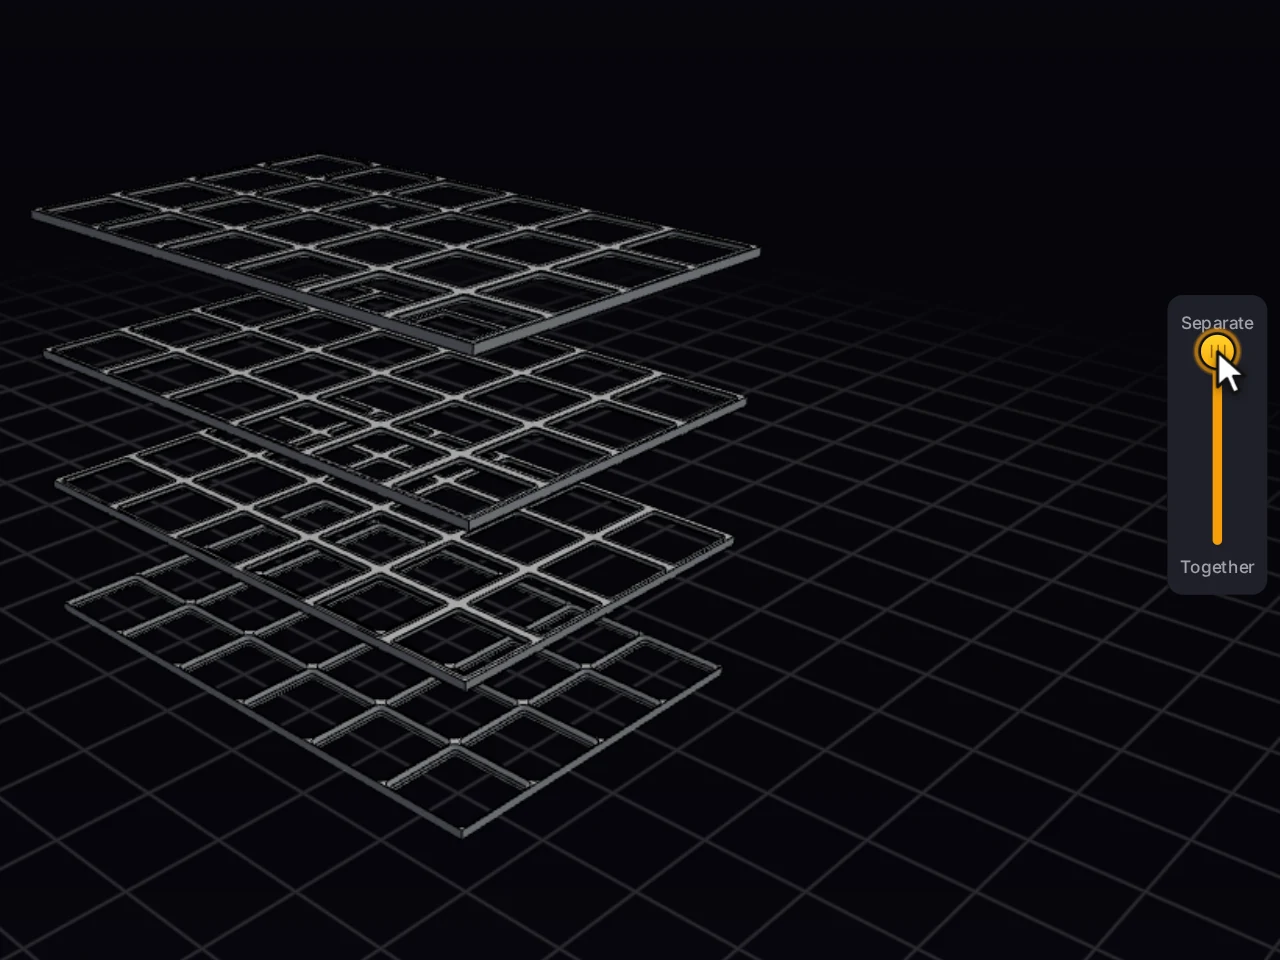
Vertical stack prints the plates of your drawer as one tower. The bottom plate prints right side up. Each plate above it prints upside down, with a thin air gap below it. After the print, you break the plates apart.
- In the baseplate generator, turn on Vertical stack. It sits above the Base section.
- Set Gap. The range is 0.1 to 1 mm. Not sure? Keep the default of 0.2 mm, which is one layer.
- In Physical units, set Build height to the maximum Z height of your printer. The default is 250 mm.
- Read the message below the settings. It tells you how many plates go into how many print files.
By default, pieces with the same shape stack together, up to the number that the drawer needs. A stack that is taller than the build height splits into more files.
Print more than one set
Do you have several drawers of the same size? Complete sets prints the whole baseplate more than once. At 1, each plate prints once. Each extra set adds one copy of every plate, up to 20 sets.
Stack plates of different sizes
A split drawer often has pieces of different sizes, so each size makes its own small stack. Turn on Stack plates of different sizes to put pieces of different sizes in one tower. Each plate turns to line up its grid with the plate below. A piece with a shaped edge or a half-grid edge stacks only with pieces like it.
TIP
Open the file in your slicer and print a small test before you print a full tower of mixed sizes.
What a stack changes
A flipped plate must print without supports. So while Vertical stack is on, it removes these features:
- Magnet holes
- Screw down
- Underside magnets
- Solid floor
- The Snap clip connector
The other connector styles and a corner radius stay. You lose nothing: when you turn off the stack, your settings come back.
Each stacked plate is also 0.4 mm shorter, so that the plates meet on a flat ridge. Bins sit in these plates in the same way. A STEP export never stacks.
Test the gap and separate the plates
Click Print fit test in the stack settings. You get a stack of two 1 by 1 plates. It's a cheap way to tune the gap before you print a full tower.
Slice the tower exactly as it is in the file, with no supports. Keep the layer height at the gap or less, or the plates fuse together. Stack-printed plates gives the slicer steps.
To separate the plates, put a flat-head screwdriver in each gap and turn it gently.
Have two materials? Print the gap in a material that doesn't bond, such as PETG between PLA plates. Make the gap about 0.4 mm first. The Tips for separating help and Slicer setup give the slicer settings.
To look between the plates in the preview, drag the Separate slider.
Control the plate height
A standard plate is 4.65 mm tall. These settings change the height:
| Setting | Change in height |
|---|---|
| Low-profile base | 1.1 mm lower. Bins get 1.1 mm more room inside at the same height. |
| Magnet holes | Taller by the magnet depth plus 0.5 mm |
| Solid floor | Taller by Floor thickness, from 0.4 to 5 mm. The default is 0.8 mm. |
| Screw down | A little taller if a screw must go in the pocket floor |
| Underside magnets | No change |
| Vertical stack | 0.4 mm lower |
To keep a screw-down plate at the standard height, use a Countersink with a head diameter of 6 mm. The screws then fit in the solid corners where four pockets meet. See Magnets and screws.
When it goes wrong
A message in the stack settings tells you when a stack can't form. Here's what each one means.
The message says there's nothing to stack
Does your baseplate split into pieces? Turn on Stack plates of different sizes, so that pieces of different sizes share a tower. Is it one plate? Raise Complete sets to 2 or more. The stack then holds copies of your plate.
By default, only plates with the same shape stack together. Your baseplate fits the bed in one piece, or each piece has a different shape. So one set has no pair to stack.
Each plate prints as its own file
Change the margins, or set a larger Print bed size if your printer has the room.
A plate stacks only on a plate that holds it safely. With the margins and outlines that you have, no piece can rest on another one.
Only one plate fits in each stack, or a plate won't print
Set Build height to the real Z height of your printer. If that is already right, make the Gap smaller.
The stack can't be taller than the build height. When the limit is low, each tower holds only one plate. When a single plate is taller than the limit, the message tells you that it won't print.
Stacked plates stick together
See Stacked plates stick together. Print the stack fit test before the next full tower.
Next steps
- Split for your print bed: control the pieces that go into each stack.
- Slicer setup: slice a stack and set up two materials.
- The print list and ZIP export: export the plate with all the bins of the layout.