
Special bins
Not everything fits in a box with compartments. Kitchen knives want a slot each, pens want to lean, and small parts like a tray that slides out of the way. The bin designer makes all of these. This page shows how, and lists the other bin types it offers.
Make a knife block
A knife block holds kitchen knives flat in a drawer. Each blade hangs in its own slot, and a handle rest carries the handles at the right height, so the edge never touches the plastic.
- In the bin designer, open the Interior group, pick Custom cutouts, and click Cut editor. Draw a cutout explains the board and its tools.
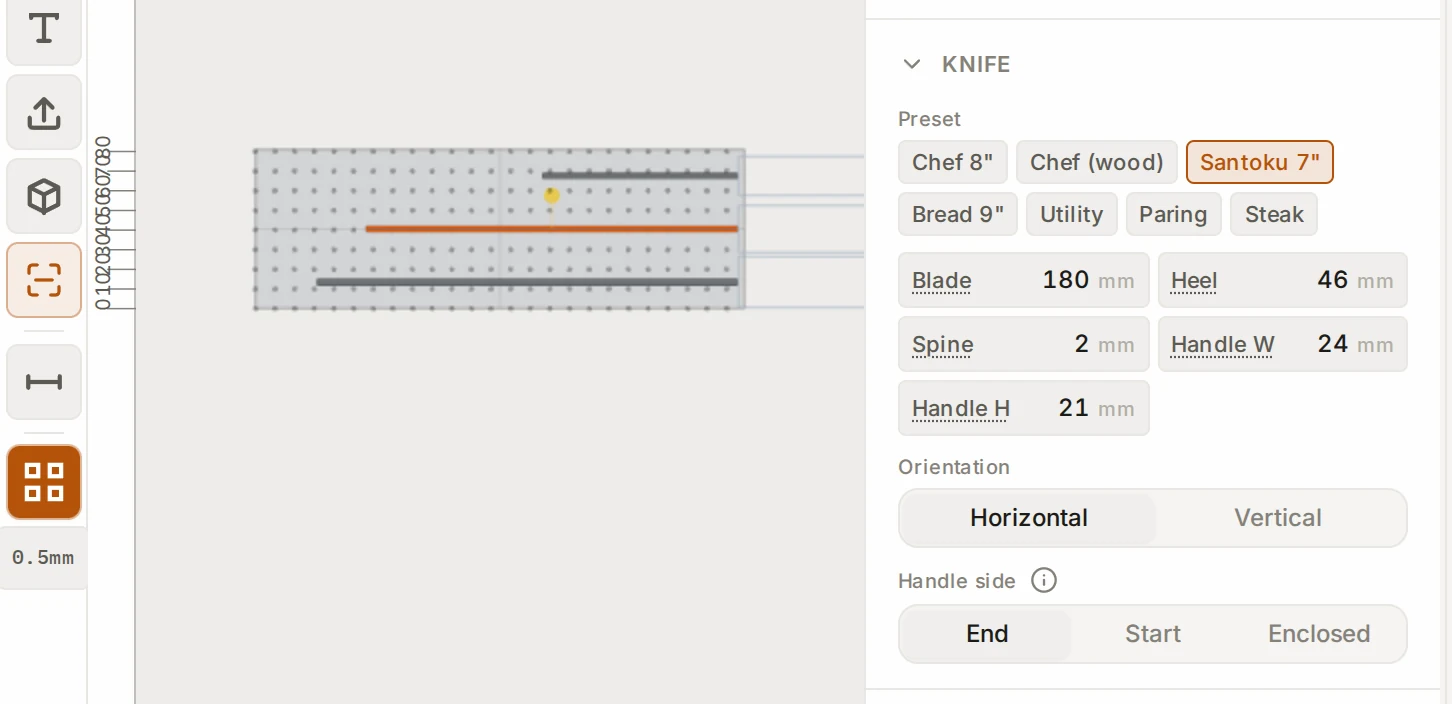
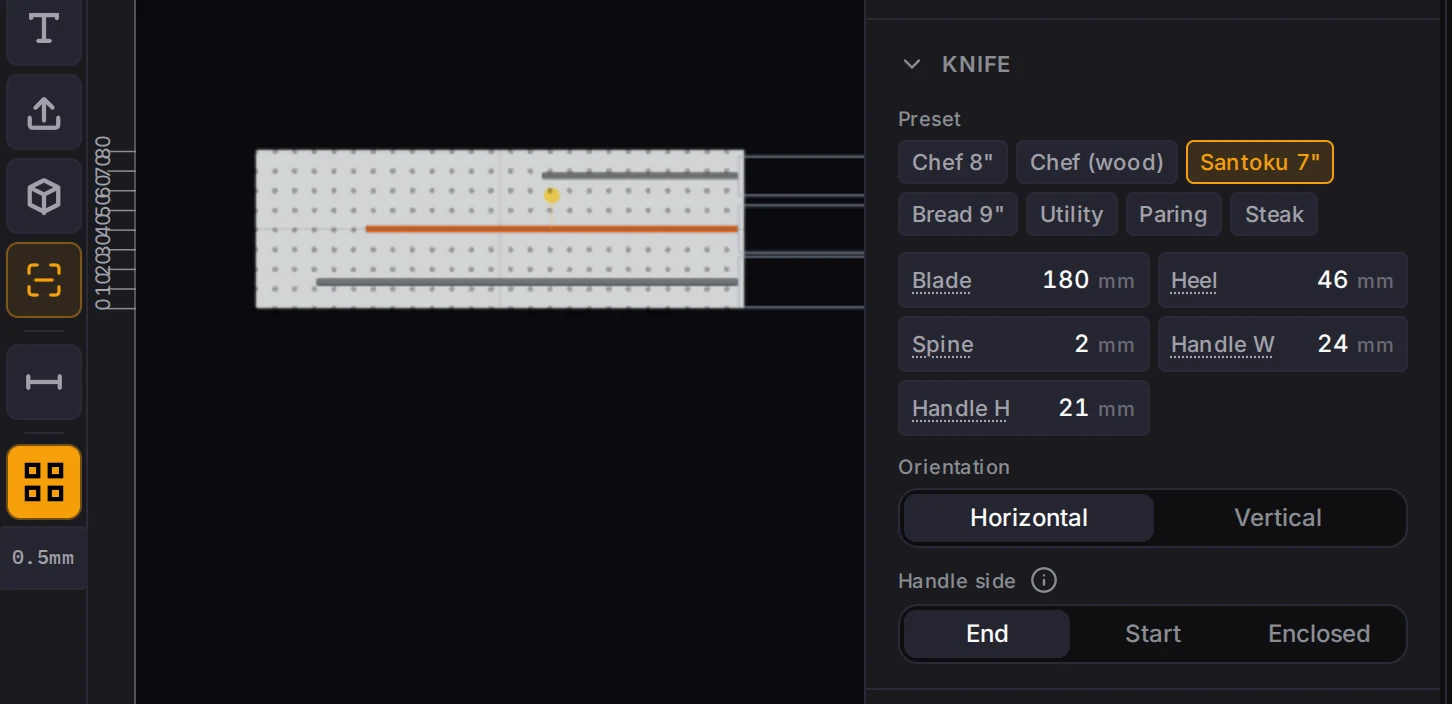
- Pick the Knife slot tool (K) and place a slot on the board.
- In the Knife section, pick a Preset, for example Santoku 7". Or type the measurements of your own knife.
- Set Handle side to the end where the handle comes out.
- Add one slot for each knife.
Each slot gets its size from the knife, with room to spare:
| Knife measurement | Slot size |
|---|---|
| Blade length | Slot length: blade plus 10 mm, so the tip never touches the closed end |
| Spine thickness | Slot width: spine plus 1.5 mm, at least 2.8 mm |
| Heel height | Slot depth: heel plus 4 mm, so the edge floats 4 mm above the slot floor |
A knife slot turns only in quarter turns, so it always lines up with a wall. If the bin is too short for the blade, the panel tells you how many height units the bin needs.
Add a handle rest
Back in the Interior group, turn on Handle rest. It needs at least one knife slot with an open end.
| Style | What you get |
|---|---|
| Companion | A separate part with its own Gridfinity foot. It stands past the open end of the block, 21 mm away by default. |
| Integrated | The rear part of the block drops to rest height, so the whole knife holder prints as one part. |
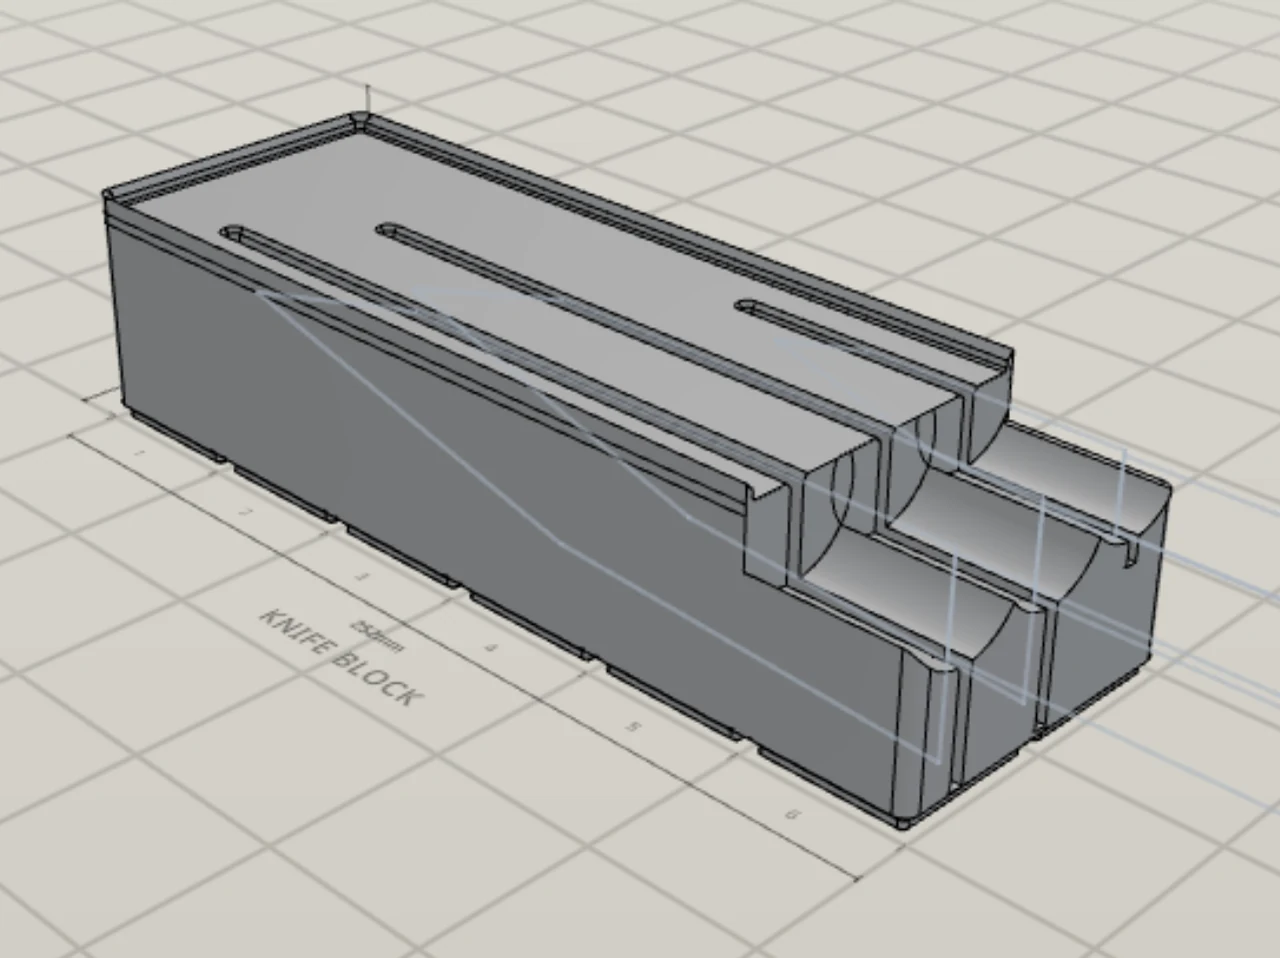
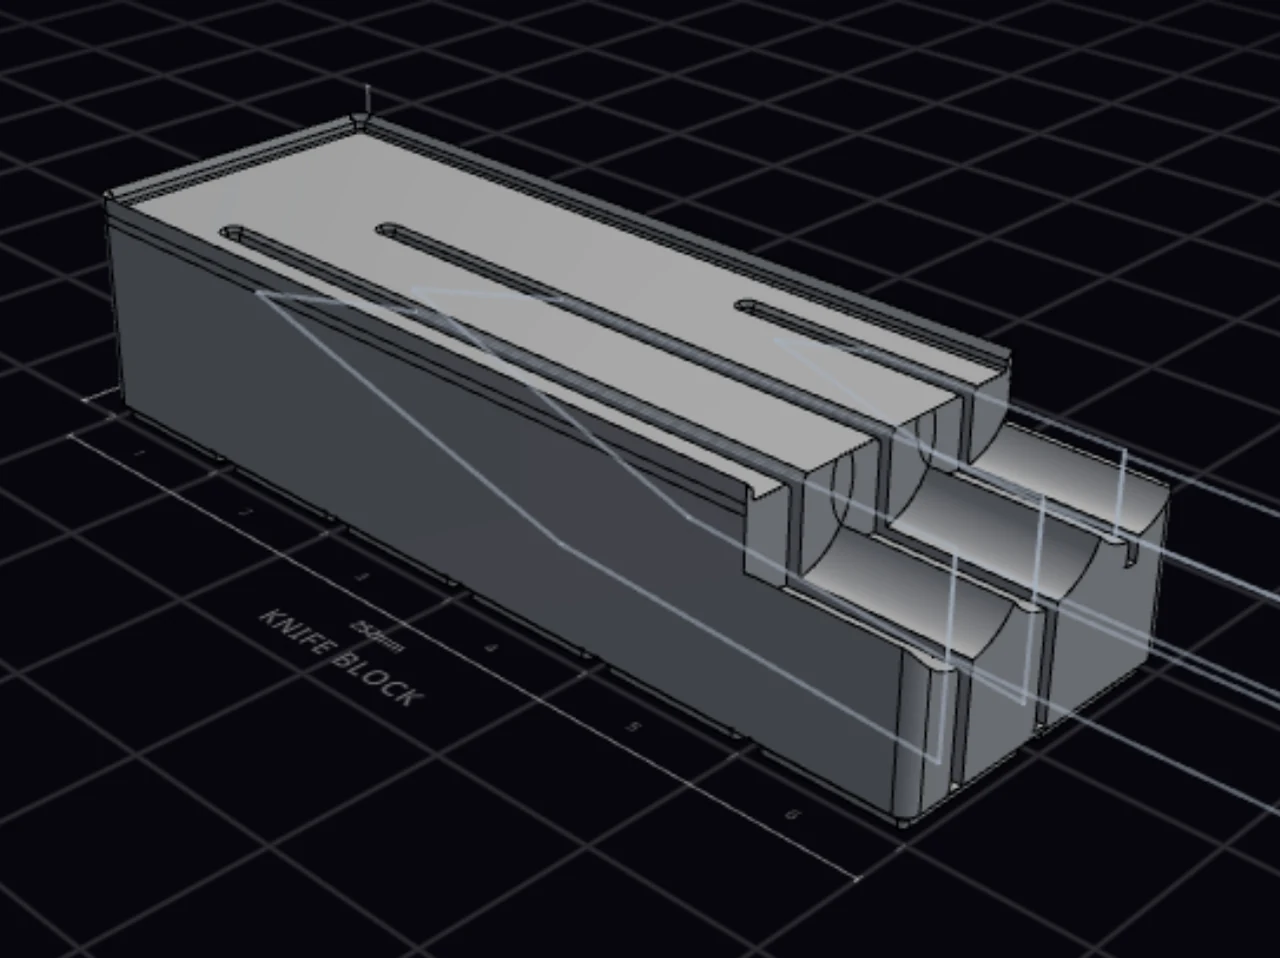
Groove depth sets how far each handle sinks into its saddle. A deeper groove holds the knives better, but it makes the rest taller. For a companion rest, Gap sets the space to the block, and Rest depth sets the size of the rest.
Rather not start from scratch? The gallery has a knife block example.
Make a slanted bin
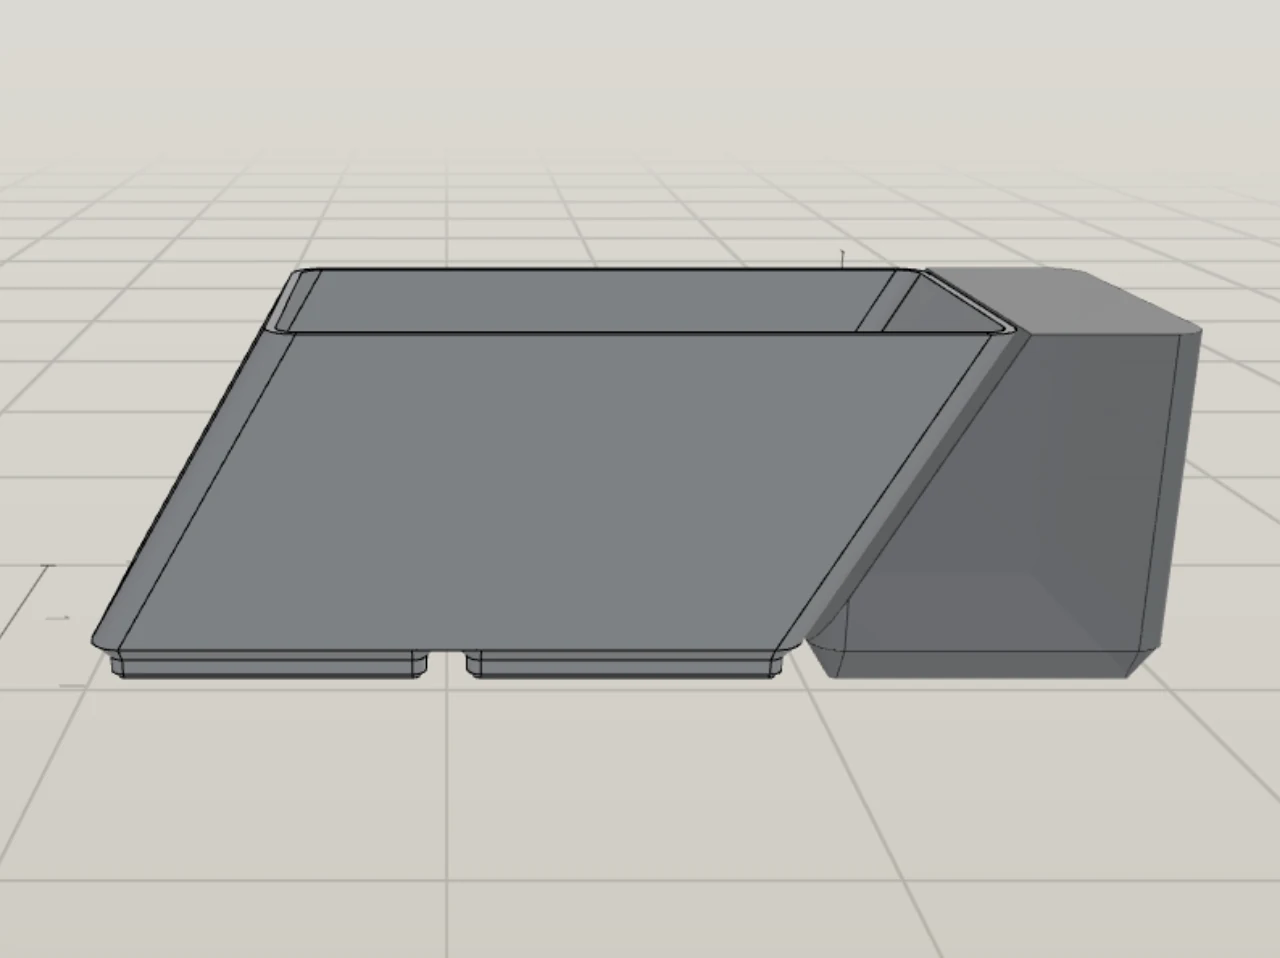
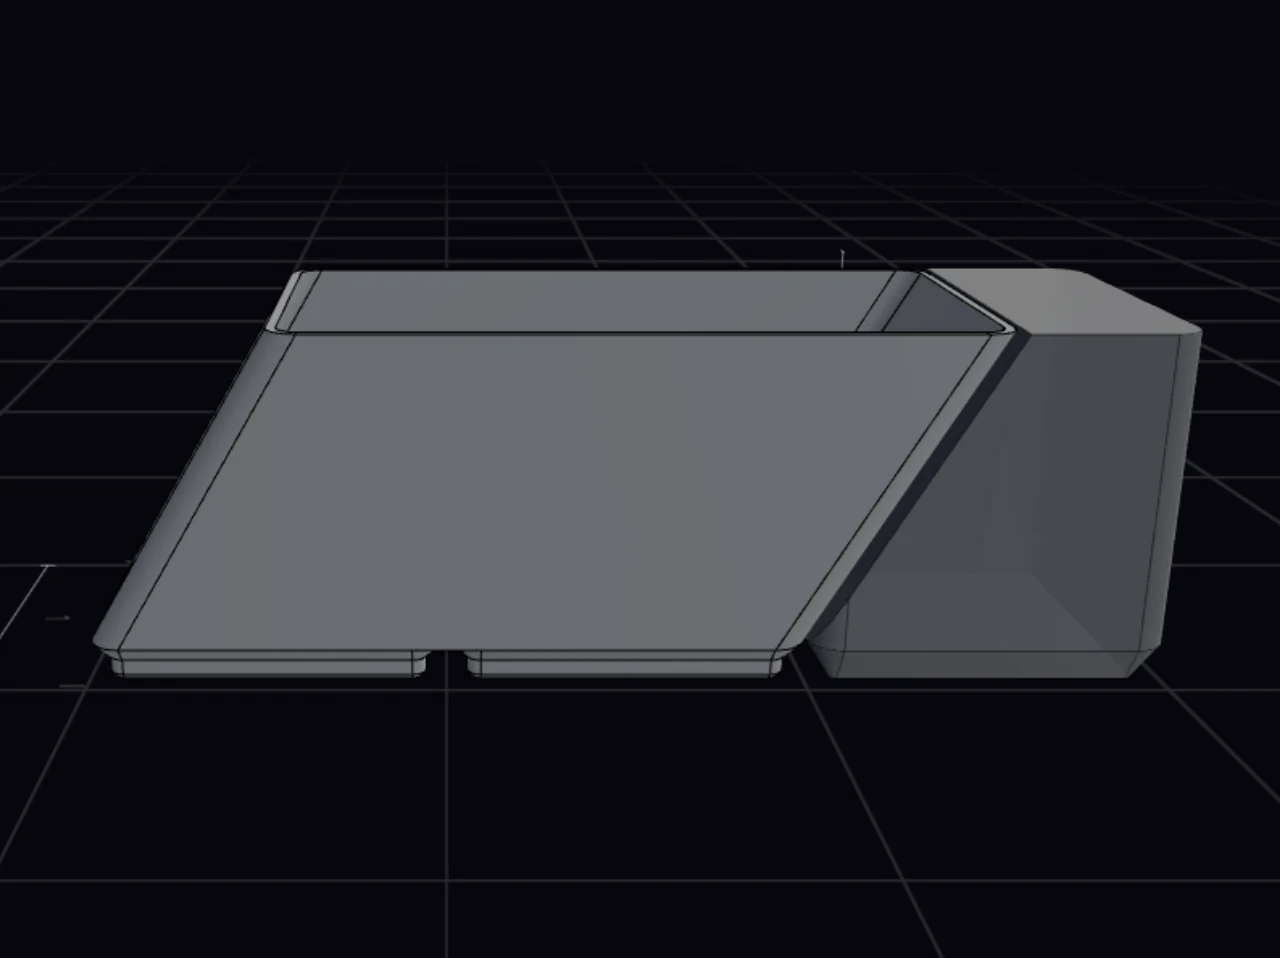
A slanted bin leans toward one side, while its base stays flat on the grid. Tall items such as pens then fit in a shallow drawer. Slant carries an Experimental label.
- Open the Shape group and turn on Slant. The bin leans 45° toward the back.
- Set the Angle, from 1° to 60°.
- Under Leans toward, pick the side the bin leans toward.
The panel shows how far the top reaches past the base, and the longest straight item that fits. Past 45°, the leaning wall prints as an overhang with no support, and the walls get thinner across the slope. Not sure? Stay at 45° or less.
Slanted bins in a row lean on each other. The last bin in a row needs something to rest on, so turn on End support to add a wedge. The wedge exports as a second part.
A slanted bin has no stacking lip and no lid, and the Layout Tool can't split it. If it's too large for your print bed, lower the angle or make the bin smaller. Some features don't work with a slant, for example an overhang, a custom shape, removable dividers or a pull tab. The panel names the feature that blocks the slant.
Add a sliding tray (Labs)
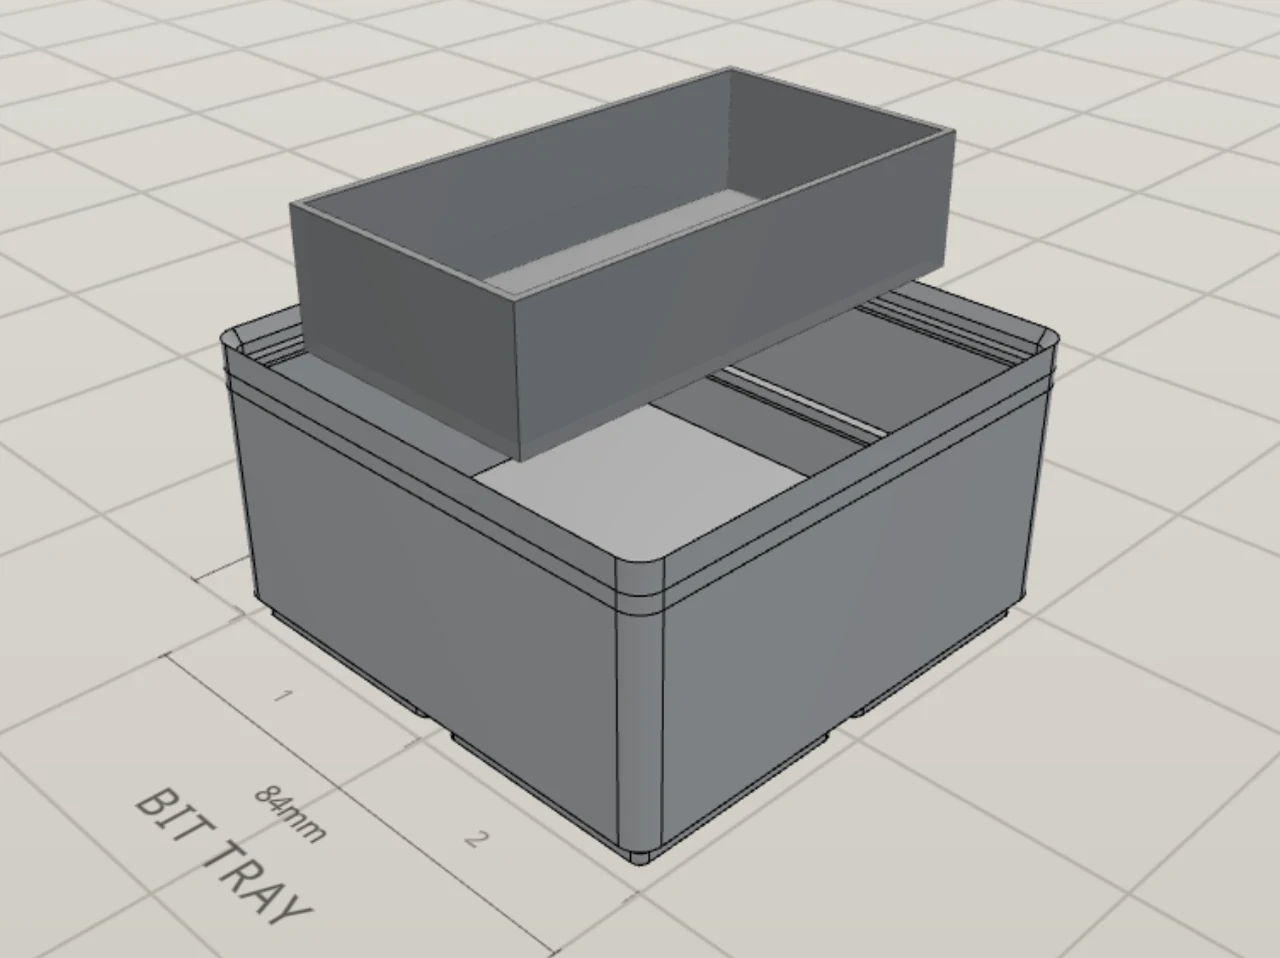
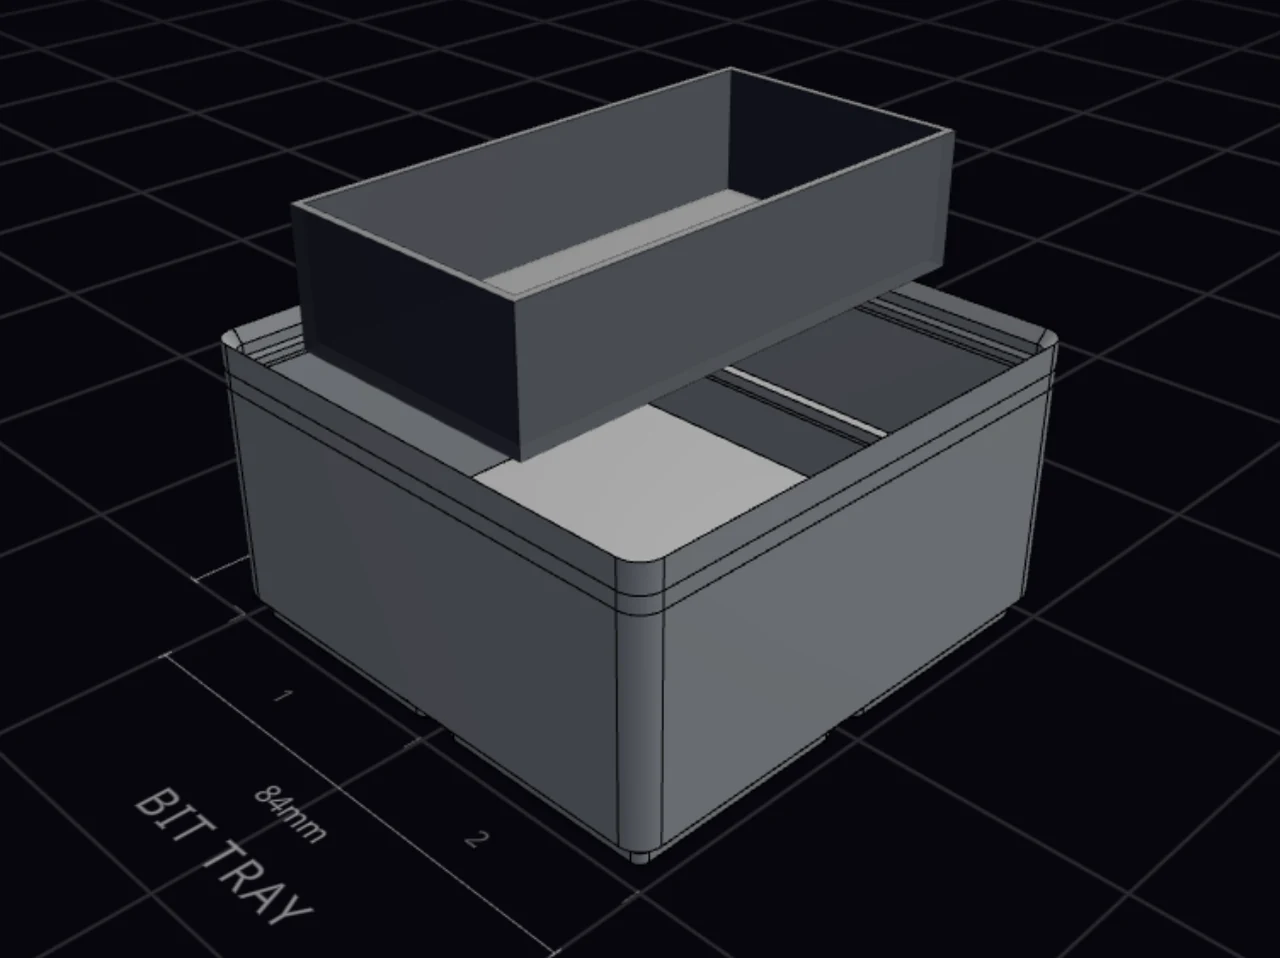
A sliding tray is a shallow tray that rides on a rail inside or on top of a bin. Small parts ride in the tray, and you push it aside to reach what's under it. The rail runs along the front and back walls, so the tray slides from side to side.
The sliding tray is a Labs feature, so it's off by default. Turn on a Labs feature shows how to turn it on.
WARNING
Expect changes to a tray design. Labs marks the sliding tray as unfinished, and the rail and tray shapes can still change. A saved design with a tray may not open the same way later. See Labs.
With the feature on, the Interior group shows a Sliding tray section.
| Setting | What it does |
|---|---|
| Rail position | Inside bin drops the tray into this bin, and it slides inside it. Over the rim puts the tray above the rim, so it can slide onto a bin beside it that has the same rail. |
| Tray width | Set in grid units, from 0.5 to 16. A tray wider than its bin rides across two railed bins that stand side by side. |
| Rail drop | Lowers the rail below the rim. If the tray stands above the rim, the panel tells you to increase the drop. |
| Clearance | Sets the gap between tray and rail. It starts at 0.25 mm. |
Not sure about the clearance? Click Print fit test for a small test part. It has five rail stubs from 0.15 mm to 0.35 mm of clearance and one tray stub. The first rail that the stub slides in freely gives your clearance.
A sliding tray needs a hollow bin. You can't add one to a solid bin, a slotted bin or a custom-shape bin.
Other bin types
The Body type picker in the Base group changes what the whole bin is. Pick a body type describes the six body types. To lift short bins level with tall bins in a layout, see Make short bins finish flush with spacers.
Two more kinds of design live in the design library:
- Imported bin. Already have an STL of a bin? In the library, click Import and drop the STL file. Set the width, depth and height in units, then click Import as bin design. The units set the space that the bin takes in a layout. The Layout Tool never resizes the mesh.
- Workshop build. New Workshop build (experimental) starts a tool holder built from parts on a Gridfinity base. See Workshop.
When it goes wrong
The panel says a knife slot is too deep for the bin
Raise Height to the number of units that the message names. The slot then holds the whole blade.
A slot needs the heel height plus 4 mm of depth. In a bin that is too short, the slot stops at the depth that the bin has, so the blade doesn't fit.
You can't turn on the handle rest
Set Handle side of at least one knife slot to Start or End.
The rest carries the handles that lie past the block. A slot set to Enclosed keeps the whole knife inside, so no handle comes out.
The bin won't slant
Read the note under Slant. It names the feature that blocks the slant. Turn that feature off, then turn on the slant.
Some features don't work on a bin that leans, for example an overhang, a custom shape, removable dividers or a pull tab.
A slanted bin is too large for the print bed
Lower the Angle, or make the bin smaller. A notice in the panel tells you while the bin is too large.
The Layout Tool can't split a slanted bin, because a cut would cross its body at an angle. See Fitting the print bed.
Next steps
- Cutout basics: learn the cutout editor that makes knife slots.
- Lids: add a lid, or make an organizer tray that sits on a bin.
- The base: set the feet, magnets and body type of a bin.
- Labs: see the other features in Labs.