
Compartments and dividers
Screws, washers and nuts in one open bin end up as one big mix. Dividers fix that. In the Gridfinity Layout Tool, you can split a bin into a neat grid or draw compartments of any size. You can also tilt dividers for cutlery, or print dividers that you can move later.
Everything on this page is in the Interior group of the bin designer. Start by picking one of four interior styles:
| Style | What you get |
|---|---|
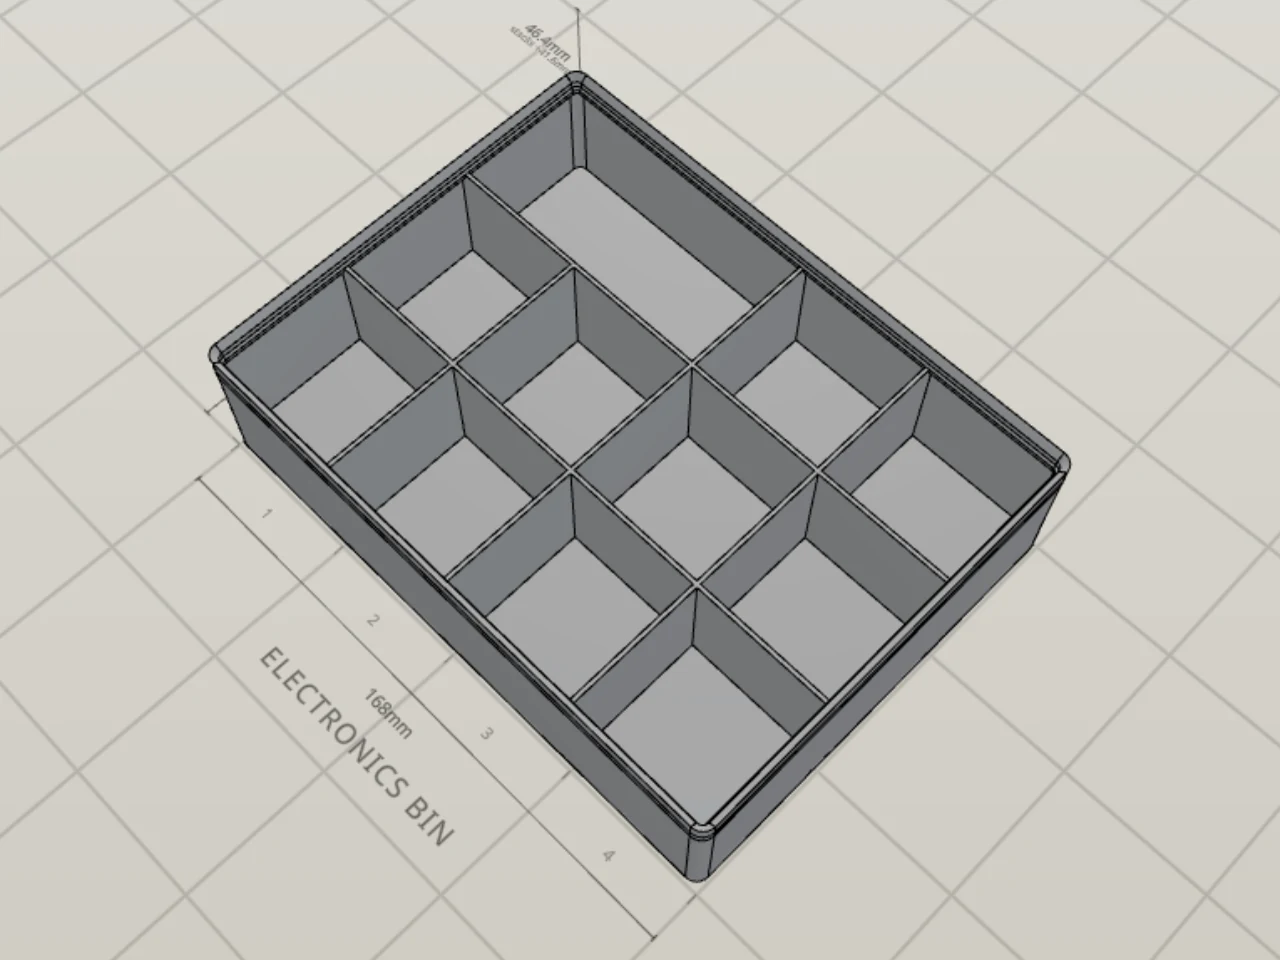
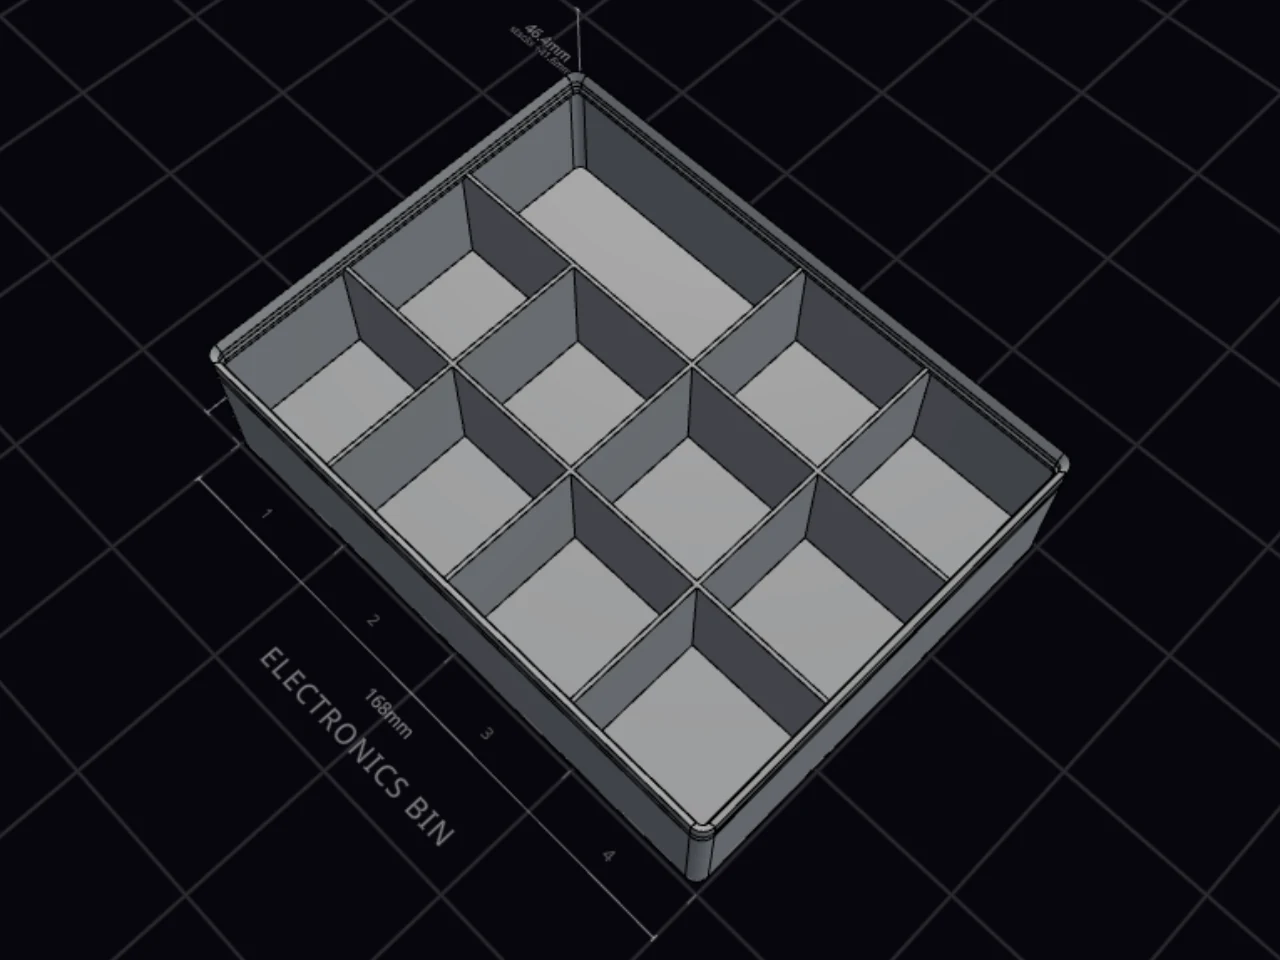
| Grid dividers | A grid of compartments with fixed walls. Merge cells for larger compartments. |
| Bento | Compartments of any size that you draw on a canvas. |
| Removable dividers | Slots in the walls, and separate divider pieces that you push into them. |
| Custom cutouts | A solid bin with cutouts in the shape of your tools. See Cutouts. |
The first three styles need a rectangular footprint. Not sure which to pick? Start with Grid dividers. You can move to Bento later and keep your compartments.
Set up the compartment grid
- Pick Grid dividers.
- Set Columns and Rows, from 1 to 12 each.
- Read the size of the smallest compartment under the steppers.
Know the size you need instead? Open Set by size and type the smallest opening you need in millimeters. The bin designer picks the largest number of columns and rows that keeps every compartment at that size or larger. The compartments at the edges can be wider.
With two or more compartments, two more controls appear:
- Divider thickness: the same values as the wall thickness, from 0.4 to 2.6 mm.
- Divider height: Auto or a height in millimeters. With the stacking lip on, Auto stops just below the feet of a bin stacked on top.
A compartment cannot be smaller than 5 mm. When you change the grid, the bin designer moves compartment labels by position, and tells you if it clears some.
Merge and split compartments
- Drag across two or more cells. When you let go, they merge into one compartment.
- To split a merged compartment again, click it.
A merged compartment is always a rectangle. Made a mess? Reset above the grid sets all compartments back to a uniform grid.
Tilt and lean dividers
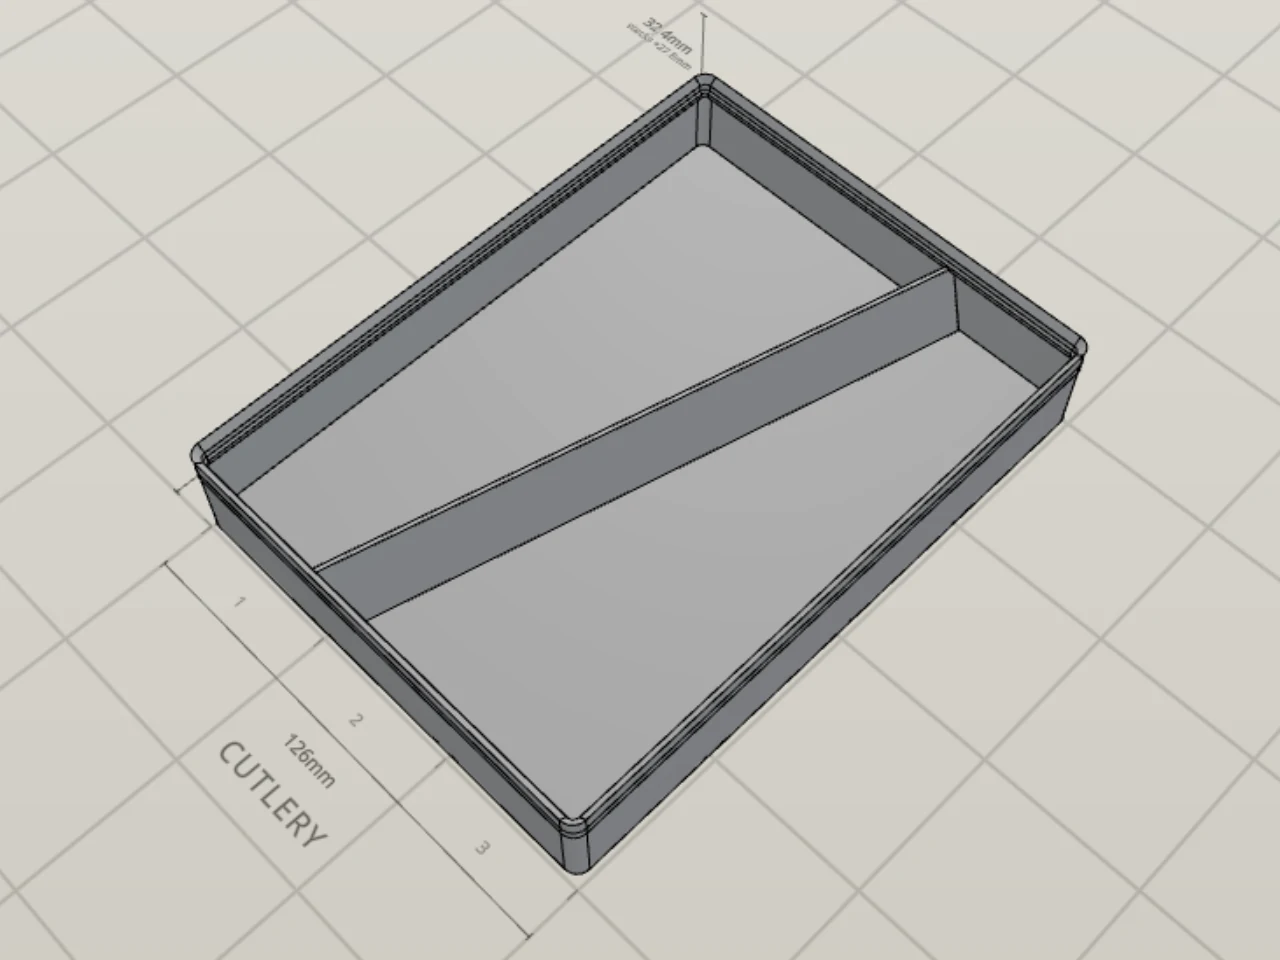
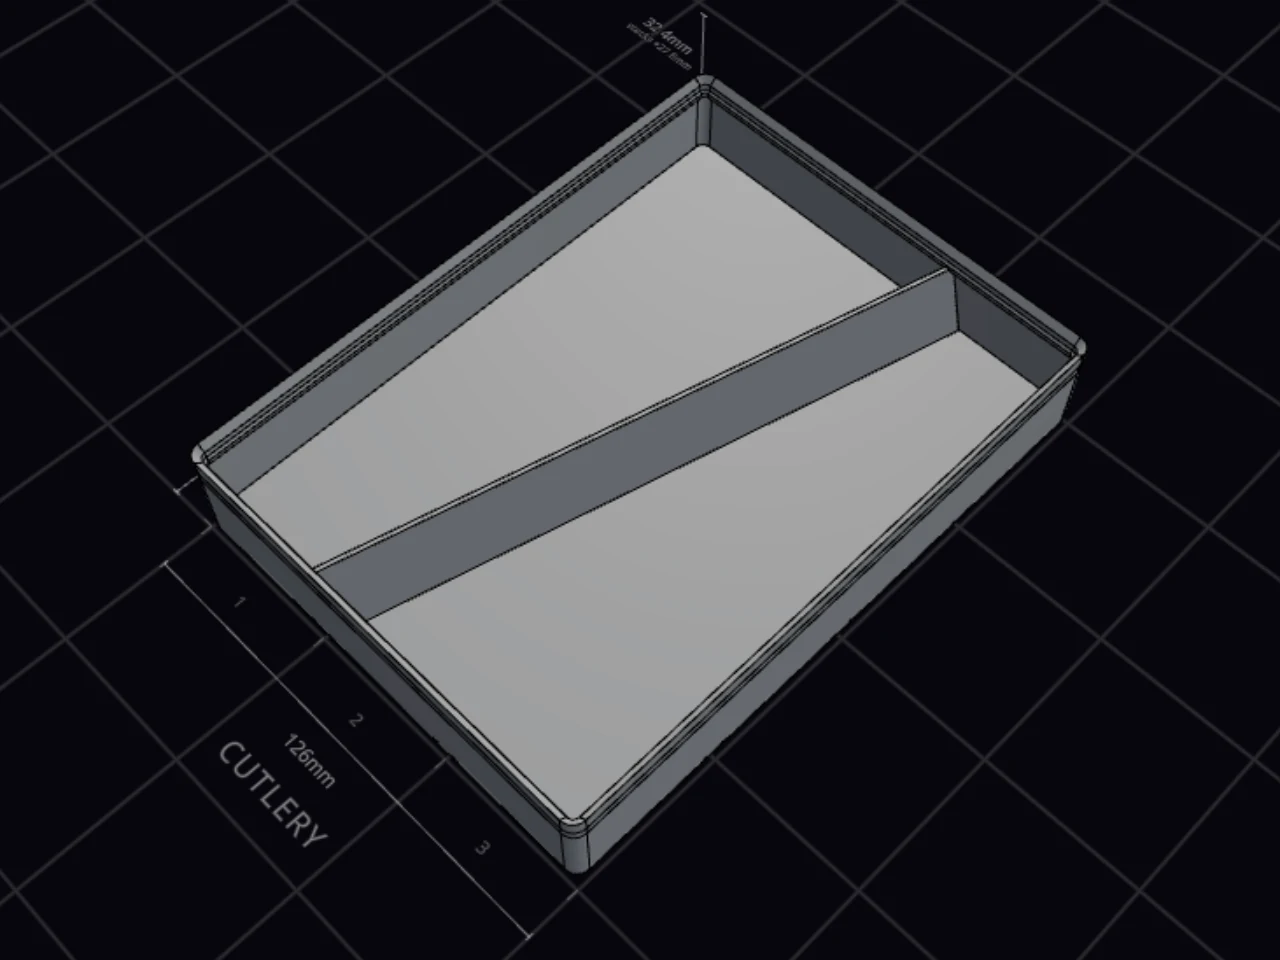
Diagonal dividers makes wedge-shaped compartments, for example for cutlery that gets narrower at one end. The toggle is under the compartment grid.
- Turn on Diagonal dividers.
- Click a divider on the grid, or pick it in the list.
- Set Angle to turn the divider in plan, up to 60°.
- Set Lean to stand the divider over, so contents rest at a slope.
The lean has a limit for each compartment, and the panel shows it with the clear opening. Apply lean to all parallel dividers copies the lean to the other dividers that run the same way. Fine-tune holds a Shift control that moves the divider. To start over, click Reset to straight.
WARNING
Look at your scoops and label tabs after you tilt a divider. The bin designer removes scoops, label tabs and inserts along a tilted divider.
Draw compartments with Bento
Bento gives you a large canvas where you draw each compartment, like a bento box. It needs a wide screen. On a small screen, the card shows the grid editor of Grid dividers instead.
- Pick Bento and click Bento workspace.
- On an empty canvas, choose the drawing grid. Compartments snap to it.
- Drag on the canvas to draw a compartment.
- Drag a compartment to move it, or pull its handles to change its size.
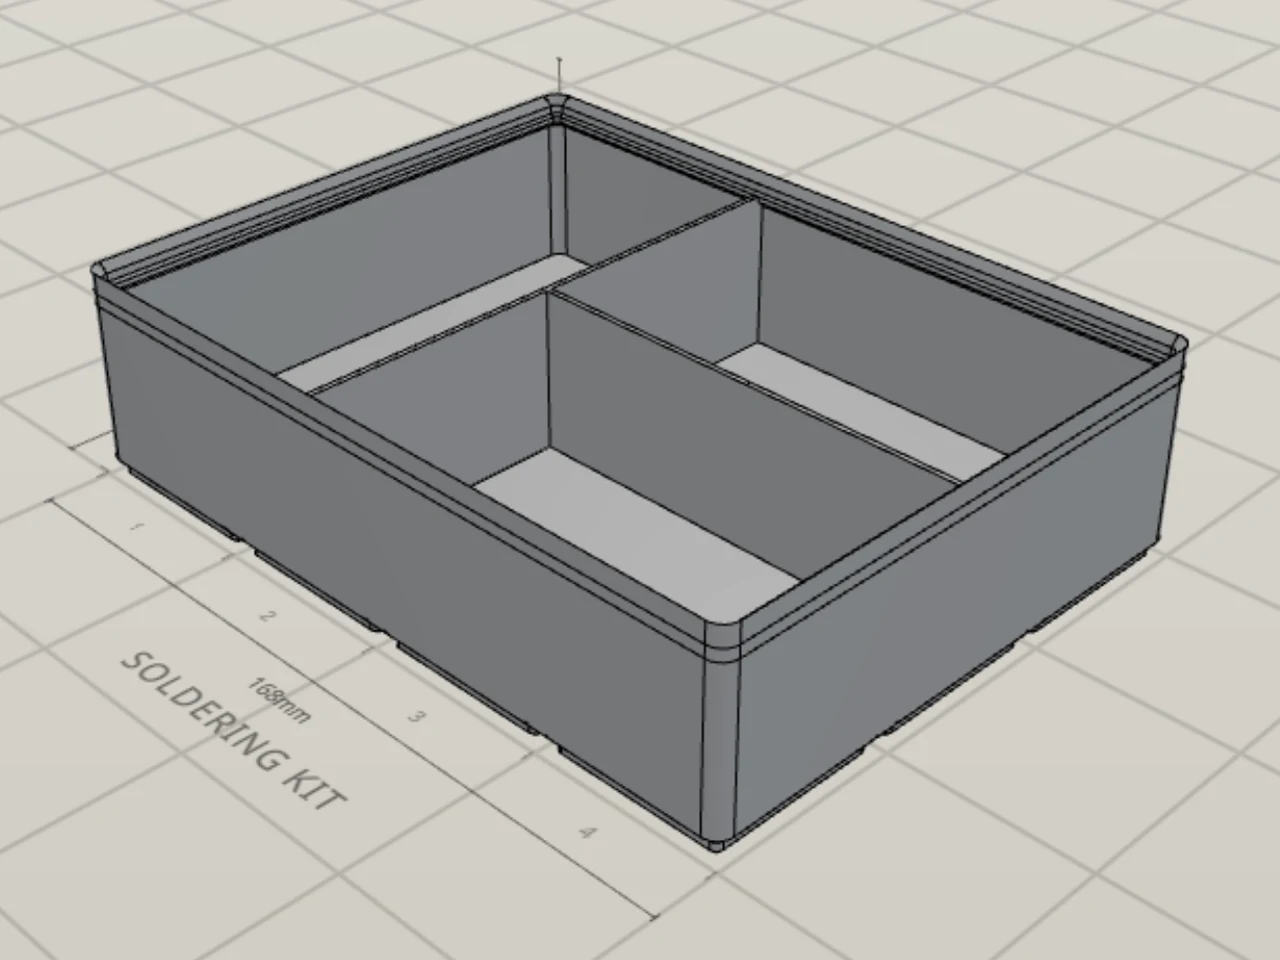
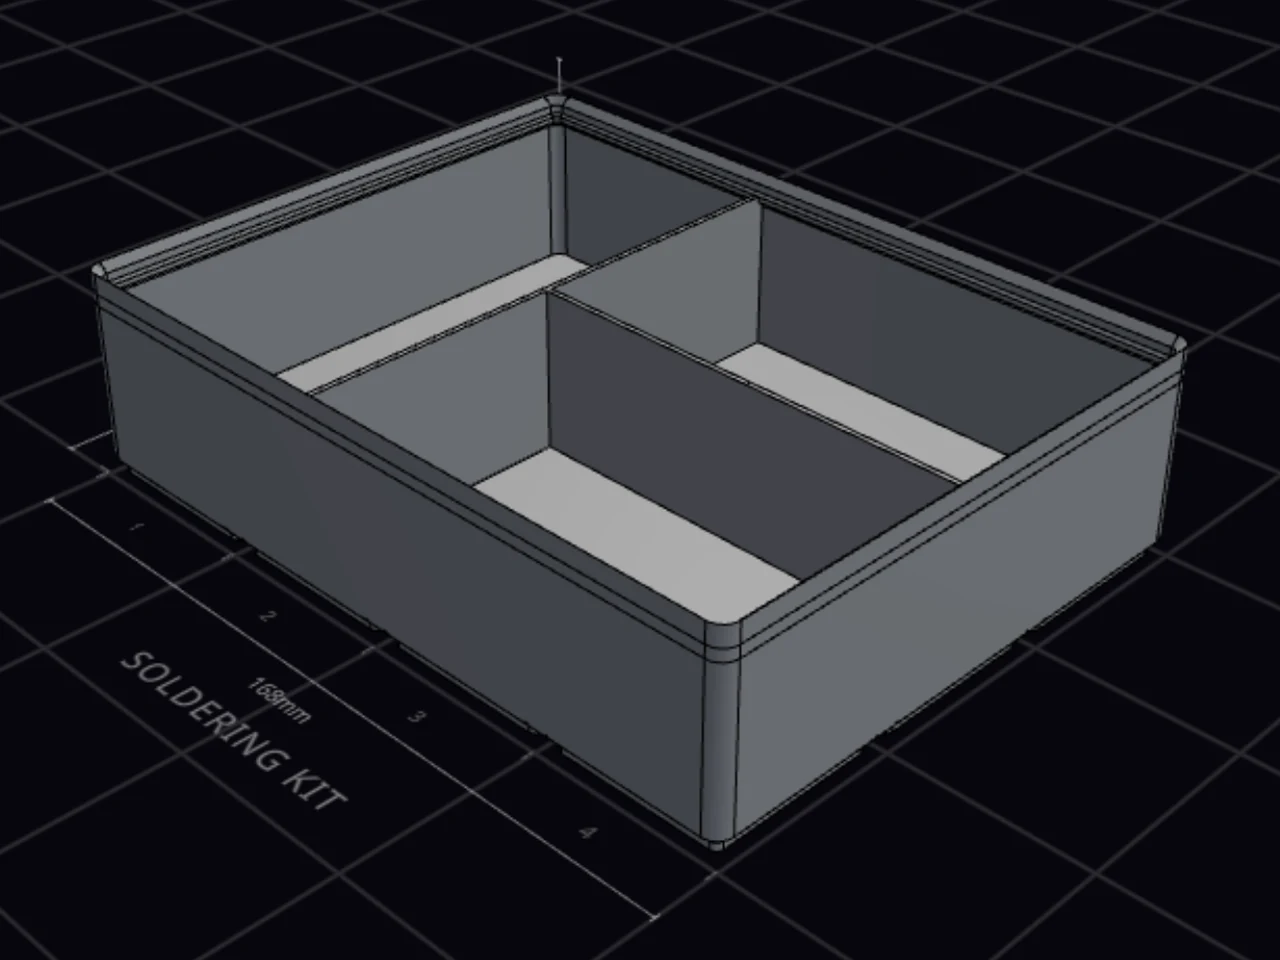
A few more moves:
- Shift+click a second compartment that touches the first to fuse them into one L, S or U shape.
- Alt+drag a compartment to make a copy.
- Drop a compartment on the Stash shelf to keep it for later. The shelf holds up to 36 compartments.
- Use Walls in the compartment panel to shift or turn a wall between two compartments.
- To give one compartment its own color, open Color in the compartment panel. Pick Floor or Floor + walls. The color prints in a second filament.
Each empty cell prints as its own small pocket. Turn on Merge leftover space to make one pocket from each open area instead.
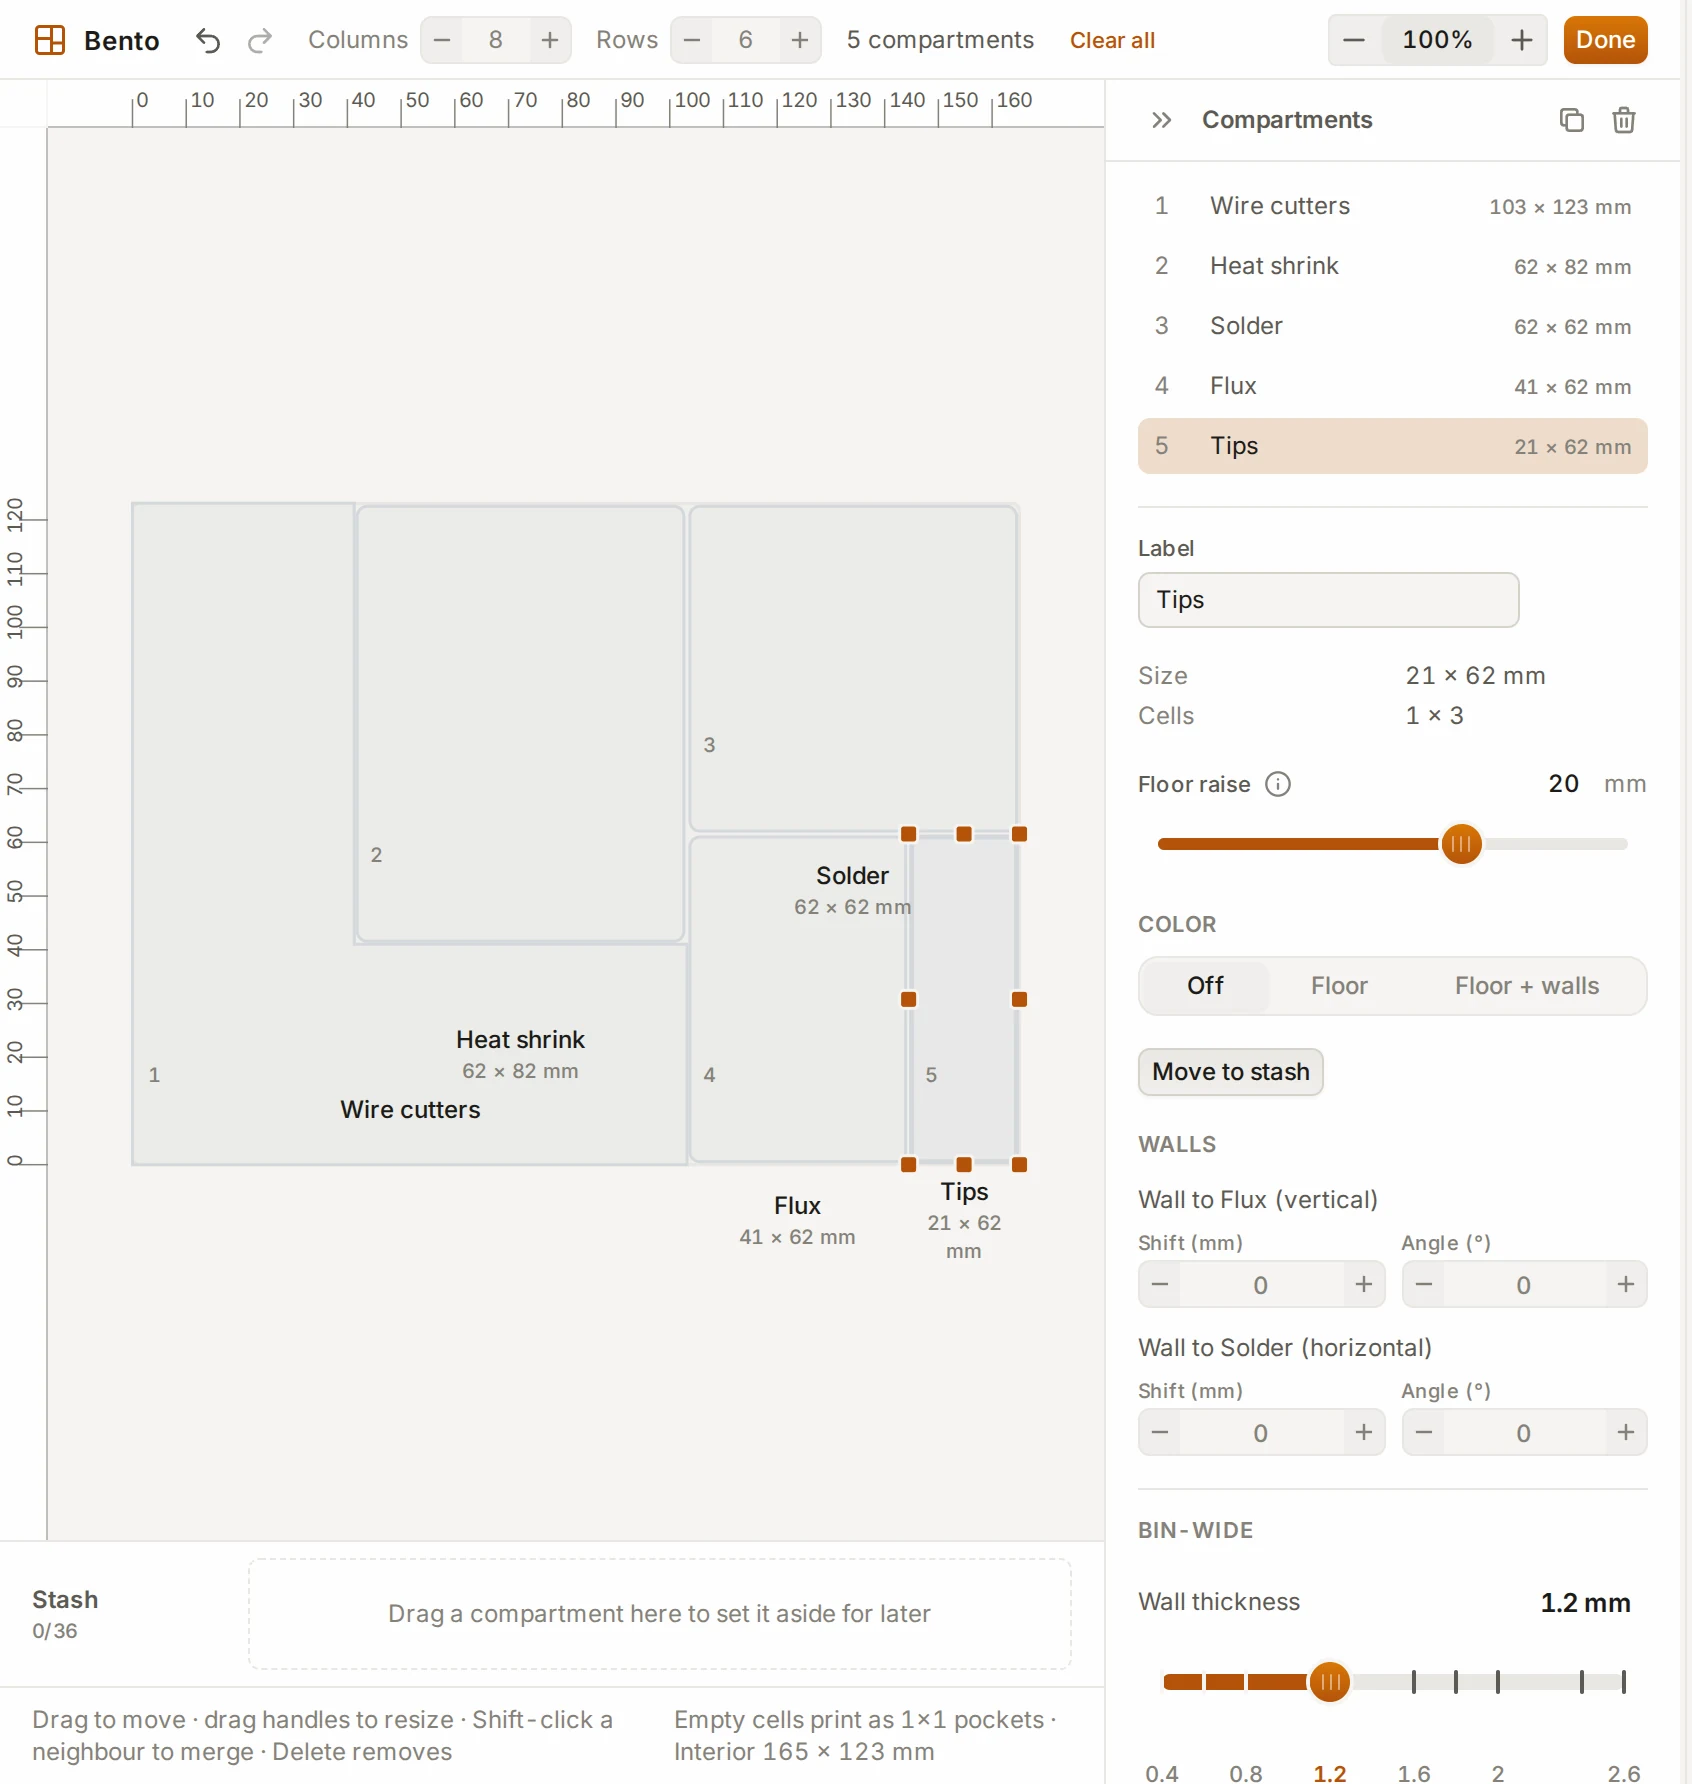
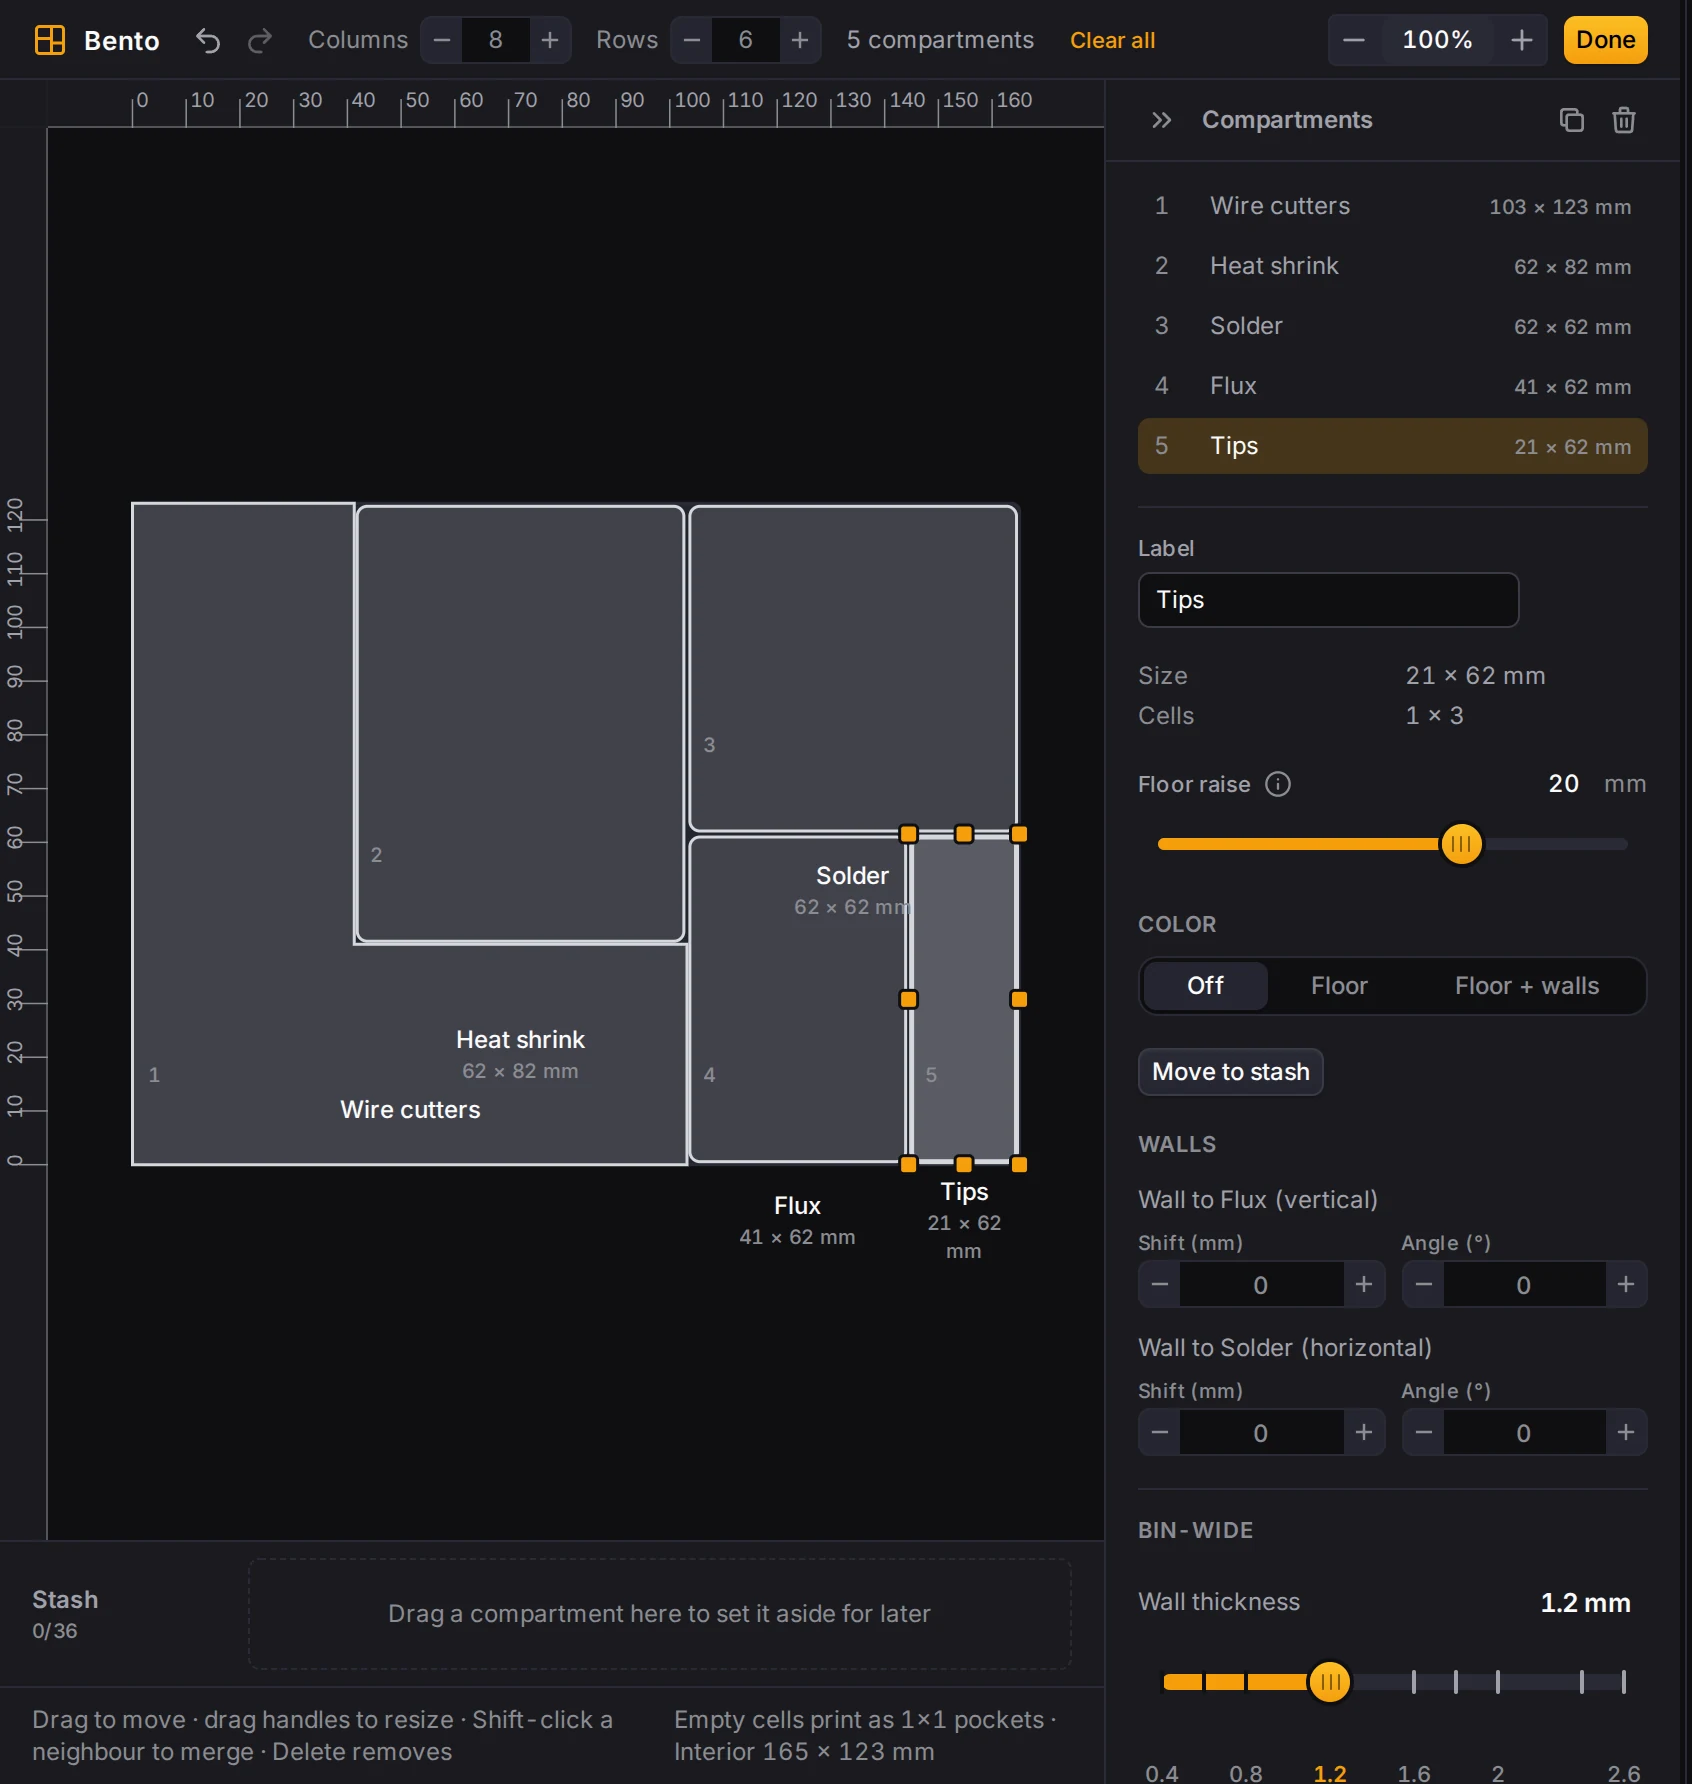
Raise a compartment floor
Small things in a deep compartment are hard to pick out. Floor raise lifts the floor of one compartment, so a short item sits nearer the rim. Tall items in other compartments keep the full depth.
- In the Bento workspace, select a compartment.
- Drag Floor raise to the height you need, in millimeters.
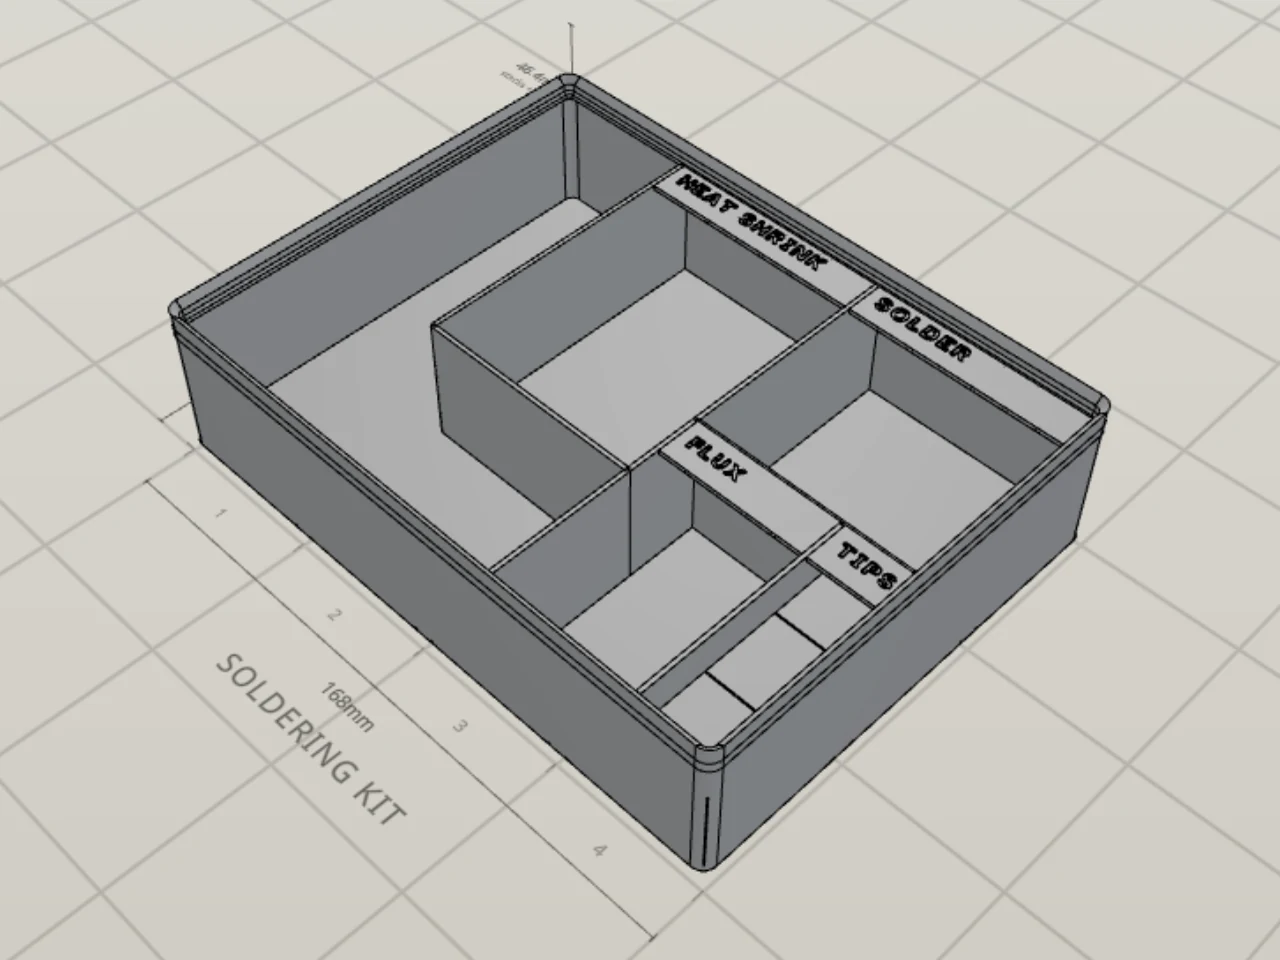
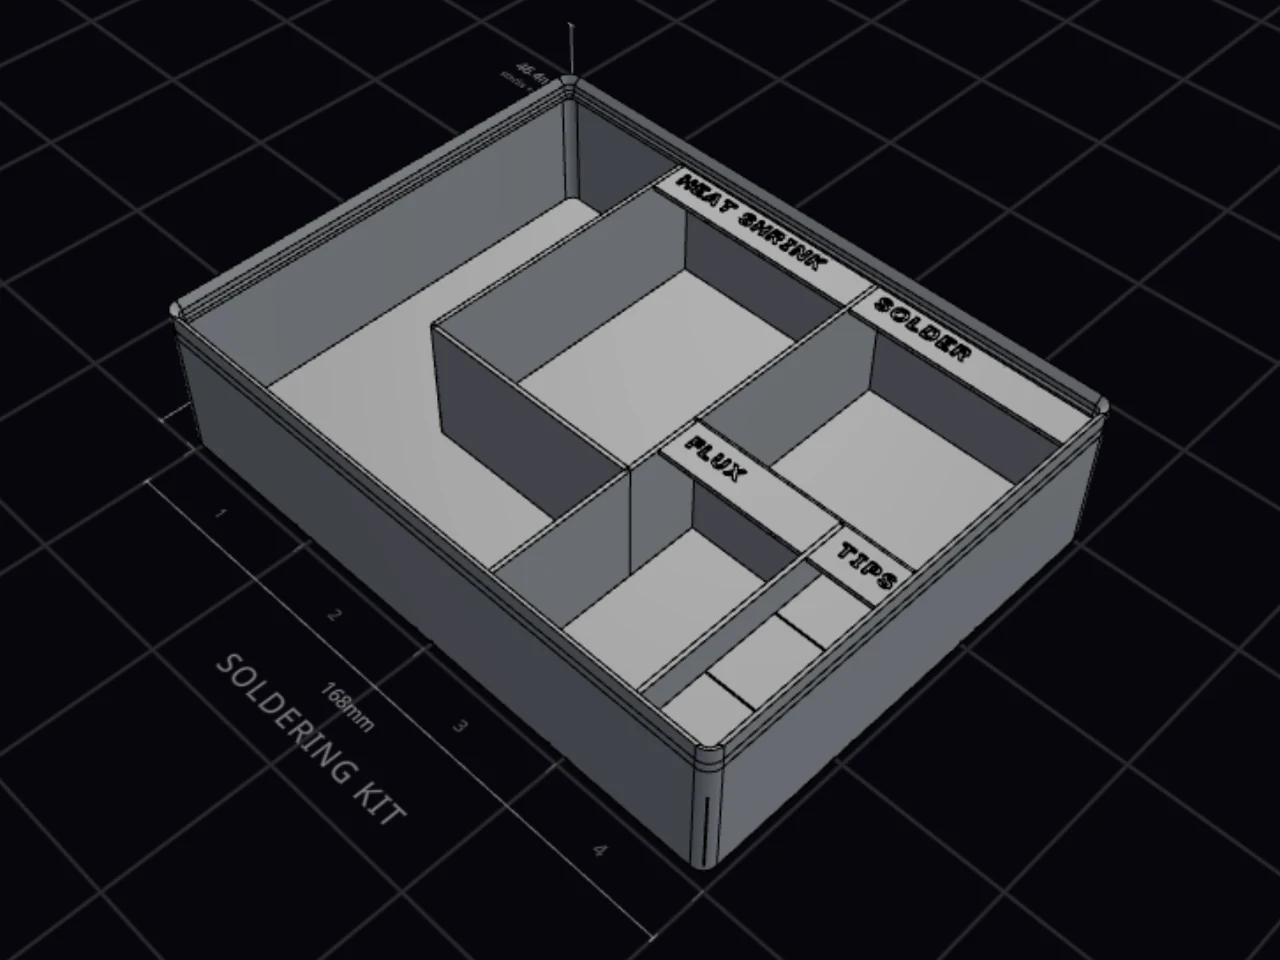
The raised floor is solid, and the infill of your slicer keeps it light. The bin designer keeps at least 3 mm of depth above the raised floor. A finger scoop climbs from the raised floor. For a Grid dividers bin, pick Bento: the compartments stay the same, and you get the same control.
Use removable dividers
Not sure how you'll split the bin yet? Removable dividers cuts slots into the walls. The divider pieces print separately and slide into the slots, so you can move them later. The export includes the pieces, and an STL export with pieces downloads as a ZIP file.
- Pick Removable dividers.
- Under Layout, pick Even spacing.
- Pick a Direction. Pick Both for pieces in both directions.
- Set Compartment width, from 10 to 50 mm.
- Set the height, thickness and fit of the pieces.
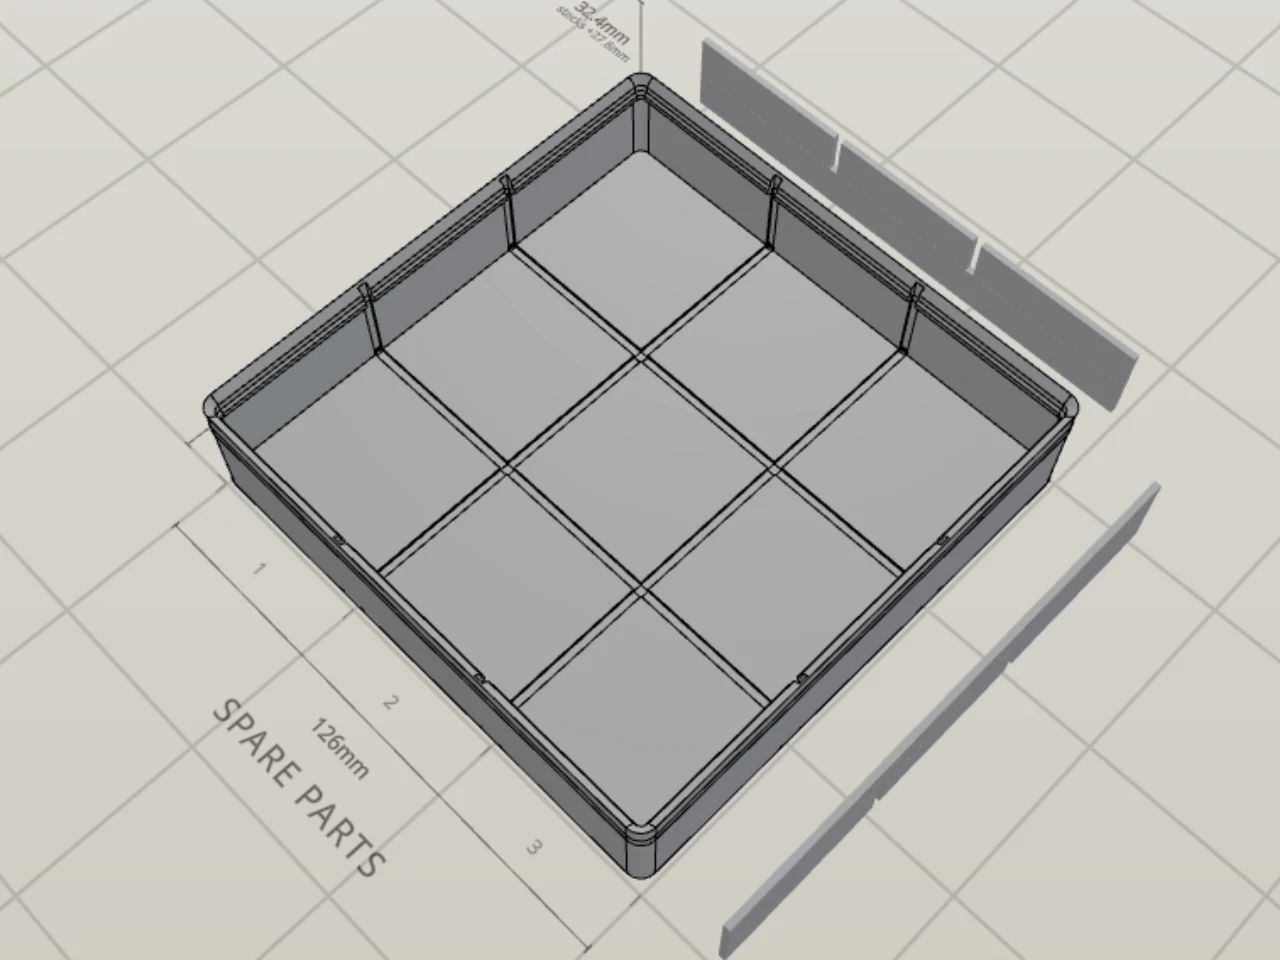
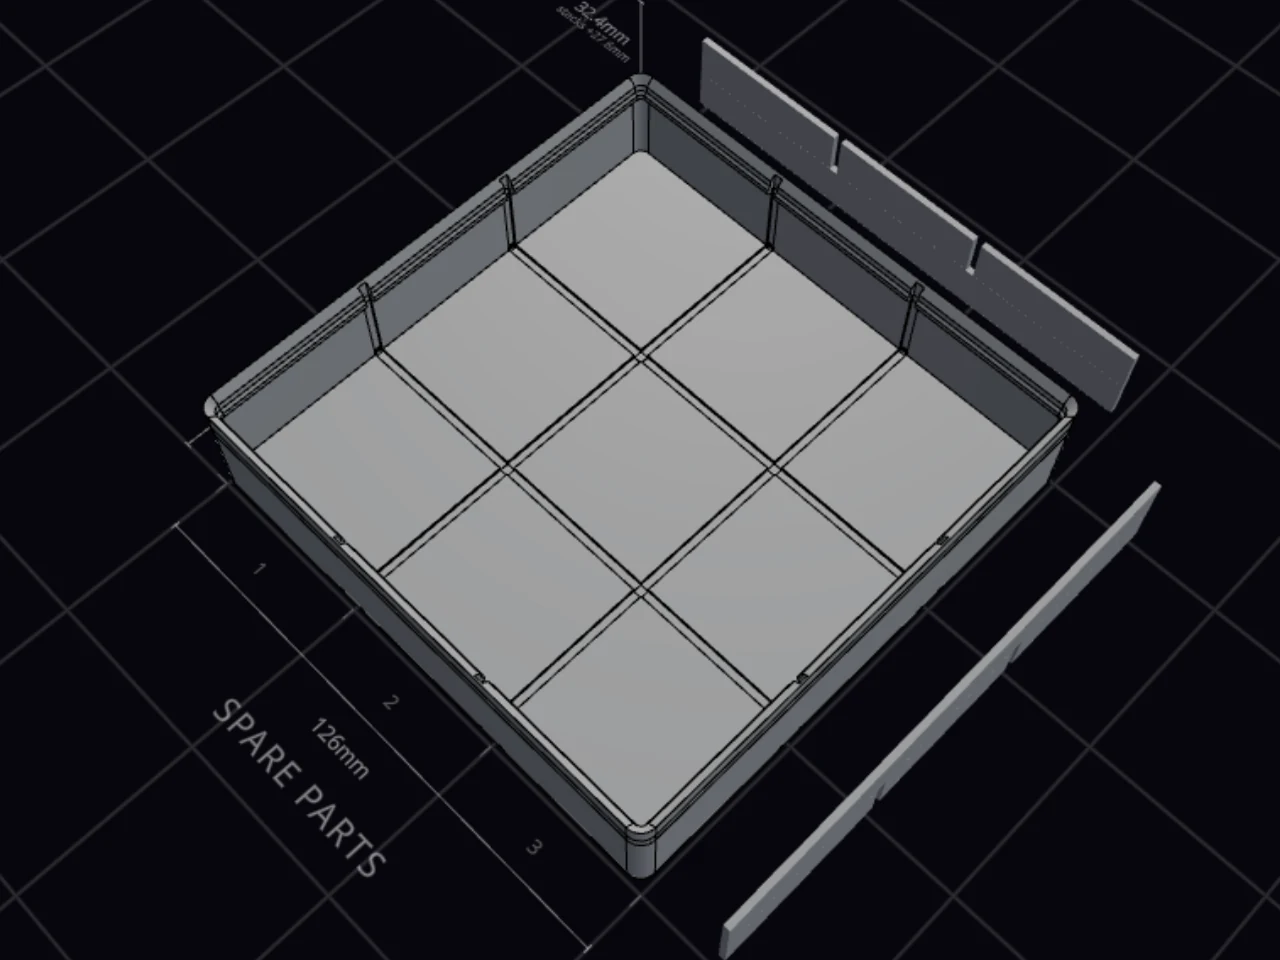
For pieces in one direction only, pick Vertical or Horizontal.
The divider pieces have these controls:
| Control | Range or default |
|---|---|
| Divider height | Auto, or 5 mm up to the auto height |
| Divider thickness | 0.8 to 2.4 mm, default 1.6 mm |
| Fit tolerance | 0 to 0.3 mm, default 0.25 mm. Use more for a looser fit. |
| Floor groove | On by default: a 0.8 mm channel in the floor holds the bottom edge. |
Pieces too tight or too loose? Keep the default Fit tolerance for a first print, then adjust it.
To draw your own grid, pick Custom. Its Merge and Split controls shape the grid. The bin designer then makes pieces that match the grid you drew.
The walls must be 0.8 mm or thicker for slots. Removable dividers turn off the compartment grid, label tabs, the finger scoop and the interior fillet. You cannot use them with tilted dividers or a Nesting body.
Interlock cross dividers
When you pick Both, Cross dividers sets how the two sets of pieces meet:
- Interlocking: full-length pieces in both directions with notches that lock them together.
- Per compartment: full-length pieces in one direction, with short pieces between them. Pick the long direction in Full-length direction. Use a divider of 1.2 mm or thicker.
With interlocking pieces, Piece lengths gives shorter pieces too:
- Full: one wall-to-wall piece for each slot.
- Snappable: each piece has score lines, so you can snap it to length. Use a divider of 1 mm or thicker.
- Length set: a set of pieces that span one or more compartments, each with the correct notches.
When it goes wrong
The dividers stop below the rim
Turn off Stacking lip in the Base group. Dividers at Auto then reach the rim, but other bins can't stack on this one.
With the lip on, Auto is the tallest a divider can be. A bin stacked on top puts its feet just above the dividers. See Stacking.
The bin has no slots for the removable dividers
Set Wall thickness to 0.8 mm or more, in the Shape group. While the wall is thinner, a warning shows above the slot controls.
The bin designer cuts slots only in walls of 0.8 mm or thicker.
The column or row count won't go higher
Make the bin wider or deeper, or make Divider thickness thinner. Then add the column or row.
Each compartment must stay at least 5 mm wide. The bin designer ignores a grid change that makes a compartment smaller.
Some compartment labels are gone after you change the grid
Press Ctrl+Z (Cmd+Z on a Mac) to undo the change. The labels come back.
When you change the columns or rows, each label moves to the compartment at the same position. The bin designer clears a label with no compartment at its position, and a message tells you how many.
Next steps
- Scoops, fillets and pull tabs: make each compartment easy to empty.
- Labels and text: put a label on each compartment.
- Cutout basics: cut the shapes of your tools into a bin.
- Walls: put a pattern on the dividers.