
Scoops, fillets and pull tabs
Ever chased the last tiny screw around the corner of a bin? Or tugged at a full bin that won't come out of the drawer? The Gridfinity Layout Tool has three fixes. A finger scoop and an interior fillet help you get the contents out, and a pull tab helps you lift the bin.
The finger scoop and the interior fillet are in the Interior group of the bin designer. The pull tab is in the Lid group.
Add a finger scoop
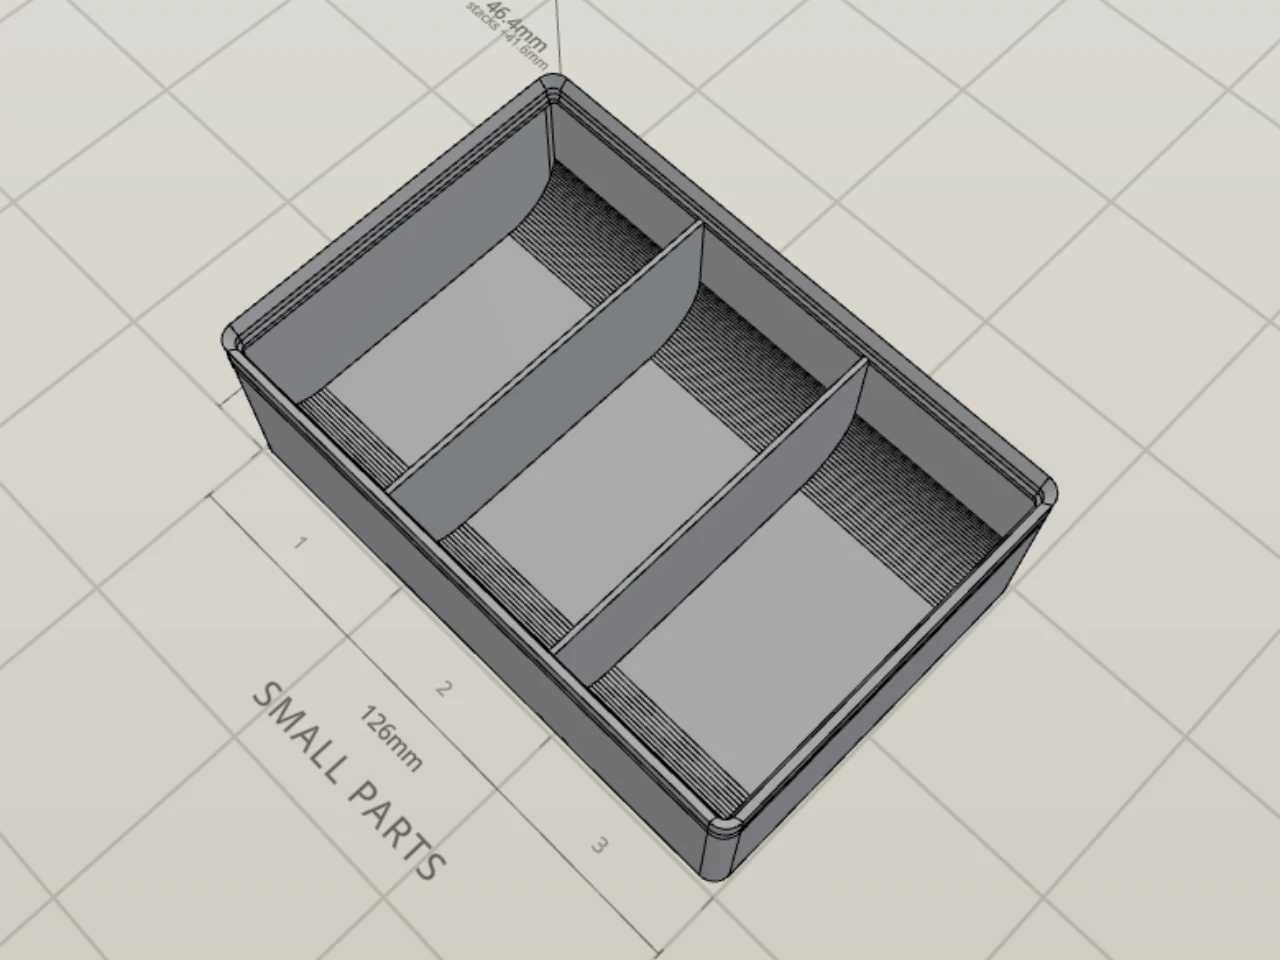
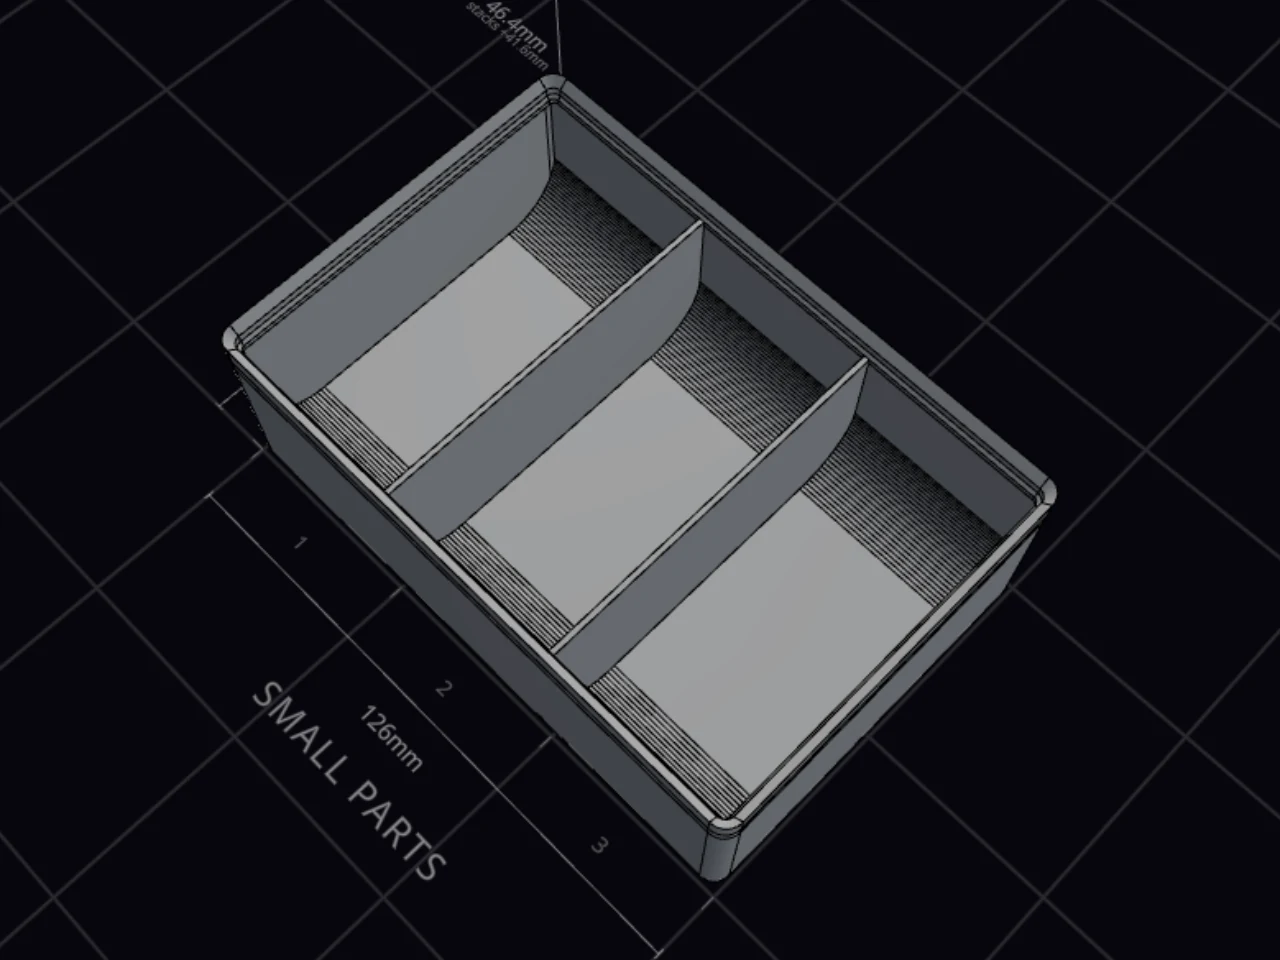
A finger scoop is a ramp from the floor up to a wall. Push small items up the ramp with one finger, and they come out with no fuss.
- In the Interior group, turn on Finger scoop.
- Click Customize to show the scoop settings.
- Under Wall, pick one or more walls for the ramp.
- Under Style, pick the ramp shape.
- Set the size.
The ramp can be Curved or Straight.
Each compartment gets a ramp on every wall you pick. Ramps on two walls that meet cross each other in the corner. The front wall is the default, and at least one wall stays on.
Set the scoop size
Not sure? Leave the size on auto. By default, Radius is Auto, so the scoop fits the size of each compartment. Max height sets the highest it can go, from 5 mm up to the inside height of the bin. The default is 25 mm.
For a custom scoop, click the Auto button beside Radius. Then set two values:
- Height: how high the ramp rises up the wall.
- Run: how far the ramp goes across the floor.
Each value is 5 mm or more. When the height is more than two times the run, the panel warns you. A scoop that steep can print with rough overhangs.
When the scoop is not available
The finger scoop needs a solid floor in a rectangular bin with compartment walls. If you can't turn it on, the panel tells you why:
- Removable dividers and solid bins have no place for a scoop.
- A custom shape needs a rectangular footprint.
- The inside mode of a lightweight floor has no solid floor for the ramp. Change the mode to underside to keep both. See The base.
- A spacer, a base-only bin and a Nesting body have no place for a scoop.
Round the inside with an interior fillet
Interior fillet rounds the edges where the walls meet the floor, and the corners where the walls meet each other. Small parts then slide out, and the bin has no sharp inside corners to clean.
- In the Interior group, turn on Interior fillet.
- Set the Radius, from 0.5 to 15 mm.
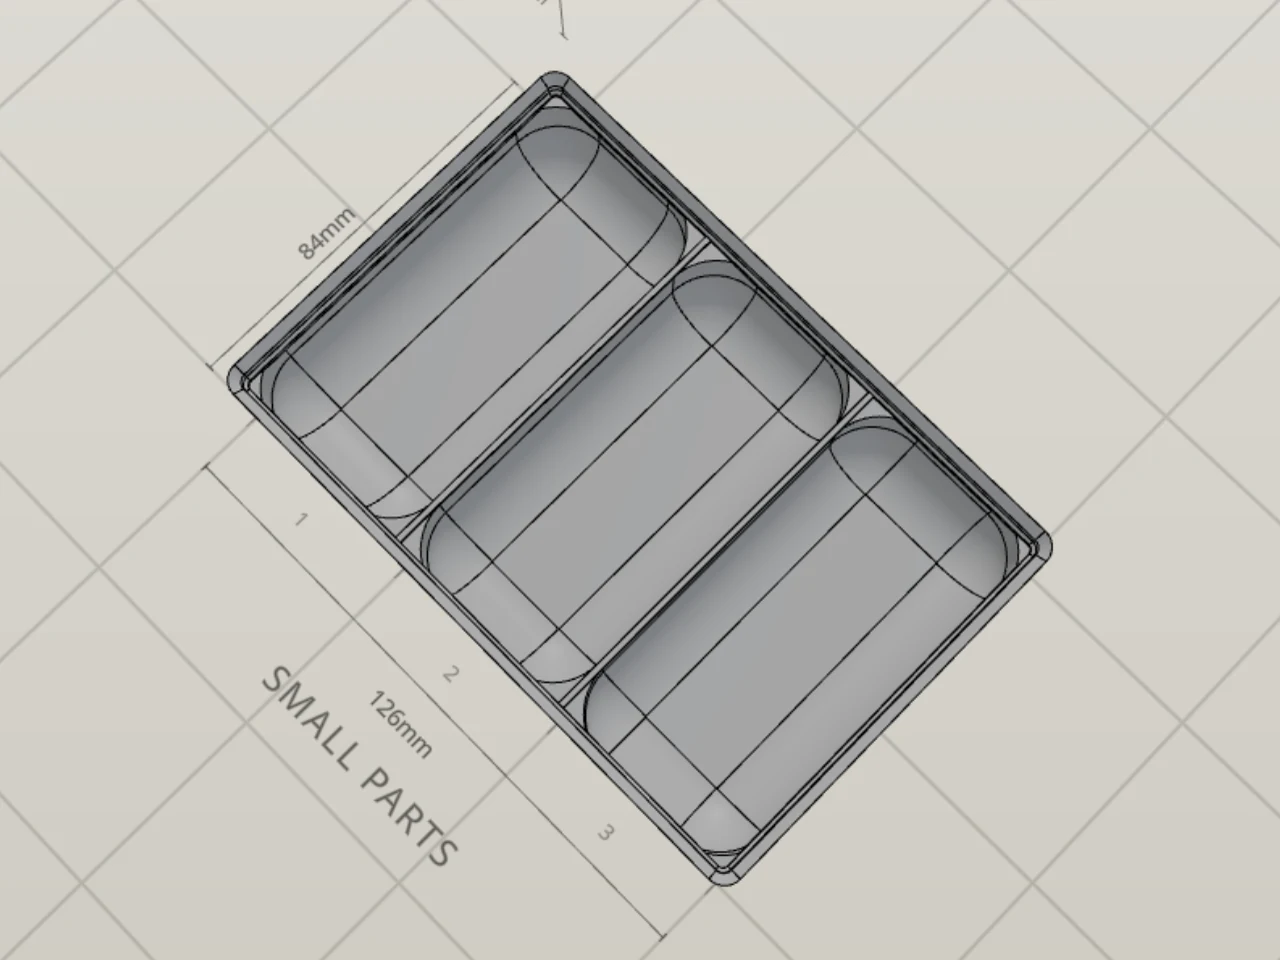
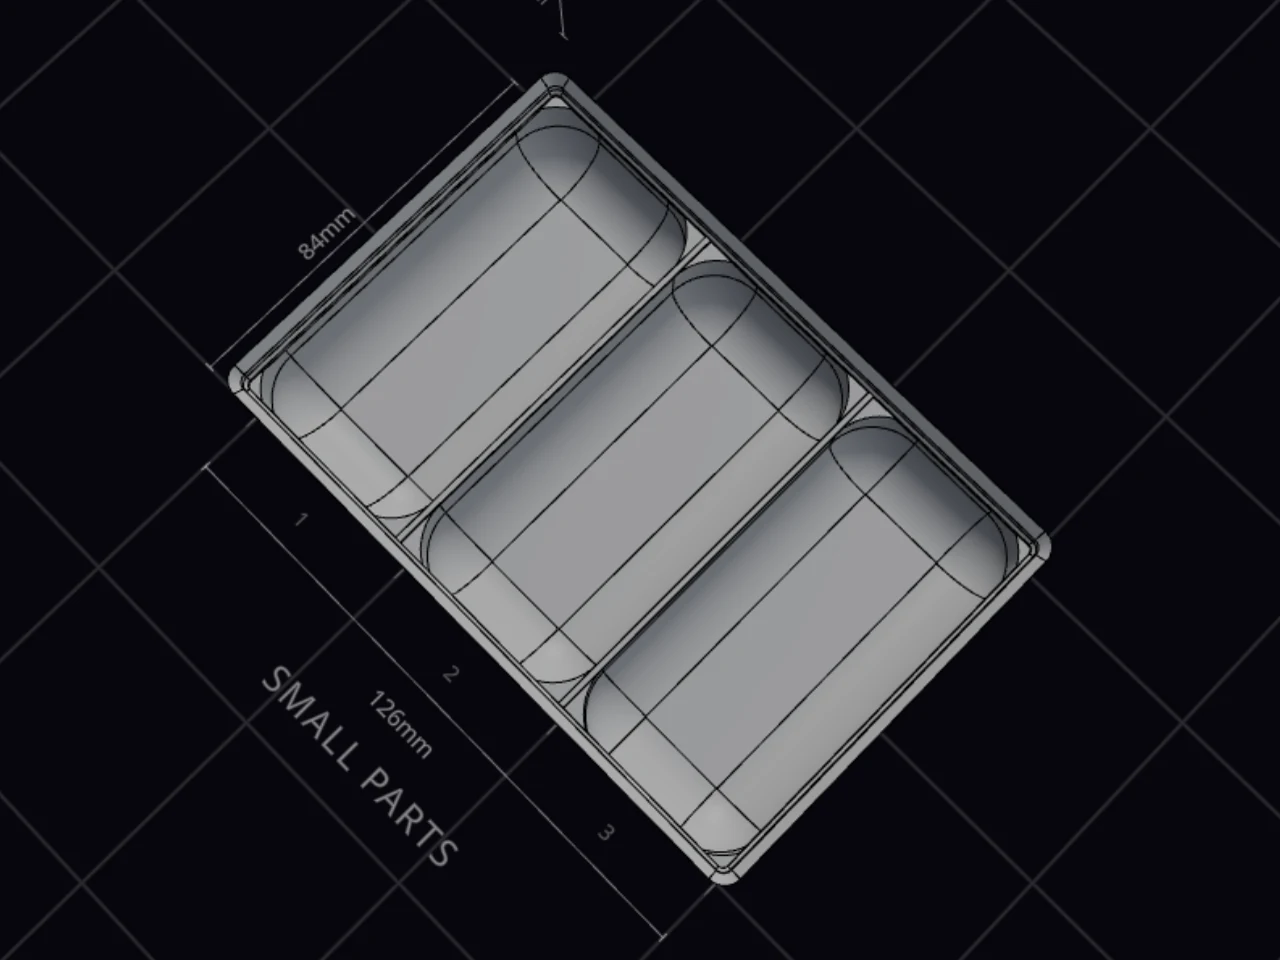
The radius starts at the radius of the inside corners of the bin, so the fillet meets the corners without a step.
Limits of the fillet
A compartment that is too small for the radius gets the largest rounding that fits. The panel tells you when this happens. On a tray of small compartments, a large radius makes each compartment a bowl.
The fillet needs a solid floor. It does not work with removable dividers, because it would fill the divider slots. A solid bin, a spacer, a base-only bin and a Nesting body cannot have it either. With a lightweight floor, use the underside mode.
Add a pull tab
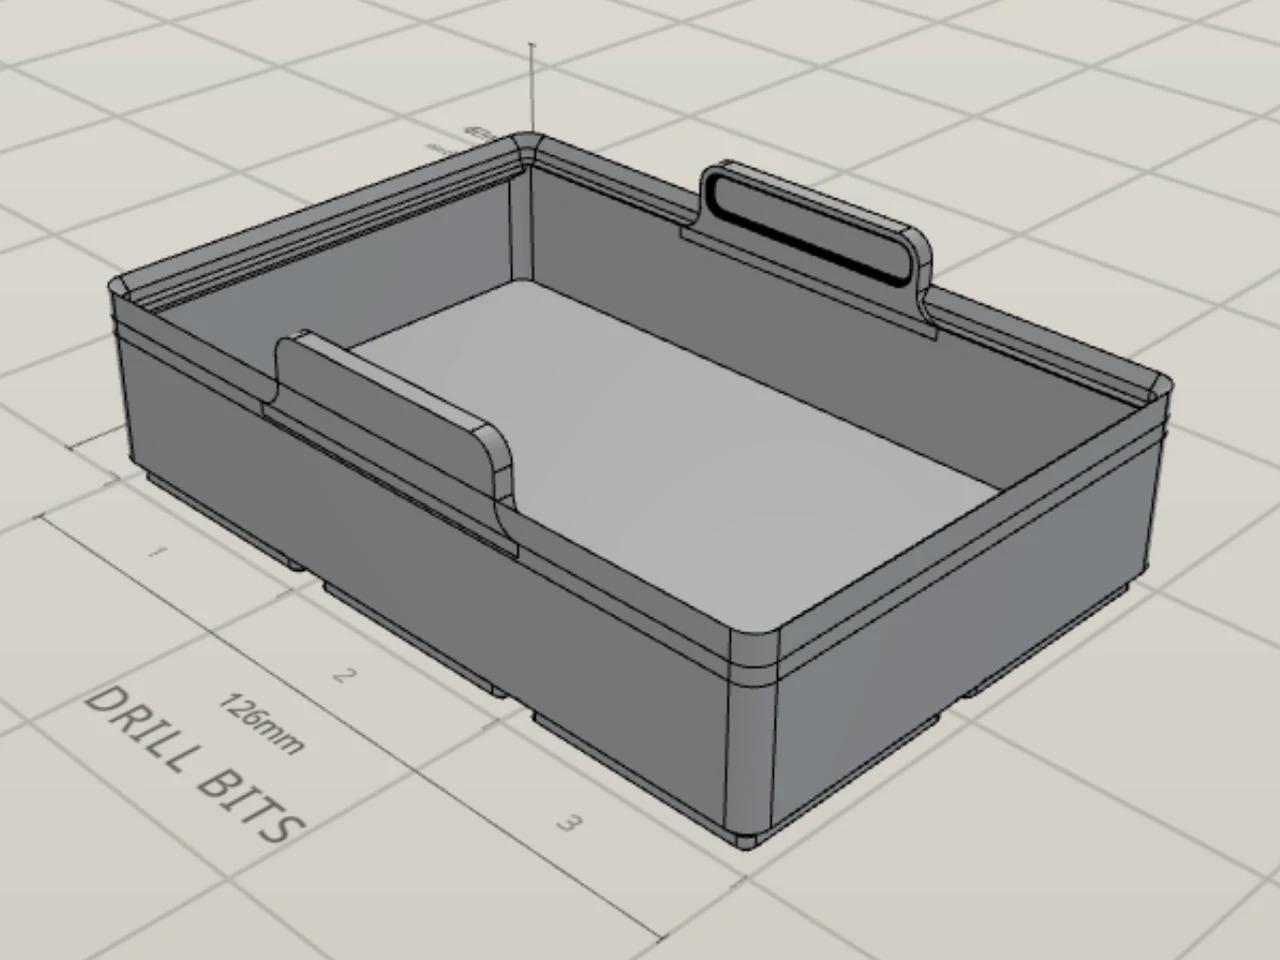
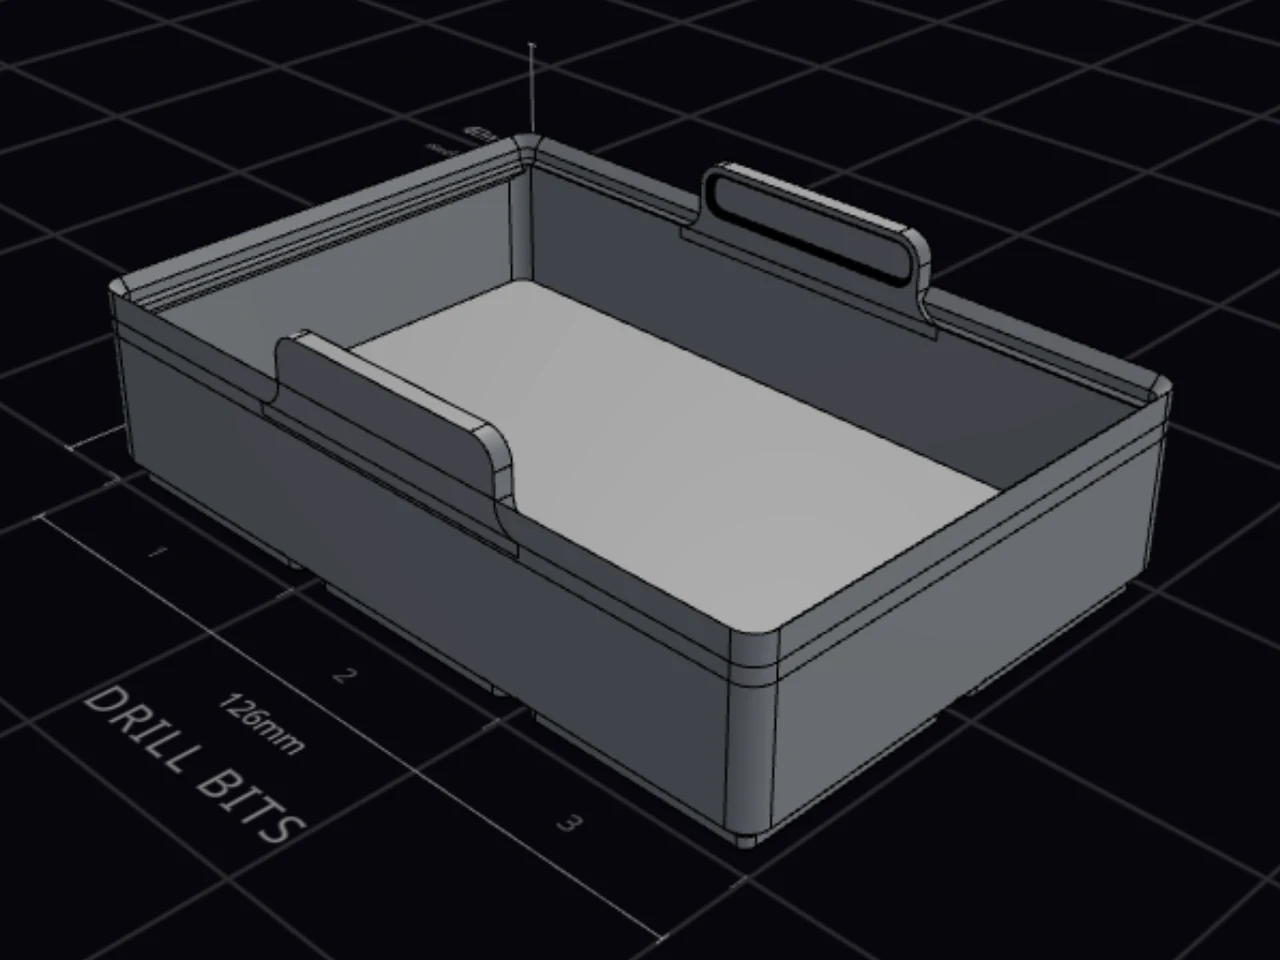
A pull tab is a raised grip that stands above the rim of a wall. Hold it to lift the bin out of a drawer.
- In the Lid group, turn on Pull tab.
- Under Walls, pick one or more walls.
- Set Tab width, in millimeters or as a percentage of the wall.
- Set Height above rim, from 3 to 40 mm.
You can put a tab on one wall, on two opposite walls, or on all four. The tabs share the same size. Each wall with a tab gets thicker on the inside, to the value of Wall & tab thickness. That value goes up to 4 mm. The tab is part of the Assembled height readout, so you can check that it clears the drawer above.
A recess on the inside of the tab gives your finger a grip. More controls shape the tab and the recess:
- Top corner radius and Wall transition radius round the shoulders of the tab.
- Recess height and Recess depth set the size of the recess.
- Recess border width sets the solid margin at the top and the sides of the recess.
- Back recess adds the same grip on the outside of the wall.
WARNING
Keep every wall of the bin plain. Wall cutouts, handles, a wall pattern, wall text or label slots on any wall block the pull tab, even on a wall with no tab.
A pull tab also needs a rectangular, hollow bin with walls, no lid and no overhang. On a small bin, tabs on opposite walls can close the inside. If that happens, pick fewer walls or a thinner tab.
Lift a divided tray from the middle
A large tray full of dividers is hard to lift from one end. Put the pull tab on the center divider, and you can lift the tray with one hand.
- Make a divider that runs from wall to wall at full height. See Compartments and dividers.
- Under Walls, pick Center.
- If Front is on, click it to turn it off. The walls that you picked before stay on when you add Center. Turn off any other wall that is still on.
- If the bin has dividers in both directions, pick one under Center divider.
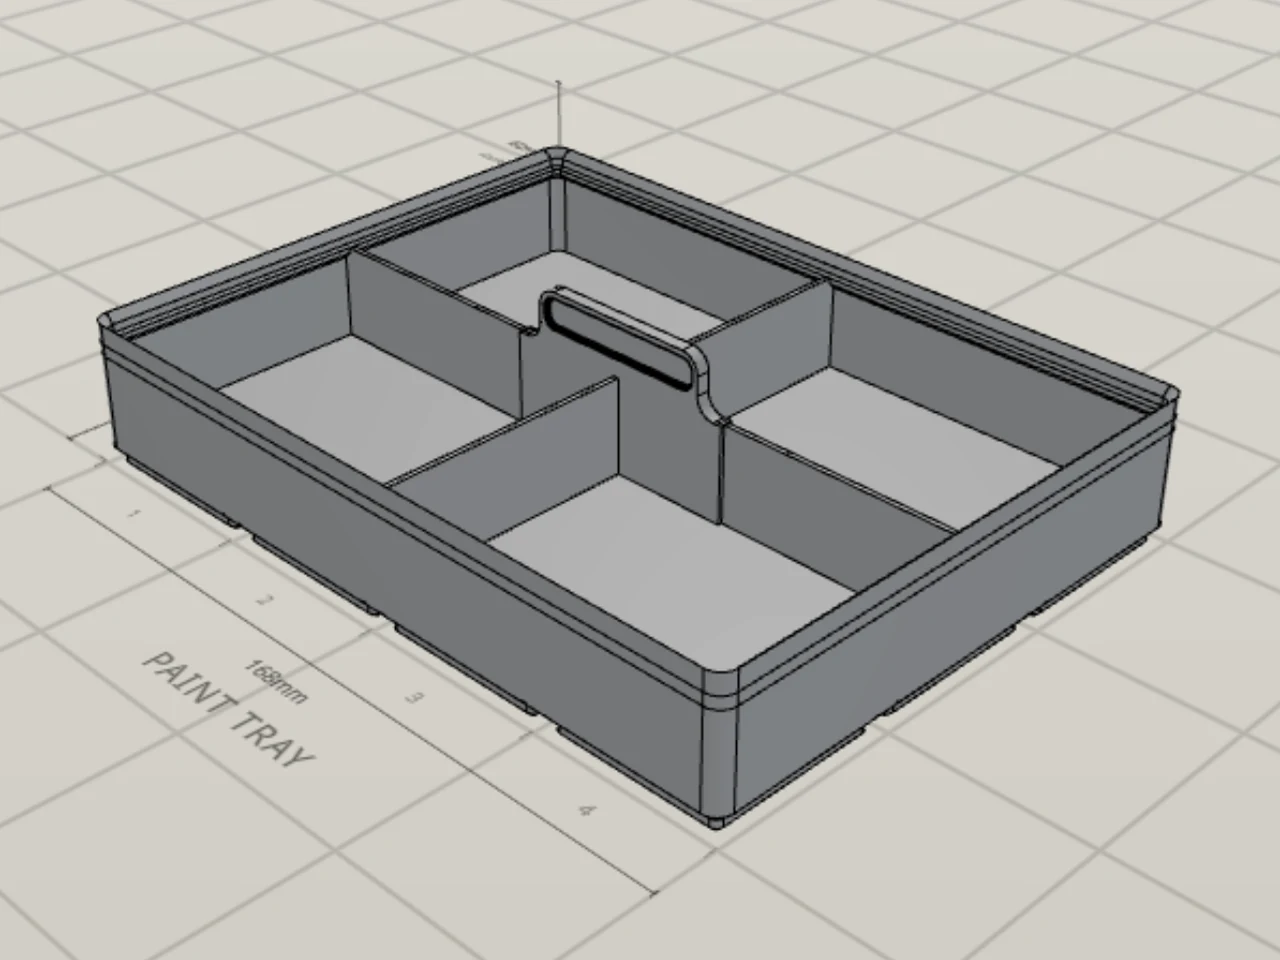
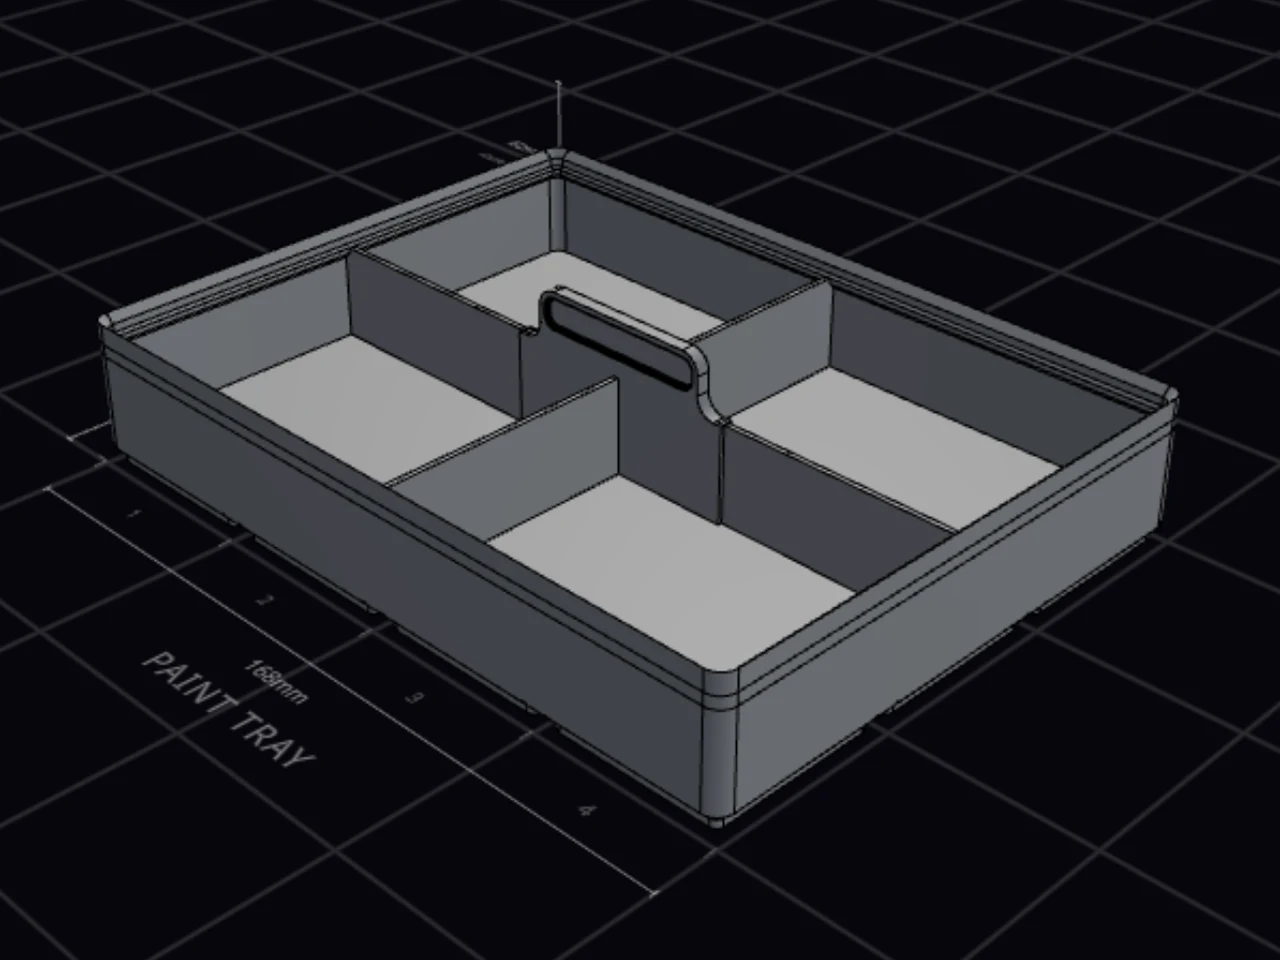
The bin designer uses the divider nearest the middle of the bin, and makes it thicker on both sides. The center tab has these conditions:
- The divider must be straight and at full height.
- Label tabs must be off, because they use the tops of the dividers.
- Extra wall height must be 0.
When it goes wrong
The panel warns that the scoop is very steep
Make Run longer or Height lower, so the height is no more than two times the run. Or click Auto to go back to an auto scoop, which never gets that steep.
A steep ramp prints with rough overhangs, and it's hard to reach into.
The fillet is smaller than the radius you set
Set a smaller Radius that fits your smallest compartment, or use fewer, larger compartments.
A compartment that is too small for the radius gets the largest fillet that fits. The panel tells you when this happens.
You can't turn on the pull tab
Read the note under the switch. It names what blocks the tab. Turn that feature off, then turn on the tab.
A pull tab needs plain walls. Wall cutouts, handles, a wall pattern, wall text or label slots anywhere on the bin block it, even on a wall with no tab. The bin must also be rectangular and hollow, with no lid and no overhang.
Next steps
- Compartments and dividers: set up the compartments that get the scoops.
- Stacking: see how the tab adds to the height of the bin.
- Walls: add handles if you need a grip without a tab.
- The base: choose a lightweight floor that keeps the scoop.