
Set up the drawer
Every layout starts with the drawer. Get its size right in the Gridfinity Layout Tool, and the bins you plan will fit the real thing. Here's how to size the grid, match it to a measured drawer, shape an odd drawer, and check that your stacks clear the drawer top.
Find the drawer settings
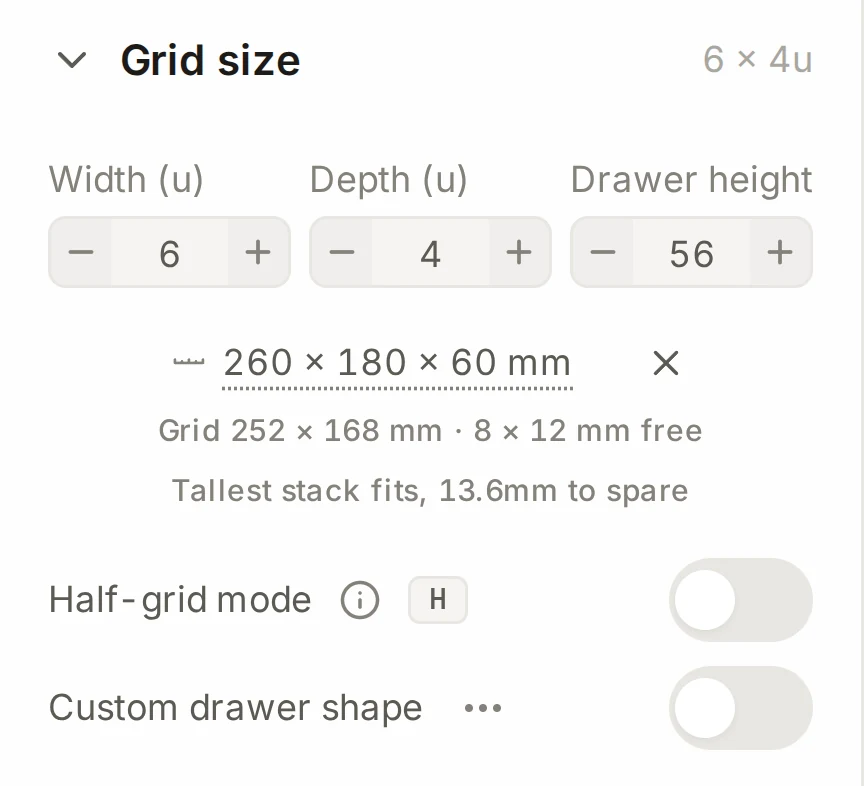
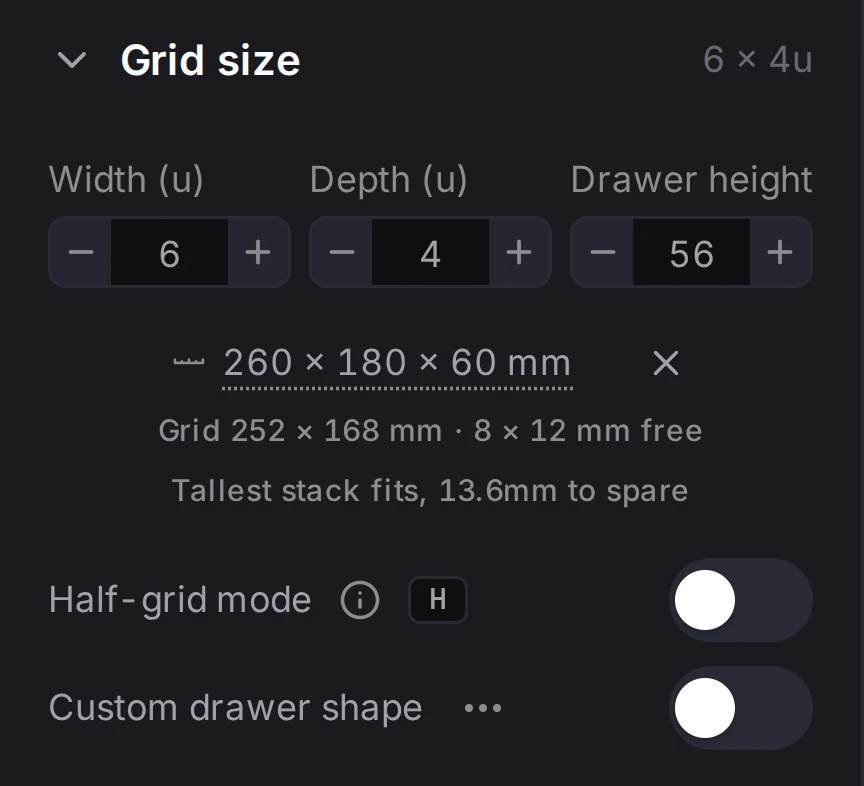
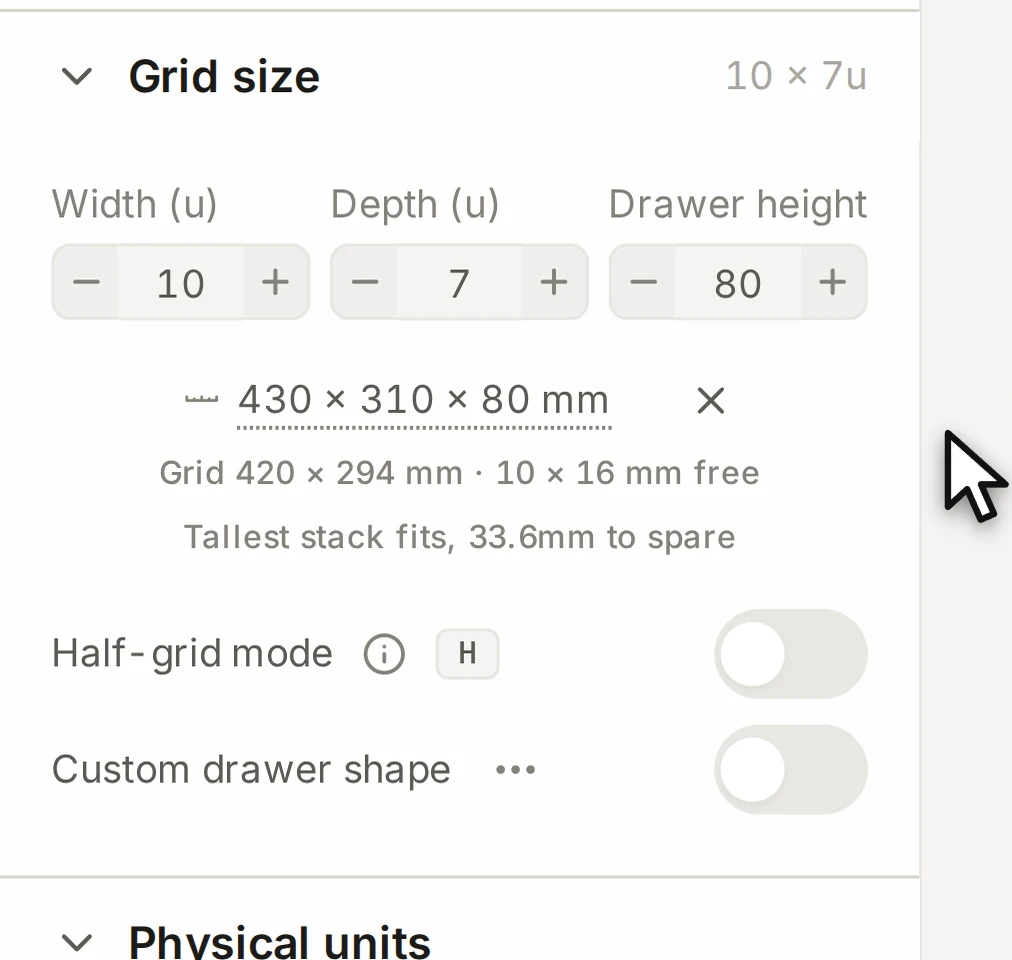
On a computer, open the Grid size group in the left panel.
On a phone, tap Settings in the header. The same controls are in the Drawer dimensions section.
Set the size in grid units
Use the Width (u) and Depth (u) steppers. They count in grid units, and one grid unit (one Gridfinity cell) is 42 mm by default. Width runs from left to right. Depth runs from the front of the drawer to the back.
- Each step adds or removes one grid unit. With Half-grid mode on, each step is half a unit.
- You can also type a value. A value that ends in .5 turns on half-grid mode.
- The largest drawer is 50 by 50 grid units.
Prefer to drag? Pull the right edge of the grid to add or remove columns. Pull the bottom edge for rows, or the bottom-right corner for both.
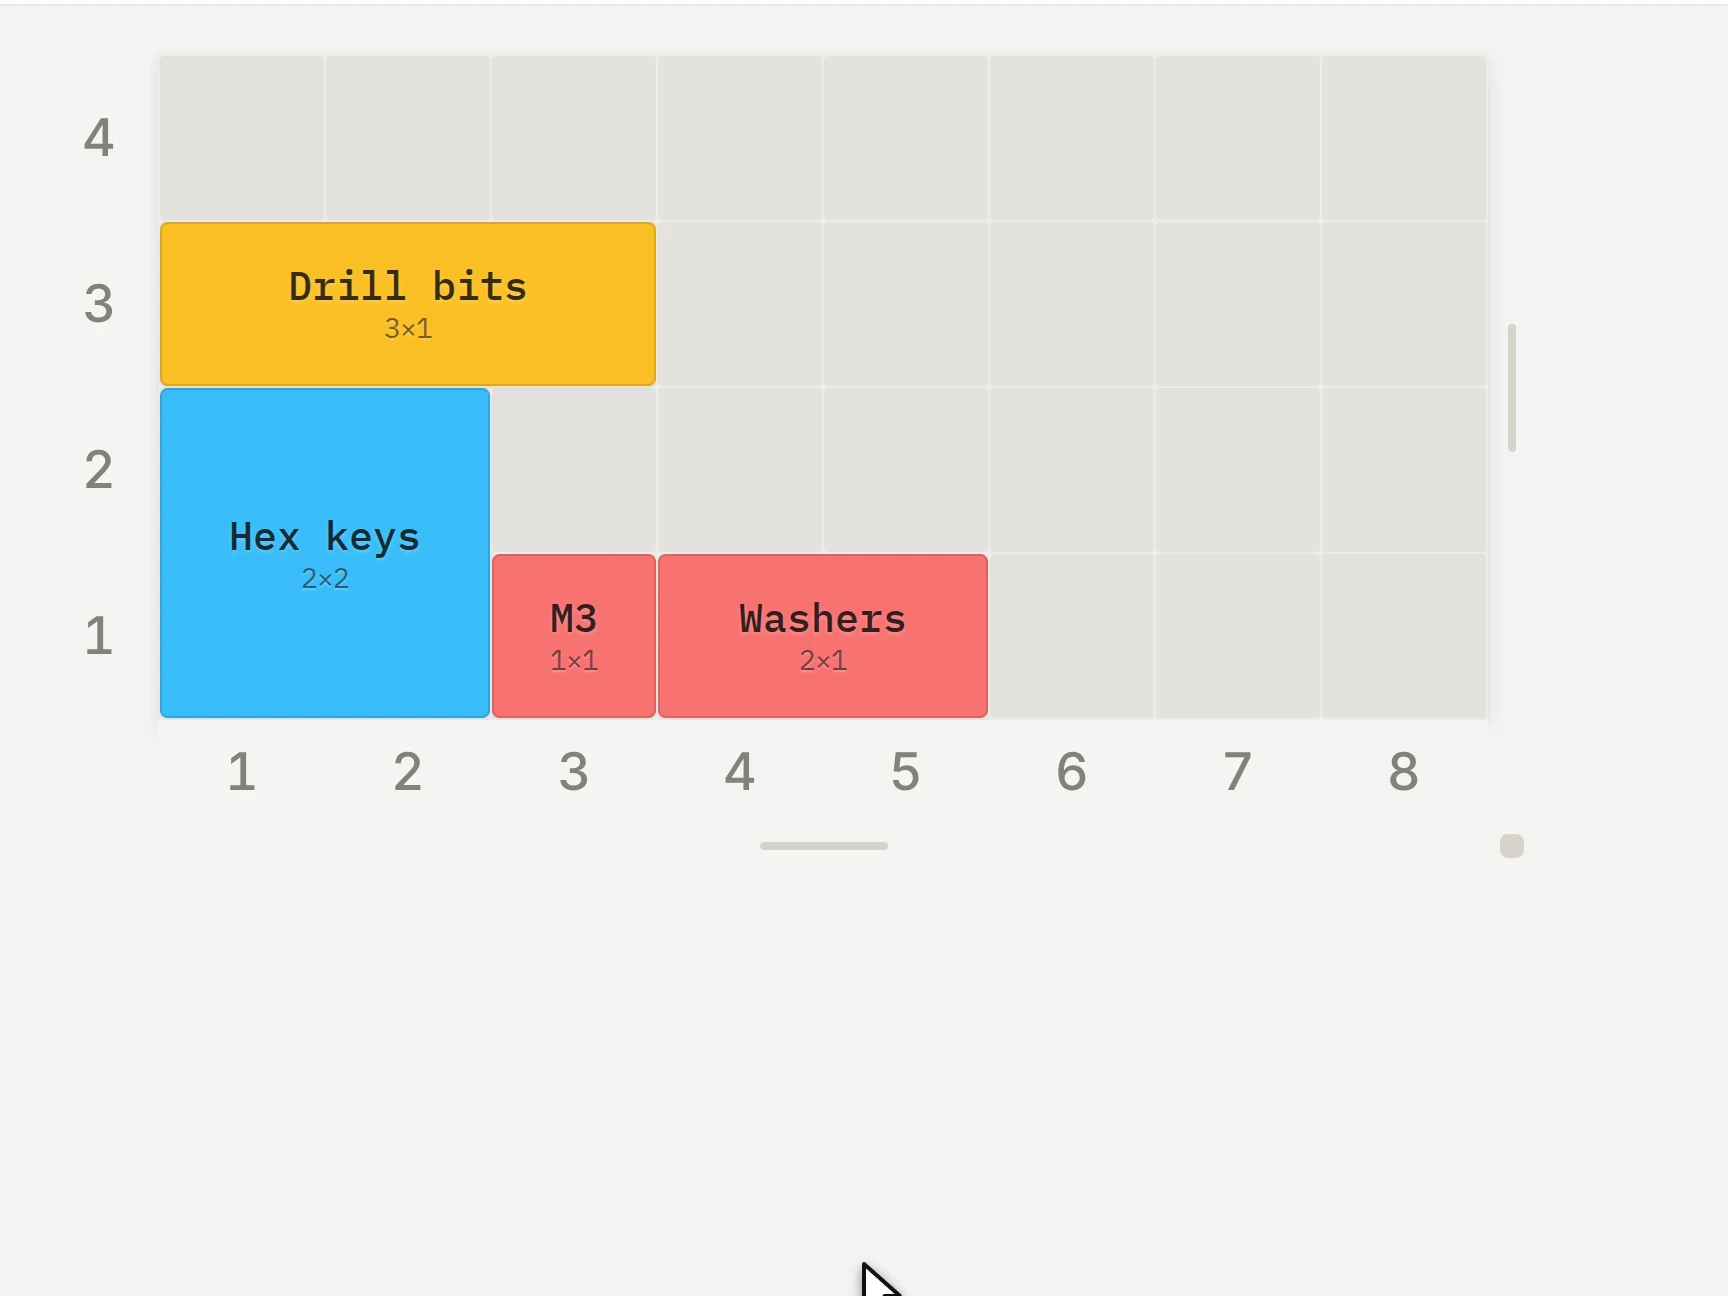
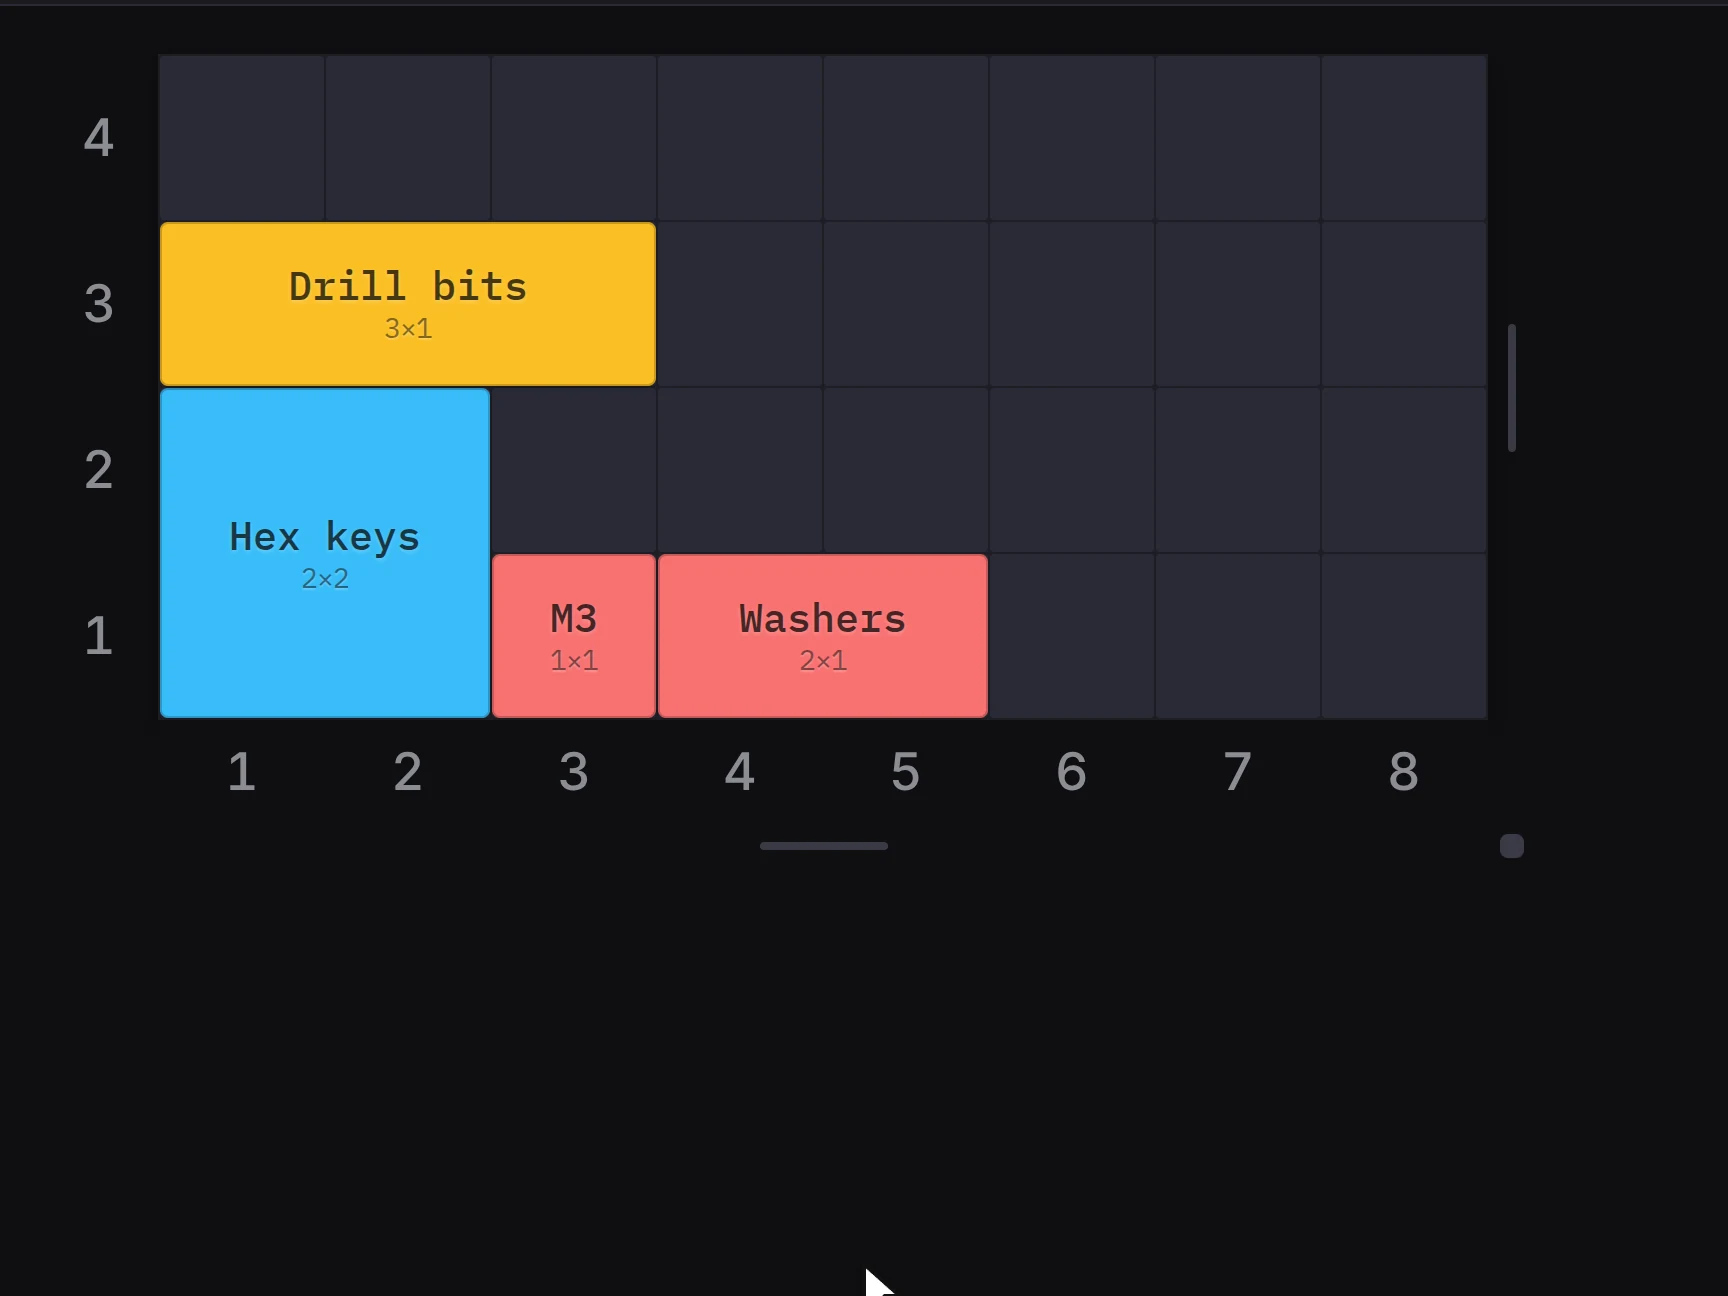
If the drawer gets smaller, you don't lose anything. Bins that no longer fit move to the stash, the holding area below the grid. See Place and edit bins.
When the width or the depth ends in .5, Half-unit edge position appears. It picks where the half unit goes:
- The half-unit column goes on the Left or the Right.
- The half-unit row goes at the Bottom or the Top.
Fit the grid to a measured drawer
A real drawer is almost never an exact number of grid units. Measure the inside of yours, and the Layout Tool shows you how well the grid fits.
- Under the steppers, click Add your drawer's measured size.
- Type the Measured width (mm) and the Measured depth (mm).
- Type the Measured height (mm) too, if you know it. The height check at the end of this page needs it.
- Press Enter.
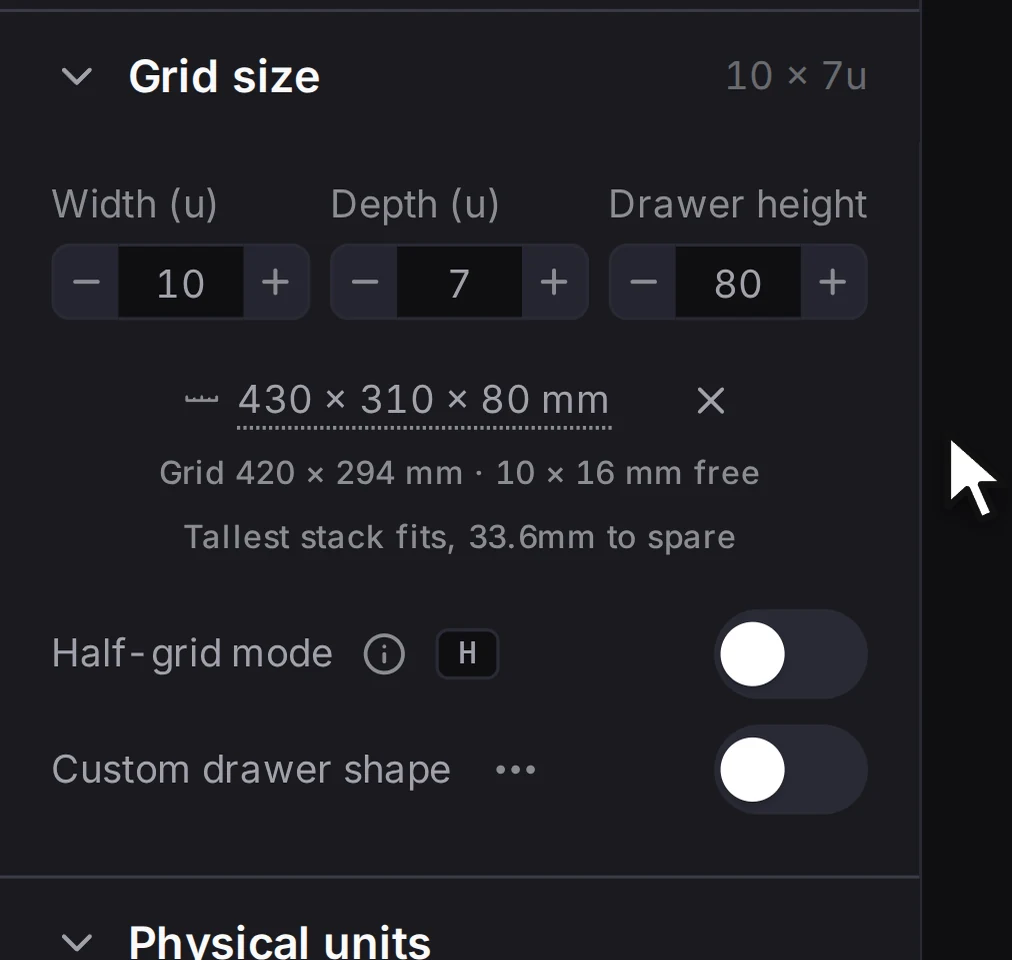
The line under the steppers then shows the grid size in millimeters and the free space around it. If the grid is larger than the drawer, the line turns into a warning that shows the overlap.
Your measurement doesn't resize the grid on its own. Instead, when a different grid fits better, a card suggests the largest grid that fits and shows the room that it leaves. Click Fit grid to apply it. If the better fit needs a half unit, the card tells you that it also turns on half-grid mode.
Happy with your own grid? Close the card with its X button. It stays closed until you enter a different measurement. To remove the measurement, click Clear measurement, the small X next to the size.
Use the margin around the grid
The gap between the grid and the drawer walls is the margin. A baseplate can fill it with padding, which you set under Padding in the baseplate generator. See Baseplate basics.
When the layout has padding, a dashed band around the grid shows the margin to scale. You can't place bins in the band.
Extend edge bins into the margin
Want to use that space? A bin that touches a padded edge can grow its walls out into the margin.
- Select a bin that touches an edge of the grid.
- In the inspector, turn on Extend into drawer margin.
This works only for a bin that uses a saved design. A bin without one shows Link a design to extend into the margin. under the toggle. Imported bins and Workshop designs keep their saved shape, so they can't extend.
With the toggle on, Taper walls angles the walls out from the base to the rim. Use it in a drawer with curved sides. Pick Chamfer or Fillet for the profile. Then set the Taper height and the Flare.
Shape a drawer that is not a rectangle
Does your drawer have a notch, a post or a cut corner? Remove the cells that it doesn't have.
- Under the steppers, turn on Custom drawer shape. The Drawer shape editor opens.
- Click or drag across cells to remove them from the drawer.
- Click Apply shape.
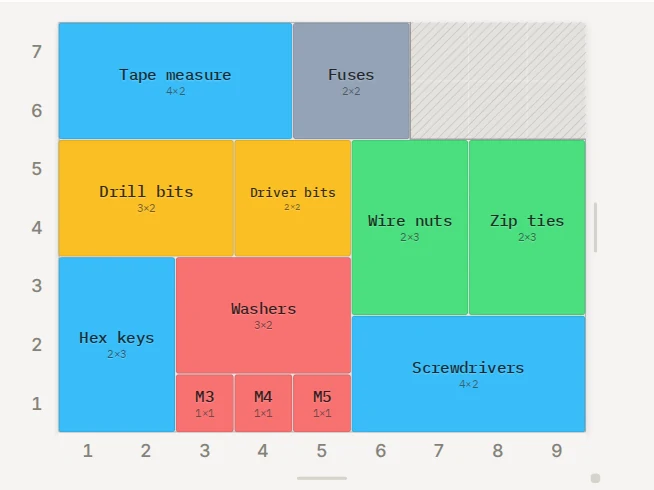
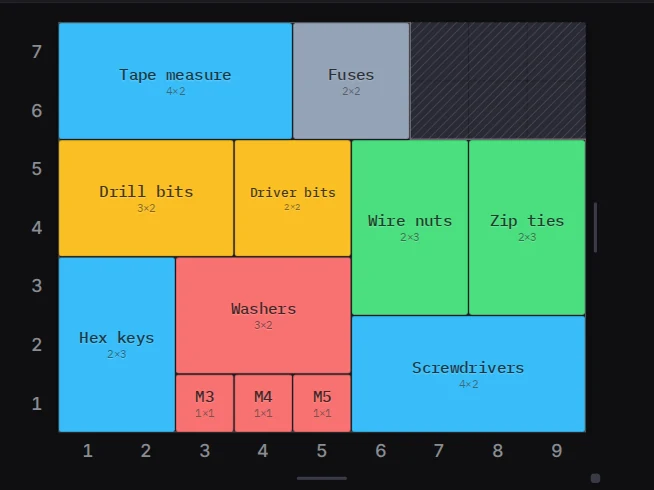
Bins outside the new shape move to the stash. For more shape tools, open the Drawer shape options menu next to the toggle:
- Corner cuts cuts, rounds or notches each corner.
- Draw shape lets you drag corners, curve edges and import an SVG or DXF outline.
Changed your mind? Turn the toggle off, then click Reset shape to go back to a rectangle. Your bins stay where they are. For all the shape tools, see Drawers that are not rectangles.
Check the drawer height
A drawer that won't close is no fun. Drawer height is the height, in millimeters, that every stack of bins must stay under. Each step is one height unit, 7 mm by default. The Layout Tool doesn't let you place a bin that makes a stack taller than this height.
A printed bin stands a little taller than its height units. Its stacking lip rises above the body, and a baseplate can add material under it. For a check against the real drawer, enter a measured height. The Layout Tool then measures the tallest stack in millimeters, with the lip, the baseplate and any clearance above the bins. It also sets Drawer height from your measurement.
The result shows under the measured size:
- If the tallest stack fits, the line shows how many millimeters are free.
- If it doesn't fit, a warning shows how far the stack stands above the drawer. The Layers panel and the inspector of each tall bin show the same warning.
- With no measured height, the line asks for one: Add a height measurement to check the lid closes.
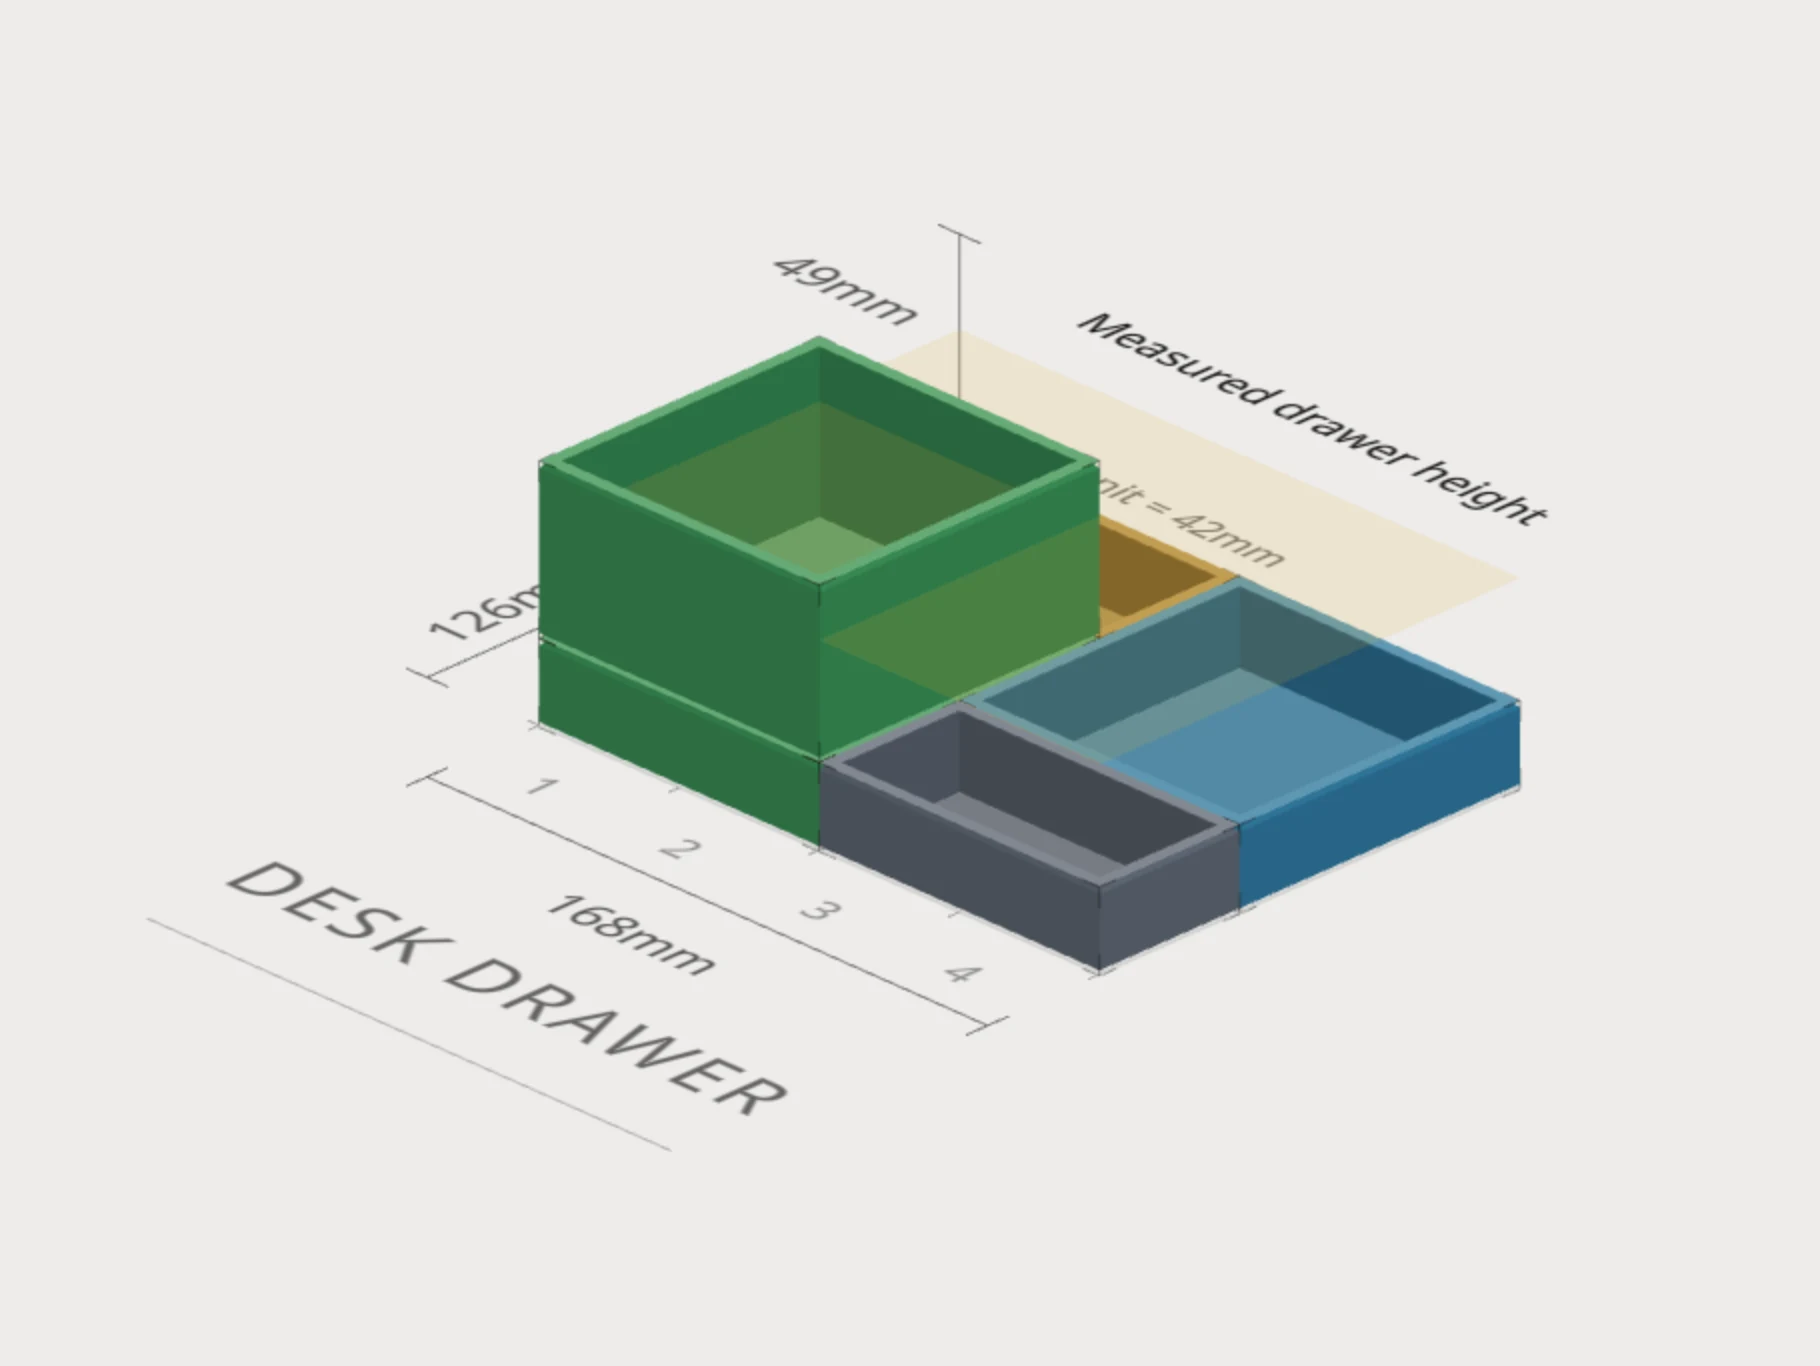
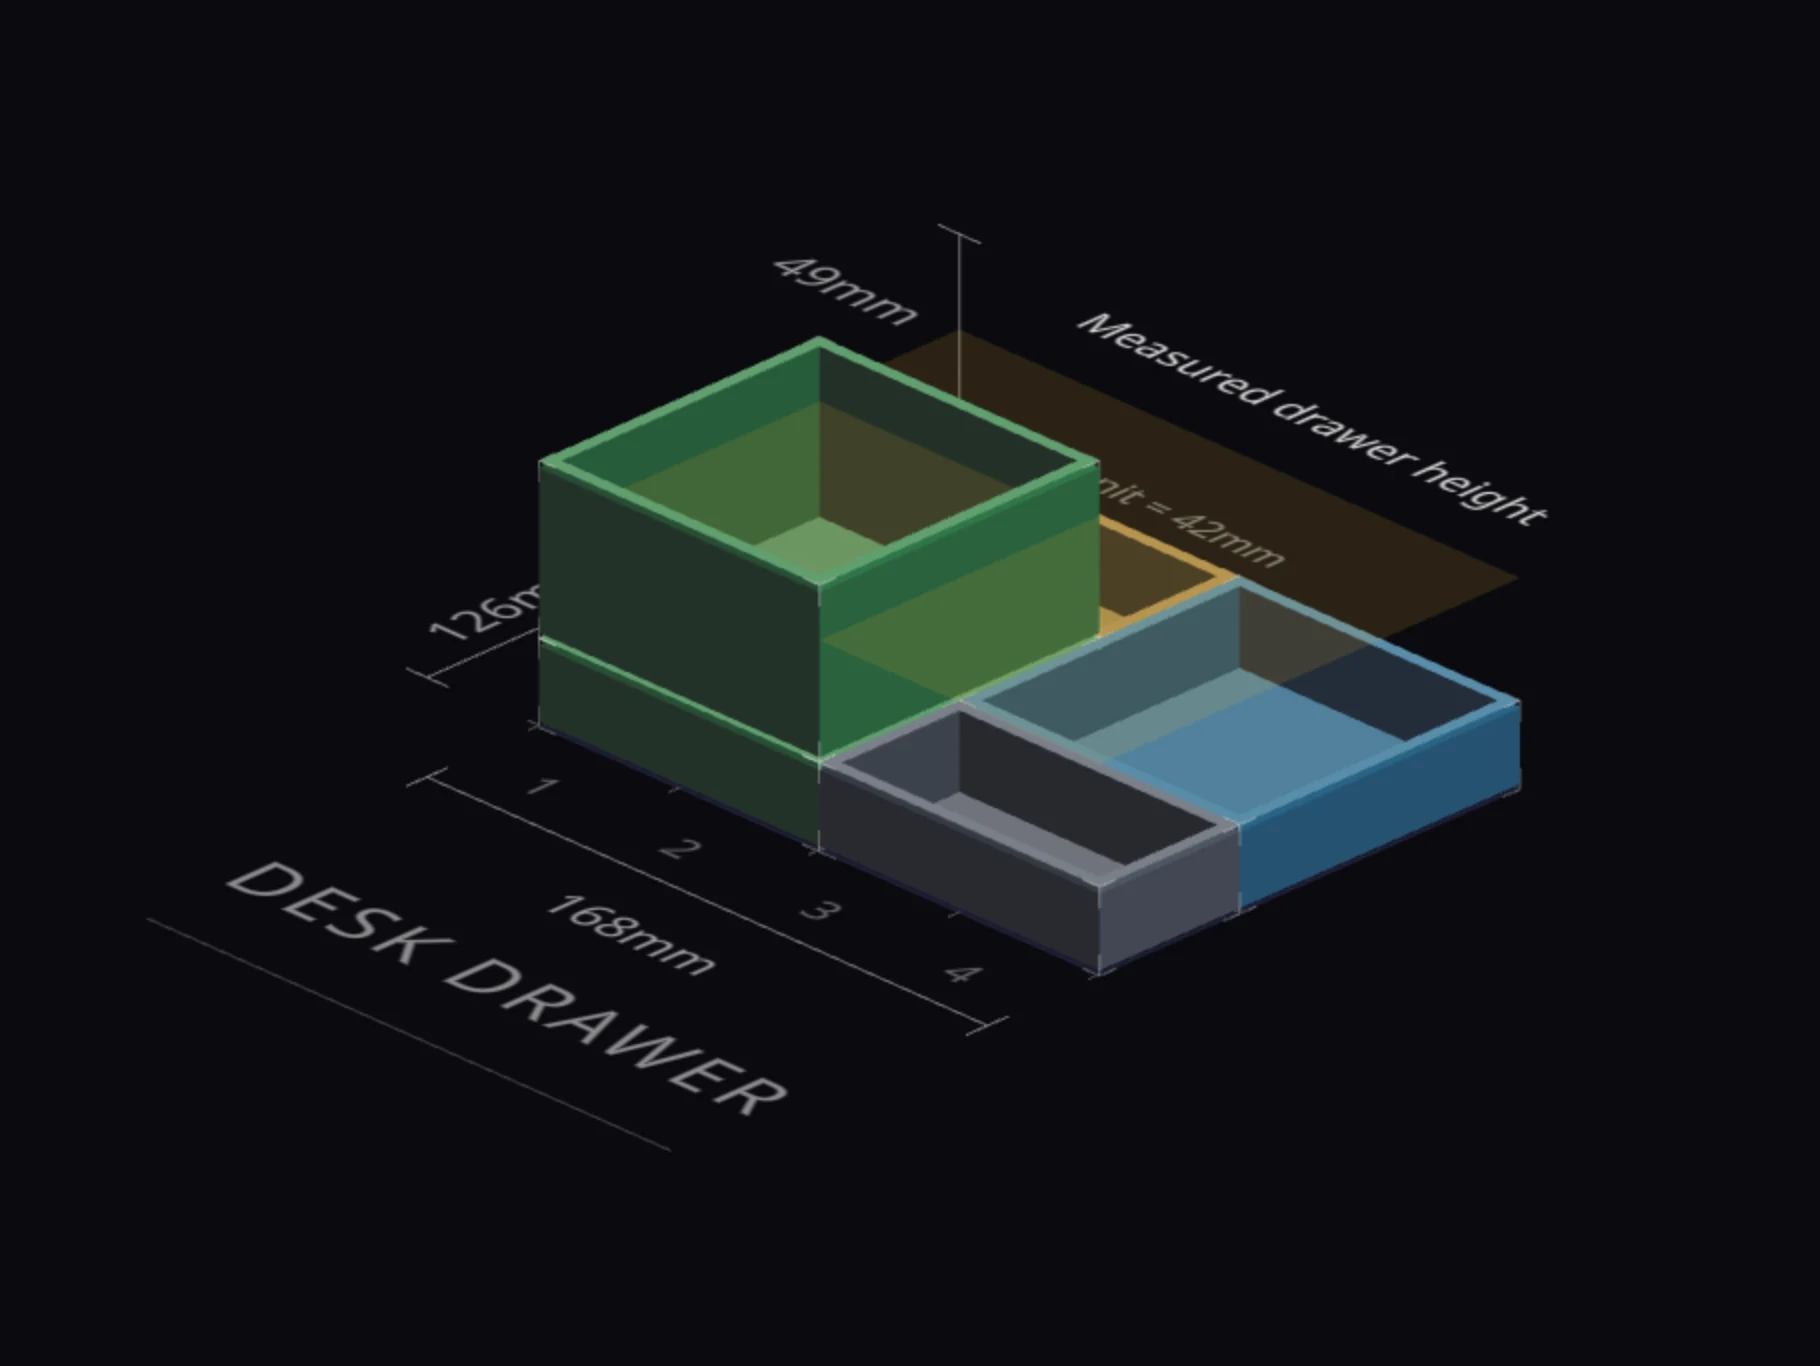
The 3D preview also draws a flat plane at the Measured drawer height. Any bin that goes through the plane is too tall for the drawer.
When it goes wrong
The grid is bigger than your drawer
Lower the Width (u) or the Depth (u) stepper one step at a time, until the line under the size shows free space again. Until then, that line warns how far the grid is too wide and too deep.
Your measurement never resizes the grid on its own. So the grid can stay too large after you measure, or after you change the grid unit.
The height check says your stack stands above the drawer
Make the tallest stack lower. Select a bin in that stack and make it one height unit shorter. To see which bin heights fit, open Fit bins to your drawer in the Physical units group.
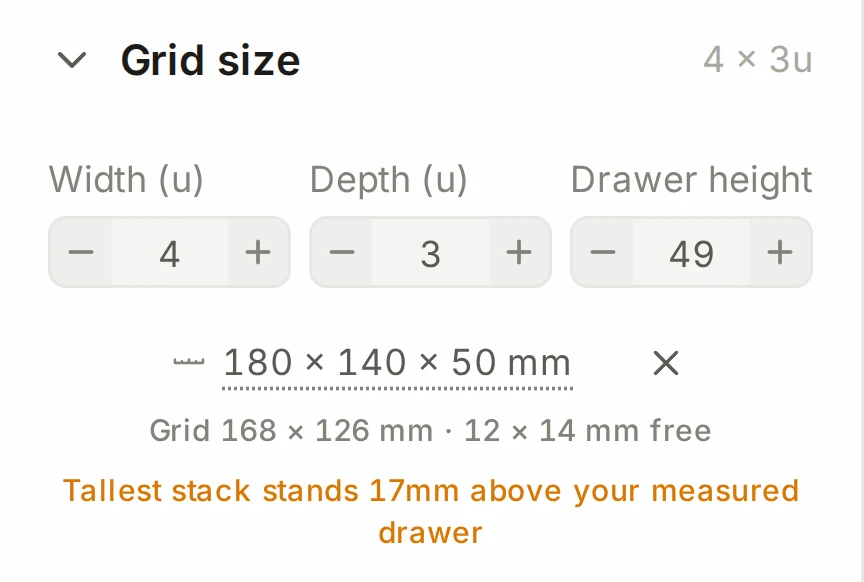
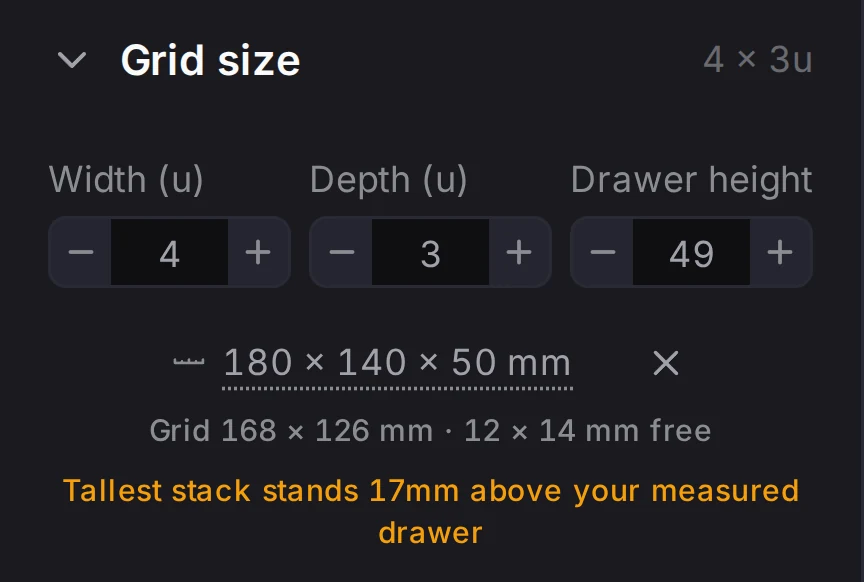
The Layout Tool lets you place a bin when its height units fit under Drawer height. But each printed bin also has a 4.4 mm stacking lip, and a plate with magnet holes lifts every bin. Only the check against your measured height counts those millimeters. See How heights add up.
The drawer height won't go any lower
Make the tallest stack lower first, then lower Drawer height. The Tallest stack bar in the Layers panel shows how tall that stack is.
The drawer height stops at the top of the tallest stack, so no bin can end up above the drawer.
You can't extend a bin into the margin
The toggle shows only when the layout has a margin and the bin touches a padded edge. Set Padding in the baseplate generator first. Then move the bin against that edge.
Is the toggle there but gray? Read the line under it. A bin needs a saved design before it can extend, and imported bins and Workshop designs can't extend at all.
Next steps
- Place and edit bins: fill the drawer with bins.
- Work in layers: stack bins and keep the tallest stack under the drawer top.
- Units and sizes: change the grid unit and the height unit.
- Baseplate basics: make a plate that fills the margin.
- Split for your print bed: print a baseplate for a drawer that is larger than your printer.
- Plan your first drawer: set up a drawer and fill it, step by step.