
Place and edit bins
This is where a drawer plan takes shape. In the layout editor of the Gridfinity Layout Tool, you draw bins, move them around and tune their sizes until the drawer feels right. You can undo your last 100 changes, so try ideas freely. This page also covers the stash, a holding area for bins that are not in the drawer.
Draw a bin
Drag across the empty cells you want the bin to cover. The bin appears and stays selected, so you can edit it right away. It gets the height of the active layer and the active category.
If the area touches another bin, the Layout Tool makes the new bin smaller so that it fits. To stop this snap, hold Ctrl while you drag.
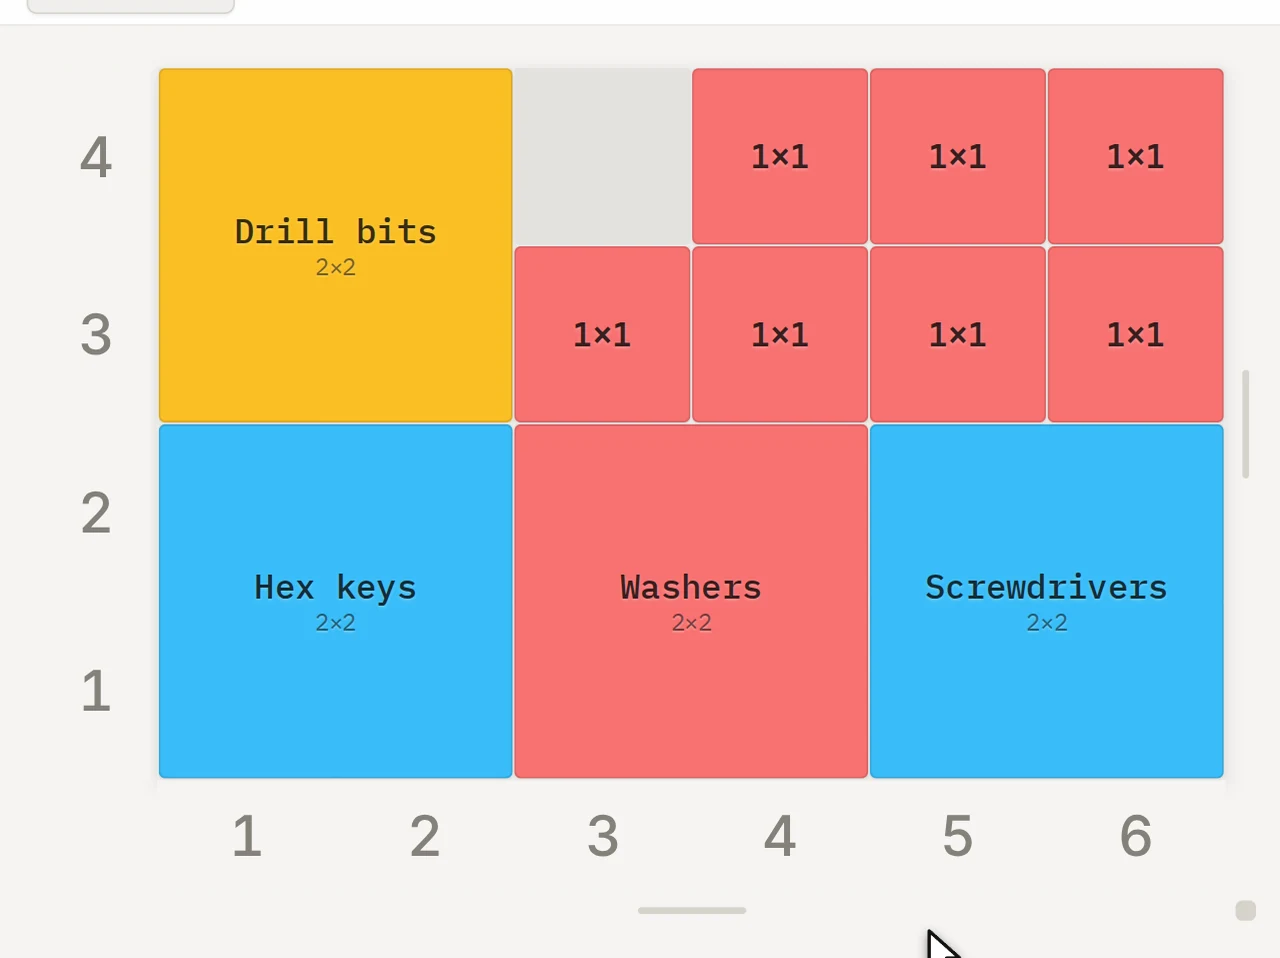
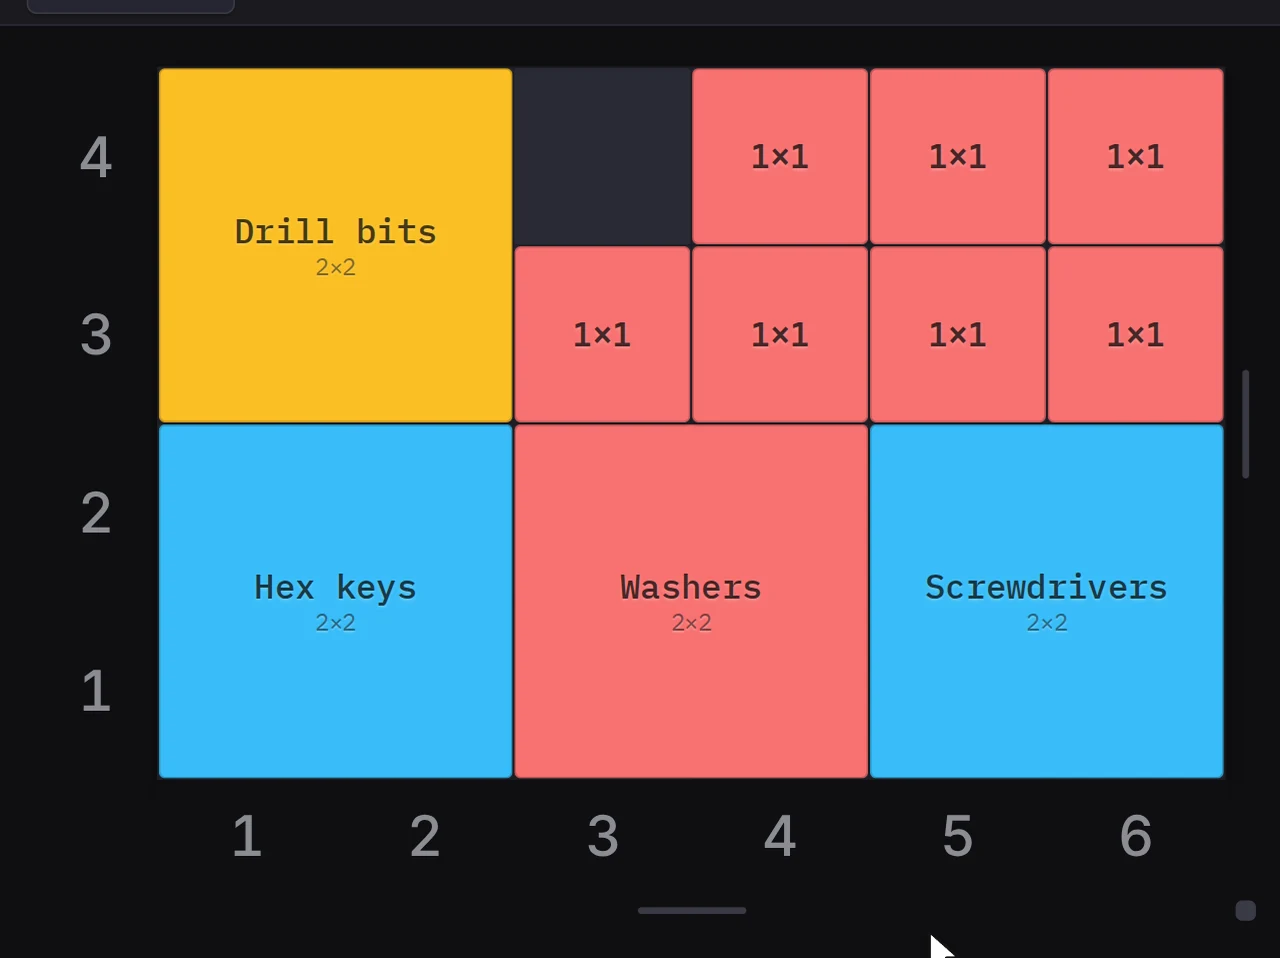
Need a lot of bins of one size? Use the size brush:
- In the left panel, click Size brush.
- Pick a size under Squares or Rectangles.
- Click the grid to place one bin, or drag to fill an area.
- Press Escape to stop.
Move and copy bins
- Drag a bin to move it. If the drop spot is not free, the bin goes back.
- Hold Alt (Option on a Mac) while you drag to move a copy instead.
- Hold Shift and drag a bin onto a bin of the same size to swap them.
- Press an arrow key to move the selected bins one grid unit.
- Press Ctrl+D (Cmd+D on a Mac) to duplicate the selected bins.
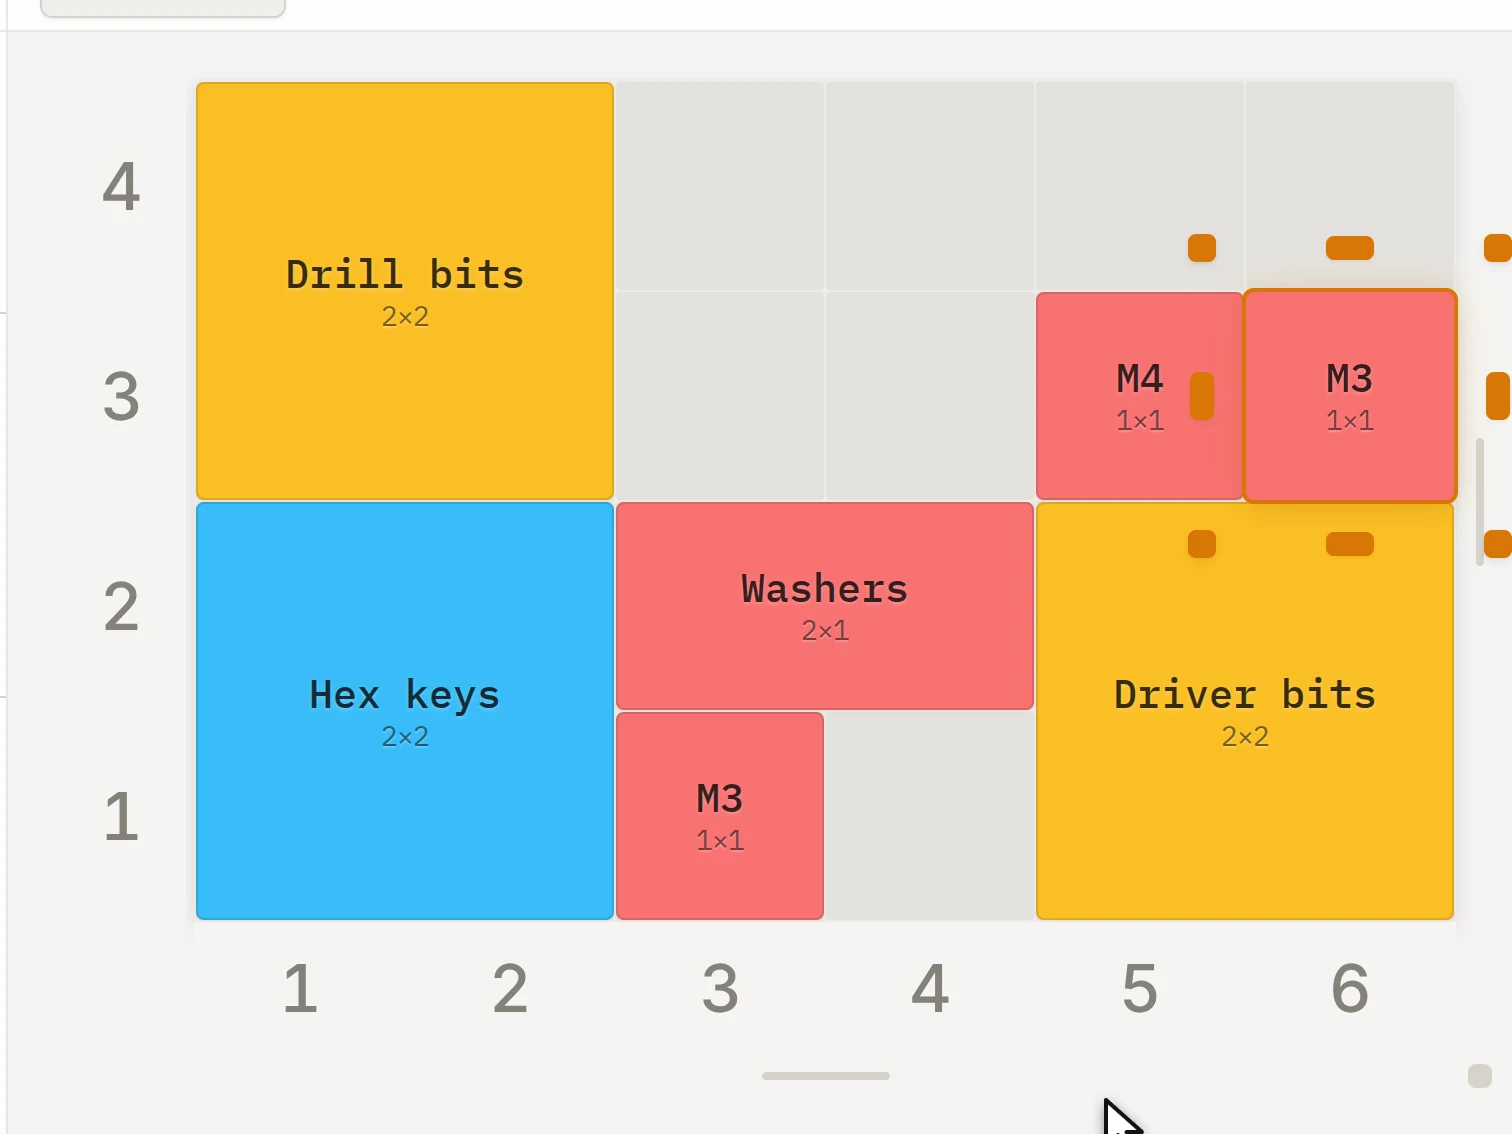
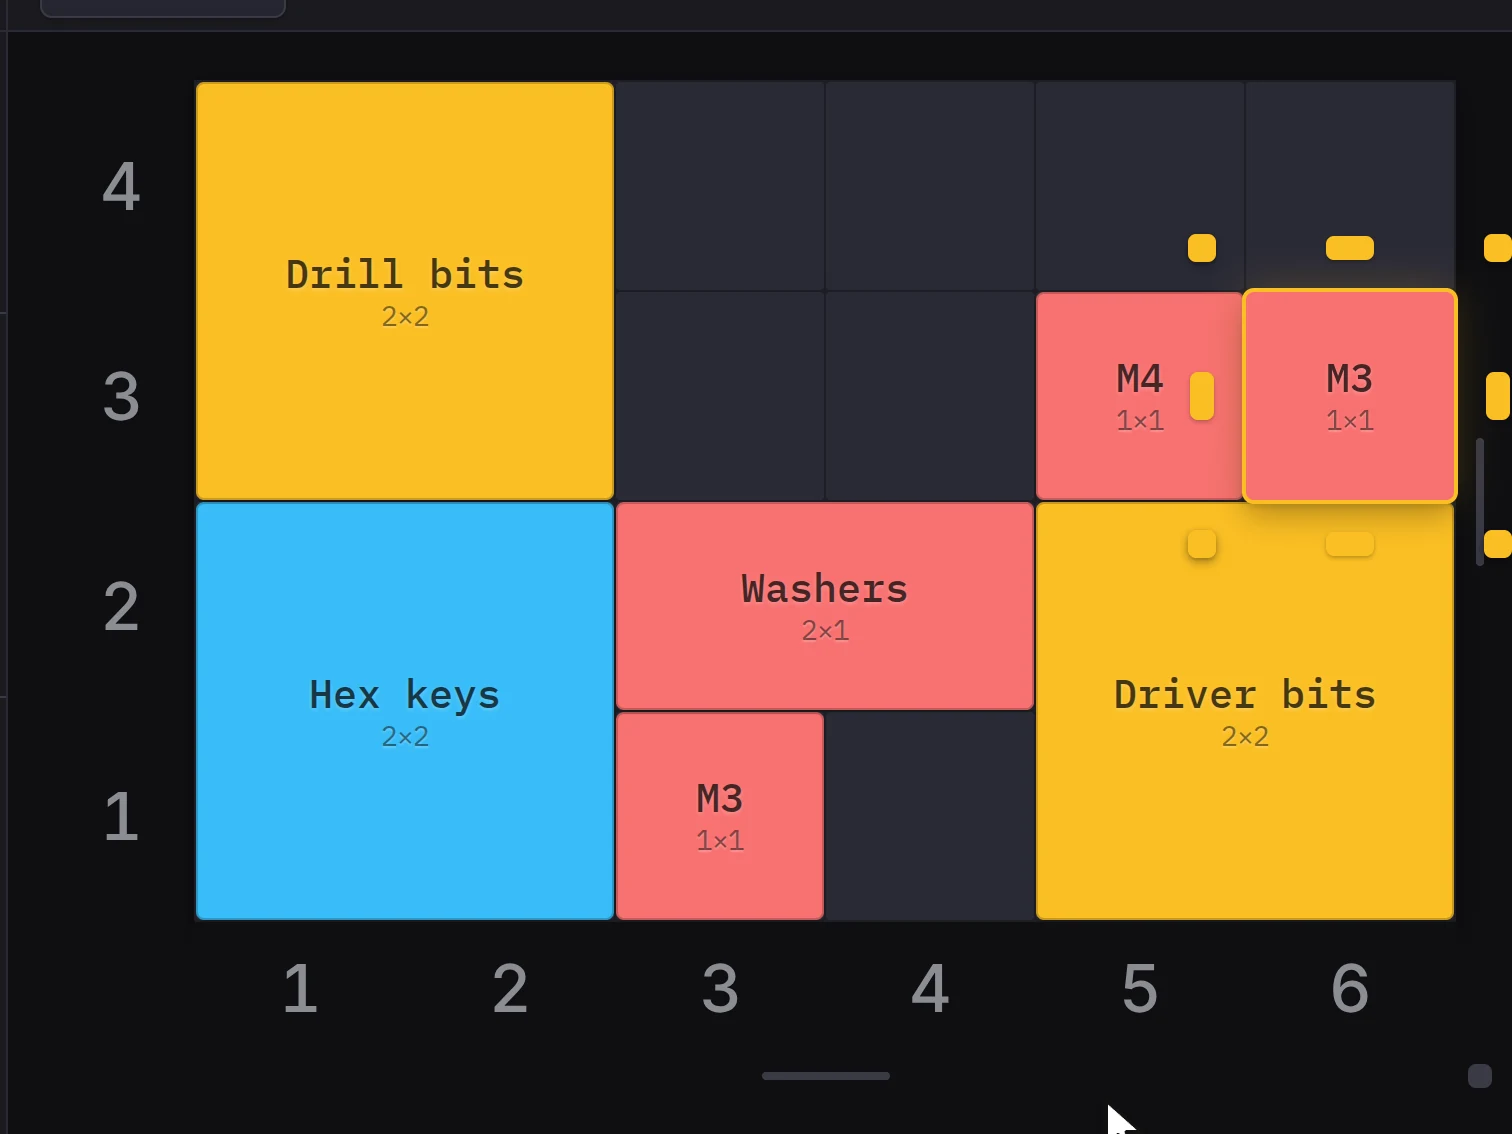
A duplicate goes to the first free spot to the right, below, to the left or above the original. If there is no free spot, it goes to the stash.
Resize a bin
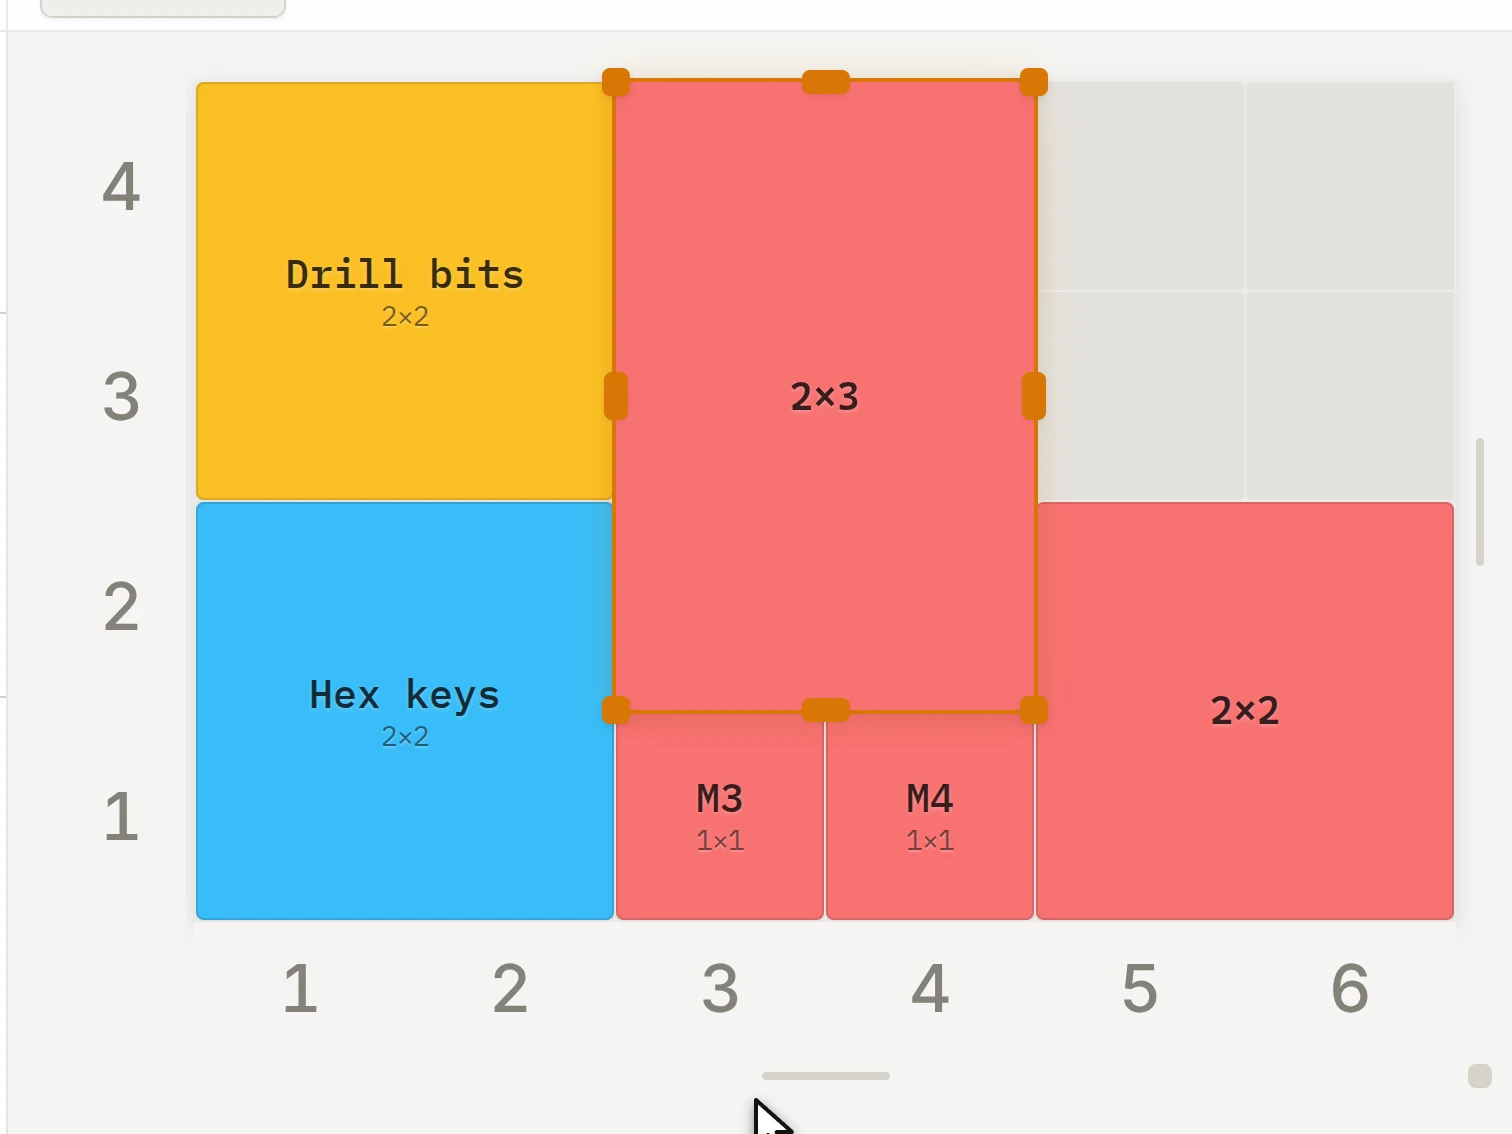
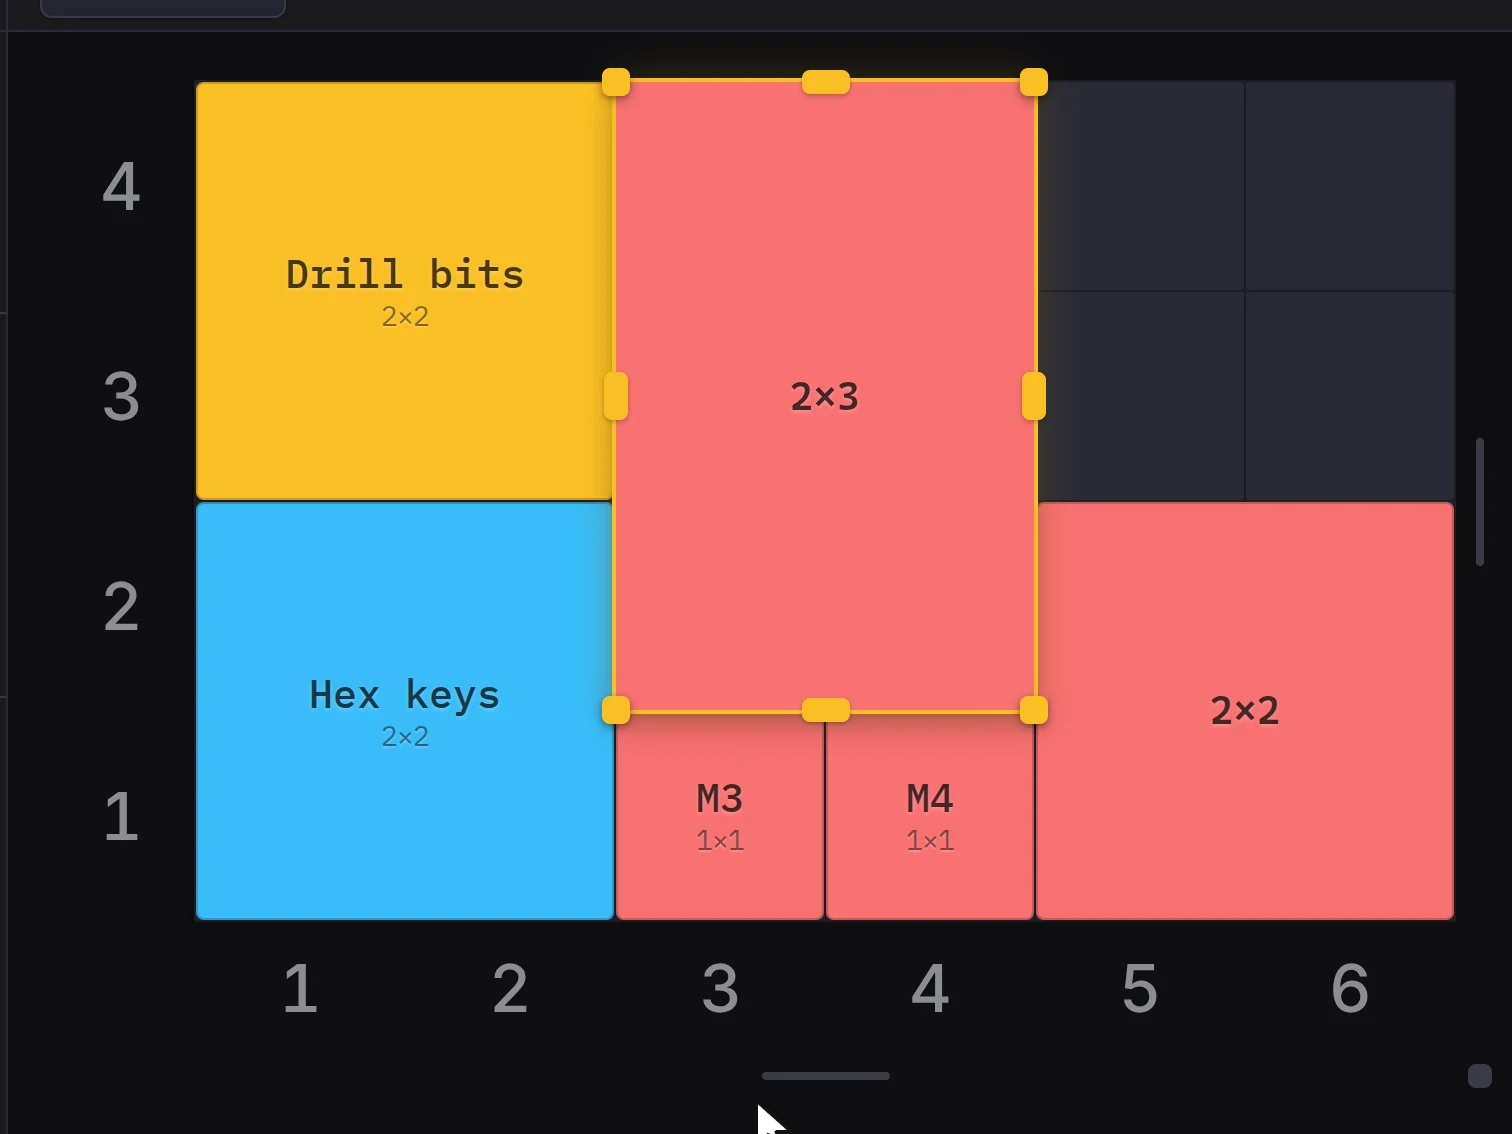
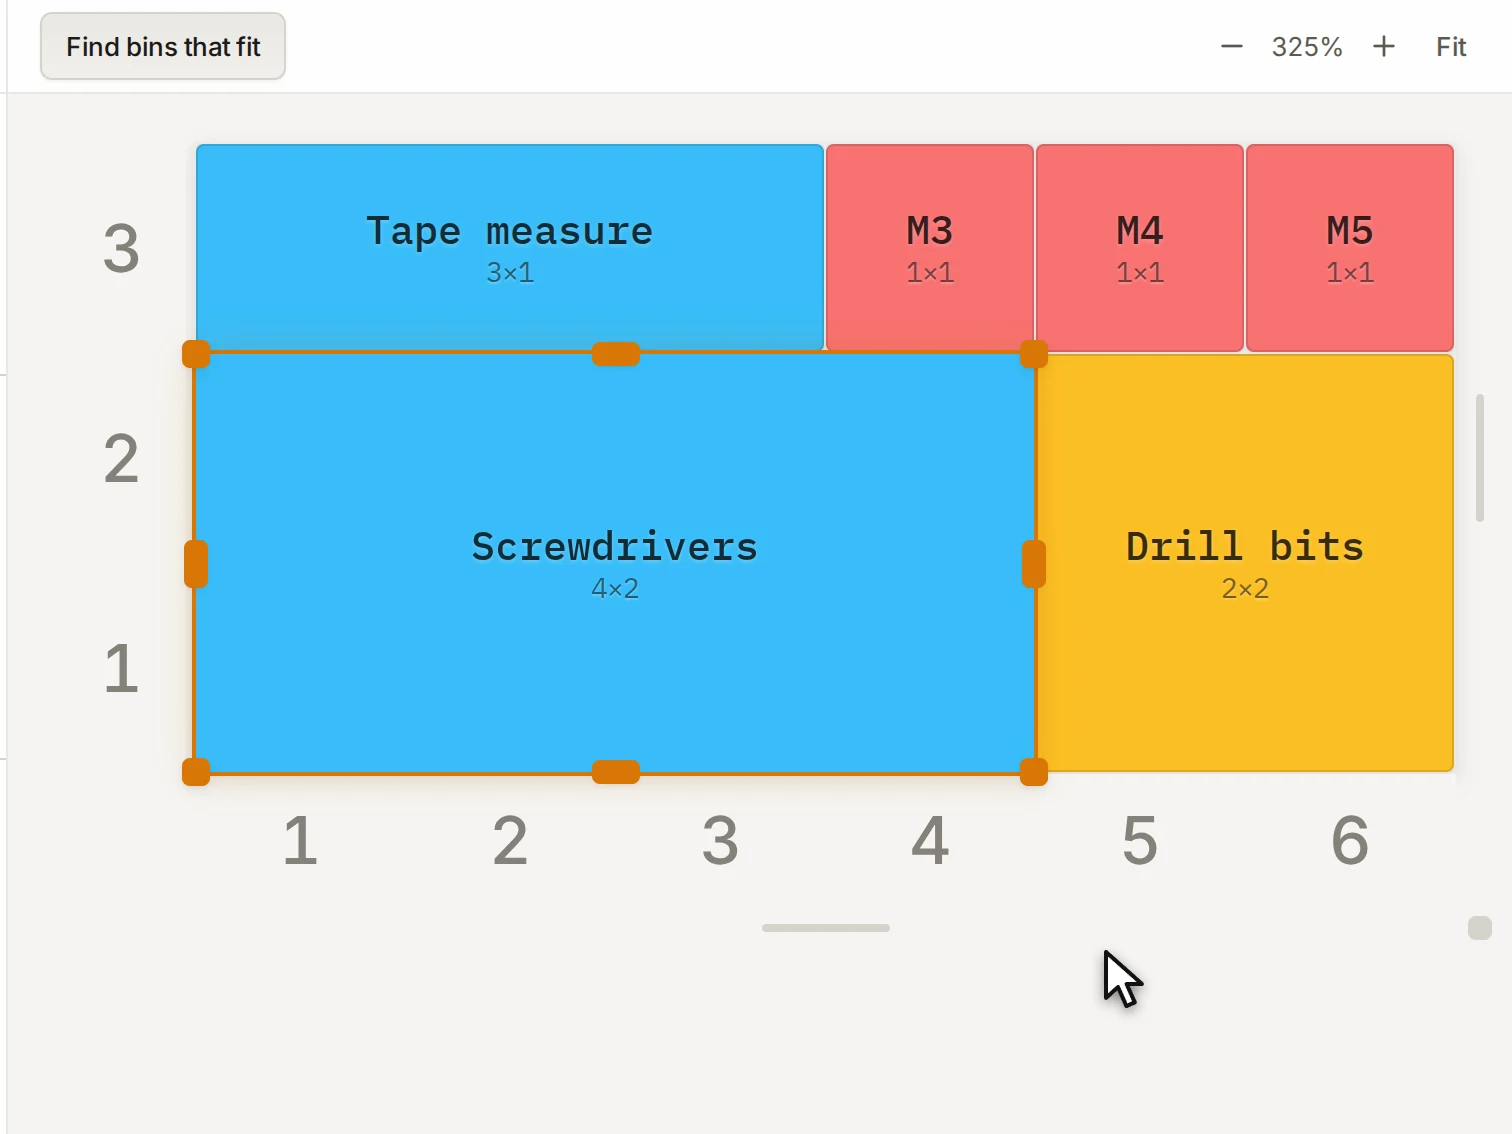
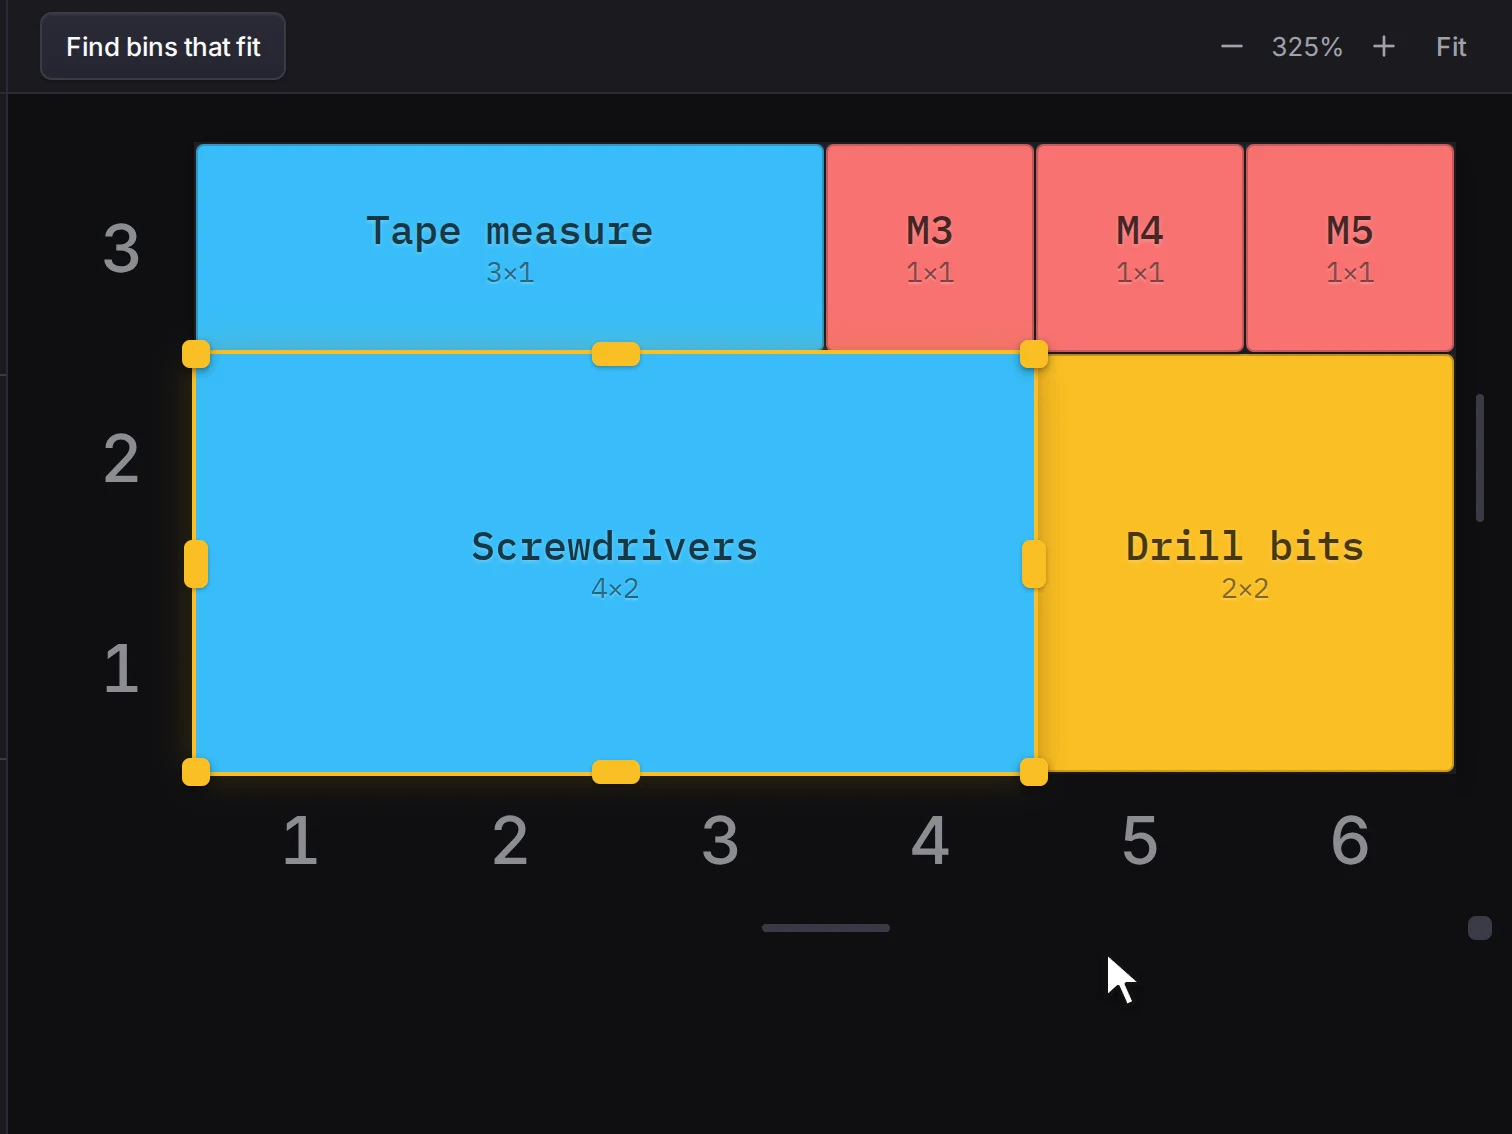
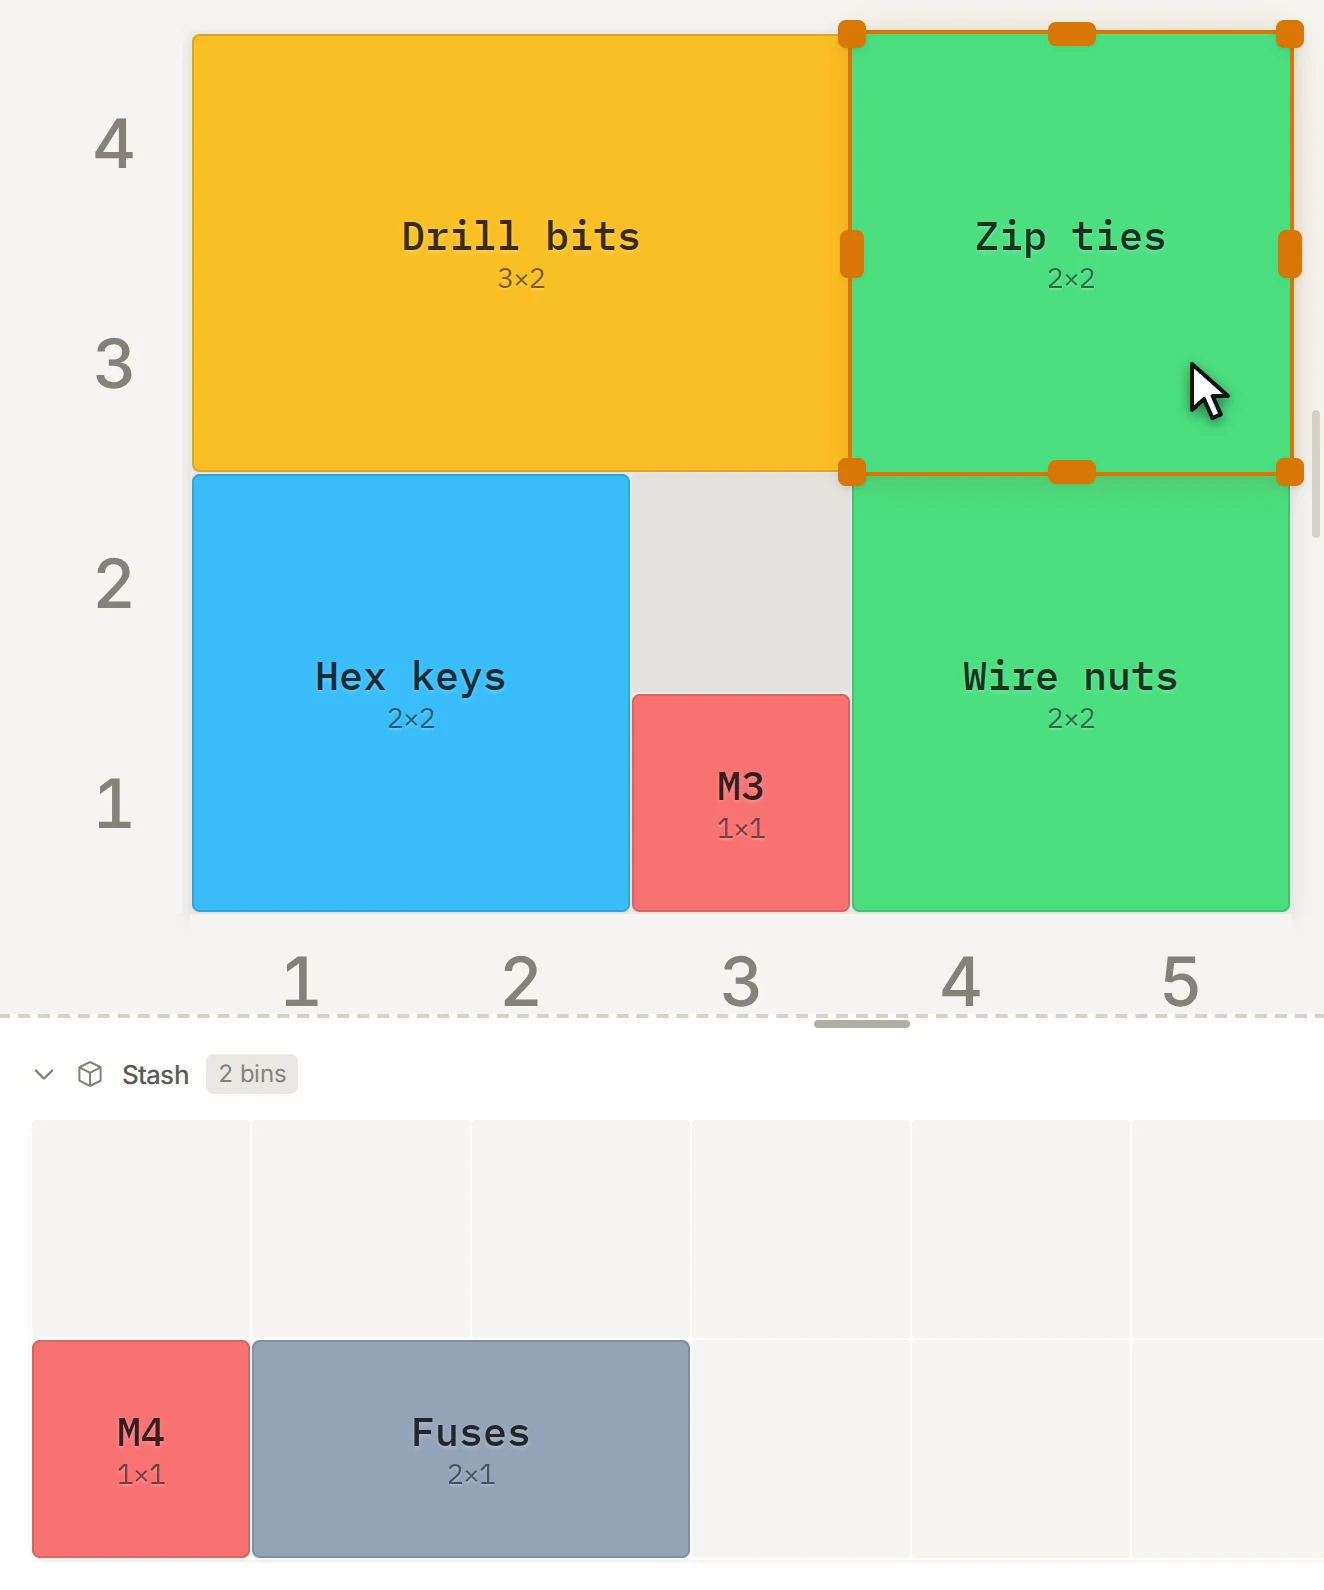
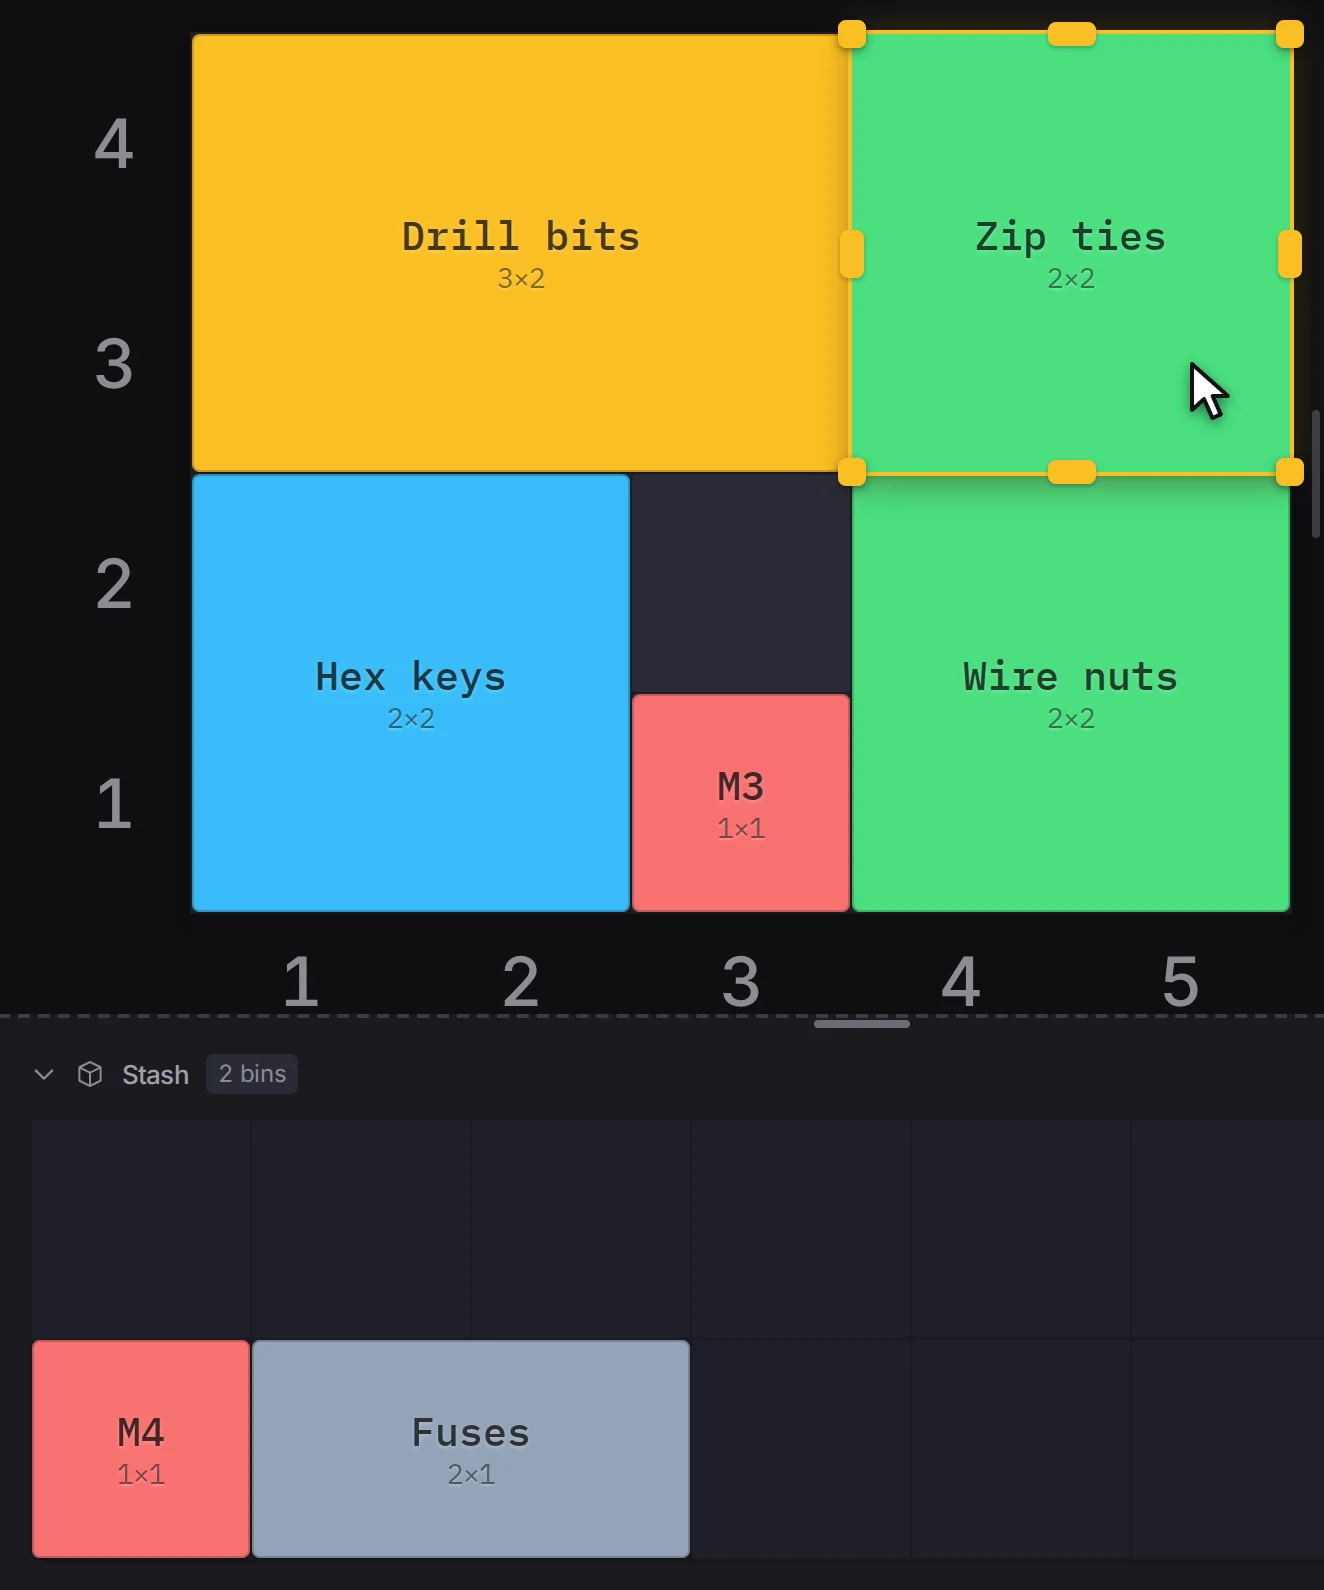
Select one bin, and handles show on its edges and corners. Drag a handle to change the width, the depth or both. Prefer exact numbers? Type a Width and a Depth in the inspector on the right.
Rotate a bin
Select one bin and press R, or right-click it and choose Rotate. The width and the depth swap.
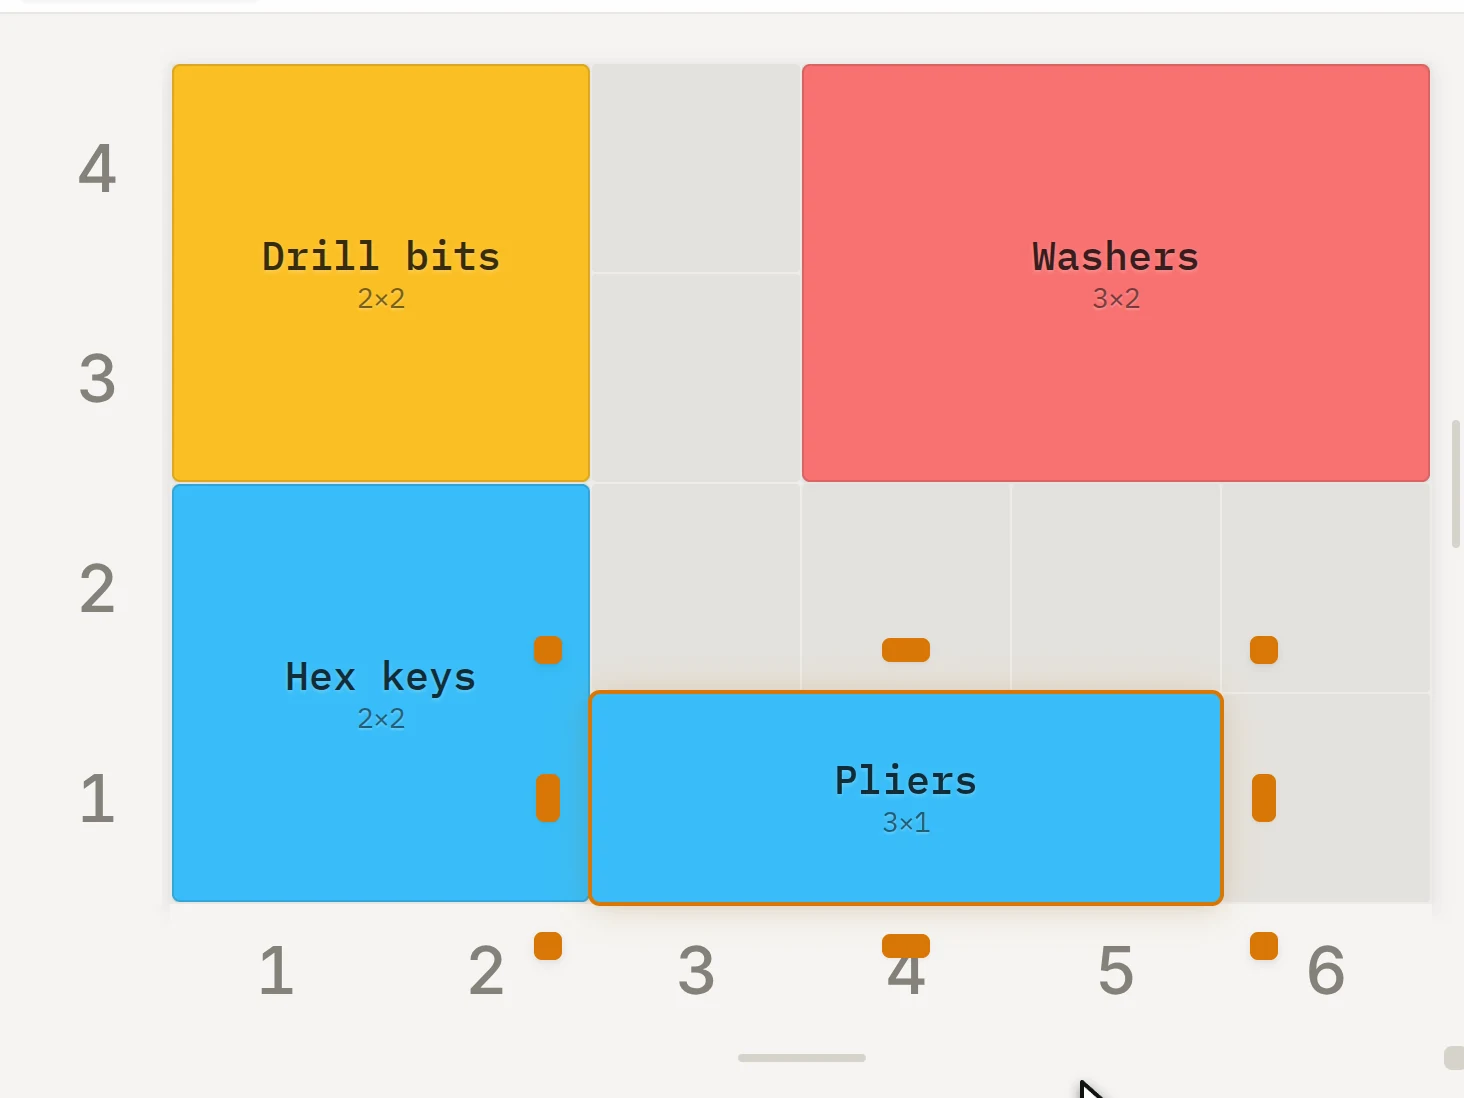
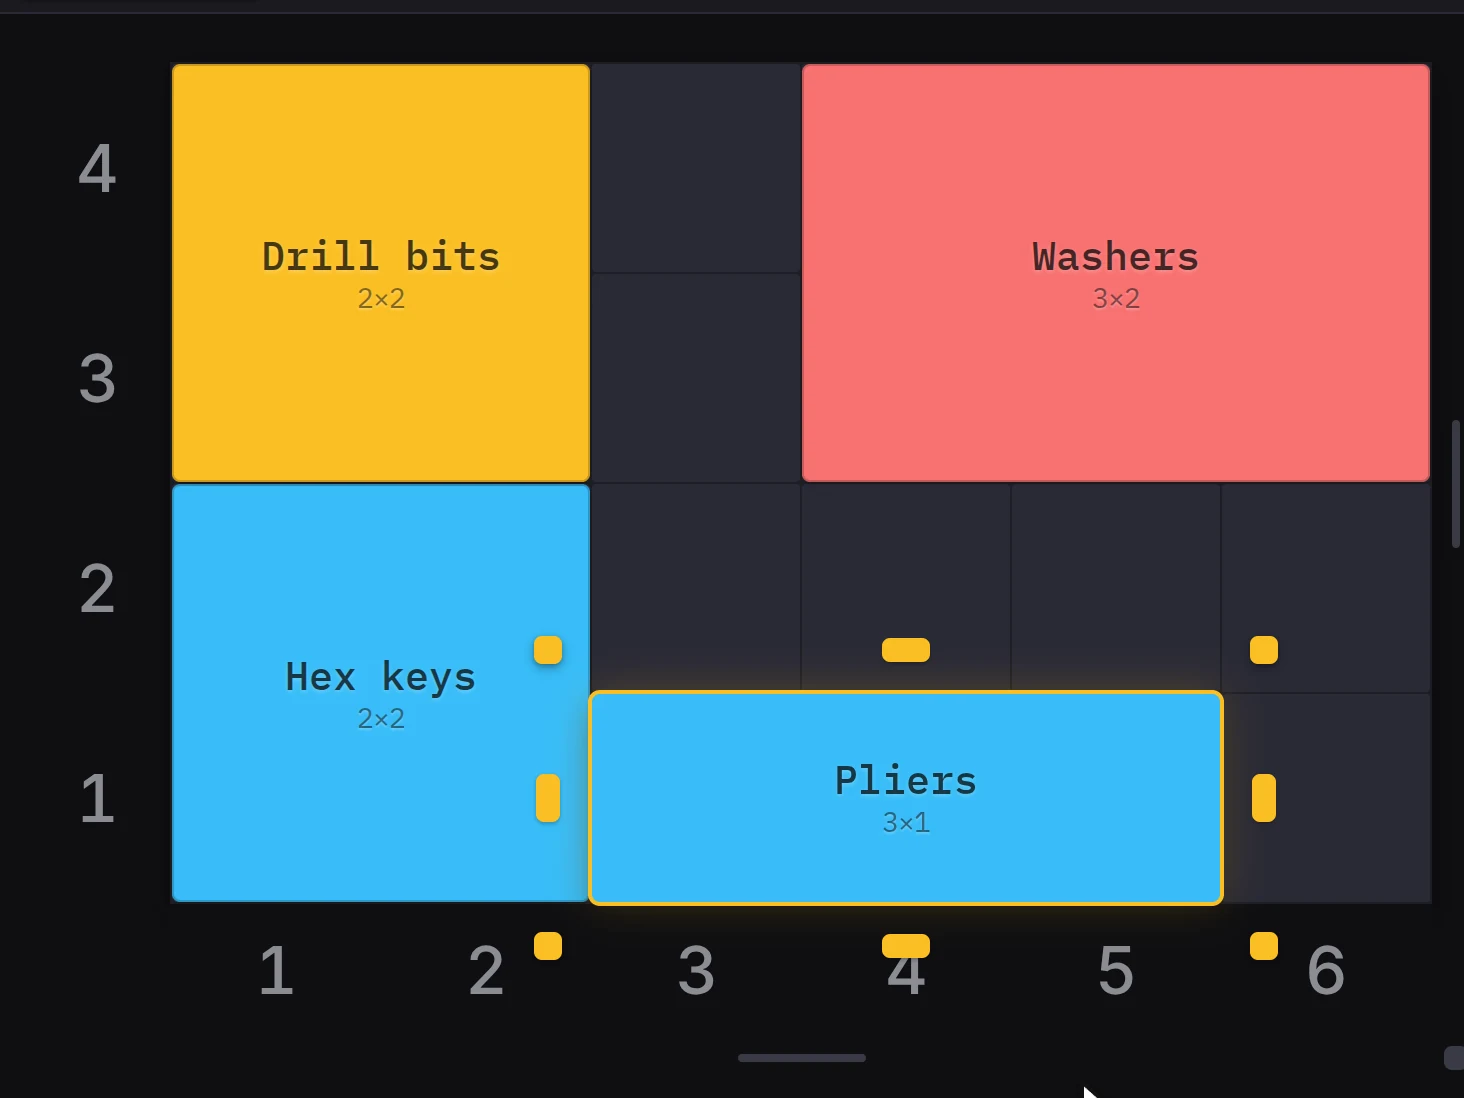
If the turned bin has no room where it is, the Layout Tool moves it to the nearest free spot. A message tells you how far it went.
A bin that uses a saved design has a front and a back, so the Layout Tool also tracks which way it faces. Each press of R turns it a quarter, through all four directions. A square bin, or a bin with no room for a quarter turn, turns 180 degrees where it stands. Look at the 3D preview to see which way it faces.
Use half units
Need a bin between two sizes? Turn on Half-grid mode in the left panel, or press H. Bins can then have sizes and positions in half grid units. The arrow keys move a bin with a half-unit size or position by half a unit.
Half-grid mode doesn't change the feet under a bin. For a denser grid of feet, see Use half-size feet.
To turn the mode off, every bin needs a whole-unit size and position. If a bin doesn't have them, the switch and H open the same dialog. Click Move to stash and turn off to put those bins in the stash, or Cancel to keep the mode on.
Lock a bin size
Got a bin exactly right? Lock it. A locked bin can still move, but its size stays fixed.
- In the inspector, click Lock size.
- Or right-click the bin and choose Lock size.
A locked bin has no resize handles, and R doesn't rotate it. A duplicate of a locked bin doesn't keep the lock.
Expand a bin to fill the space
Small gaps left between bins? Right-click a bin and choose Expand to fit. The walls of the bin grow out into the empty space around it, up to 21 mm on each side. The feet stay on the grid.
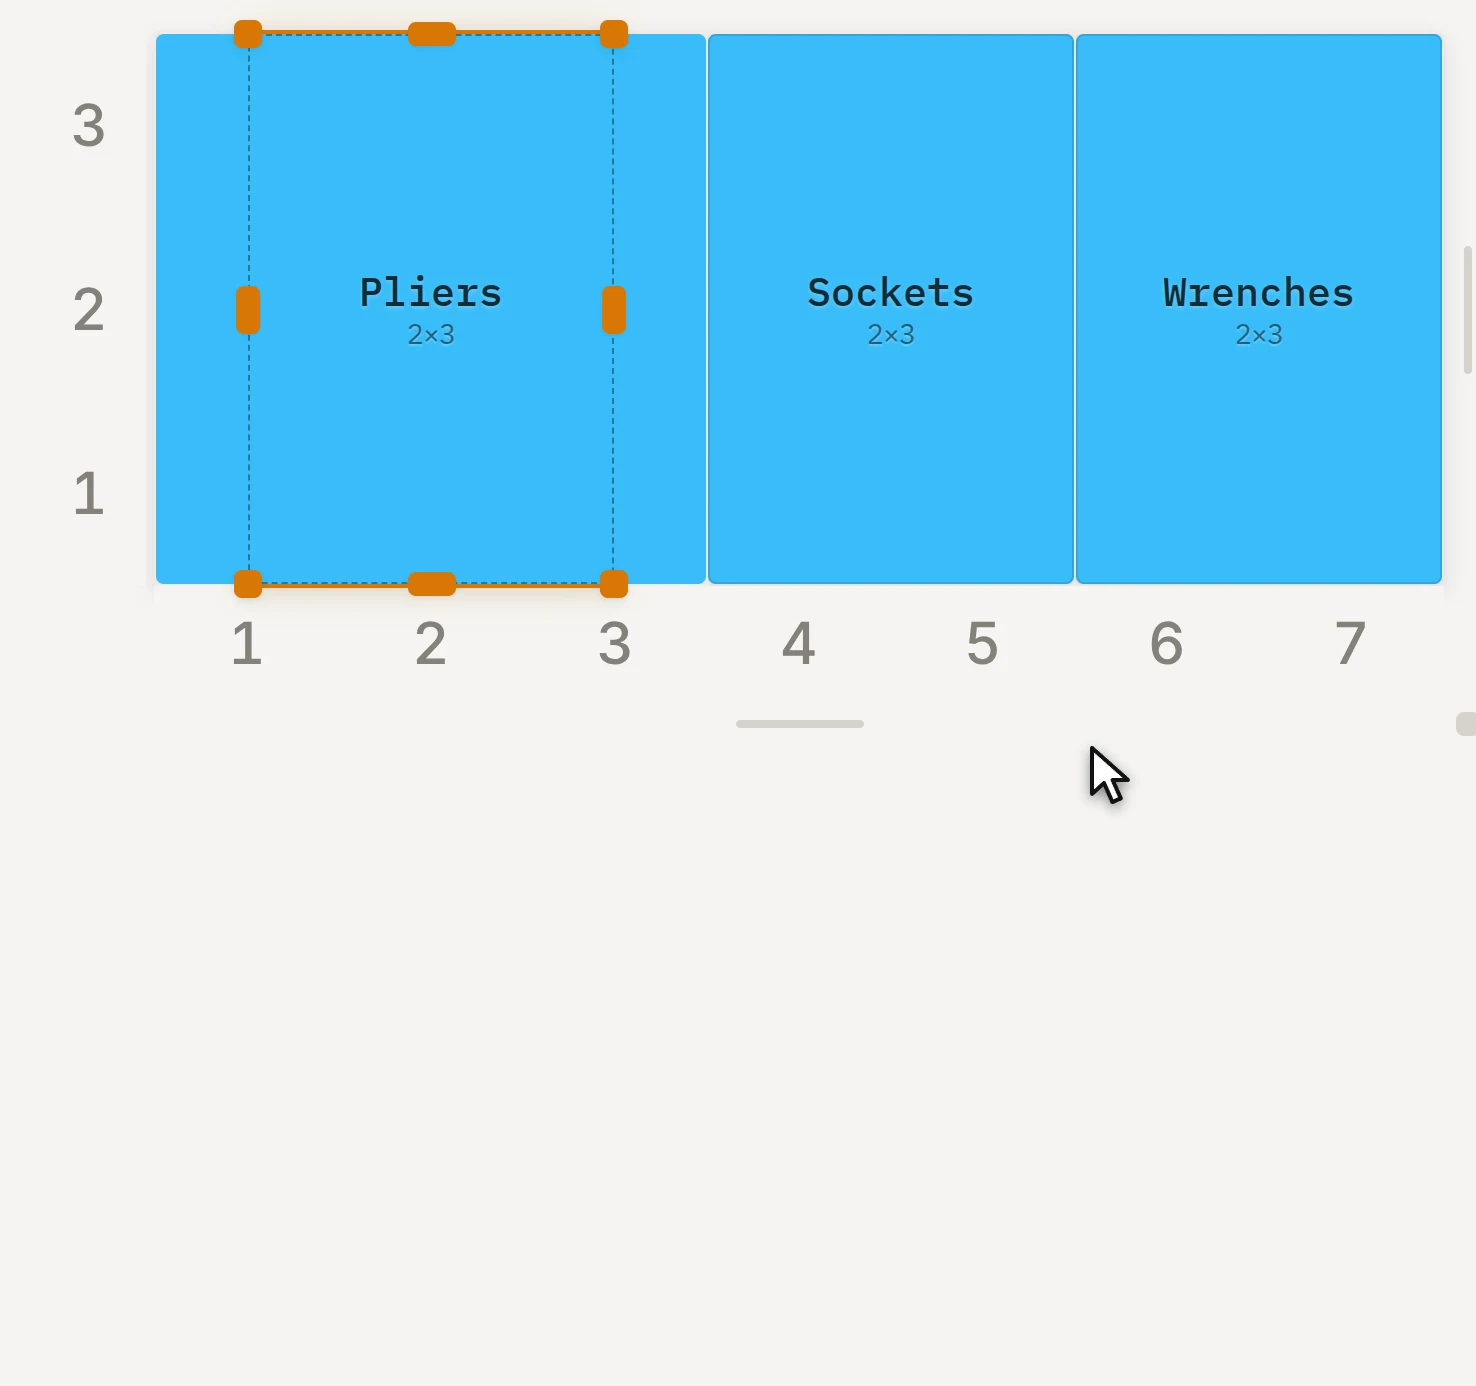
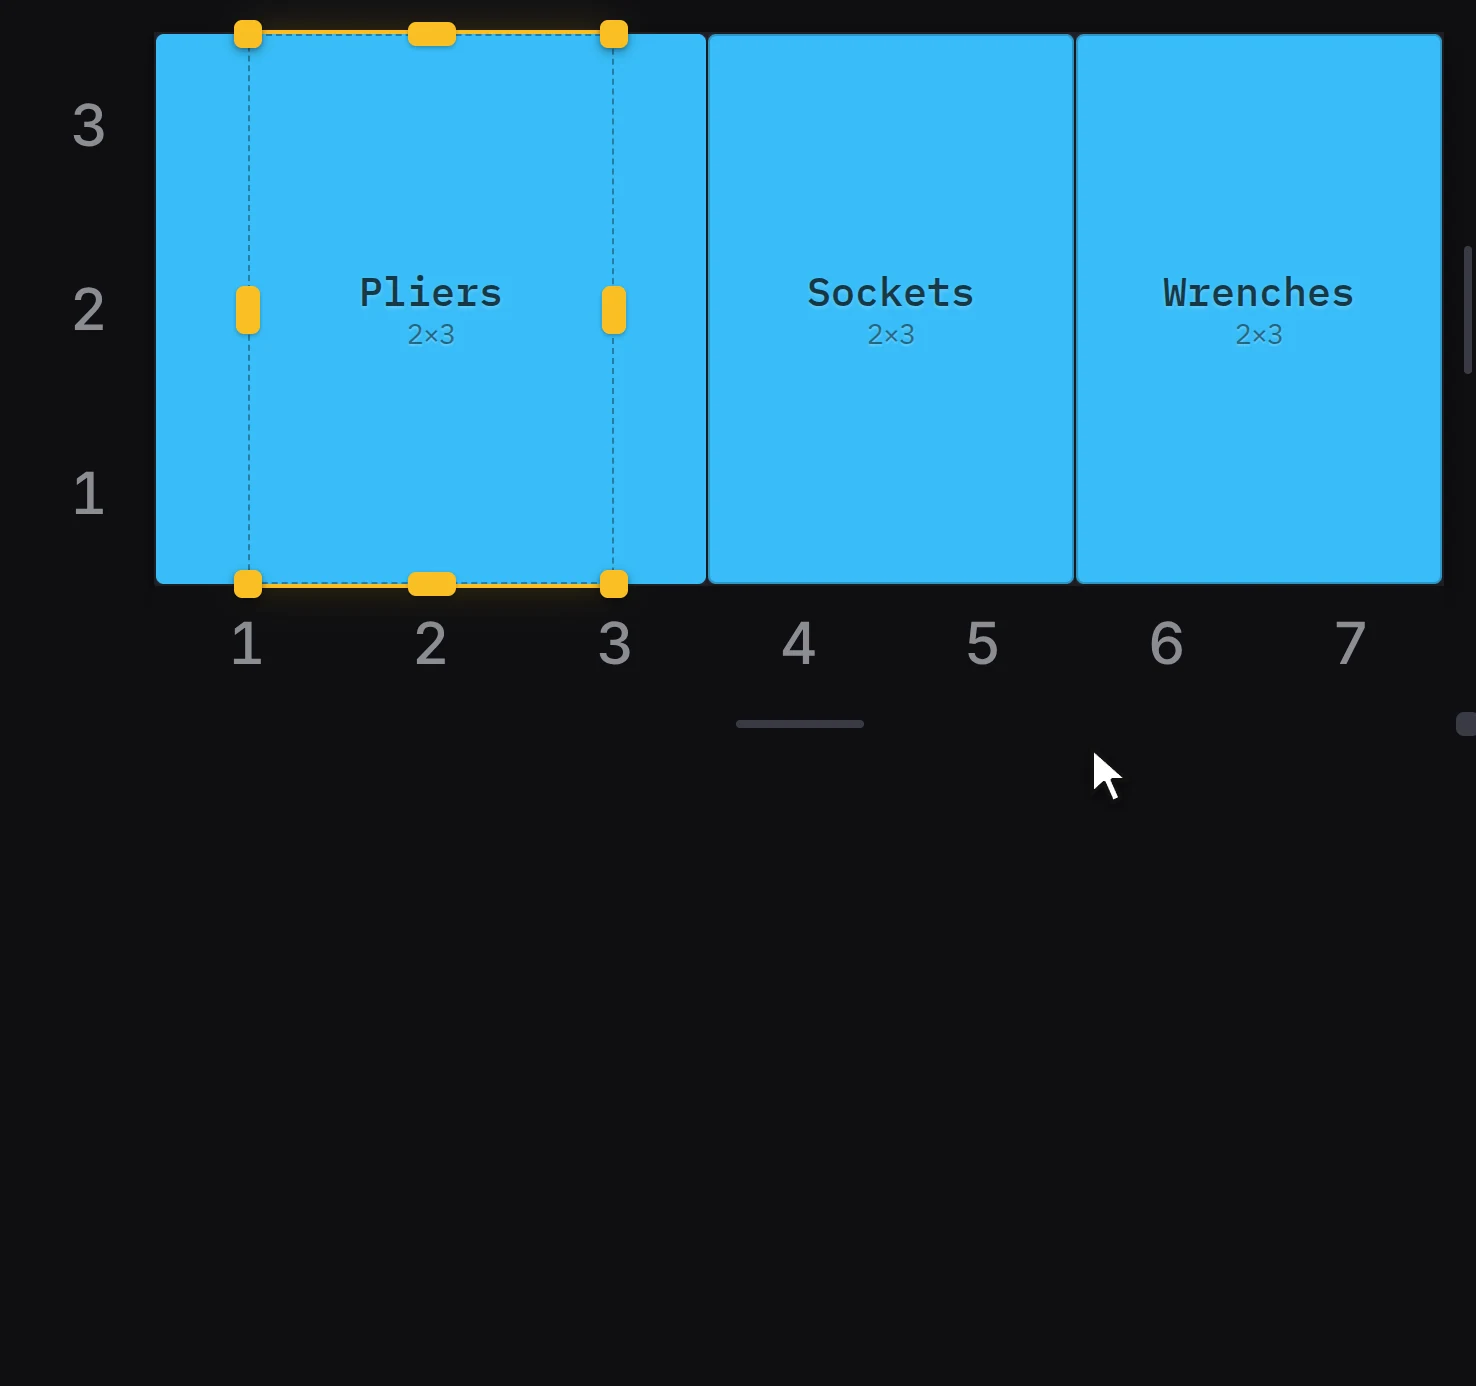
To expand a row, a column or a full grid of bins on one layer in one step, select them all first. To undo an expansion later, select the bin. Then click Reset under Expanded footprint in the inspector.
Merge bins into one
Select two or more bins on one layer and choose Merge into a bento. The Layout Tool makes one saved design with a compartment for each bin, and opens it in the bin designer. For the details, see Work with several bins.
Put bins in the stash
The stash, below the grid, holds bins that are not in the drawer. It's a safe place to park a bin while you try ideas. Bins in the stash are not on the print list.
To put a bin in the stash, drag it onto the stash, or click To stash in the inspector. In the size brush, hold Shift and click a size to add a new bin of that size to the stash.
To move every bin on the active layer to the stash, click the clear button under the size brush in the left panel. Its label shows how many bins it moves. Then click Clear.
The Layout Tool also moves bins to the stash for you in these cases:
- The drawer gets smaller.
- You delete a layer.
- A drawer shape removes their cells.
To put a bin back, drag it from the stash to the grid. You can also right-click it and choose Move to grid. This puts it in the front-left corner when that spot is free. Clear all deletes every bin in the stash.
Drop a saved design into the drawer
In the bin designer, Place in layout puts a saved design in the first free spot of the active layer. Save and reuse designs gives the steps.
To give a bin that is already on the grid a design, right-click it and choose Link existing design. Saved designs and linked bins explains what the link keeps in step.
Delete and undo
Select bins and press Delete or Backspace. You can also right-click a bin and choose Delete.
Changed your mind? Press Ctrl+Z (Cmd+Z on a Mac) to undo, and Ctrl+Y to redo. A message names each change that you undo. The Layout Tool keeps the last 100 changes.
When it goes wrong
The bin won't drop where you want it
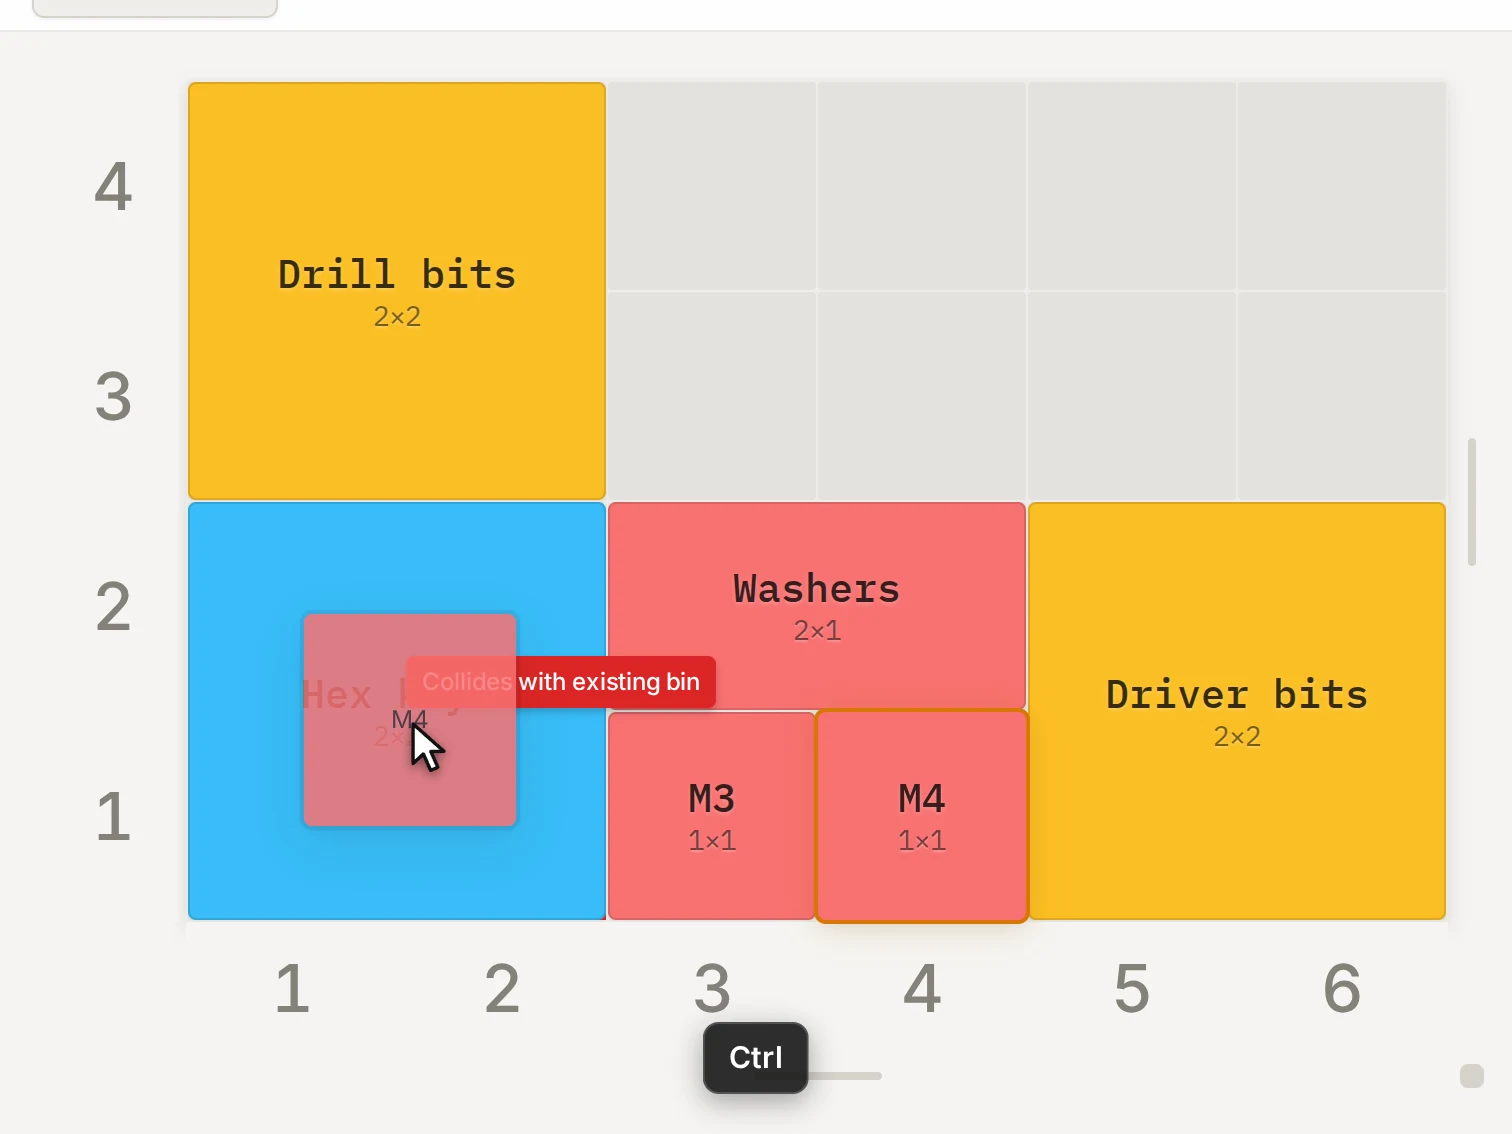
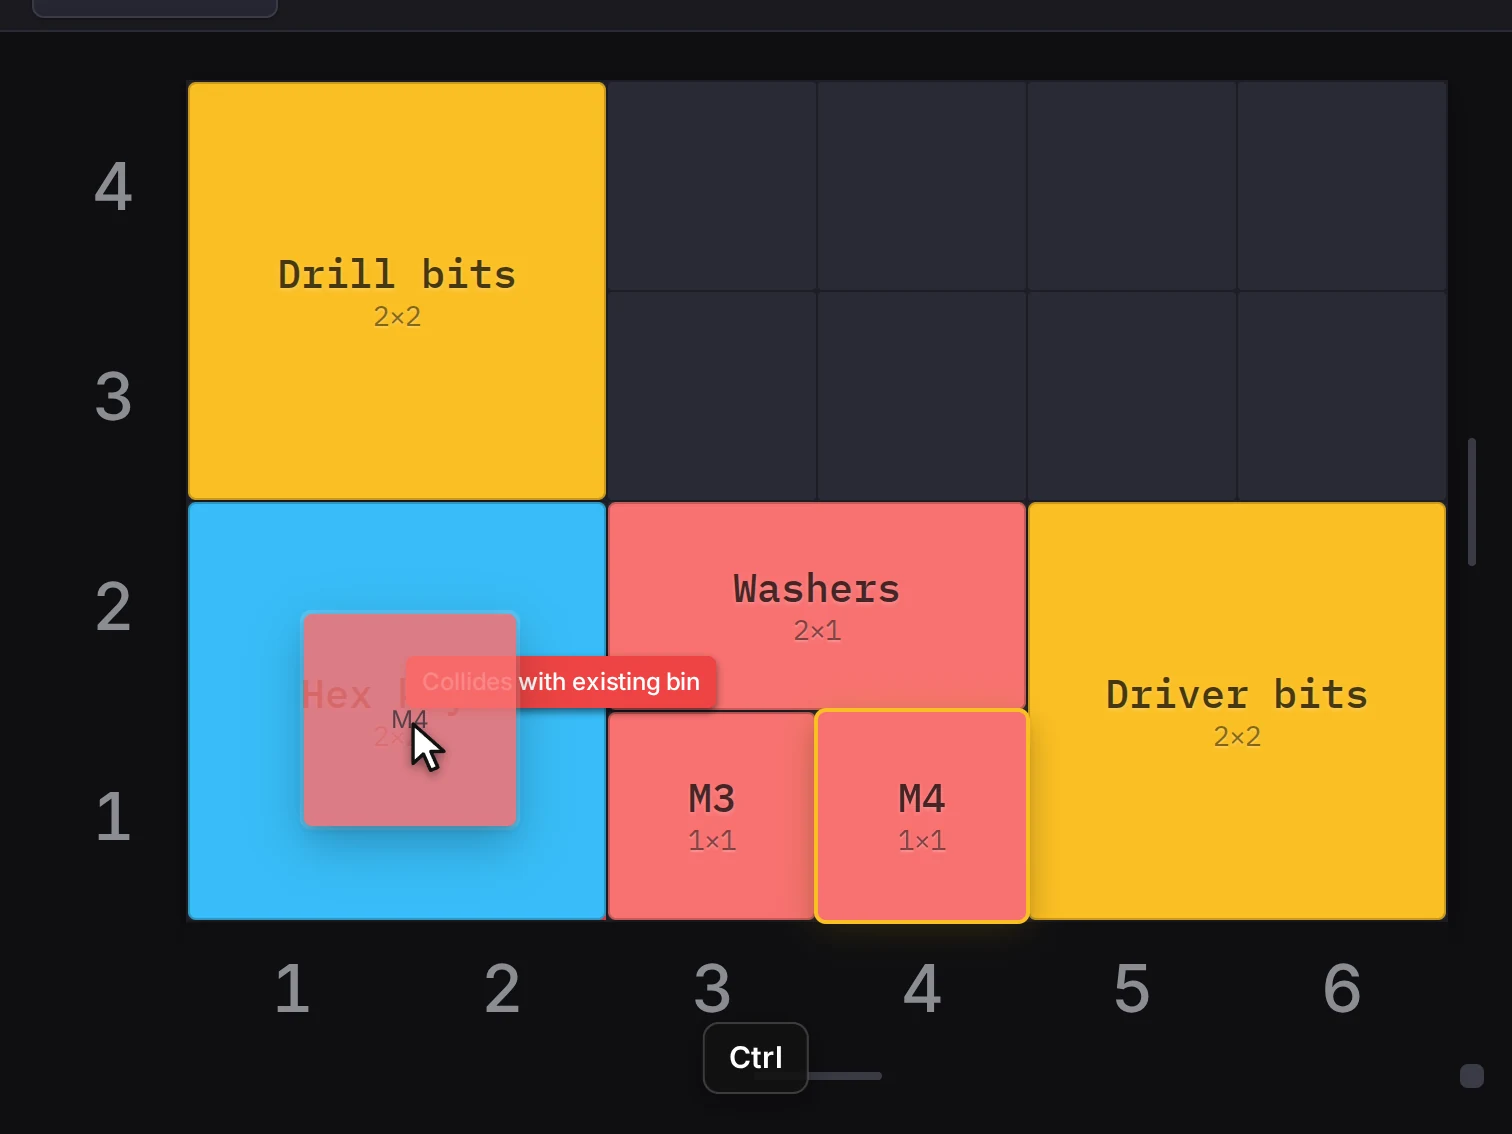
Read the red tag over the bin while you drag. It names what is in the way. If you let go there anyway, the bin goes back, and a message repeats the reason.
| The tag says | What to do |
|---|---|
| Collides with existing bin | Move the other bin first, or pick a free spot. |
| Out of bounds | Keep the whole bin on the grid, or make the drawer larger. |
| Outside the drawer shape | Keep the bin on cells that the drawer shape keeps. |
| Stack would be taller than the drawer | Use a shorter bin, or a spot with lower bins under it. |
| A bin on a lower layer blocks it | Pick a spot outside the striped cells, or lower the clearance of that bin. |
Next to a taken spot, the bin can also snap to the closest free spot. Hold Ctrl while you drag to stop the snap.
A copy doesn't show up next to the original
Look in the stash below the grid, and drag the copy to an open spot. A copy needs a free spot right beside the original. When it finds none, the copy goes to the stash.
R doesn't turn the bin
Read the message that shows. If it says This bin's size is locked, click Unlock size in the inspector, and press R again.
If the message says that the bin can't rotate, the turned bin has no room. It doesn't fit where it stands, or anywhere within 3 cells of it. Drag the bin to an open area first, then turn it.
Expand to fit leaves the gaps
The message tells you what stopped it:
| The message is about | What to do |
|---|---|
| The shape of the selection | Select bins that make one row, one column or one full grid, on one layer. |
| Too much empty space | Each side can grow 21 mm at most. Use larger bins, or select more of them. |
| Bins with a locked size | Unlock their sizes in the inspector, then try again. |
| A bin stacked on top | The wider walls would lift a stack above the drawer. Lower that stack first. |
Next steps
- Work with several bins: align, edit and merge many bins at once.
- Work in layers: stack bins on top of other bins.
- Saved designs and linked bins: what changes when a bin uses a design.
- Keyboard shortcuts: all the keys of the layout editor.