
Arrange cutouts
A bin for forty hex bits shouldn't take forty cutouts by hand. The Gridfinity Layout Tool can repeat one cutout, group shapes, line them up, pack them tight, and measure the gaps between them. New to cutouts? Start with Cutout basics.
Select several cutouts
- Click a cutout to select it. Shift+click adds or removes a cutout.
- Drag a box across empty board to select all the cutouts in it.
- Ctrl+A selects all cutouts.
The Shapes tab lists every cutout. Use it to rename, lock or hide a cutout. A hidden cutout cuts nothing, which is handy when you want to try a layout without it.
Repeat a cutout
A repeat makes many copies from one cutout. Each copy follows the first one: its shape, size, depth and fit. Change the first, and every copy changes with it.
- Select one cutout and open Repeat.
- Click a chip under Start with, or click Add repeat.
- Pick a mode and set the counts and the spacing.
| Mode | Settings |
|---|---|
| Grid | Columns, Rows, Pitch X and Pitch Y. |
| Staggered | The same as a grid, with every other row moved over. |
| Radial | Count, Radius, Start angle and Rotate to center. |
The pitch is the distance from the center of one copy to the center of the next. A repeat has up to 50 columns or rows, and up to 400 copies. Pen shapes can't repeat.
Changed your mind? Flatten to cutouts turns the copies into separate cutouts that you can move one by one. Remove repeat goes back to one cutout.
Already drew 3 or more matching cutouts in a row, a grid or a ring? Select them, and the panel offers Make repeat, which makes them one repeat. The key is Ctrl+Shift+D.
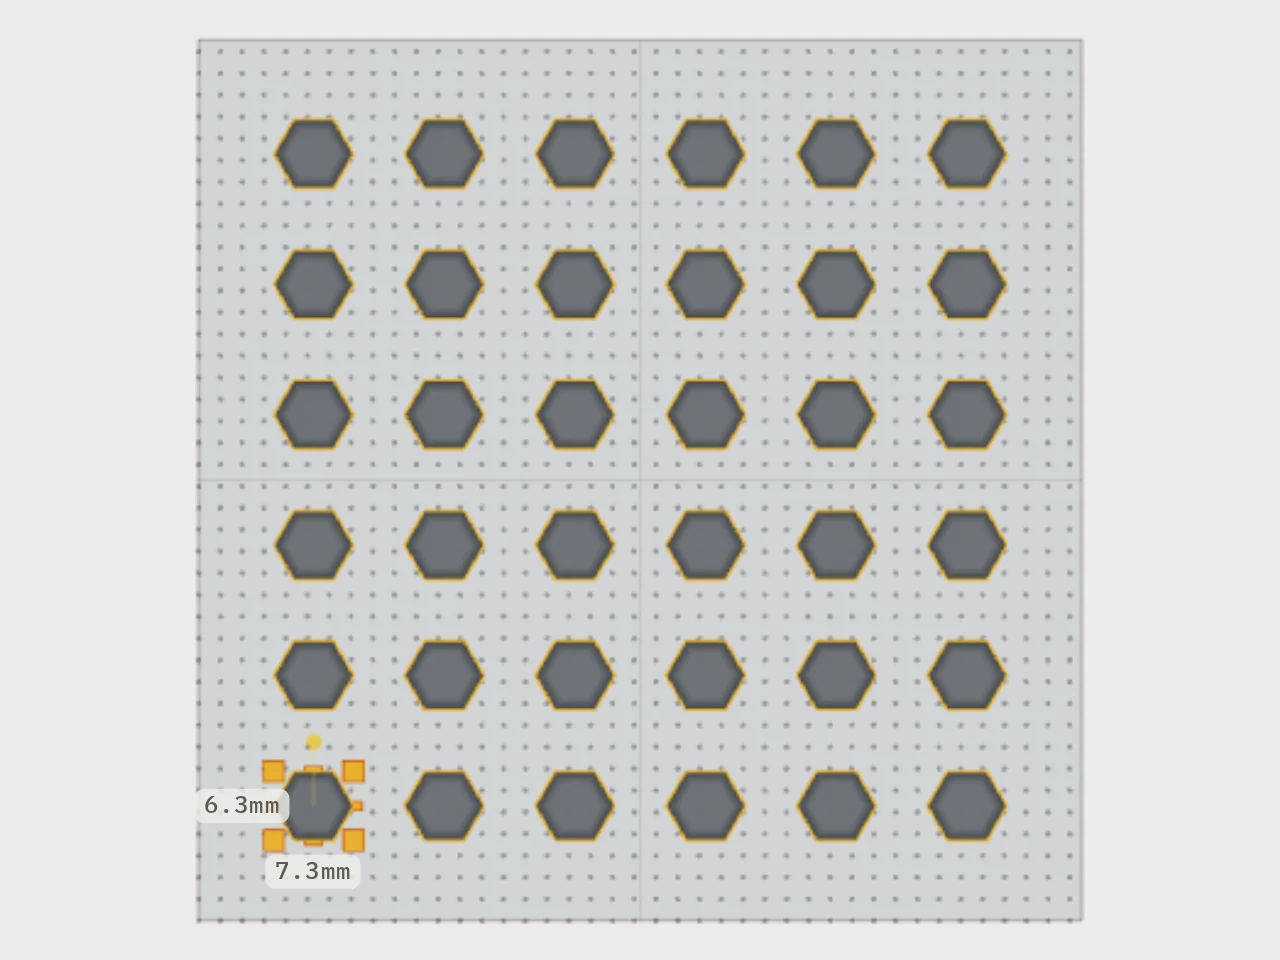
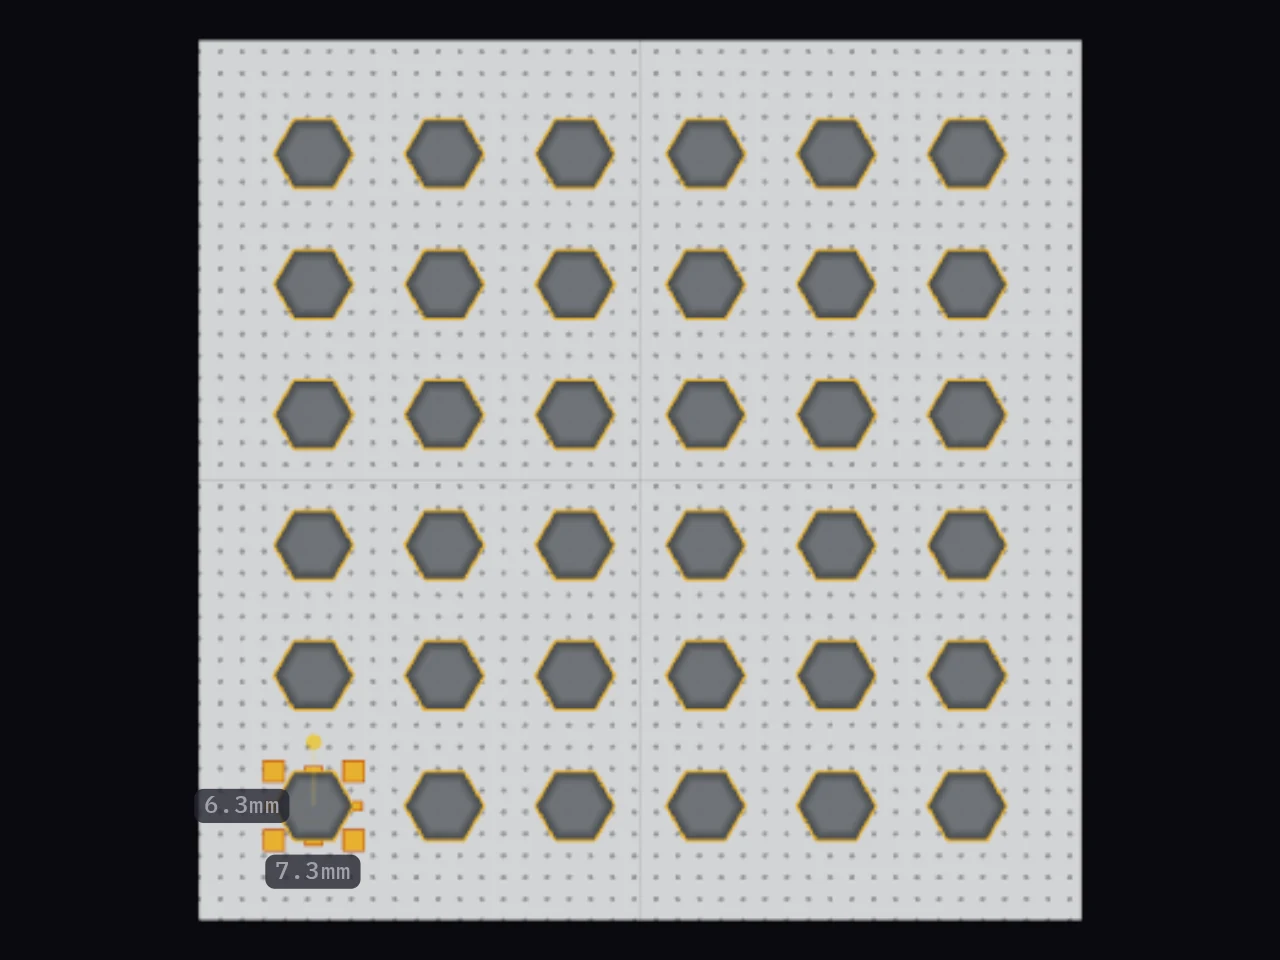
Fill a bin with a repeating cutout
- Move the cutout to the front-left corner of the bin.
- Open Repeat and set the pitch.
- Click Fill bin.
The Layout Tool sets the rows and columns that fit at that pitch. It adds copies toward the far edges of the bin, so a cutout near a far edge has no room for more. When copies overlap, their cuts merge into one opening.
Give each copy its own label
In a set of drill bits, each bit has its own size. Give each copy its own label to match.
- Select the repeat and open Label.
- Click Label each copy separately.
- Type one label on each line, or paste a list.
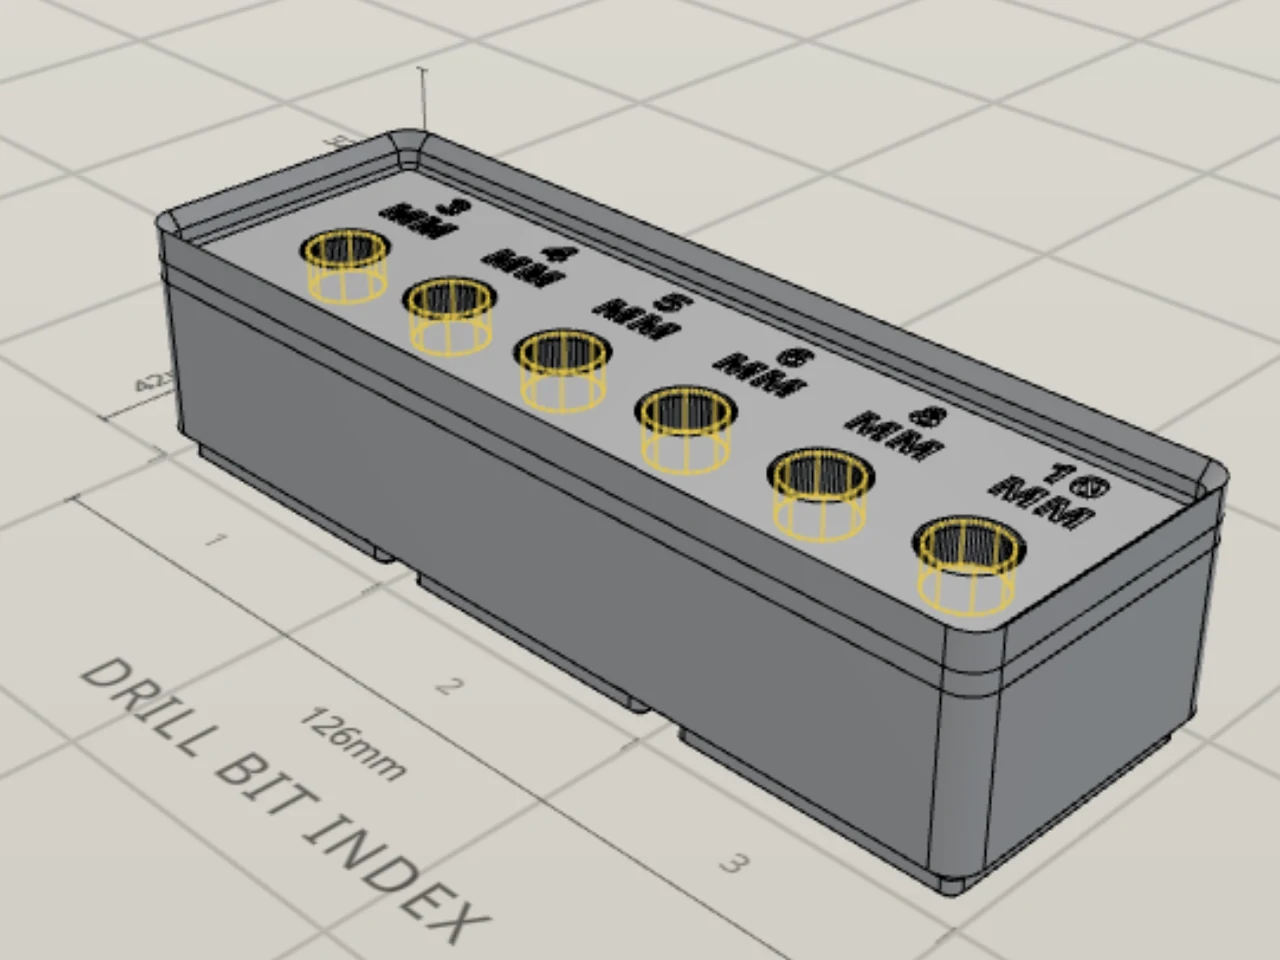
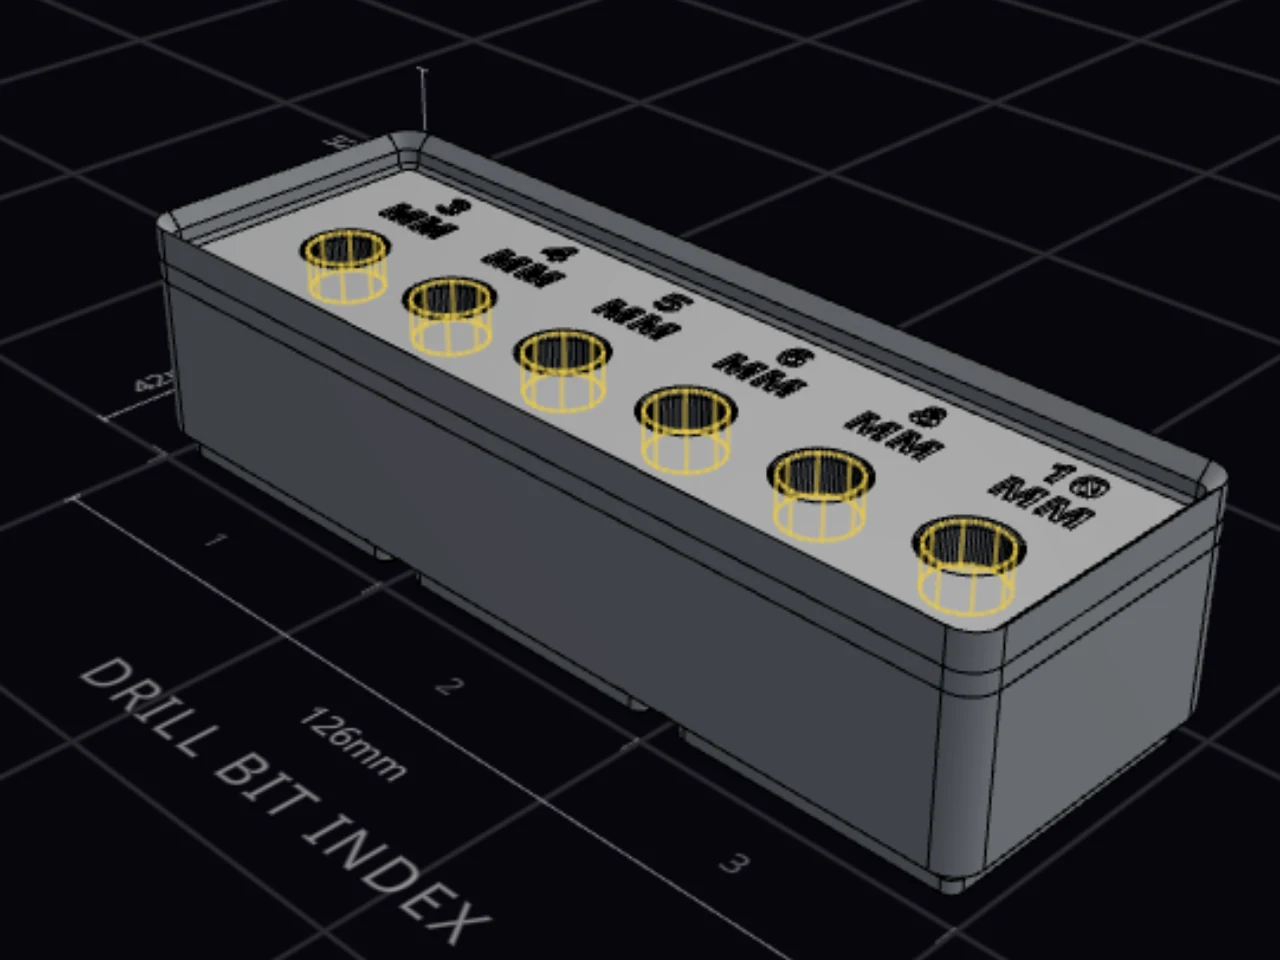
The labels fill the copies top row first, then left to right. A ring fills in order from the first copy. Got a list with commas? Split on commas changes it into lines.
An empty line leaves that copy with no label. When the list is short, the remaining copies use the single label. A socket label has one plate for all copies, so all copies share its text.
Group cutouts
Select two or more cutouts and click Group, or press Ctrl+G. A group of loose cutouts cuts as one shape. To pick how the shapes combine, click one of the four icon buttons in the toolbar under the editor header. Hold the pointer on a button to see its name:
| Operation | Result |
|---|---|
| Union | All shapes join into one cutout. |
| Minus front | The front shape cuts out of the others, so plastic stays there. |
| Intersect | The Layout Tool cuts only the area that all shapes share. |
| Exclude | The shapes join, but the area where they overlap stays solid. |
To choose the front shape, right-click and use Bring to front or Send to back.
Groups inside groups
Select a group and more cutouts, then group them again. The outer group holds its contents in place when you move, align or repeat it. It doesn't change the cut. Groups go up to 10 levels deep.
Double-click a cutout to work inside its group, and press Esc to go back out one level. A double-click on a path cutout, such as a scan, a trace or a pen shape, edits its points instead. The editor header shows the group that you're in. Ungroup (Ctrl+Shift+G) removes one level.
To repeat a group, select the whole group and use Repeat. Every copy keeps the same arrangement and the same angle.
Align and distribute
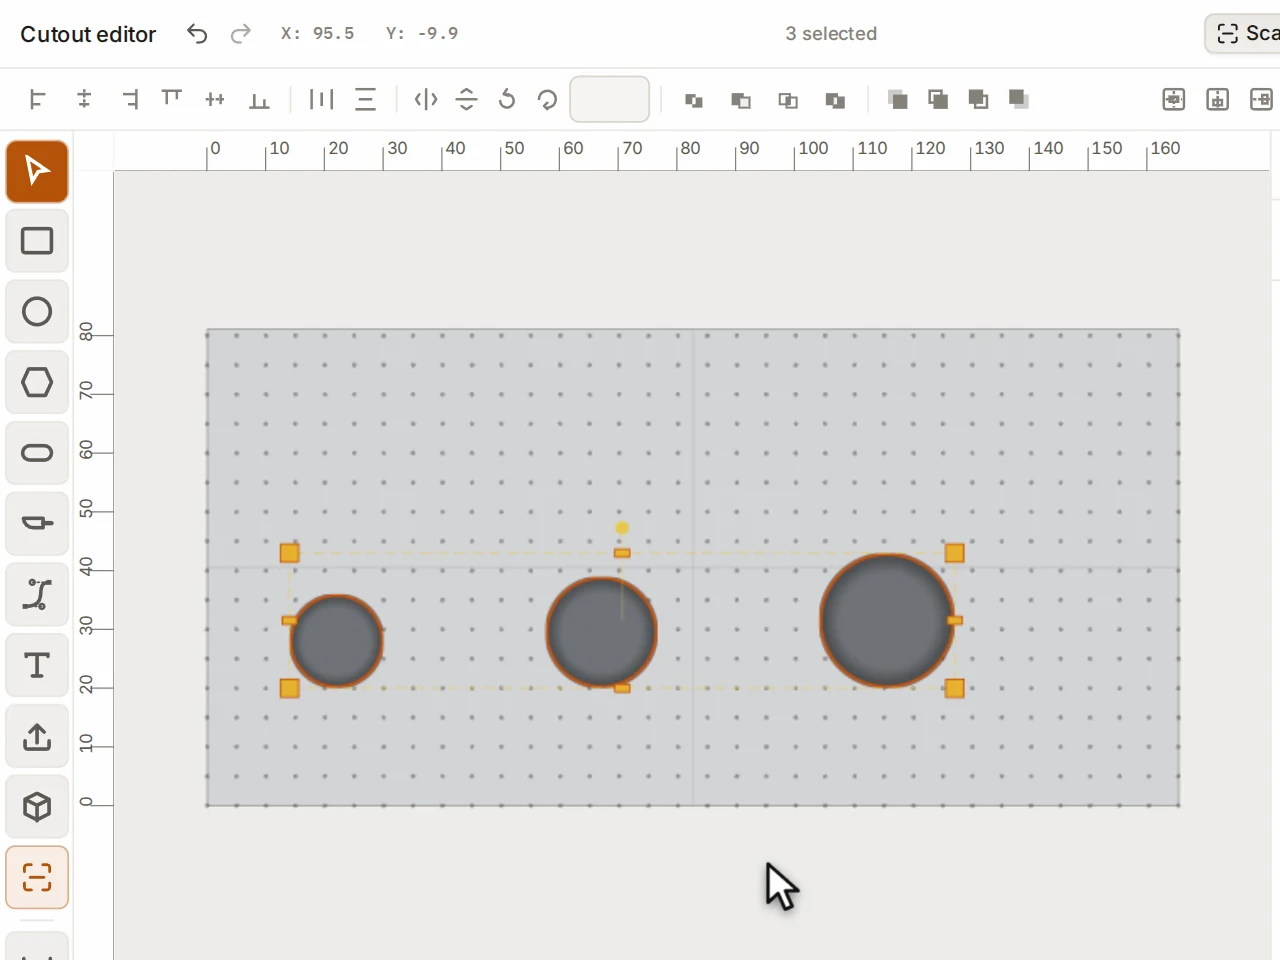
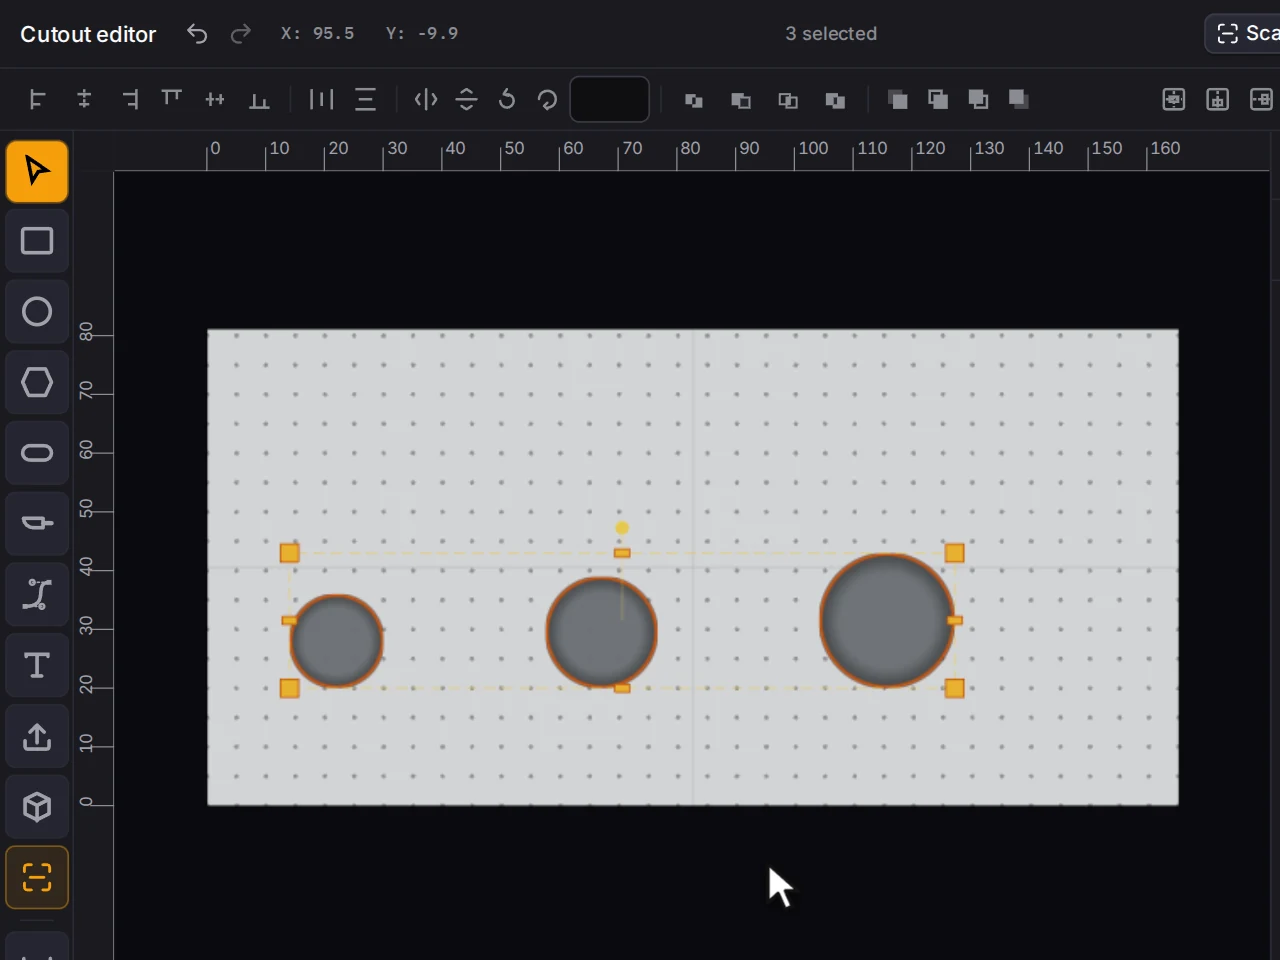
Select two or more cutouts, and a toolbar opens under the editor header. A group moves as one item.
| Buttons | What they do |
|---|---|
| Align left, Center horizontally, Align right | Line up the selection on its left edges, centers or right edges. |
| Align top, Center vertically, Align bottom | Line up the selection on its top edges, centers or bottom edges. |
| Distribute horizontally, Distribute vertically | Make the spaces equal. They need three or more cutouts. |
| Center in bin, Center horizontally, Center vertically | Center the selection in the bin. |
Edit several cutouts at once
With two or more cutouts selected, Properties shows the settings that they share: position, size, rotation, depth, scoop, entry edge and color. When the values differ, the field shows a short dash. Type a value to give it to all selected cutouts.
Pack cutouts with auto-arrange
Traced a pile of tools at odd angles? Auto-arrange packs them neatly.
- Select the cutouts. To pack all of them, press Ctrl+A.
- In the toolbar, click Auto-arrange.
- Set the Gap (it starts at 2 mm), and turn Stagger rows and Turn shapes to fit on or off.
- Click Auto-arrange in the box.
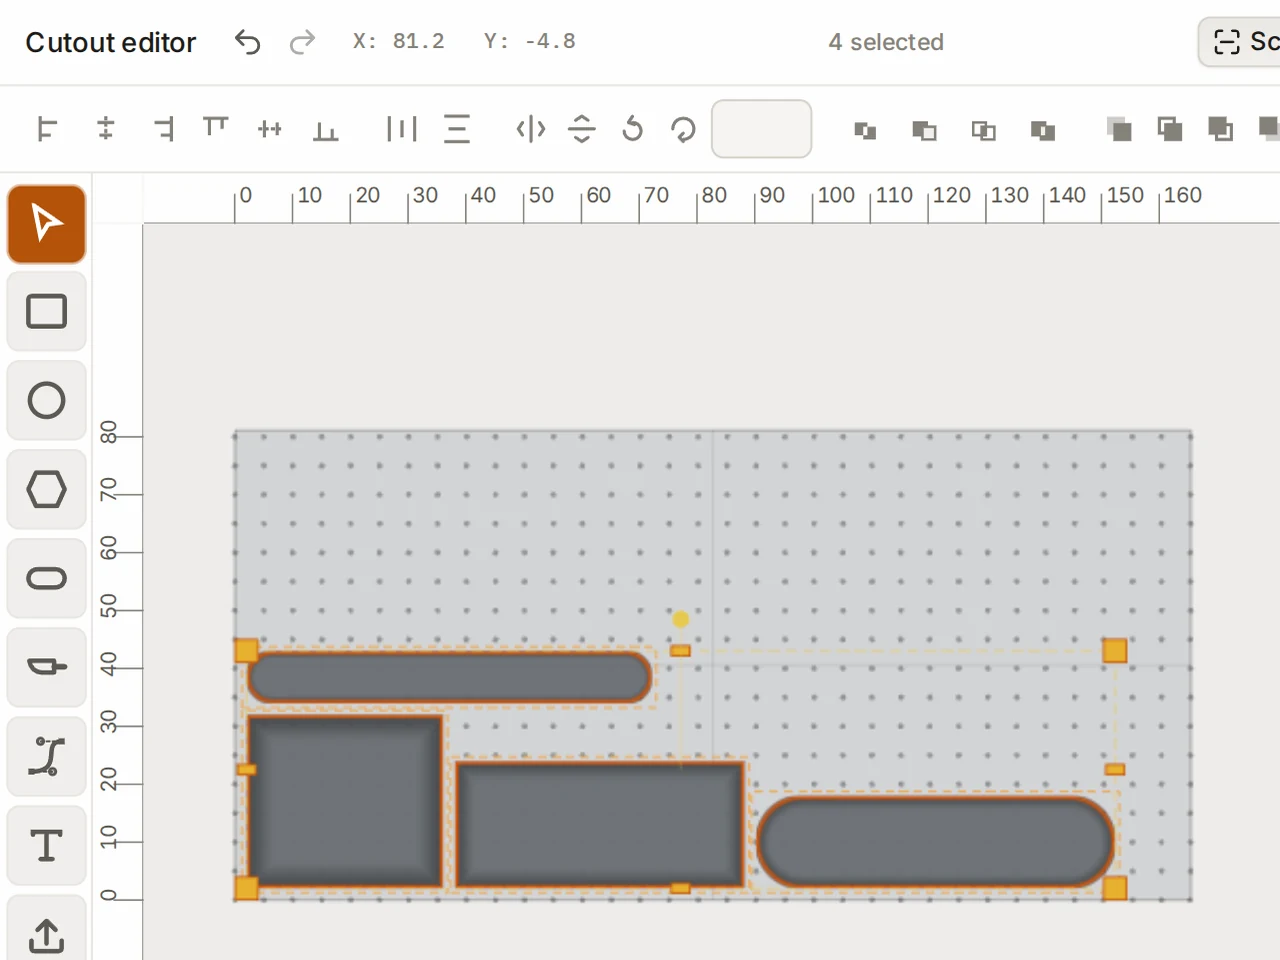
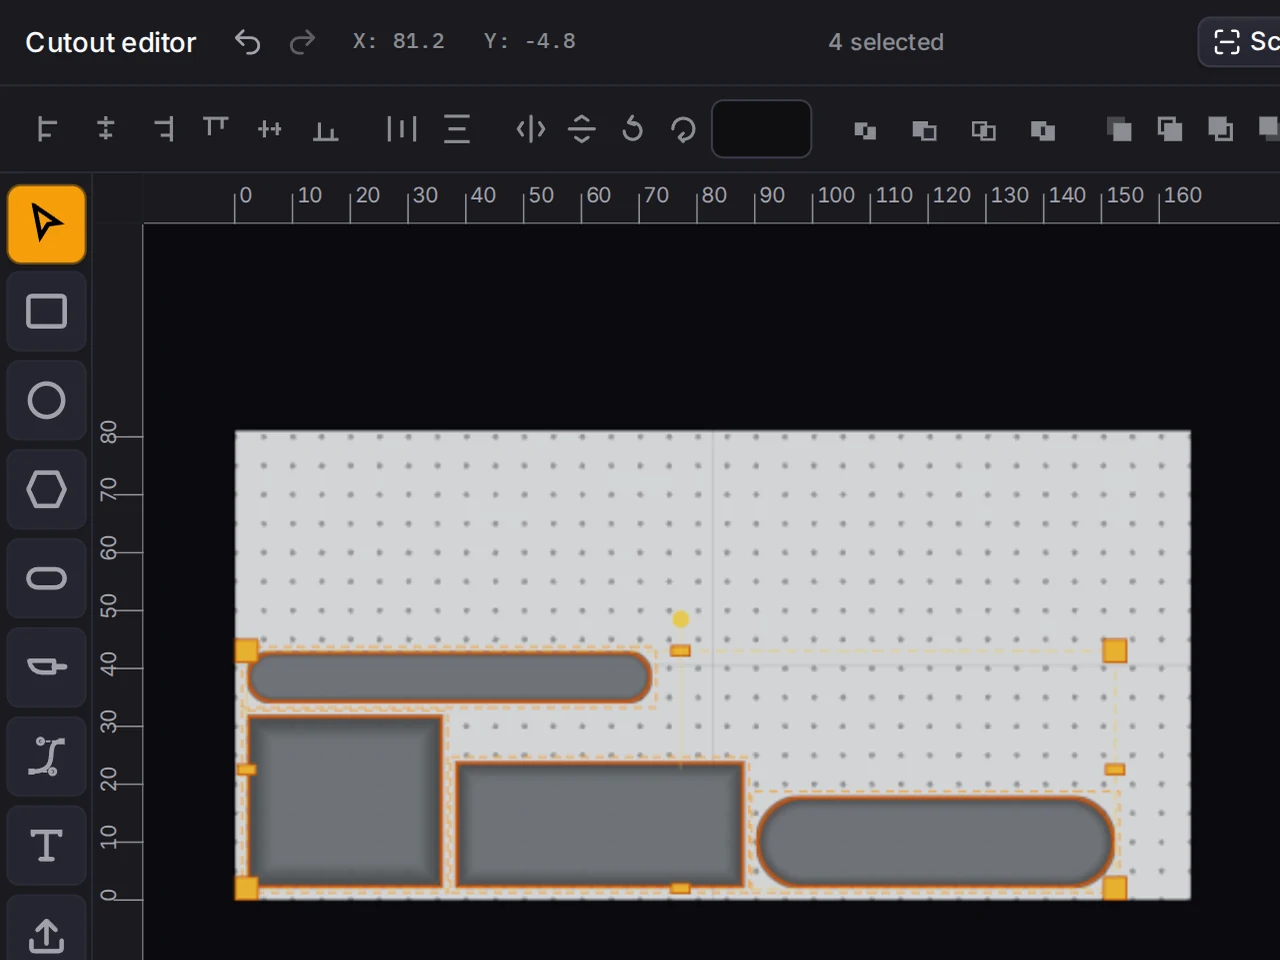
Turn shapes to fit is on at the start. It turns each shape to take the least room, so a tool traced at an angle lies square. Groups move as one and keep their angle.
Bring back a cutout that is off the board
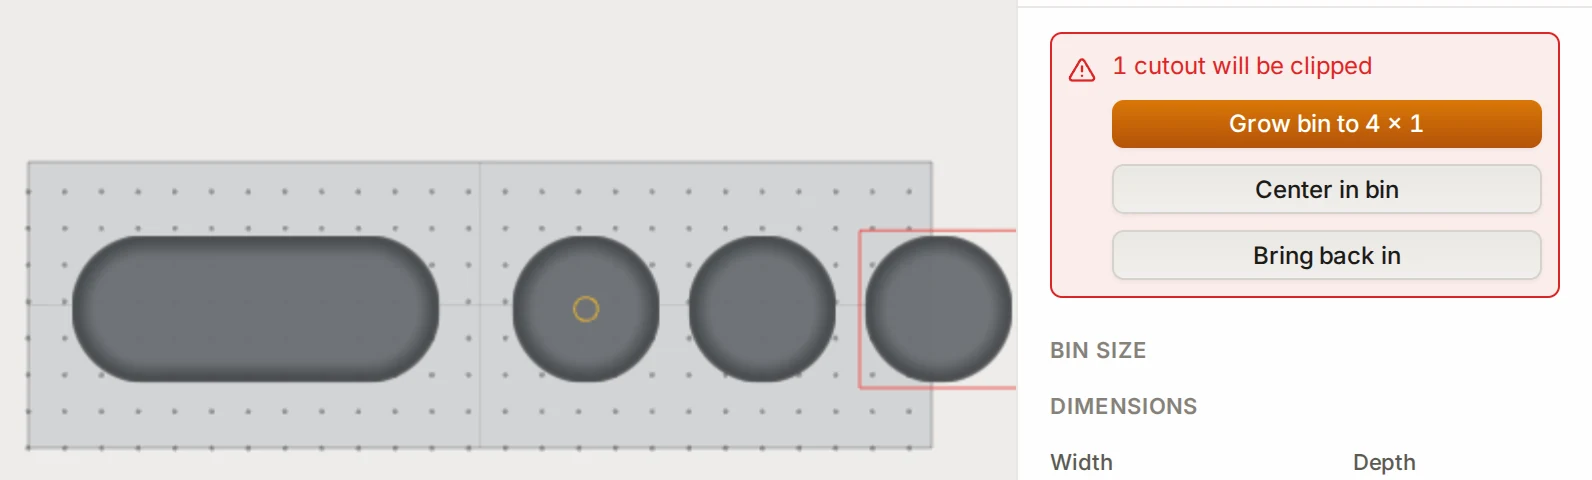
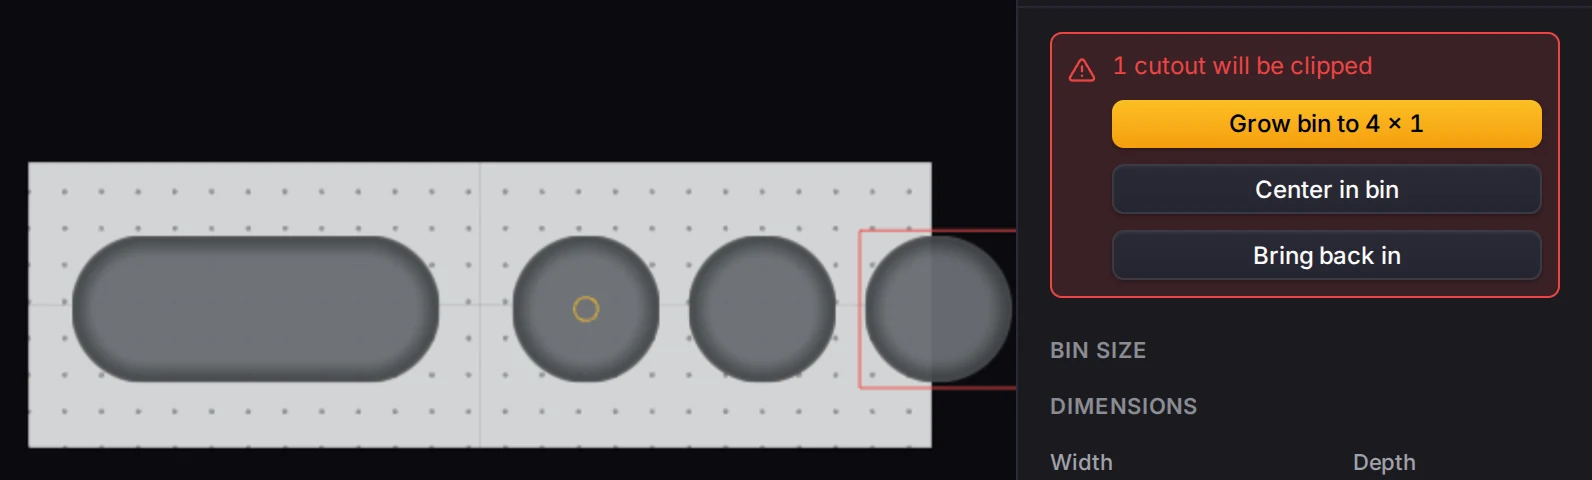
When a cutout goes past the edge of the bin, a warning shows how many cutouts the bin will clip. It offers up to three ways out:
- A button that makes the bin larger to fit the cutouts. It names the new size.
- Center in bin moves the cutouts to the middle. It shows only when they fit in the bin.
- Bring back in moves each cutout back inside the edge.
Measure on the board
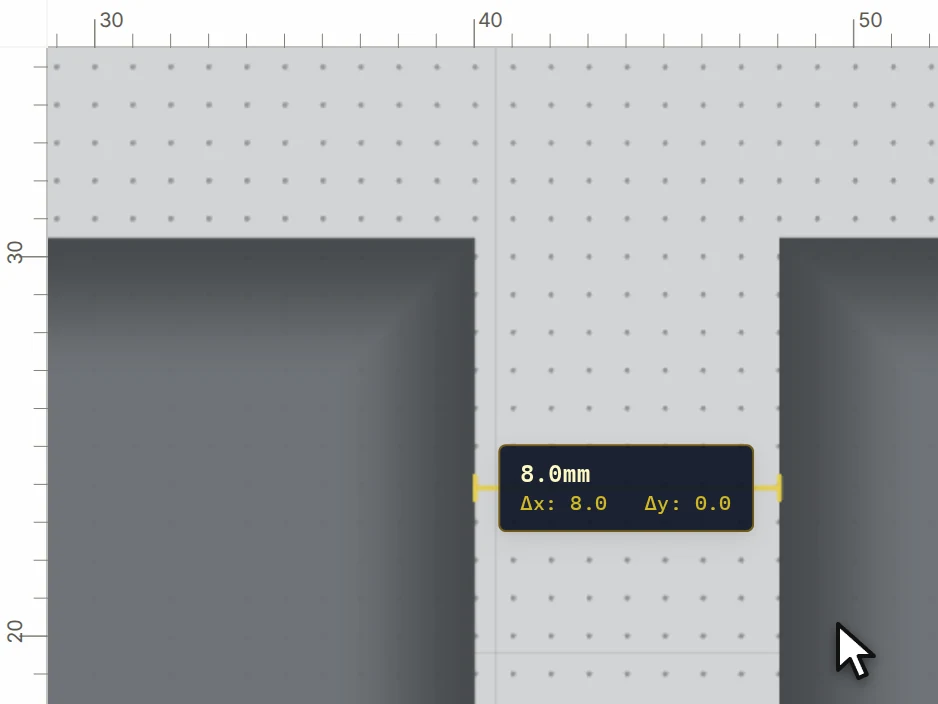
Click Ruler (M) and drag between two points. For a quick measurement with the select tool, hold Shift and drag. The ruler snaps to corners, edge midpoints, centers and edges, and to the grid when snap is on. The rulers on the top and left edges of the board show millimeters. To measure the 3D model, use Measure in the preview.
When it goes wrong
A repeat won't take another row or column
Move the cutout away from the edge that it is near, or lower the pitch. Then click Fill bin again, or type the count.
The copies go toward the far edges of the bin. A cutout near a far edge leaves no room for the next copy, so the count stops, and a note under the settings says so.
You can't repeat a cutout
Repeat then shows a message in place of its settings. The message gives the reason. Here's what each one asks of you:
| What the cutout is | What to do |
|---|---|
| One part of a group | Click the group on the board to select all of it, then repeat it. |
| A group with a repeat inside it | Remove that inner repeat first. |
| A pen shape, a scan or a trace | Leave it as one cutout. These outlines can't repeat. |
| A group that holds a pen shape, scan or trace | The group can't repeat either. |
A group cuts nothing
Click the Union icon in the toolbar under the editor header, or move the shapes until they overlap.
The other three ways to combine shapes can leave no area to cut. Intersect cuts only where all shapes overlap, so shapes apart from each other leave nothing. A message tells you when the result is empty.
Next steps
- Import SVG and STL shapes: bring in outlines and models to arrange.
- Check before you print: find cutouts that sit too close together.
- Trace a photo: add real tools from a photo.