
Trace a photo
Got a photo of your tools? The Gridfinity Layout Tool finds the outline of each tool in it and turns each one into a cutout that fits. Use this page when the photo is already on your computer. To take a new photo with your phone, see Scan with your phone. Either way, the photo never leaves your device.
Open Trace a photo
- Open the cutout editor. See Cutout basics.
- Click Scan a tool in the editor header, then From a photo on this computer.
- Drop a photo on the window, or click Choose a photo.
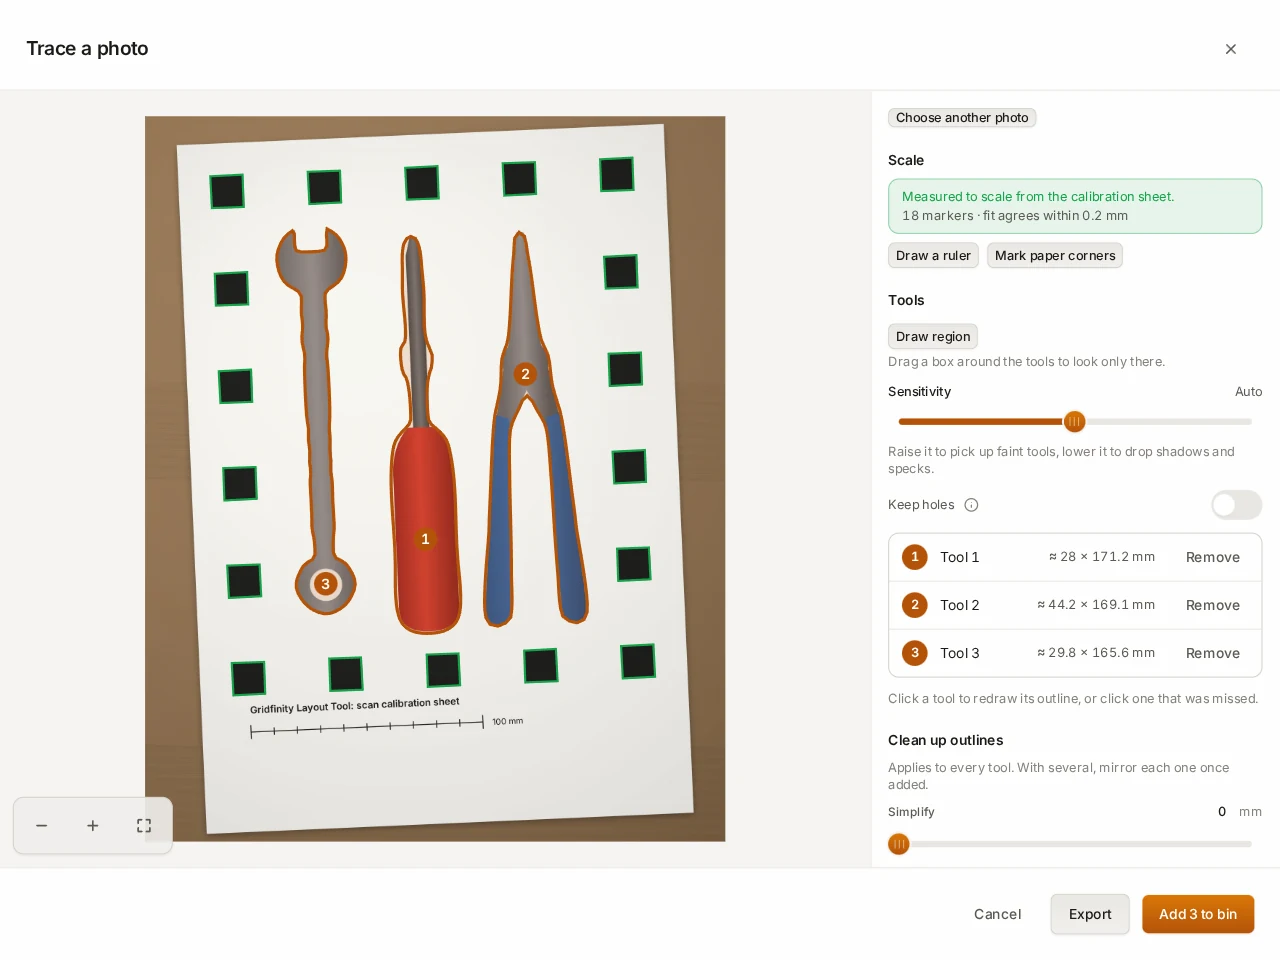
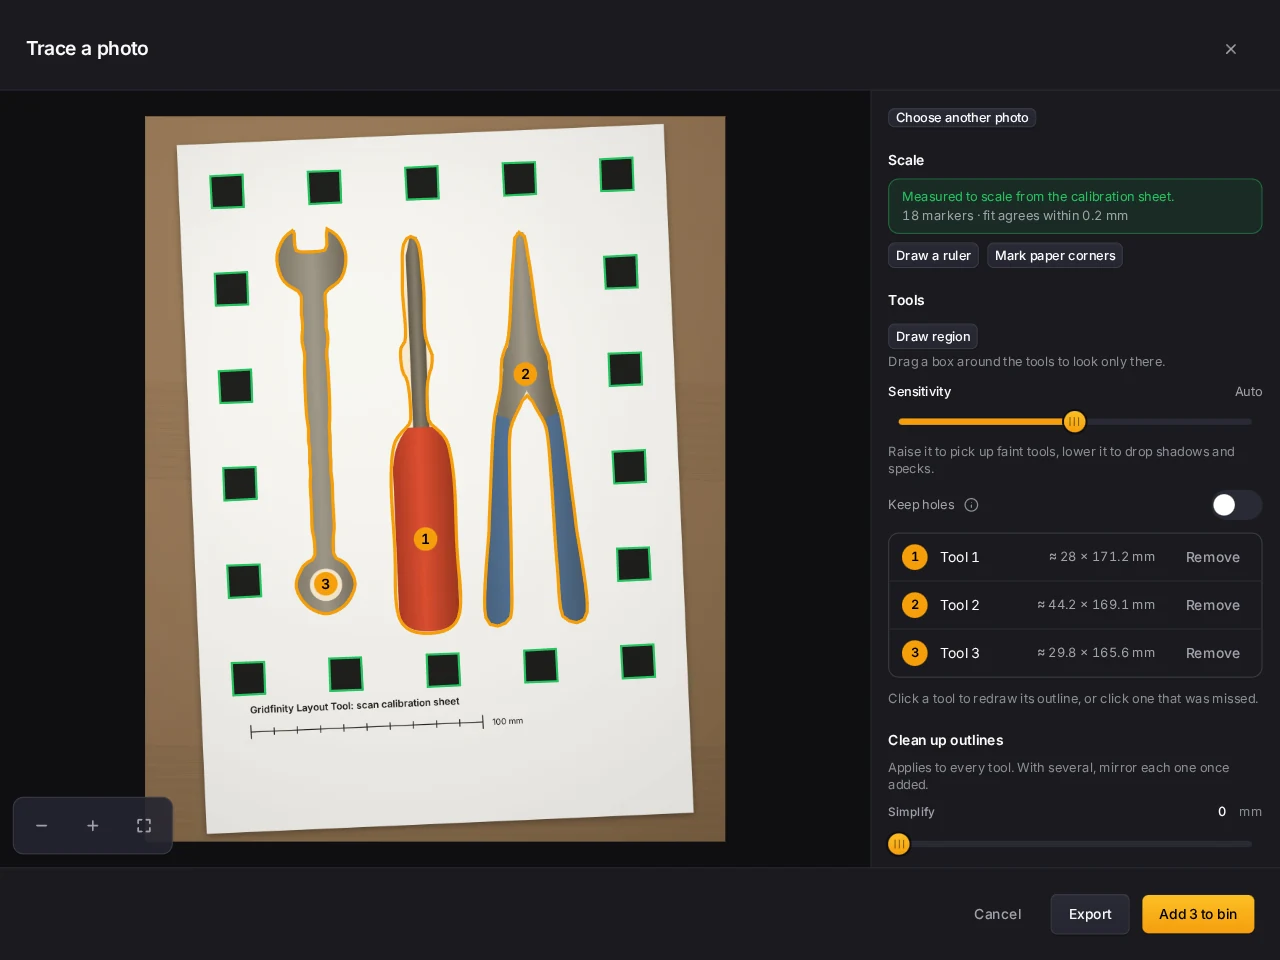
Shortcut: drop a photo straight on the board, or paste one with Ctrl+V. Trace a photo then opens with that photo.
Take a photo that traces well
A good photo saves you cleanup later.
- Lay the tools on a plain surface, with a gap between each tool.
- Take the photo from straight above, from as high as you can reach, and zoom in. A thick tool then looks less large.
- Put a size reference in the photo: a plain sheet of A4 or US Letter paper under the tools, a bank card, the printed calibration sheet, a Gridfinity baseplate or a measuring strip. Scan with your phone tells you how to place each one.
Set the scale
When the photo has a size reference, the Layout Tool finds it and sets the scale for you. The Scale section tells you which reference it used.
When a plain sheet of paper sets the scale, the section also shows the paper size. Pick the other size if it is wrong, or pick Not paper if the outlined shape isn't a sheet of paper.
No reference in the photo? Set the scale yourself with one of these:
- Draw a ruler: click both ends of something with a known length. Type it in Length (mm) and click Set scale.
- Mark paper corners: pick A4 or US Letter, then click the four corners of the sheet. The Layout Tool then looks for tools only on the sheet.
To move a ruler end or a corner, drag it. While you place a point, a magnifier shows the area under it close up.
WARNING
If the photo shows the sheet at a steep angle, take the photo again from above, or draw a ruler. At a steep angle, the long and short sides of the sheet look alike.
Pick the tools
The Tools section lists each tool that the Layout Tool finds. If the list isn't right yet, you can fix it here:
- Click a tool in the photo to draw its outline again, or to add a tool that it missed.
- Remove a tool that you don't want.
- Click Draw region and drag a box around the tools to look only in that area.
- Move Sensitivity up to find faint tools, or down to drop shadows and specks. Auto lets the Layout Tool choose.
When the outlines look right, click the add button to put the tools in the bin. For one tool, it reads Add to bin. Several tools come in as one group, so you can move them as a block. The editor then asks how thick each tool is. See Set the tool thickness.
Keep holes as islands
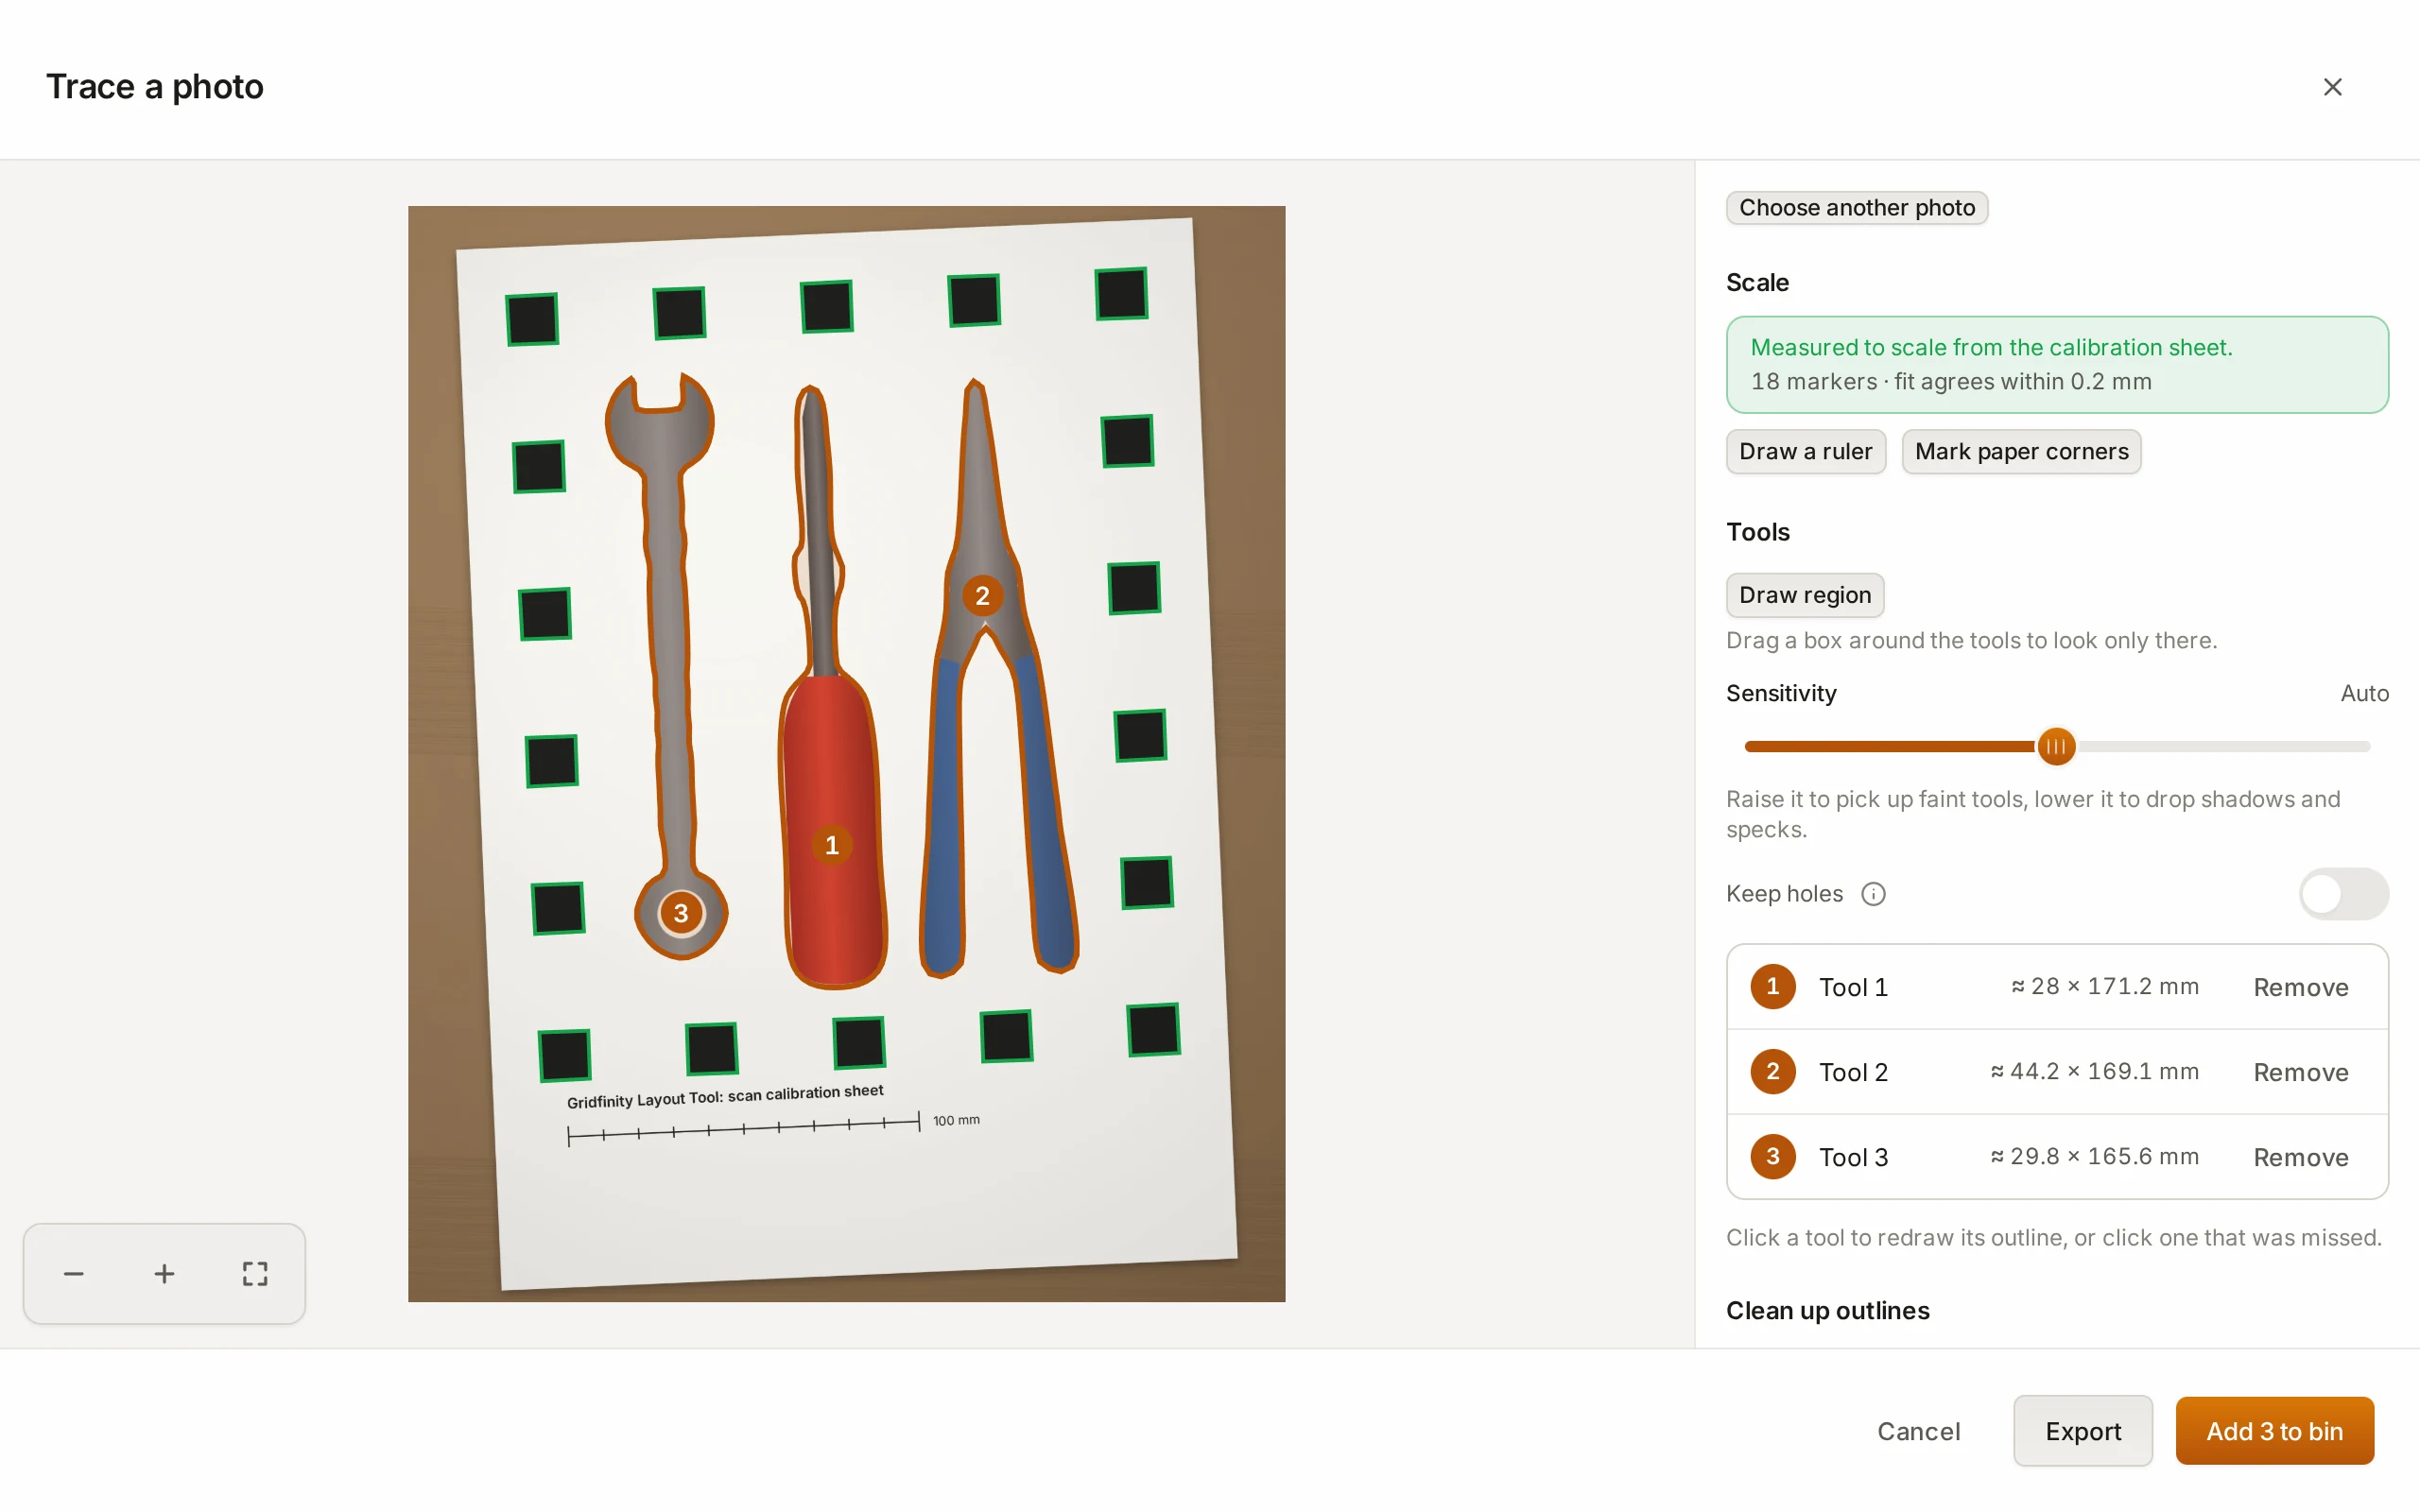
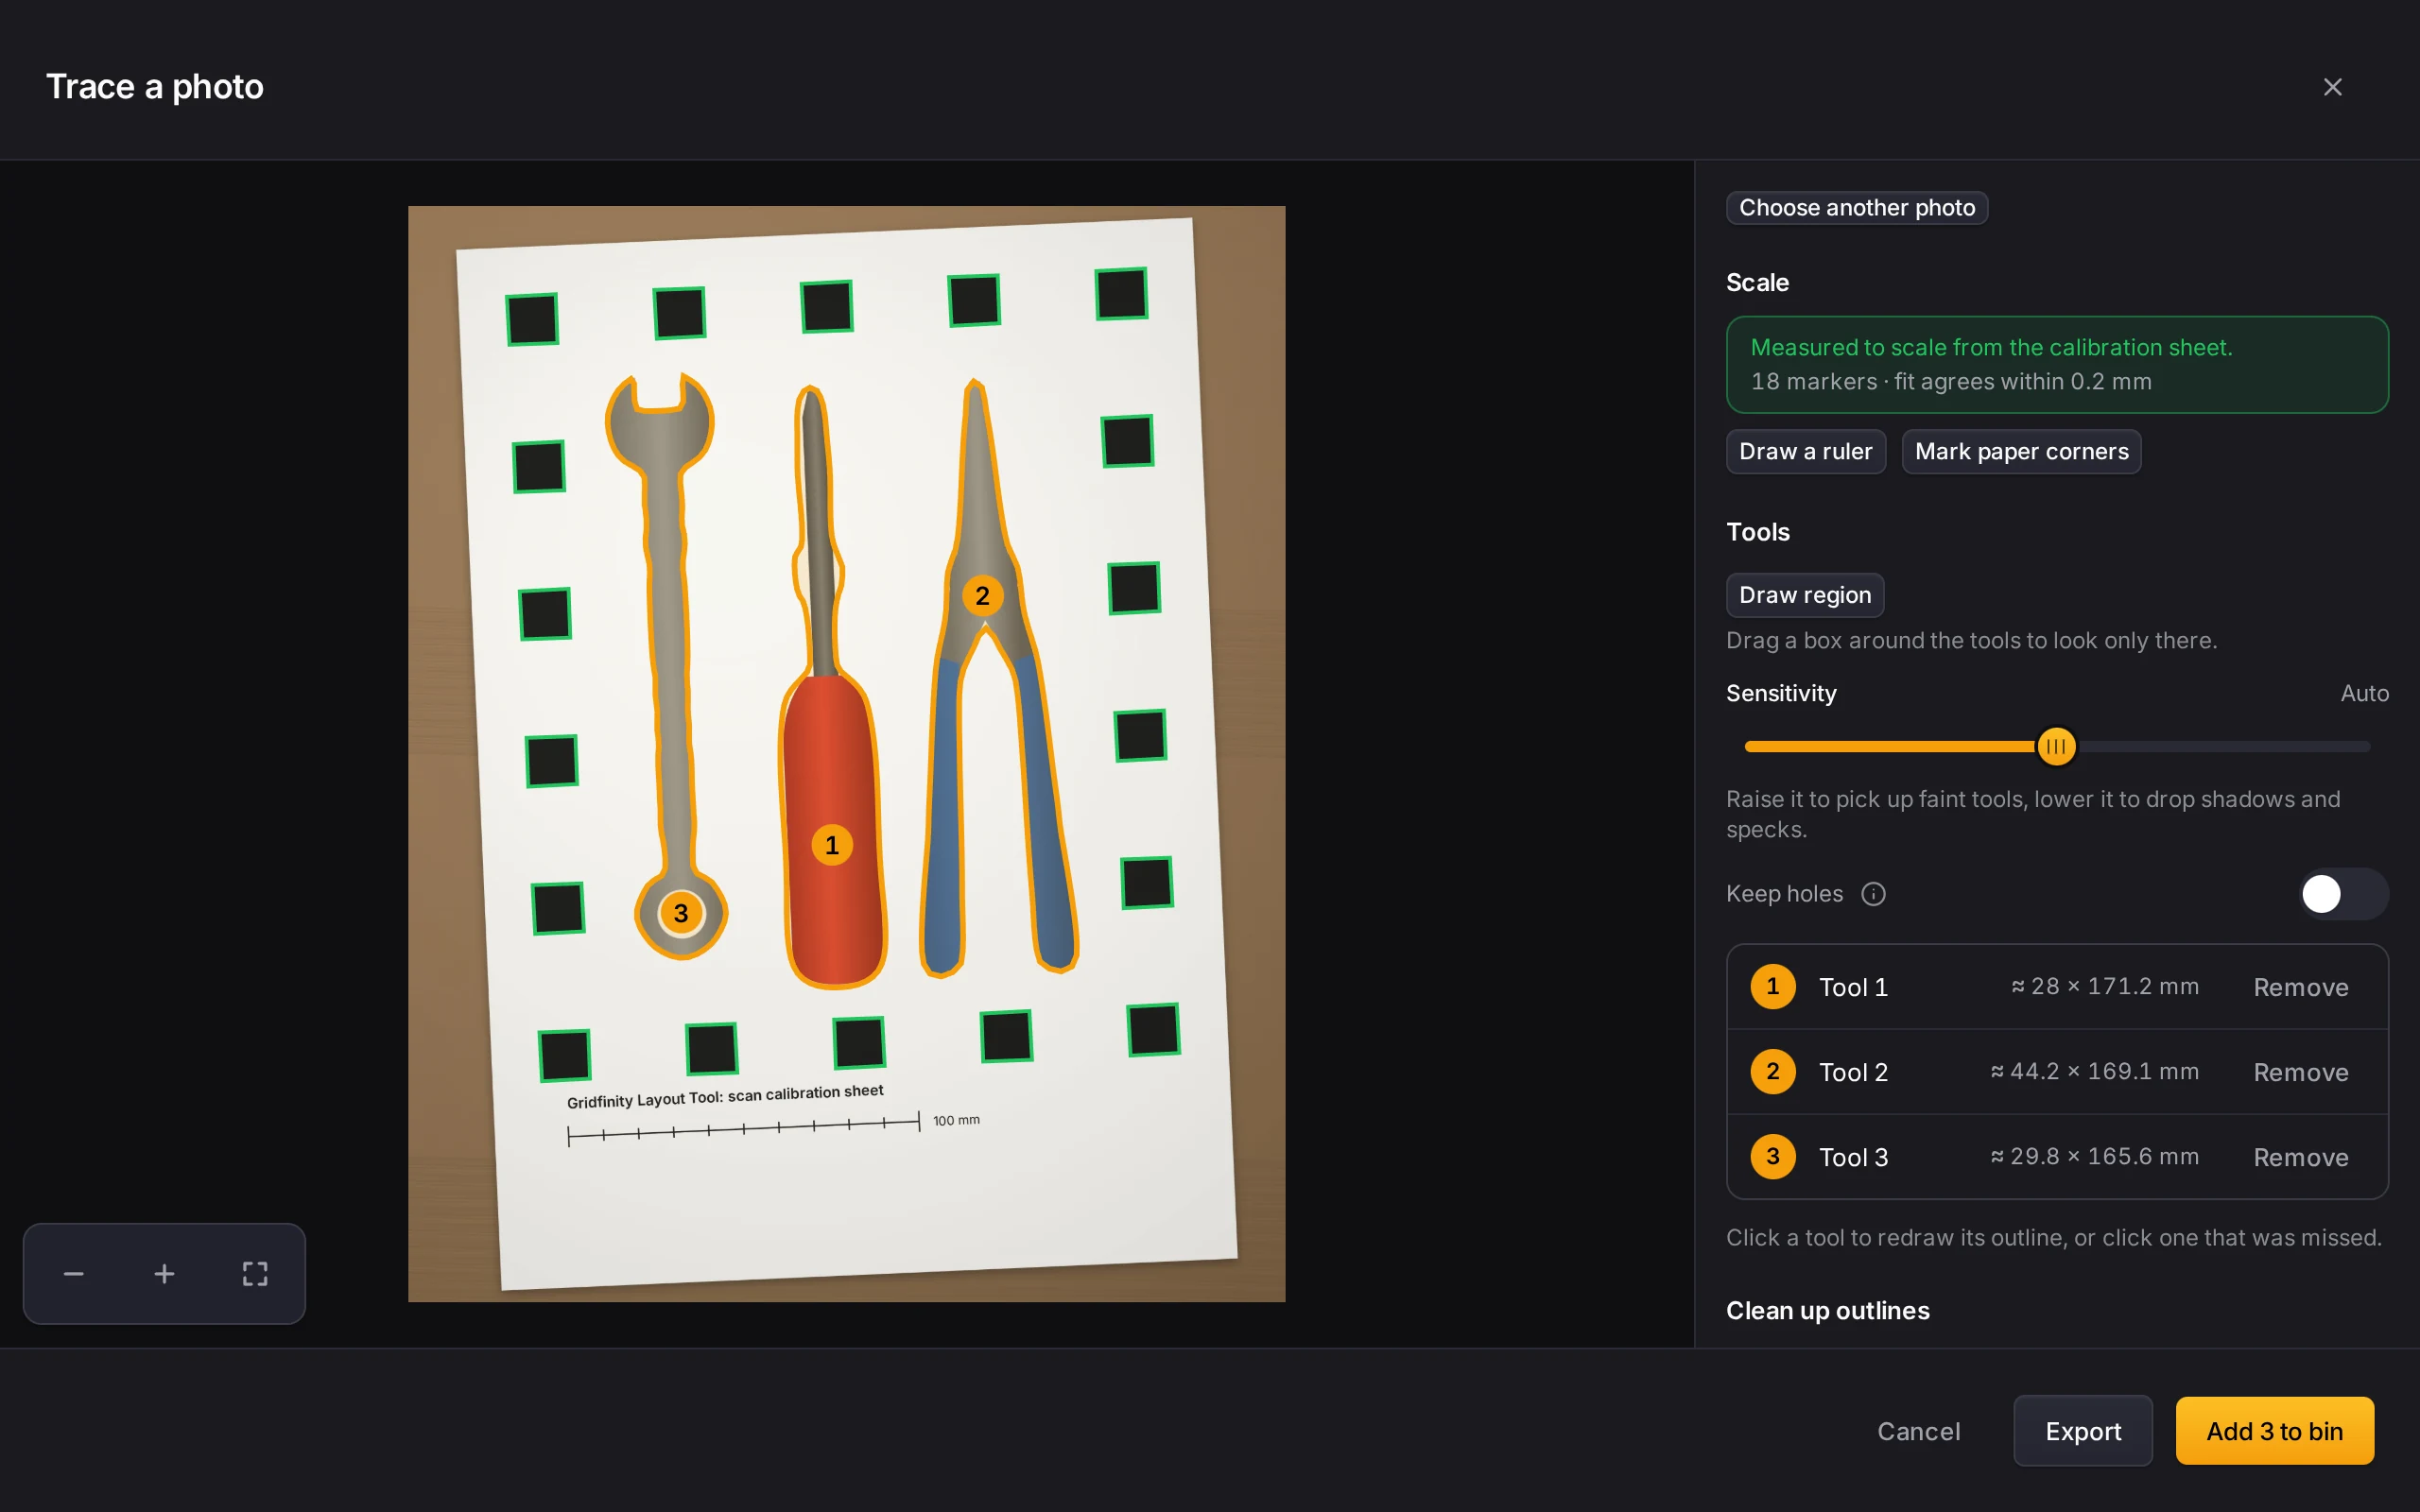
Some tools have holes, such as the ring of a spanner. Turn on Keep holes to keep plastic in each hole. This plastic is an island: it stays at full height inside the cutout, and the tool sits around it. A tool that lies inside a hole comes in as a separate tool.
Keep holes is off at the start, because a shiny reflection can look like a hole.
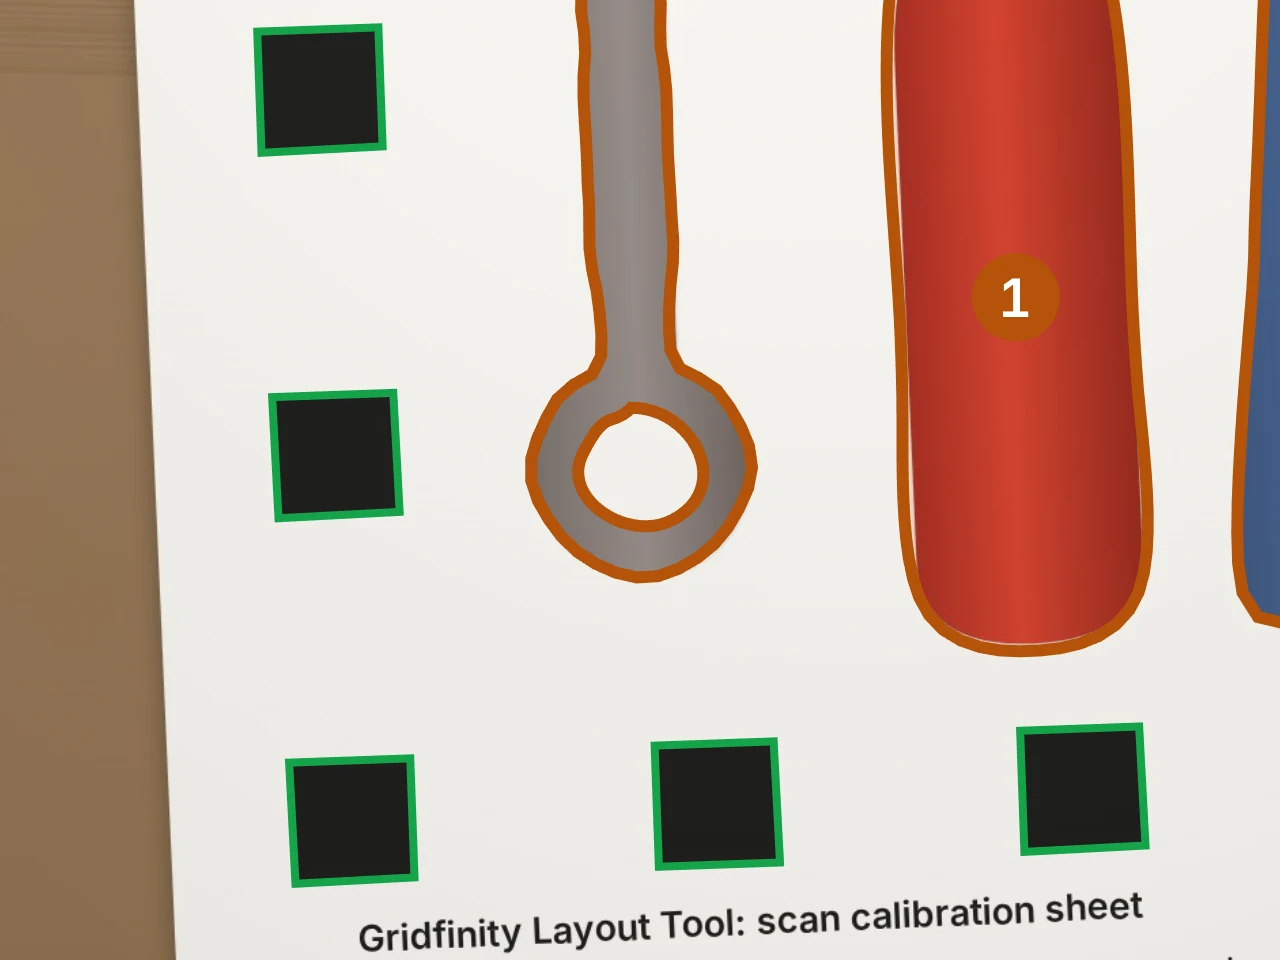
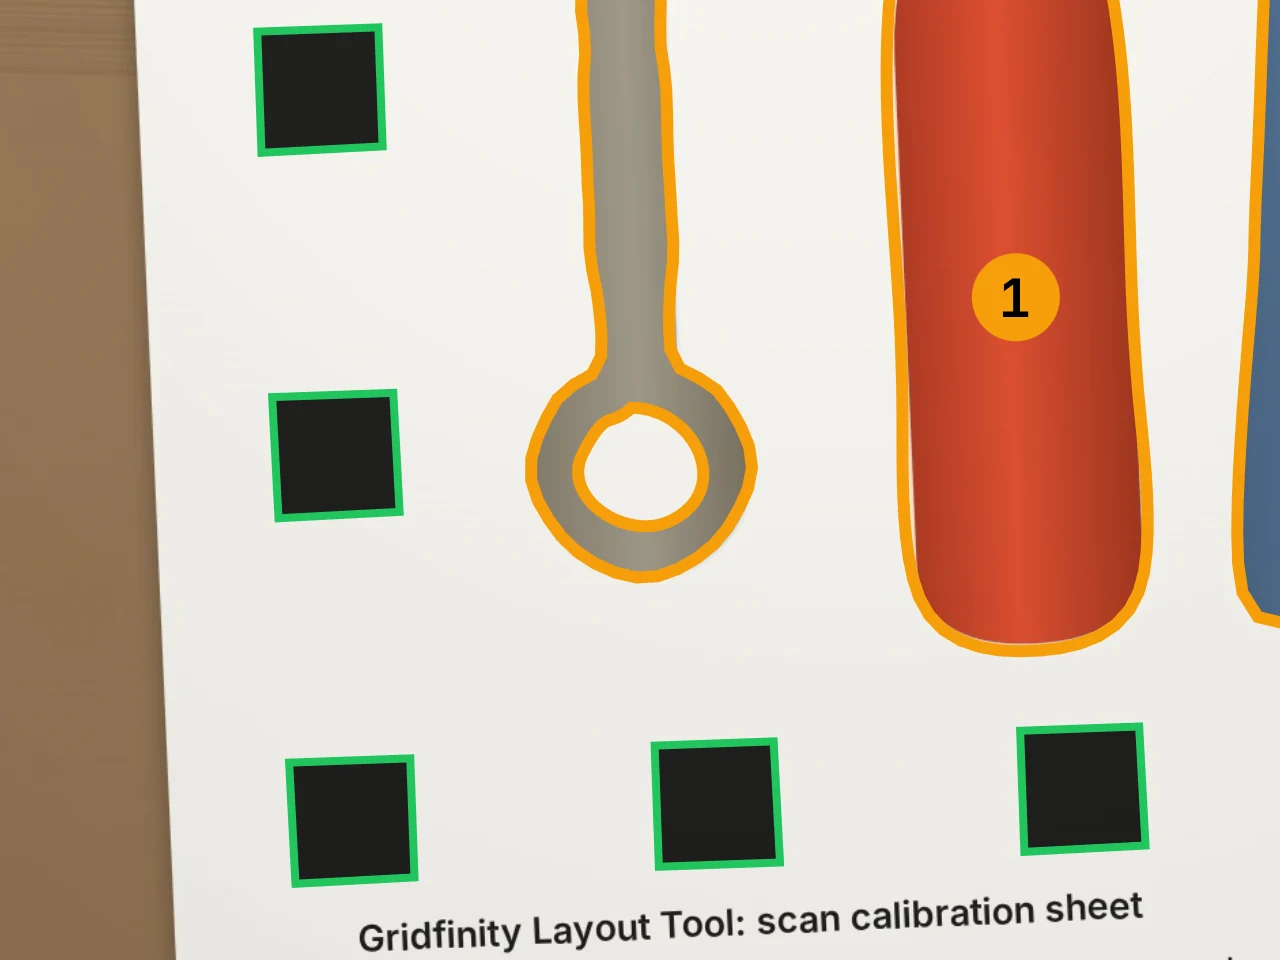
In the bin, the clearance makes each island smaller, and the entry edge runs around it. A cutout keeps up to 64 islands. When an island gets too thin to print, Pocket checks shows a warning with Remove thin islands.
Tidy up an outline
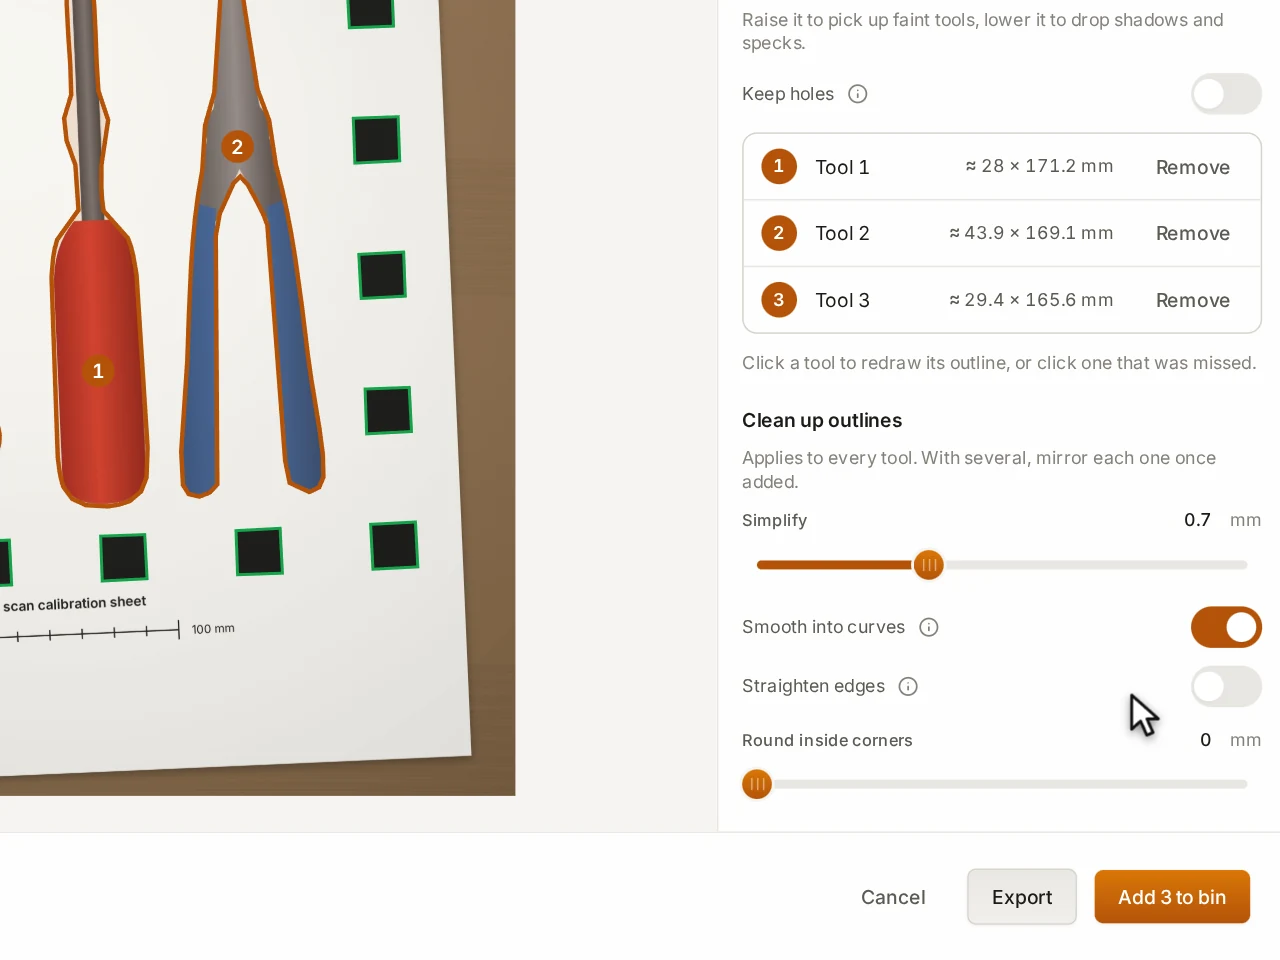
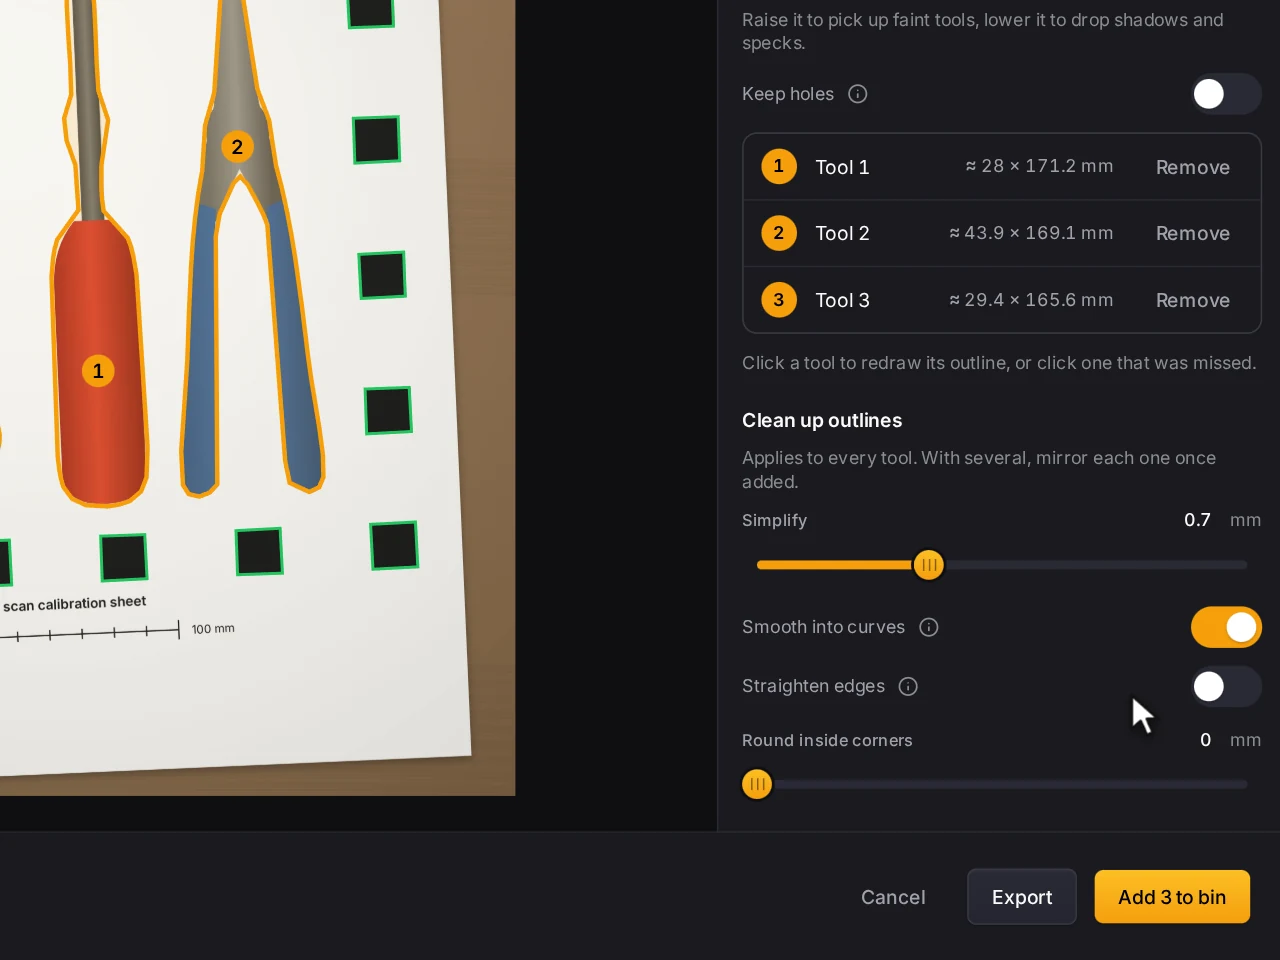
A traced outline can come out a little lumpy. Before you add the tools, Clean up outlines changes every outline in the photo. After you add them, select one traced or drawn outline in the cutout editor and open Outline:
| Setting | What it does |
|---|---|
| Simplify | Fits the outline with fewer points. A higher value gives a simpler outline. |
| Smooth into curves | Changes many short straight steps into smooth curves with handles. |
| Straighten edges | Makes edges that are almost square to the bin fully square. |
| Mirror | Makes the outline the same on both sides of a Mirror line. Keep picks one half, or the average of both. |
| Round inside corners | Rounds the inside corners of the outline. |
Feel free to experiment. Each change starts from the outline that you had when you opened the section, so you can move a slider back and forth. Reset outline puts the outline back. With several tools in one photo, mirror each tool after you add it.
Edit points up close
For a precise fix, move the points yourself:
- Double-click a traced or drawn outline.
- Drag a point or a curve handle to move it. Click an edge to add a point. To remove a point, select it and press Delete.
- Press Esc when you finish.
The points of the islands are editable too. While you drag a point, a magnifier in the corner shows it close up, so it lands right on the edge.
Save traced tools as a file
Need the outline for something other than a bin? In Trace a photo, click Export and pick a File format:
| Format | Use it for |
|---|---|
| SVG or DXF | A laser cutter, a vinyl cutter or a vector app. |
| STL | A solid to subtract from a model in your CAD app. Set its Thickness, which starts at 10 mm. |
The outlines are at true size. Tick the clearance box to add 0.4 mm on each side, the same room that a cutout leaves around the tool. On a phone, Download on the review screen does the same.
When it goes wrong
The add button stays gray
Set the scale first. Click Draw a ruler and mark something of known length. Or click Mark paper corners and mark the four corners of the sheet.
Without a size reference, the Layout Tool can't tell how big the tools are. So it adds nothing to the bin, and a note beside the buttons asks you to set the scale.
Tools are missing, or a shadow counts as a tool
Click each missing tool in the photo. To leave out the clutter, click Draw region and drag a box around the tools. Then move Sensitivity up for faint tools, or down to drop shadows and specks.
The Layout Tool finds a tool by how its color differs from the surface. A tool in a color close to the surface can stay hidden, and a dark shadow can look like a tool.
The paper corners don't make a sheet
Drag each corner point onto a corner of the paper. Does the message say that the long and short sides look alike? Then take the photo again from straight above, or draw a ruler.
The four corners set the scale from the known size of an A4 or US Letter sheet. At a steep angle, the long side and the short side look almost the same length.
An outline setting has no effect
Move the slider back a little, or click Reset outline.
Some values don't leave one clean pocket, for example when the new outline would cross itself. The Layout Tool then keeps the outline as it was, and a message tells you so.
Next steps
- Scan with your phone: take the photo with your phone and send the outline to the computer.
- Arrange cutouts: pack the traced tools in the bin.
- Check before you print: print a fit test before the full bin.