
Design your first bin
Let's make a bin for screws, from a blank design to a file in your slicer. You'll set its size, split it into compartments, add a label tab so you know what's inside, and export it.
You can follow along with a new design, or with the design that you made from a bin in the layout editor.
Step 1: Open the bin designer
Click Bins in the tool switcher at the top left. You can also open the bin designer directly, or press Shift+D in the layout editor.
On your first visit, a card titled Design a custom bin explains how the bin designer works. Click Got it to close it, or make a change and it closes by itself. On a phone, the card does not show.
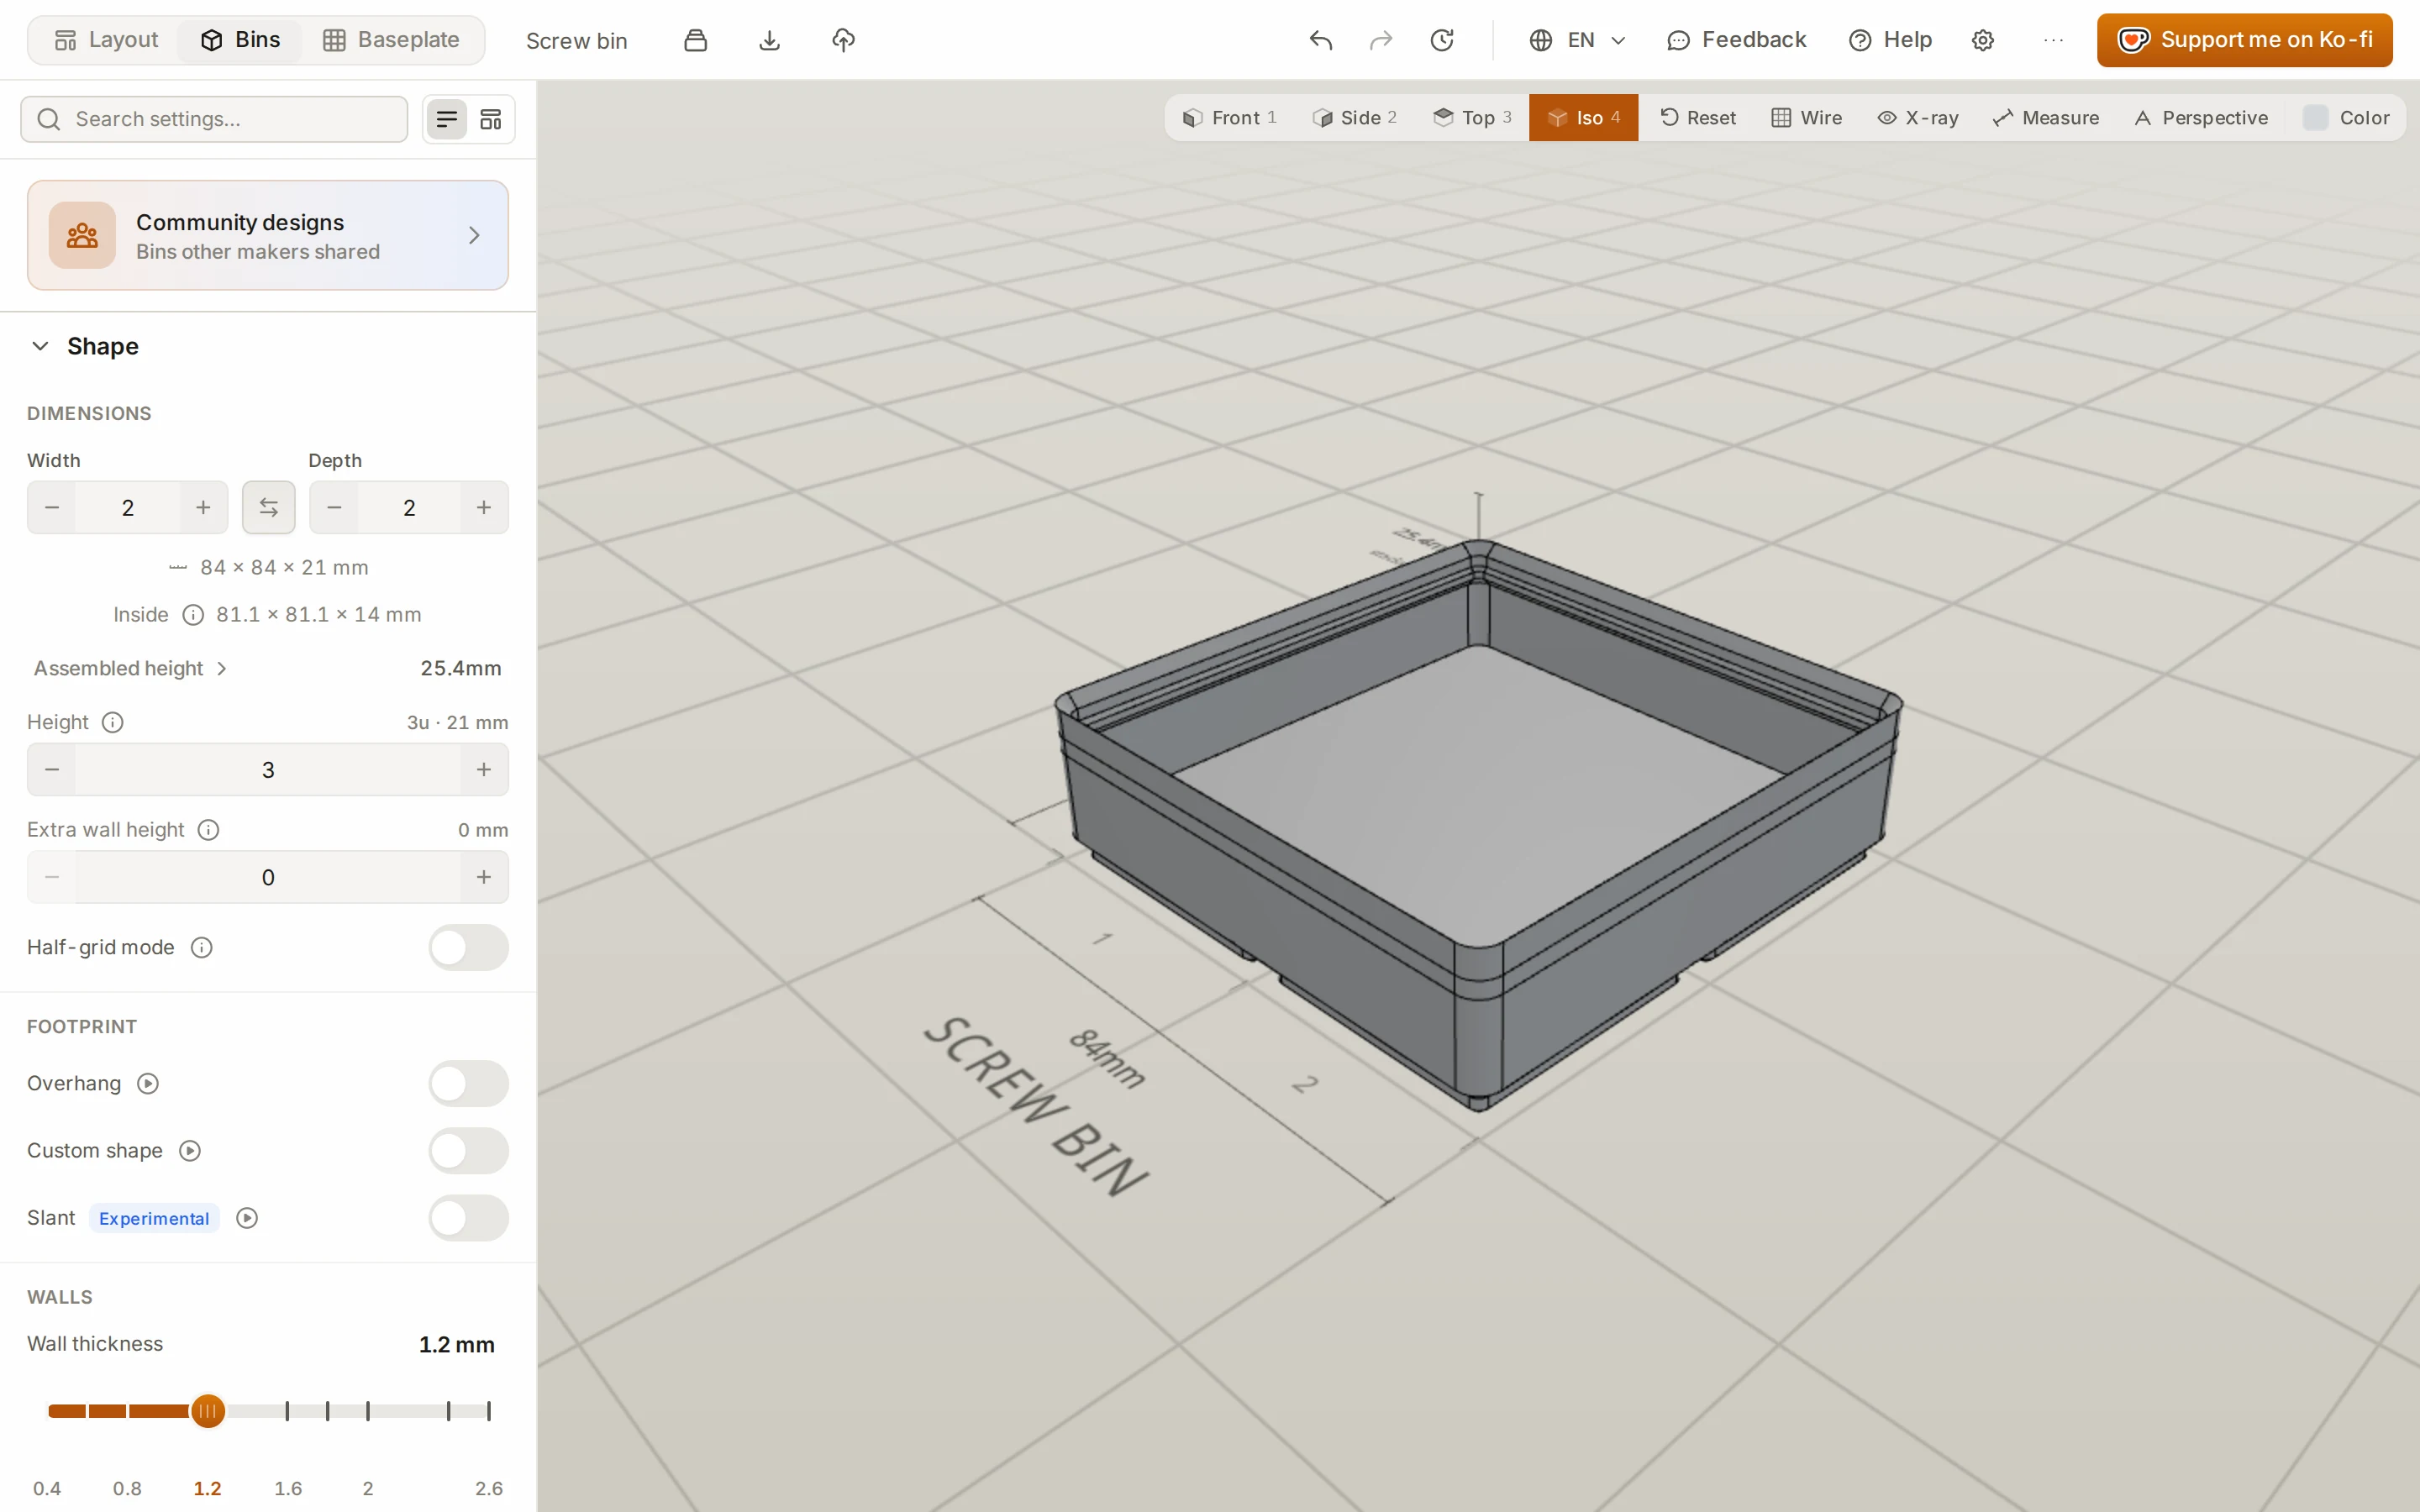
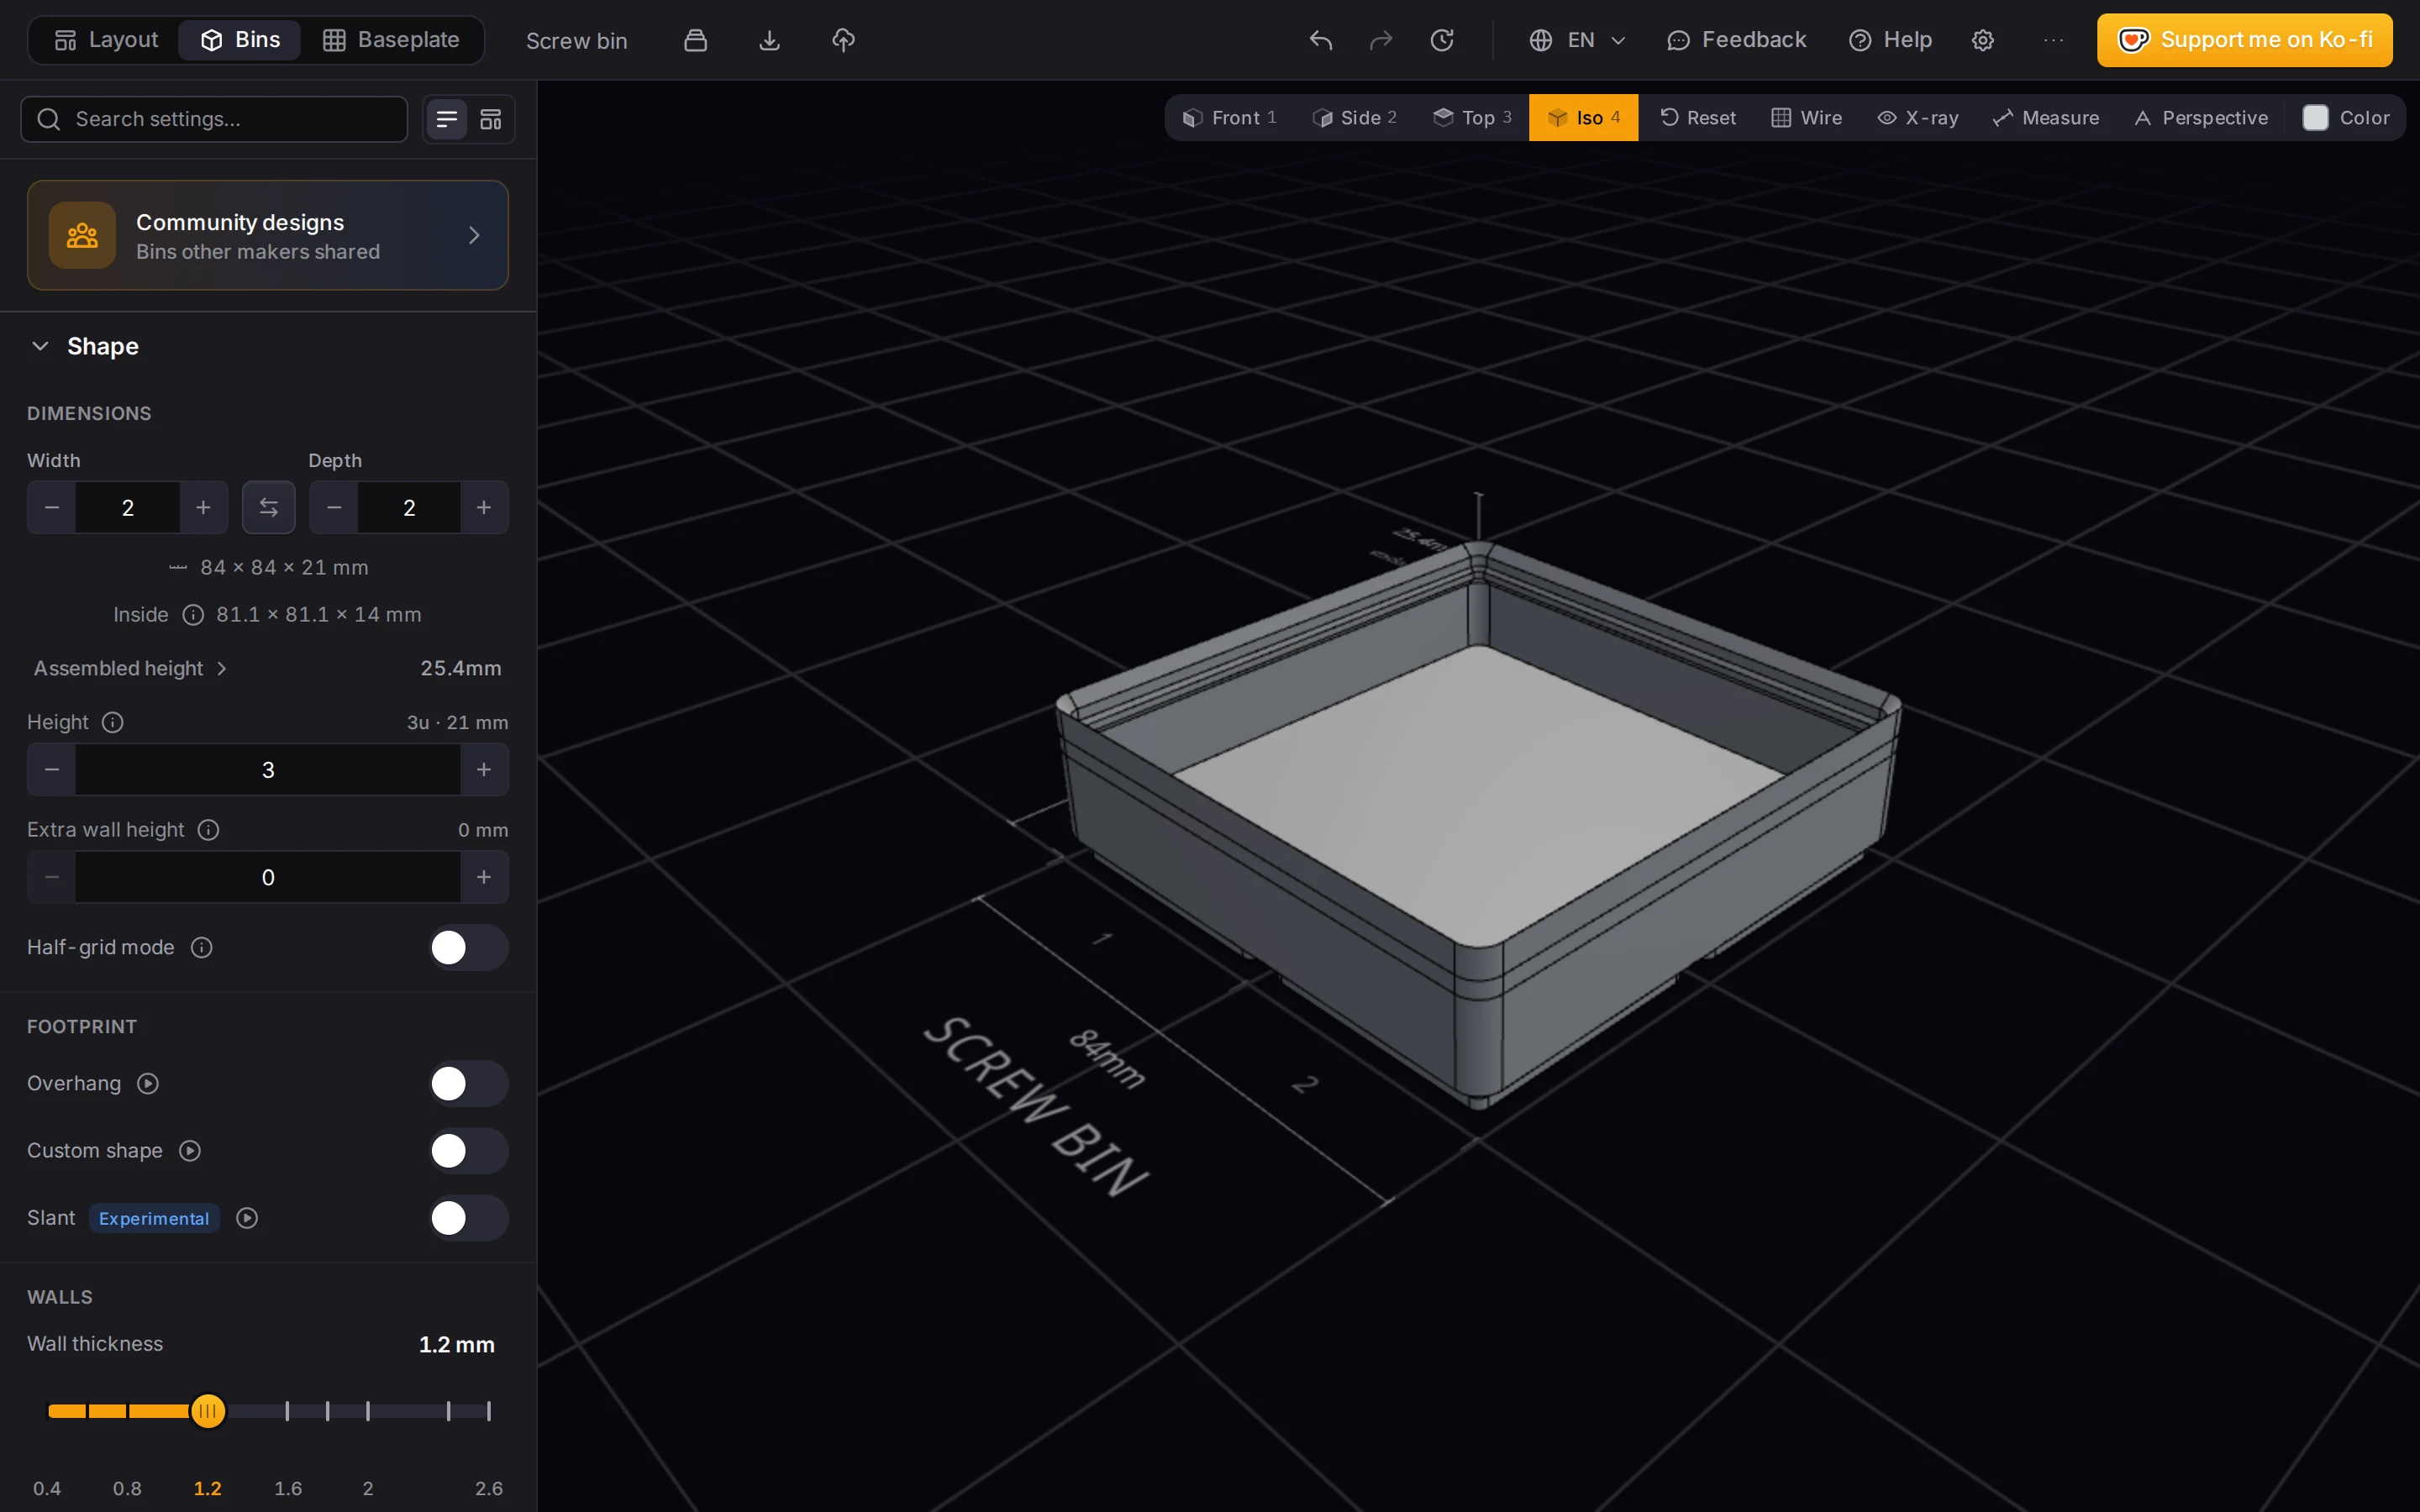
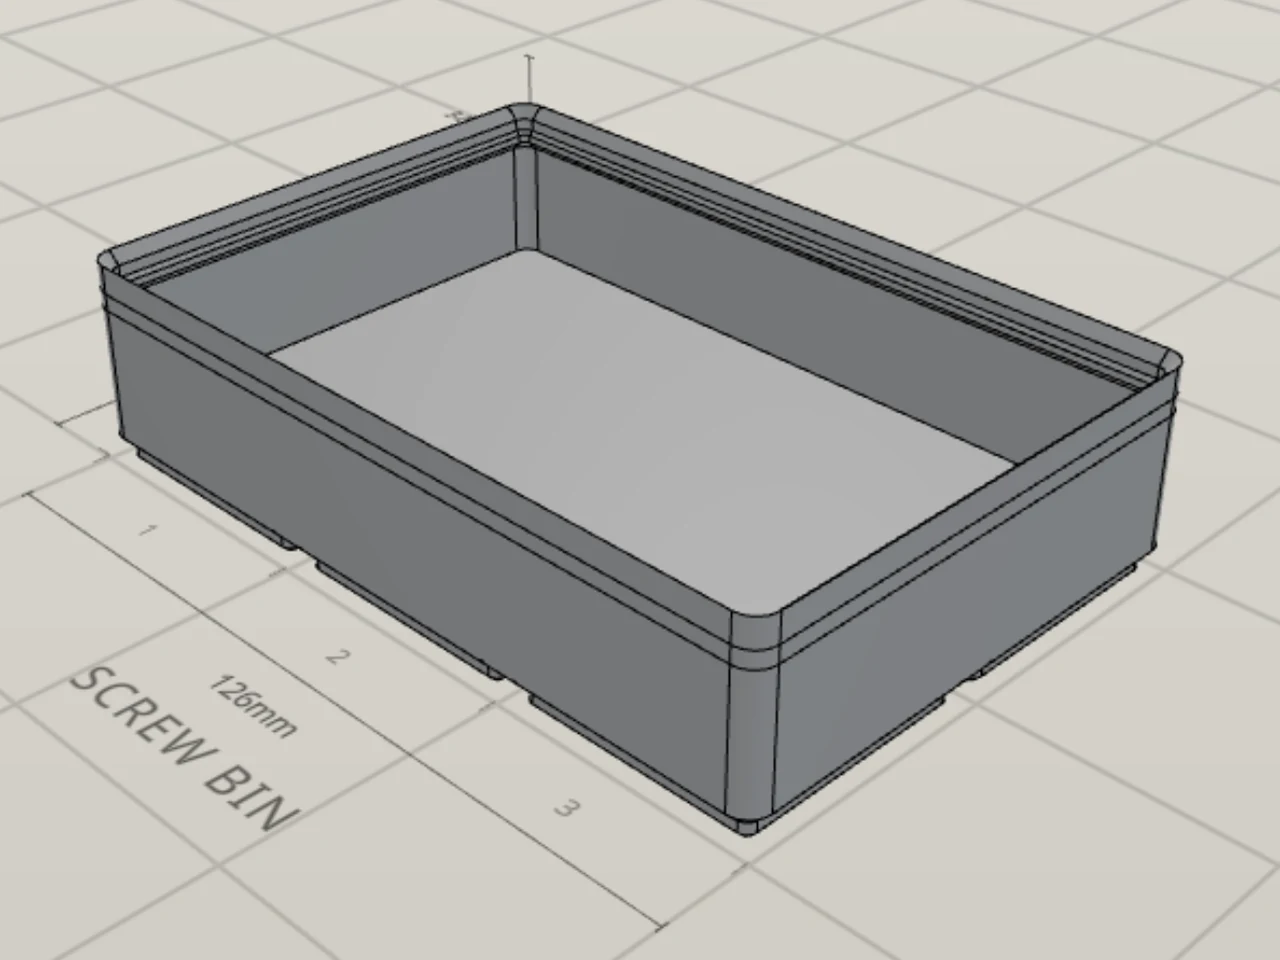
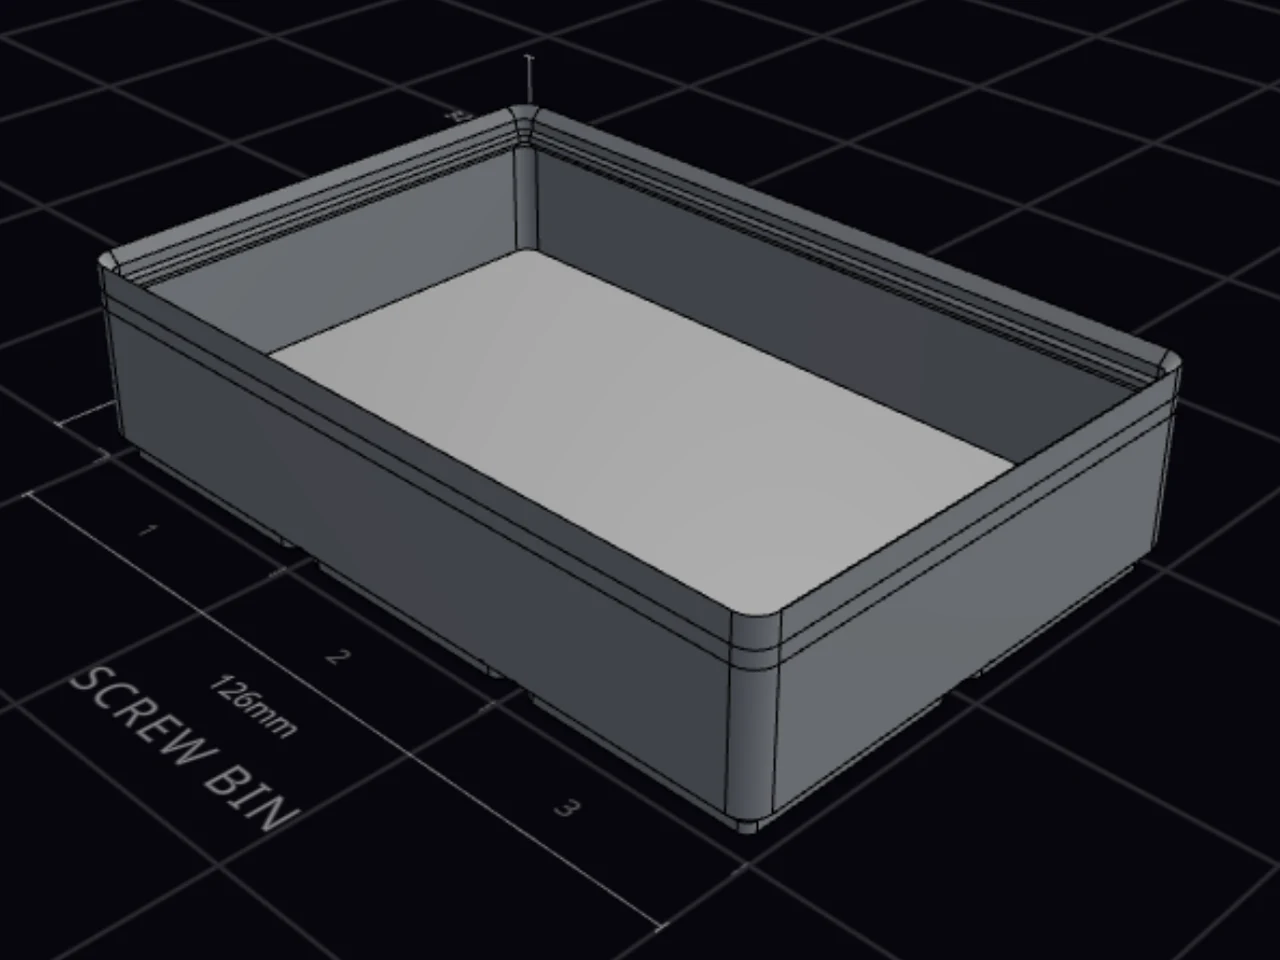
A new design starts as a bin that is 2 grid units wide, 2 grid units deep and 3 height units tall. The settings panel is on the left, and the 3D preview is on the right. The preview updates after each change, so you see what you get as you go.
Step 2: Name the design
The bin designer saves the design in your library, and it saves each change automatically. A name helps you find it later.
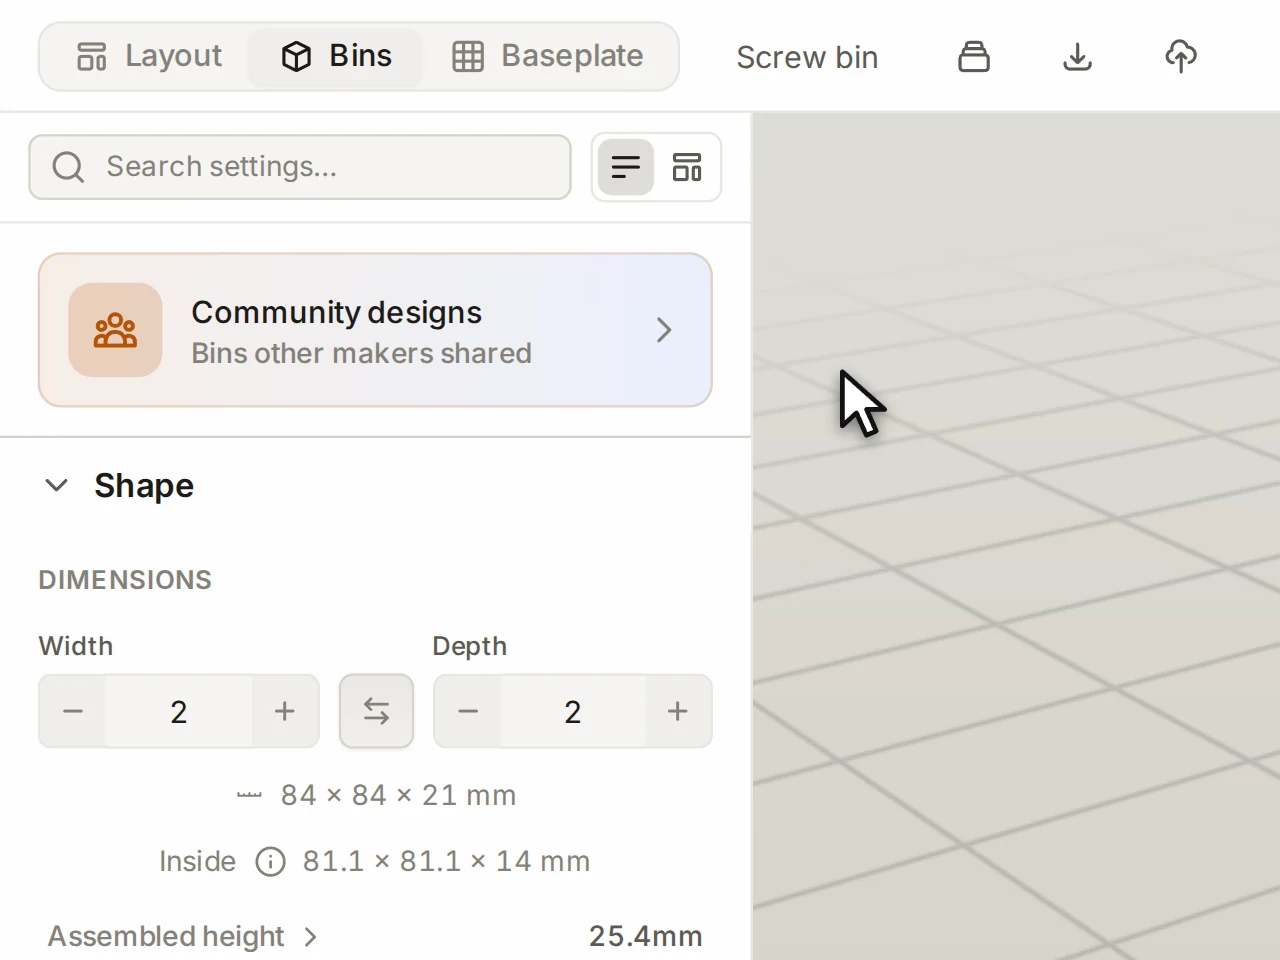
- Click the design name in the header.
- Type a new name, for example "Screw bin", and press Enter.
Step 3: Set the size
The size controls are at the top of the Shape group, under Dimensions.
- Set Width and Depth in grid units.
- Set Height in height units.
Below the steppers, you see the outside size of the bin in millimeters. The Inside line shows the room inside. To swap the width and the depth, click the arrow button between the two steppers.
TIP
A 1 × 1 bin is 42 × 42 mm, and each height unit adds 7 mm. Gridfinity in five minutes explains the units.
Step 4: Add compartments
Open the Interior group. A new design already uses the Grid dividers card, so you can go straight to the steppers. On another design, click that card first.
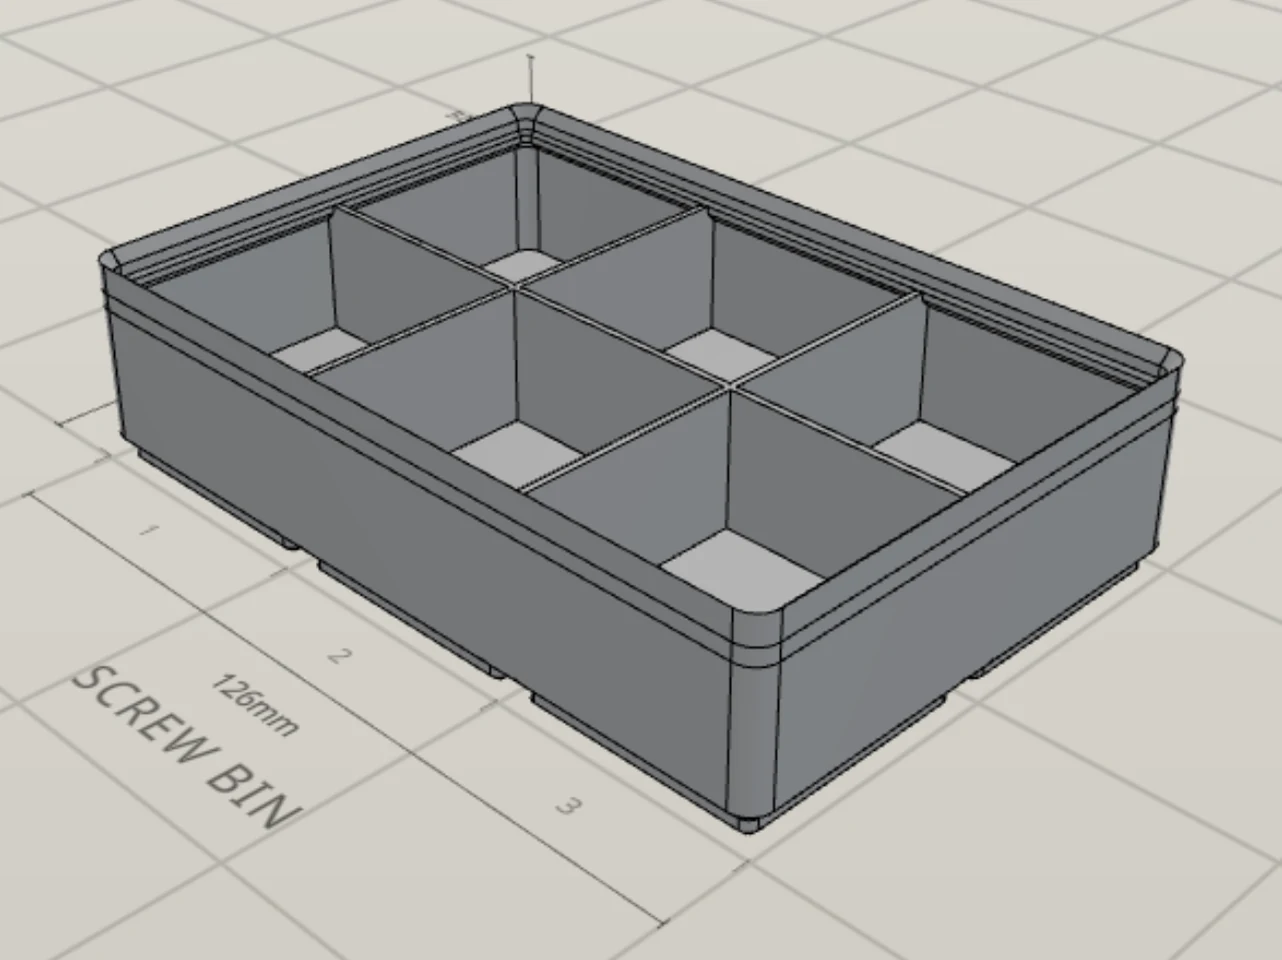
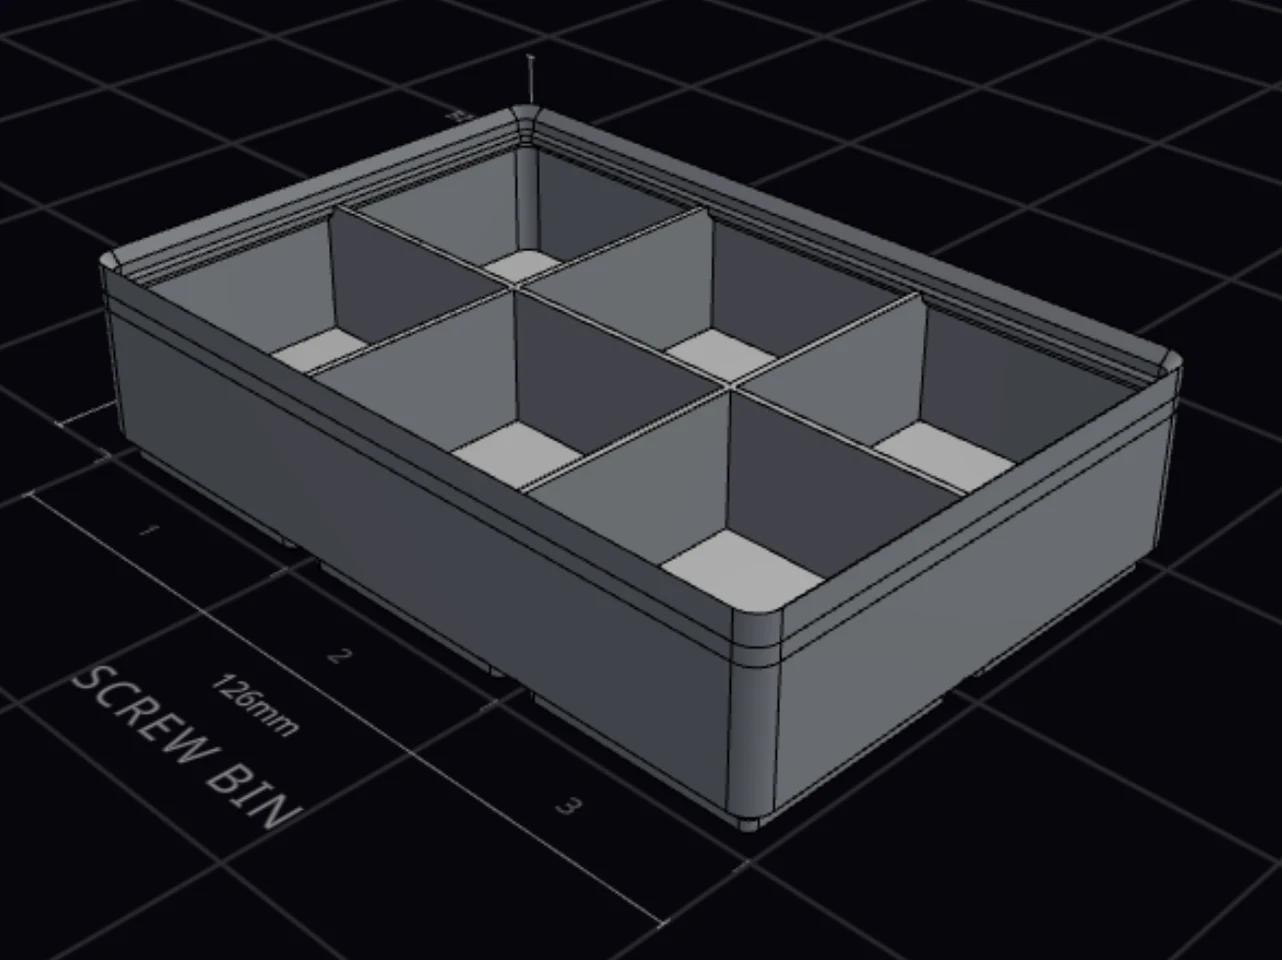
- Set Columns to the number of compartments from left to right.
- Set Rows to the number of compartments from front to back.
The bin designer adds walls between the compartments, and a line below the steppers shows the size of each compartment in millimeters. You can use up to 12 columns and 12 rows.
Step 5: Add a label tab
A label tab is a small shelf at the back of each compartment. It holds the name of what's inside, so you can read it at a glance.
- In the Interior group, turn on Label tabs.
- Under Label text, type a name in the field for each compartment, for example "M3" or "M4".
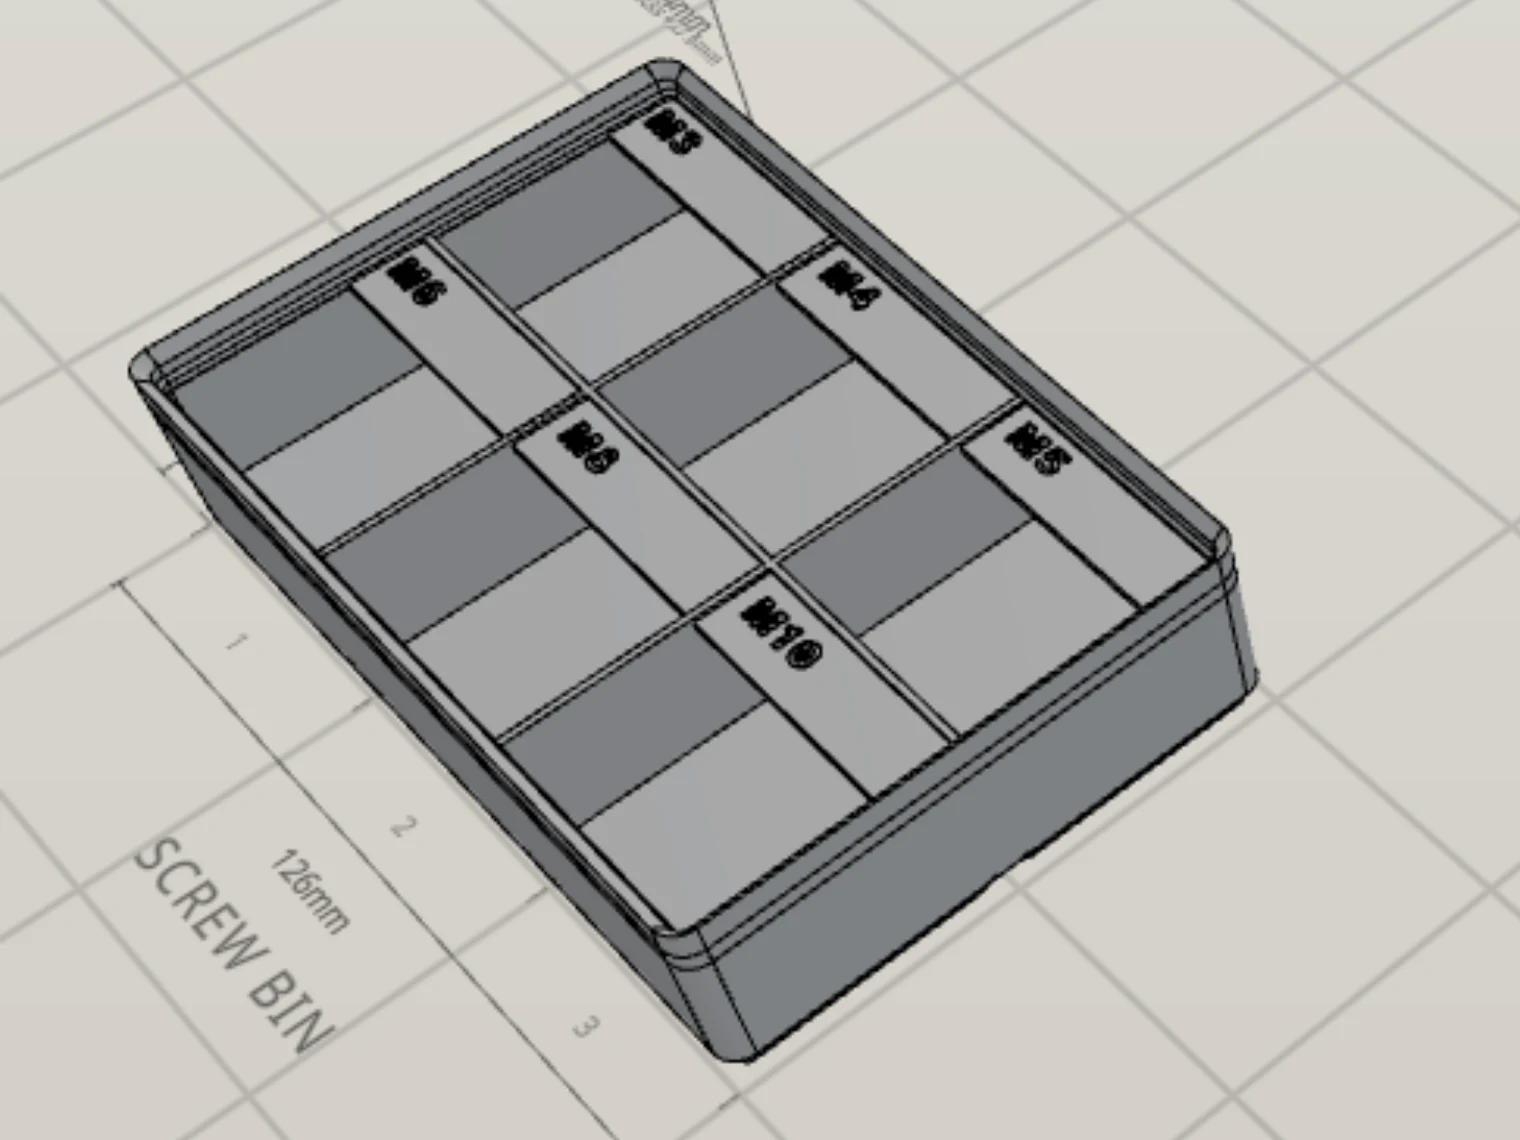
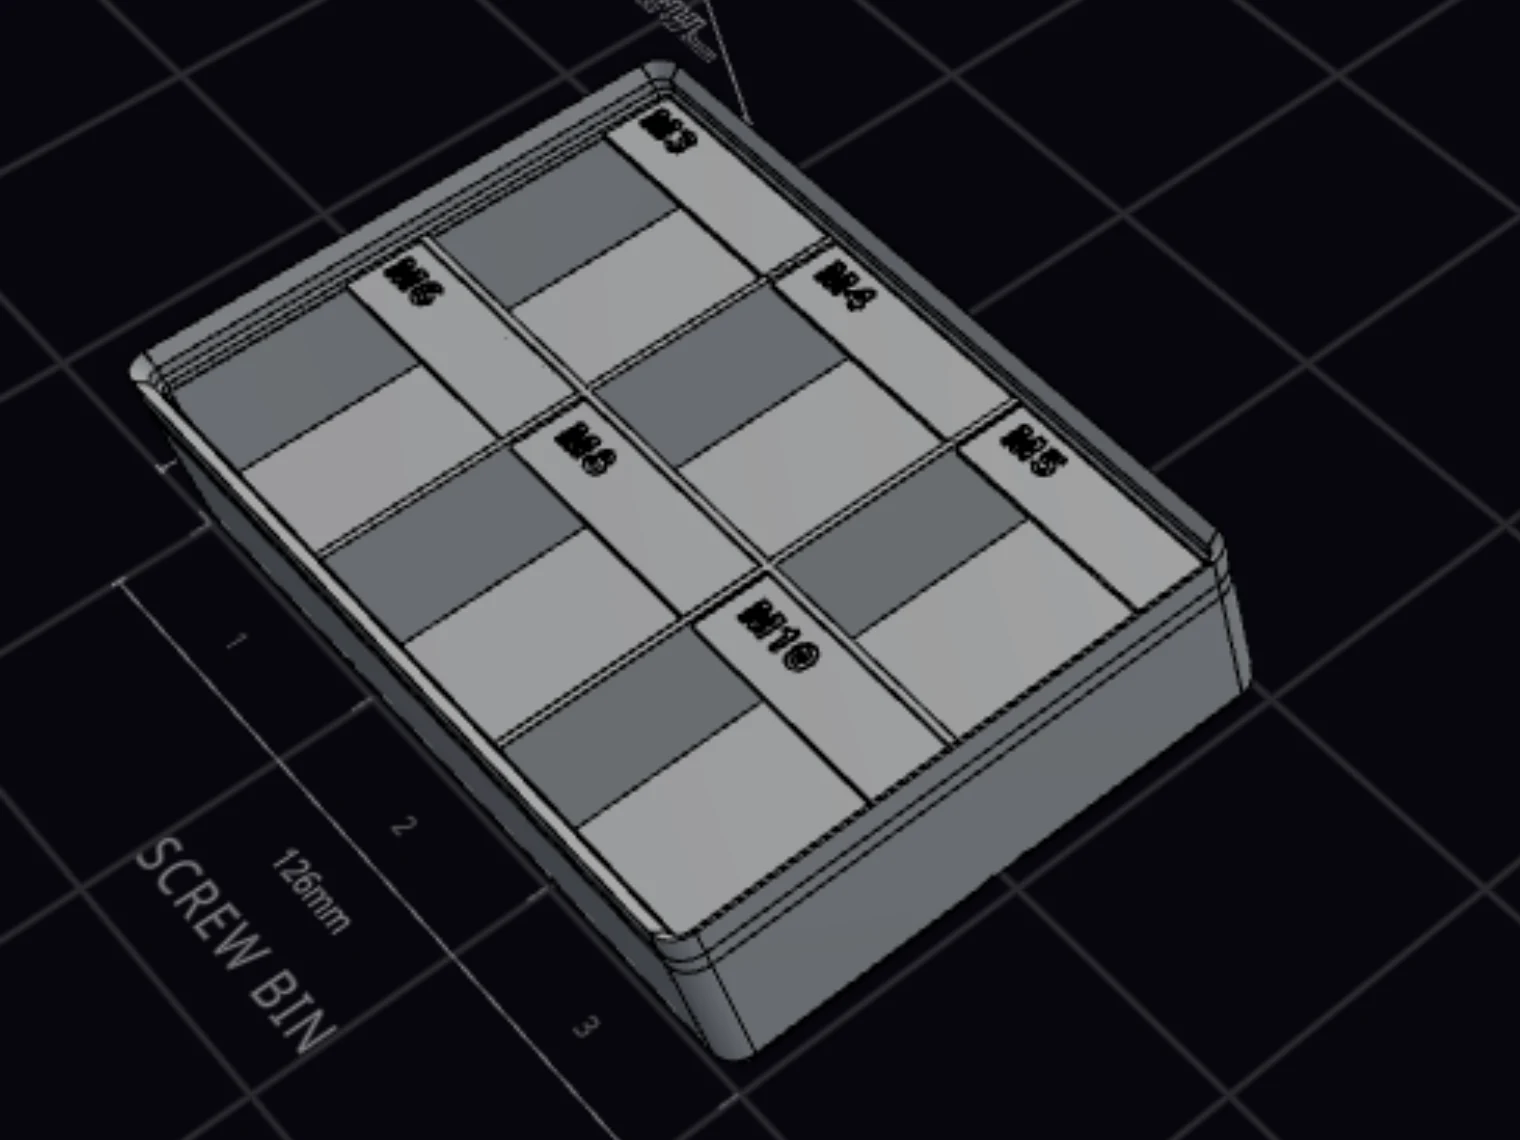
The tab uses the Printed text style by default, so the text prints as part of the tab. Want one label across a full row of compartments? Click One per row.
Step 6: Export the print file
- Click Export (the download icon) in the header.
- Under Format, pick 3MF, STL or STEP.
- Look at the name under File name, and change it if you like.
- Click the download button at the bottom of the window.
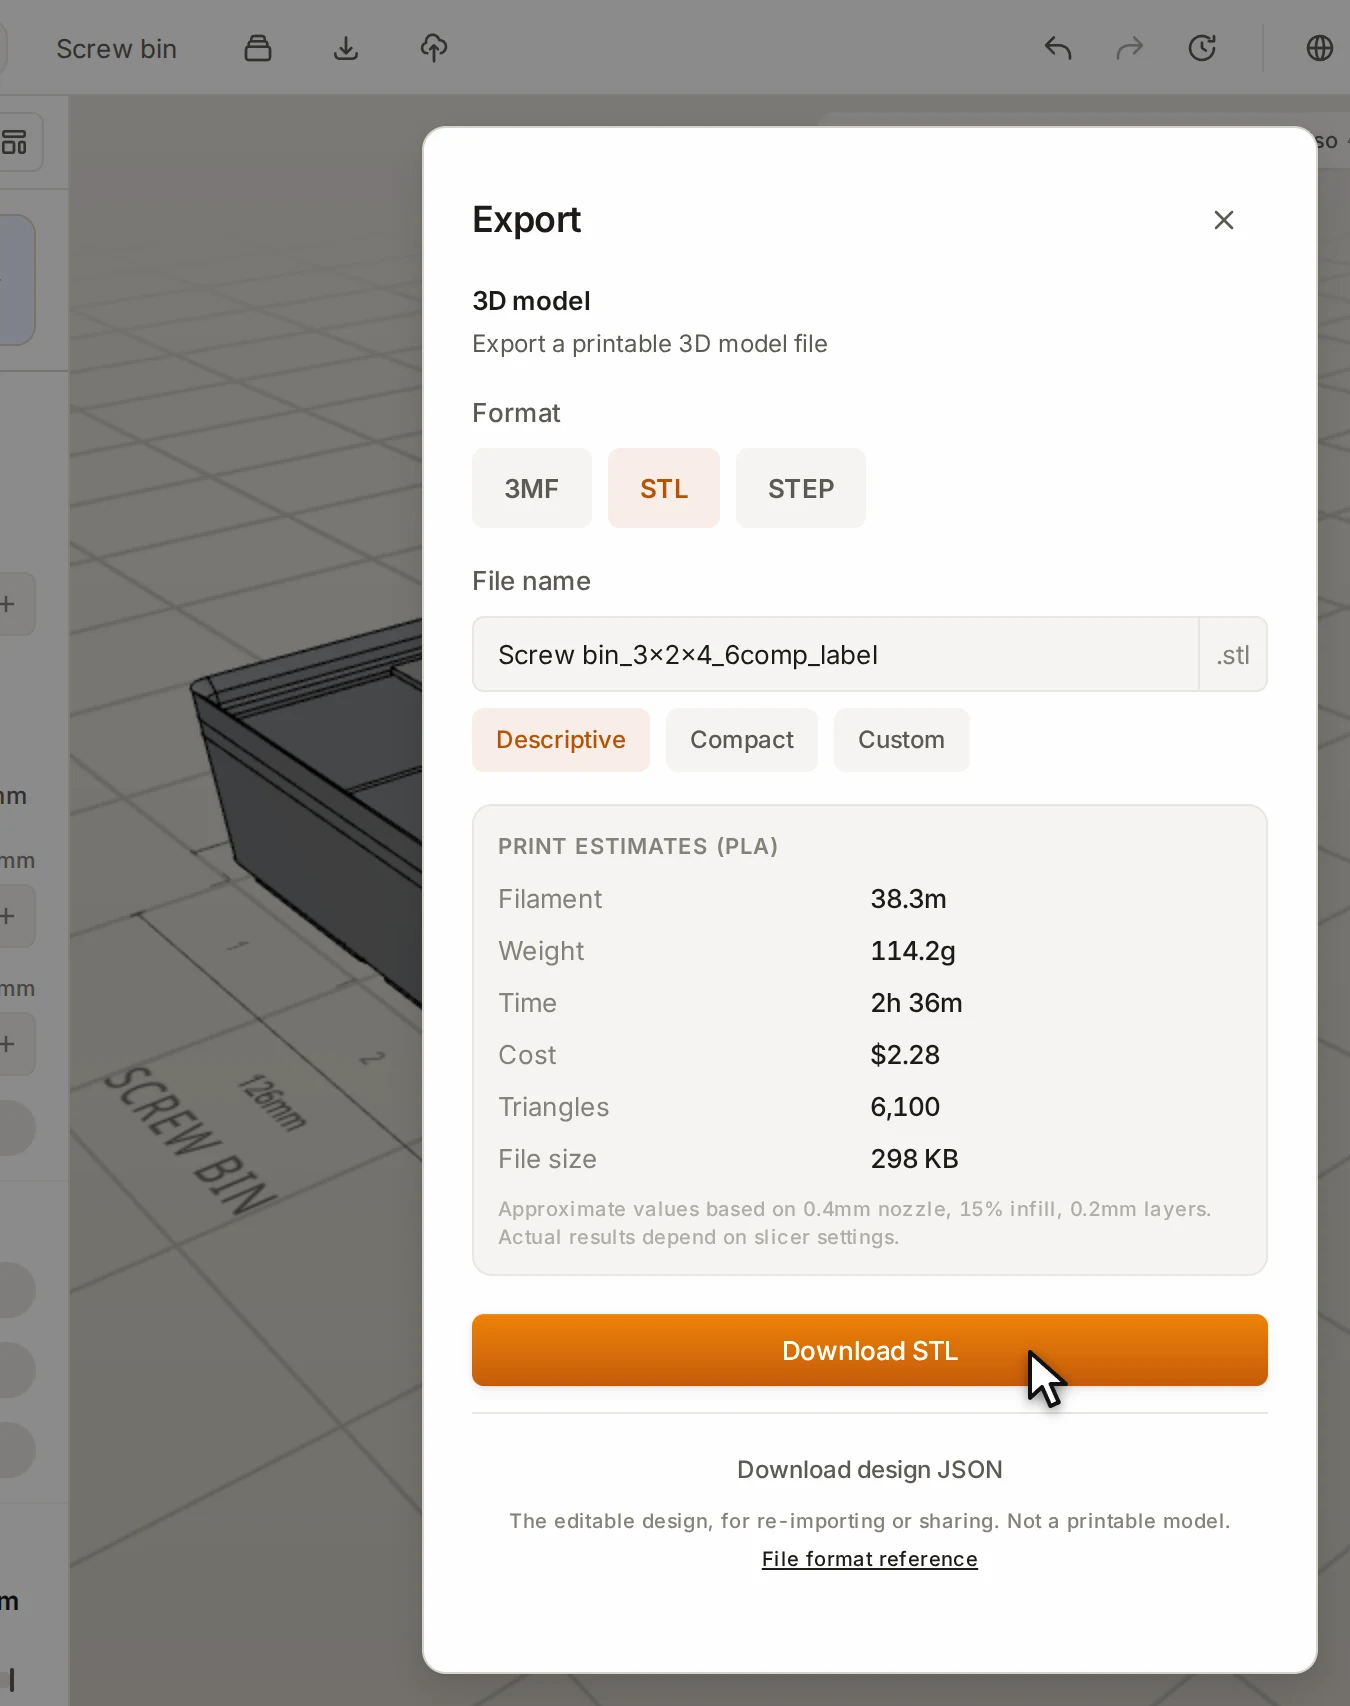
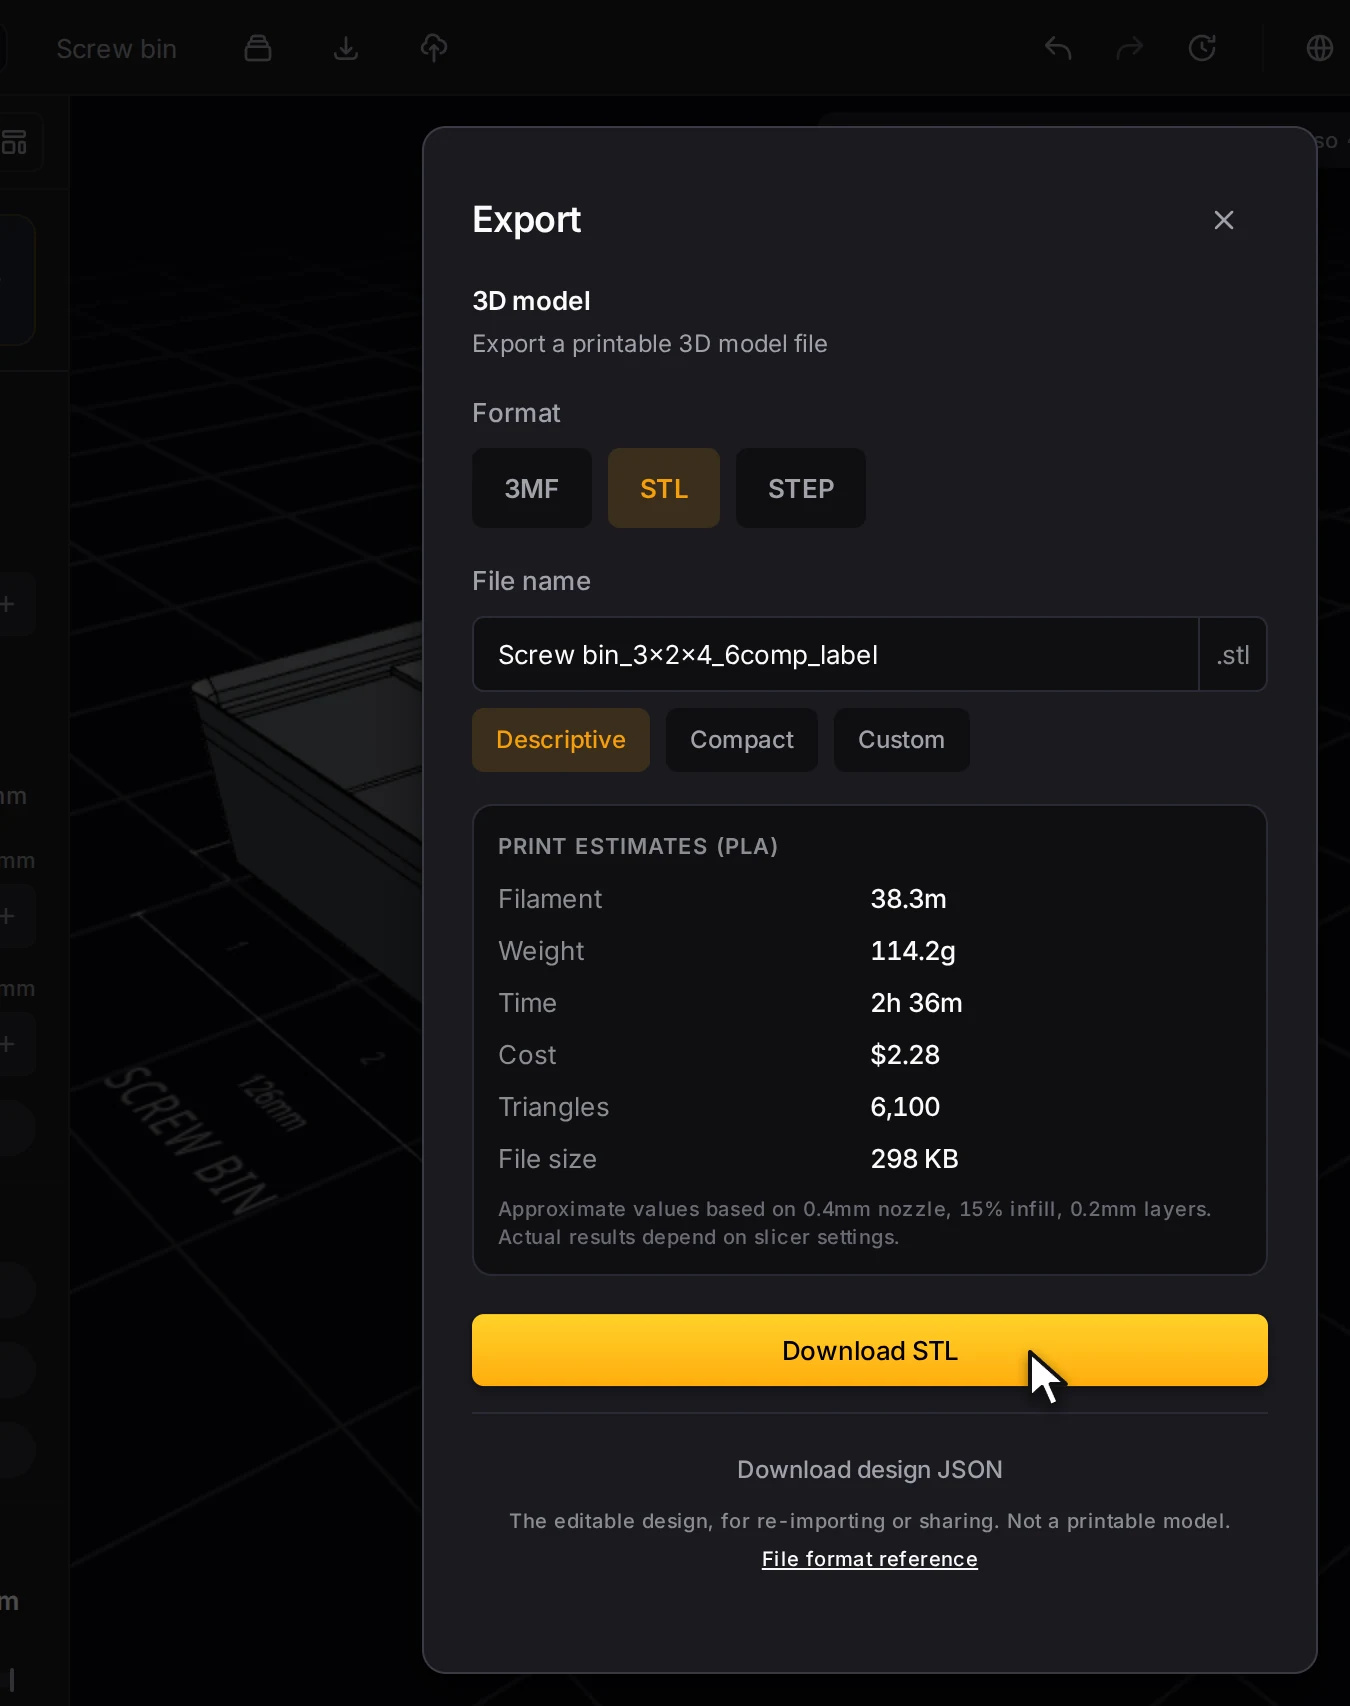
The window also shows Print estimates (PLA): the filament, the weight, the print time and the cost of the bin.
| Format | Pick it when |
|---|---|
| STL | Your slicer needs a plain mesh file. This is the default. |
| 3MF | You print in more than one color, or your slicer prefers 3MF. |
| STEP | You want to change the bin in a CAD program. |
Not sure? Keep STL.
TIP
Print this one bin before you print a drawer full. It tells you if the fit and your print settings are right, and a test print costs little.
After your first export, a message says Bin exported! Organizing a whole drawer?. Click Open the layout editor to plan a full drawer with your bins.
Next steps
- Plan your first drawer: place this bin in a drawer layout
- Compartments and dividers: bento layouts, removable dividers and compartments of different sizes
- Labels and text: text styles, swappable label plates and text on the floor
- File formats: more about STL, 3MF and STEP
- Hand tools with custom pockets: a solid bin with a pocket for each tool