
Stacking
Gridfinity bins stack. The feet of one bin sit in the stacking lip of the bin below, so a deep drawer can hold more than one level. In the Gridfinity Layout Tool, you can shape that lip and lock small bins onto big ones. You can also see how tall a stack gets before you print it.
The stacking controls are in the Top rim section of the Base group, just under the body type tiles. The Assembled height readout is in the Shape group. It sits under Dimensions.
Turn the stacking lip on or off
Stacking lip is on by default. It lets the feet of another bin sit on top of this one. Not sure? Leave it on.
The lip changes how tall the dividers can be. With the lip on, a divider at Auto height stops just below the feet of a stacked bin. With the lip off, dividers reach the rim.
Got contents that stand above the rim? Extra wall height, in the Dimensions section, raises the lip with the outer walls. A bin on top then rests on the taller rim, above the tall contents.
A slanted bin has no stacking lip. See Special bins.
Round the rim of a bin without a lip
When the lip is off, Round top rim appears. It rounds the top of the outer walls, a raised pull tab and full-height grid dividers, so the rim has no sharp top edge.
- Turn off Stacking lip.
- Turn on Round top rim.
- Set Rim fillet radius. The default is 0.4 mm.
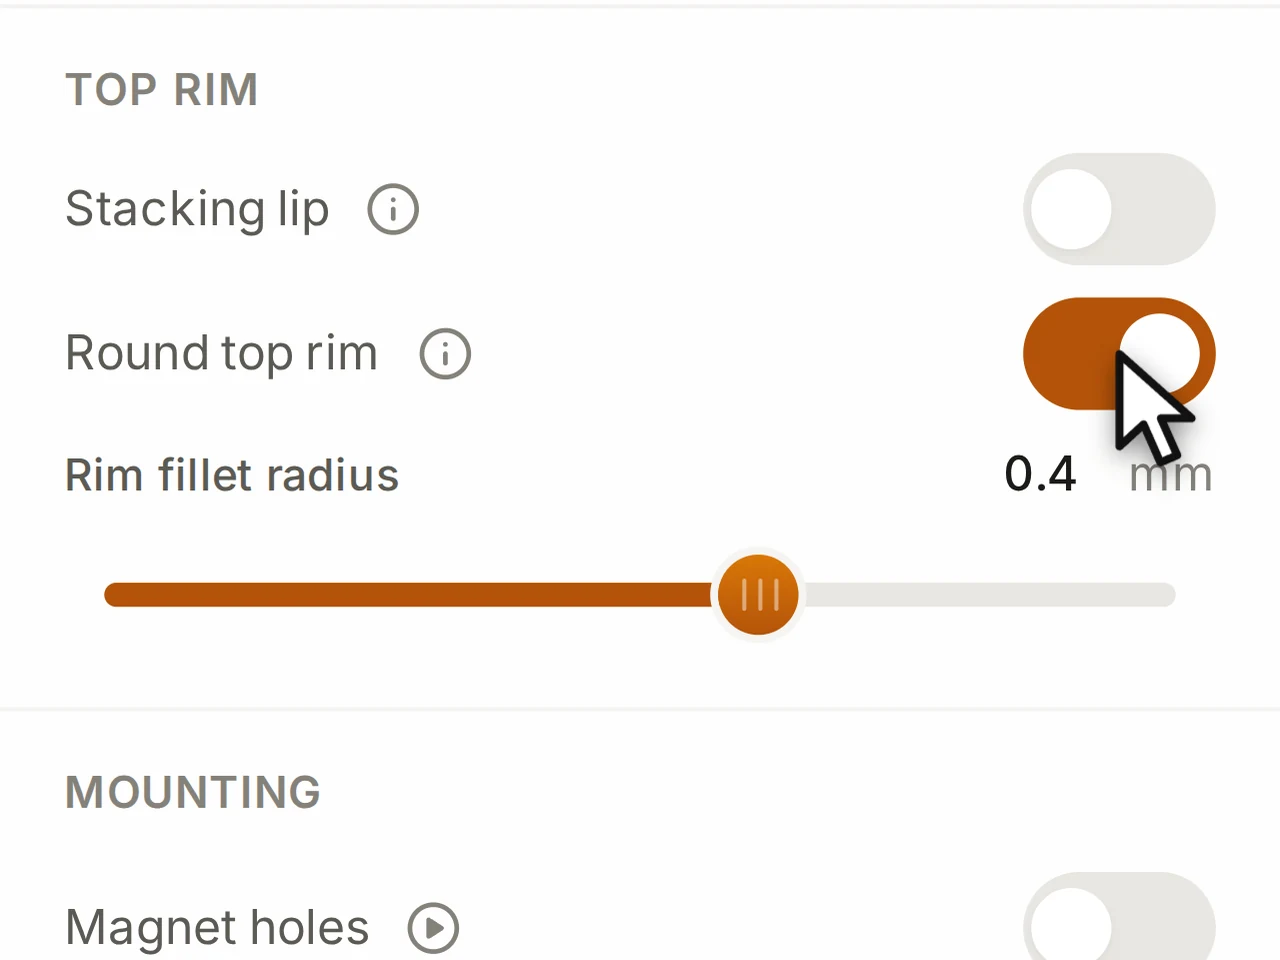
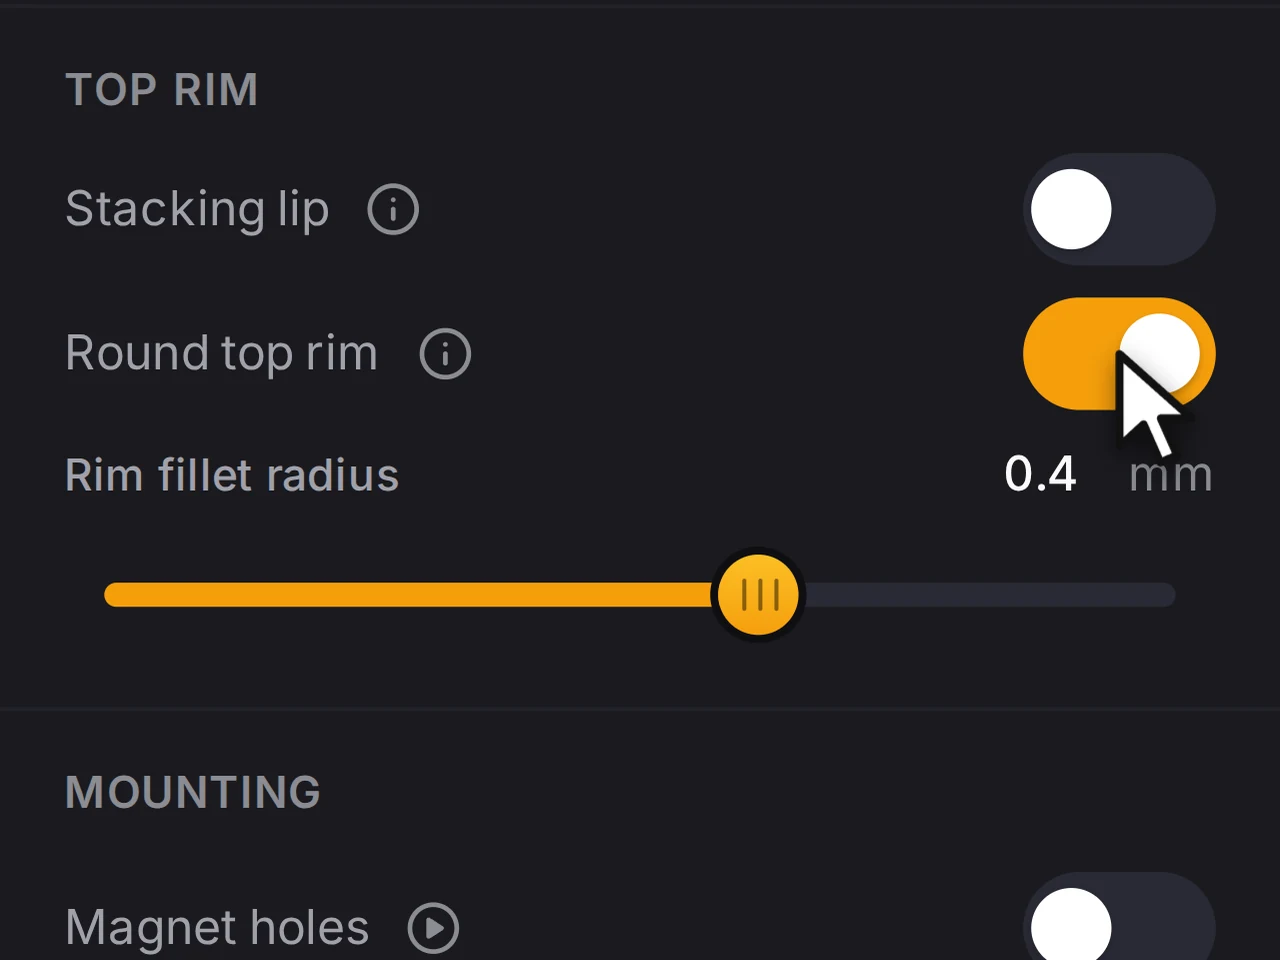
The thinner of the wall and the dividers limits the radius. The option needs a rectangular, hollow bin with walls.
Make the lip print cleanly
The standard lip comes to a point. The top of that point prints as a thin line with nothing under it, so it can scar, curl or lift. If your lips print rough, change the shape of the point with Lip peak:
| Peak | Result |
|---|---|
| Sharp | The standard profile with a point. This is the default. |
| Rounded | Rounds 0.4 mm off the point, so the top layer has solid material under it. |
| Chamfered | Cuts 0.4 mm off the point at an angle. |
| Flat | Cuts 0.7 mm off the point level, which leaves space for a full line on top. |
All four shapes stack the same way, so you can change the peak without any worry about fit. The change is only at the top of the point.
Keep smaller bins in place on bigger ones
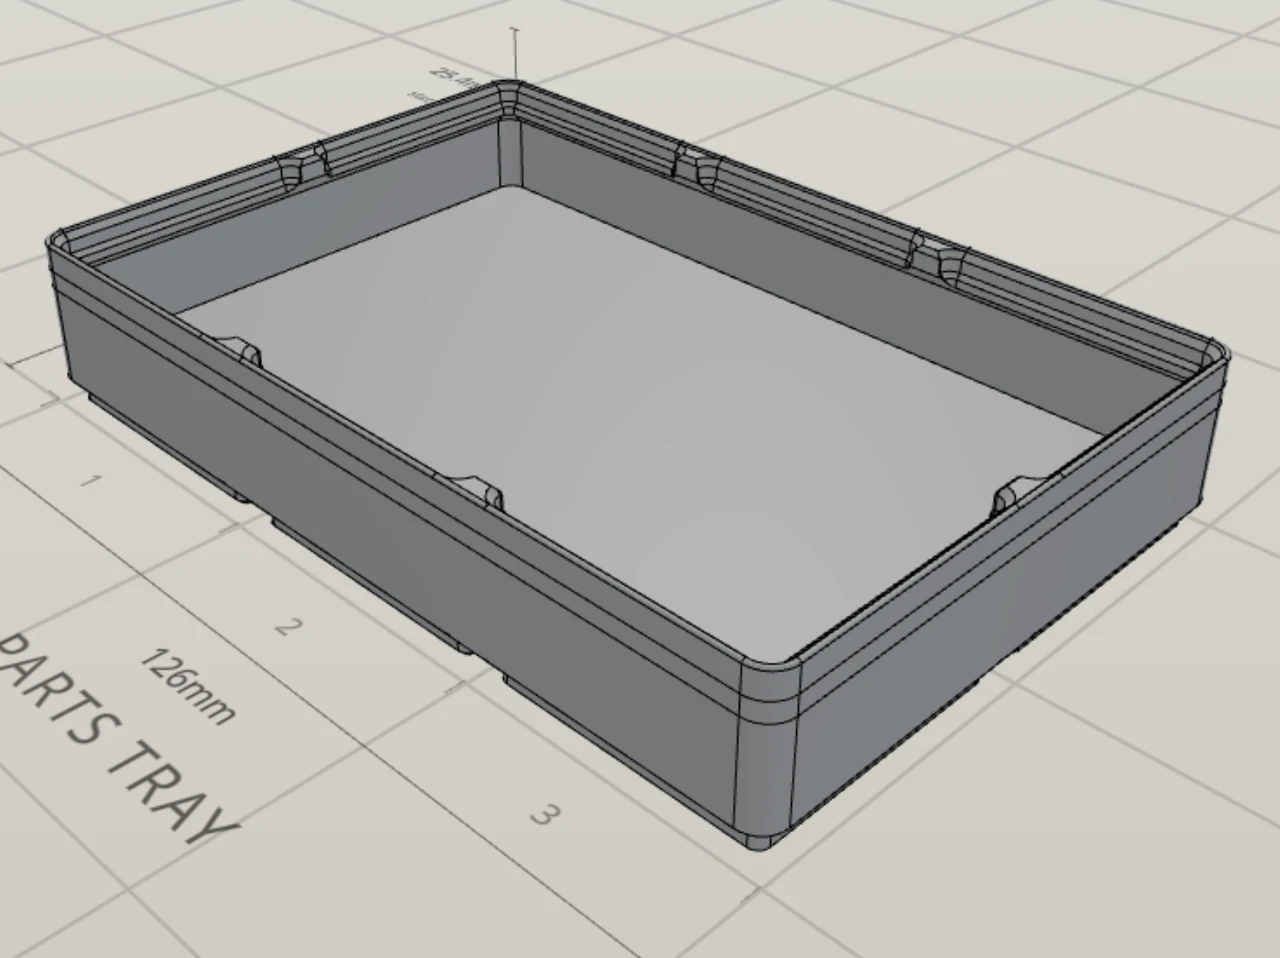
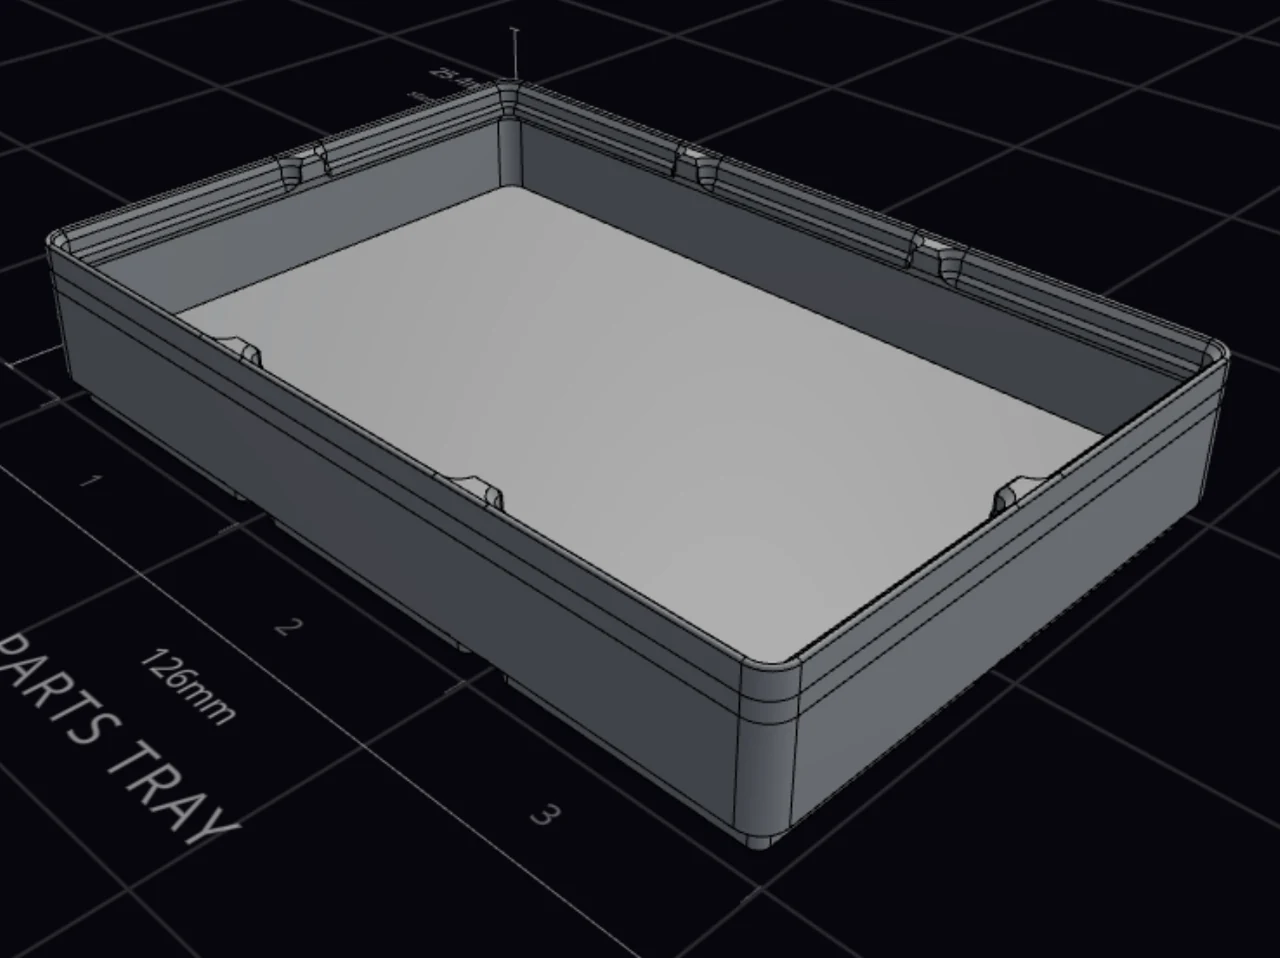
A small bin on top of a big bin can slide along the rim. Lip notches adds a small ridge on the lip at each grid line, so a smaller bin on top locks to a grid cell. A bin of the same size still sits as usual, and the outside of the lip does not change.
- Make sure Stacking lip is on.
- Turn on Lip notches.
Lip notches need all of these:
- No lid. A lid has its own grid for the bin above.
- A rectangular footprint with no overhang.
- A width and depth in whole or half units, and a bin larger than one unit.
- No Half offset foot lattice, because its feet land on the notches.
Nest boxes on each other
The Nesting body type is for boxes that stand on top of one another, not on a baseplate. Its underside is one tapered base that sits in the stacking lip of a bin of the same size. The floor prints flat on the print bed.
- Under Body type, pick Nesting.
- To hold the stack together, turn on Magnet holes under Mounting.
- For a large box, set Edge magnets.
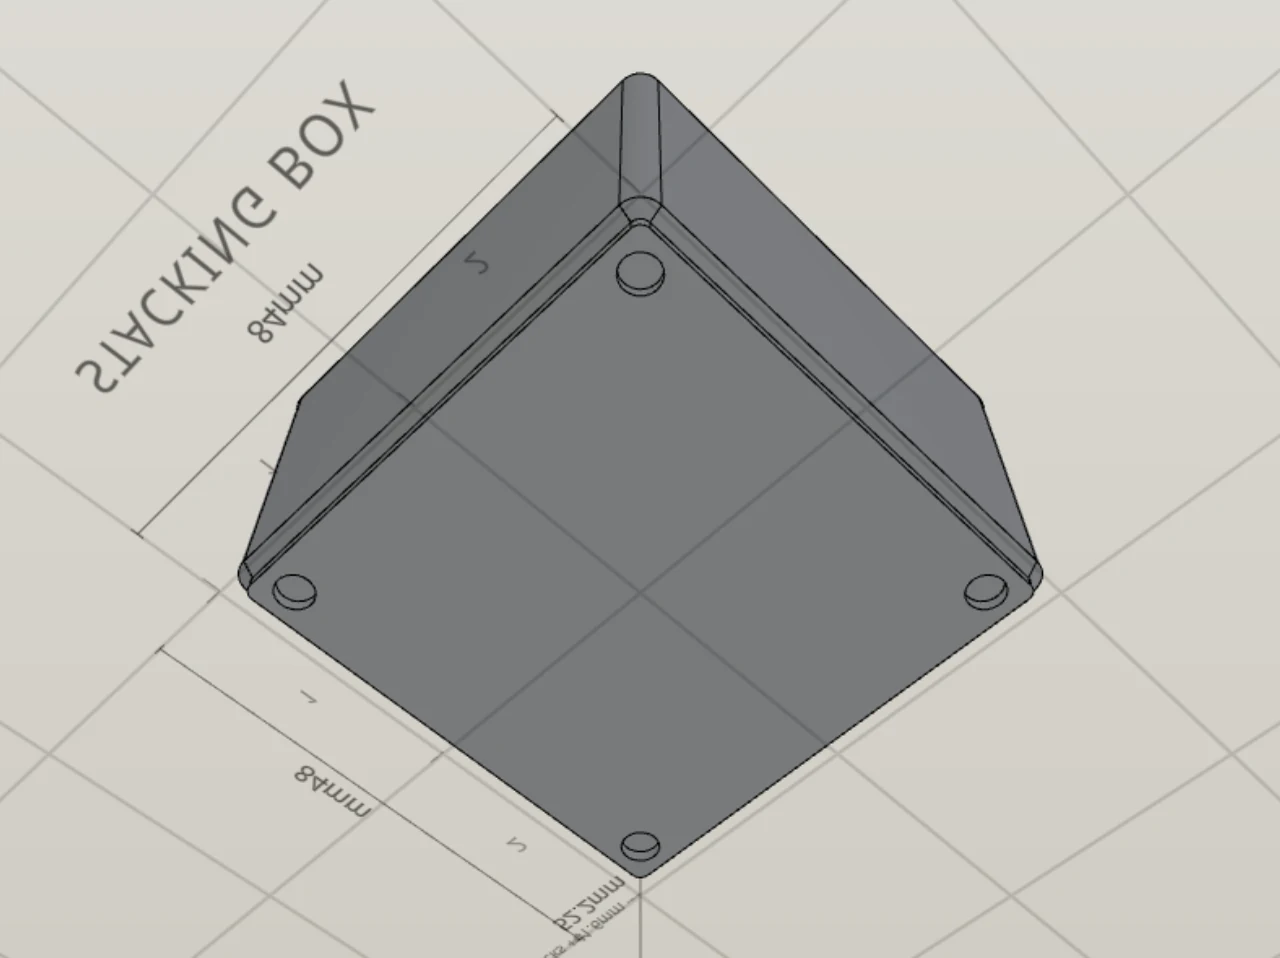
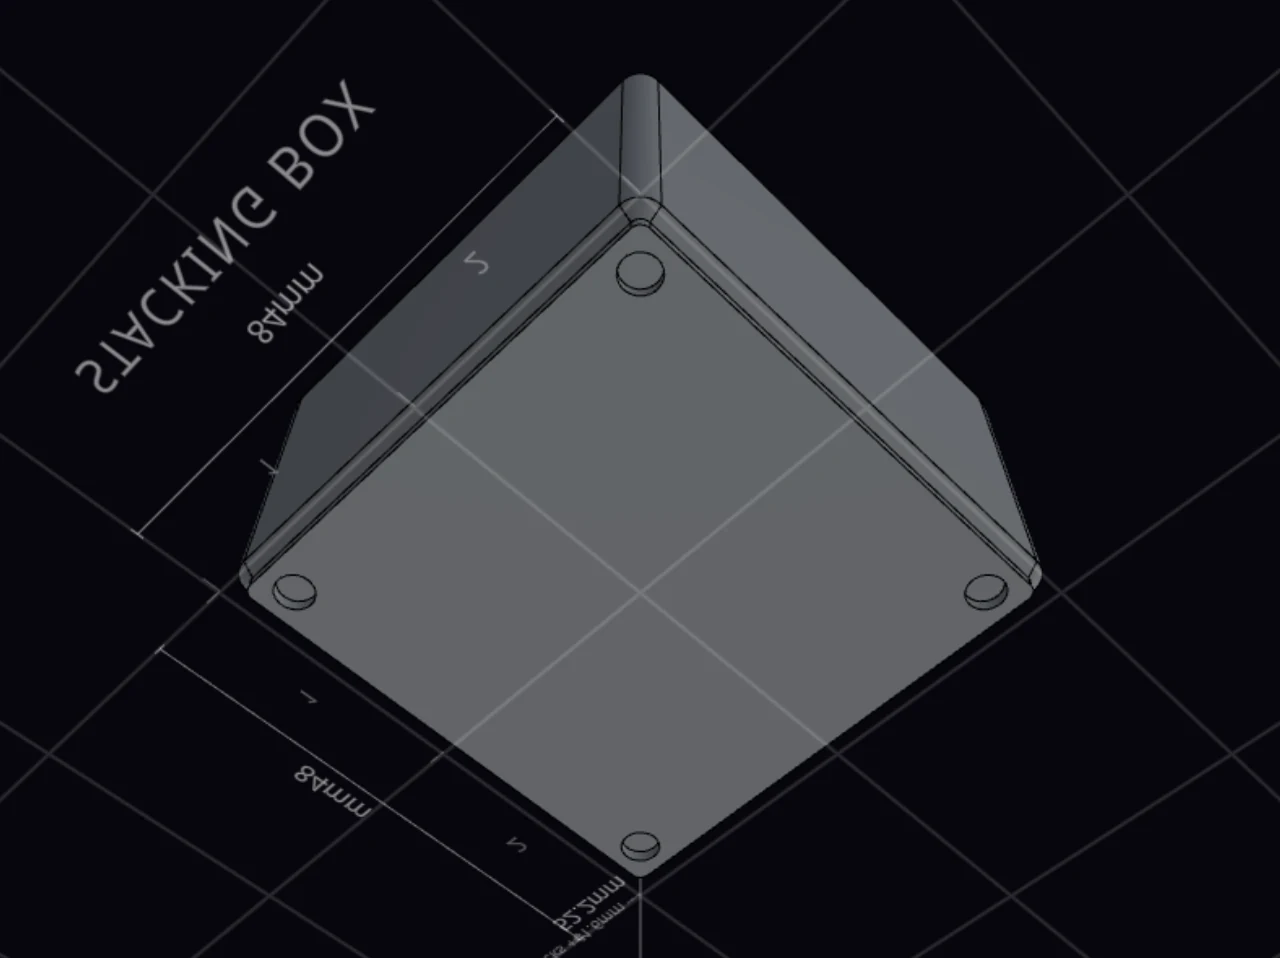
With magnets on, the box gets four corner magnets. Edge magnets adds up to 3 more magnets along each long edge, only where the edge is long enough for them. The magnet size is the same as for the lid. To get matching magnet holes at the top, choose a magnetic lid. See Lids.
A nesting box does not fit a Gridfinity baseplate. Its lower floor rules out a finger scoop, an interior fillet and removable dividers. Dividers and drainage holes still work.
TIP
To put a box on top of a bin as a tray with a lid underside, use the Lid base body type instead. Lids explains it.
Read the assembled height
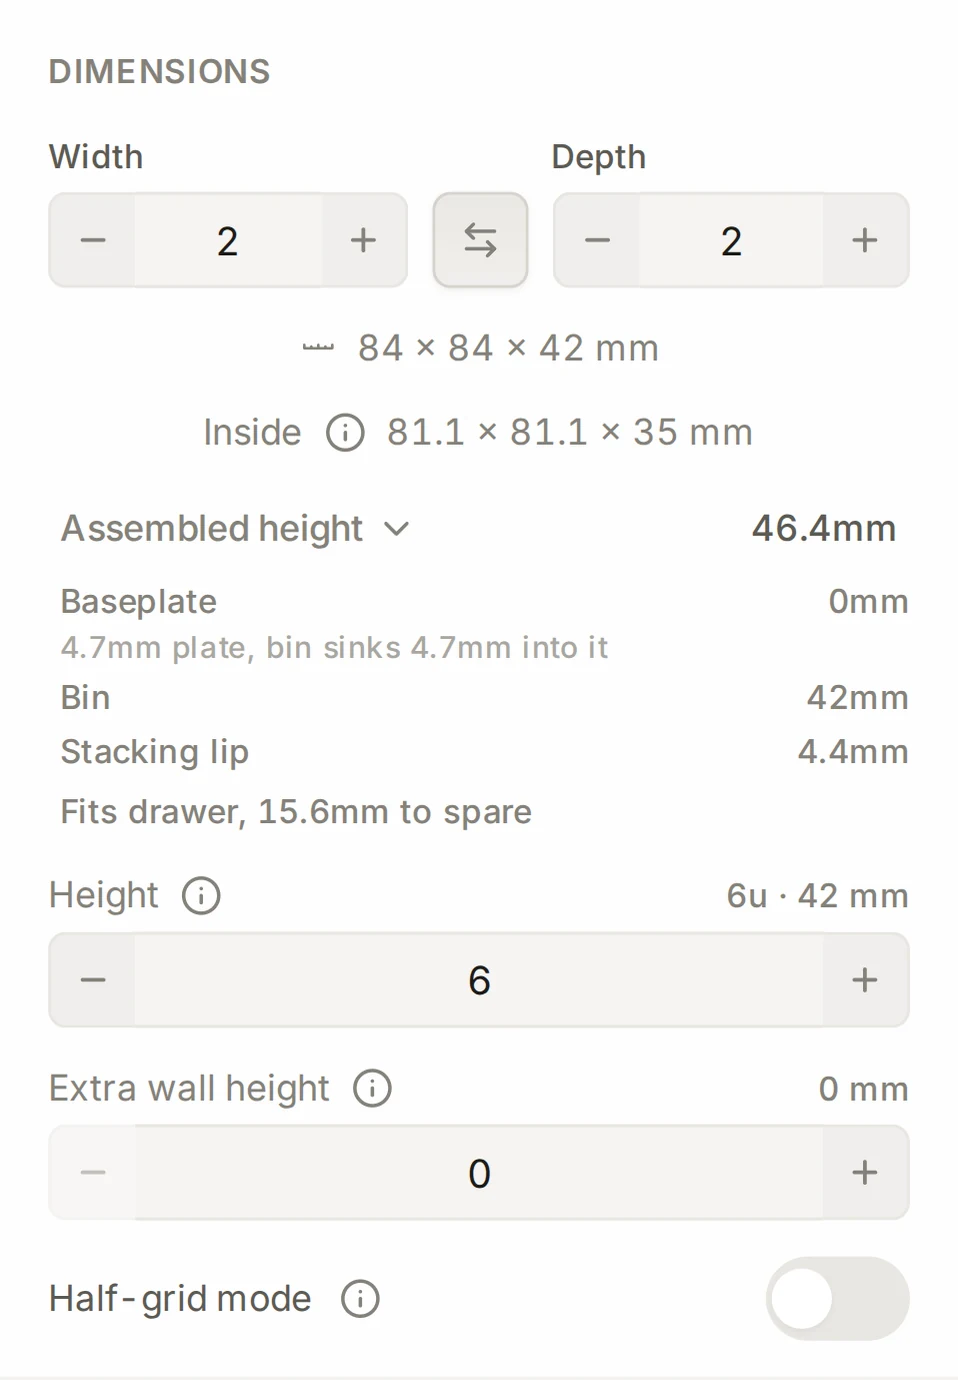
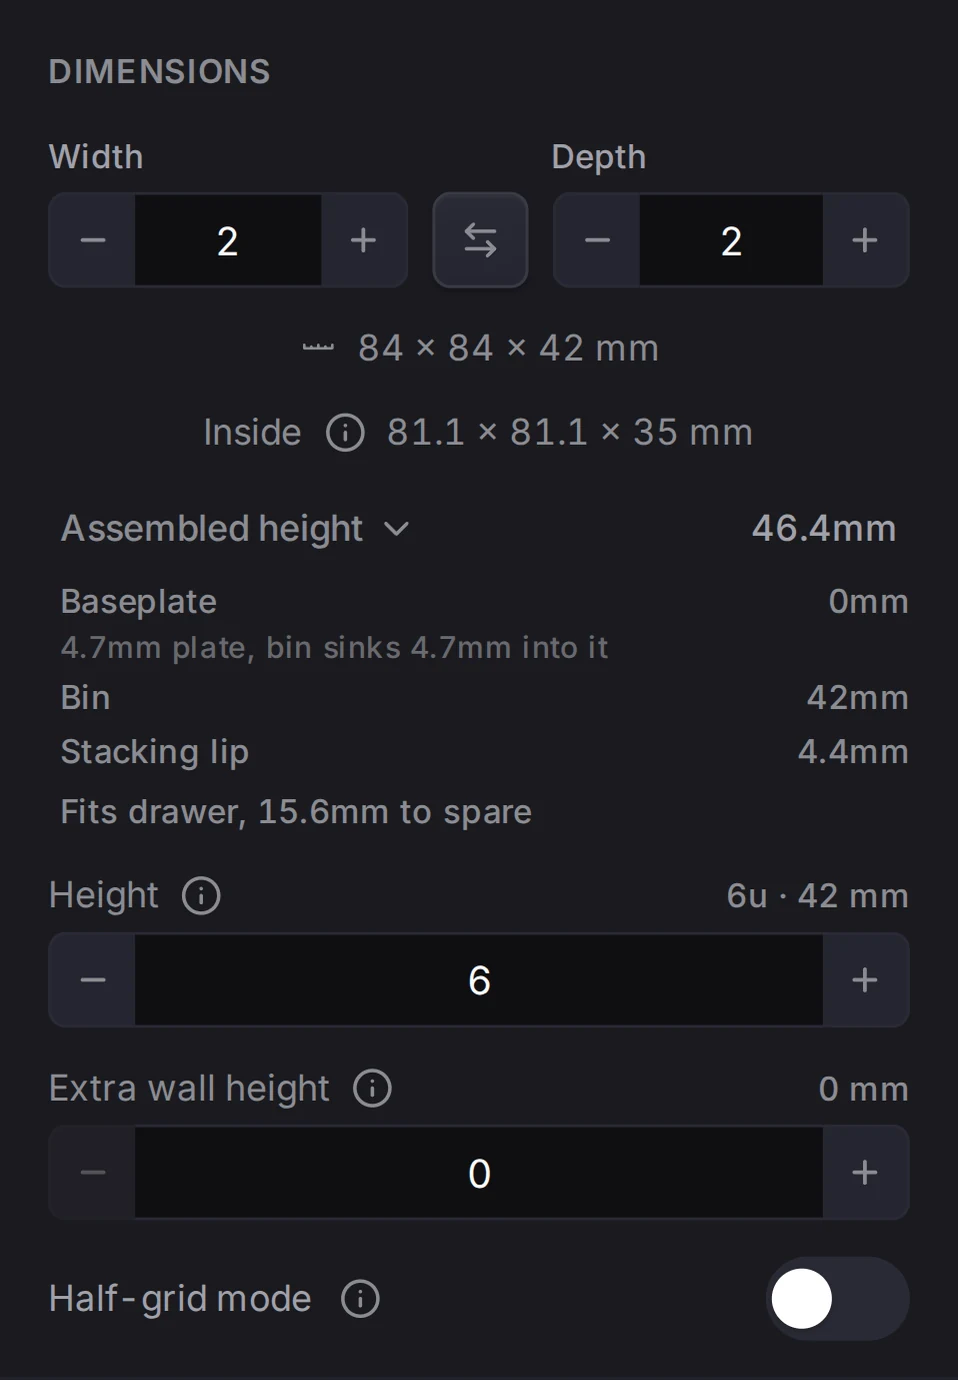
Will it fit under the drawer above? Assembled height answers that. It gives the height of the bin as it stands in the drawer: on its baseplate, with its lid.
Click the readout to see each part of the height. Each row shows only when the design has that part:
| Row | What it measures |
|---|---|
| Baseplate | The height that the plate adds. It is often 0 mm, because the feet drop into the pockets |
| Bin | The body of the bin |
| Pull tab | The pull tab above the rim |
| Stacking lip | The stacking lip above the body |
| Lid above lip | The lid |
| Stack grid | The stacking grid on top of a stackable lid |
The readout uses the baseplate of the active layout, which includes a low-profile base. When the layout has a measured drawer height, a line under the readout tells you if the bin fits. It gives the free space above the bin, or how much too tall the bin is.
Bins with the same number of height units come out the same height. A spacer counts like a bin of the same size, so a 2-unit spacer under a 2-unit bin reaches the top of a 4-unit bin.
When it goes wrong
The bin is taller than the drawer
Click Assembled height to see which part adds the height. Then lower Height by one unit, or make the pull tab or the lid lower.
The readout measures the bin on its baseplate, with its lip, pull tab and lid. The line under it compares that height with the measured height of your drawer.
The top of the lip prints rough or peels off
Set Lip peak to Rounded. For the widest top line, pick Flat. Bins stack the same way with every shape.
The standard lip ends in a point. Its top layer prints as a thin line with nothing under it, so it can scar or lift. See Make the lip print cleanly.
A small bin slides around on top of a big one
Turn on Lip notches on the big bin. A small ridge at each grid line then holds the small bin on one cell.
Can't turn the notches on? The note under the switch names the cause: a lid, a custom shape, an overhang, a Half offset foot lattice, or the bin size. See Keep smaller bins in place on bigger ones.
Next steps
- Lids: put a lid on the stacking lip.
- Work in layers: stack bins in a layout.
- The base: choose the feet that sit in the lip.
- Size and shape: set the height in units.