
An electronics and craft organizer
Resistors, LEDs, beads and buttons all want small compartments, and the mix keeps changing. This recipe gives every compartment a label plate that clicks in and out. When the contents change, you print a new plate, not a new bin. Print the text in a second color, and the labels stand out.
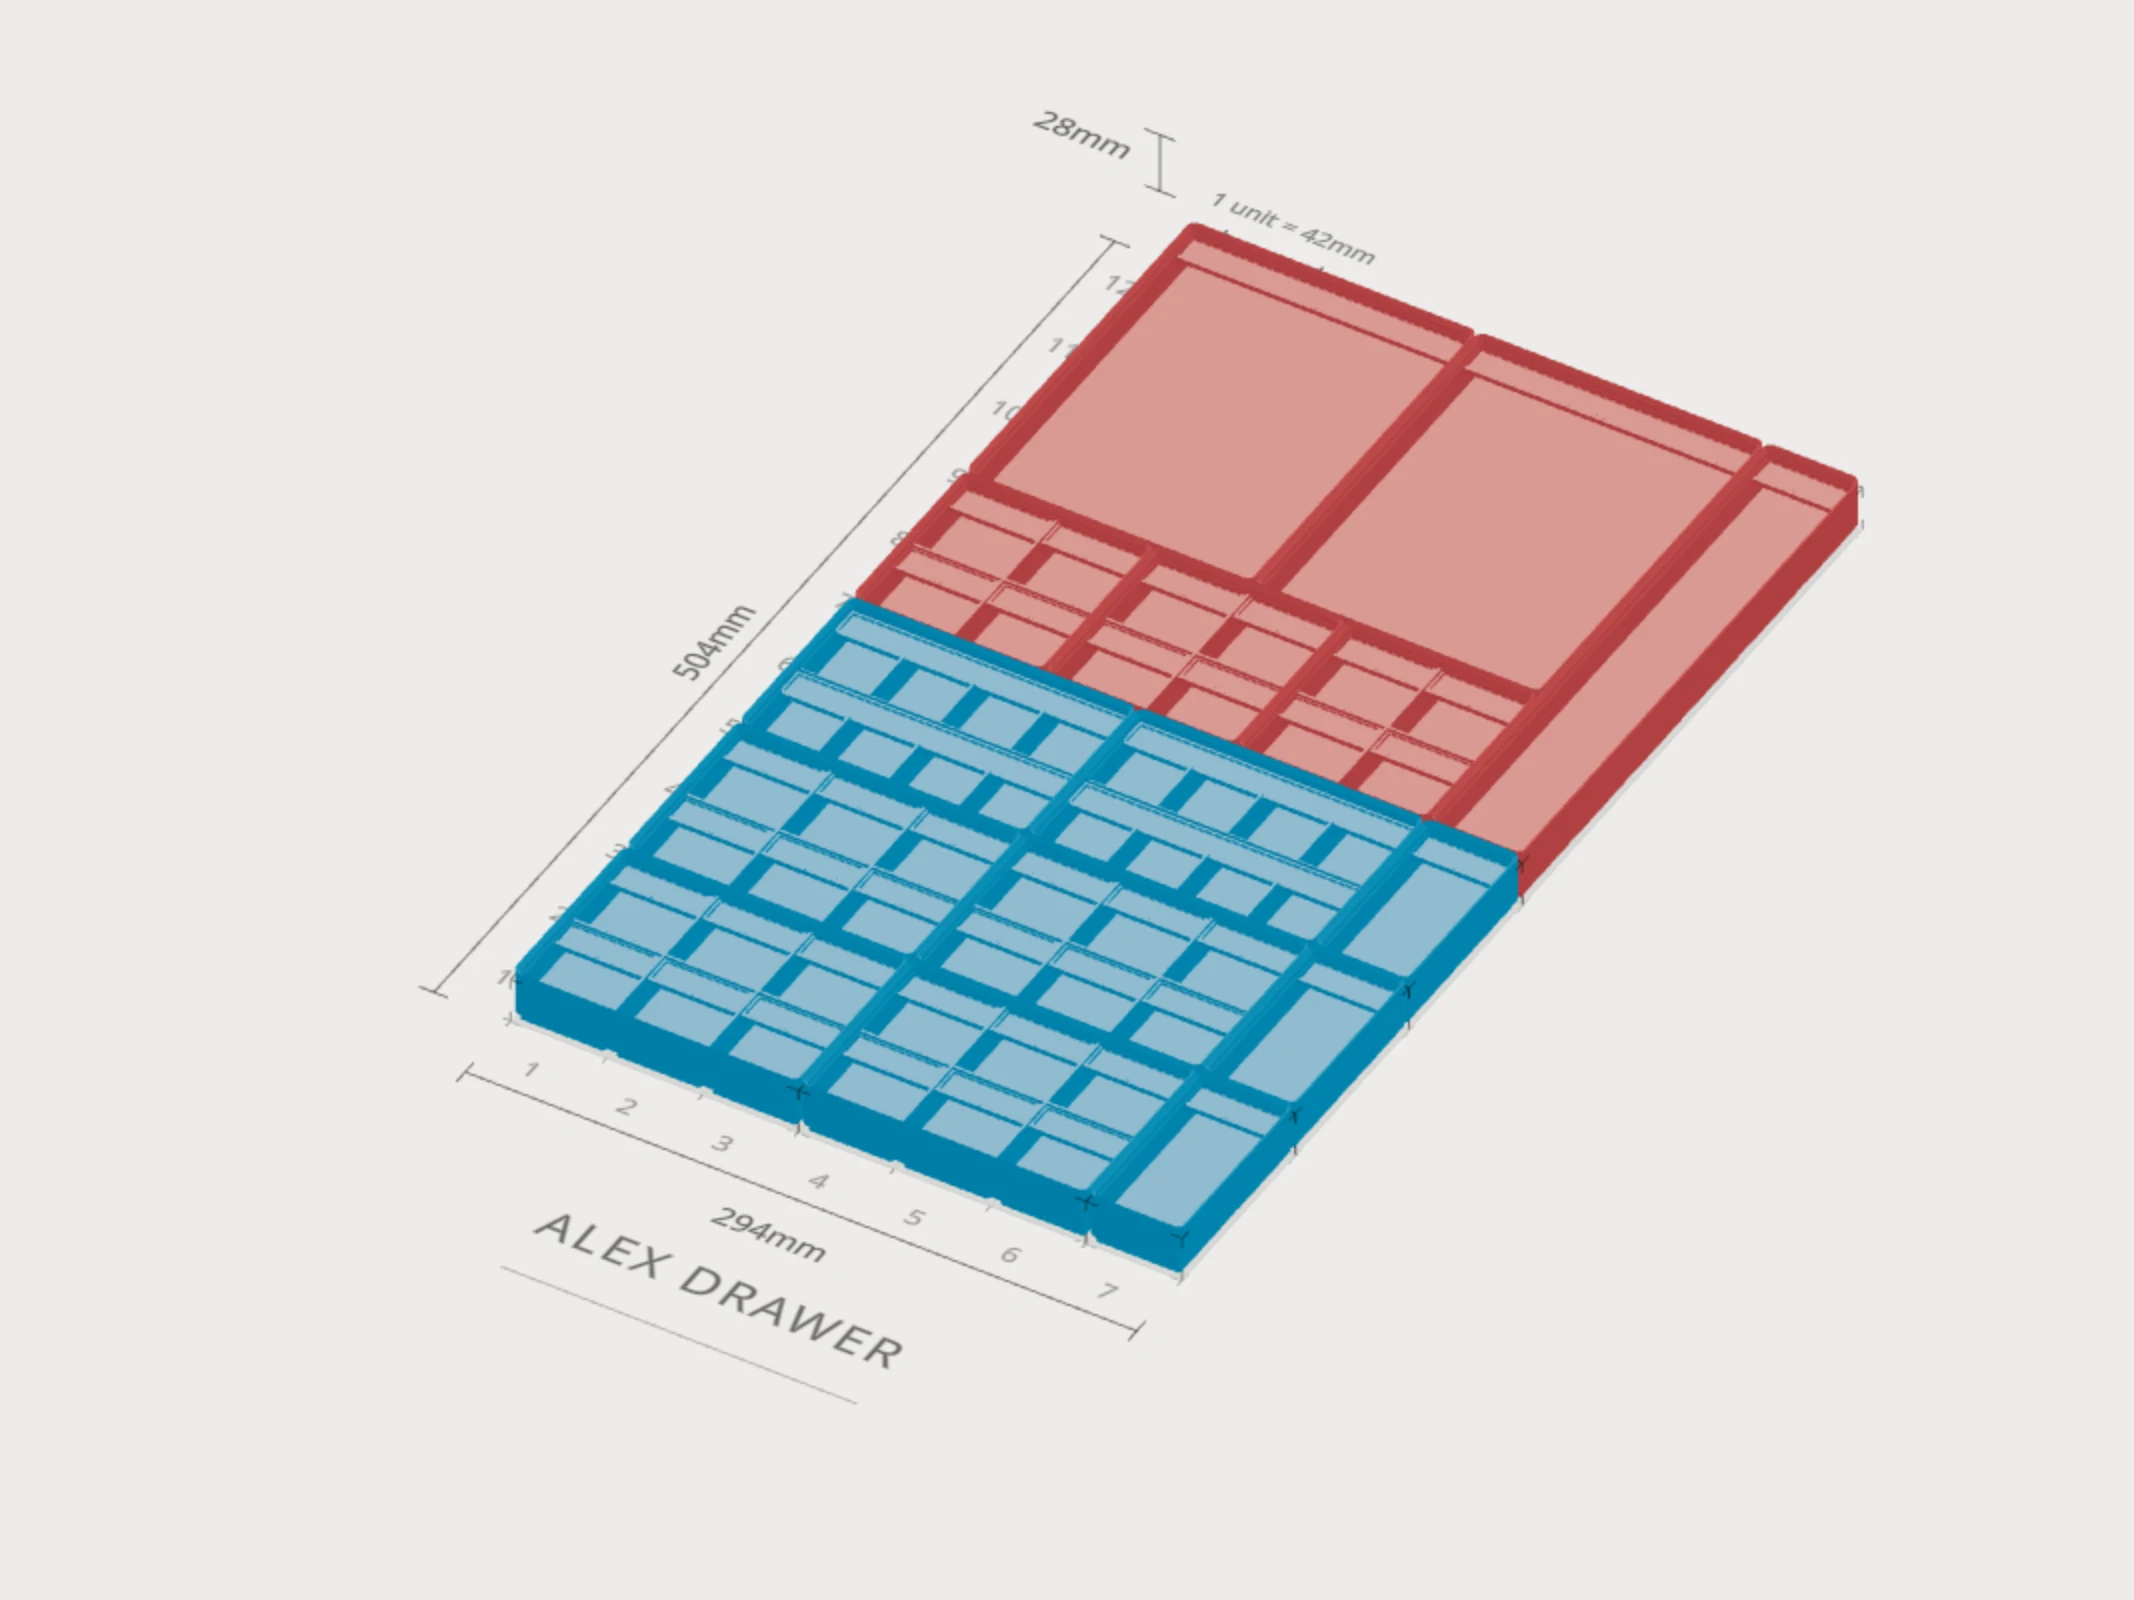
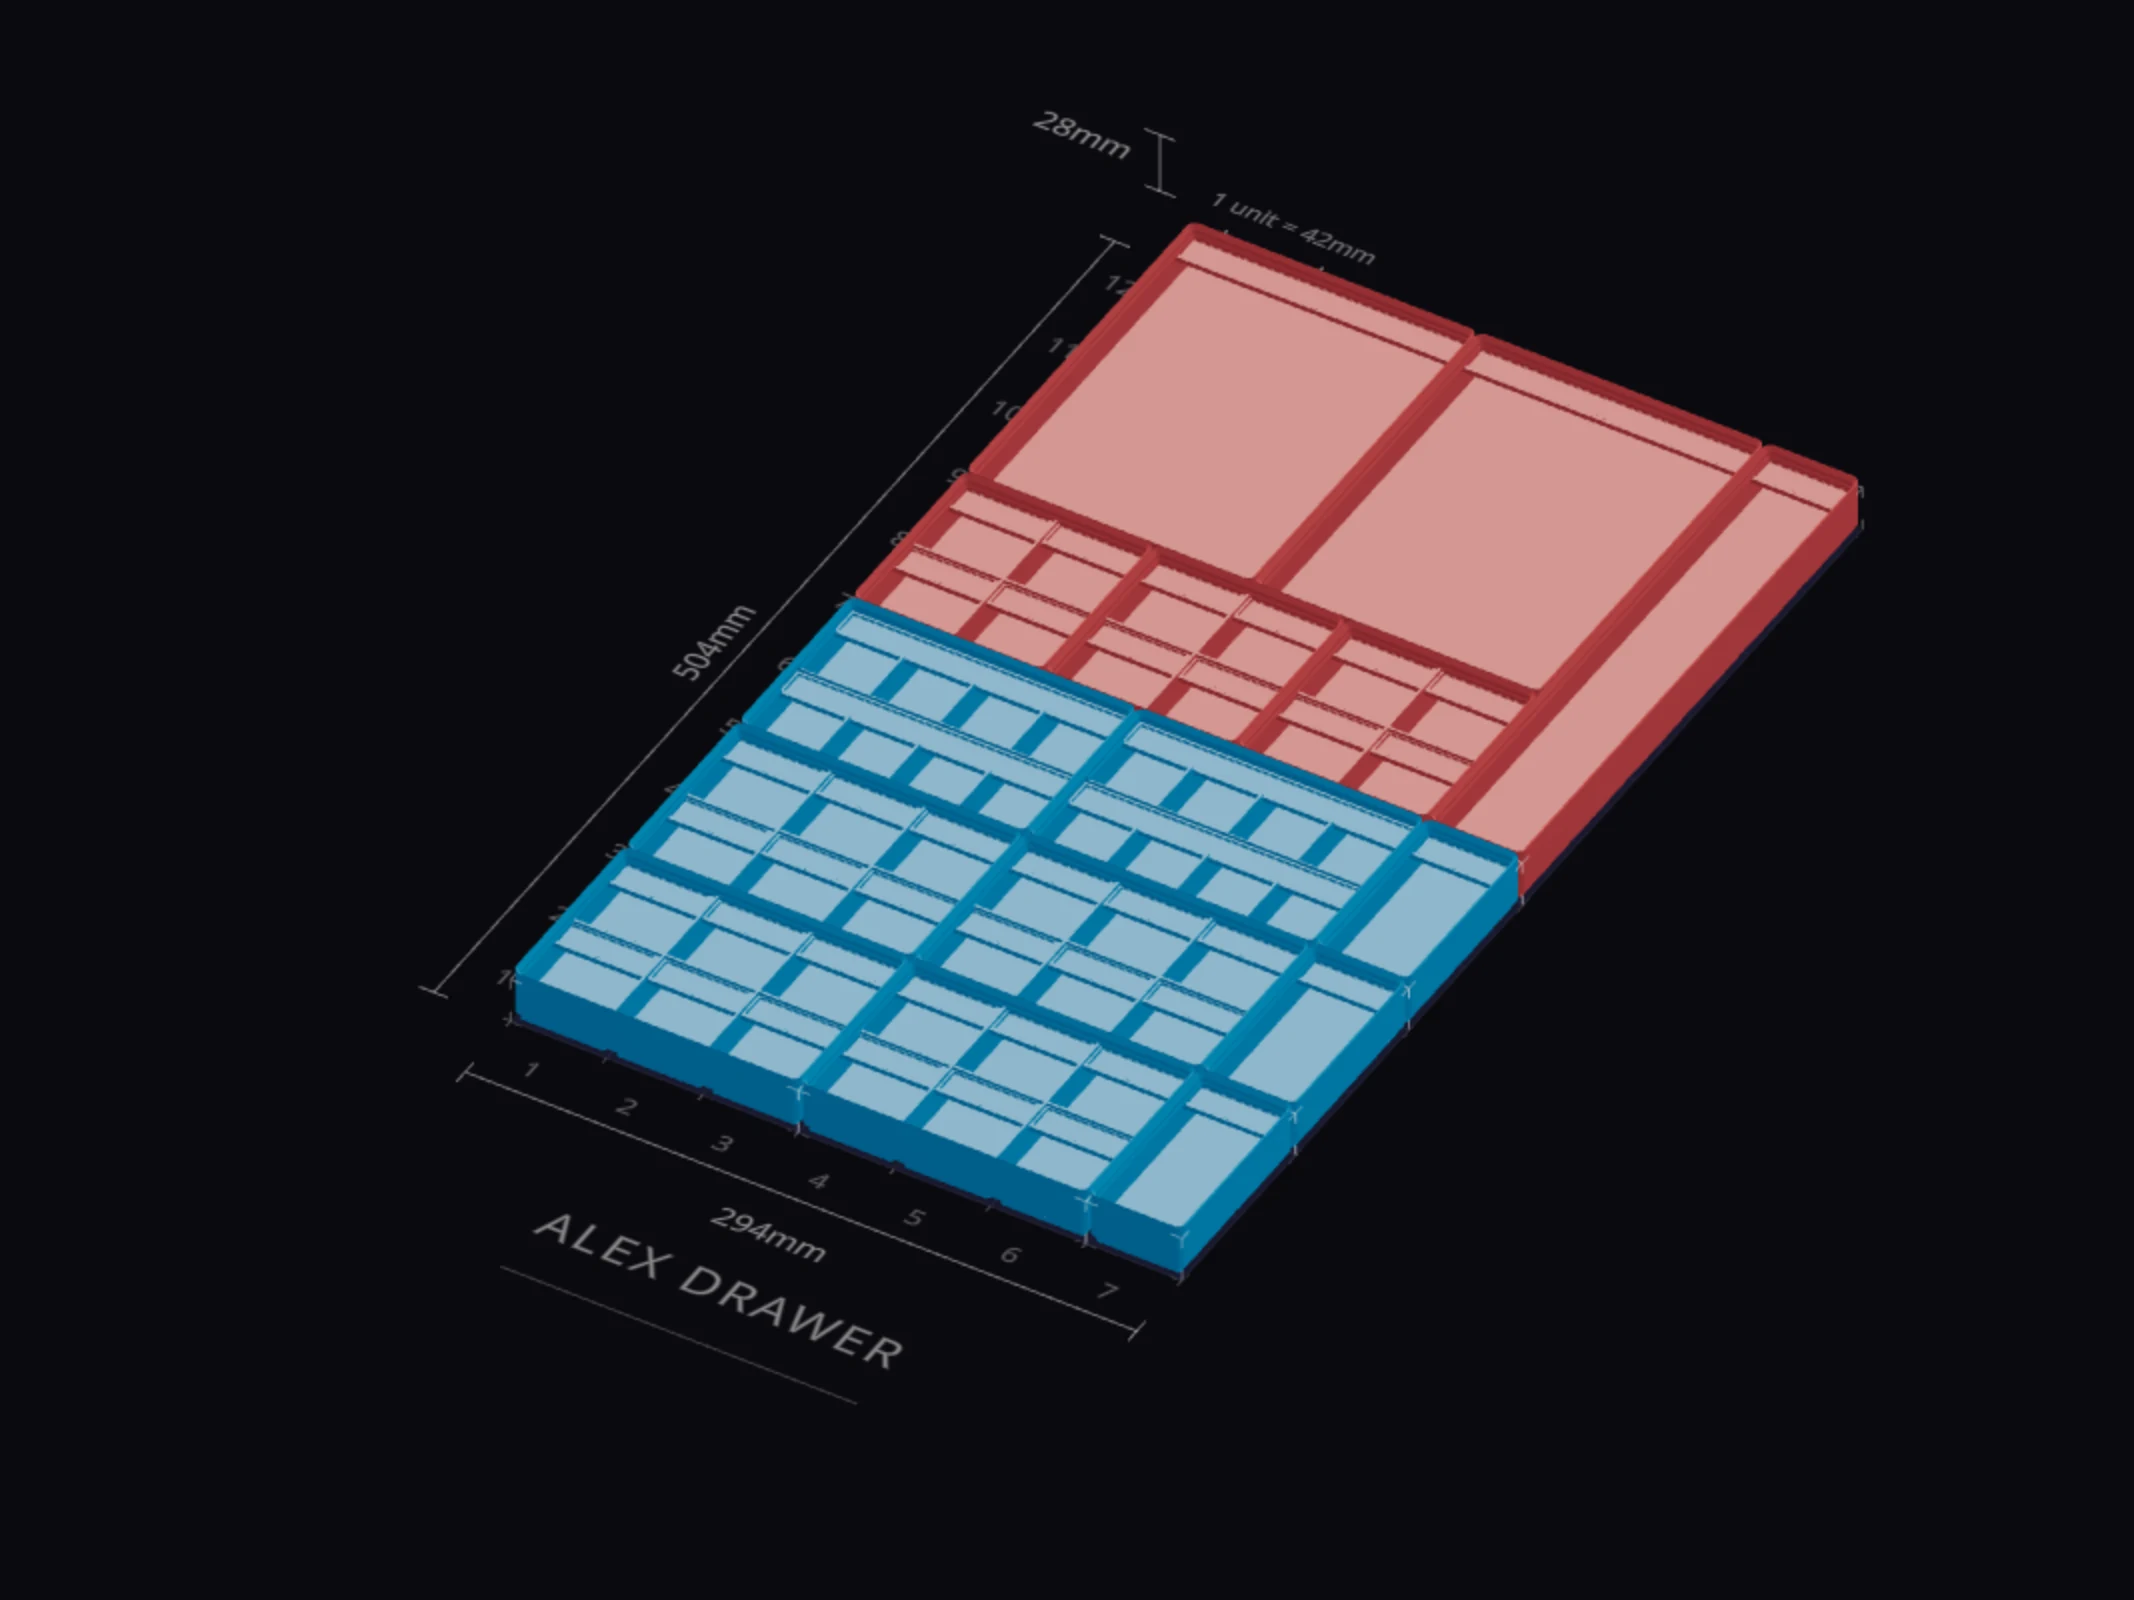
What you need
- The inside size of your drawer. This recipe uses an IKEA Alex drawer of 295 × 522 mm. Alex drawers vary by a millimeter or two, so measure yours.
- A print bed of 256 × 256 mm. The longest bin is 1 × 6, which is 252 mm.
- About 440 m of PLA for the bins, or 1.3 spools of 1 kg. That's the bin list estimate with the default settings. The plates are tiny on top of that.
- A second filament color for the labels: in a multi-material printer, or by hand with one filament change.
The plan
The drawer takes a 7 × 12 grid. Every bin is 3u: 25.4 mm tall with its lip, and 14 mm deep inside.
| Bins | Size | Compartments | Plates in each bin | Holds |
|---|---|---|---|---|
| 4 | 3 × 2 | 3 × 2, about 40 × 40 mm | 6 of size 1U | LEDs, resistors, headers |
| 2 | 3 × 2 | 4 × 2, about 30 × 40 mm | 2 of size 3U, one for each row | Tiny parts in sets |
| 3 | 1 × 2 | 1 | 1 of size 1U | Wire, jumpers, batteries |
| 3 | 2 × 2 | 2 × 2, about 40 × 40 mm | 4 of size 1U | Beads and buttons |
| 2 | 3 × 4 | 1 | 1 of size 3U | Tape rolls and glue sticks |
| 1 | 1 × 6 | 1 | 1 of size 1U | Pens and scissors |
That's 46 plates: 40 of size 1U (36 × 11 mm) and 6 of size 3U (120 × 11 mm).
Step 1: Size the drawer
The IKEA Alex page has a link that opens a layout sized to this drawer. To use your own size instead:
- In the layout editor, click Add your drawer's measured size, type your width, depth and height, and press Enter.
- Click Fit grid on the card.
For 295 × 522 mm, the grid is 7 × 12, or 294 × 504 mm. That leaves 1 mm across and 18 mm front to back. If your drawer measures under 294 mm wide, the card offers 6.5 units in half-grid mode instead.
Step 2: Draw the bins
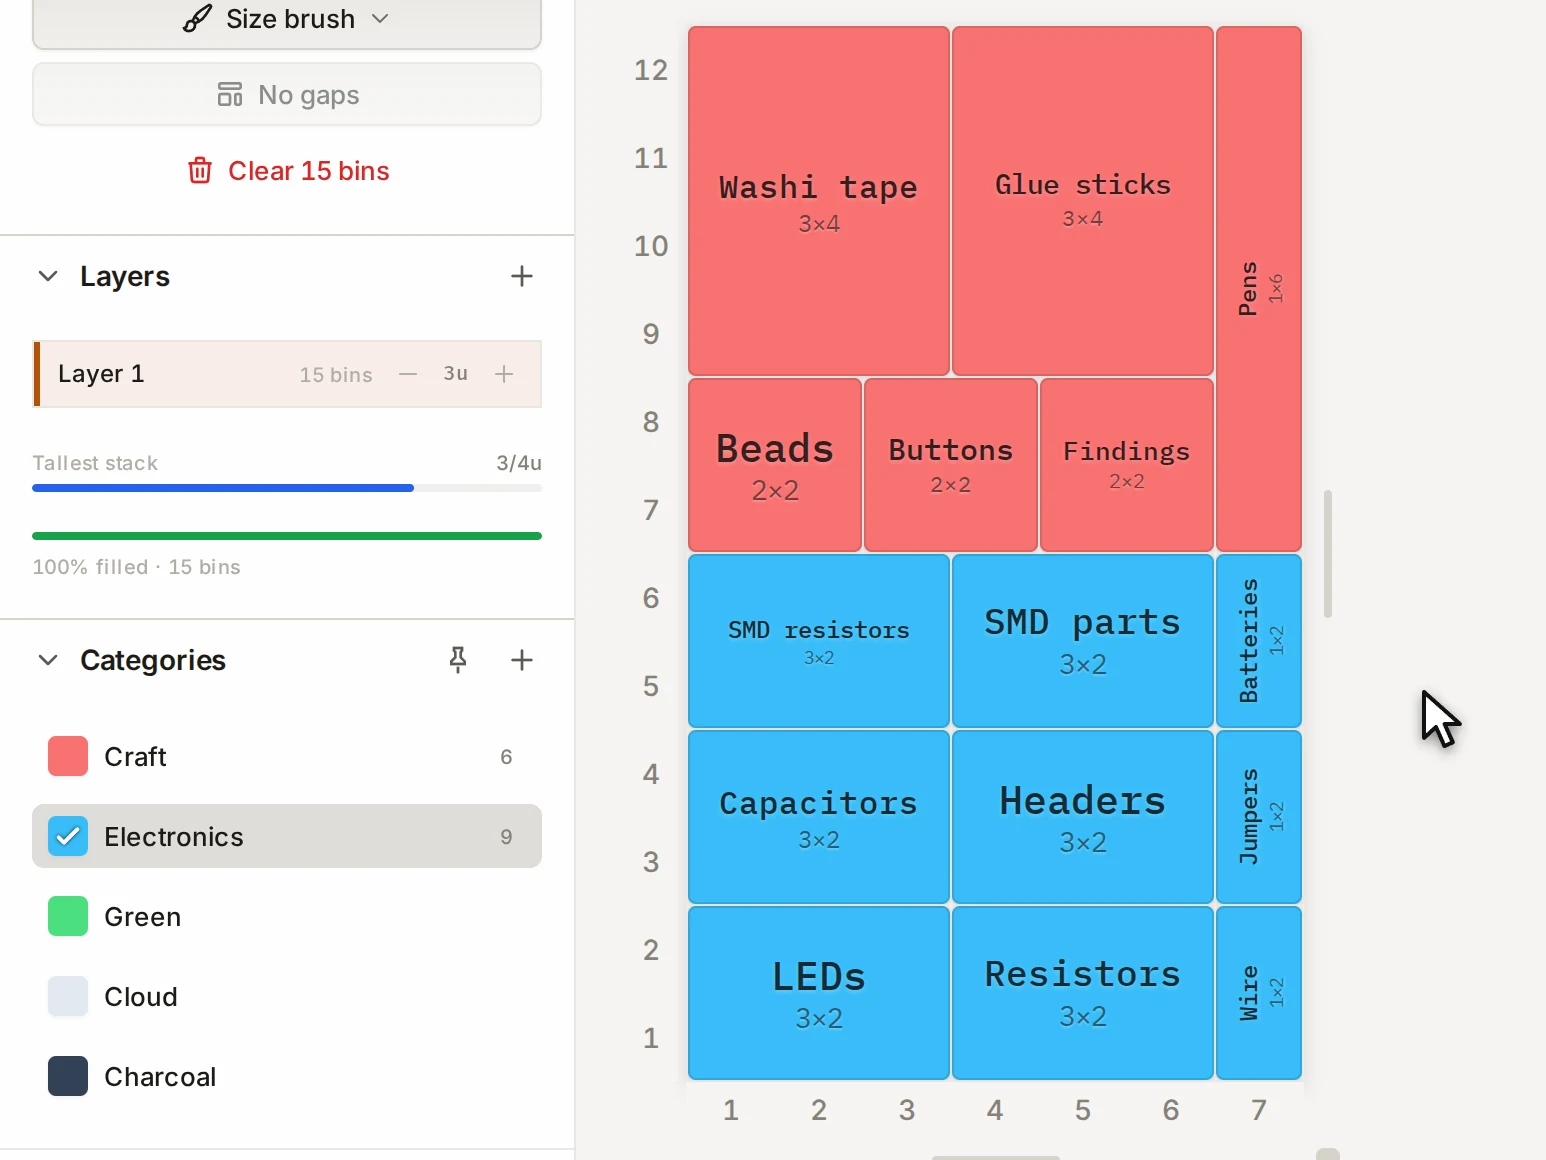
Put electronics in the front rows and craft in the back rows. The bottom of the grid is the front of the drawer.
- Front four rows: four parts trays, two across and two deep.
- Next two rows: the two fine-parts trays.
- Right column, front six rows: the three 1 × 2 bins.
- Back six rows: the bead boxes, then the tape bins, and the 1 × 6 pen bin in the right column.
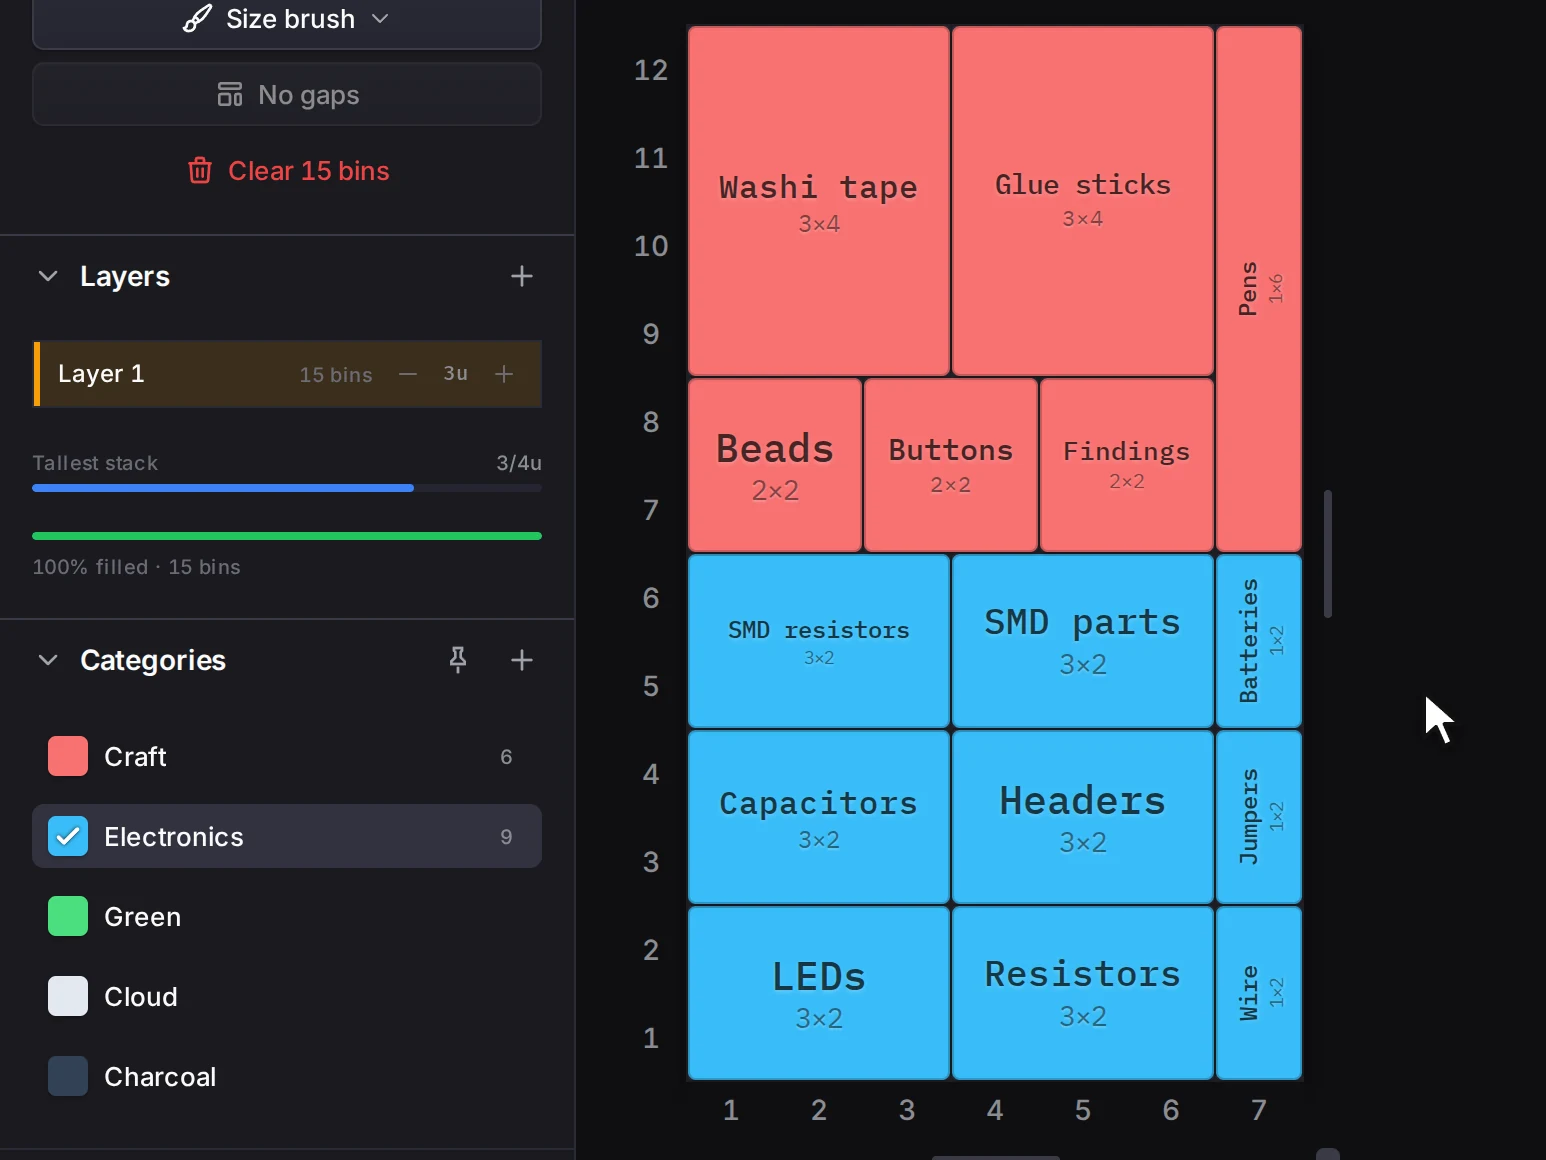
A new layout has five categories. In the Categories group, rename one to Electronics and one to Craft. Select the front bins and click Electronics, then do the same for the back bins and Craft. See Categories and colors.
Step 3: Design a parts tray with plates
- Select a parts tray, and click Create under Linked design.
- In the Interior group, set Columns to 3 and Rows to 2.
- Turn on Label tabs, and pick Swappable label under Label style.
- Type a caption for each compartment in the Label text list, for example LED 5mm red.
- Turn on Removal hole, so a tweezer tip can lift a plate out later.
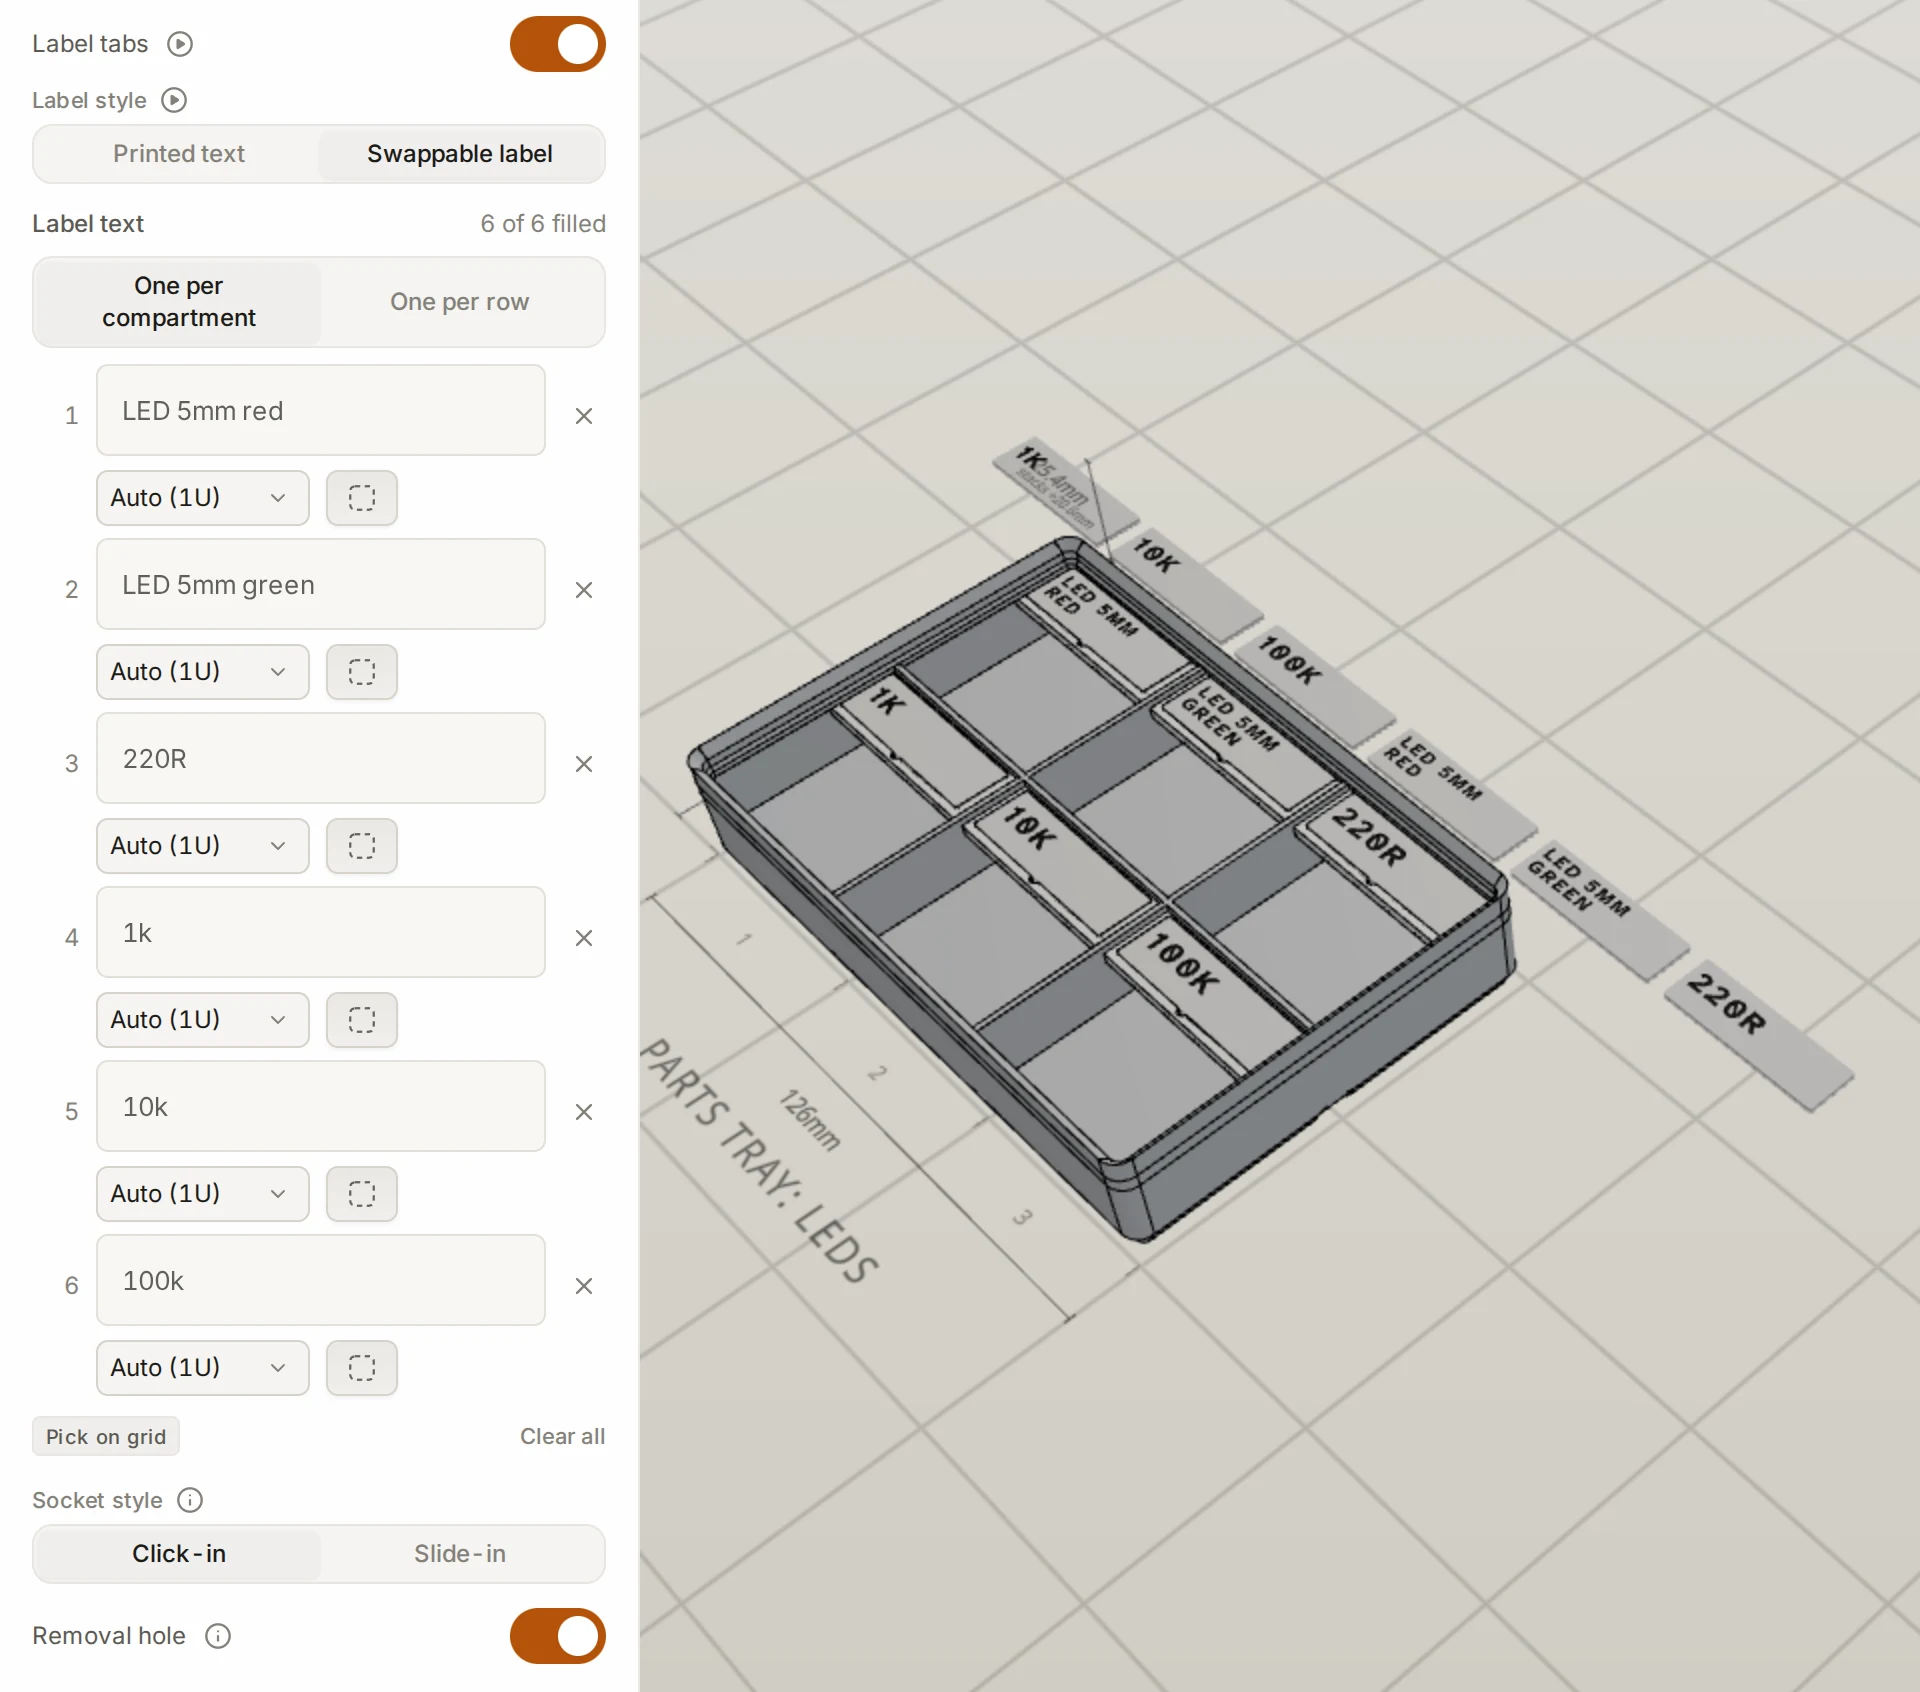
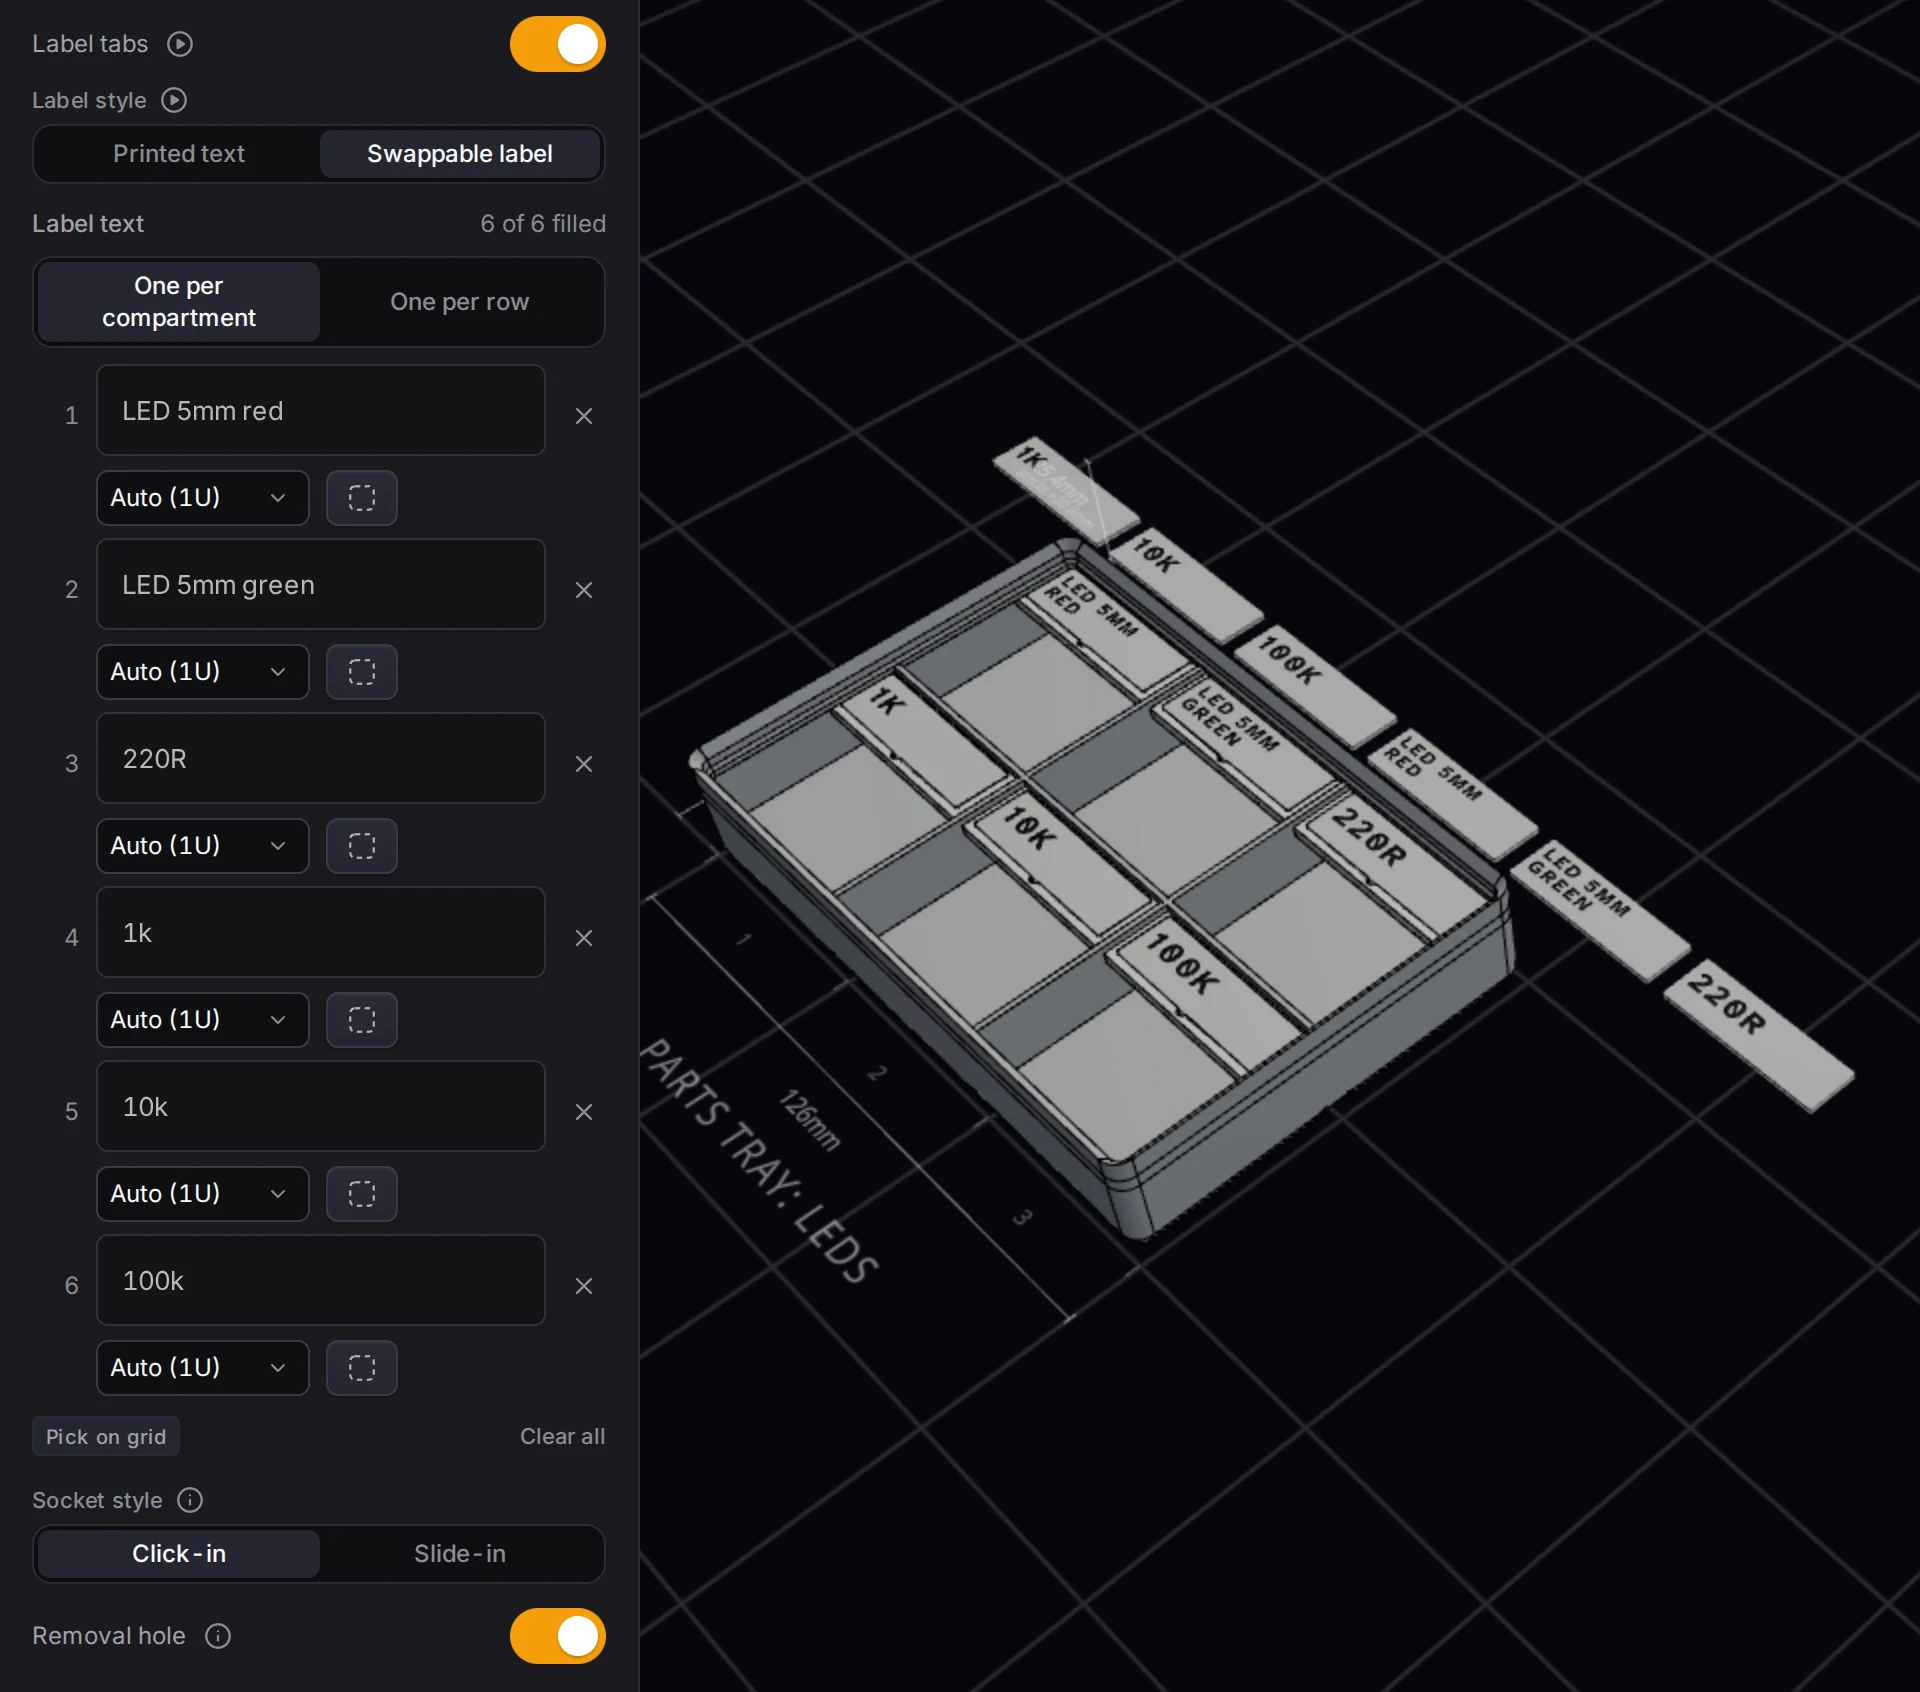
Each compartment is about 40 mm wide, so Auto picks a 1U plate for each. The width menu and an icon picker sit under each caption.
Finish this tray before you copy it in step 6. Each copy then keeps the plate fit and the colors.
Step 4: Test the plate fit
Every printer prints a little differently, so test one plate before you print 46 of them.
- In the label section, open Plate fit and click Print fit test.
- Print the card flat. It has five sockets, from −0.10 to +0.10 mm.
- Find the socket that holds the plate firmly and lets it go cleanly. Type its value in Plate fit offset.
Step 5: Print the labels in two colors
With a multi-material printer:
- Open the Finishing group. Under Color, turn on Multi-color.
- Set the Label tab zone to white, and the Text zone to black.
- To color-code the bins, turn on Top accent under Accent bands, and pick blue.
A 3MF export of the plates prints each plate in the label tab color, with the text in the text color.
With one filament: open the Typography section in the Finishing group. Under Fine tuning, pick Emboss as the finish. The plate is 1.2 mm thick, and the raised letters are a whole number of layers tall. In your slicer, add a filament change at the first layer above 1.2 mm.
Step 6: Copy the tray for every other bin
- Open Saved designs, and use Duplicate on the tray design.
- Open the copy, and change what differs: the captions, and for other bins the size and the columns.
- Repeat for each design, then link each bin in the layout to its design with Link.
You need a copy for each tray or box with its own captions. For the craft bins, change the accent band to orange.
The fine-parts trays use 4 columns. Their compartments are about 30 mm wide, too narrow for a 1U plate each. So each row gets one 3U plate across the full width. Write one caption for the row, for example SMD 0805: 1k 10k 100k.
The 1 × 2, 3 × 4 and 1 × 6 bins have one compartment each. Make one design for each size, and leave its text box empty. Each plate then prints the Bin label of its bin in the layout. So one design serves all three 1 × 2 bins, with three different plates.
Step 7: Export and print
Export the layout with Export and Download ZIP. Pick 3MF to keep the plate and text colors: one project file then holds the bins and the plates. With STL or STEP, the ZIP holds the bins, and the plates in a labels/ folder. The bin list counts the plates too.
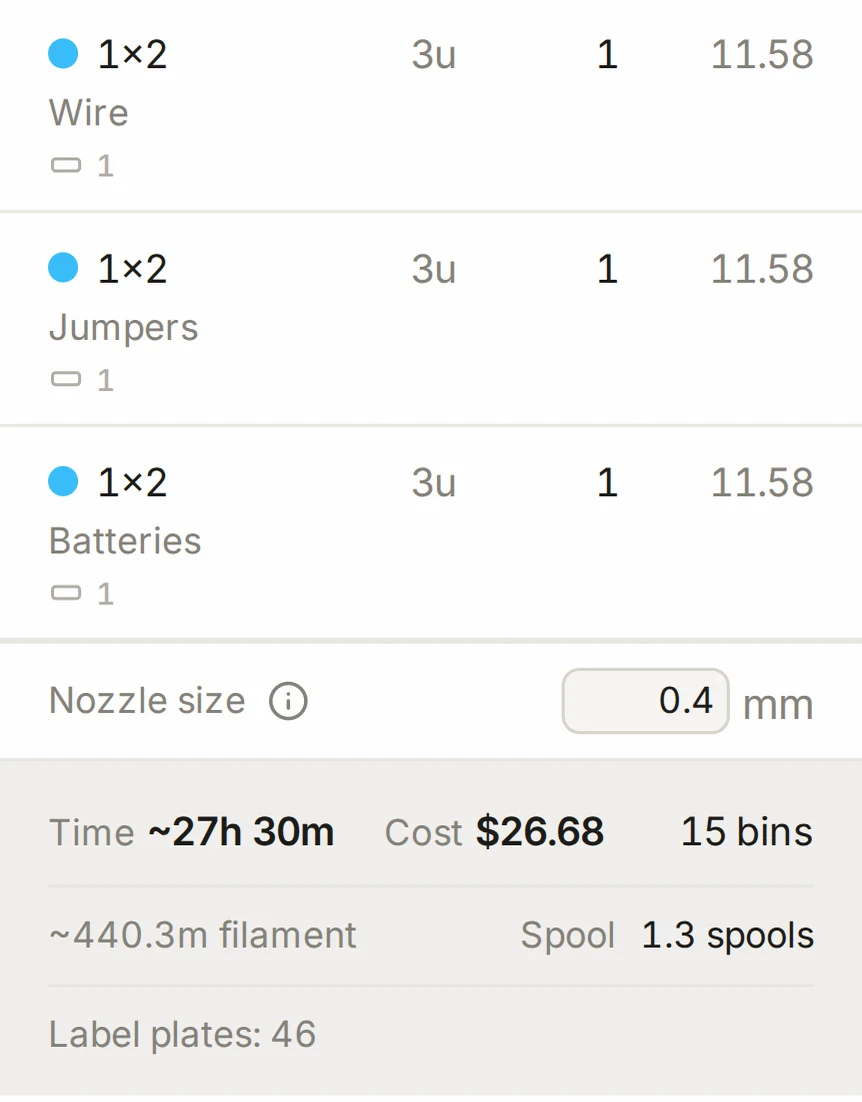
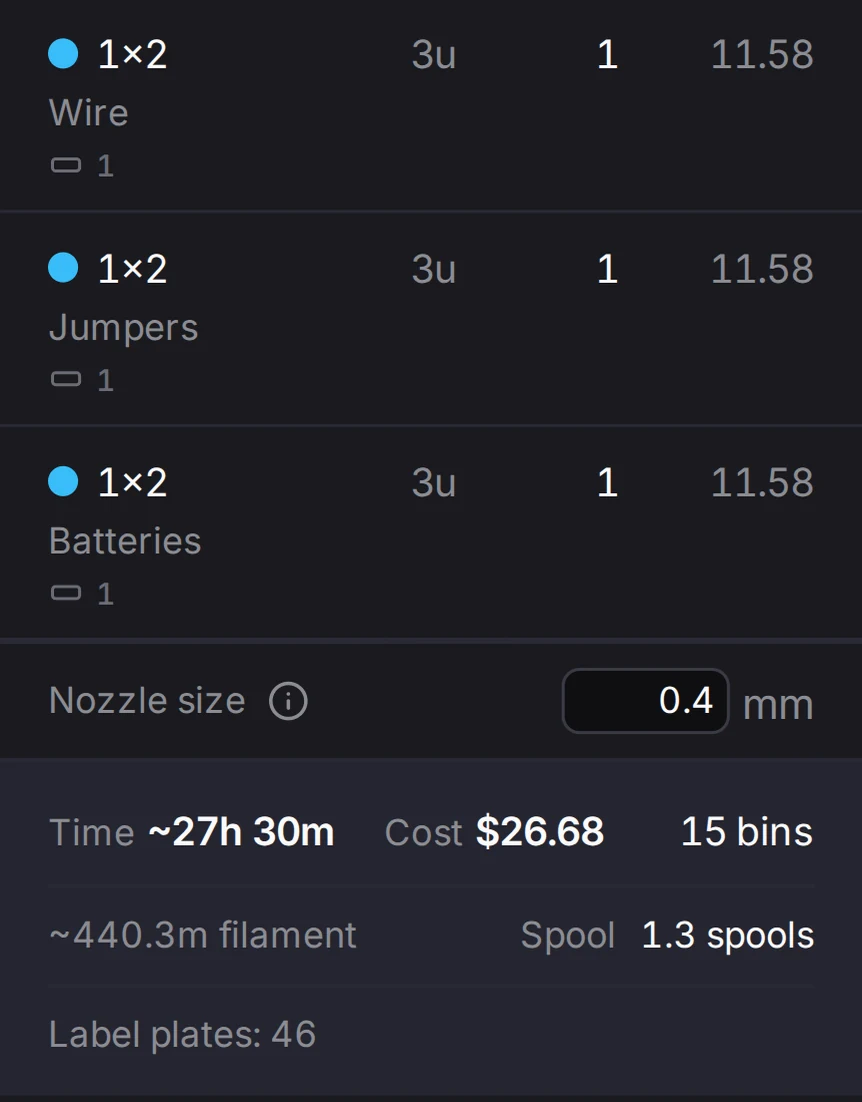
Contents changed? Change the caption in the design, or the Bin label in the layout. Then export the plates again, and print only the new plate.
When it goes wrong
Plates fall out, or won't click in
A negative Plate fit offset makes the fit tighter, and a positive value makes it looser. Each design keeps its own offset, so change it in every design that has sockets. See Swappable label plates.
The letters print in the plate color
With one filament, the change must come at the first layer of the letters. The letter height snaps to the Layer height (slicer) in Settings, on the Print & material tab. Set that value to the layer height in your slicer, and export the plates again.
The plates are not in the bin file
The plates are separate prints, so the bin file never holds them. Use Export plates in the Label plates list, or take them from the layout ZIP. With 3MF they are in the project file, and with STL or STEP in the labels/ folder. See Troubleshooting prints.
Next steps
- Swappable label plates: socket styles, plate widths and icons
- Colors: every color zone, accent bands and palettes
- Slicer setup: map the colors of a 3MF file to your filaments
- IKEA Alex drawers: the grids that fit the other Alex units