
Gridfinity in five minutes
Gridfinity is an open storage system for 3D printers. Bins sit on a grid plate in your drawer, and any Gridfinity bin fits any Gridfinity plate. Learn two numbers and three parts, and you're ready to plan your first drawer.
Two numbers
Almost all of Gridfinity comes from two sizes.
The grid unit is 42 mm. Think of the drawer floor as square tiles, 42 × 42 mm each. One tile is one grid unit, and you give the size of each bin in tiles. A 2 × 3 bin is 2 grid units wide and 3 grid units deep, which is 84 × 126 mm.
The height unit is 7 mm. Bin heights count in height units of 7 mm. The count includes the base of the bin, so the usable depth is one unit less than the height.
| Bin height | Body height | Usable depth (about) |
|---|---|---|
| 3 height units | 21 mm | 14 mm |
| 4 height units | 28 mm | 21 mm |
| 6 height units | 42 mm | 35 mm |
Some drawers need a smaller step. A half grid unit is 21 mm. In the Layout Tool, Half-grid mode lets bins use sizes and positions in steps of 0.5 grid units. Press H to turn it on or off.
The parts of a drawer
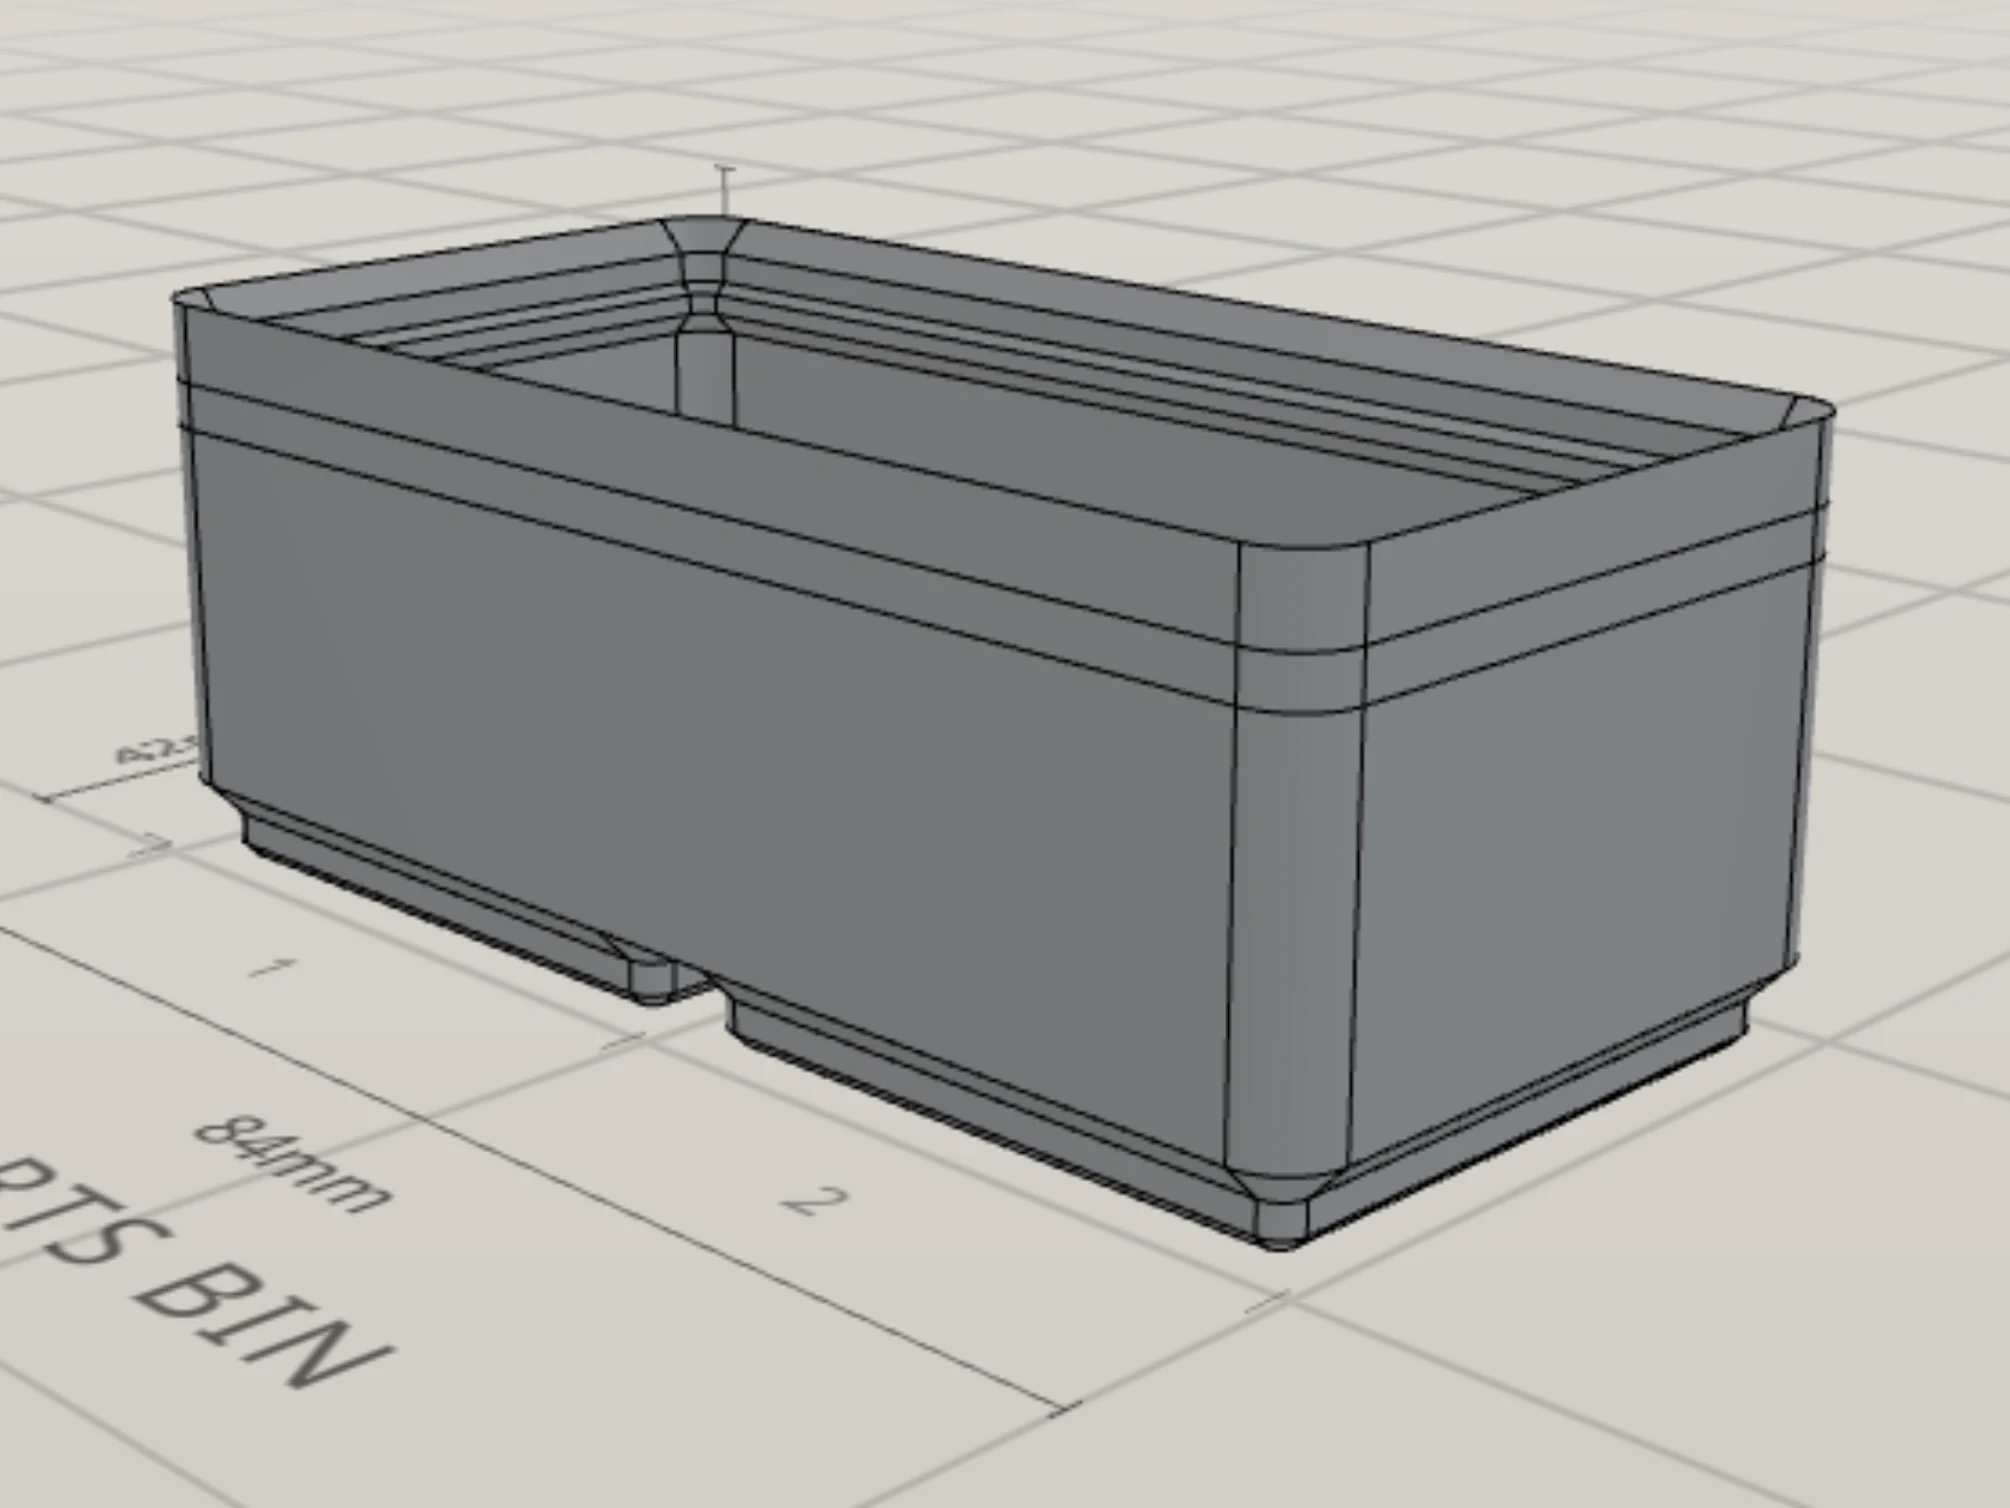
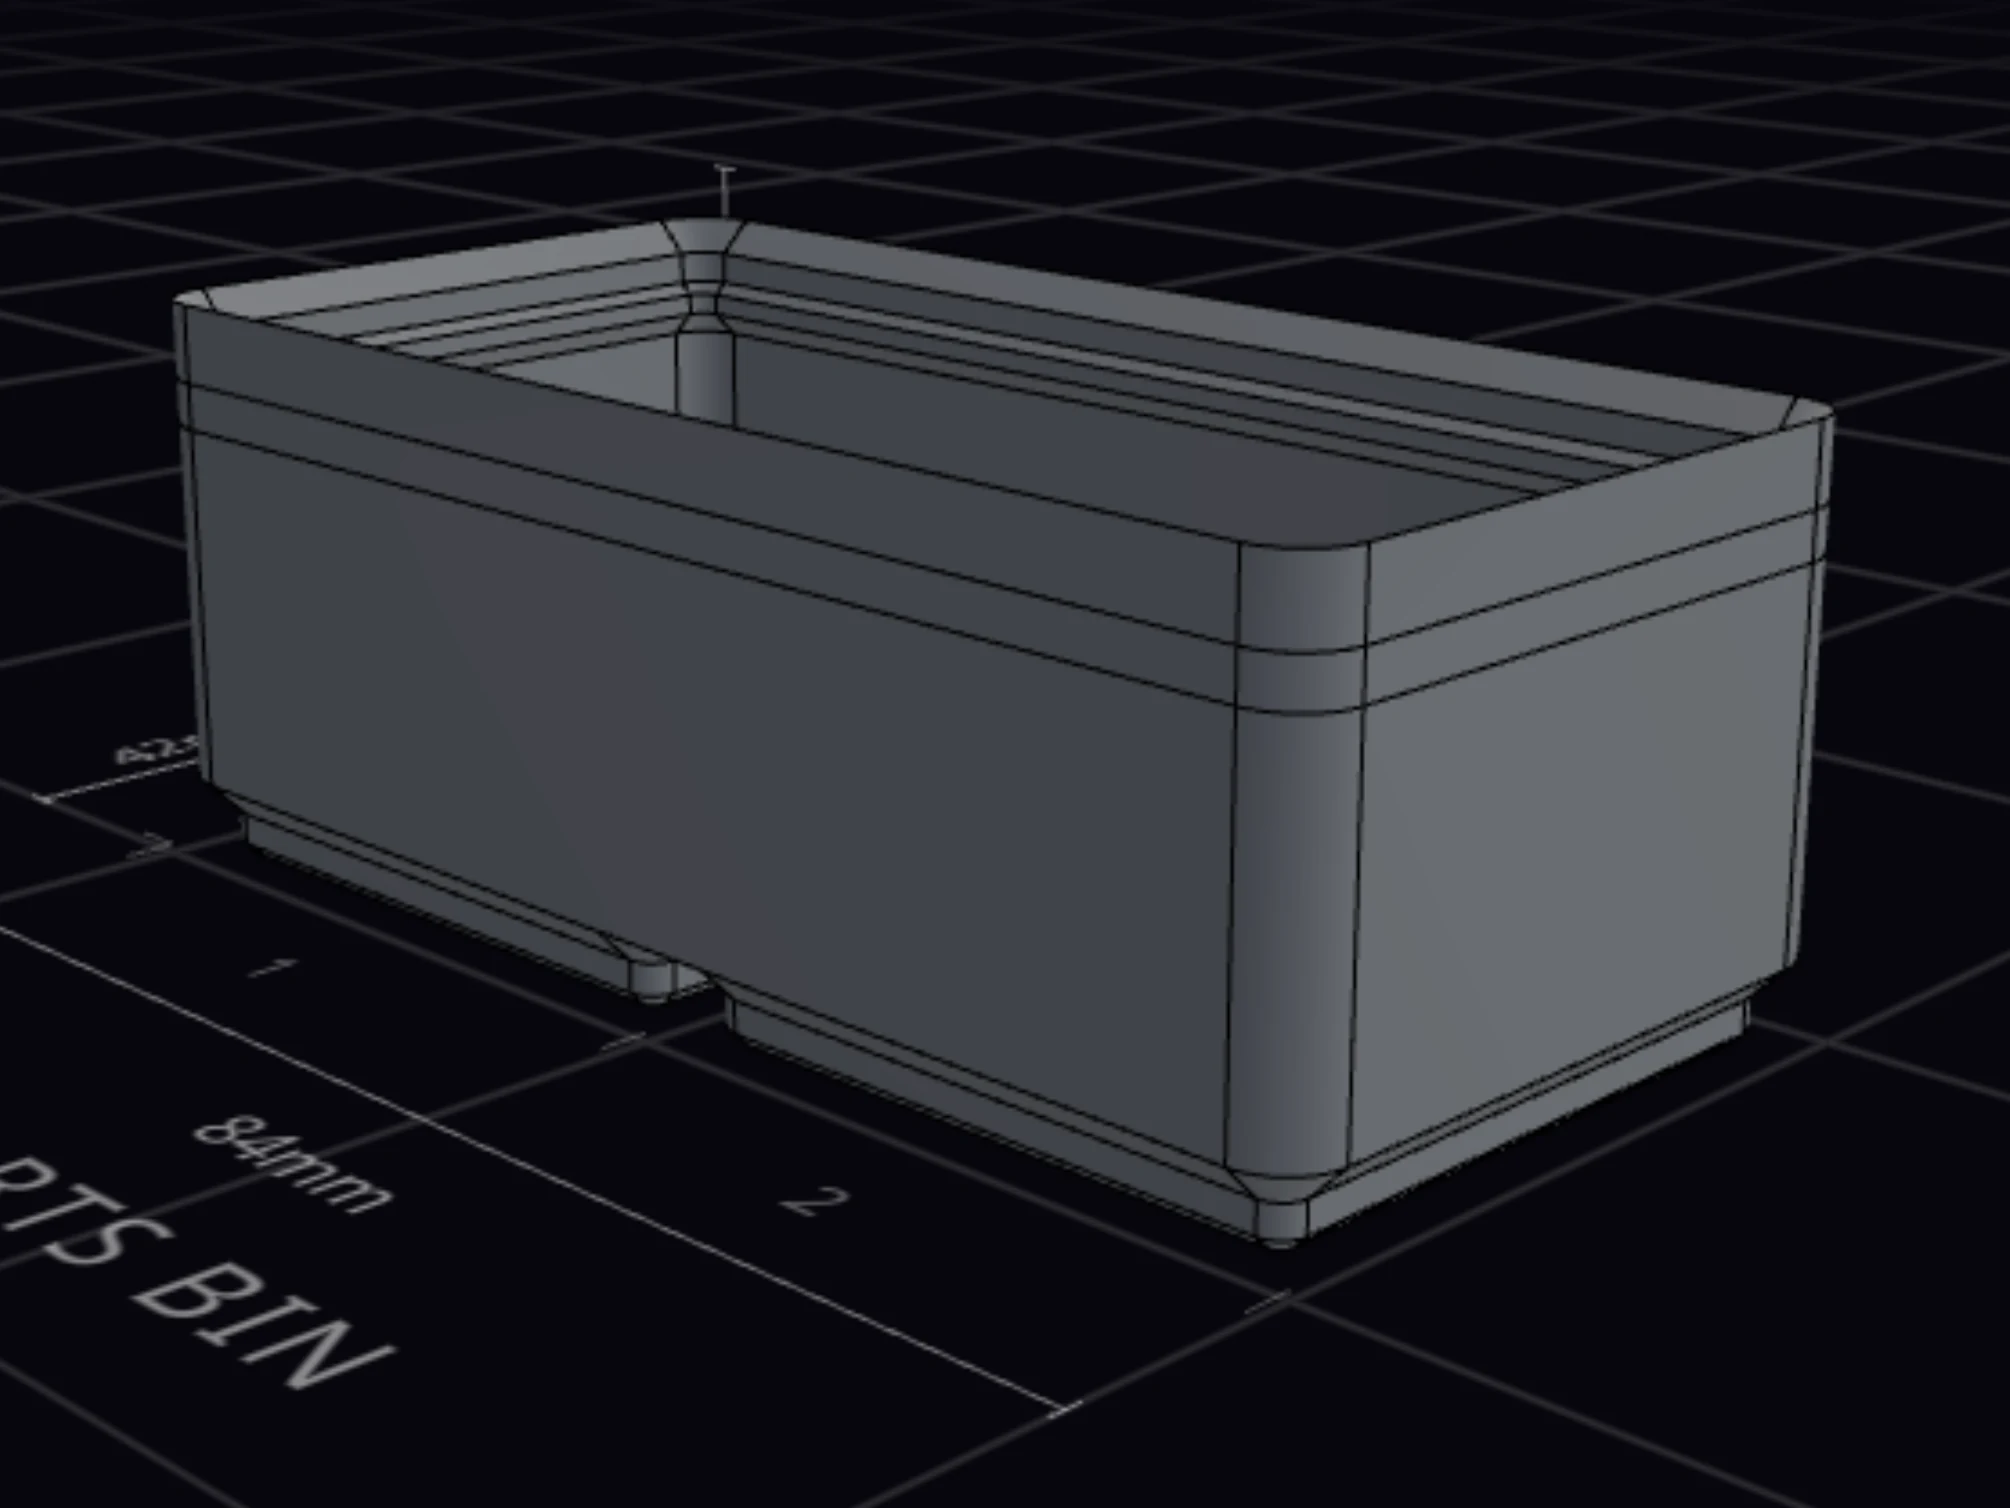
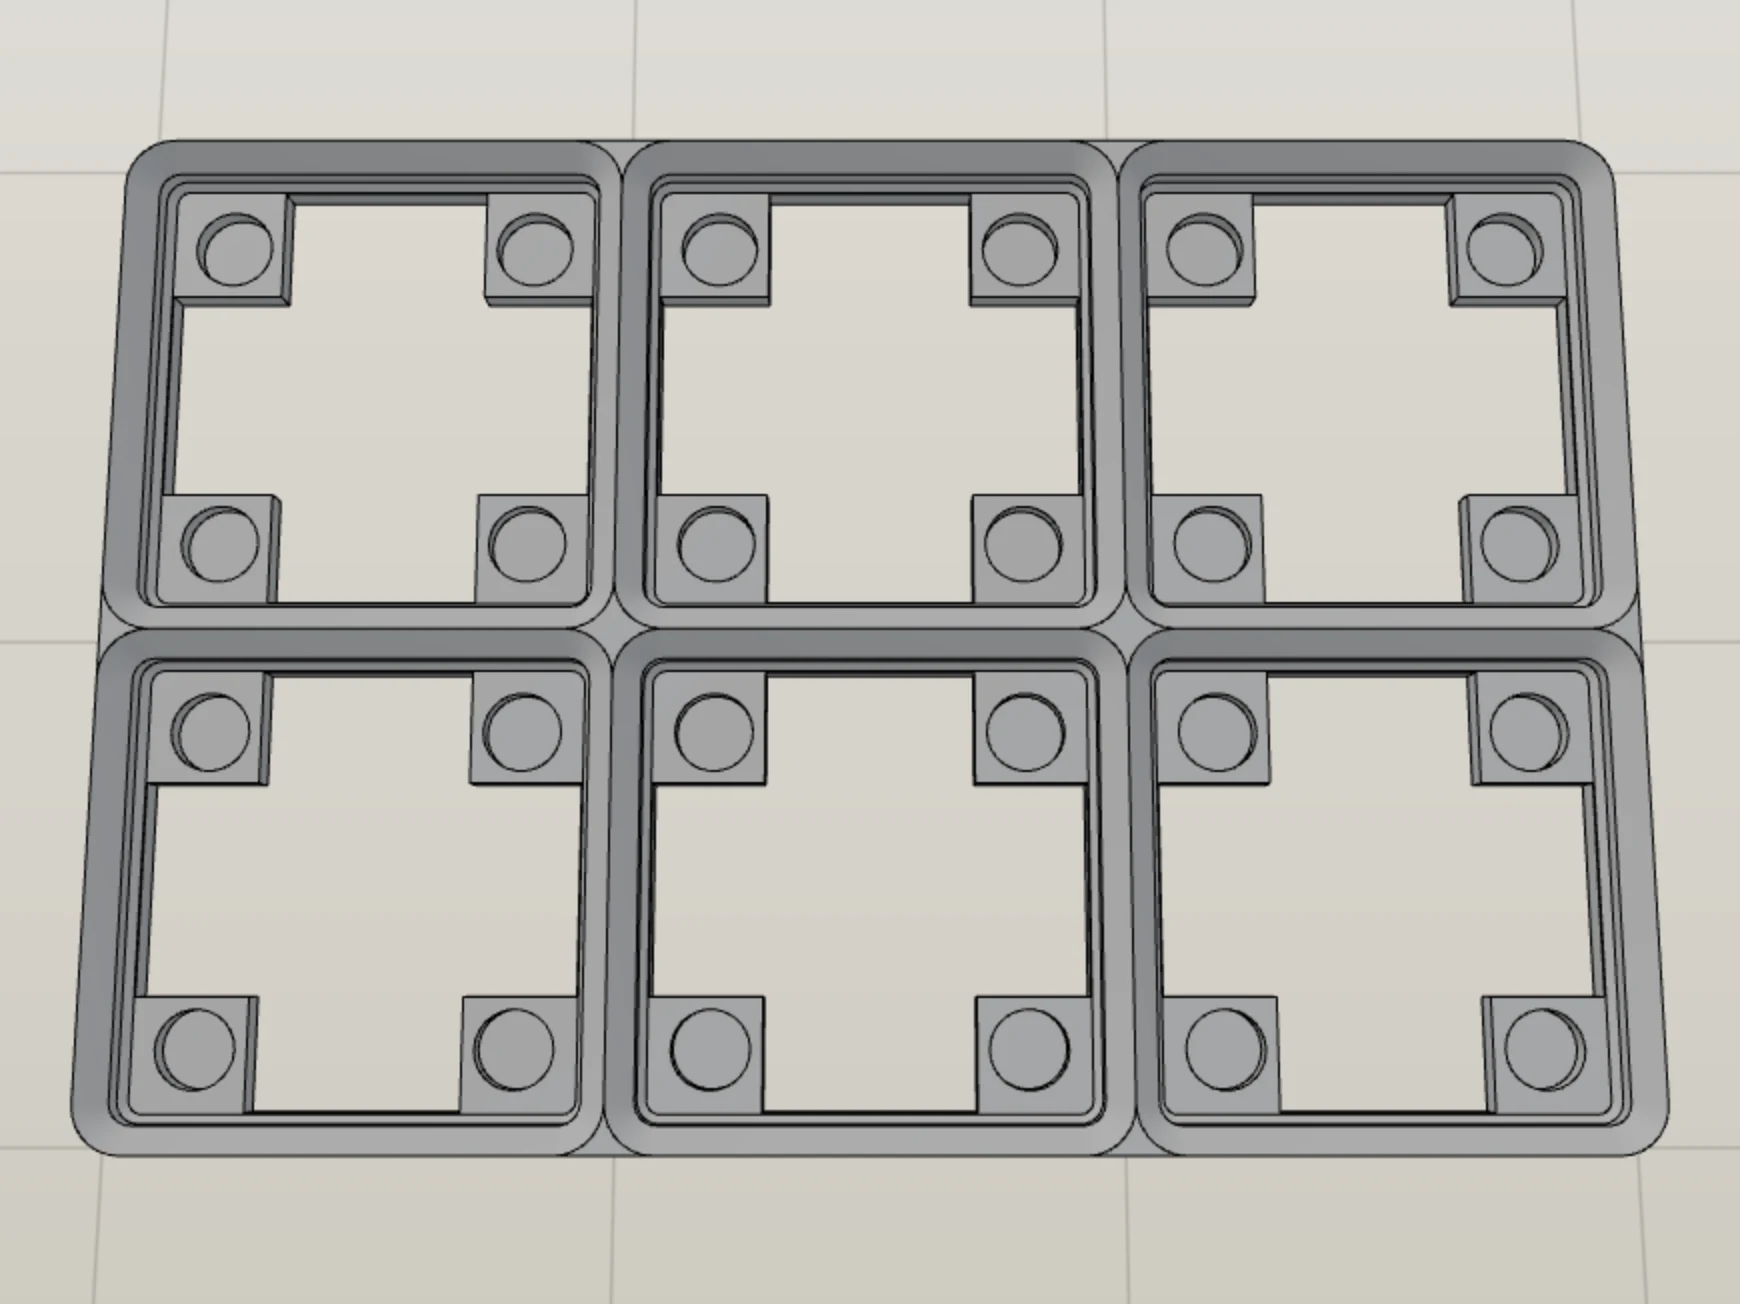
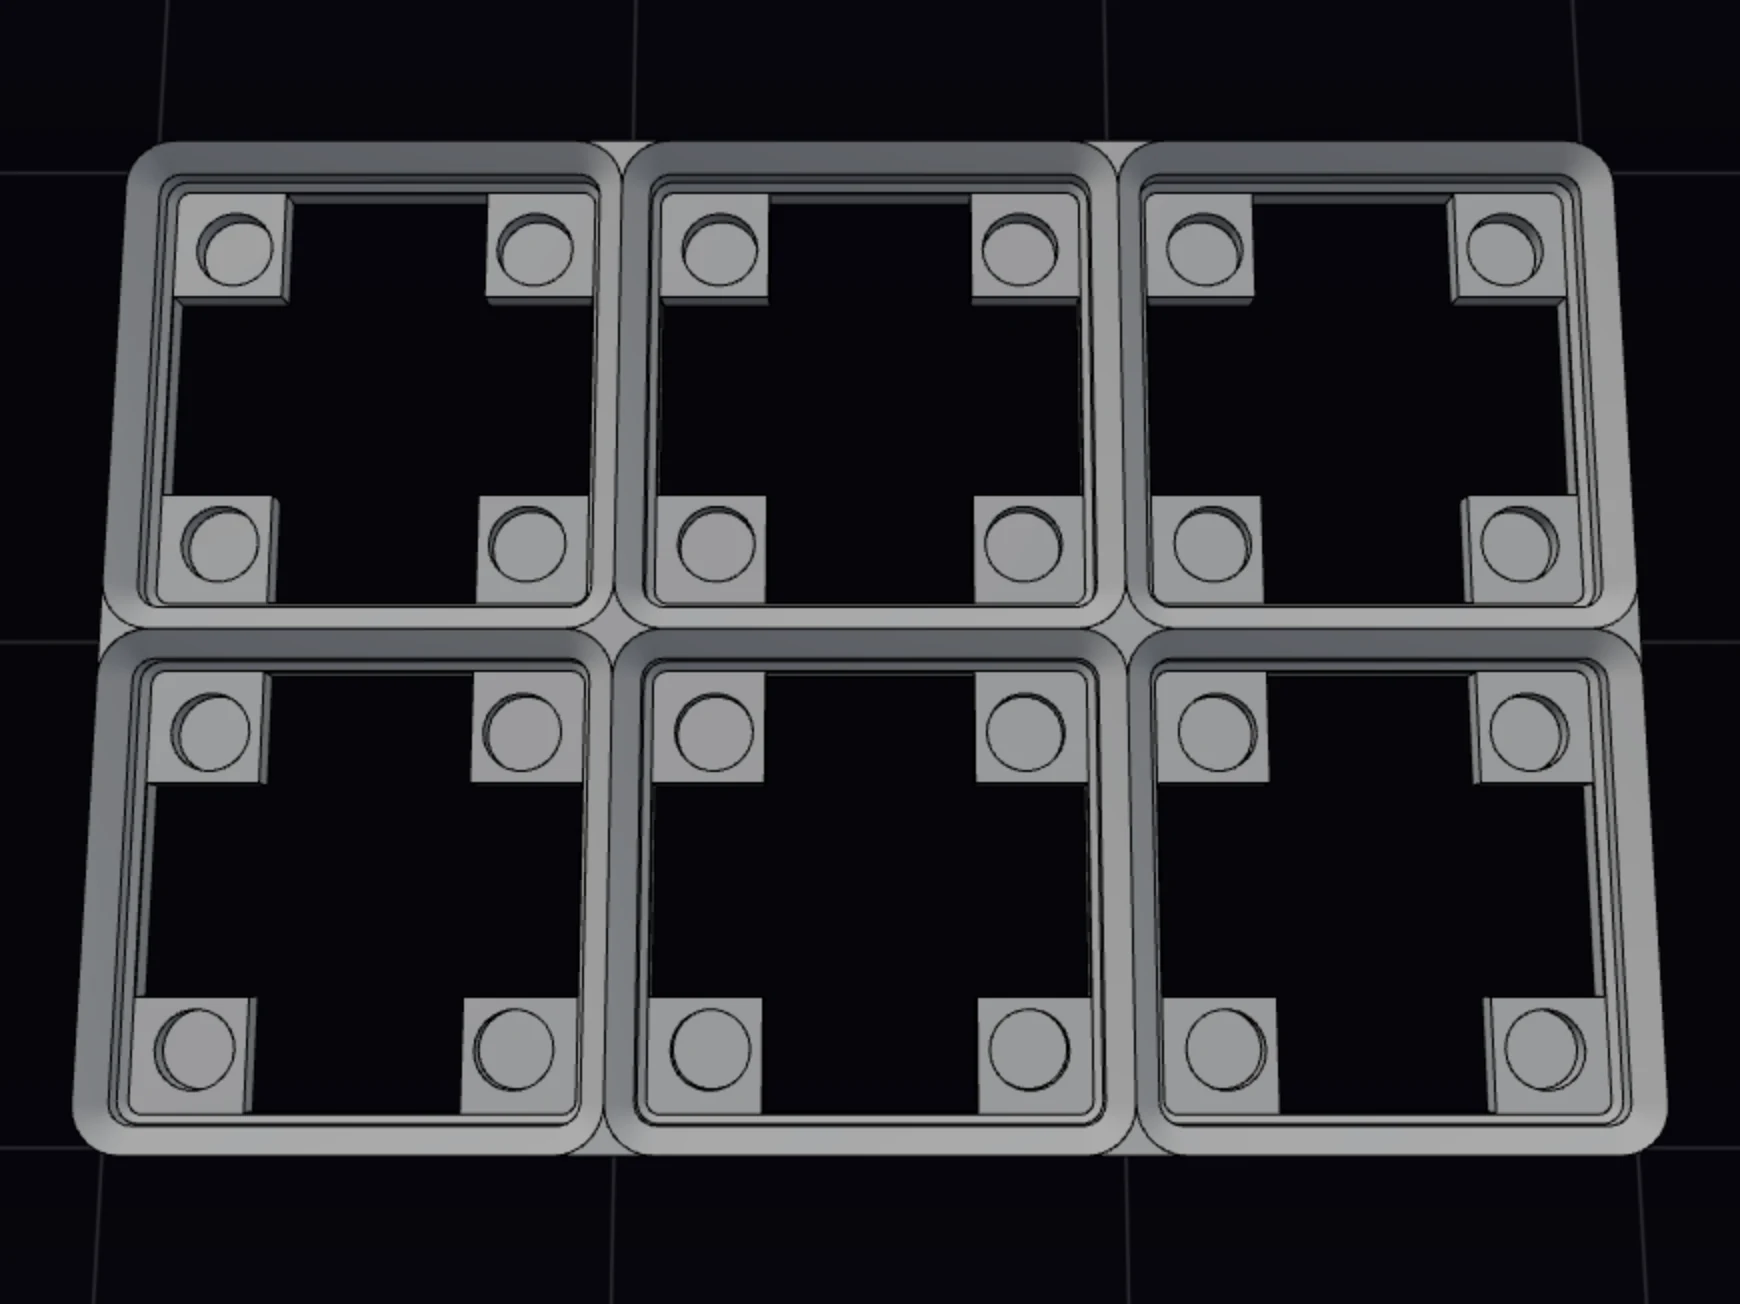
The baseplate is a flat plate with a raised grid pattern. It sits on the floor of the drawer, and you print it once. A plate is about 5 mm thick. Is the drawer larger than your print bed? Then the plate prints in pieces that sit side by side.
The bin holds your stuff. Under the bin, each grid unit has a shaped foot. The feet drop into the baseplate pattern with about 0.5 mm of clearance. Bins stay put when you open the drawer, and you lift them out when you need them.
The stacking lip is the top edge of a standard bin. It has the same shape as the baseplate pattern, so one bin can sit on top of another. The lip adds about 4.4 mm above the bin body. In the bin designer, Stacking lip is on by default.
Check the drawer height
Before you print tall bins, add up the heights. Your tallest bin plus its lip (about 4.4 mm) must fit under the closed drawer. A plain baseplate adds almost no height, because the feet sit in its pockets. Magnet holes in the plate add the magnet depth plus about 0.6 mm.
You don't have to do this math by hand. Give the layout editor the measured height of your drawer, and it checks the fit for you. Plan your first drawer shows how.
Magnets and screws
Magnets are optional. The shape of the feet holds bins well enough in a drawer that opens and closes normally. Add magnets when a drawer gets hard use, or when you want a plate to stay on a steel surface. Not sure? Leave them out of your first drawer.
| Where | Option | What it does |
|---|---|---|
| Baseplate generator | Magnet holes | Holes in the top of the plate for magnets that hold the bins. |
| Baseplate generator | Underside magnets | Holes in the bottom of the plate, so it holds to a steel drawer. |
| Baseplate generator | Screw down | Holes to attach the plate to a drawer bottom, a bench or a wall. |
| Bin designer | Magnet holes | Holes in the feet of a bin for magnets. |
The default magnet holes suit the common 6 × 2 mm disc magnet. The holes are 6.5 mm wide, so the magnet has some clearance.
Other grid sizes
The Layout Tool uses 42 mm and 7 mm by default. Keep them unless you build a system of your own. To change them, open the Physical units group in the layout editor sidebar.
- Grid unit can be 20 to 60 mm.
- Height unit can be 3 to 20 mm.
Changed your mind? Reset to Gridfinity standard sets both values back to 42 mm and 7 mm.
Learn more
- What is Gridfinity?: how the system works, print settings, and common mistakes
- Gridfinity sizes: all sizes in millimeters and inches, and how to convert a drawer to grid units
Next steps
- Plan your first drawer: put these numbers to use in the layout editor
- Units and sizes: how the Layout Tool converts between grid units, height units and millimeters
- Gridfinity dimensions: every dimension in one table