What is Gridfinity?
A practical walkthrough of the 3D-printed storage system: what Gridfinity is, what you need to print your first drawer, and how to plan one that fits. Start here if you own a 3D printer and a drawer that has got away from you.
Gridfinity is a free, open-source storage system you 3D print: bins rest on a 42mm baseplate grid, so every maker's design fits. Standard bin sizes mean anything you print is interchangeable with anything anyone else prints. Zack Freedman, a maker and YouTuber, created it in 2022, and there are now over 10,000 free designs on Printables alone.
The idea is simple: everything uses a 42mm grid. Bins rest on baseplates. Baseplates tile to fill any drawer. When you need to reorganize, pick up the bins and move them.
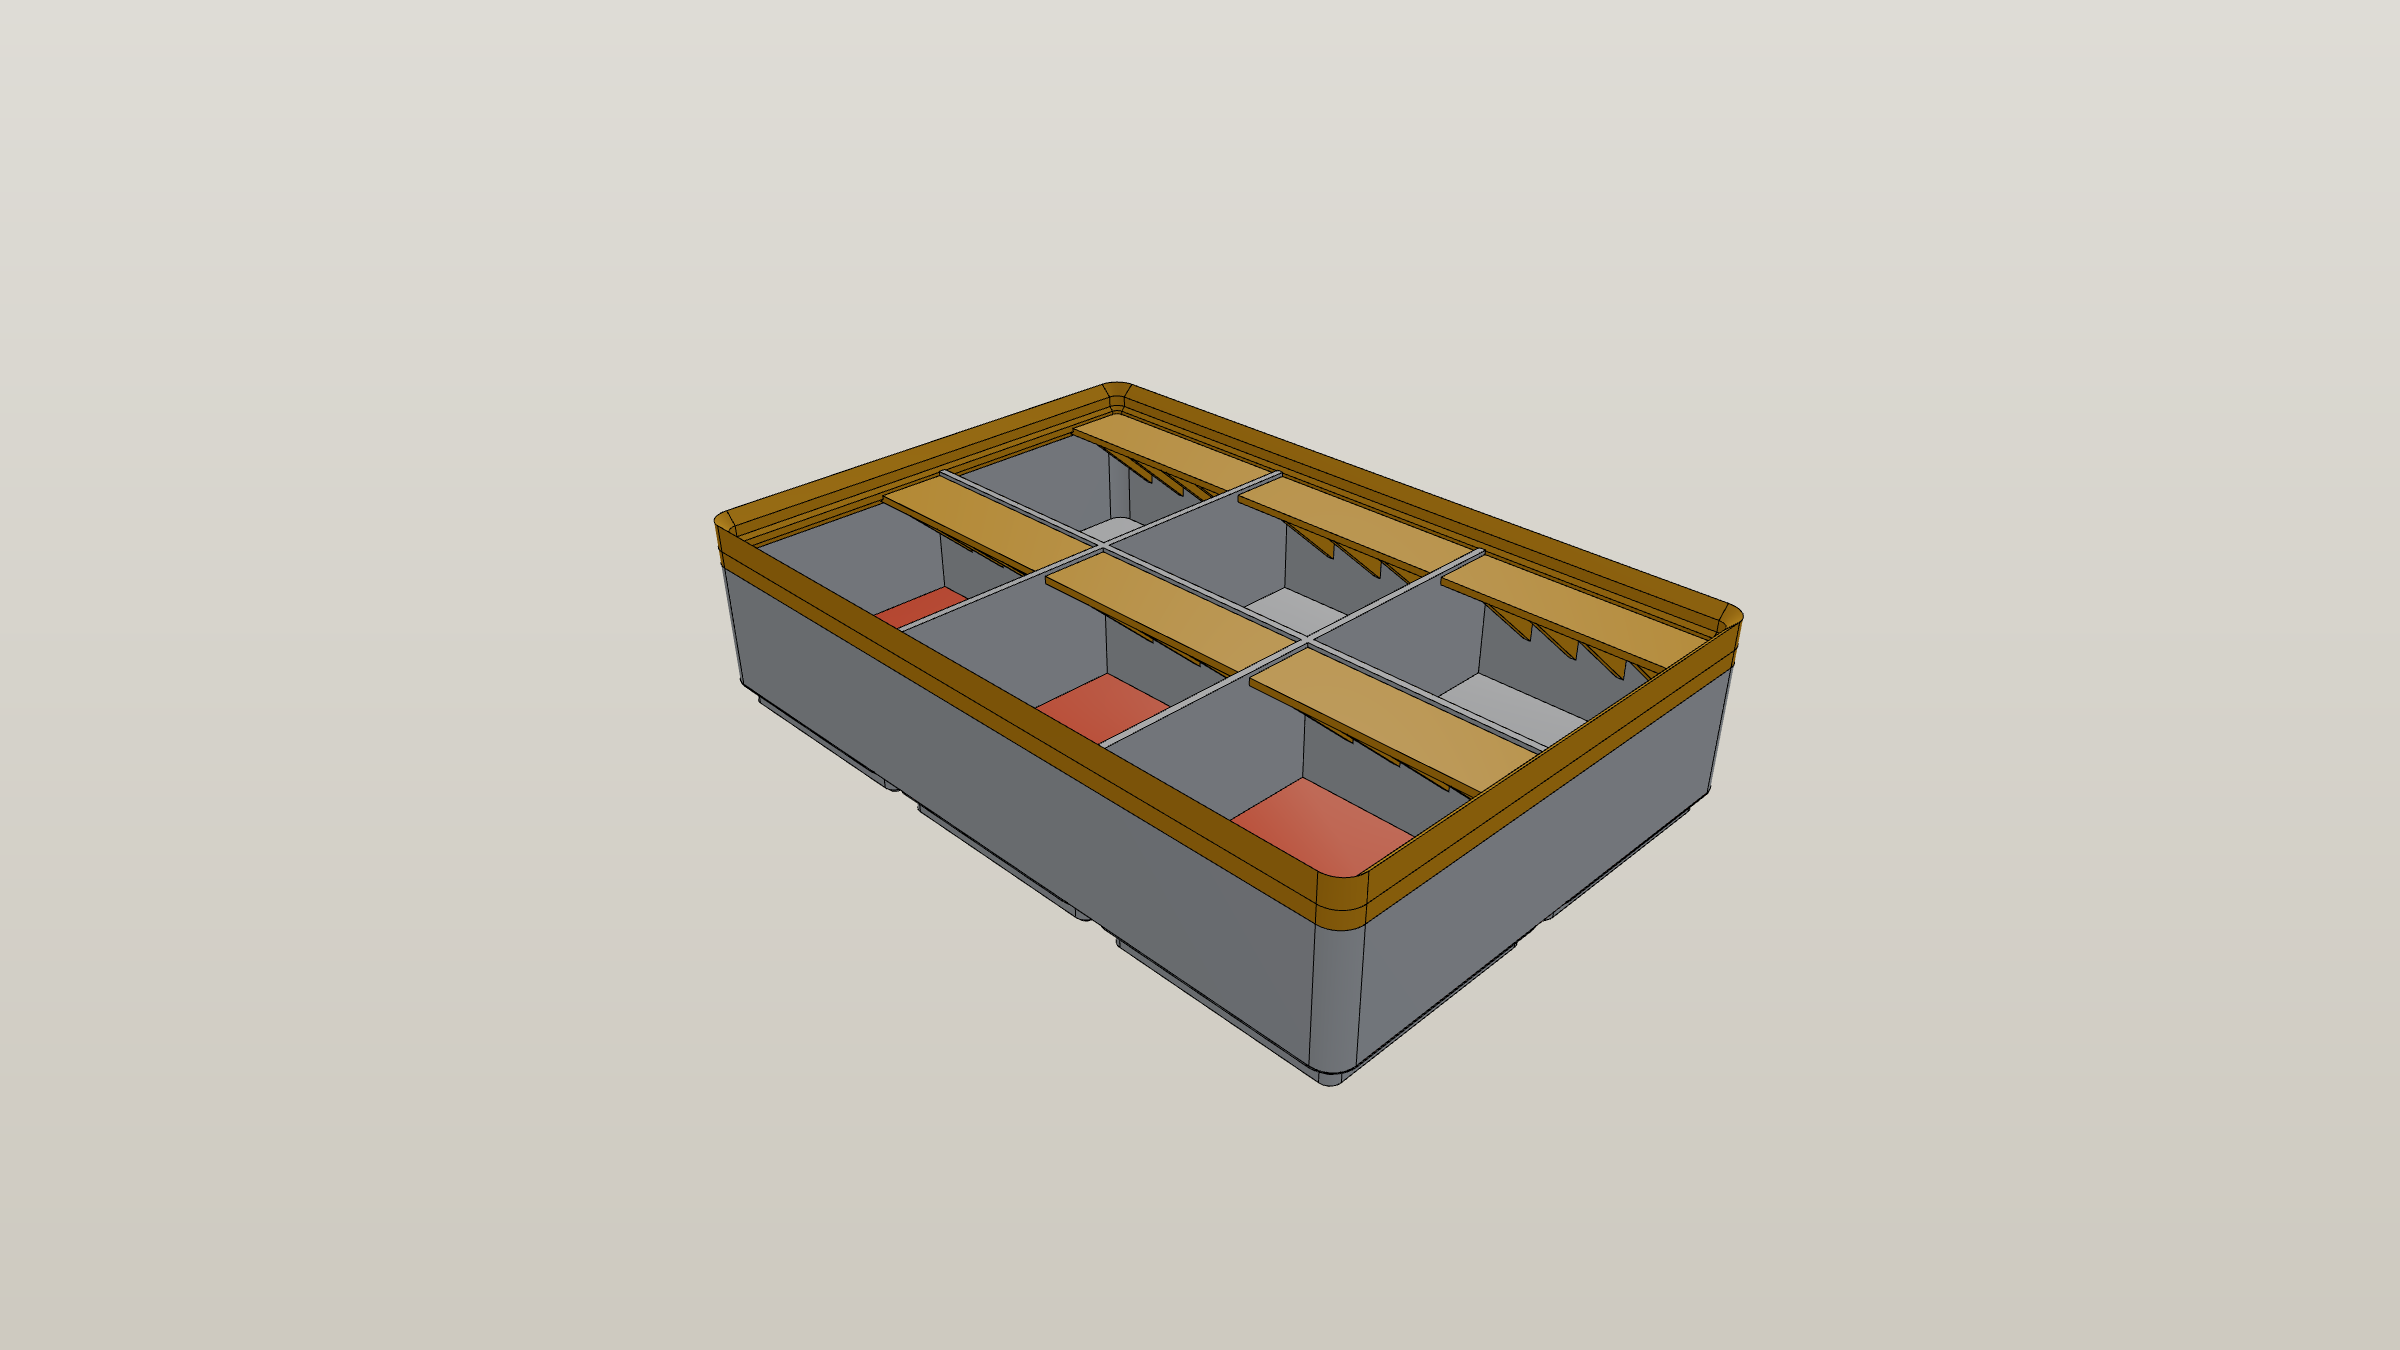
How Gridfinity Works
A Gridfinity setup has two parts.
Baseplates go in your drawer. They're flat tiles with a raised grid pattern that holds bins in place. You tile them to cover whatever space you have.
Bins hold your stuff. They come in grid sizes (1×1, 2×2, 3×1, and so on) and heights measured in 7mm units.
The bins have a profiled base that mates with the baseplate pattern. They stay put when you open the drawer but lift out easily when you need them.
The two numbers that define everything
Almost all of Gridfinity reduces to two measurements:
- 42mm is one grid unit in width and depth. A 2×3 bin is 84mm × 126mm.
- 7mm is one height unit, usually written "U". A 6U bin body stands 42mm tall.
One detail trips up nearly everyone at the start: height units include the base, so the usable depth inside a bin is about (height − 1) × 7mm. A 3U bin stands 21mm tall but only gives you around 14mm of interior. If you need 21mm of clearance for whatever you're storing, print a 4U bin. The sizes and dimensions reference has the full tables in millimeters and inches.
The parts that make it fit together
Three pieces of geometry do the actual work:
The base socket. The underside of every bin has a tapered profile that drops into the baseplate's grid. It's cut with about 0.5mm of clearance so bins seat without binding, which is also why bins from two different designers interchange rather than jamming.
The stacking lip. The top rim of a bin mirrors the base profile, so bins stack on each other exactly the way they sit on a baseplate. The lip adds roughly 4.4mm above the bin body. Worth remembering when you're checking whether a drawer closes.
Magnet and screw holes (optional). Baseplates can carry 6mm × 2mm magnets at each grid intersection, or M3 screw holes to fix them down. Neither is required. The profile alone holds bins fine for a drawer that opens and closes normally.
Why People Use It
You print exactly what you need. No buying a 12-pack of bins when you need two. No hunting for a size that nearly fits. If a bin exists for your specific drill index or socket set, you print that.
Everything is compatible. A 2×2 bin from one designer works with a baseplate from another. Every design follows the same spec, so a library built over years stays usable.
Reorganizing is free. Layouts change. When the drawer's contents change, you pick the bins up and put them down somewhere else instead of starting over.
It's genuinely free. The designs are open source. The only cost is filament, and a typical bin uses 20-40 grams of PLA.
How to Build Your First Gridfinity Drawer
The whole process is six steps, and the first one matters more than the rest.
1. Measure the drawer
Measure the usable interior, not the outside and not the front opening. Drawers routinely narrow toward the back, have a lip at the front, or lose height to a slide rail. Measure width, depth, and the height available under whatever sits above the drawer when it's closed.
Take the smallest measurement you find on each axis. A drawer that's 402mm at the opening and 396mm at the back is a 396mm drawer.
2. Convert to grid units
Divide by 42 and round down. A 396mm width gives 9 full grid units (378mm) with 18mm left over. That leftover is normal and fine, and you can center the baseplate or push it to one side. The drawer calculator does this conversion and tells you the maximum bin height that will clear.
3. Plan the layout before printing anything
This is the step that saves filament. Decide what goes in the drawer, then which bin sizes hold those things, then where they sit. Doing it on screen takes minutes; doing it by reprinting takes days.
The layout planner is built for this: set the drawer size, draw bins onto the grid, label them, and export a print list of exactly what to make. If you'd rather follow a worked example, the planning guide walks through a full drawer start to finish, and there are step-by-step builds for a tool drawer and a kitchen drawer.
4. Print the baseplates
Baseplates print flat on the bed with no supports. If your drawer is wider than your printer, split the baseplate into pieces that fit and lay them side by side in the drawer. They don't need to be a single part, and the seams disappear once bins are on top. The baseplate generator sizes a plate to your drawer, adds edge padding for the leftover millimeters, and splits it to your print bed automatically.
5. Print the bins
Bins print upright, no supports. Start with two or three, not the whole drawer. Check that they seat properly on your baseplate and that the fit feels right before you commit twenty hours of printing.
If nothing in the community libraries matches what you're storing, the bin generator makes one to your dimensions with compartments, label tabs, scoop ramps, and floor cutouts, exporting STL, STEP, or 3MF.
6. Load it and change your mind
Put everything in. Live with it for a week. You will move things, and that's the point of the system rather than a failure of your plan. Print replacements for the bins that turned out wrong.
Print Settings That Work
Gridfinity is undemanding. These settings cover nearly everything:
| Setting | Value | Why |
|---|---|---|
| Layer height | 0.2mm | Good balance of speed and a clean base profile |
| Infill | 15-20% | Bins are mostly walls; more infill adds time, not strength |
| Perimeters | 2-3 | Three if the bin holds anything heavy |
| Supports | None | The geometry is designed to print unsupported |
| Material | PLA | PETG for durability, ASA or ABS for hot spaces |
Two things worth knowing:
If your slicer wants supports, something is wrong. Standard bins, baseplates, and scoop ramps are all designed to print unsupported in their default orientation. Supports usually mean the model got rotated, or a custom feature was added with too aggressive an overhang.
Don't over-tune tolerances. The 0.5mm clearance in the spec already accounts for normal printer variation. If bins feel tight, the fix is usually to check your first layer or elephant's foot compensation rather than to scale the model.
Where to Find Designs
The community has already solved most common problems: screwdriver holders, battery organizers, drill bit trays, cable management, socket rails, pen cups.
The main repositories:
- Printables is the largest collection with the best filtering
- Thangs lets you search by similar shape
- MakerWorld is popular with Bambu Lab owners
Search by what you're storing plus the size, for example "gridfinity 2x2 battery holder" rather than just "gridfinity". If nothing fits, generating a custom bin is usually faster than modifying someone else's model, and the software comparison covers when to reach for a generator, OpenSCAD, or full CAD.
Common Mistakes
Measuring the drawer opening instead of the interior. The single most common cause of a baseplate that doesn't fit. Measure the narrowest point on each axis.
Forgetting the stacking lip in the height budget. A bin's stated height is its body. The lip adds about 4.4mm on top. On a tight drawer that's the difference between closing and not.
Confusing height units with interior depth. A 3U bin is 21mm tall and about 14mm deep inside. Buying into the wrong number here means reprinting.
Designing a baseplate bigger than the print bed. Split it into pieces instead. Nothing about the system requires a one-piece plate.
Printing the whole drawer before testing one bin. Print two, check the fit, then commit.
Adding magnets you don't need. They cost money and printing time, and the plain profile is sufficient for a drawer that opens and closes normally.
What You Need to Start
- A 3D printer. Any FDM printer works. PLA is standard.
- Measurements. Your drawer's usable interior in millimeters. The sizes reference has conversion tables.
- A plan. How many grid units fit, which bins you need, and where they go.
This tool handles step 3. Mock up the layout, see how it fits, then export a list of what to print. You can also generate custom bins and baseplates with STL, STEP, and 3MF export directly in your browser, with no account and nothing to install.
Next Step
If you're ready to plan a drawer, the guide walks through measuring, planning, and exporting a print list.