
Make your first baseplate
The baseplate is the grid in the bottom of your drawer that your bins drop into. Let's make one. You'll take the size from your layout, add magnet holes if you want them, split the plate to fit your printer, and export the files.
Do the first drawer tutorial first, so that your layout has the size of your real drawer.
Step 1: Open the baseplate generator
Click Baseplate in the tool switcher at the top left. You can also open the baseplate generator directly.
On your first visit, a card titled Generate a drawer baseplate explains how the baseplate generator works. Click Got it to close it, or make a change and it closes by itself. On a phone, the card does not show.
The settings panel is on the left, and the 3D preview of the plate is on the right.
Step 2: Check the size
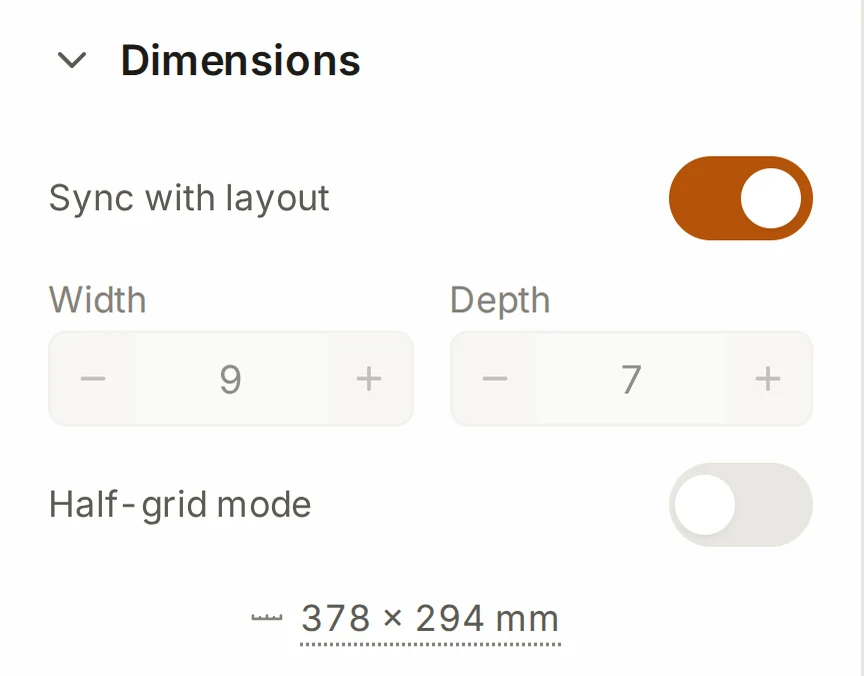
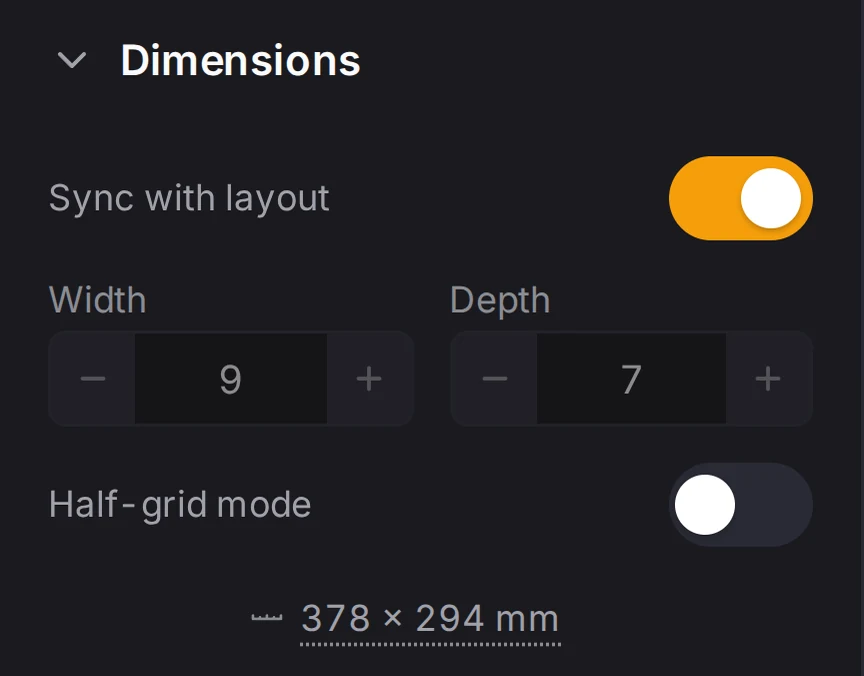
You don't have to type the size again. The baseplate generator works on your active layout, and Sync with layout in the Dimensions group is on by default. The plate then has the same size as the drawer grid in the layout editor.
While sync is on, you can't change the Width and Depth steppers. Change the drawer in the layout editor, and the plate changes with it.
Look at the size line under the steppers. It shows the plate size in millimeters. The plate must be smaller than the inside of your drawer.
TIP
Want the plate to fill the drawer to the edges? Click the size line, then type the inside size of your drawer in millimeters. The baseplate generator picks the largest grid that fits and fills the gap at the sides with Padding. This turns off Sync with layout.
Step 3: Add magnet holes
Magnets are optional. Add them if your bins also have magnets, or if the drawer gets hard use. Not sure? Skip them. The feet hold bins well in a drawer that gets normal use.
- Open the Base group, and turn on Magnet holes.
- Click Customize under the switch. The line also shows the hole size.
- Set Magnet diameter and Magnet depth to suit your magnets.
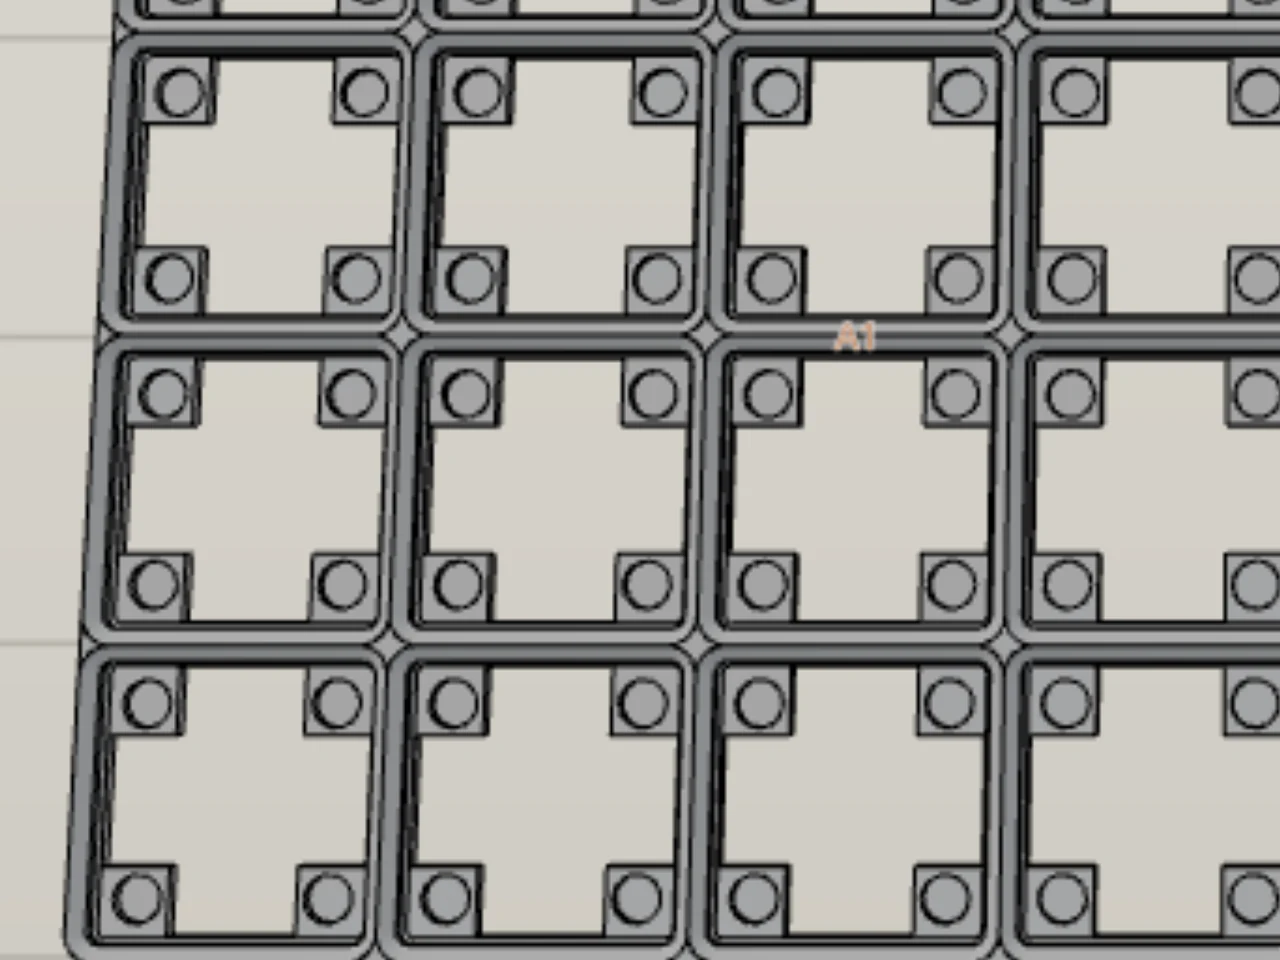
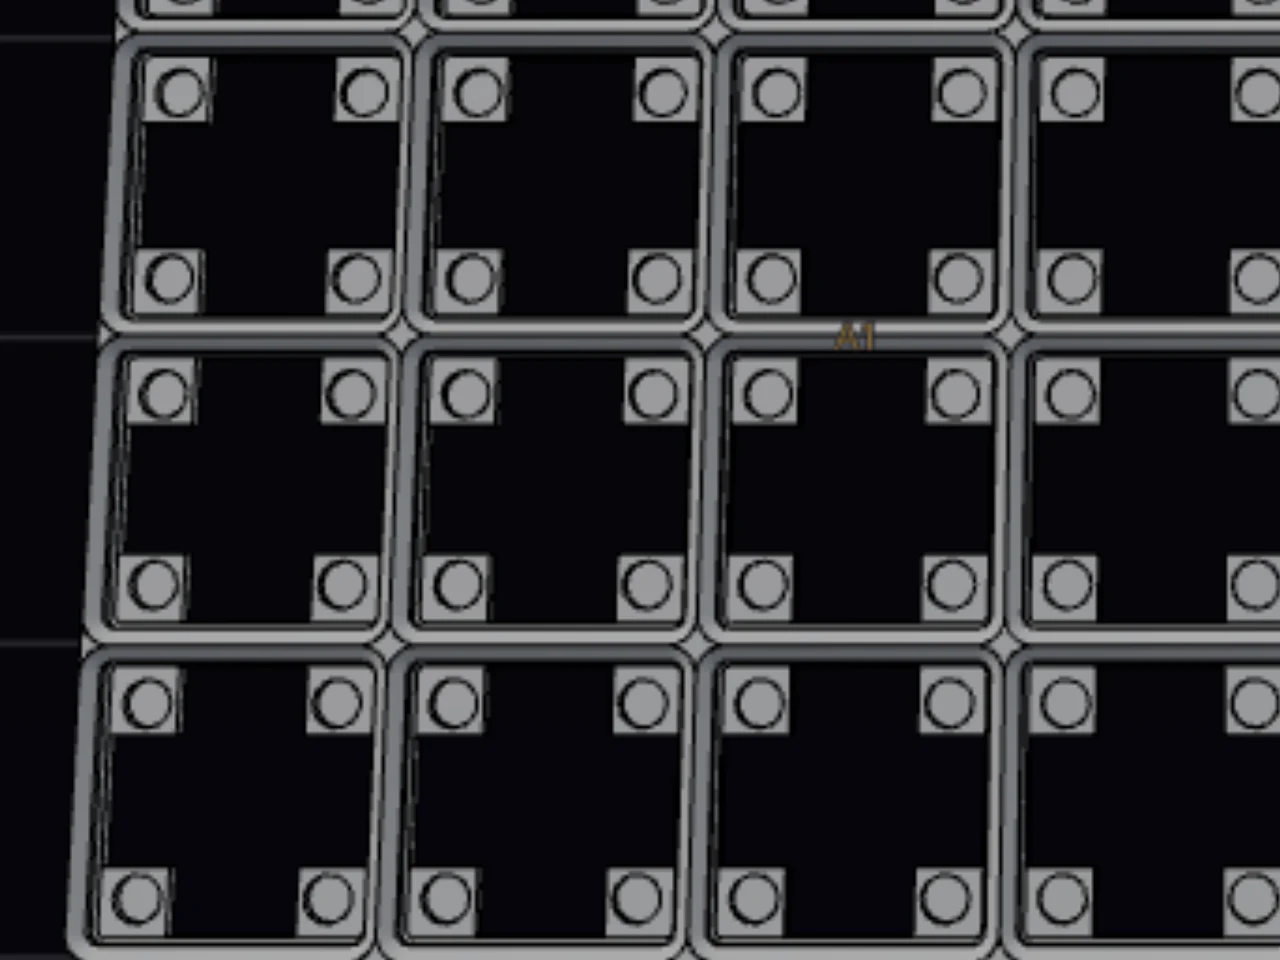
The default holes are 6.5 mm wide and 2 mm deep, which suits the common 6 × 2 mm disc magnet. The preview shows the holes in the plate.
Step 4: Split the plate for your print bed
A drawer is often larger than a print bed. When the plate is too large, the baseplate generator splits it into pieces for you. It only needs to know the size of your bed.
- Open the Physical units group.
- Set Print bed size to the width and depth of your print bed in millimeters. The default is 256 × 256 mm.
This is the same print bed size that the layout editor uses. If the plate is too large for the bed, a map of the pieces shows at the bottom of the panel. Each piece has a label, such as A1 or B2. The map also tells you how many build-plate loads the pieces need.
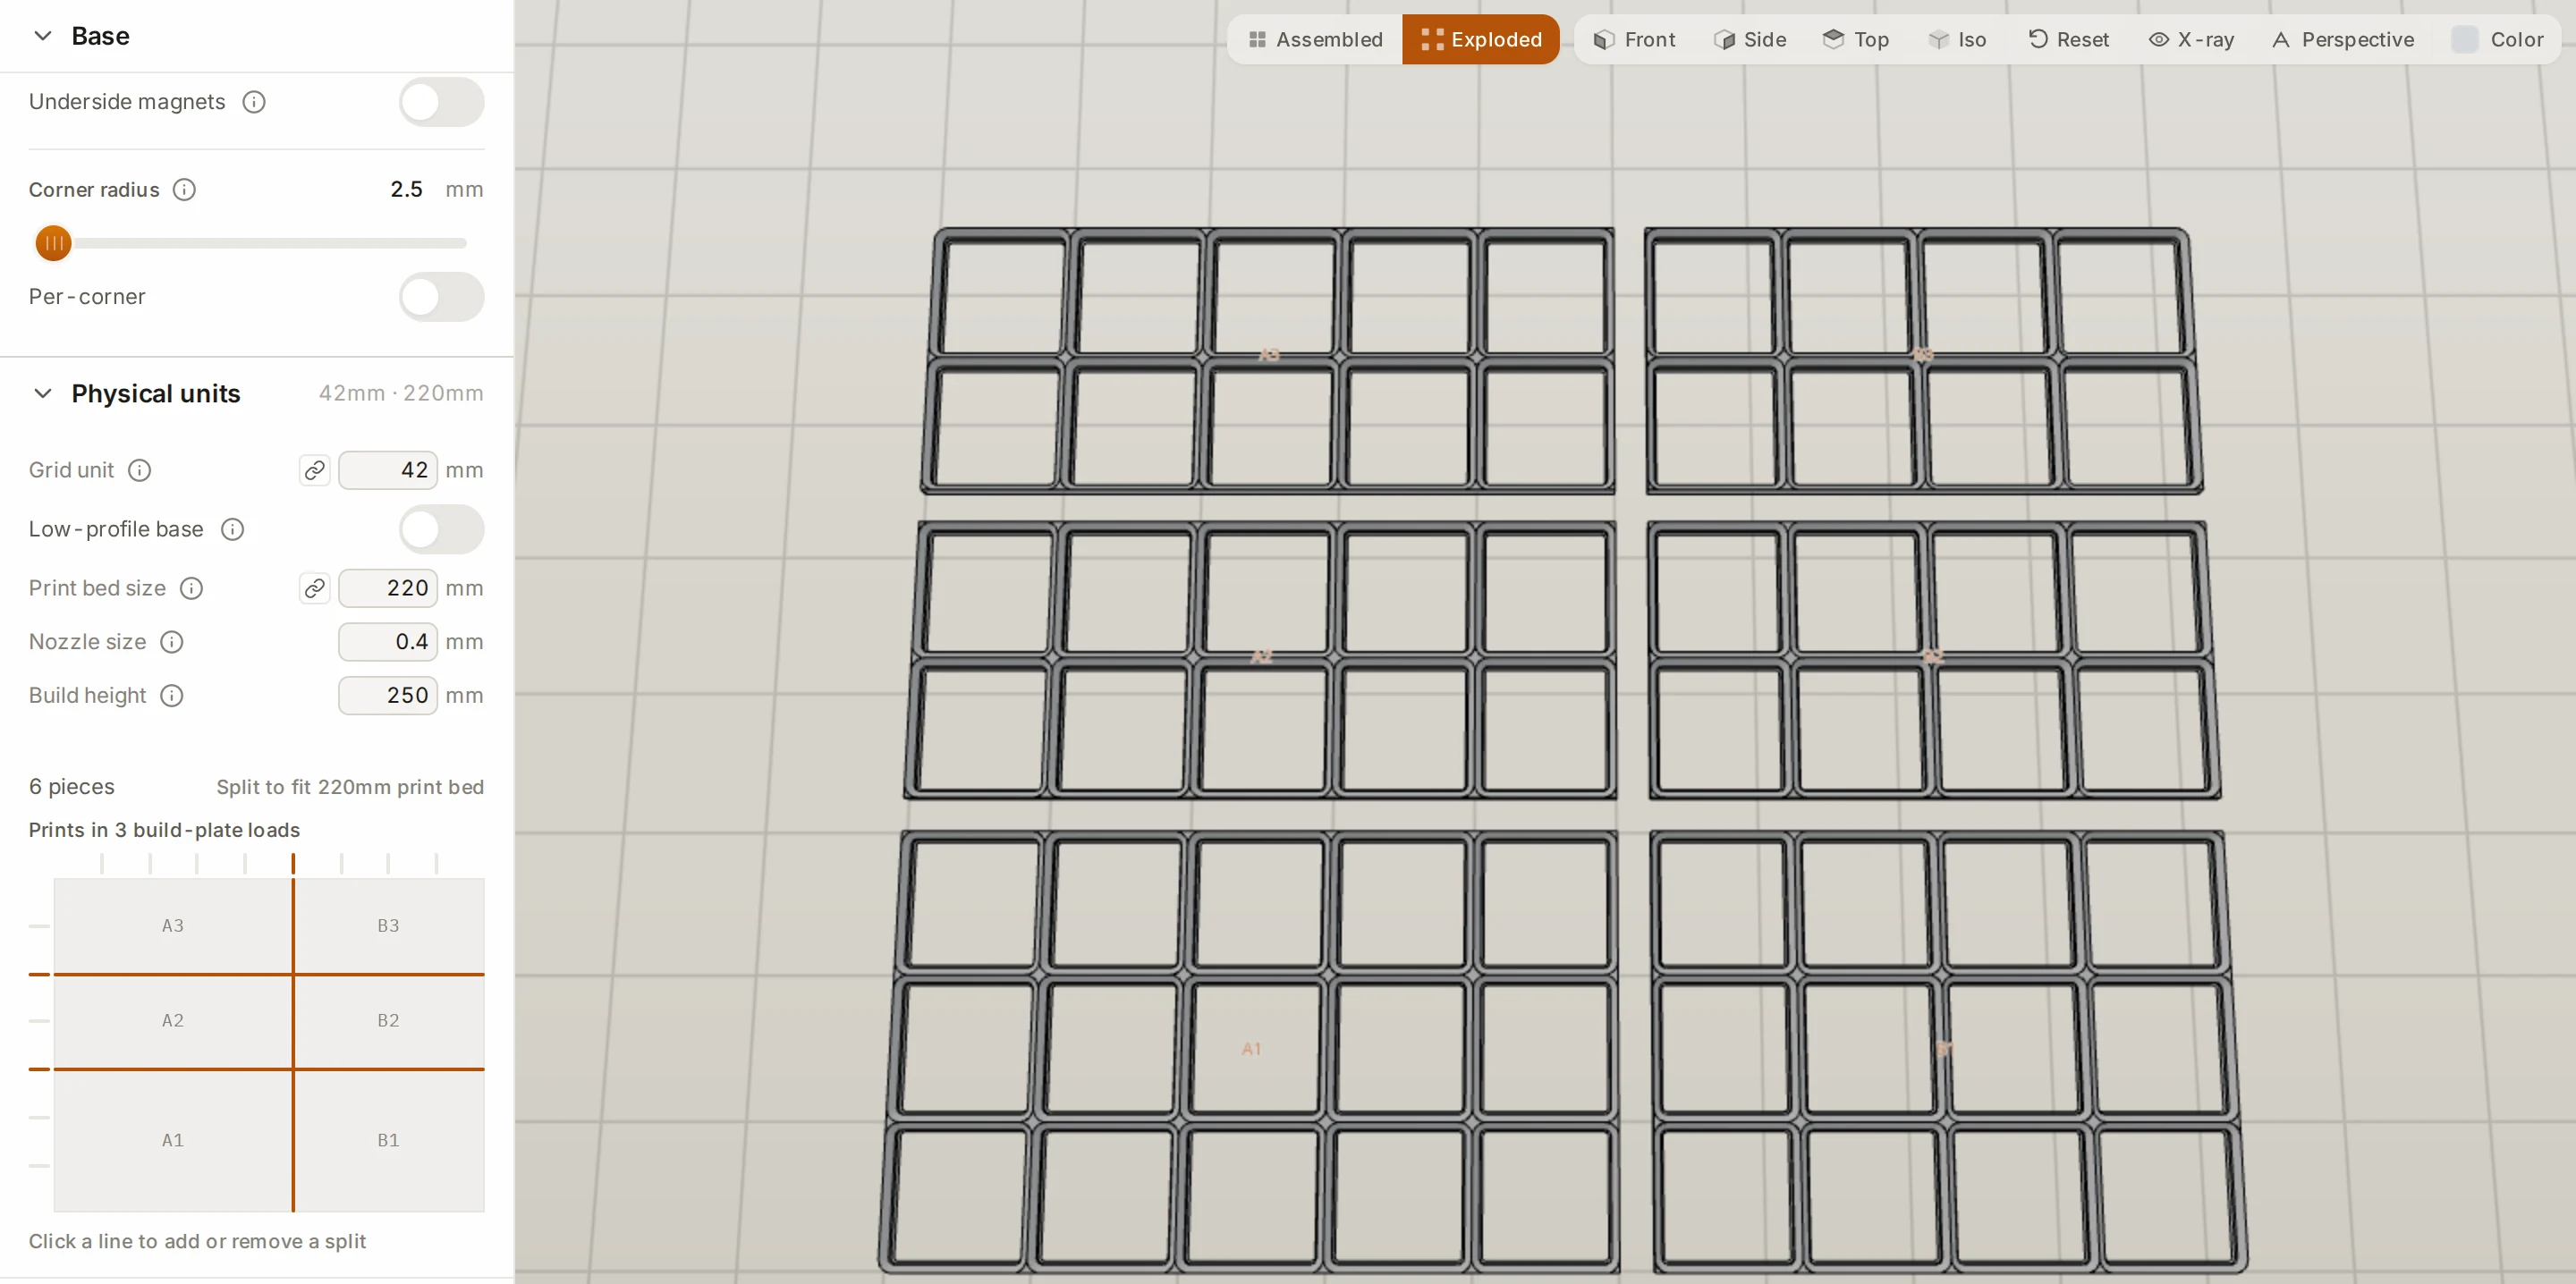
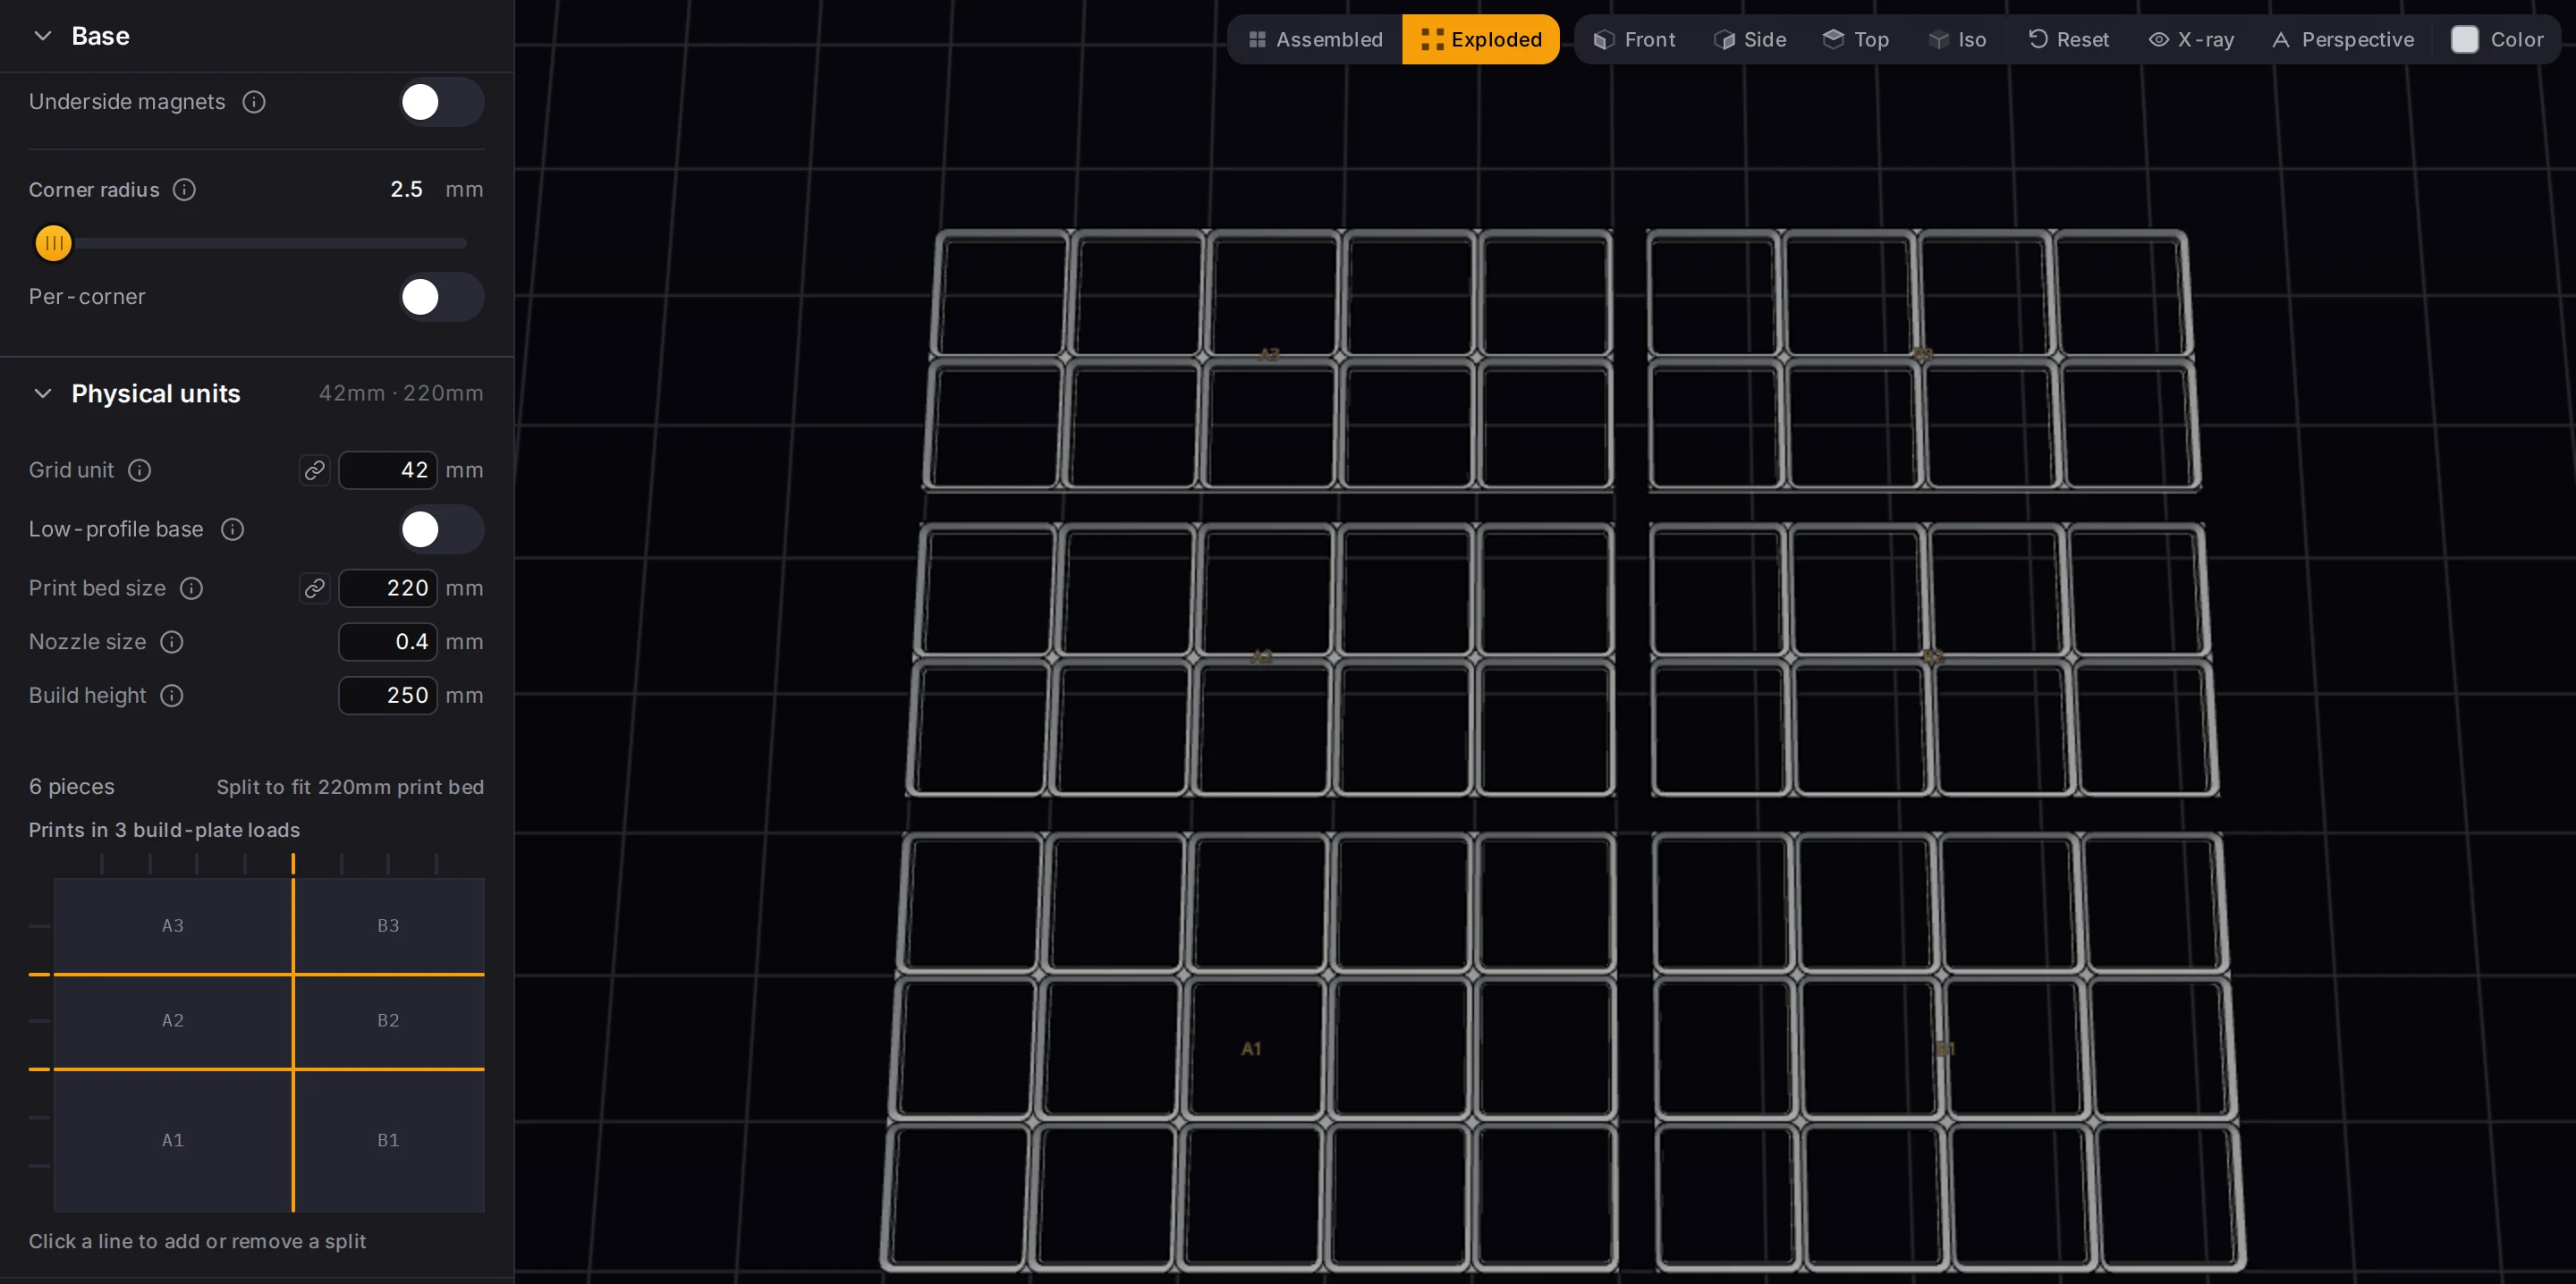
Want the seams somewhere else? Click a line on the map to add or remove a split. To go back to the automatic split, click Reset to automatic.
When the plate splits, a Connectors option shows in the Base group. It starts at None, and the pieces sit side by side. Pick a connector style if you want the pieces to lock together.
Step 5: Export the plate
- Click Export (the download icon) in the header.
- Under Format, pick 3MF, STL or STEP.
- For a split plate, keep Split into pieces on.
- Click the download button at the bottom of the window.
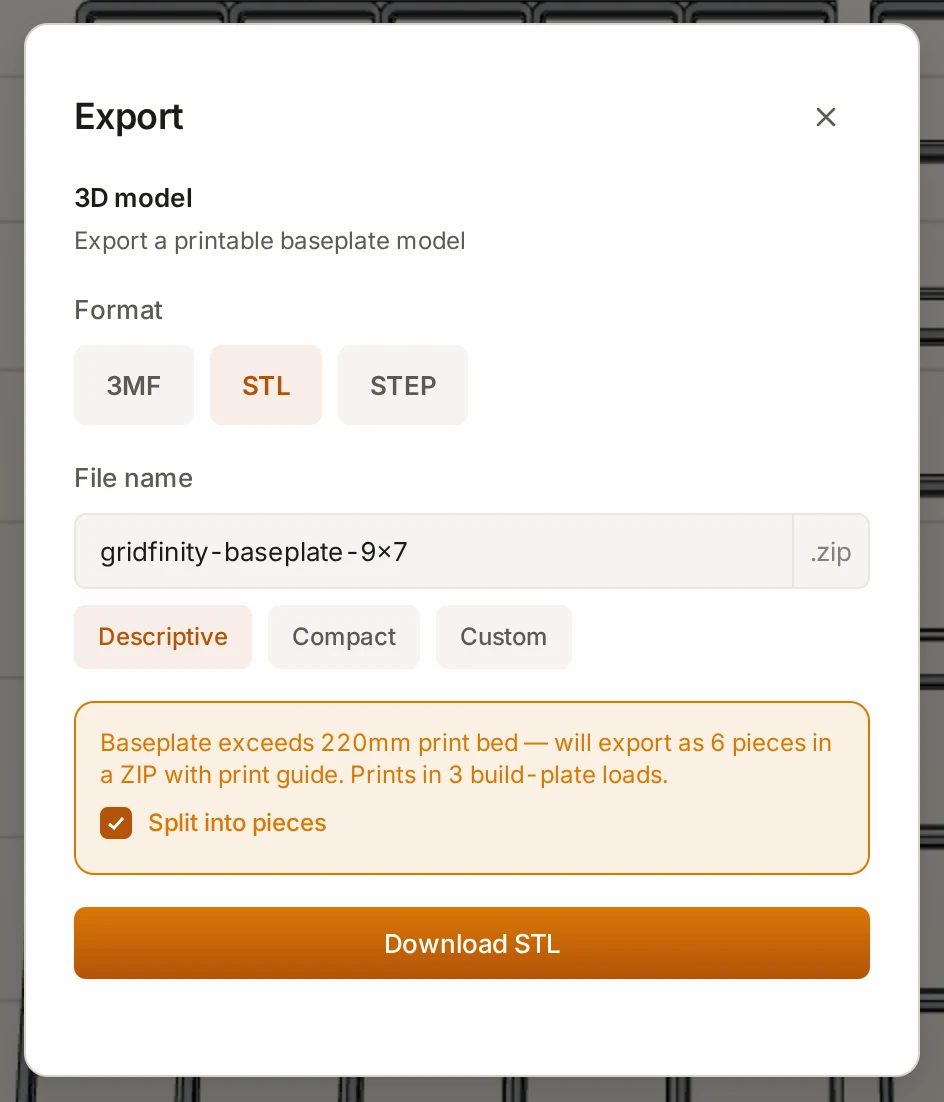
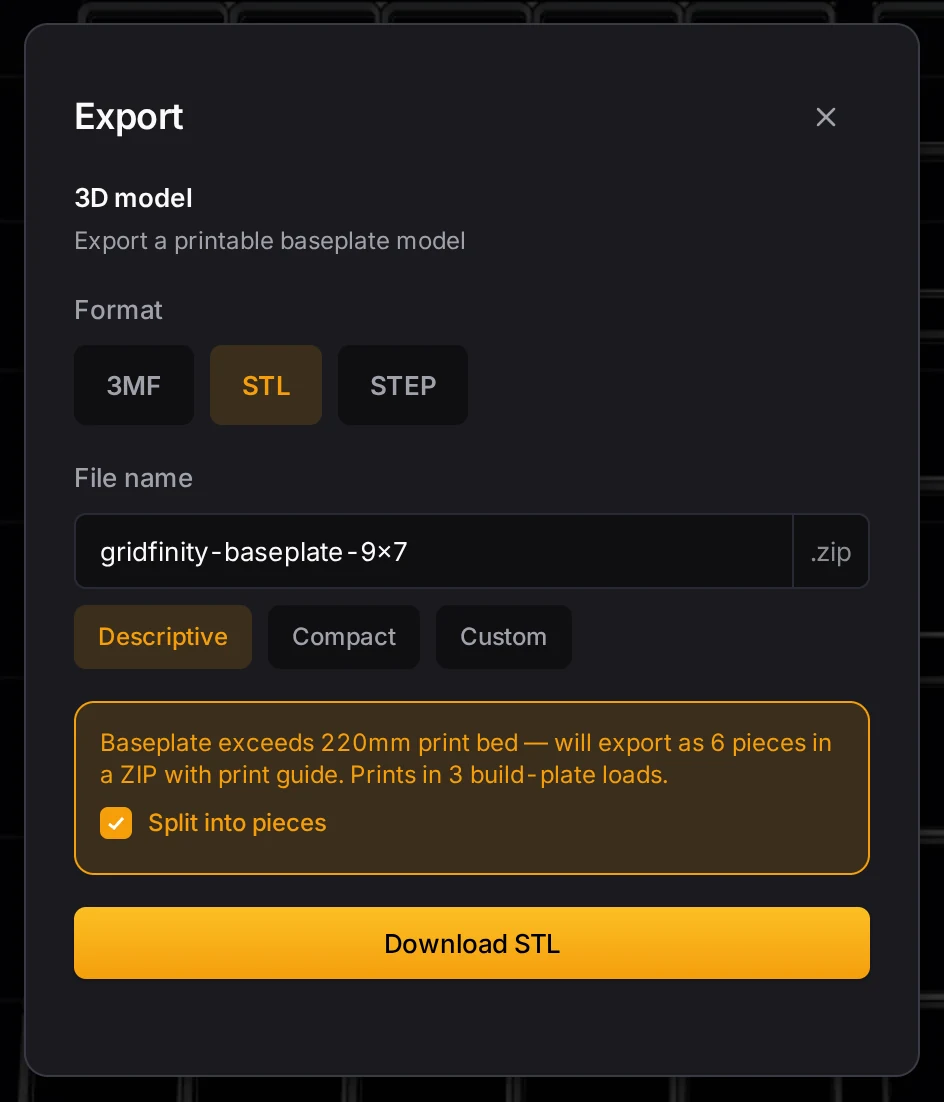
A split plate comes as one ZIP file. It holds one file for each piece, named with the piece label, and a print guide. Print each piece flat on the bed, with no supports.
After your first export, a message says Baseplate exported! Organizing the whole drawer?. Click Open the layout editor to go back to your drawer layout.
Next steps
- Baseplate basics: all the size and shape options
- Magnets and screws: magnet sizes, screw holes and magnets under the plate
- Split for your print bed: connector styles, fit and custom splits
- Eco plates and stack printing: use less filament and print plates in a stack
- A kitchen utensil drawer: a half-grid plate with padding, split for a 220 mm bed