
Walls
Thin walls print fast and leave more room inside. Thick walls survive a toolbox. Here's how to pick a thickness in the Gridfinity Layout Tool, and how to add patterns, openings, handles and label slots. Drainage holes are here too, because they use the same patterns as the walls. Anatomy of a bin shows where the walls sit in a bin.
The wall controls are in three groups of the bin designer:
- Shape: the wall thickness and wall cutouts.
- Lid: handles.
- Finishing: wall patterns, label slots and drainage holes.
Set the wall thickness
In the Shape group, find the Walls section. Its Wall thickness slider stops at fixed values from 0.4 to 2.6 mm. Not sure? Keep the default, 1.2 mm. It suits most bins.
| Thickness | Use it for |
|---|---|
| 0.4 to 0.8 mm | Light contents and fast prints. 0.4 mm is fragile. |
| 1.2 mm | Most bins: a balance of strength and speed. |
| 1.6 to 2.0 mm | Heavier contents and larger bins. |
| 2.4 to 2.6 mm | The most strength and rigidity. |
For the best result, use a multiple of your nozzle size. For example, 1.2 mm is three lines of a 0.4 mm nozzle.
Add a wall pattern
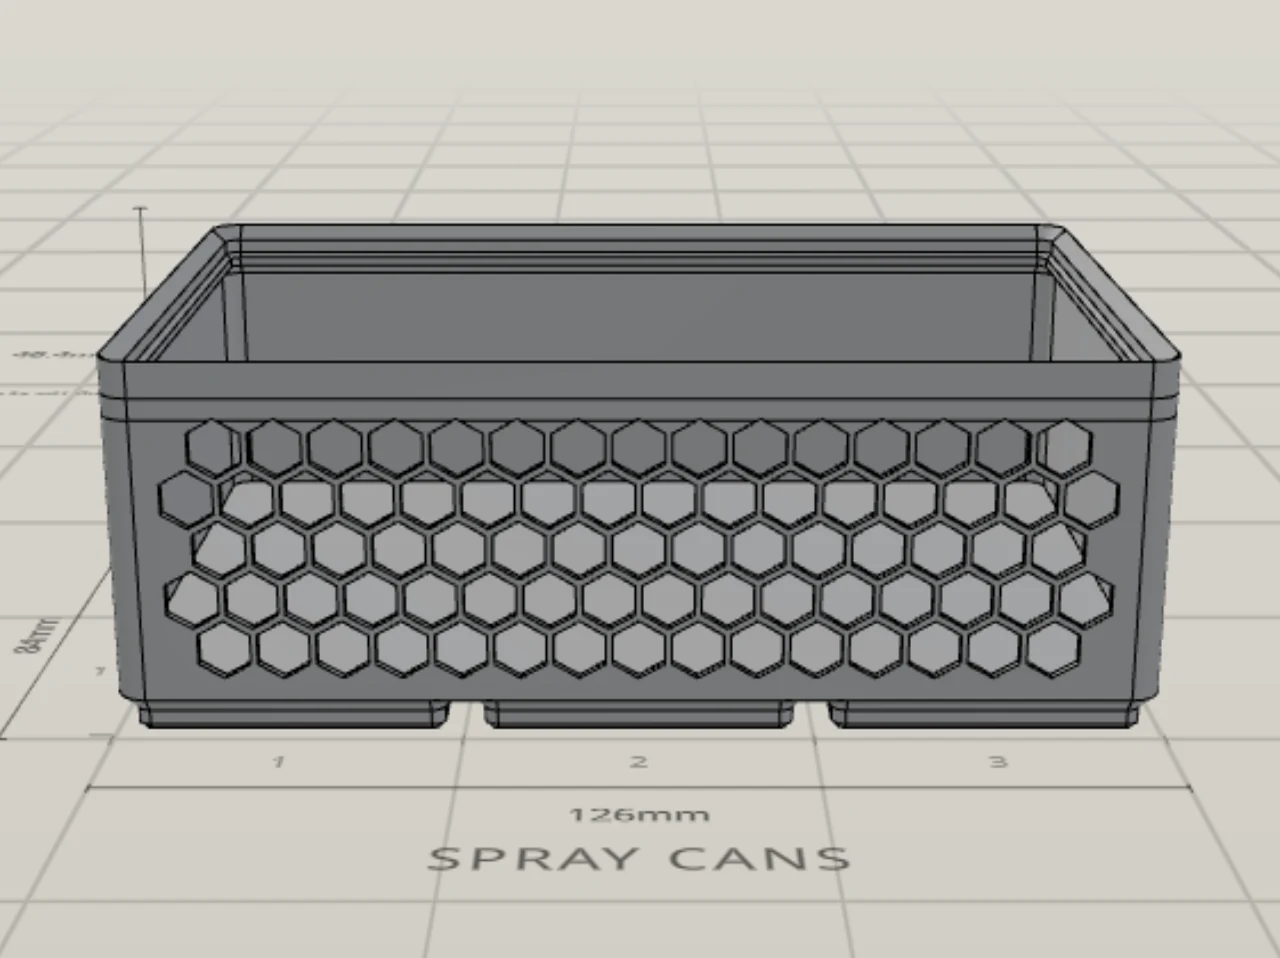
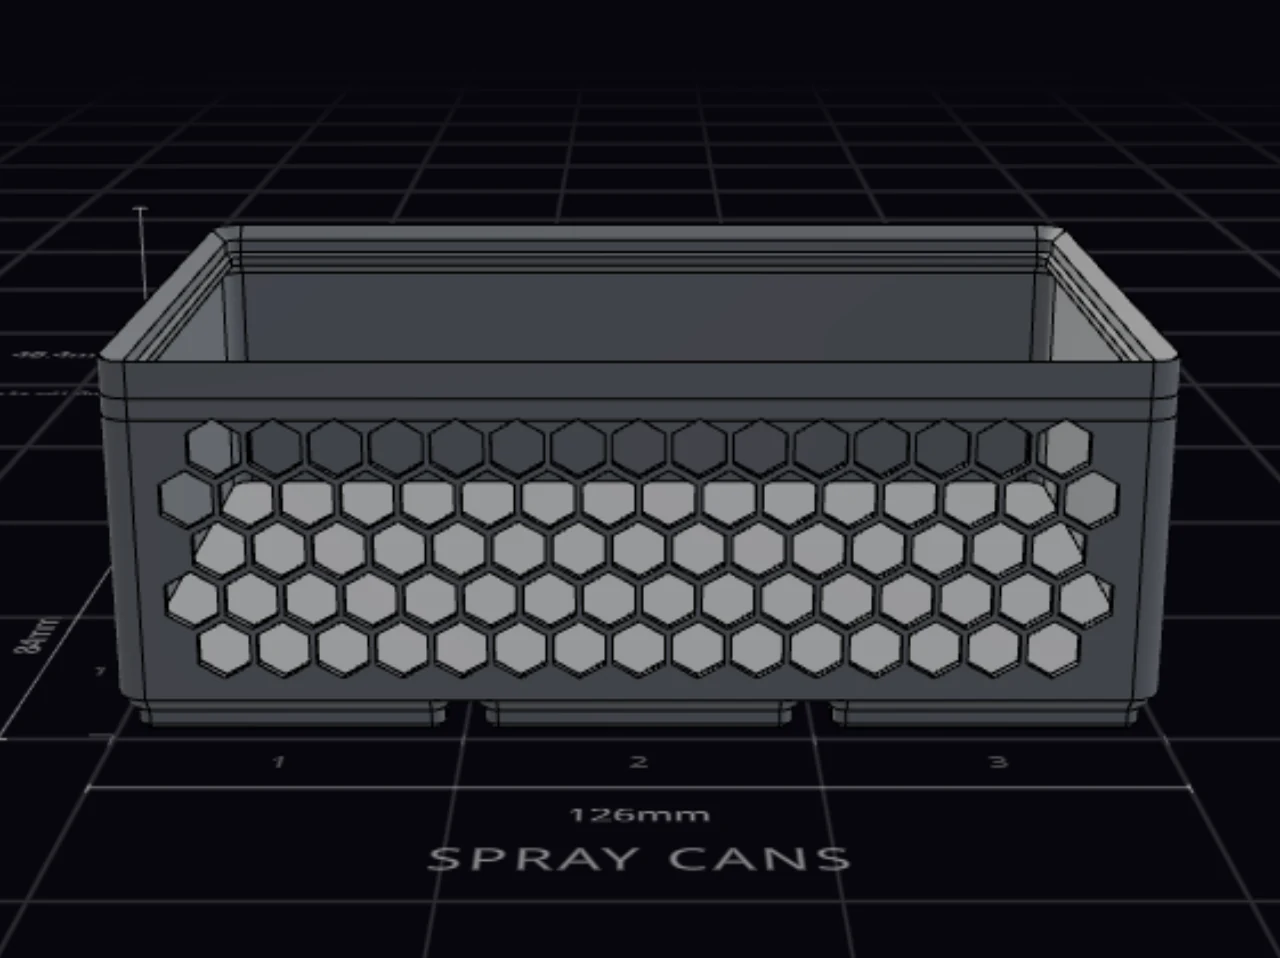
A wall pattern cuts rows of holes through the walls, so you can see what's inside.
- In the Finishing group, go to Wall surface.
- Pick a Wall pattern.
- Set Pattern scale: finer holes to the left, larger holes to the right.
- Set Strut width, the solid material between the holes.
| Pattern | The holes |
|---|---|
| Honeycomb | Six-sided, like a honeycomb |
| Round | Round |
| Diamond | Diamonds |
| Triangle | Triangles |
| Slots | Long, narrow slots |
| Kumiko group | A set of lattice patterns, each one lattice around all four walls |
| Solid | No holes. It turns the pattern off. |
The strut width goes from 0.8 to 2.4 mm. 0.8 mm is two lines of a 0.4 mm nozzle. For a bin that gets knocked about, use a wider strut.
Choose which walls get the pattern
Use the Patterned walls picker to put the pattern on some walls only, for example the front alone.
Turn on Pattern divider walls to give the compartment dividers the same pattern and scale. Dividers that are too small for the pattern stay solid.
A Kumiko pattern is one lattice around all four walls. It needs a rectangular bin with no divider slots and no label slots.
TIP
A wall pattern takes longer to build on a tall bin. If an export runs out of memory, make the pattern bolder, lower the height, or turn the pattern off.
The pattern stops below Extra wall height. For a taller patterned wall, raise the height of the bin. A solid bin and a Base only bin cannot have a wall pattern. A wall with divider slots stays solid.
Cut openings in the walls
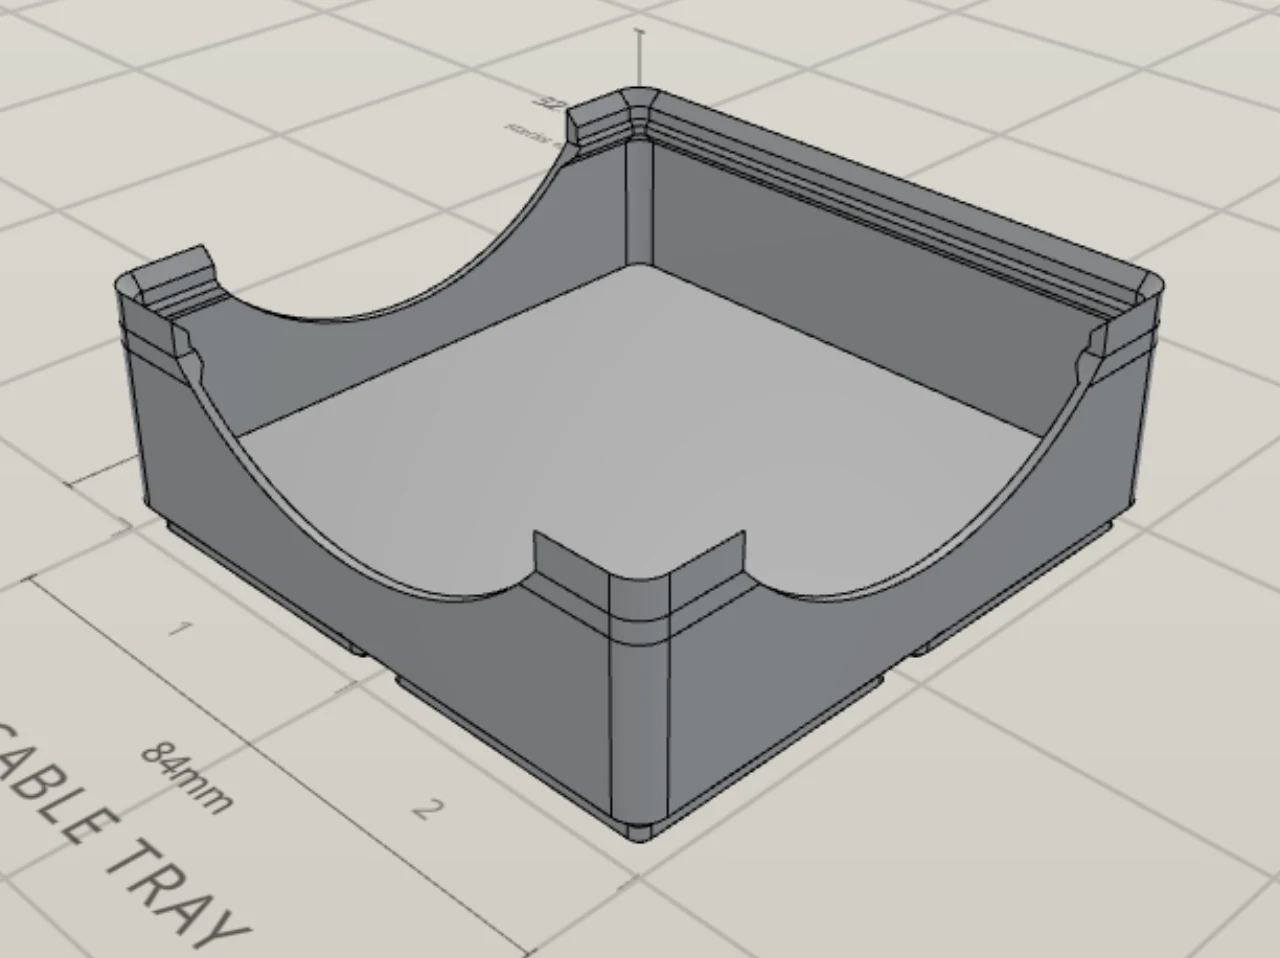
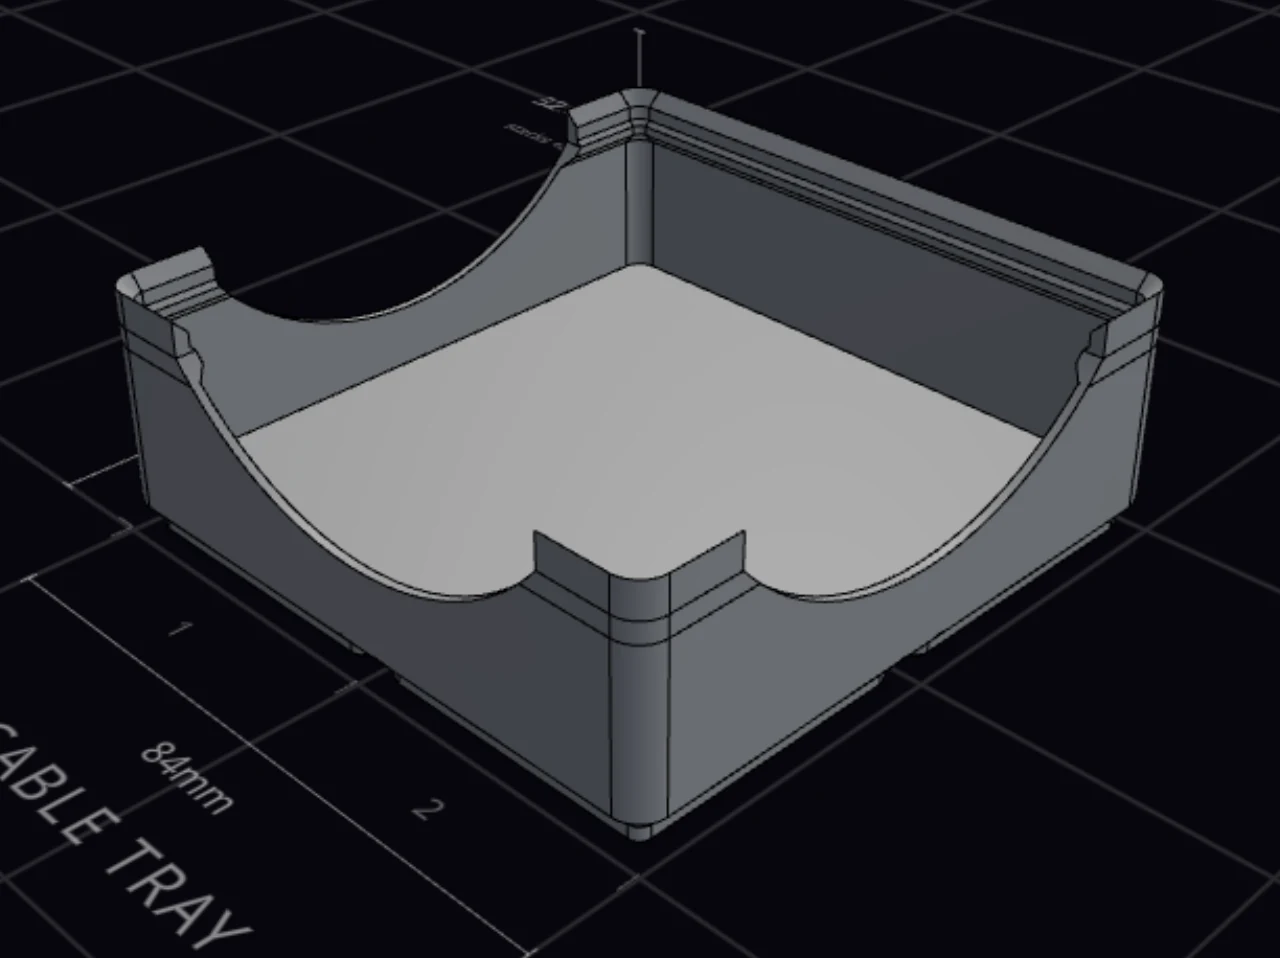
Wall cutouts cut a notch down from the top of a wall. Use one to reach in from the side, or to run a cable.
- In the Shape group, turn on Wall cutouts.
- Pick one of the three shapes.
- Pick the walls in the wall picker.
- Set Span and Height.
| Shape | The notch |
|---|---|
| U-shape | A rectangular notch |
| Scoop | A half circle |
| Funnel | A tapered U, wider at the top |
The button beside each value changes it between a percentage of the wall and millimeters. In millimeters, the bin designer measures the height down from the rim, so bins of different heights get a cut at the same line. A cutout deeper than its wall stops at the wall.
Linked gives all walls the same size. Click it to change to Independent and size each wall alone. Two folds give more control:
| Fold | What it sets |
|---|---|
| Position | Where the cut sits: Left, Center or Right, with an Offset of up to 50 mm |
| Corners | A round on the top corners. The bottom fillet takes a value, or you leave it on Auto |
Interior walls carries the opening through each divider. When you turn on wall cutouts on a bin with compartments, the bin designer turns this on for you.
Add handles
Handles cut a hole through a wall, so you can lift the bin out of a deep drawer.
- In the Lid group, turn on Handles.
- Pick a hole shape.
- Pick the walls in the wall picker.
- Set the size and place of the hole.
| Control | What it sets |
|---|---|
| Hole shape | Rectangle, Oval or Scoop |
| Width | A percentage of the wall, from 10 to 100 % |
| Height | Millimeters, from 8 to 30 mm |
| Vertical position | In the fold under the sizes: the place of the hole on the wall, from 20 to 90 % |
| Count | In the same fold: 1 to 3 holes |
| Chamfer edges | A chamfer around the hole |
| Interior walls | Cuts the handles through the dividers too |
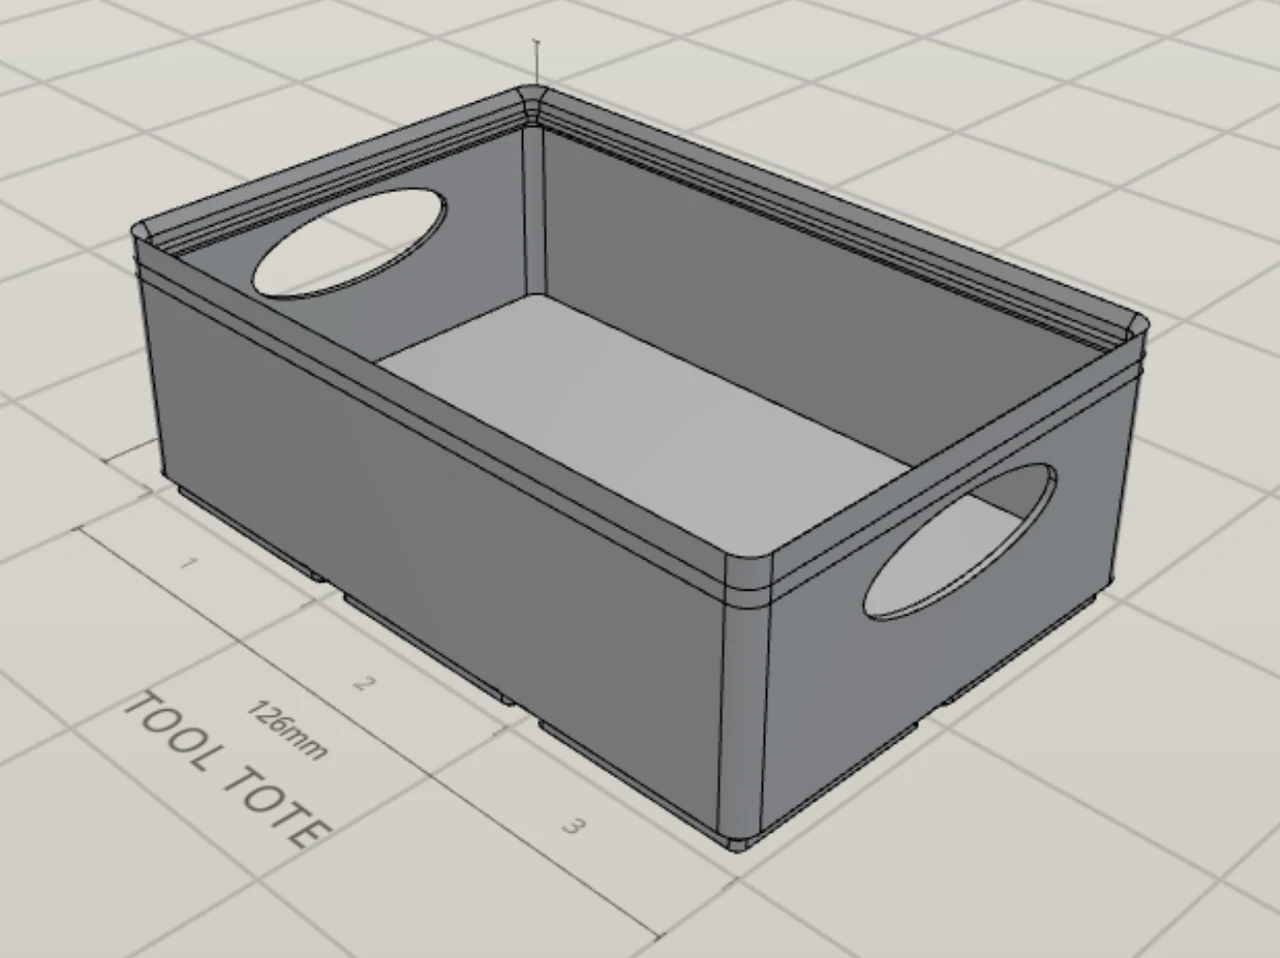
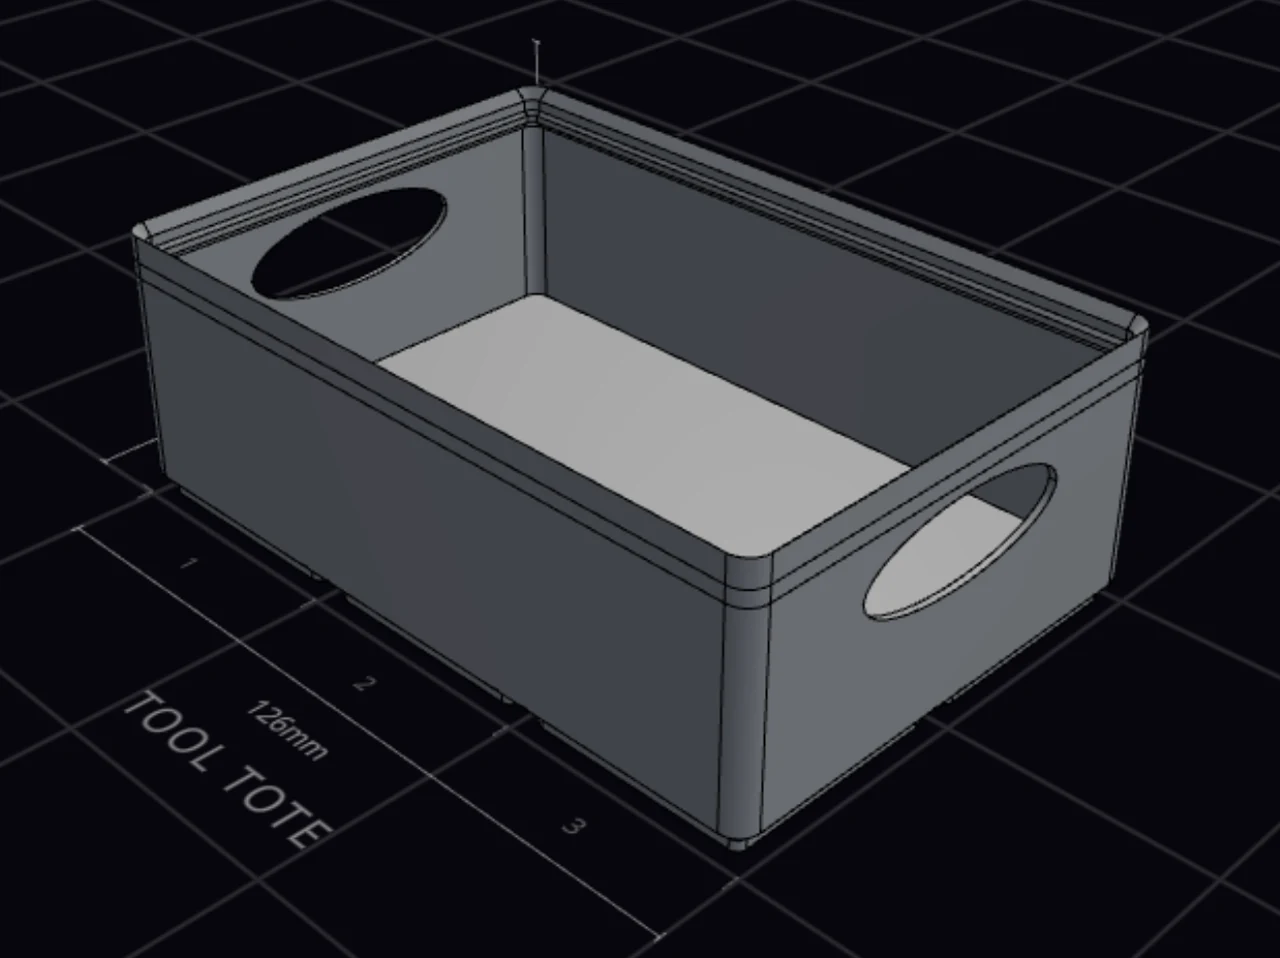
Wide holes can need supports when you print them. When label tabs are on, the back wall cannot have a handle. A wall with divider slots cannot have a handle either. When the slots run in one direction only, the other two walls can.
Add label slots
Want labels that you can swap later? Label slots cut a vertical slot in the cells of the walls you pick. Each slot holds a 1U label plate that drops in from the top and shows through a window in the wall. The controls are in the Wall surface section of the Finishing group.
- Turn on Label slots.
- Pick the walls in Walls with label slots.
- Set Slot spacing, from Every cell to one slot in every 6 cells.
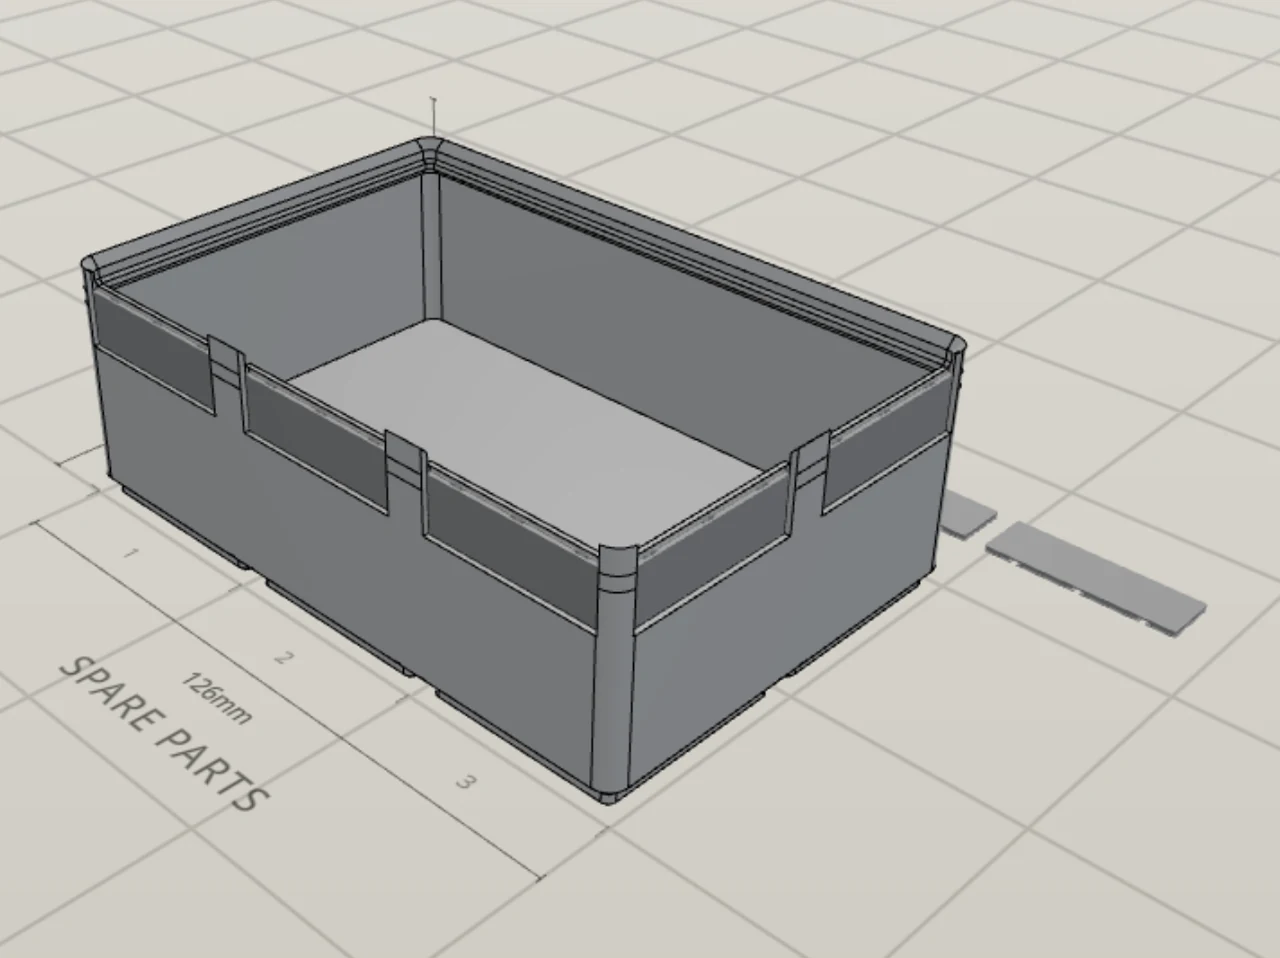
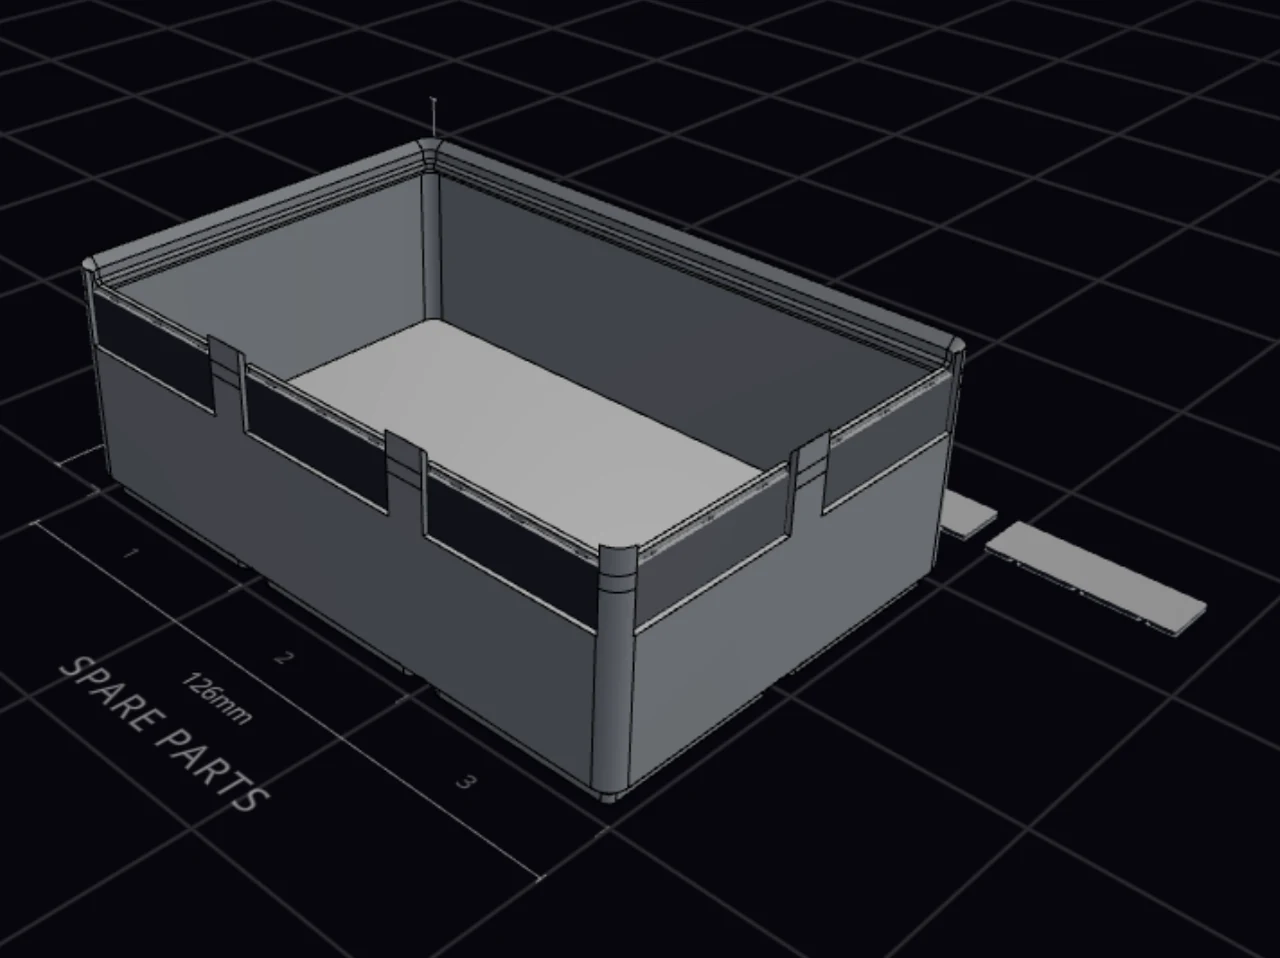
When the wall is too thin to hold the slot, a rib on the inside backs it. Each slot also notches the stacking lip. A wall thinner than 0.8 mm leaves a fragile frame in front of the plate. Label slots need a rectangular bin with no overhang, and walls tall enough for an 11 mm plate. Swappable label plates explains the plates.
Add drainage holes
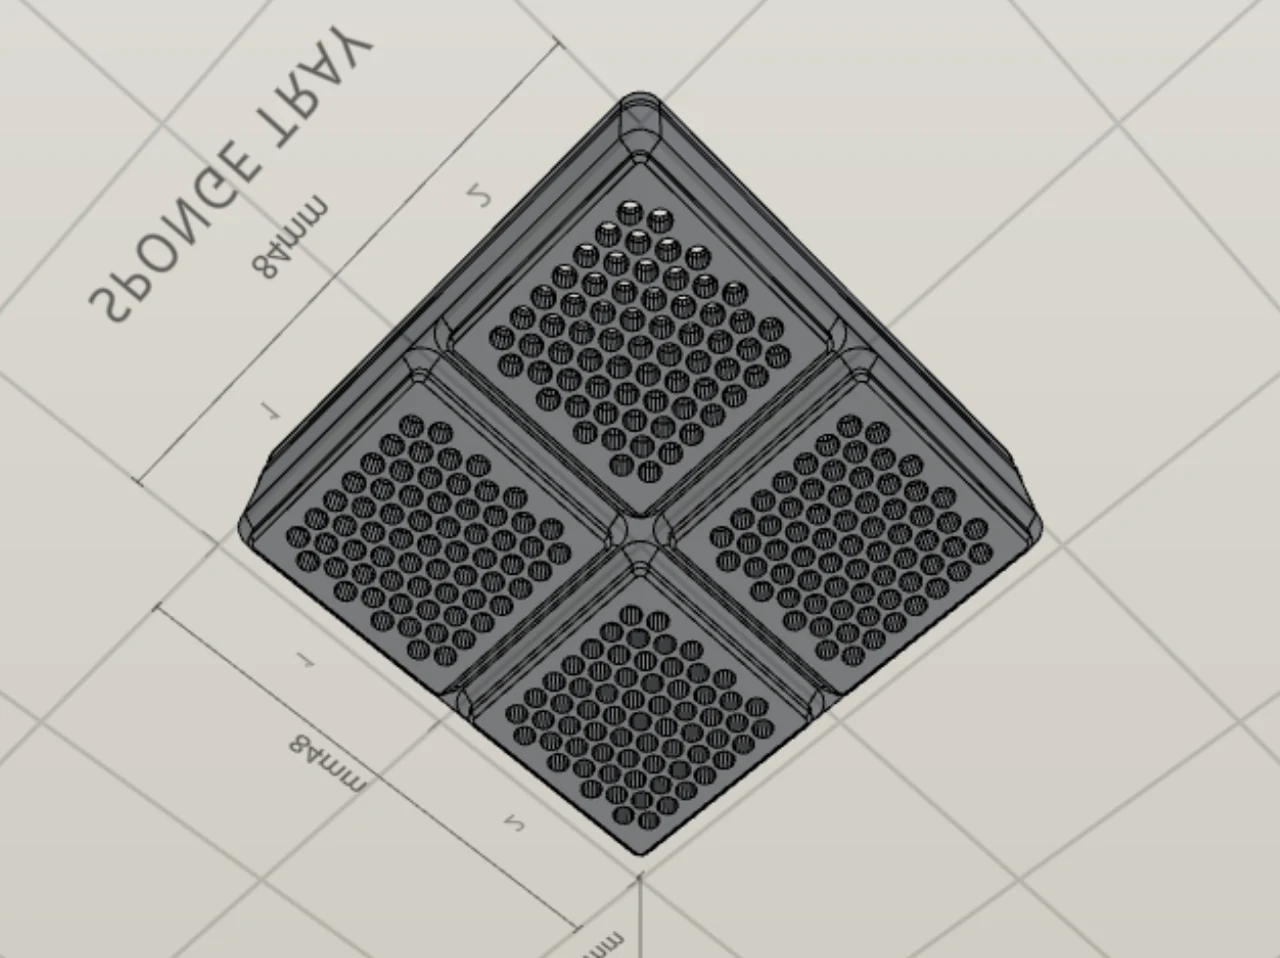
Drainage holes cut holes through the floor and the feet below it, so water and dust fall straight through. Use them for wet items, or for items that must dry.
- In the Finishing group, go to Floor pattern.
- Turn on Drainage holes.
- Pick a Hole shape.
- Set Pattern scale.
The holes stay inside the flat bottom of each foot, so the edges that lock into the baseplate stay whole. If the holes are too large for the base, the panel asks for a finer scale. The inside mode of a lightweight floor leaves no solid floor to drill, so use its underside mode. A solid bin, a spacer and a Base only bin cannot have drainage holes.
When it goes wrong
The export times out or runs out of memory
Make the wall pattern bolder: drag Pattern scale to the right for larger holes. You can also make the bin lower, or turn the pattern off. Then export again.
A fine pattern on a tall bin has a very large number of holes, and the geometry engine runs out of memory or time. See Troubleshooting prints.
The wall pattern breaks when you print
Make Strut width wider, and print again. 0.8 mm is the thinnest strut. A bin that takes knocks needs more.
The struts are the solid plastic between the holes, and thin struts snap. A Kumiko pattern has no strut control.
The back wall won't take a handle
Put the handle on another wall, or turn off Label tabs. Hover over a greyed-out wall in the wall picker to read why.
While label tabs are on, the back wall can't have a handle. A wall with divider slots can't have one either.
Label slots won't turn on
Read the note under the switch. Make the bin taller if the walls are too short, turn off the overhang, or reset a custom shape to a rectangle.
Label slots need a rectangular bin with walls tall enough for an 11 mm plate. Is one wall greyed out in Walls with label slots? Its cells are too narrow for a 1U plate.
Next steps
- Compartments and dividers: divide the bin inside the walls.
- Labels and text: put text on the outer walls.
- Scoops, fillets and pull tabs: add a raised grip to a plain wall.
- Lids: see how wall features affect a lid.