
Scan with your phone
Take a photo of a tool with your phone, and a cutout that fits it appears in the bin designer on your computer. The phone traces the outline, and a size reference in the photo lets it measure the outline too. The photo stays on your phone, and only the outline goes to the computer.
A good scan comes down to three things: a size reference, a plain background, and a photo from straight above. Get those three right, and your first scan should come out well.
Before you start
Have these ready:
- Your phone. The QR code opens a page in the phone's browser, so there's no app to install. The phone needs a connection to send the outline.
- A size reference. A plain sheet of A4 or US Letter paper under the tool works. So does a bank card beside it. The printed calibration sheet works best. See Pick a size reference.
- A plain surface that contrasts with the tool. For example, put a dark tool on a sheet of white paper. The phone finds the tool by how its color differs from the surface.
The scan link on the computer lasts 10 minutes, so set out the tool and the reference first.
Pick a size reference
The reference tells the phone the true size of the tool. It also corrects a photo taken at a small angle. The table lists the references from the most accurate to the least accurate.
| Reference | How to place it | Notes |
|---|---|---|
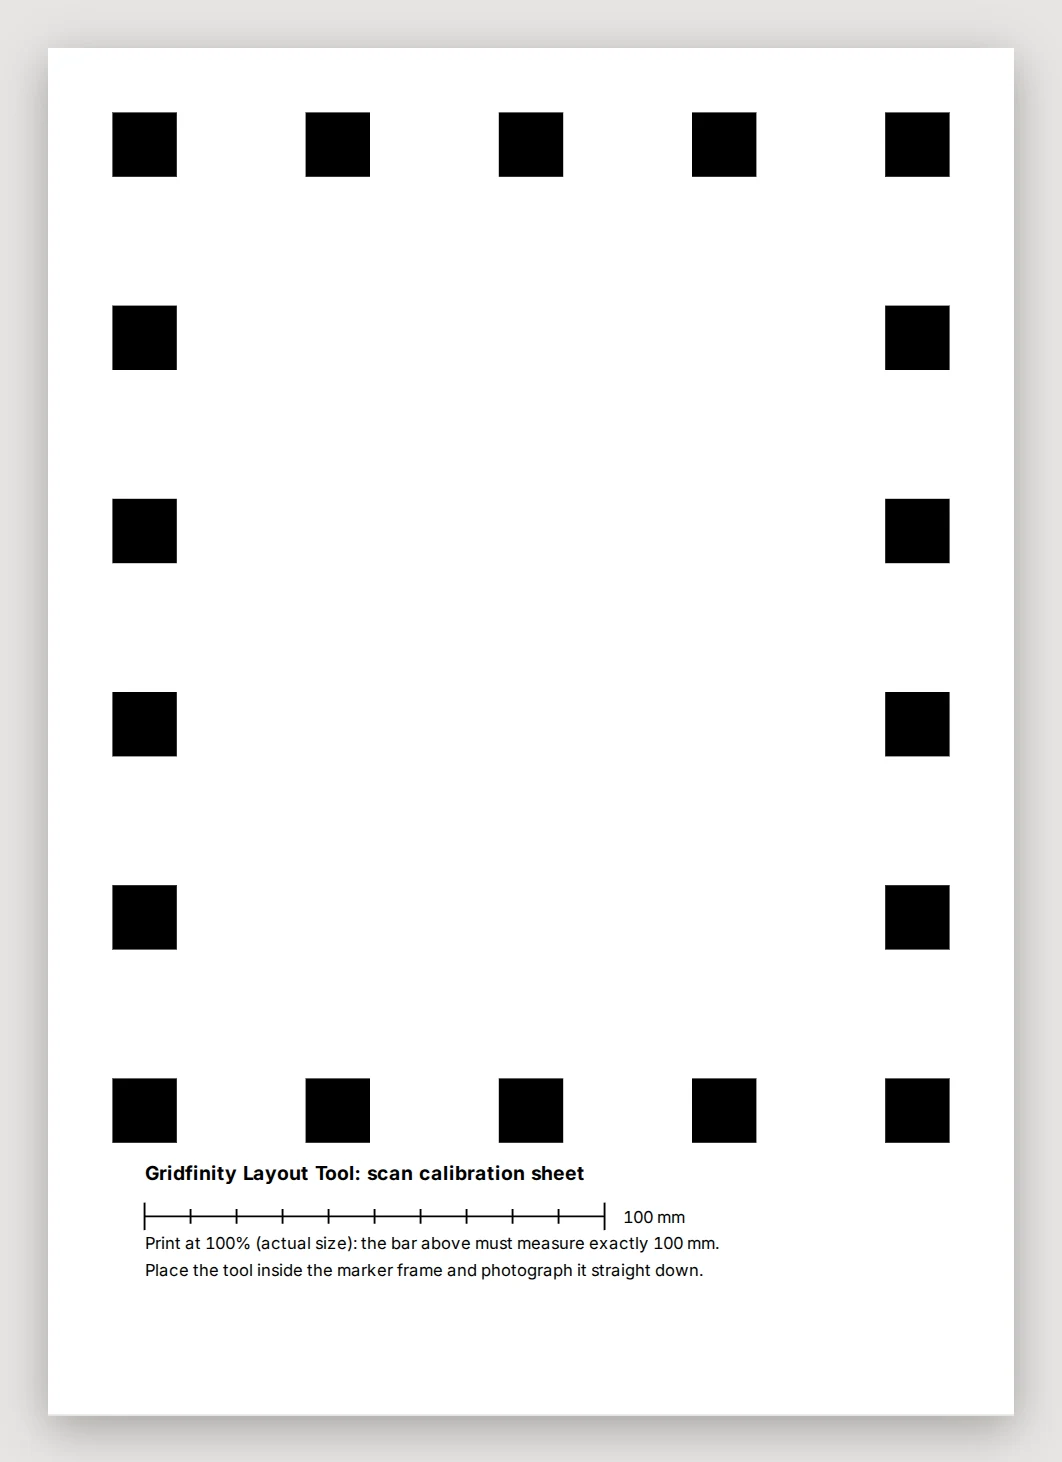
| Printed calibration sheet | Lay the tool on the sheet, inside the ring of black squares. | The most accurate reference. It has a 100 mm bar to check the print. |
| Gridfinity baseplate | Lay the tool on the baseplate. | Only as accurate as the printer that made the baseplate. |
| Plain A4 or US Letter paper | Lay the tool on one sheet, on a table darker than the paper. Keep all four corners of the sheet in the photo. | Nothing to print. A sheet can be a millimeter or two off its nominal size. |
| Bank, transit or ID card | Lay the card flat beside the tool, not under it, with the full card in the photo. | Any card of the standard 85.6 × 53.98 mm size. |
Not sure? Start with a sheet of plain printer paper under the tool. The phone finds the sheet by itself and tells A4 from US Letter by its shape. The white paper is also a good background for most tools.
No paper at hand? Use a card from your wallet. The phone reads only the card's shape, so the printing on it doesn't matter. A gift card or a hotel key card of the standard size works too. When you want the best accuracy, print the calibration sheet.
For a tall tool, take the photo from high up and zoom in. For the best result, also add a measuring strip. See Measure a tall tool at its own height.
Print the calibration sheet
- Start a scan on the computer and click With your phone. See Start a scan.
- Click Print calibration sheet. You get an SVG file.
- Print it at 100% (actual size). Don't let the printer scale it to fit the page.
- Measure the bar under the squares. It must be exactly 100 mm. If it isn't, correct the print scale and print the sheet again.
The sheet is A4, and all its marks also fit on US Letter. It has 18 black squares of 14 mm, 42 mm apart, which is the same spacing as a Gridfinity baseplate. Print it once and keep it for every scan.
TIP
Keep the tool inside the ring of squares, and don't let it cover a square. The scan still works with a few squares out of view, but each visible square makes the size more accurate.
Start a scan on the computer
- In the bin designer, click Scan a tool, then With your phone.
- Point the phone camera at the QR code and open the link.
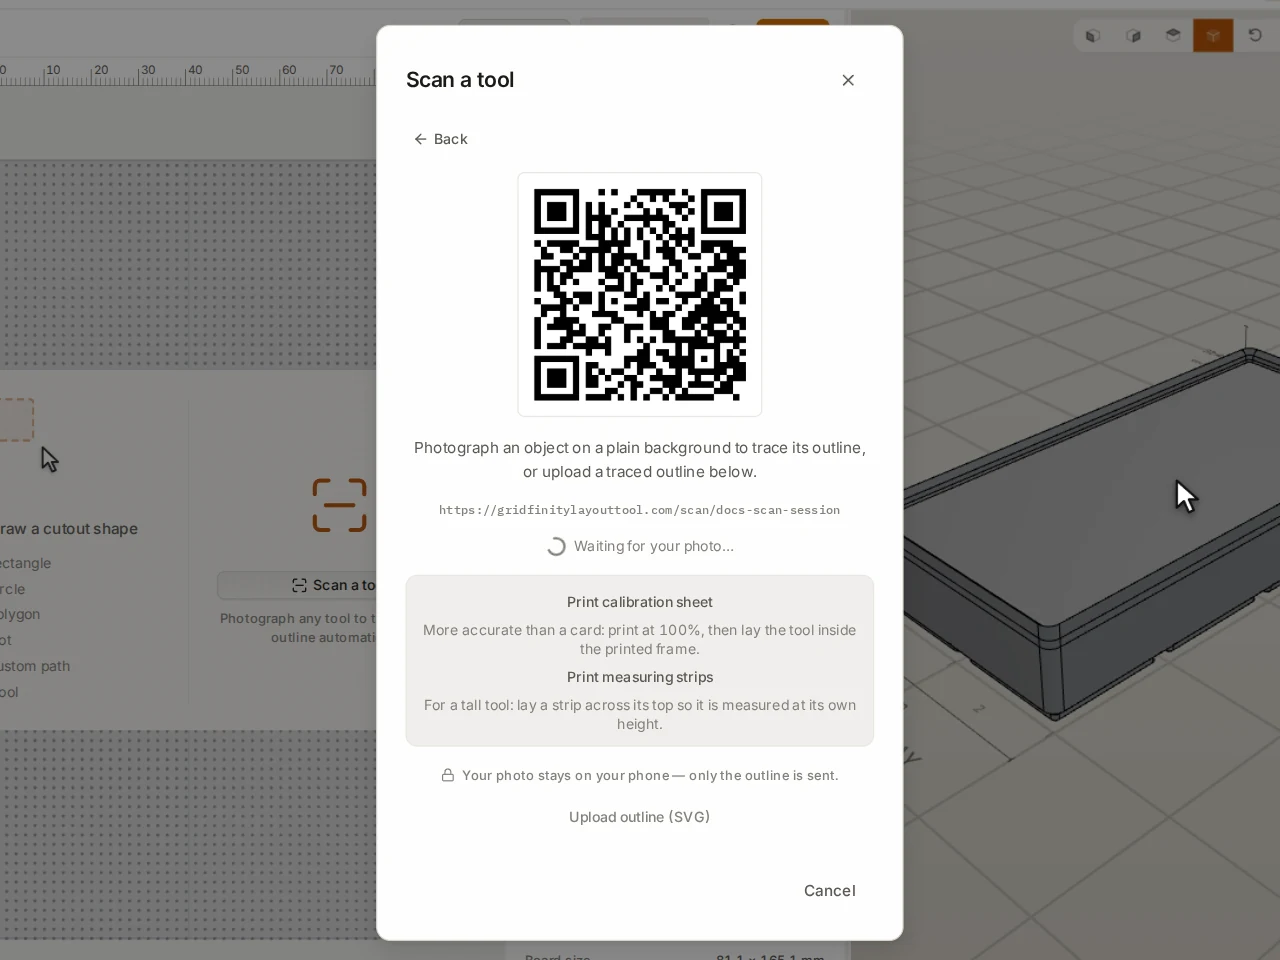
Took longer than 10 minutes? No problem. Click Back, then click With your phone again for a new code. If phone scanning isn't available, Upload outline (SVG) accepts an outline that you traced in another app.
Take the photo on the phone
- Lay the tool and the reference on a plain surface with no clutter.
- Tap Take a photo, or tap Upload a photo to use a photo from the phone.
- Hold the phone level, straight above the tool, as high as you can comfortably reach. Zoom in until the tool and the reference fill the photo.
- Look at the review. If the highlighted shape isn't your tool, tap the tool in the photo.
- Tap Use this outline.
- Tap Scan another to scan one more tool, or Done.
Nothing goes to the computer until you tap Use this outline, so you can retake a photo as often as you like.
TIP
Why from high up? The top of a thick tool is nearer to the camera than the table, so it looks larger than it is. From twice the height, that error is half as large. Zoom makes up for the distance.
Read the review
The box under the photo shows how the phone sized the tool. For one tool, it gives the size in millimeters, so you can hold a ruler to the tool and compare. A line under the size names the reference that set it. With the sheet or a baseplate, another line says how closely the fit agrees, in millimeters.
If something looks off
| What you see | What to do |
|---|---|
| The outline is wrong or ragged | Tap the tool in the photo to redraw it. If that doesn't help, tap Retake and use a plainer background. |
| The phone can't find a clear outline | Retake the photo on a plain background with more contrast to the tool. |
| The phone finds no size reference | Lay the tool on a sheet of A4 or US Letter paper on a darker table, with all four corners in the photo. Or lay a card flat beside the tool, with the whole card in the photo. |
| An outline stops at the edge of the paper | Tap the tool to redraw it. Or move the tool fully onto the sheet and retake the photo. |
| A warning about a steep angle | Retake the photo from straighter above. A steep angle makes the size less accurate. |
| The phone says the link expired | Start a new scan from your computer. |
A soft shadow is usually fine. The phone looks at the change in color more than the change in brightness, so a shadow does little harm.
What lands on the computer
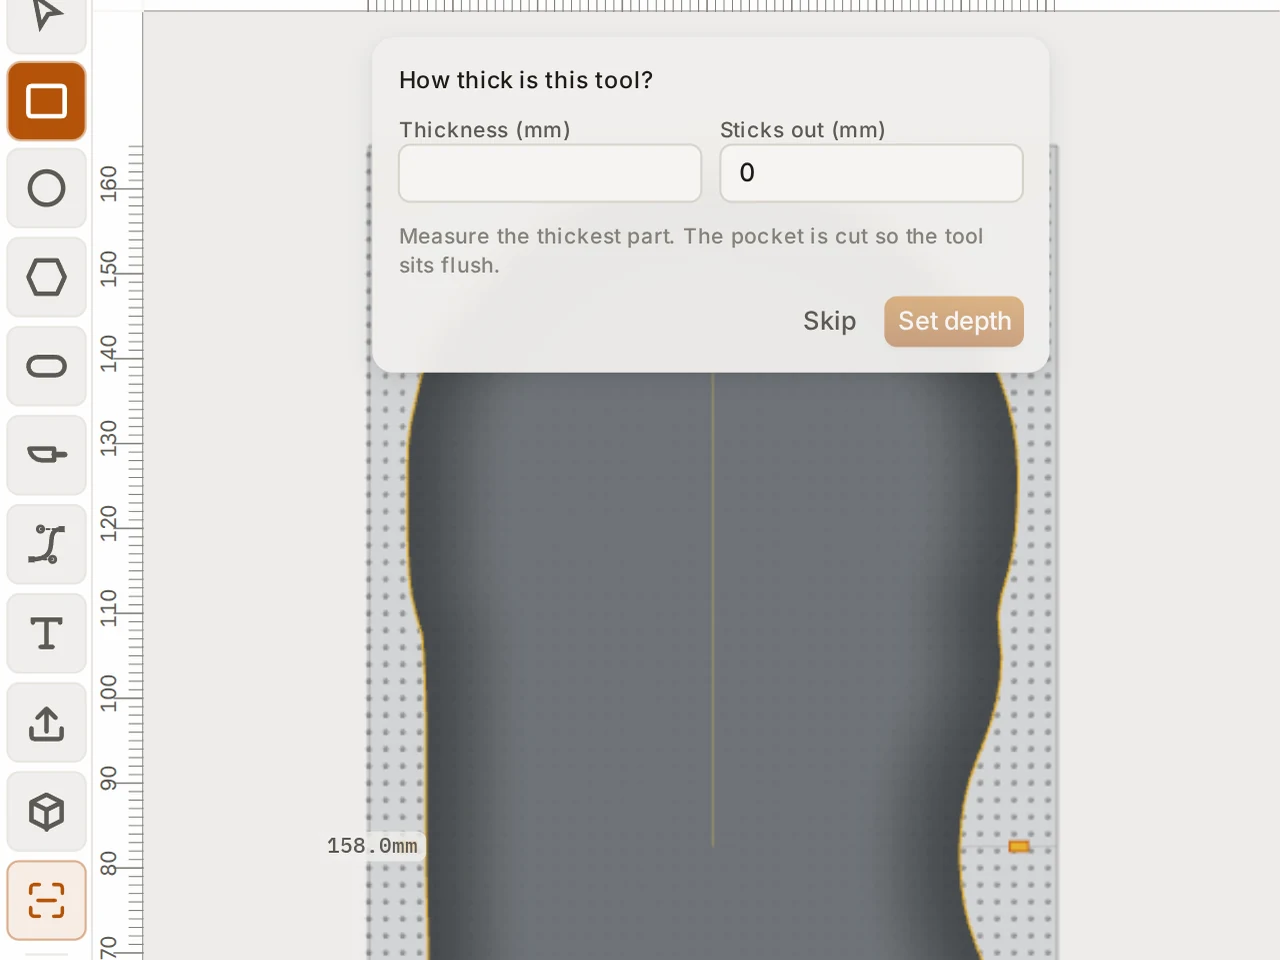
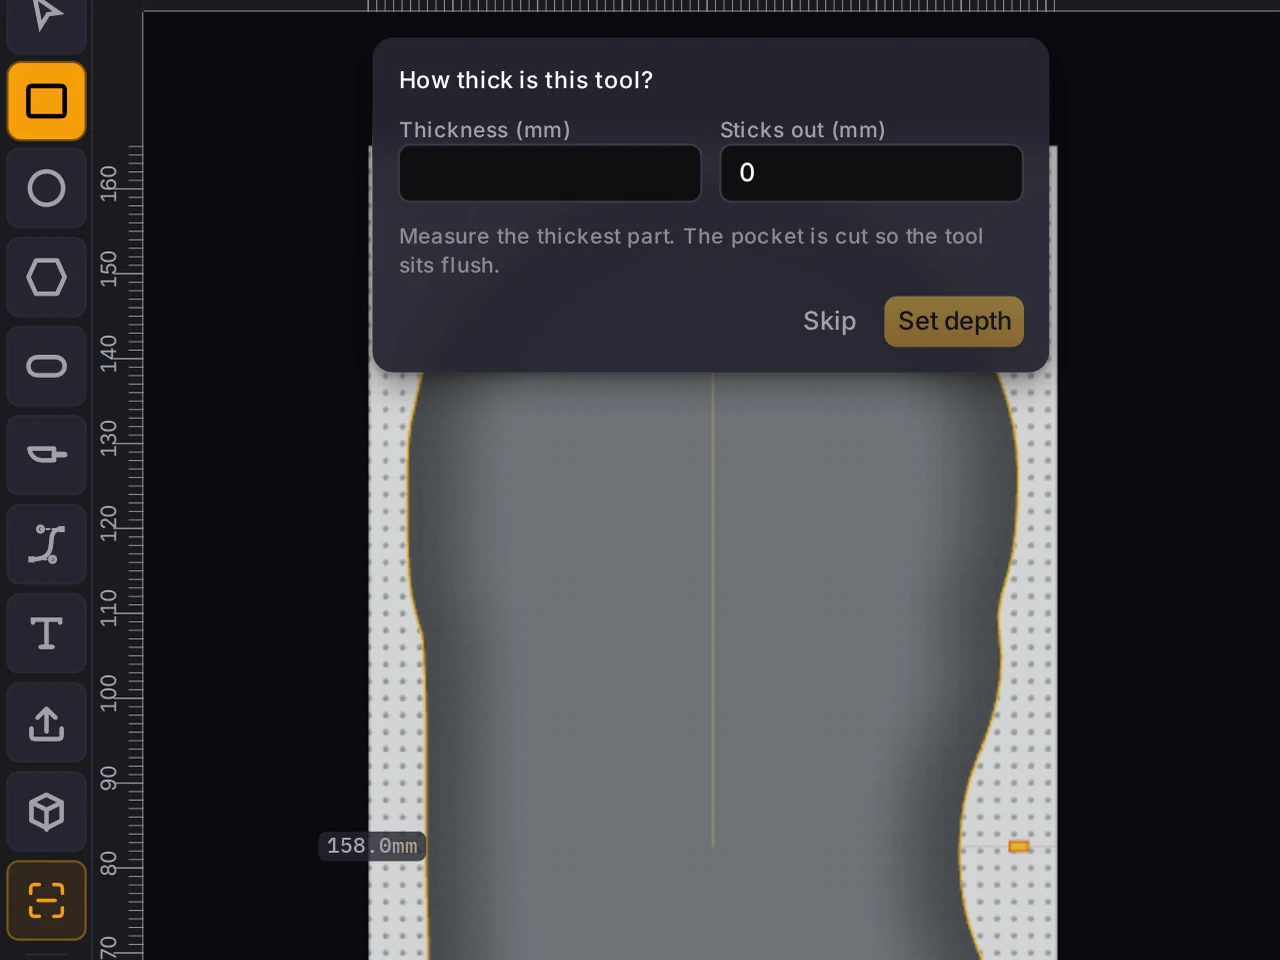
On the computer, each outline comes into the cutout editor as a cutout. It already has 0.4 mm of clearance and an entry chamfer, so the tool drops in. The editor then asks how thick the tool is, to set the depth. See Set the tool thickness.
Before you print the whole bin, print a fit test. A fit test is a thin print of the bin top, so you learn about the fit before the full print.
Use a card of a different size
If your card isn't the standard size, tap Change beside Card size on the review screen. Type the long side and the short side. The phone remembers these values for later scans.
Check the paper size
When a plain sheet of paper sets the size, the review outlines the sheet in green and shows three choices: A4, US Letter and Not paper. The phone picks the paper size from the shape of the sheet. If it picked the wrong size, tap the right one. If the green outline isn't around a sheet of paper, tap Not paper.
Every size in the photo comes from the sheet, so the wrong paper size makes every tool the wrong size.
A photo with no reference
No reference in the photo? The scan still works. The computer then asks for the real length of the longest side of the tool.
Scan several tools in one photo
Lay the tools with a gap between each one. The phone traces every tool and sizes each one from the same reference. On the review screen:
- Remove an outline that you don't want.
- Tap a tool to draw its outline again, or to add a tool that the phone missed.
- Turn on Keep holes to keep plastic in the holes of a tool, such as the ring of a spanner. See Trace a photo.
The tools come into the bin designer as one group, so you can move them as a block.
Measure a tall tool at its own height
The top of a tall tool sits nearer to the camera than the table, so it looks larger in the photo. A measuring strip on top of the tool measures the tool at its own height.
- In the scan dialog, after you click With your phone, click Print measuring strips.
- Print the page at 100%, and measure the bar: it must be 100 mm.
- Cut out the strips. They have 3, 4 or 5 squares.
- Lay one strip flat across the top of the tool, with the squares up.
- Take the photo from straight above.
When the photo also has a sheet, the strip sets the size. The strip hides part of the edge, so the phone fills in the outline under the strip. It marks that tool, so look at the filled edge before you use the outline.
Places to start a scan
You can start a scan from several places:
- The Scan a tool button under Custom cutouts in the Interior group.
- The Have a tool to fit? Scan it link under the other interior modes. It changes the interior to Custom cutouts.
- The header of the cutout editor, and Scan in its toolbar.
- The command palette on a computer: press Ctrl+K (Cmd+K on a Mac) and type "scan". Outside the bin designer, this starts a new bin that grows to fit the tools that you scan.
- Scan with phone… on a cutter part in a Workshop build.
Each place first asks if the photo is on your phone or on this computer.
In the bin designer on a phone or a tablet, the scan runs on that device. It adds the tools to the bin, and makes the bin larger to fit them.
When it goes wrong
The computer says that phone scanning isn't available
Connect the computer to the internet. Then click Back, and click With your phone again. No luck? Take the photo, copy it to the computer, and use Trace a photo.
The outline goes from the phone to the computer through the server of the Layout Tool. If the computer can't reach the server, it can't make a scan link.
The phone can't send the outline
Connect the phone to the internet again. Then tap Retake and take the photo again.
The phone keeps the photo and makes the outline by itself. Only the outline goes over the connection, so a lost connection stops it at the last step.
The cutout is the wrong size
Hold a ruler to the tool, and compare it with the size on the review screen before you tap Use this outline. If the size is off, change the reference:
- With plain paper, check that the review shows the right paper size. See Check the paper size.
- Plain paper and a card are less exact than the calibration sheet. Print the sheet, and use it in their place.
- Measure the 100 mm bar on the printed sheet. A printer that scales the page changes every scan by the same amount.
- A printed baseplate is only as exact as the printer that made it.
- A thick tool looks larger from close up. Take the photo from higher up, and zoom in.
- For a tall tool, add a measuring strip. See Measure a tall tool at its own height.
Next steps
- Trace a photo: trace a photo that is already on your computer.
- Check before you print: print a fit test of the scanned tools.
- Arrange cutouts: pack the scanned tools in the bin.