
Layouts, layers and the stash
A layout is one drawer. Layers decide which bins stack on which, and the stash is a shelf beside the drawer for bins you don't need right now. Once you see how the three fit together, you can tell where a bin goes when you delete a layer or make the drawer smaller.
A layout is one drawer
Each layout holds everything about one drawer:
- the drawer size: width and depth in grid units, and the height
- the grid unit, the height unit and the print bed size
- the categories that color the bins
- the layers and the bins on them, and the bins in the stash
- the baseplate settings for that drawer
The drawer can be from 0.5 to 50 grid units on each side. A layout has 1 to 10 layers and 1 to 20 categories. Your library can hold up to 500 layouts, and the Layout Tool saves each one separately.
The drawer height can't go below the tallest stack of bins. To make the drawer lower, make the bins lower first.
Layers are the order of the stack
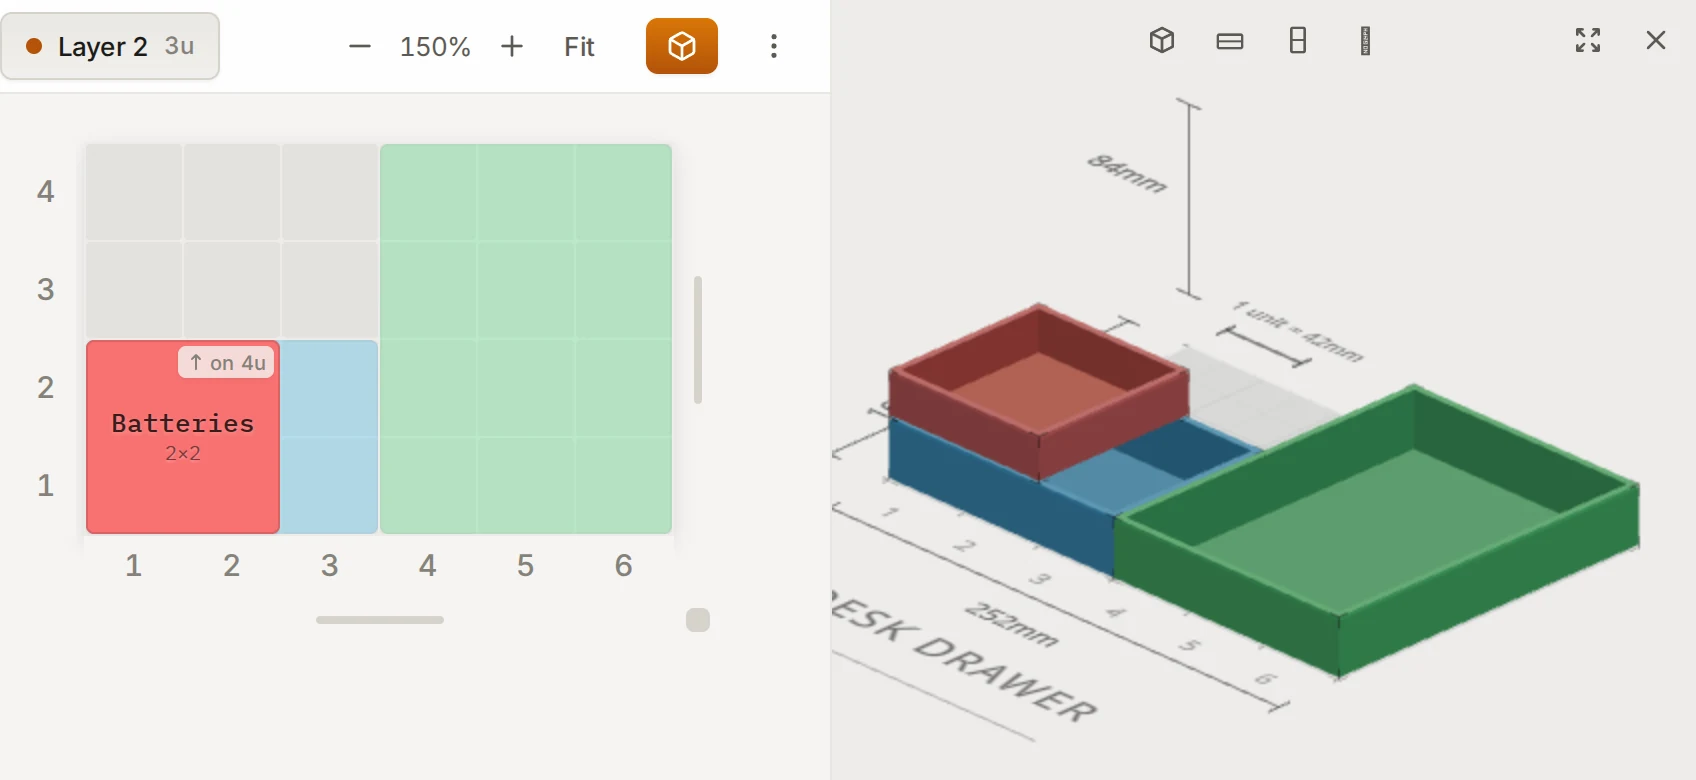
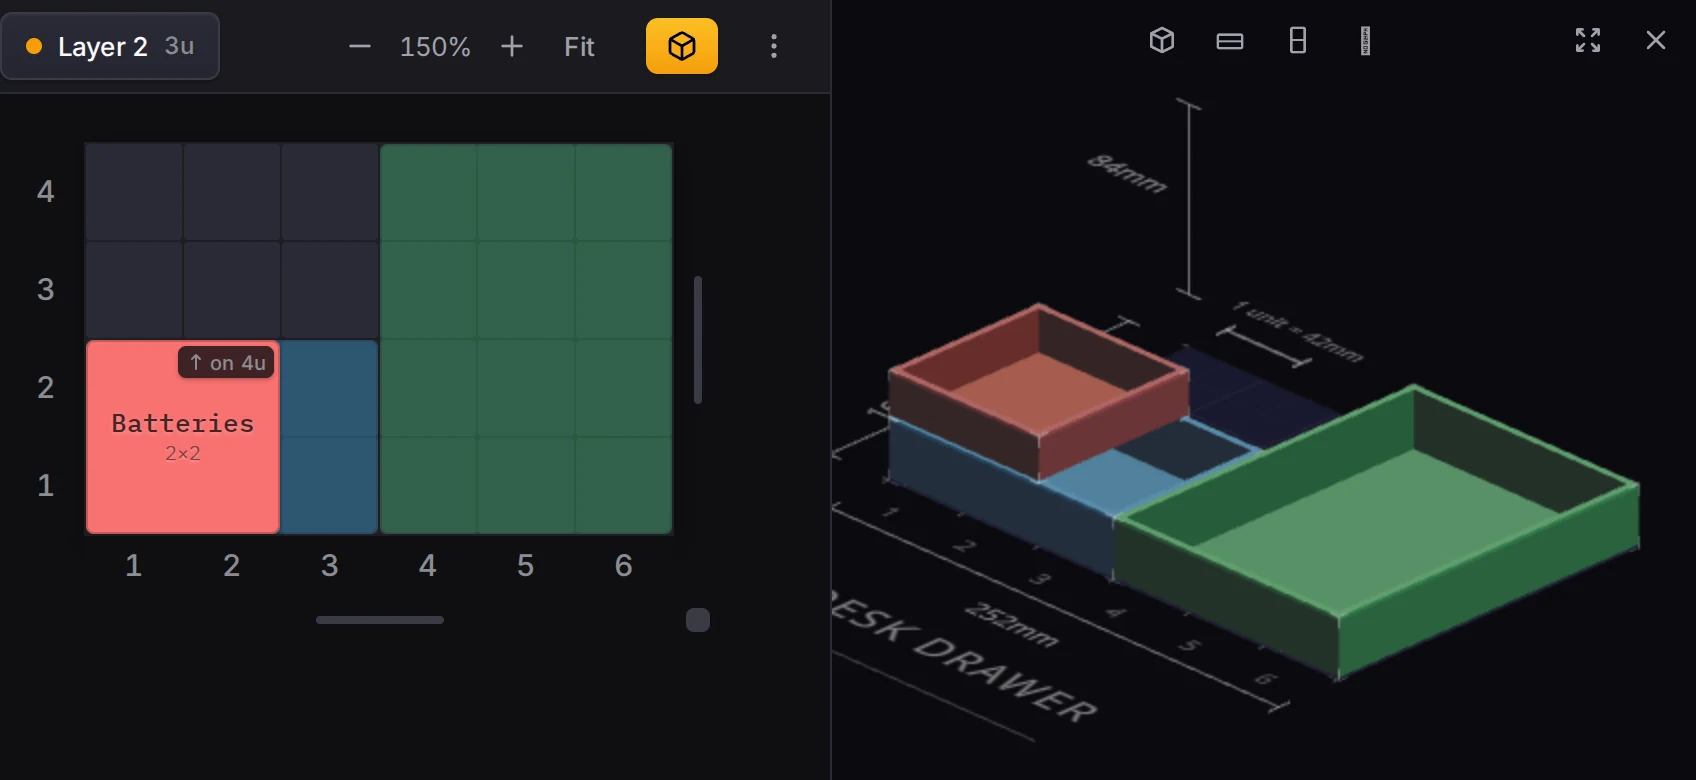
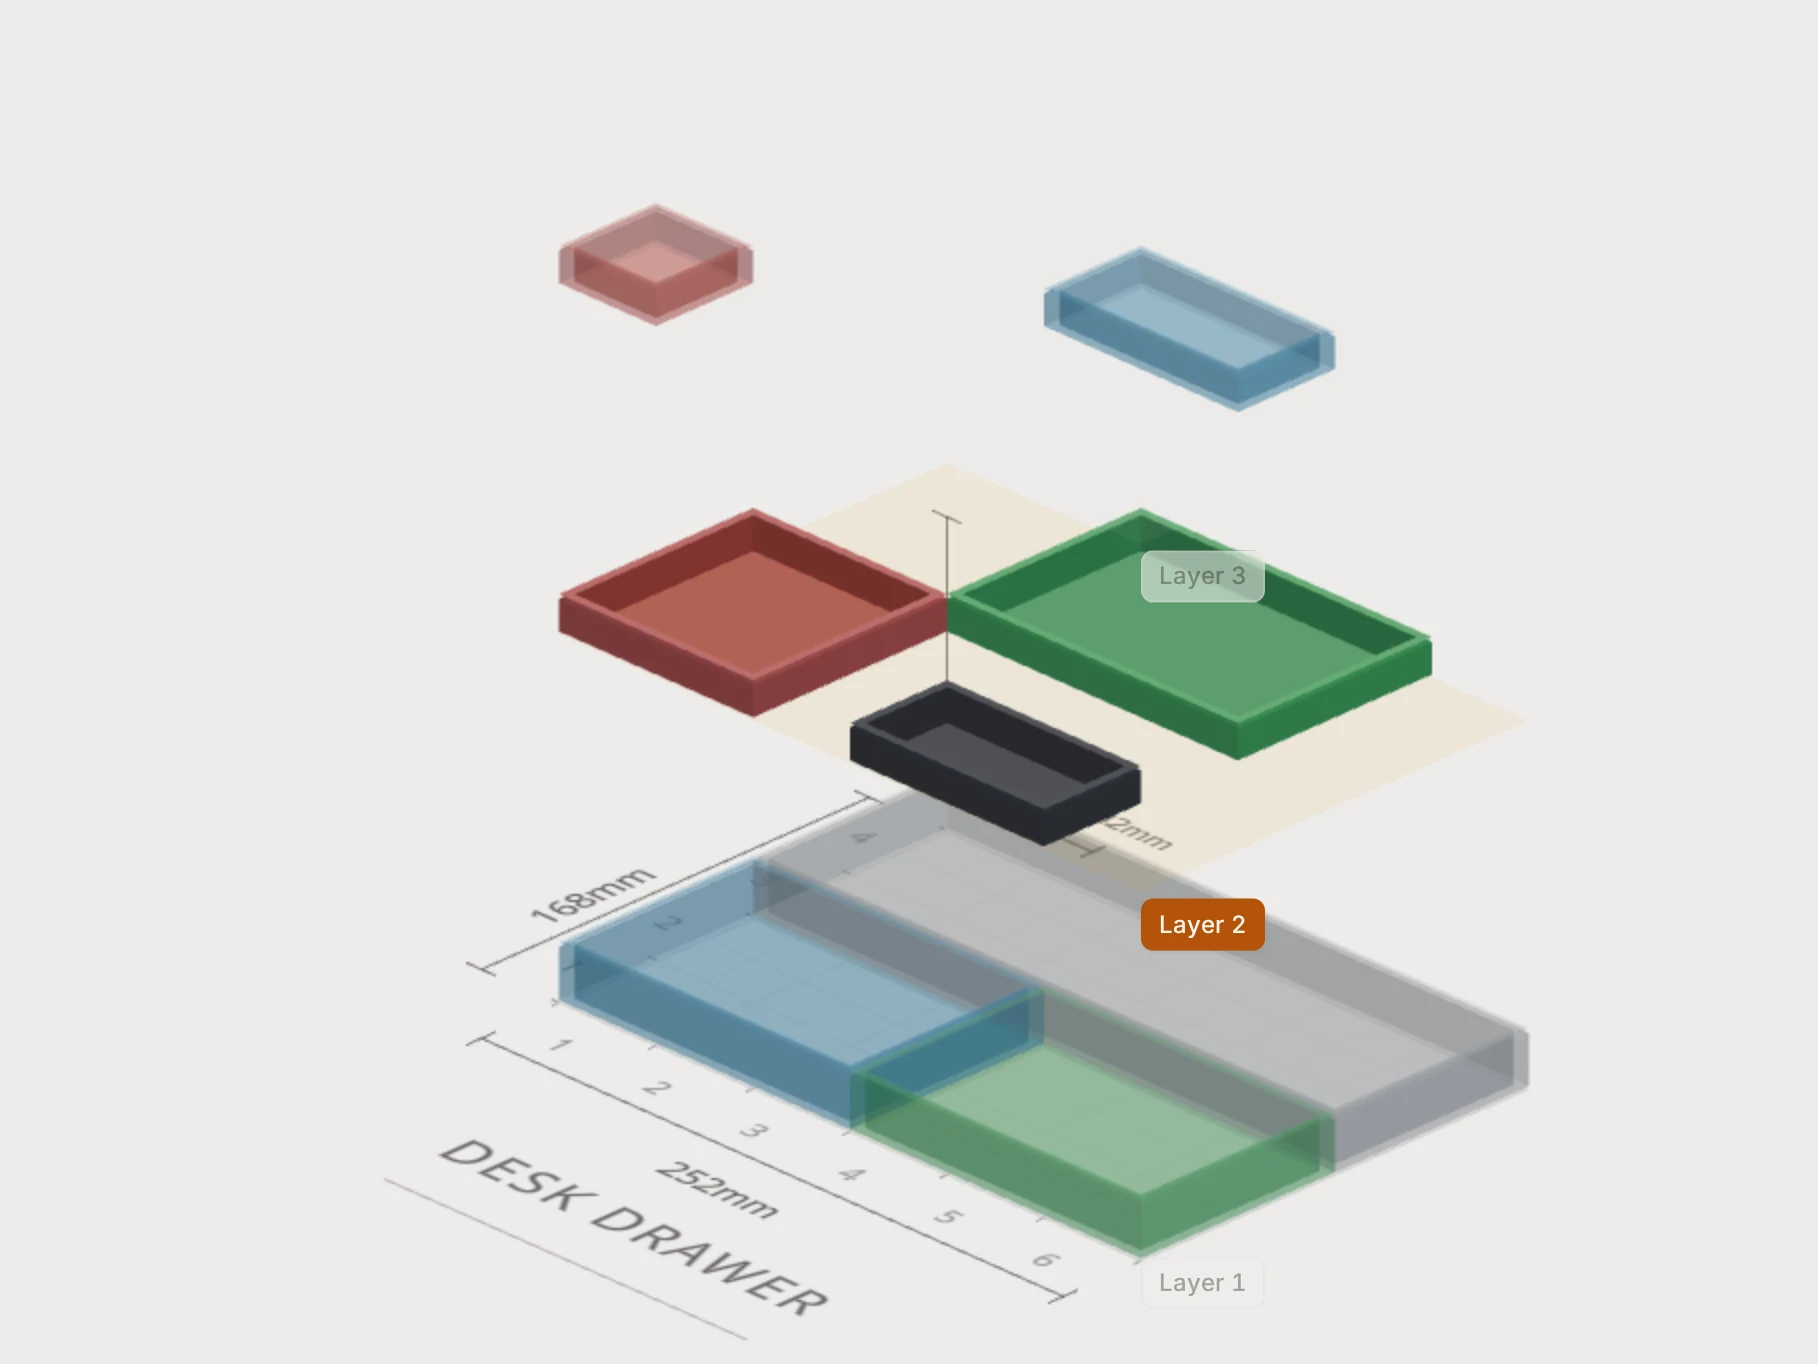
Think of layers as the order in which you'd stack things, not as shelves at a fixed height. Each bin rests on the tallest bin from a lower layer under it. When nothing is under it, it rests on the floor of the drawer.
A few rules follow from that idea:
- Bins on the same layer can't overlap.
- Bins on different layers can overlap. The upper bin rests on the lower bin.
- A layer's height is only the start height for bins that you add to it.
- A bin that rests above the floor shows a badge with its height above the plate.
- When a stack gets taller than the drawer, the Layout Tool warns you.
Layer 1 is the bottom layer. The layer list puts the top layer first and Layer 1 last, as in a real stack.
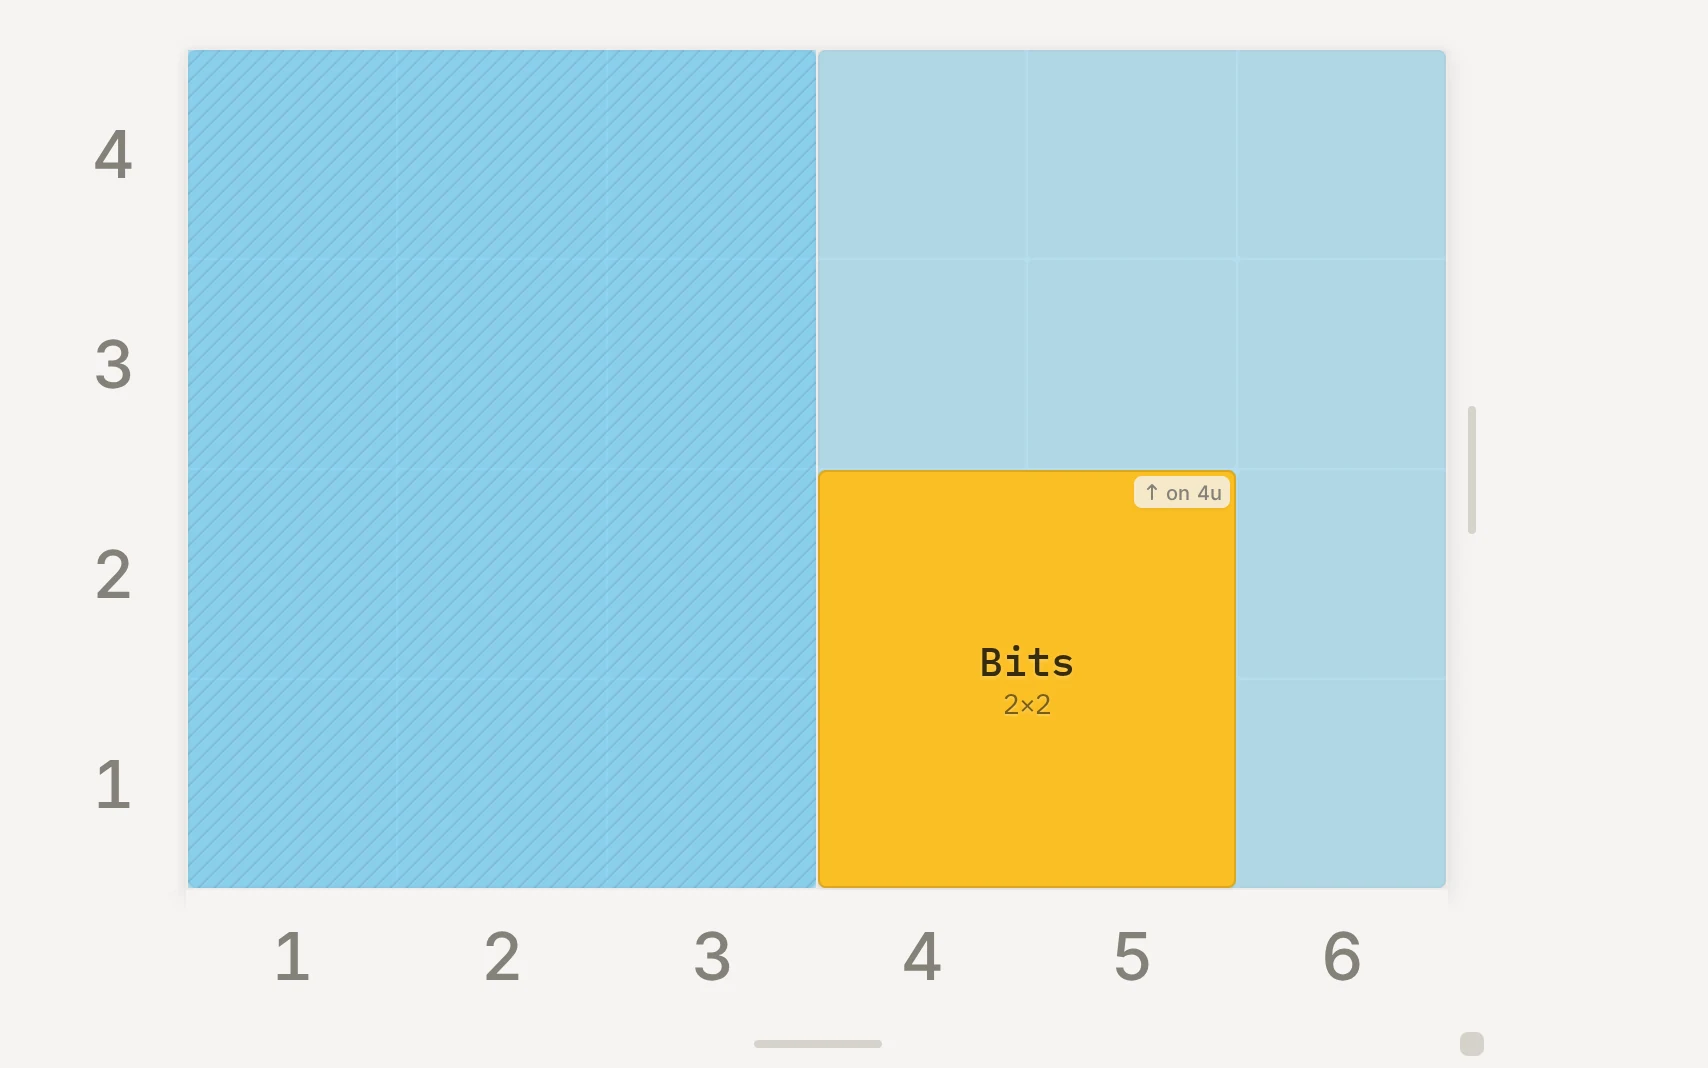
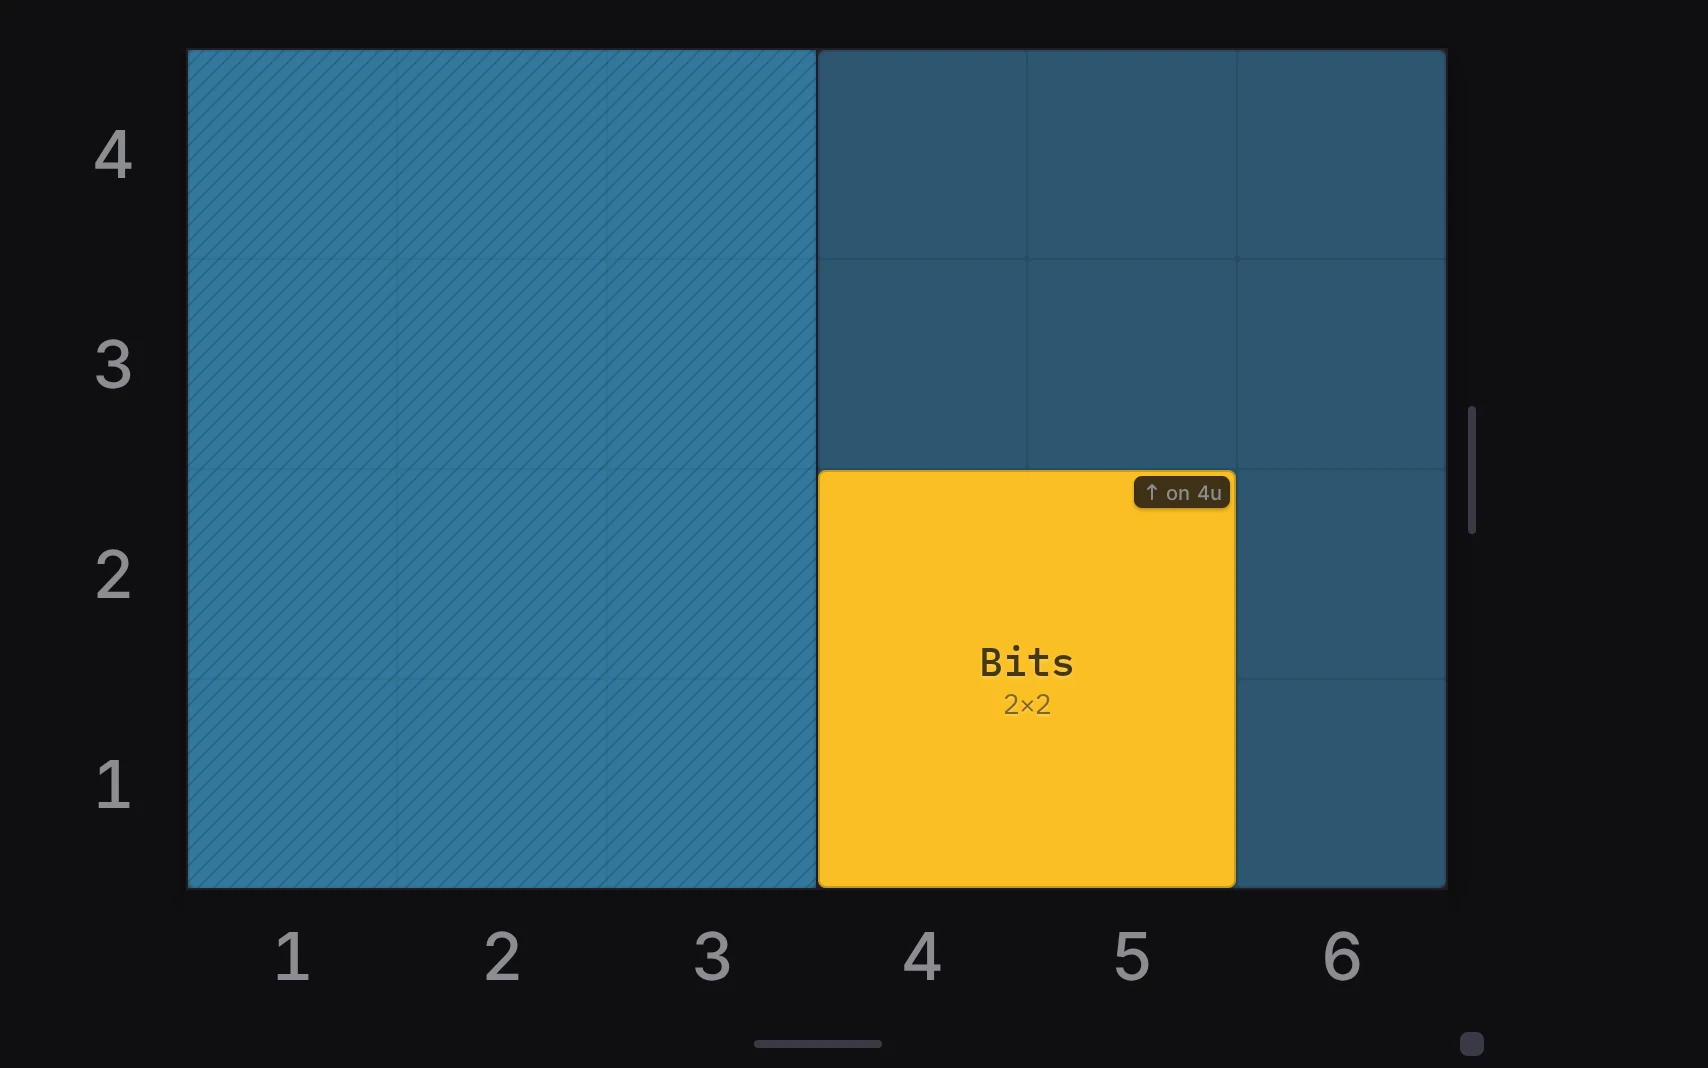
Some items stick up above their bin, like a tall screwdriver. Set Clearance (mm) on that bin to keep space free above it. The grid shows the space above as a striped area, and a bin on a higher layer can't rest in it.
The stash holds bins that are off the grid
The Stash is the panel under the grid. A bin in the stash belongs to the layout but sits on no layer. It keeps its size and height, so you can put it back on the grid later.
Bins go into the stash in these ways:
| What you do | What happens |
|---|---|
| Drag a bin onto the stash | The bin moves to the stash |
| Select bins and click To stash in the inspector | The selected bins move to the stash |
| Shift+click a size in Size brush | A new bin of that size goes to the stash |
| Delete a layer | All bins on that layer move to the stash |
| Clear a layer | All bins on that layer move to the stash |
| Make the drawer smaller | Bins that no longer fit move to the stash |
| Turn off half-grid mode and accept the move | Bins with half-unit sizes or positions move there |
| Place a saved design when the layout has no free space | The linked bin goes to the stash |
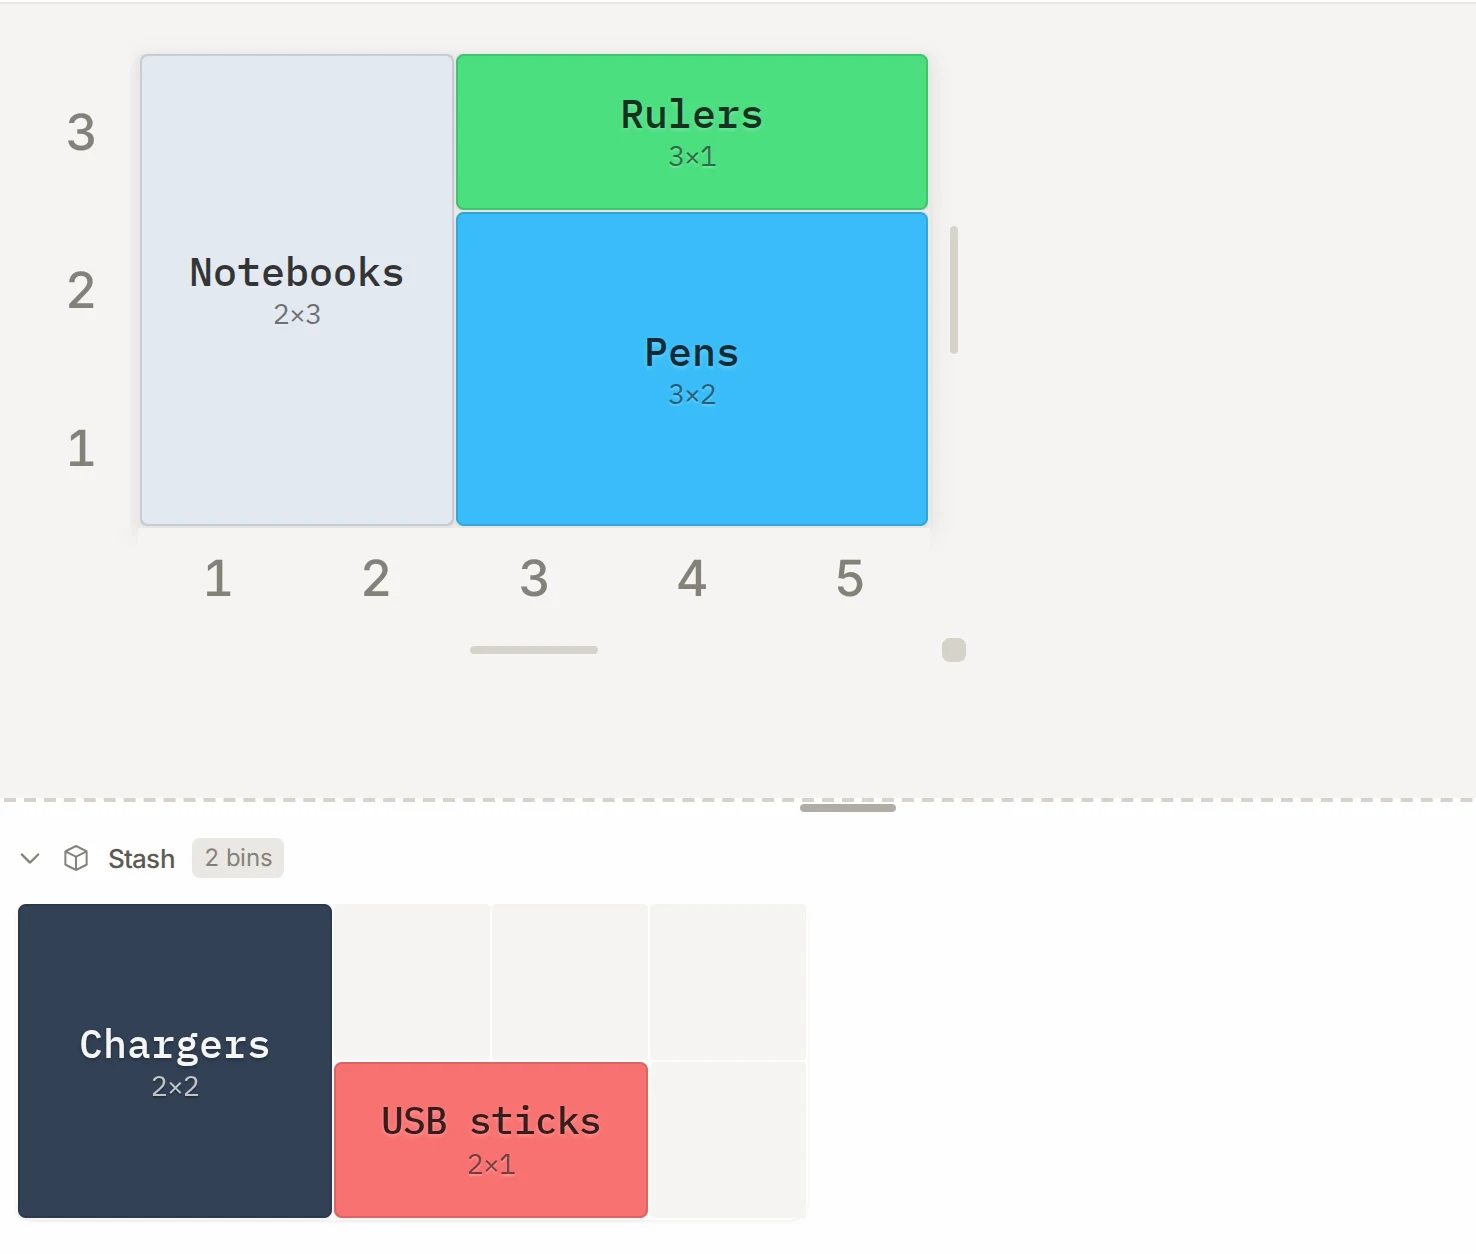
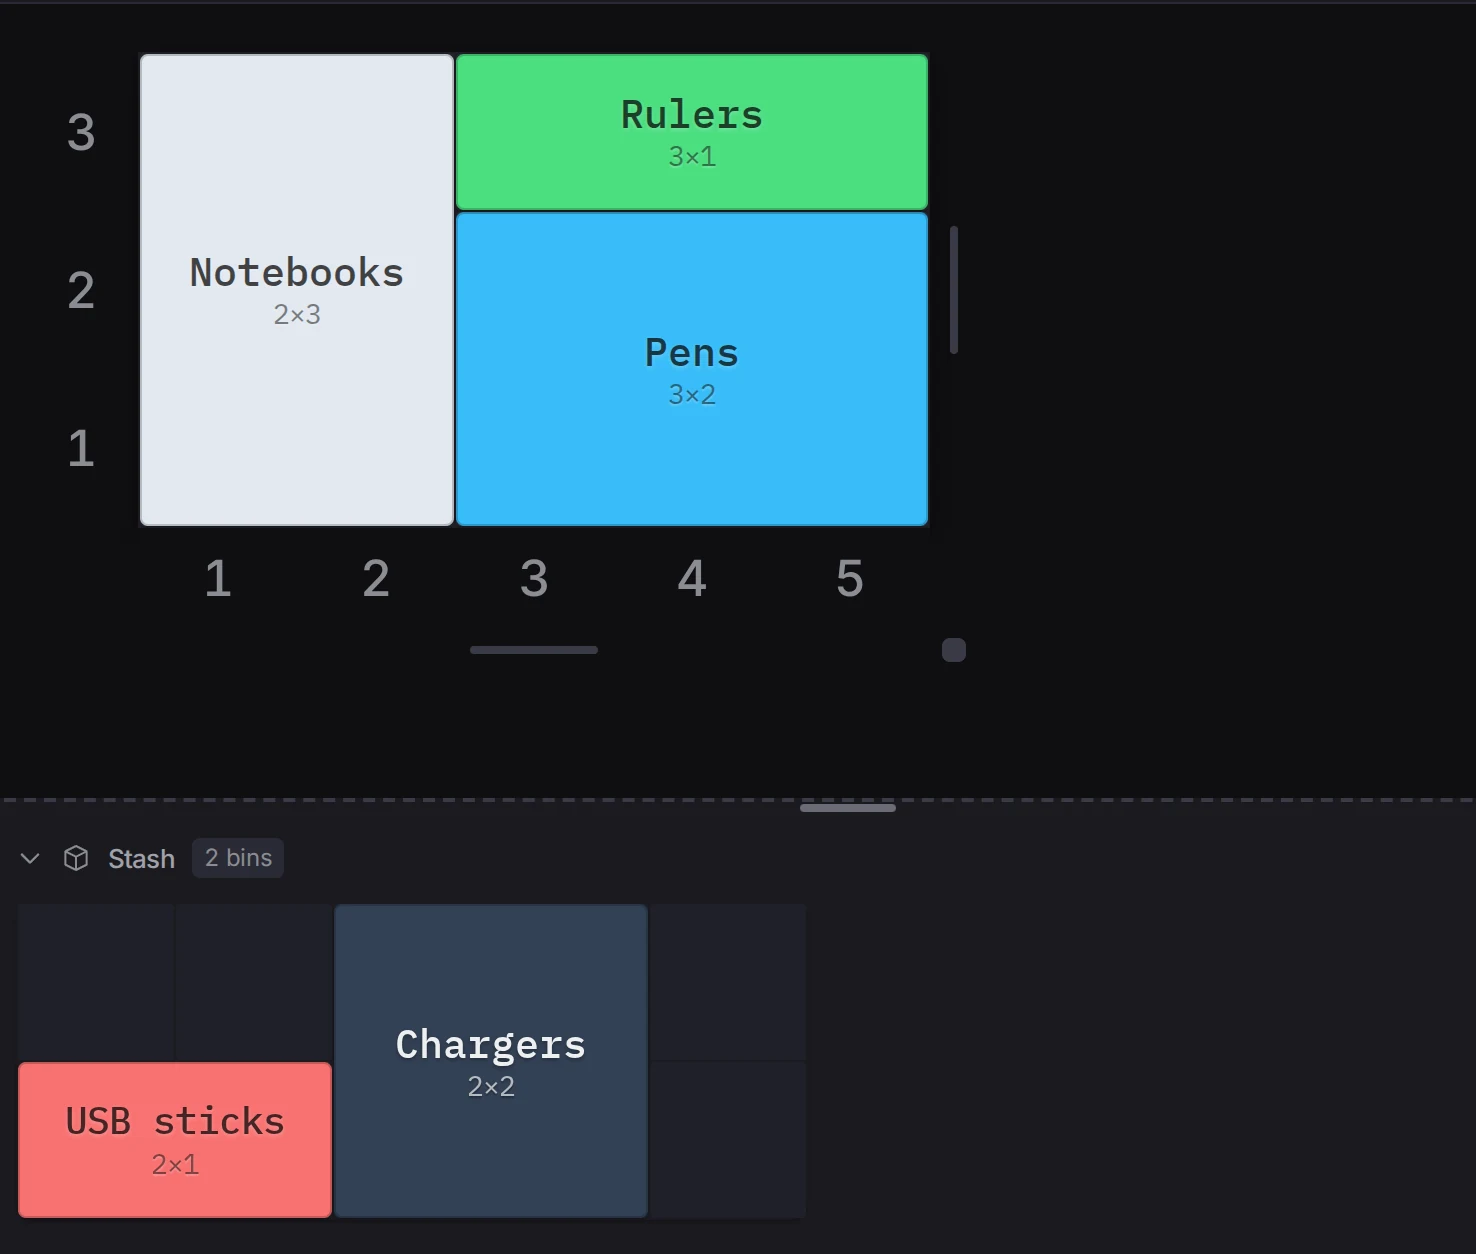
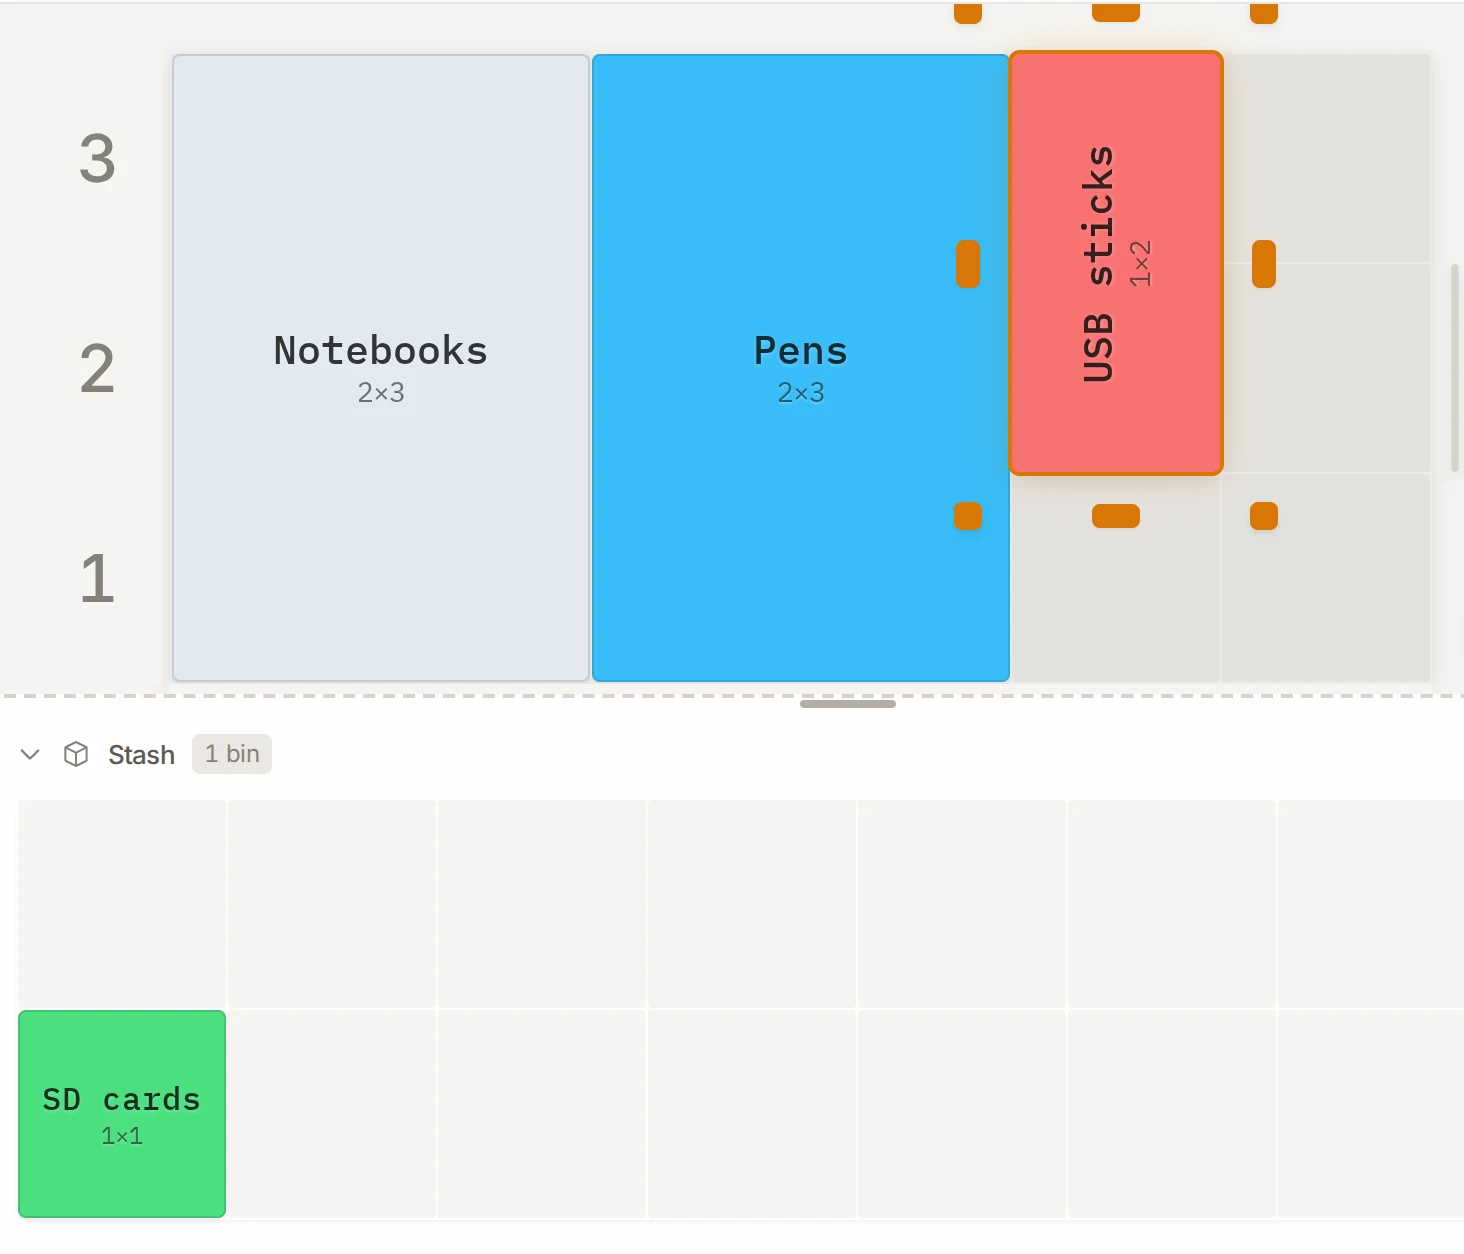
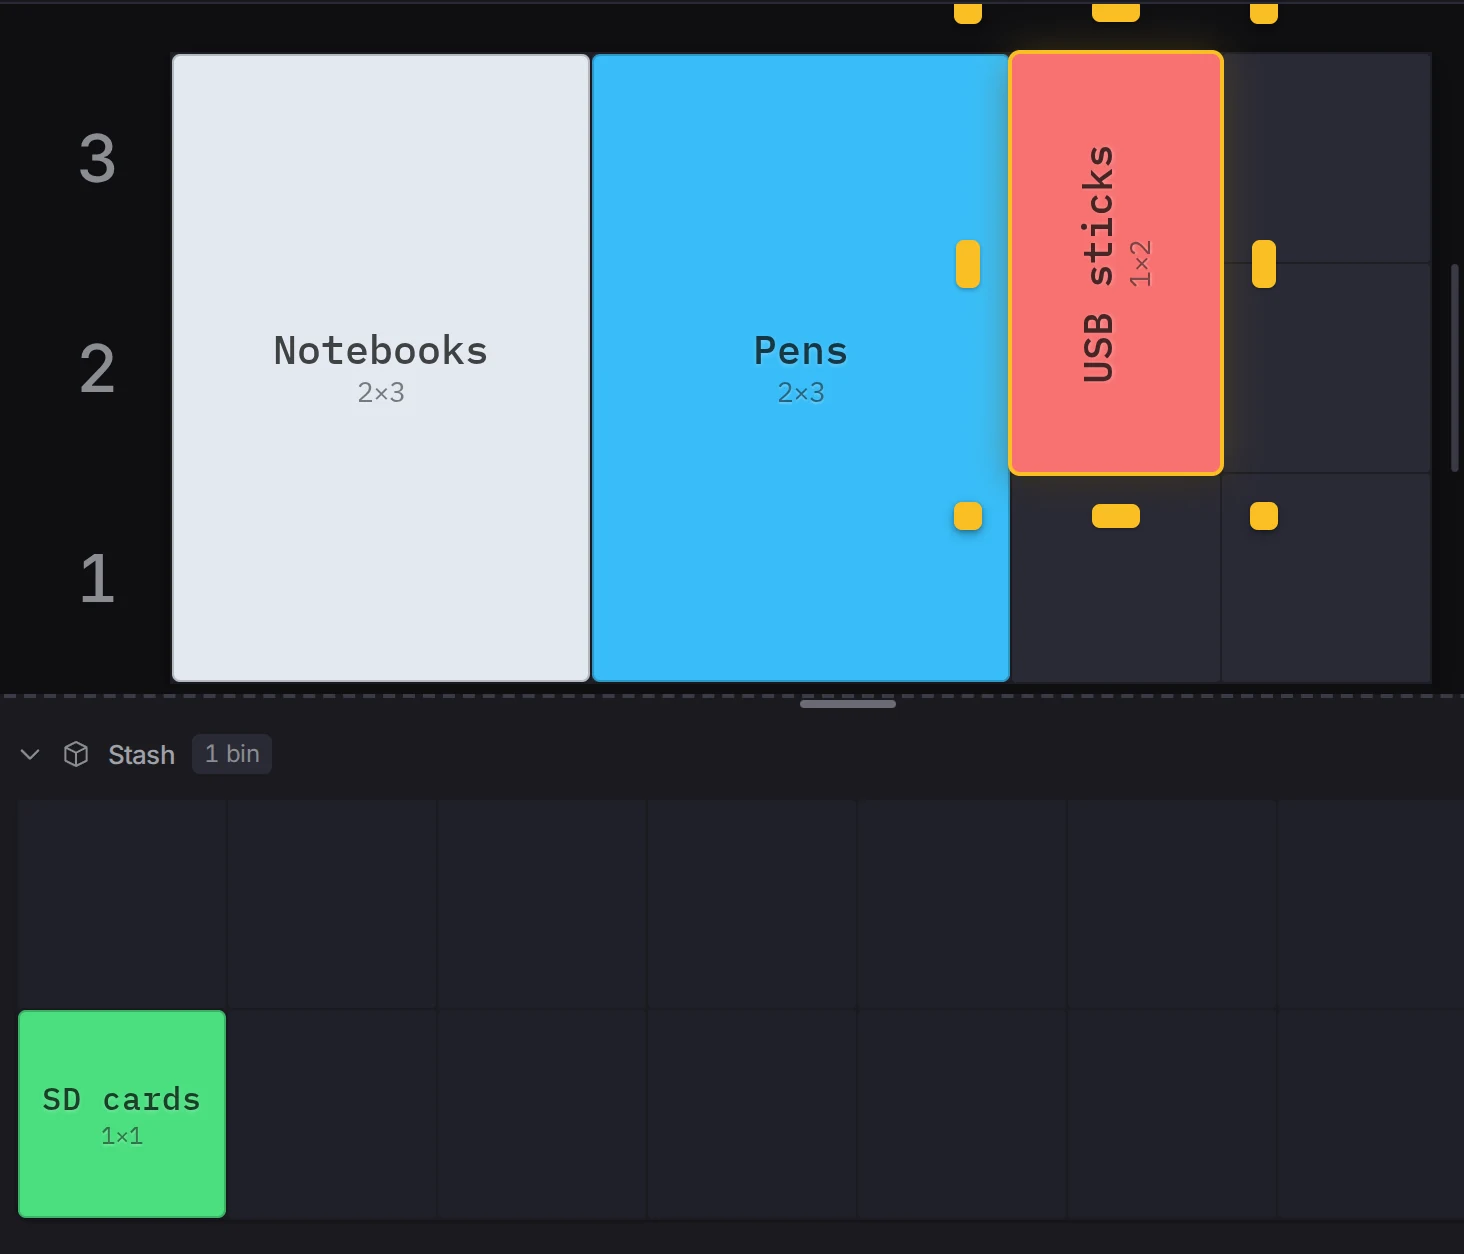
To use a stashed bin, drag it from the stash onto the grid. Press R to turn a stashed bin before you place it. Put bins in the stash shows the other ways to move bins in and out of the stash.
WARNING
Use Clear all only when you want to delete every bin in the stash. If you clear it by mistake, press Ctrl+Z (Cmd+Z on a Mac) to get the bins back.
See the layers in 3D
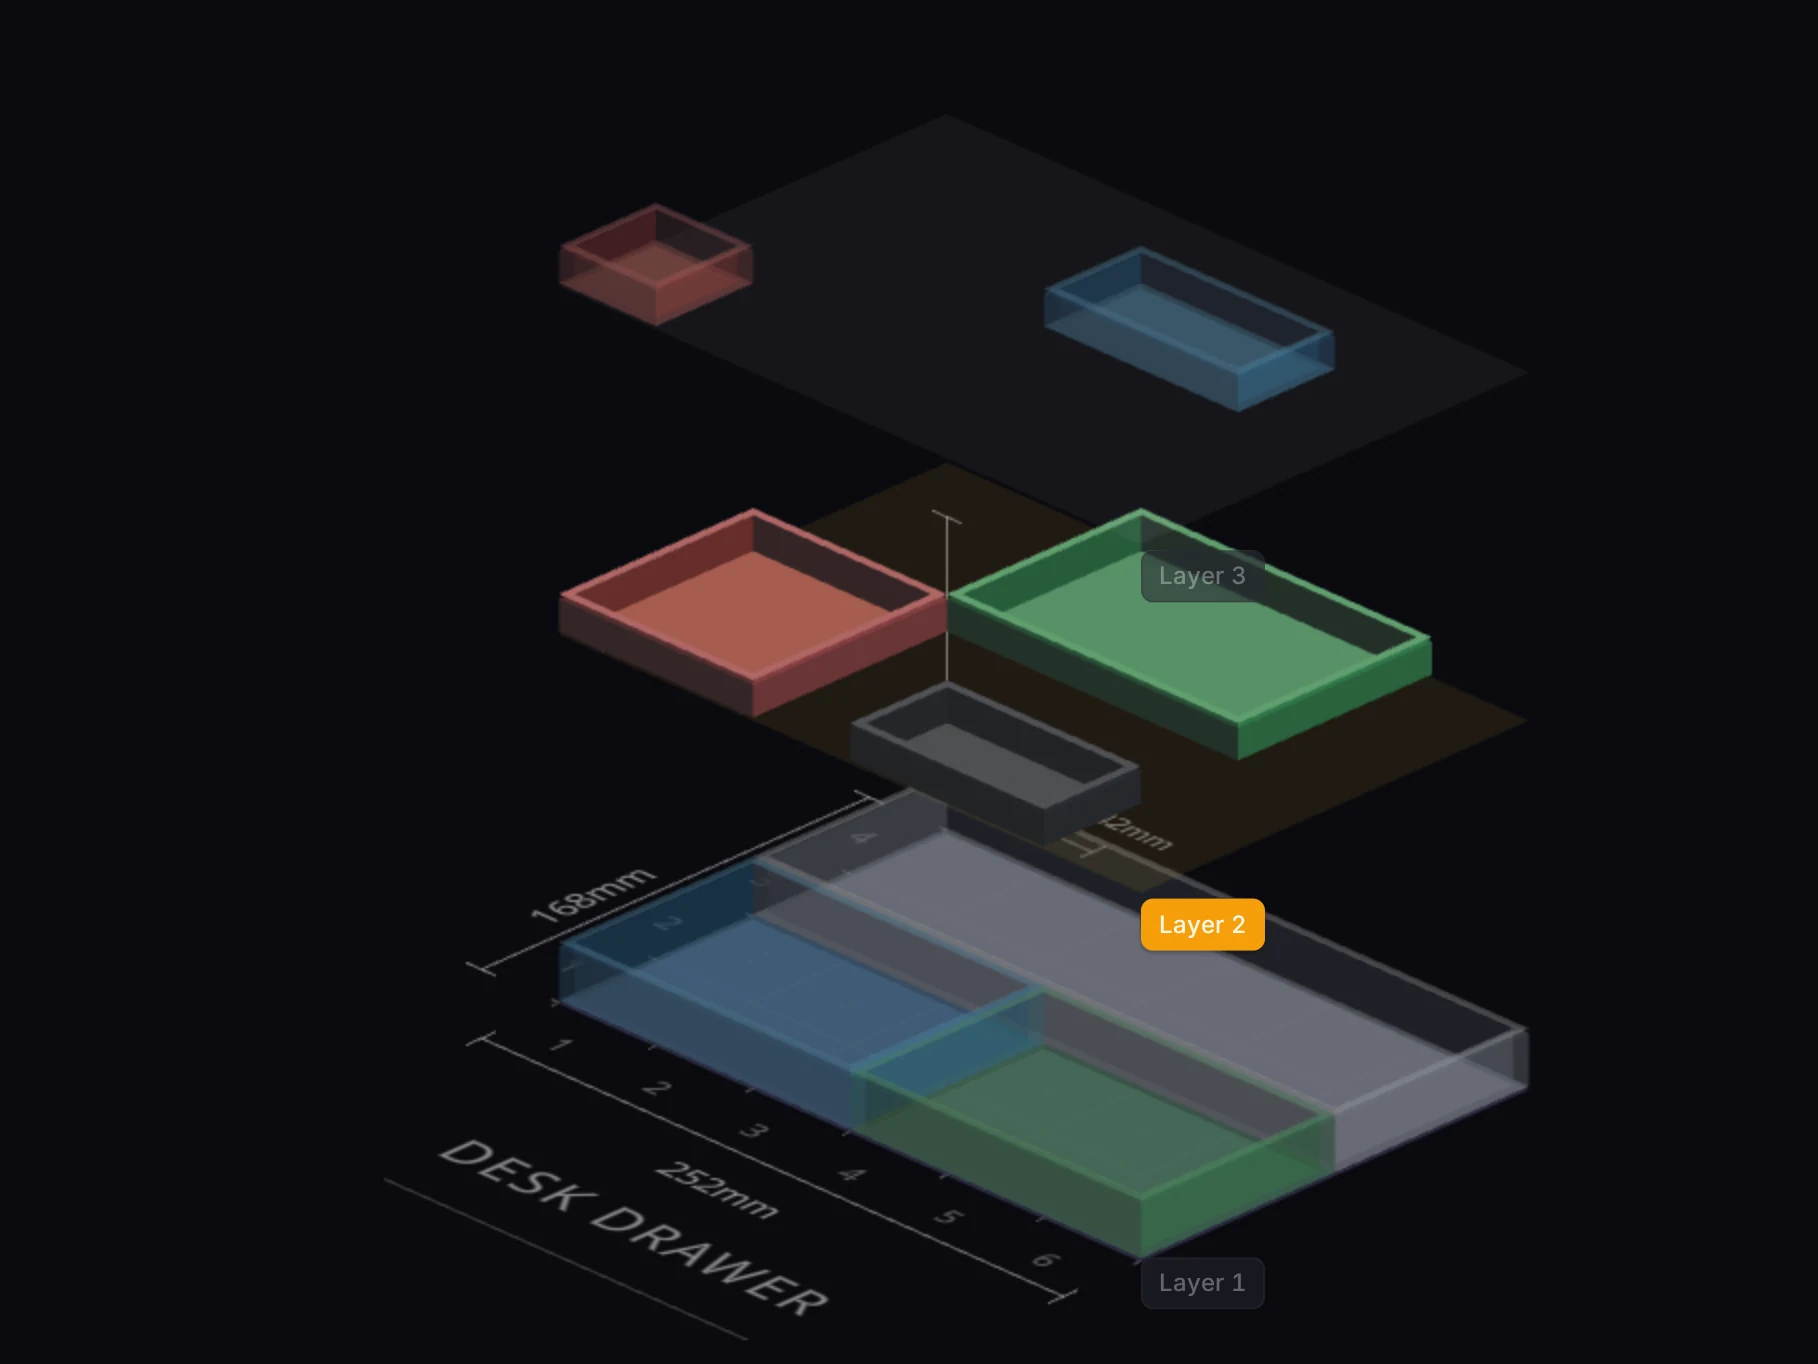
The 3D preview of the layout can show only the active layer, the layers up to the active layer, or all layers. Explode pulls the layers apart vertically, so you can see each layer with the bins on it. See the layers shows the buttons and the keys.
When it goes wrong
Bins are gone from the grid
Look in the stash below the grid. Drag the bins back, or press Ctrl+Z (Cmd+Z on a Mac) to undo the change that moved them. A smaller drawer moves bins that no longer fit to the stash, and no message tells you. The table in The stash holds bins that are off the grid lists the other changes that do the same.
Some bins aren't on the print list
Look in the stash, and drag those bins onto the grid. A bin in the stash belongs to the layout but sits on no layer, so the print list leaves it out.
Next steps
- Work in layers: add, rename and reorder layers, and move bins between them
- Place and edit bins: draw, move and resize bins on the grid
- Set up the drawer: set the drawer size and shape
- Saved designs and linked bins: connect a bin in a layout to a design from the bin designer