
Work with several bins
Got a row of bins that all need the same change? Select them together and make the change once. In the Gridfinity Layout Tool, you can line bins up, edit them as a group, and even merge them into one bin with compartments.
Select several bins
- Hold Ctrl (Cmd on a Mac) and click a bin to add it to the selection. Do it again to remove the bin.
- Click a row number or a column number at the edge of the grid. This selects every bin in that row or column on the active layer.
- Hold Shift and click a second row or column number to add all the rows or columns between the two.
- Hold Ctrl and click a row or column number to add its bins, or to remove them.
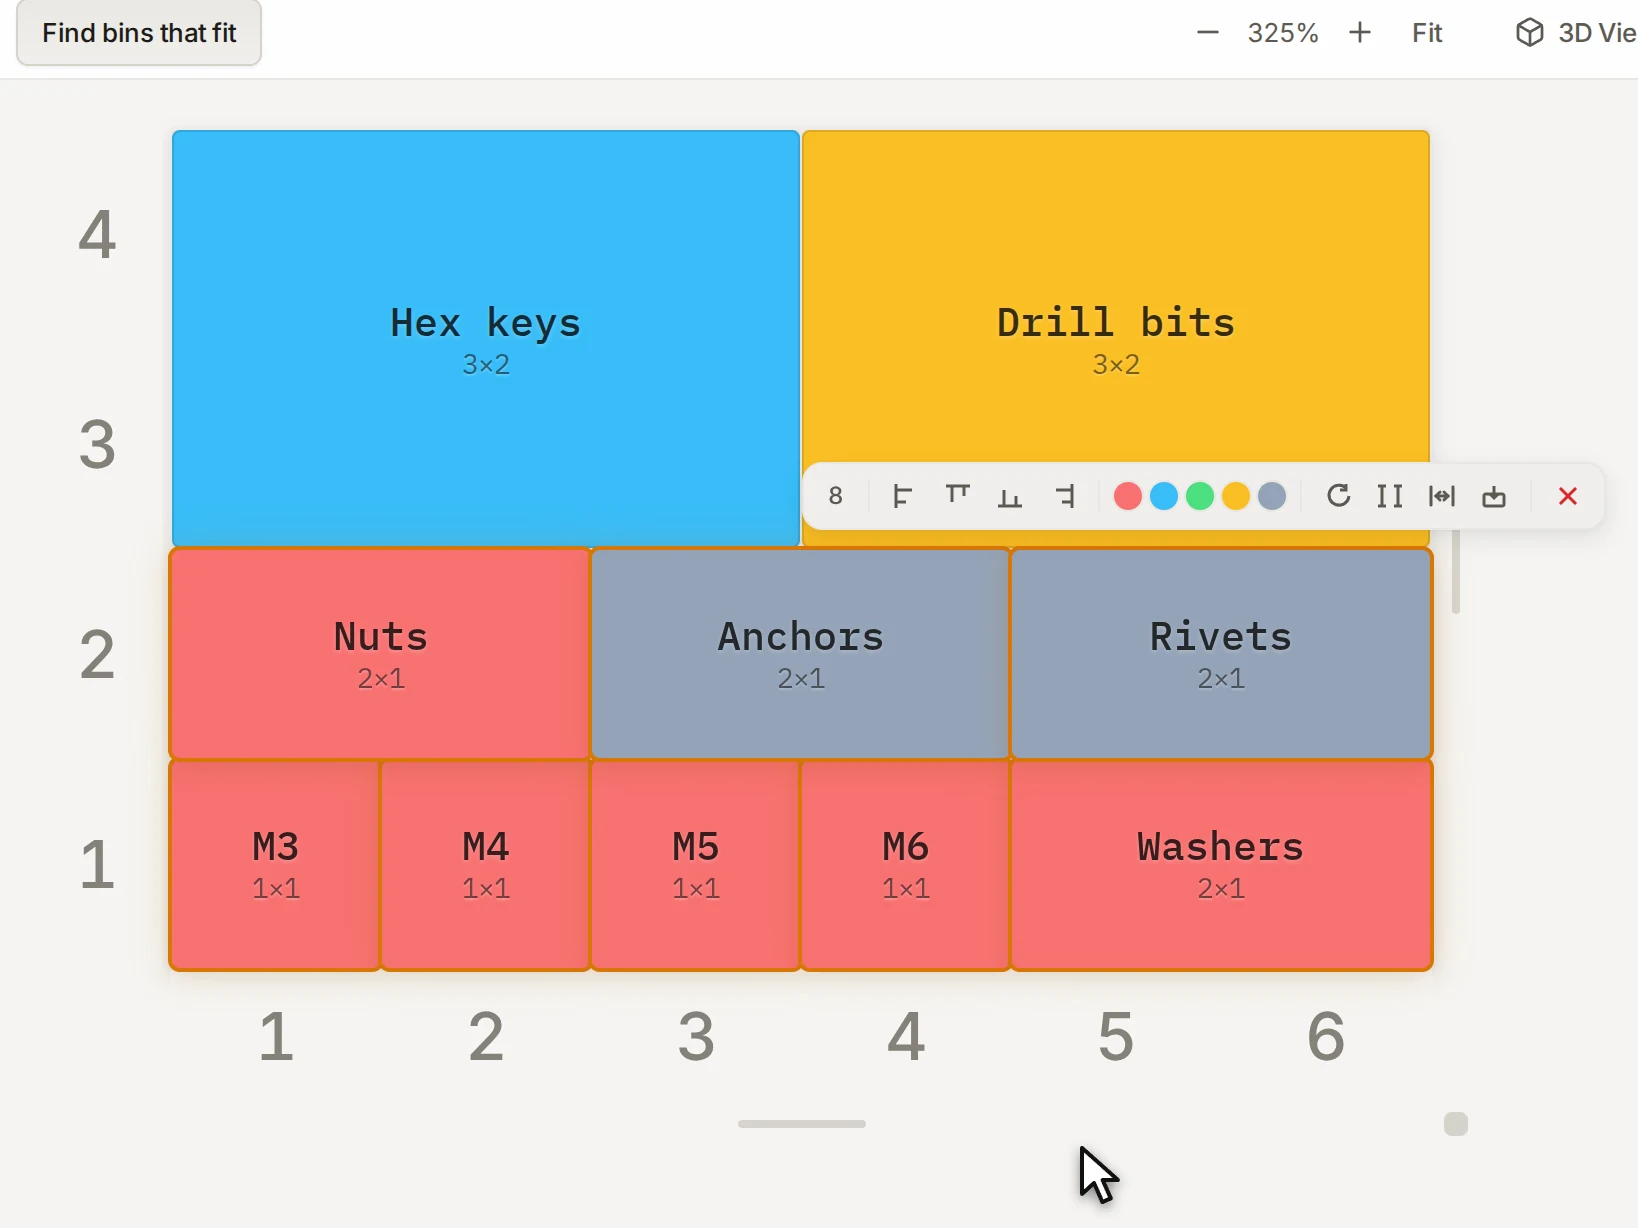
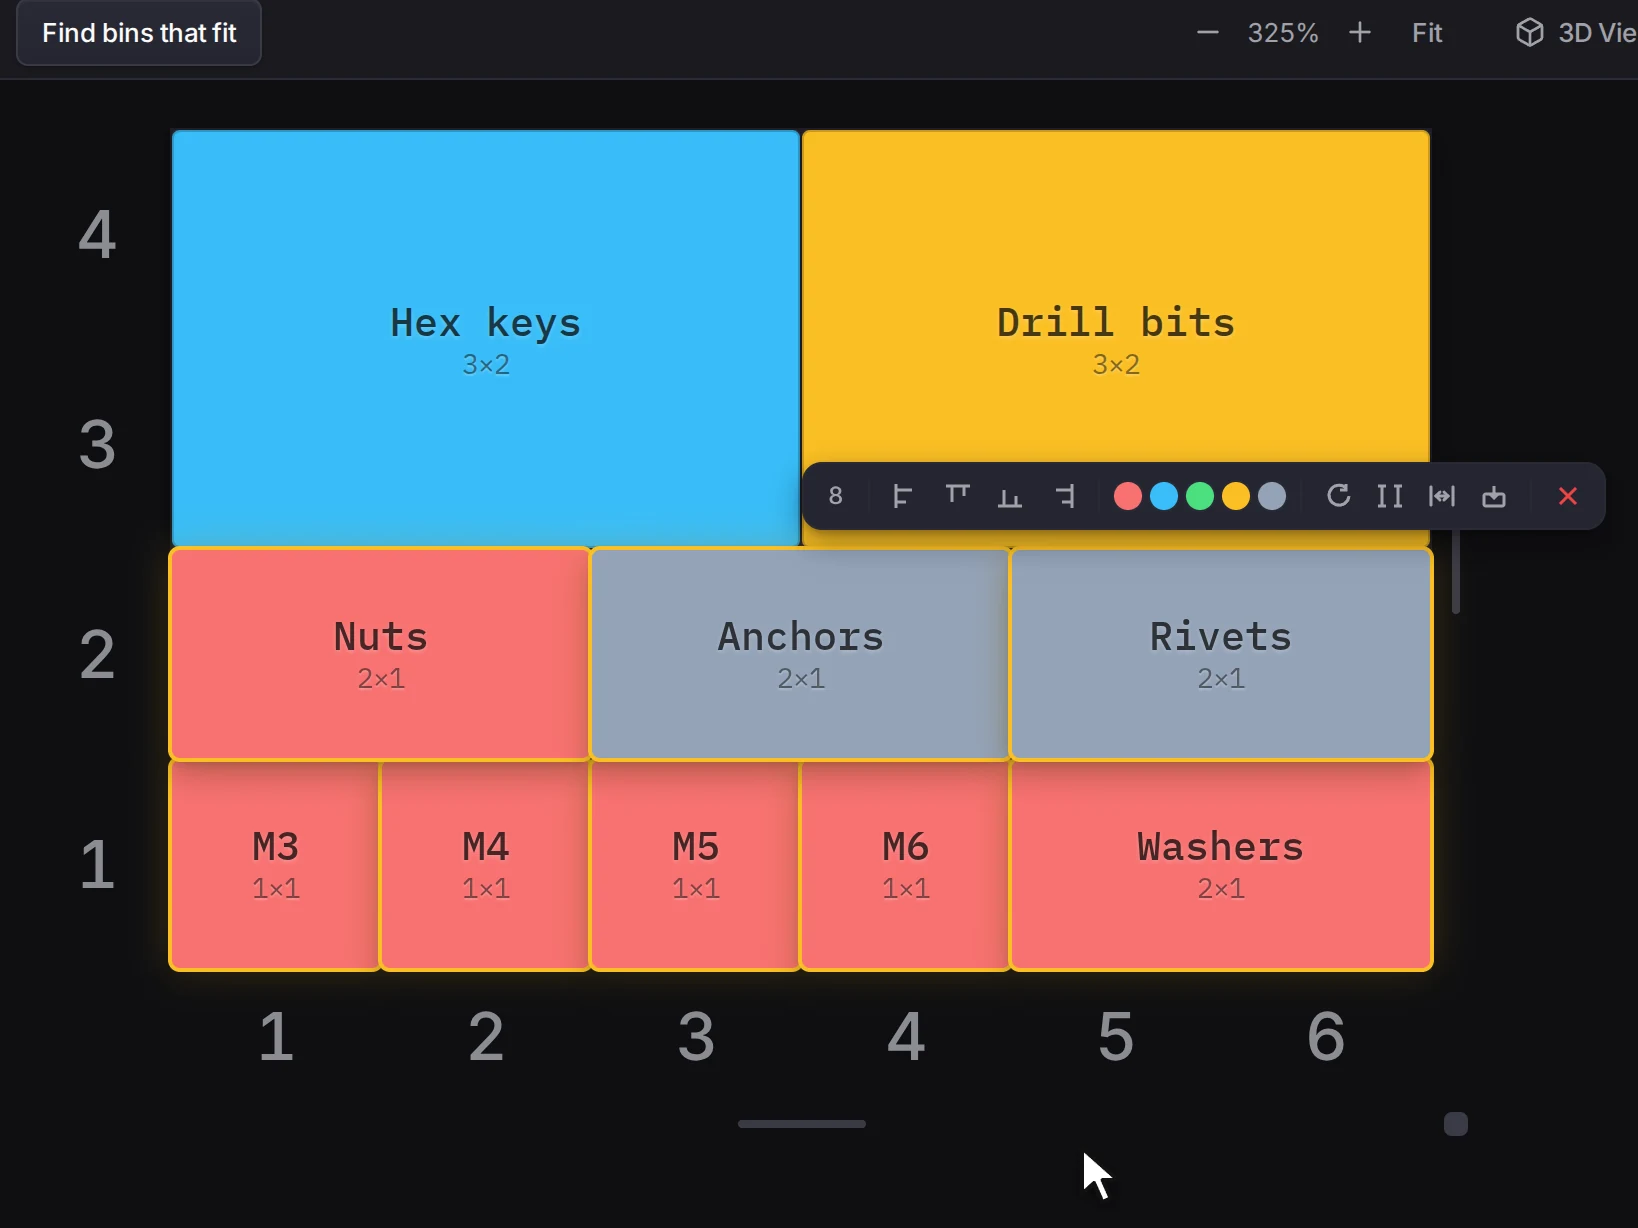
The command palette (Ctrl+K, or Cmd+K on a Mac) has more ways to select:
| Command | What it selects |
|---|---|
| Select all bins on layer | Every bin on the active layer |
| Invert selection | The bins on the active layer that are not selected now |
| Select by category | The bins on the active layer with the category of the first selected bin |
| Clear selection | Nothing. It clears the selection. |
Press Escape to clear the selection. When you change to a different layer, the selection also clears.
Move bins together
Drag any selected bin, and all the selected bins move with it. The arrow keys move all of them too. If one bin can't go to the new position, none of the bins move, so the group keeps its shape.
Use the selection toolbar
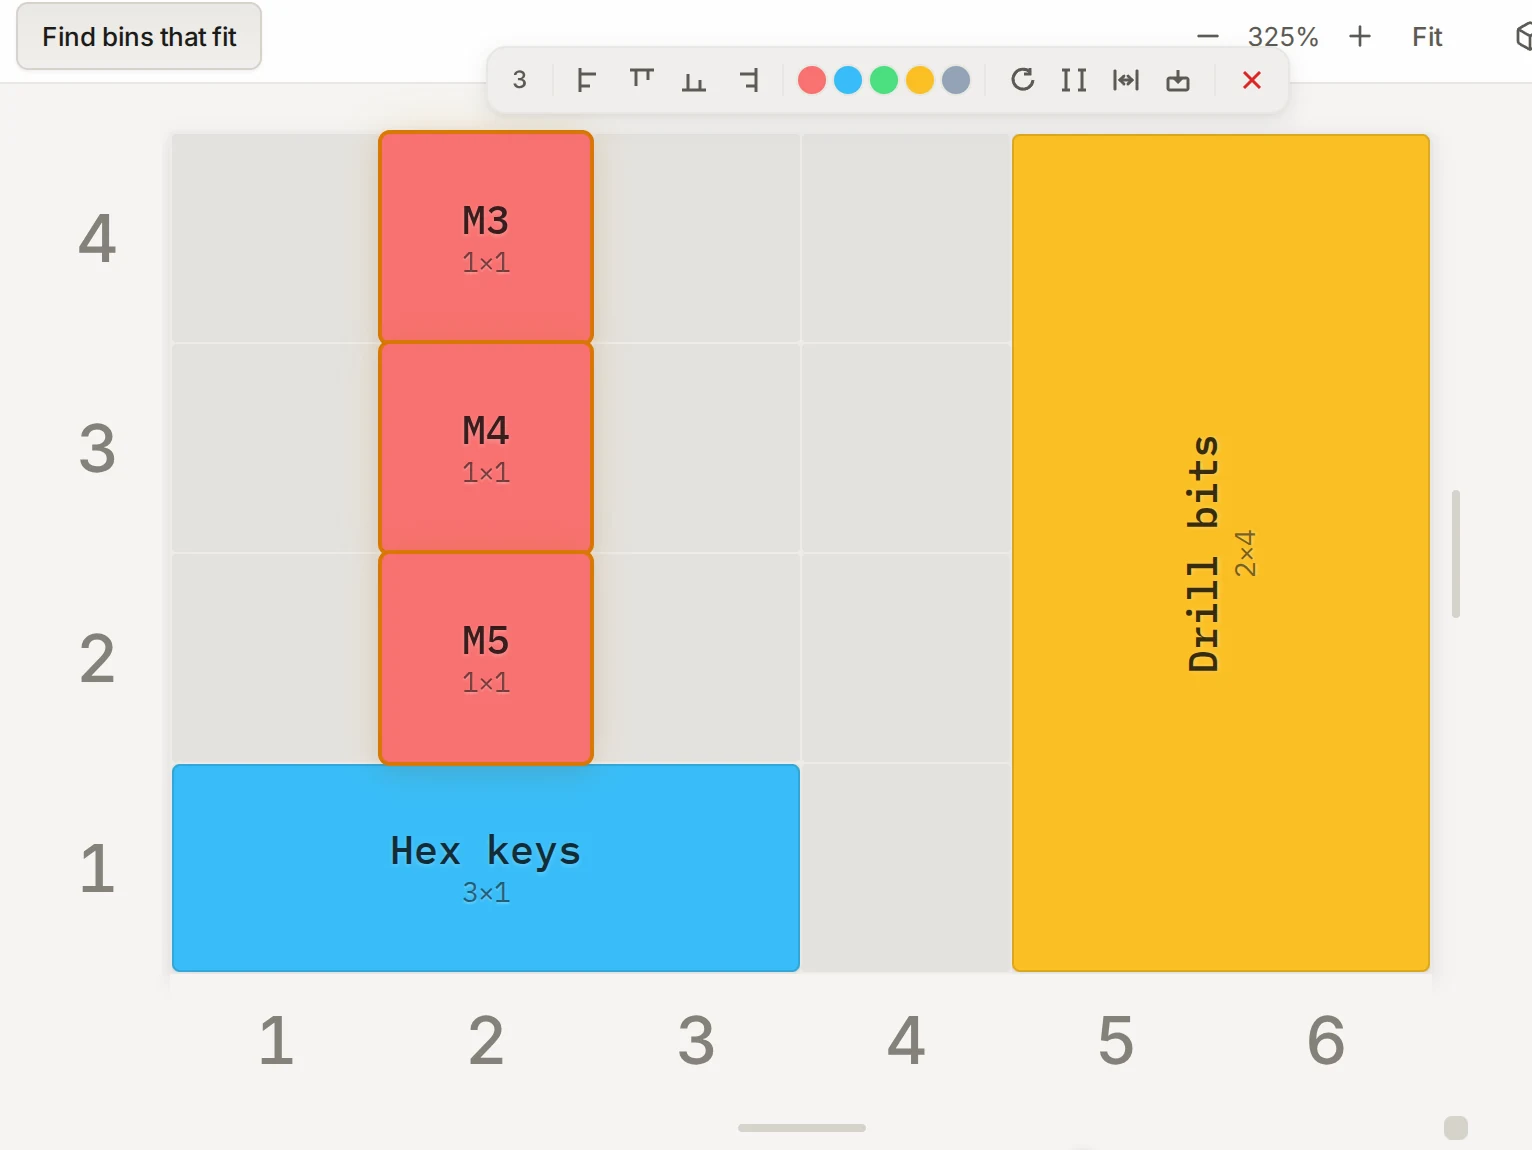
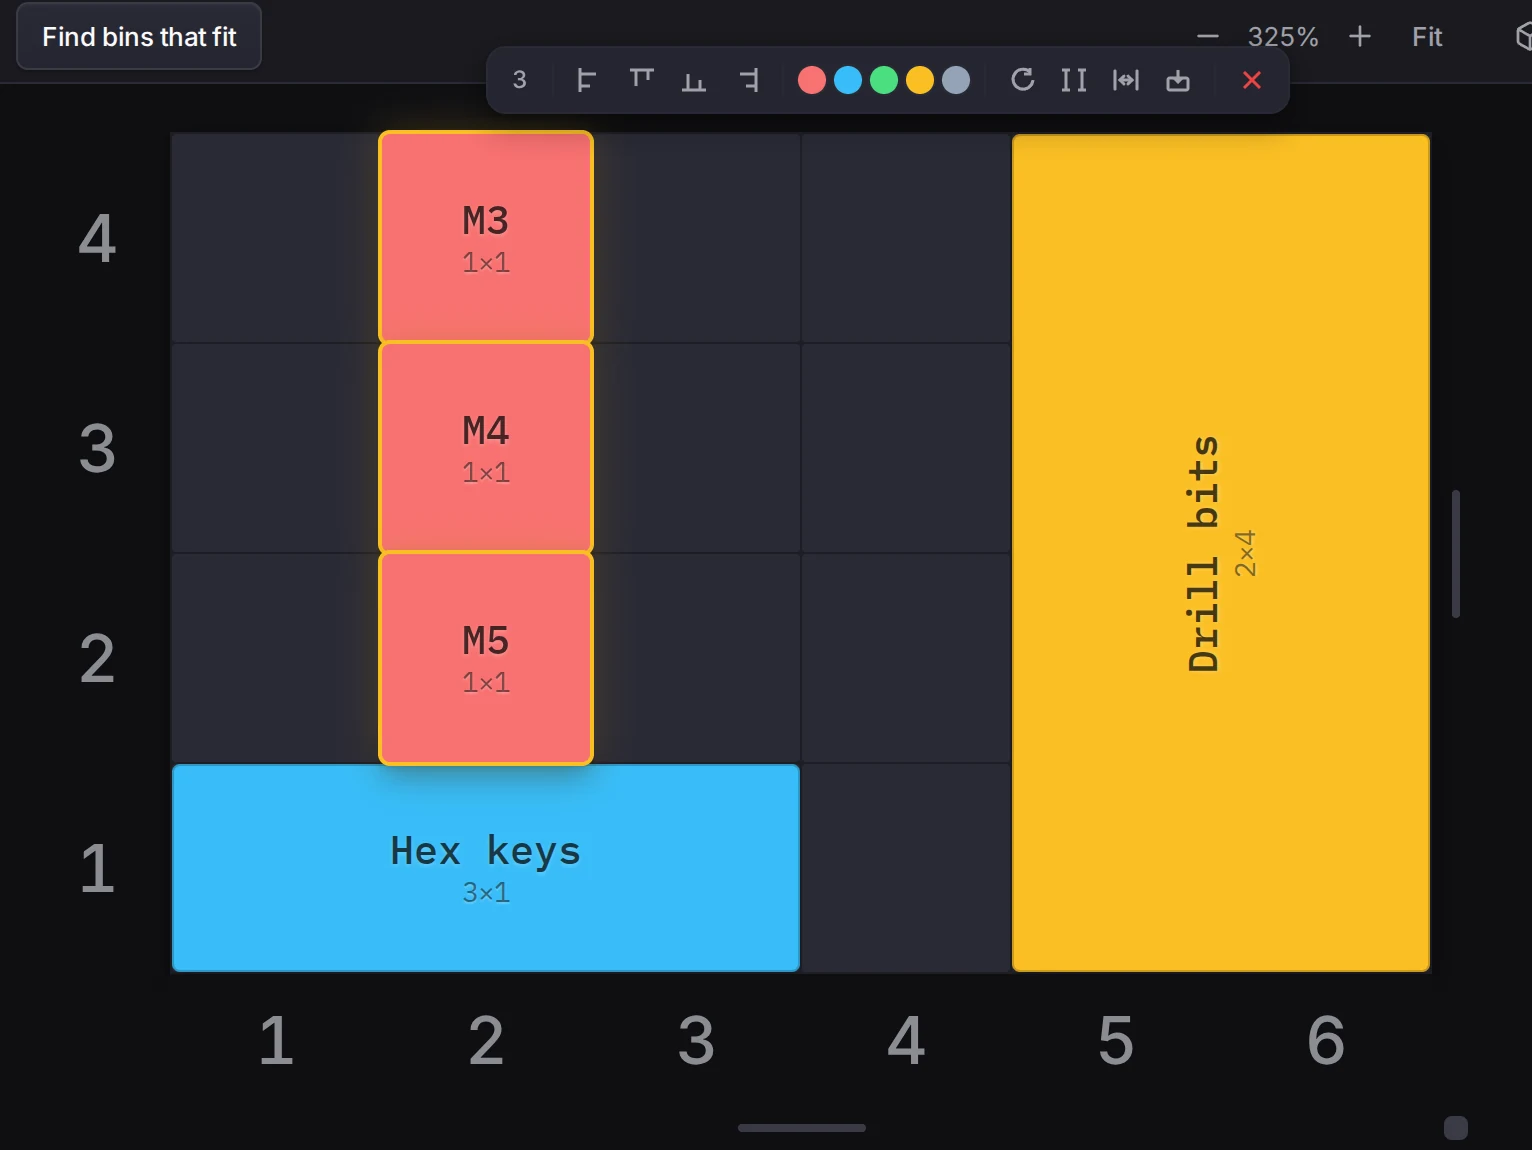
Select two or more bins on a computer, and a toolbar shows above them with the group actions.
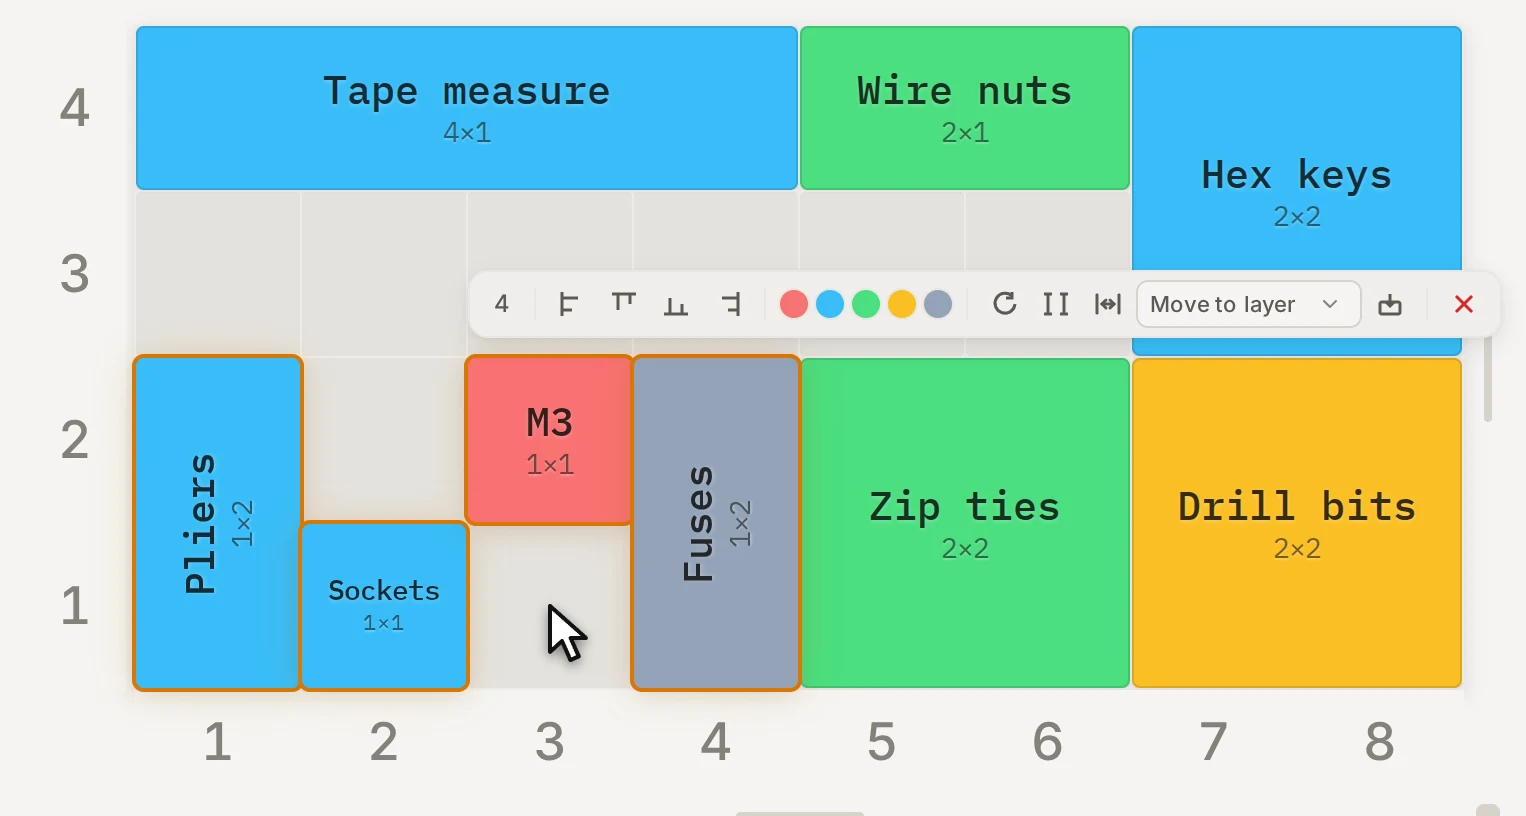
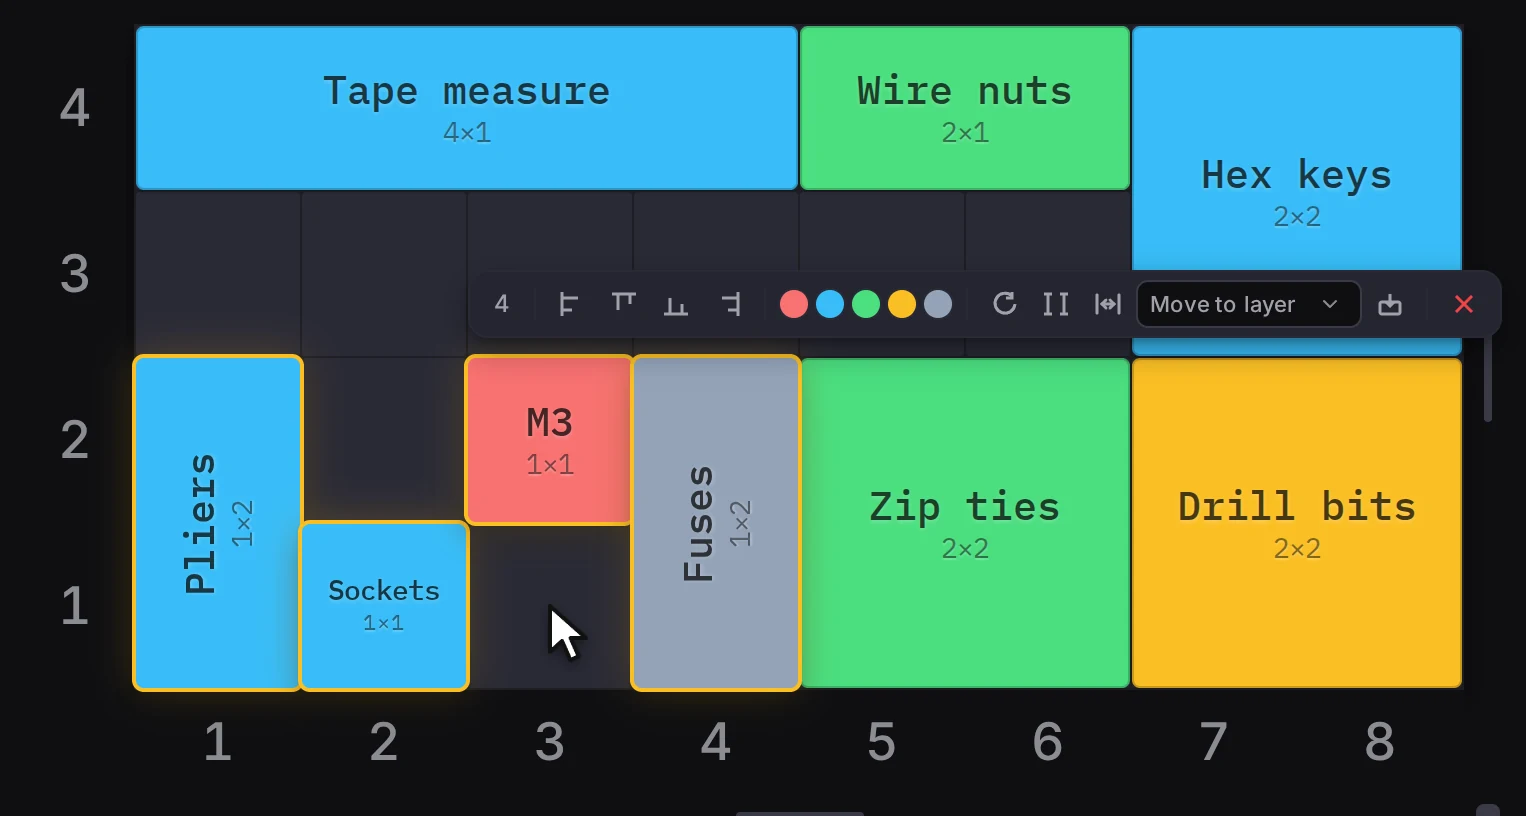
| Button | What it does |
|---|---|
| Align left, Align right, Align top, Align bottom | Moves the bins so that one edge of each lines up with the outermost bin |
| Category colors | Gives all the bins that category |
| Rotate all selected bins | Turns each bin a quarter |
| Match height to tallest | Makes each bin as tall as the tallest one |
| Expand selected bins to fit | Grows the bins into the empty space around them |
| Move to layer | Moves the bins to a different layer |
| Move to stash | Moves the bins to the stash |
| Delete selected bins | Deletes the bins after you agree in a dialog |
Align, rotate and match height skip a bin that has no room for the change. Rotate and match height also skip a bin with a locked size. A message tells you how many bins changed.
Edit all the selected bins
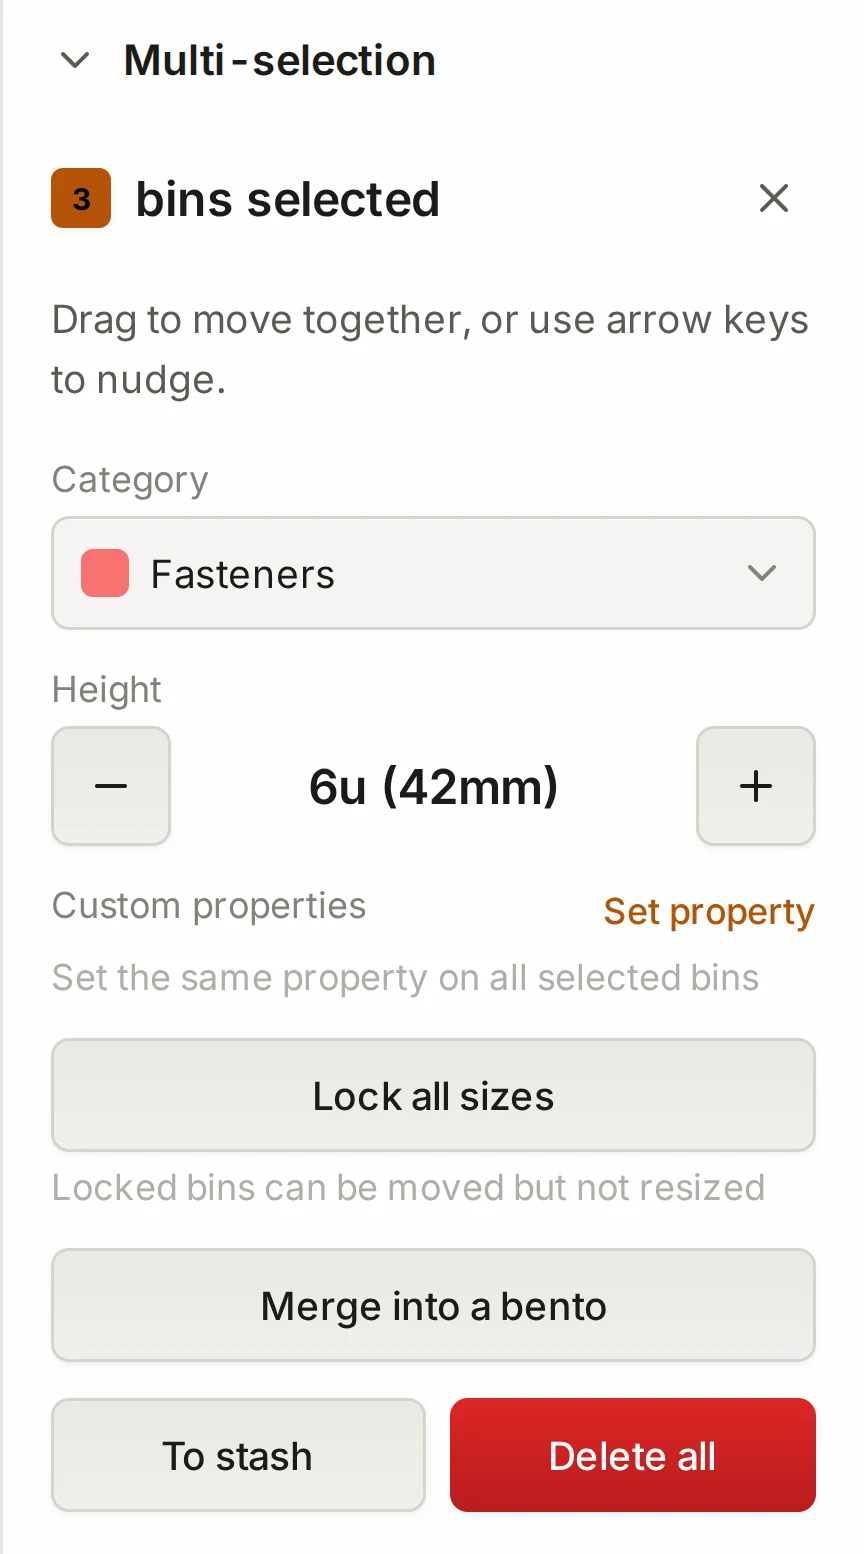
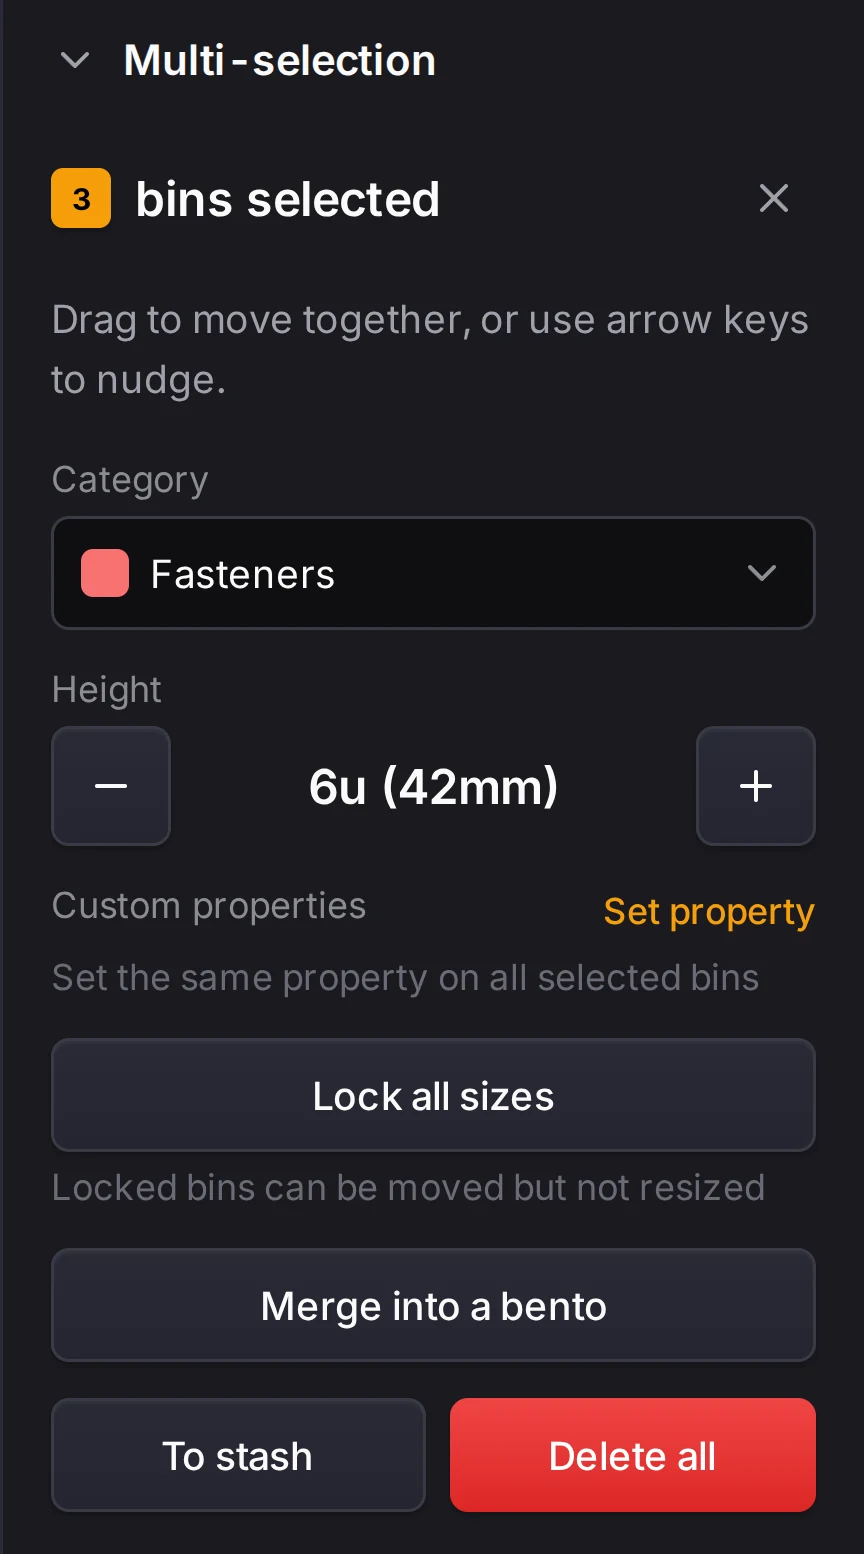
With two or more bins selected, the inspector on the right edits them all at once:
- Category and Layer apply one value to every bin.
- The Height buttons make every bin taller or shorter by the same step. A bin with a locked size does not change.
- Clearance shows when a selected bin has clearance. It changes the clearance of each bin.
- To tag every bin with the same property, click Set property under Custom properties. Type a name and a value, then click Set on all.
- Lock all sizes locks the size of every selected bin.
- To stash and Delete all act on the whole selection.
Merge the selection into one bin
Want one bin in place of a cluster of small ones? Merge into a bento makes one bin with a compartment where each selected bin was. You find it in the inspector and in the bin menu.
- Select two or more bins on the active layer.
- Click Merge into a bento.
- Type a Name for the new bin.
- Set the Height (units) and the Divider walls (mm).
- Click Create bento.
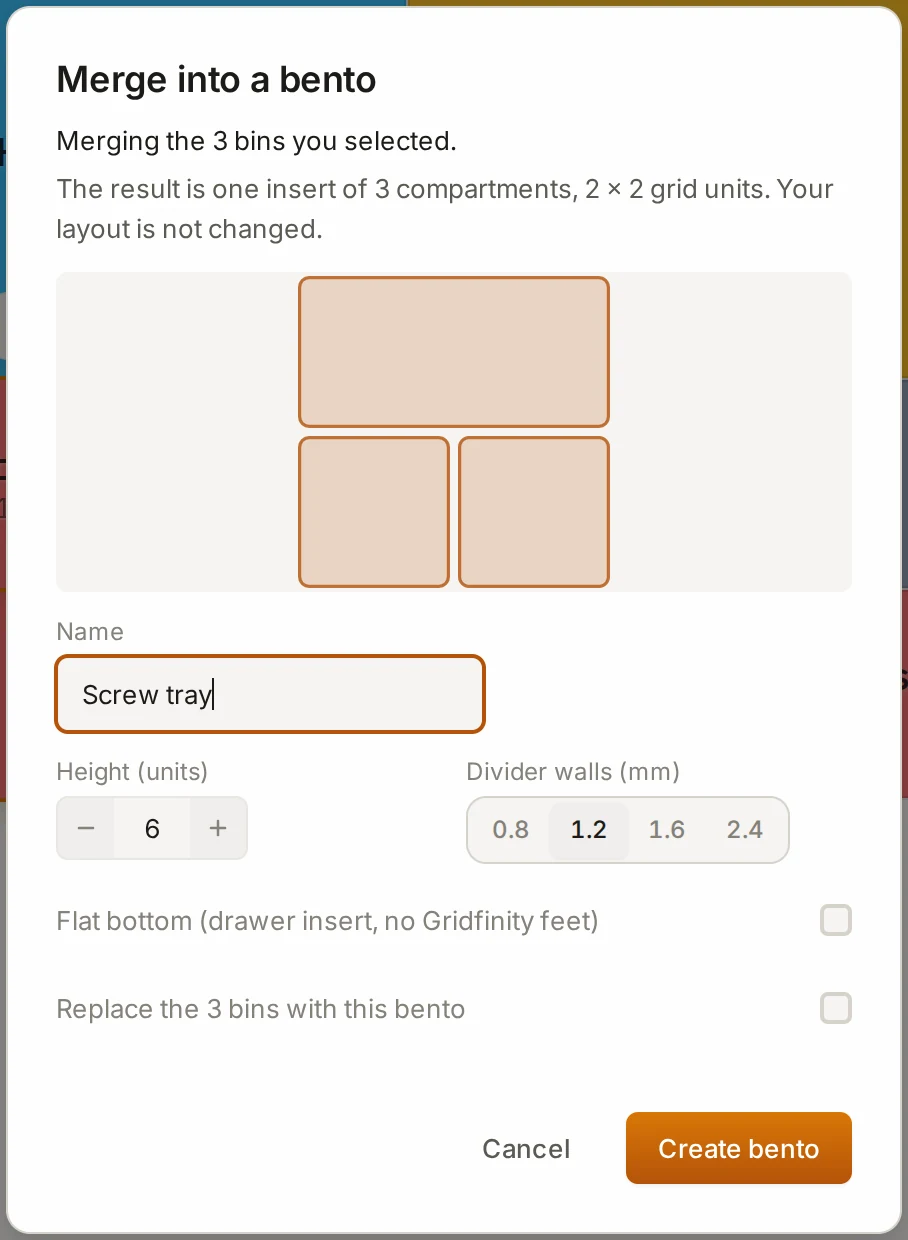
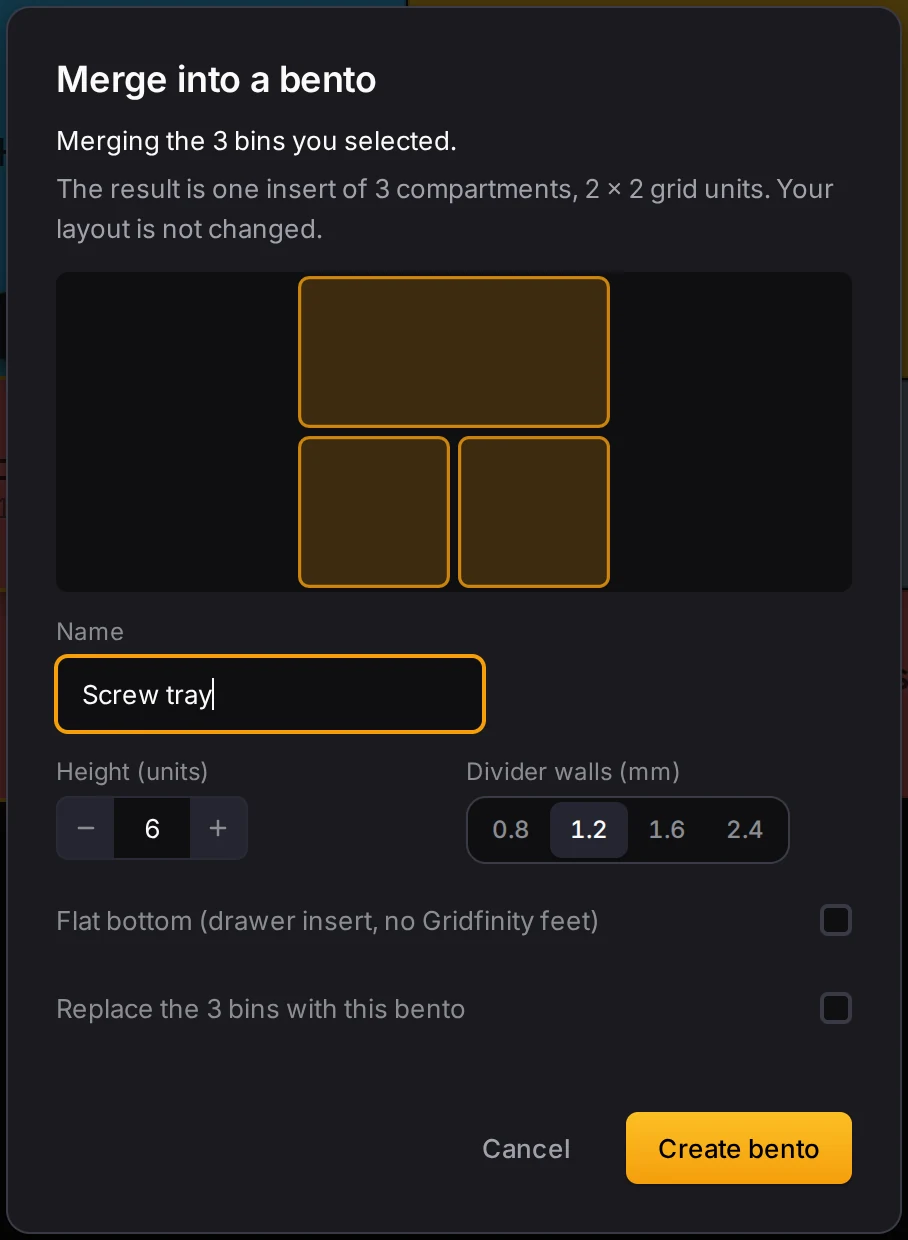
The Layout Tool saves the new bin as a design and opens it in the bin designer. Your layout stays as it is, unless you also select the option to replace the bins with the new one.
The merge uses only the selected bins on the active layer. Before you merge, the dialog tells you about these changes:
- Empty space between the bins becomes extra compartments.
- Shorter bins become as tall as the tallest one.
- A bin that uses a saved design loses its custom shape.
- A merged bin that is too large for your print bed prints in pieces.
If a bin that you did not select sits inside the area of the merged bin, the merge stops. Click Add them to the bento or Move them to the stash to continue. For an insert without Gridfinity feet, select Flat bottom (drawer insert, no Gridfinity feet).
Use the bin menus
Right-click a bin to open its menu. On a touch screen, touch and hold the bin. The menu changes with what you right-click:
| You right-click | The menu has |
|---|---|
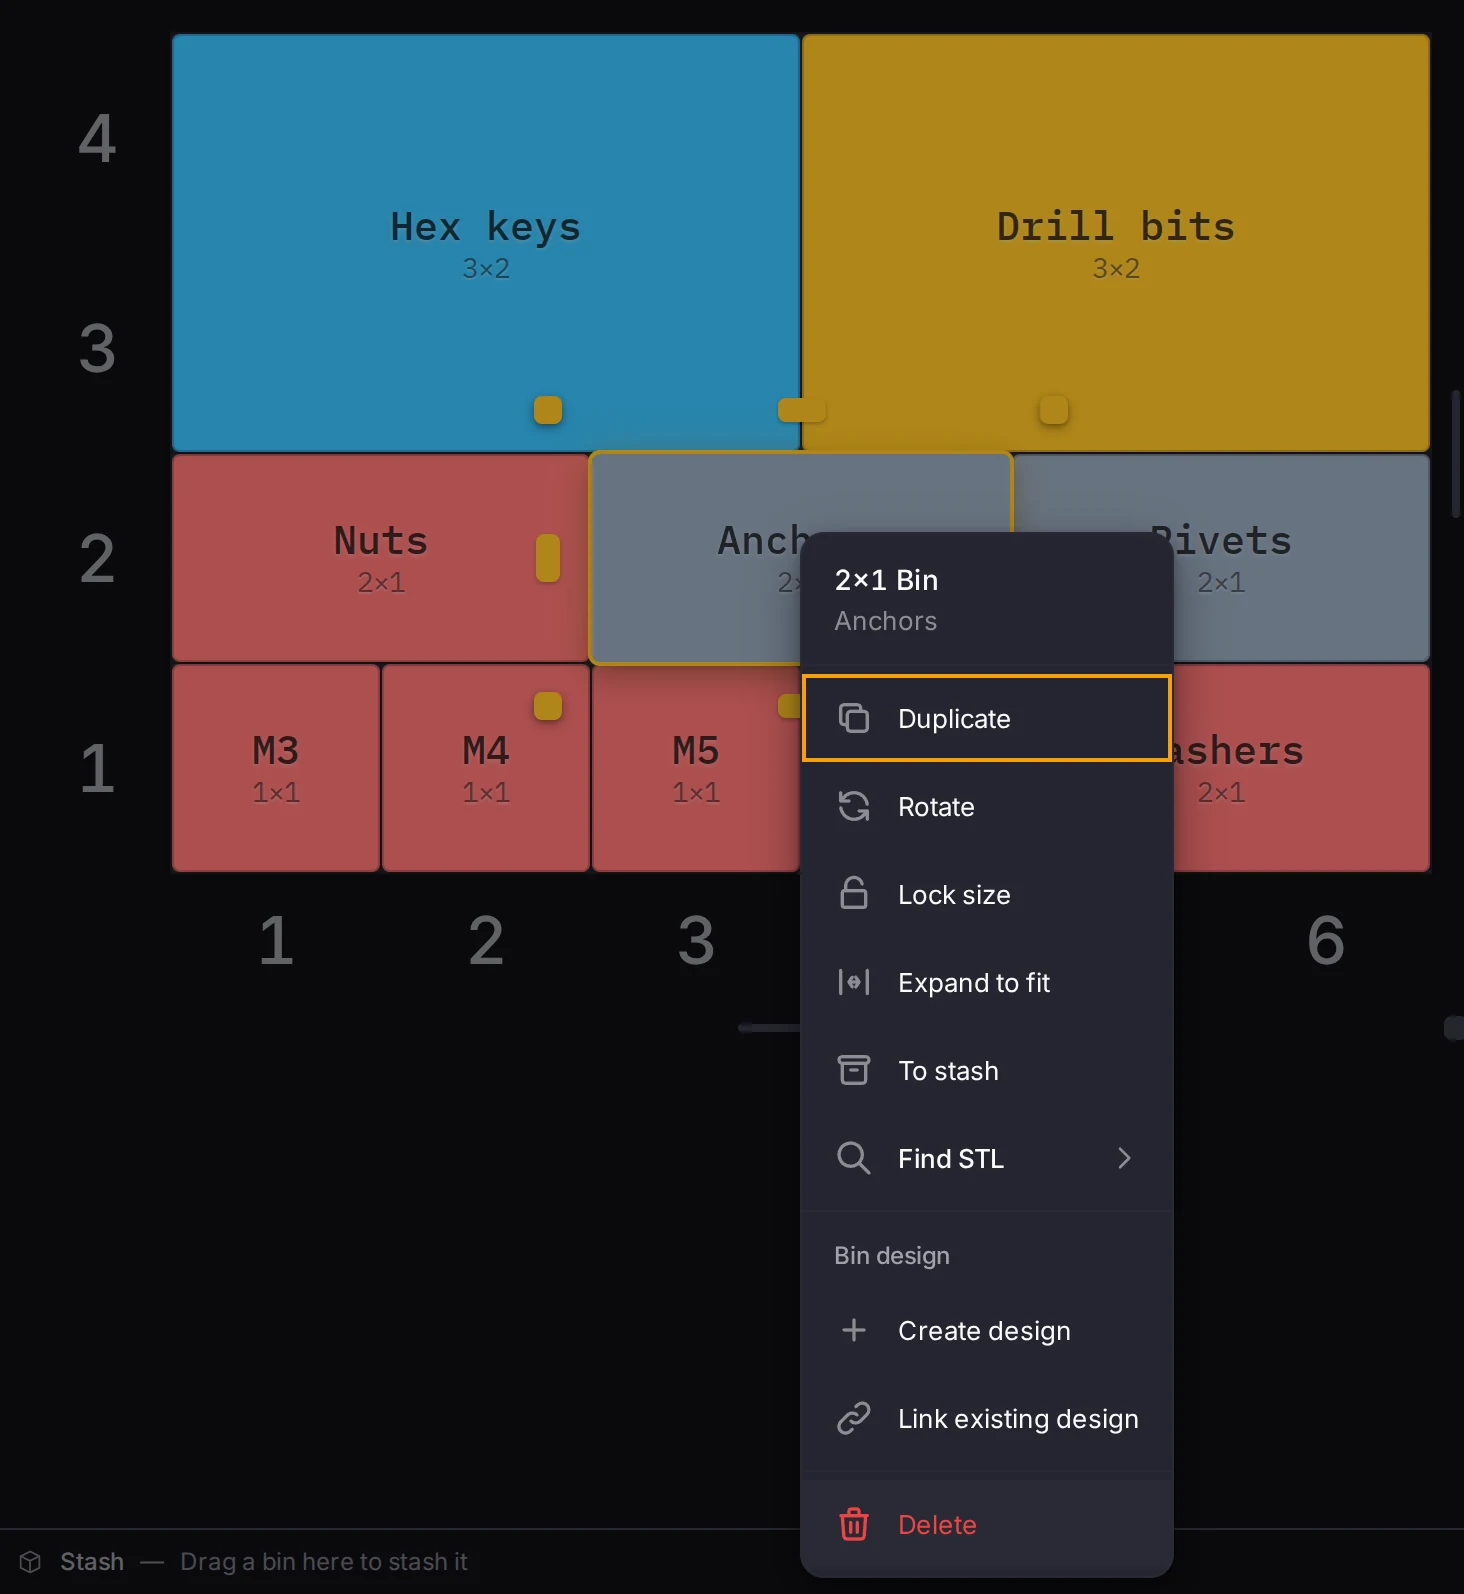
| One bin | Duplicate, Rotate, Lock size, Expand to fit, To stash, Delete, Find STL, and the Bin design actions that link the bin to a saved design |
| A bin in a selection | Category, Expand to fit, Merge into a bento and Delete all, for the whole selection |
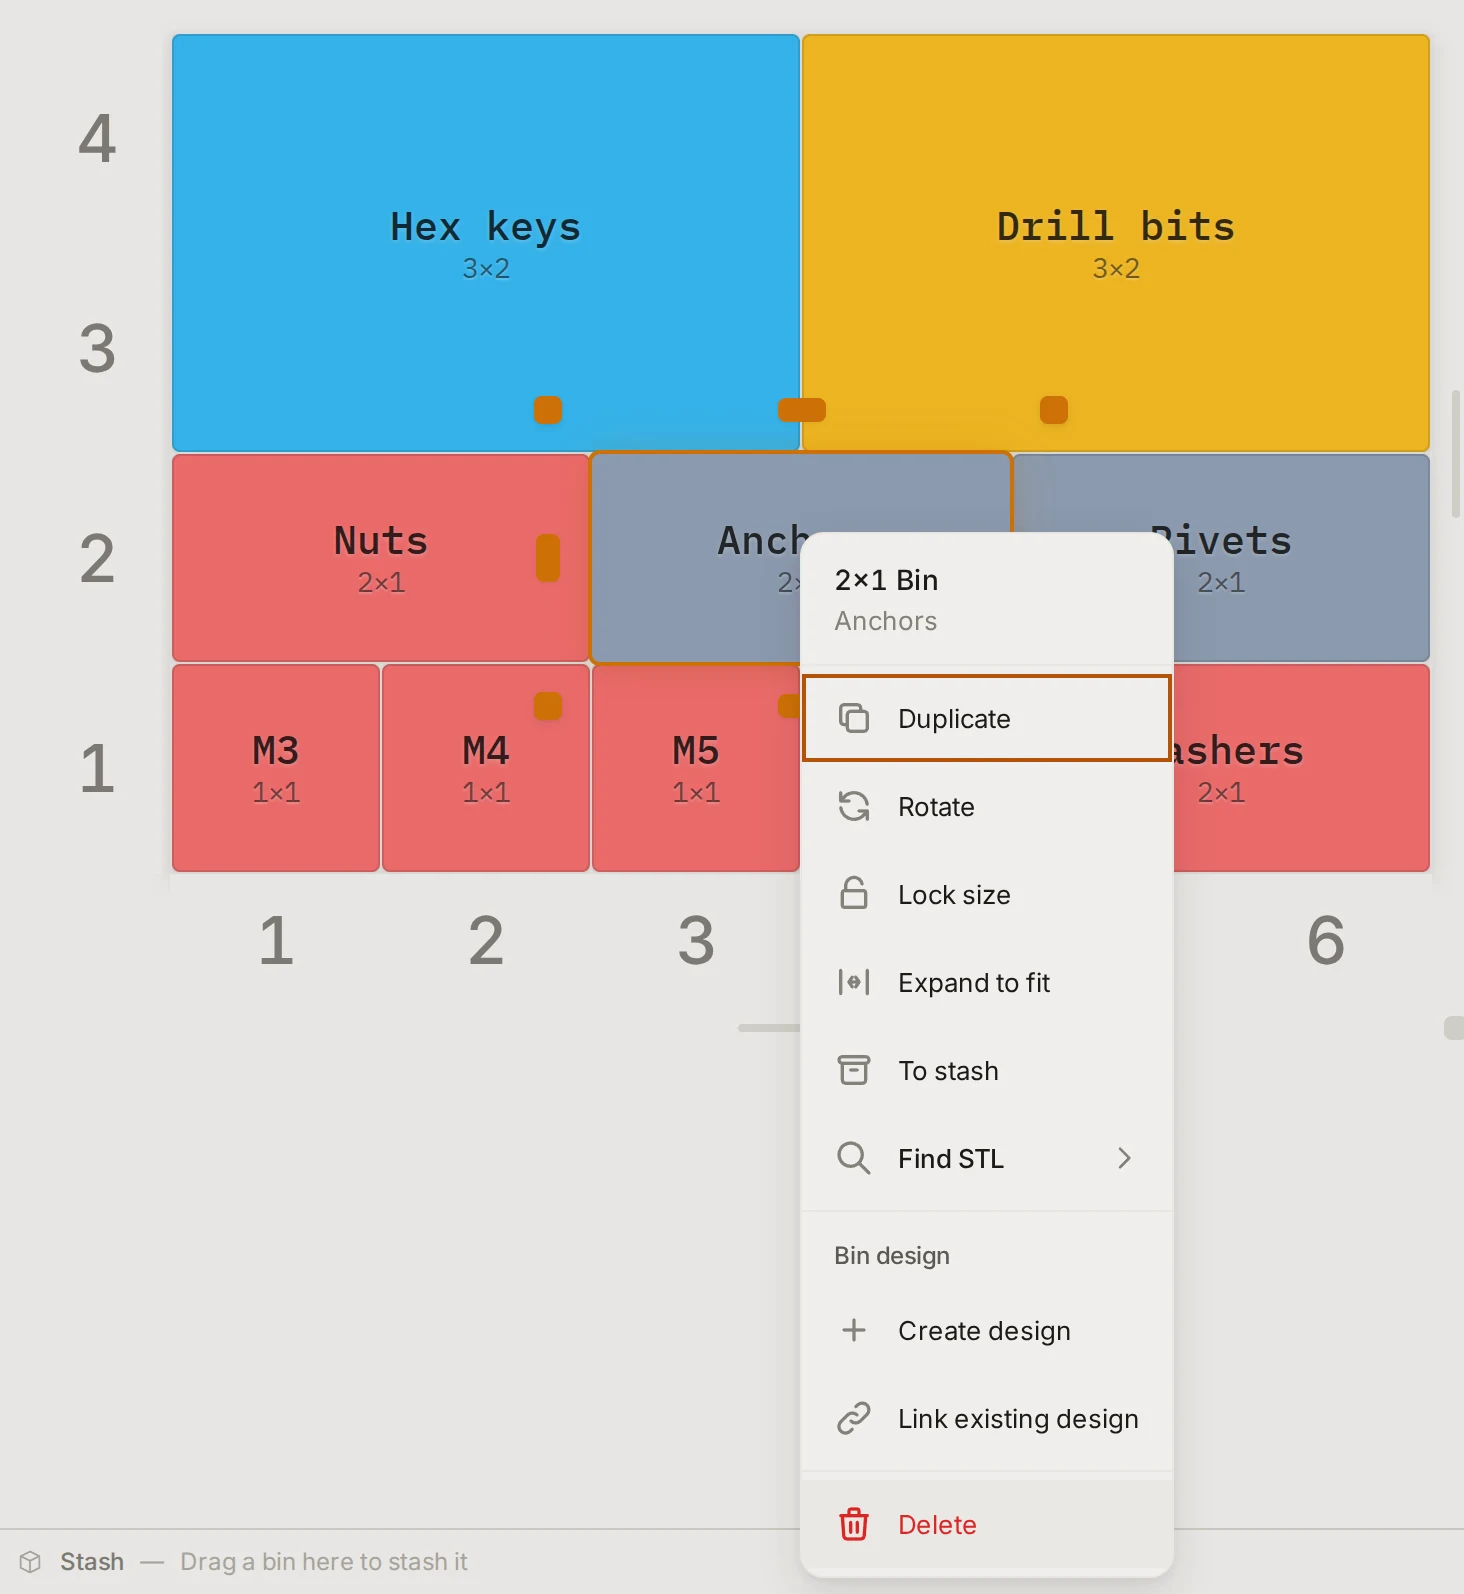
If the selection includes bins from the stash, the selection menu also has Layer, which puts them on a layer.
When it goes wrong
The selected bins won't move
Find the bin that has no room, and make room for it. Or Ctrl+click it (Cmd+click on a Mac) to take it out of the selection. If one selected bin can't go to the new spot, none of them move.
After a drag, a message names what is in the way. The arrow keys show no message, so the bins just stay where they are.
Some of the bins didn't change
Make room around the bins that stayed, or change them one at a time. Align, rotate, match height and move to a layer skip a bin that has no room for the change. The message after the action tells you how many bins changed.
Rotate and match height also skip a bin with a locked size. Click Unlock all sizes in the inspector, then try again.
The merge dialog shows only a message
Select a smaller group, and merge again. The dialog stops in these cases:
- The selection has fewer than two bins on the active layer.
- The bins need more than 12 compartments across or 12 down.
- The merged bin would be more than 16 grid units on a side.
Every bin edge becomes a compartment line. So bins of mixed sizes, or bins that sit on half units, need a fine grid of compartments. Line the bins up on whole grid units to keep the grid small.
The new bin opens, but the old bins stay in the layout
The merged design is safe in your library. When you replace the bins, the merged bin must fit where they were. It takes the height of the tallest bin, so it can lift a stack above the drawer top. Then the Layout Tool keeps the old bins, and a message tells you.
Lower or move the bins stacked above that area. Then delete the old bins, draw one bin over their area, and choose Link existing design to link it to the merged design.
Next steps
- Place and edit bins: the edits for one bin.
- Work in layers: move bins between layers and stack them.
- Categories and colors: color the bins that you selected.
- Save and reuse designs: edit the merged bin in the bin designer.