
Fitting the print bed
Every printer has a largest part that it can print. Tell the Gridfinity Layout Tool your print bed size, and it checks each bin and each baseplate against it. When a part is too large, it tells you, and it can split the part into pieces that fit. Here's how the check works and where to set the bed size.
One bed size for each layout
The print bed size is a width and a depth in millimeters. The default is a 256 mm square bed, and you can set any size from 42 mm to 3000 mm. The width and depth fields have a chain icon. Click the chain to unlink them for a bed that is not square.
The bed size belongs to the layout. All three tools show the same value, and the layout ZIP export uses it too. Change it in one tool, and the other tools use the changed value.
| Where | Group or tab | Field |
|---|---|---|
| Layout editor | Physical units in the left panel | Print bed |
| Bin designer | Finishing, then Physical units | Print bed |
| Baseplate generator | Physical units | Print bed size |
| Settings | Layout defaults | Print bed |
The value in Layout defaults applies only to layouts that you create after you change it.
How the fit check works
The Layout Tool measures the part in millimeters and tries three placements on the bed:
- Square to the bed, as the part sits in the layout.
- Turned 90°.
- At an angle, across the bed.
A long, narrow part can fit at an angle when it doesn't fit square. Think of a long ruler that fits from corner to corner on a small desk. For example, a 63 mm × 294 mm part is too long for a 256 mm bed both ways round, but it fits at 45°. When a bin fits only at an angle, the bin designer tells you to turn it in your slicer, or to split it.
An overhang counts in the check. An overhang makes the body larger than its grid cells. So a bin that fits by its grid size can still be too large to print.
When a bin is too large
In the layout editor, a bin that doesn't fit shows Split or a warning mark on the grid. On a desktop, the inspector shows Oversized for print bed, with the size of the bin and the size of the bed. On a phone, the inspector shows the number of pieces. The print list counts each piece, so your totals stay right.
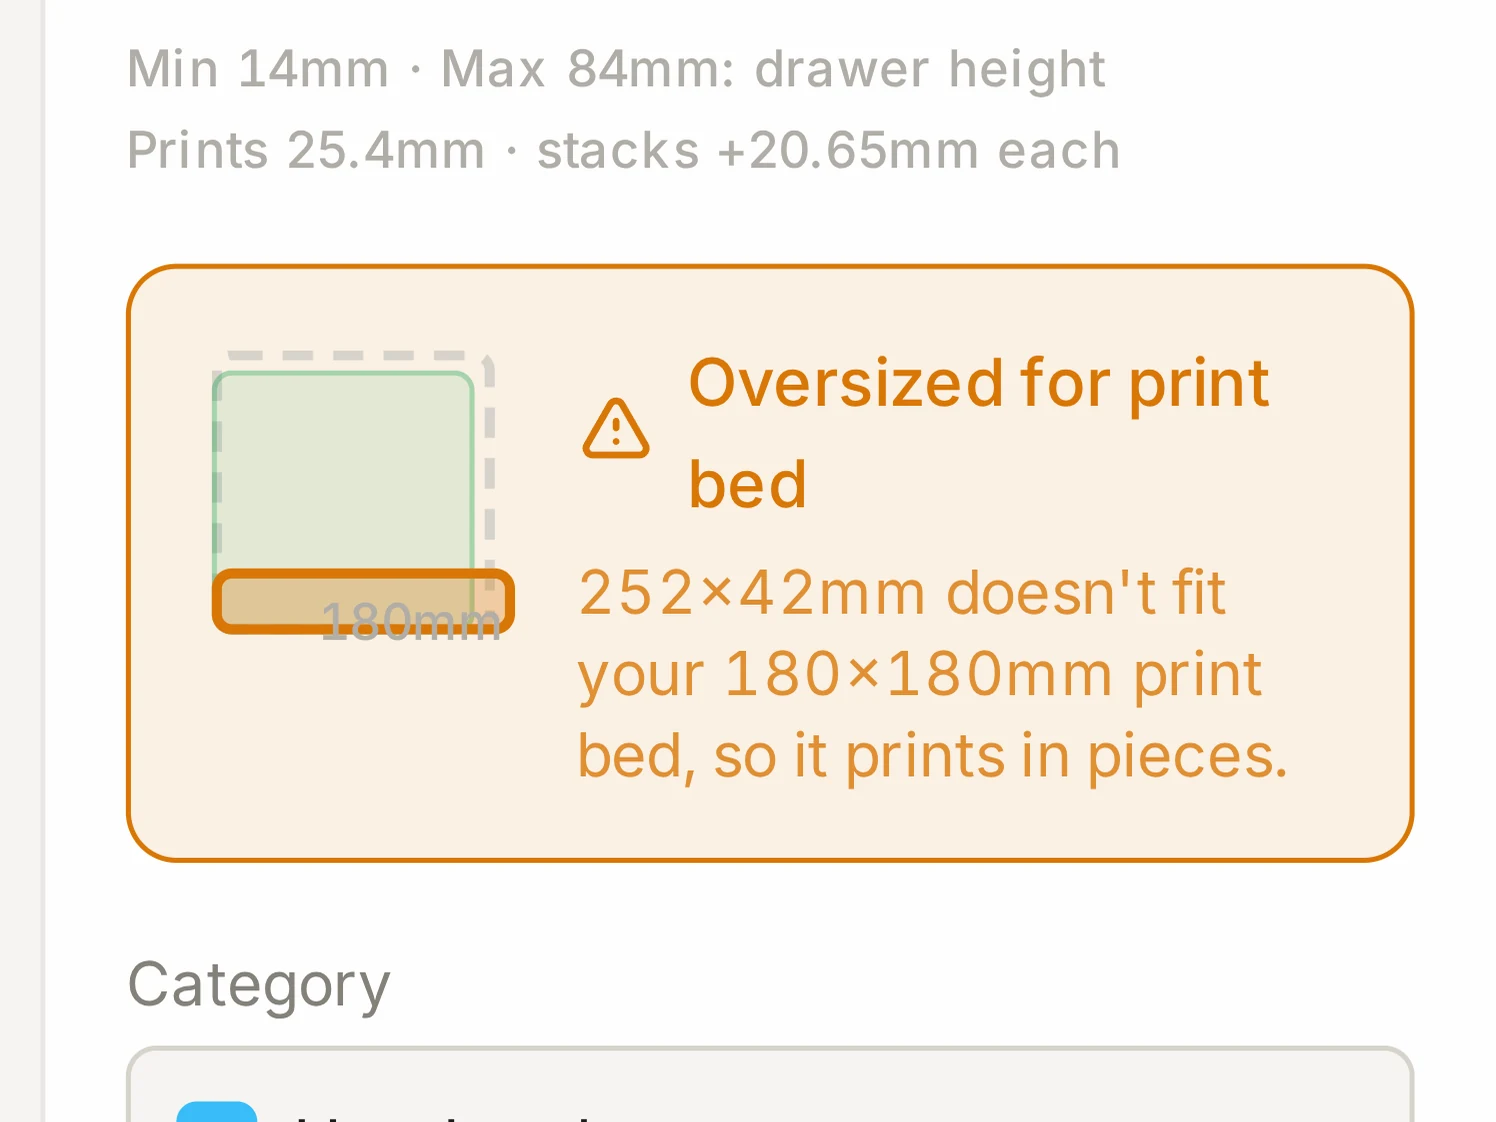
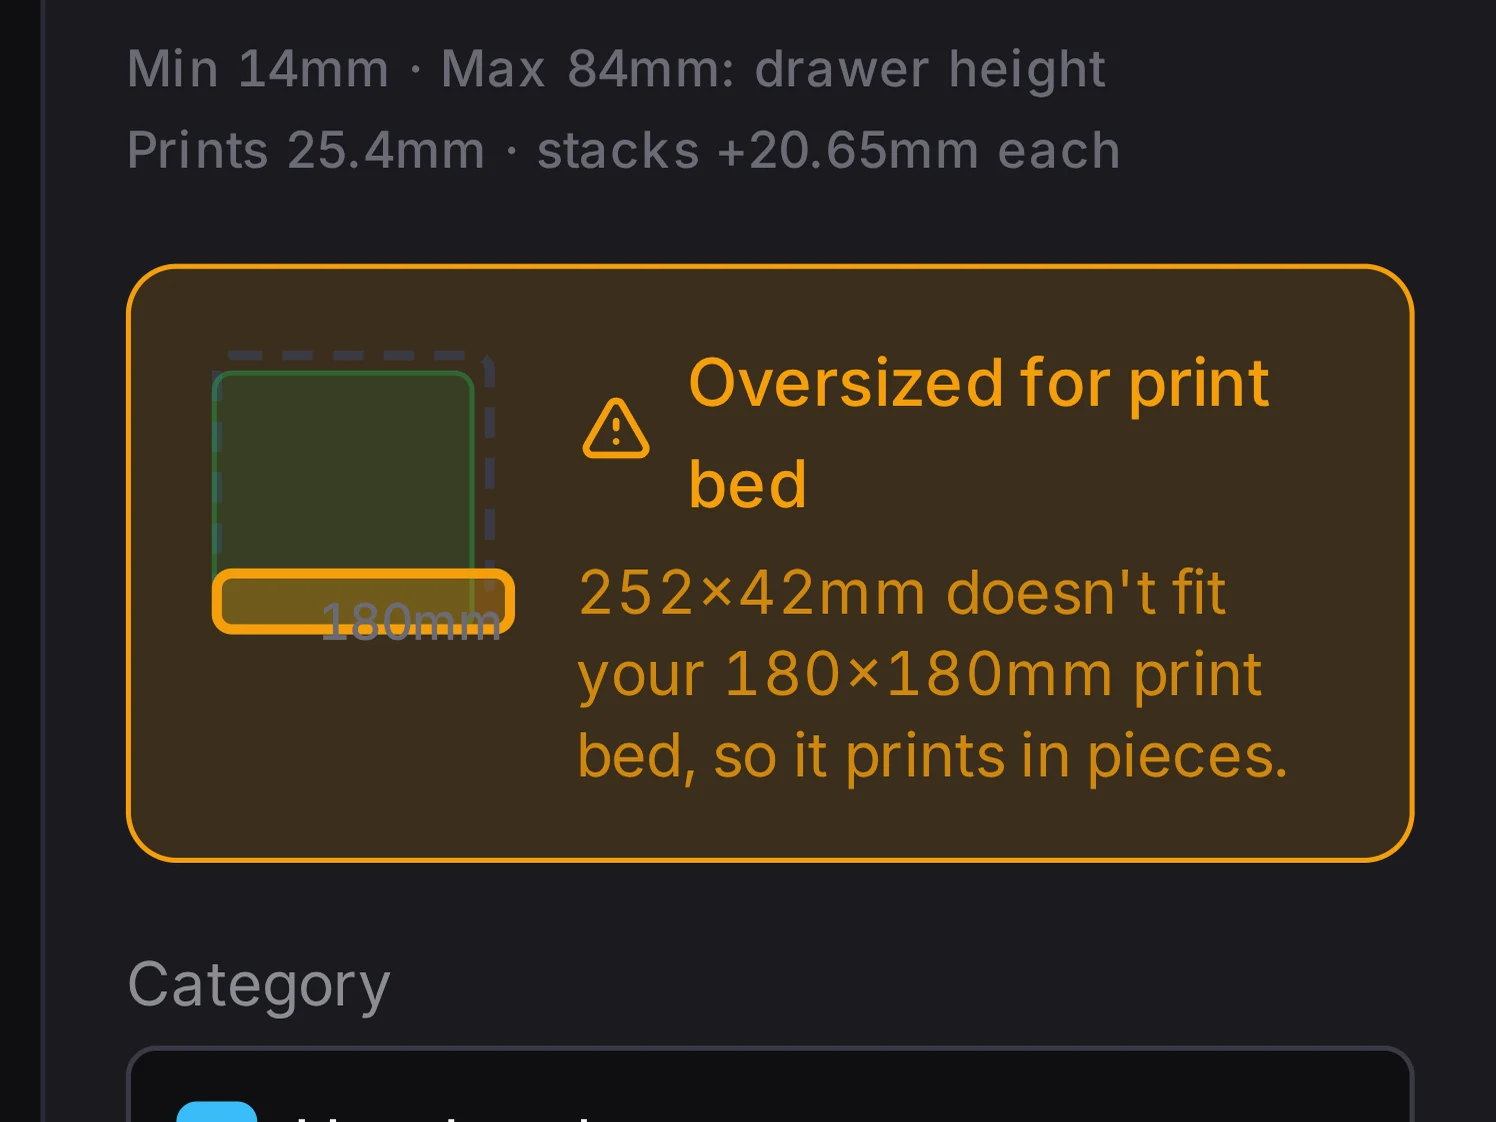
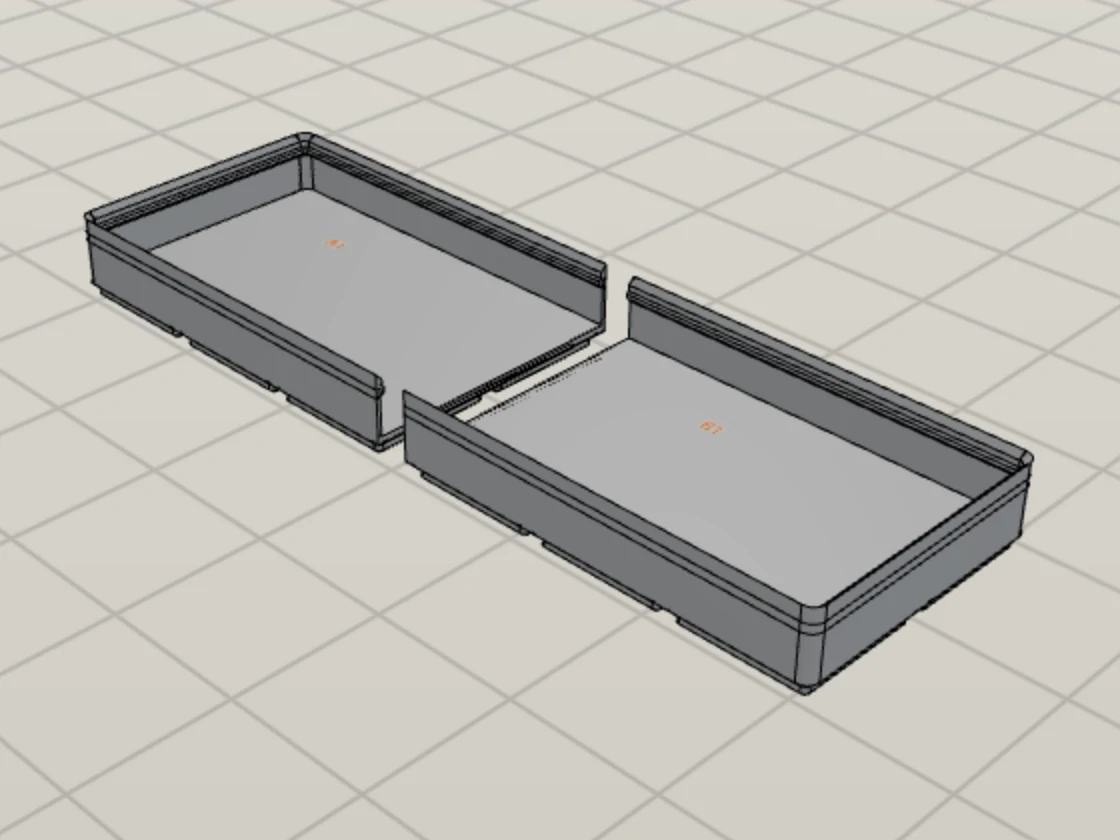
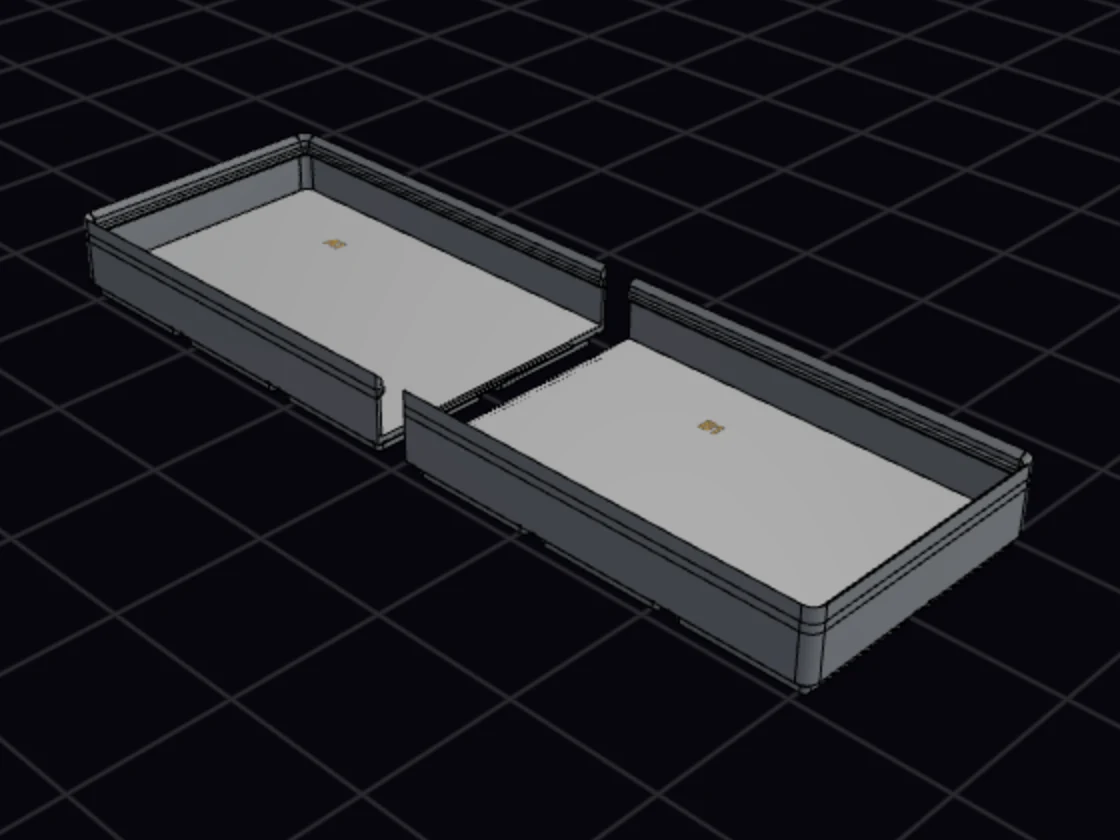
In the bin designer, the split options appear in the Shape group when the bin needs a split. The bin splits along the width, the depth or both. Two kinds of connectors hold the pieces together:
- Alignment connectors adds a joint with a 45° slope in the floor, so the pieces line up. A bin with a lightweight floor has no solid floor for it.
- Wall connectors adds keys in the walls.
The connectors get larger for a nozzle wider than 0.4 mm, so they stay printable. To check the fit before you print, switch the preview between Assembled and Exploded. In the export dialog, Split into pieces writes one file for each piece into a ZIP file.
WARNING
Do not split a bin with color zones if you want to keep the colors. A split export prints each piece in one color.
A slanted bin can't split, because a cut would cross its body at an angle. If a slanted bin is too large, use a smaller angle or make the bin smaller.
Print a large bin in one piece
Each bin design has the switch Split to fit the print bed. It is on by default, and it shows with the split options when the bin is too large for the bed. Turn it off when you want to cut the bin in your slicer, for example with a dovetail joint of your choice. When the switch is off, the bin designer, the print list and the layout ZIP keep each bin of that design in one piece:
- The export dialog of the bin designer tells you that the bin is larger than the bed, and offers no split.
- On the grid, the bin shows Oversized instead of Split. The inspector and the print list tell you that the bin prints in one piece.
- The layout ZIP writes one file for the bin, and the manifest tells you to split it in your slicer.
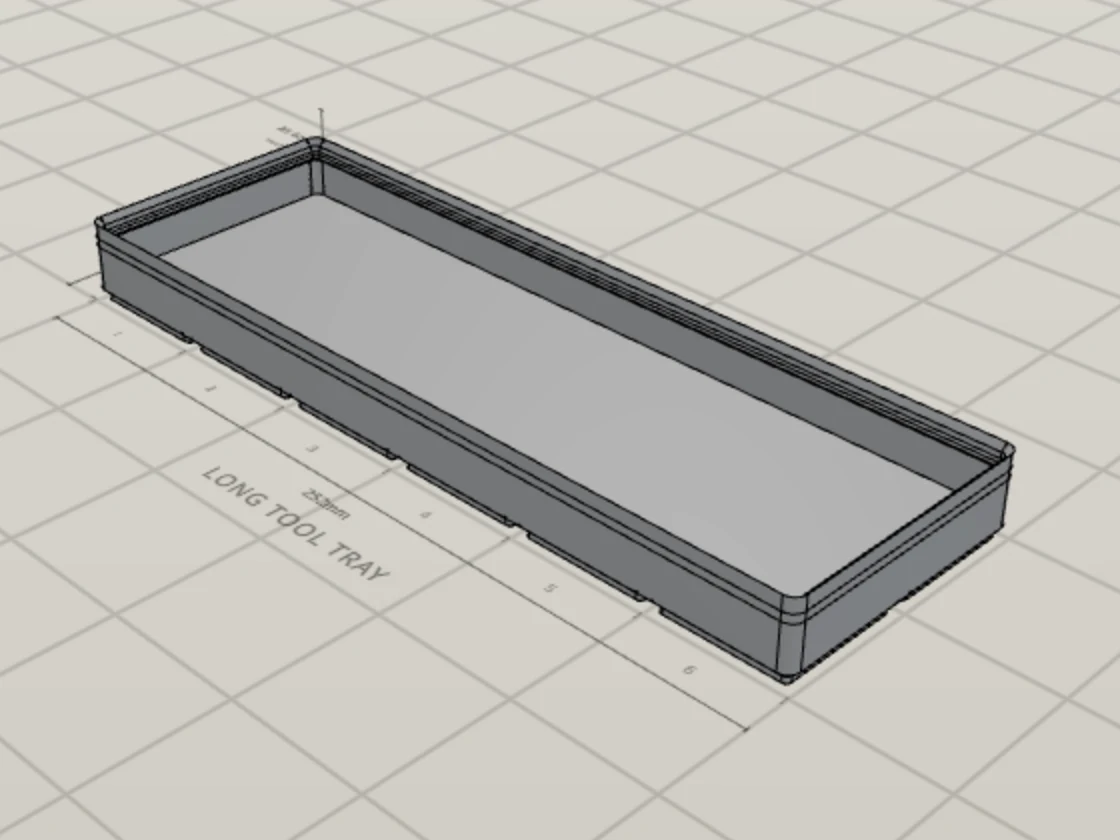
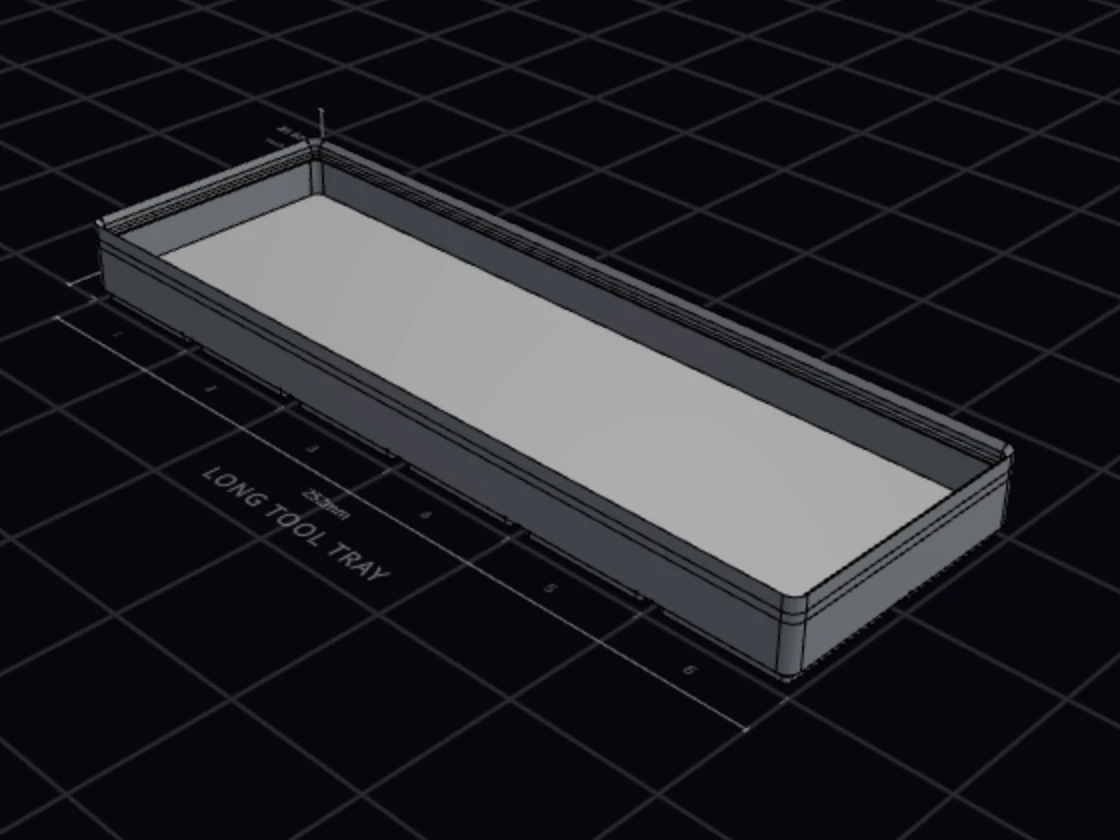
The switch is part of the design, so it applies to each bin of that design, in each layout. Baseplates still split as before. When the switch is off, it stays in the Shape group even for a bin that fits, so you can turn it on again.
When a baseplate is too large
The baseplate generator splits a large baseplate into pieces for you. It shows the number of pieces, and how many times you must fill the print bed to print them all. The split leaves room on the bed for the connector tongues.
By default, the pieces sit loose. You can pick a connector style that locks them together, and you can move the split lines. If a piece is larger than the bed, the baseplate generator stops the export until you change the split. Split for your print bed shows how.
A drawer shape changes the pieces of a split plate: each piece follows the outline, and a seam that the shape crosses gets no connector. See Drawers that are not rectangles.
When it goes wrong
A bin too large for your printer doesn't split
Open the layout that the bin belongs to, and check Print bed in the Physical units group. Set it to the bed of your printer.
The bin designer checks the bin against the print bed of the open layout. The value in Layout defaults only applies to layouts that you create later.
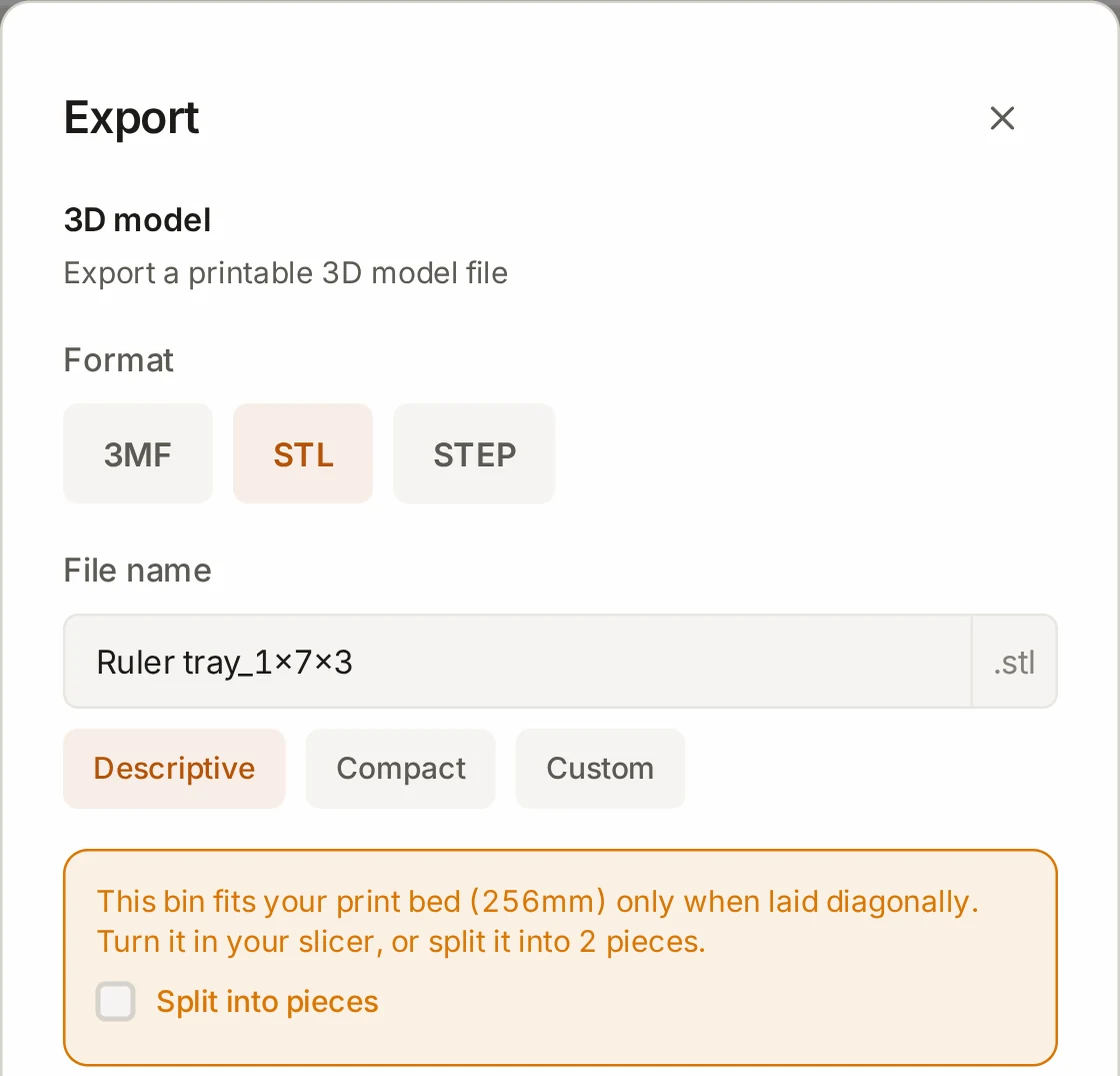
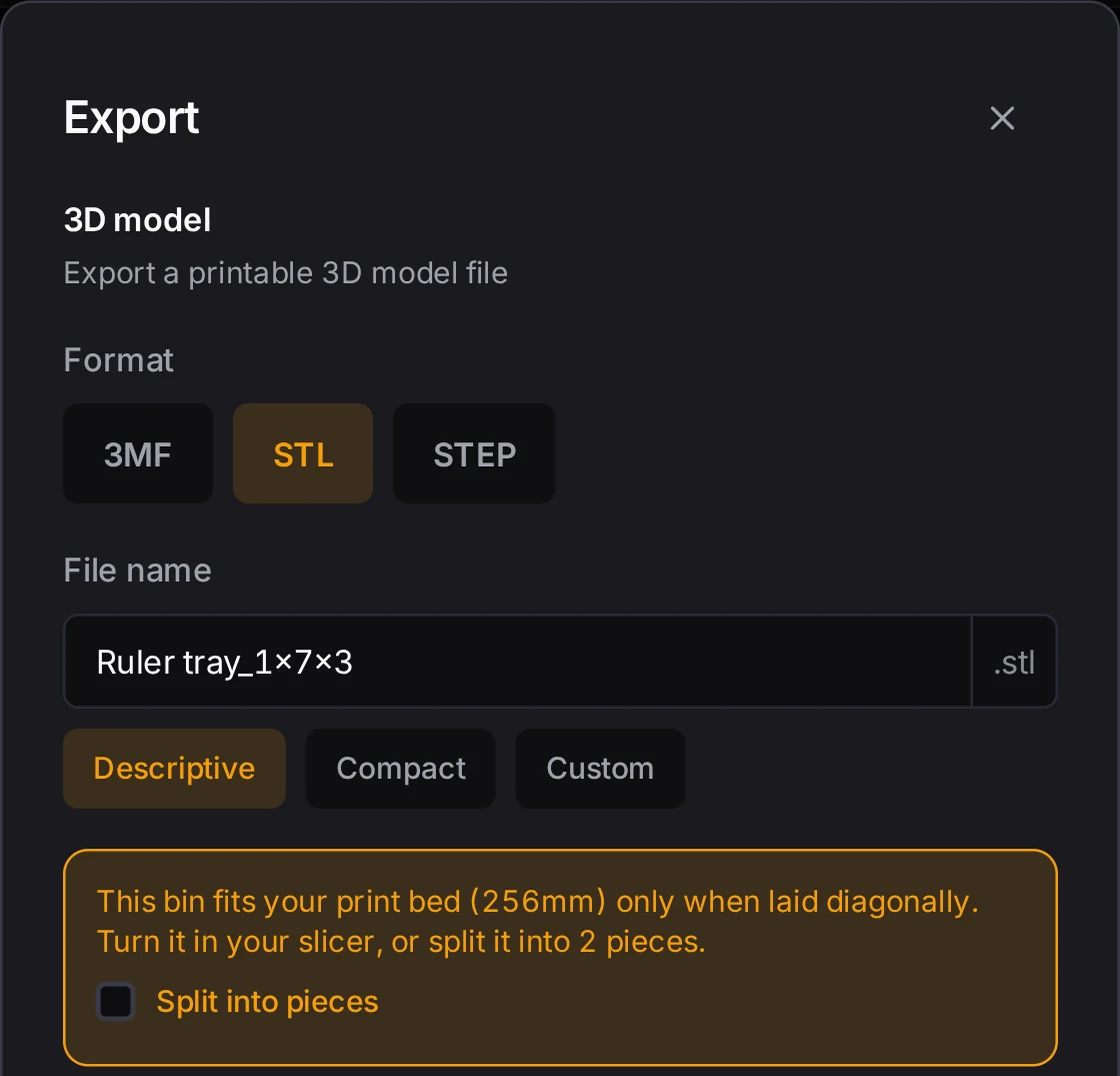
The export says the bin fits only when laid diagonally
Export it whole, and turn it diagonally on the bed in your slicer. To print it in pieces instead, tick Split into pieces in the export dialog. For a bin that fits only at an angle, Split into pieces starts off.
You want to split a part in your slicer
For a bin design, turn off Split to fit the print bed. Each bin of that design then prints in one piece, in the bin designer, the print list and the layout ZIP. See Print a large bin in one piece. For one export only, clear Split into pieces in the export dialog instead.
For a baseplate, clear Split into pieces in the export dialog of the baseplate generator. That box isn't there while Vertical stack is on.
The baseplate export is gray
Click Reset to automatic, or move your split lines so that each piece fits the bed. A red message in the split view names the pieces that are too large. The baseplate generator stops the export until every piece fits.
Next steps
- Split for your print bed: set connectors and split lines for a large baseplate
- The print list and ZIP export: see the pieces of each bin in the print list
- Size and shape: change a bin so that it fits your printer
- Units and sizes: see how grid units convert to millimeters