
Slicer setup
Files in hand? The next step is to get them into Bambu Studio, OrcaSlicer or PrusaSlicer, with each color in the correct slot. The Gridfinity Layout Tool writes files for all three. Here's what each file brings along, how to map colors, and what to look at before you print.
What the files bring into the slicer
An exported file holds the parts and nothing about your printer. A 3MF file has no slicer print profile in it, so your slicer keeps your own printer, filament and process profiles. That's on purpose: a profile in the file would replace yours with slow default settings.
A 3MF part opens at the center of a 256 by 256 mm bed, with its bottom on the bed. An STL part keeps the position where the Layout Tool built it.
Map multi-color zones to filaments
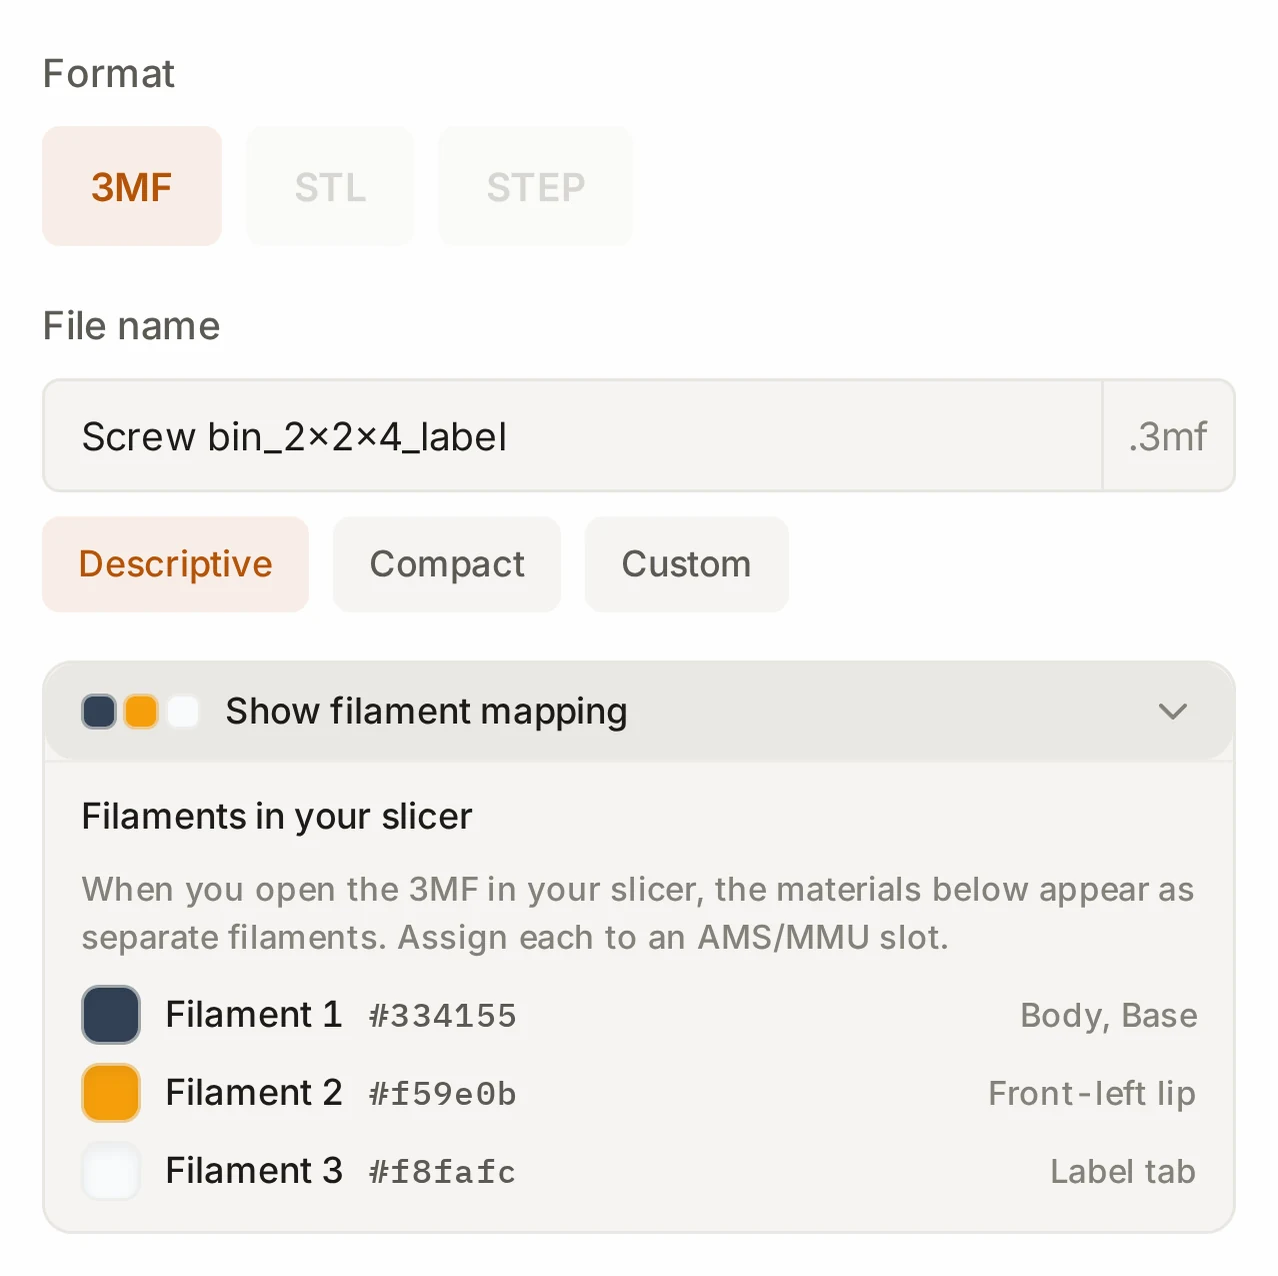
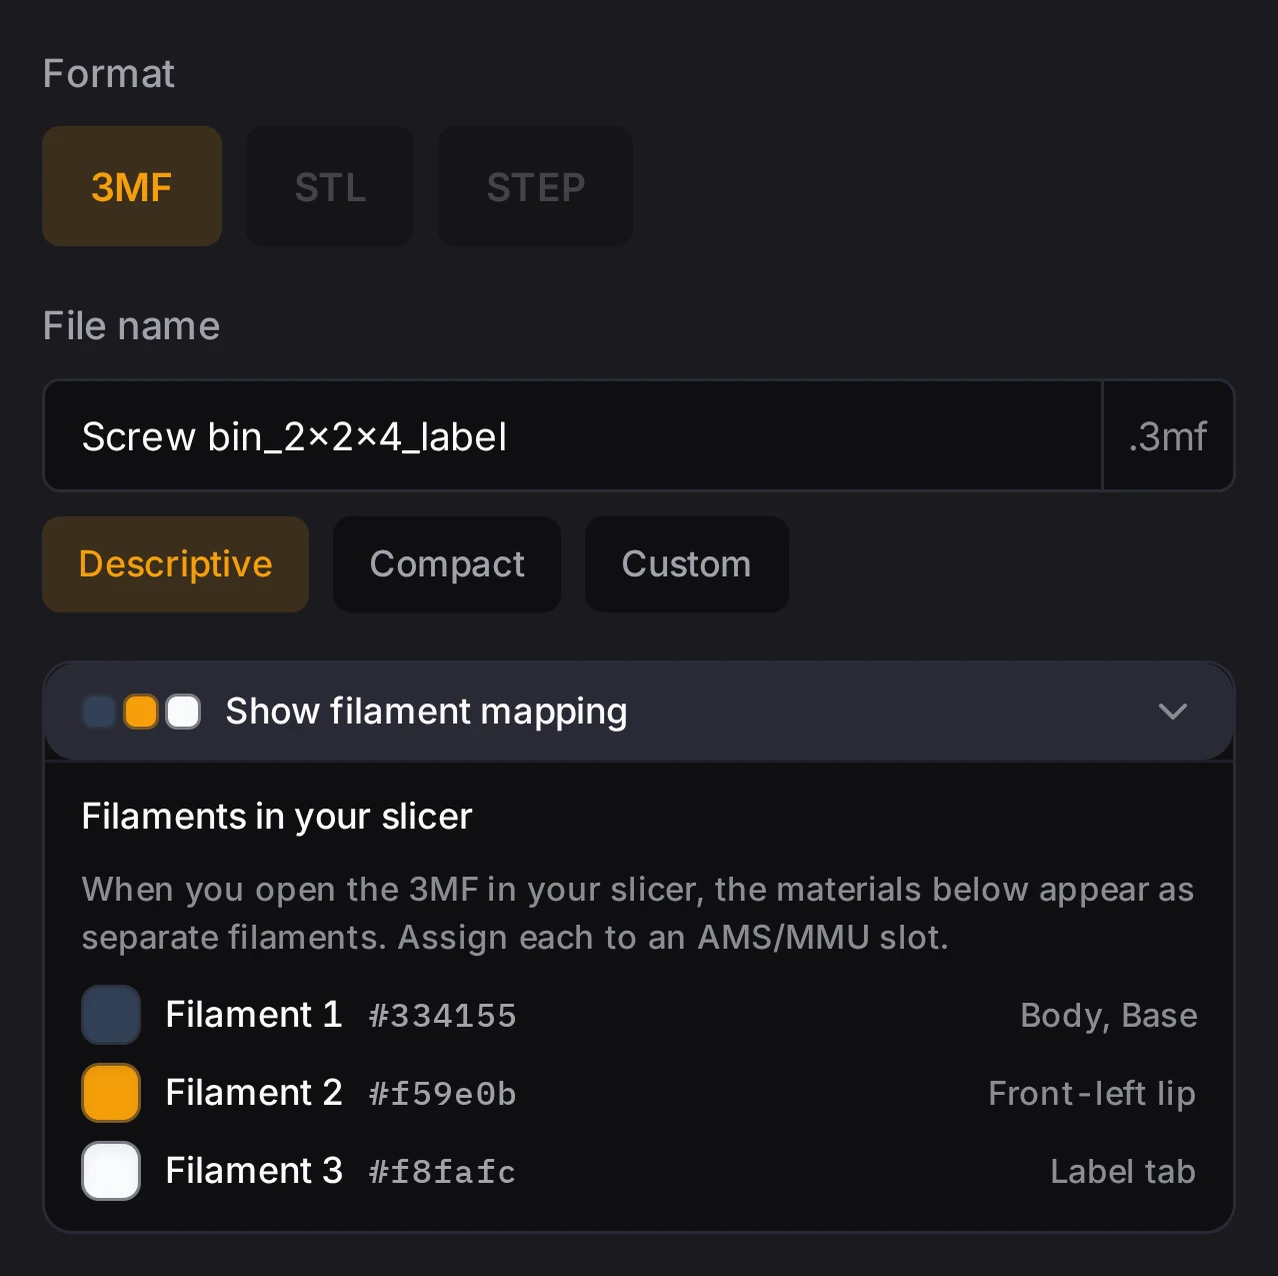
A multi-color 3MF gives each color zone its own filament number. The body is filament 1. The other zones take filament 2, 3 and up, in order.
- In the export dialog of the bin designer, click Show filament mapping. The list shows which zone goes to which filament.
- Open the 3MF in your slicer. The zones show as separate filaments.
- Assign each filament to the AMS or MMU slot that holds the correct color.
The file doesn't set the colors of the slots, so set each filament color in the slicer. A file can carry up to 16 colors. PrusaSlicer reads the same color data as Bambu Studio and OrcaSlicer.
Bambu Studio shows a notice that the file doesn't come from Bambu Lab, and that it loads only the geometry and the color data. That's normal, so you can continue.
WARNING
Use 3MF for a multi-color bin. STL and STEP lose the colors. A split export also loses them, and each piece prints in one color.
Open a layout project file
A layout export in 3MF is one project file. It holds every part of the layout, packed onto build plates of your bed size. The manifest.txt in the ZIP tells you how many plates the parts need.
- Do the parts fit on one plate? Then the file is ready to slice.
- With more plates, Bambu Studio and OrcaSlicer load all the parts as one group on the first plate. Press A (Arrange all objects) to spread them across plates.
- PrusaSlicer has no multiple plates, so it loads all the parts onto one plate.
Parts with the same color in different bins share one filament. The manifest lists each part that is larger than the print bed.
Stack-printed plates
A file from stack printing holds a full tower of plates with air gaps. The gaps are part of the model.
- Slice the tower as one object, exactly as it is in the file. Don't turn it, and don't lay it flat.
- Don't add supports.
- Set the layer height to the gap or less. A taller layer closes the gap and fuses the plates together.
The plates meet on a flat ridge that prints with the Arachne or the Classic wall generator.
Two materials for a clean break
Do you have an AMS or a second extruder? Then you can fill each gap with a support interface in a filament that doesn't bond. PETG against PLA comes apart cleanly. Make the gap about 0.4 mm first.
PrusaSlicer (Expert mode):
- Print Settings > Support material > Generate support material: on
- Clear "Support on build plate only", because the gaps are inside the model.
- Top contact Z distance: 0
- Top interface layers: 1 to 2
- Multiple Extruders > Support material/raft interface extruder: the non-stick filament
Bambu Studio and OrcaSlicer:
- Enable Support (Auto or Manual).
- Support > Interface filament: the non-stick filament
- Support > Top Z distance: 0
- Support > Top interface layers: 1 to 2
Slice, then look at the preview. Each gap must show the non-stick filament.
Two-color label plates
The text on swappable label plates is a whole number of layers deep. So one filament change at the first text layer gives you a two-color label. Print each label sheet flat, with no supports.
What to look at after import
A minute in the slicer can save a failed print. Before you print, make sure that:
- Each part is on the bed. On a small bed, a 3MF part can sit off center.
- The number of filaments is the same as the number of color zones.
- Each filament is in the slot that holds the correct color.
- The process profile is your own profile.
- For a stack, the layer height is the gap or less.
- The slice preview shows each part and each color where you expect it.
Bambu Studio versions
Some Bambu Studio versions have problems with 3MF files from other programs:
- Versions 2.8.2.60 and 2.8.2.61 reject a 3MF file that has no project settings. Update to 2.8.3 or later.
- Versions 2.8.x on an empty plate don't add the filaments that the file uses, so you see only one filament. Add the filaments by hand, or update to 2.9.1 or later.
Next steps
- Multi-color printing: set up the color zones of a bin.
- Troubleshooting prints: solve problems with colors and rejected files.
- Fit and tolerances: tune the fit of parts for your printer.