
Magnets and screws
A plain baseplate holds bins by the shape of its pockets, and for a normal drawer that's enough. Magnets help when a drawer gets yanked hard or lives in a vehicle. Screws and underside magnets keep the plate itself in place. Here's how to set up each of the three options in Base, and what each one does to the plate.
Choose what to hold
| Option | Pick it to hold | Where the holes go |
|---|---|---|
| Magnet holes | The bins, to the plate | In the pocket under each bin foot |
| Underside magnets | The plate, to a steel drawer or tool chest | In the underside, where four pockets meet |
| Screw down | The plate, to a drawer bottom, bench or wall | In the margin, between pockets, or in the pocket floor |
All three are off by default. Vertical stack removes all three, because the flipped plates in a stack can't print the holes without supports. See Eco plates and stack printing.
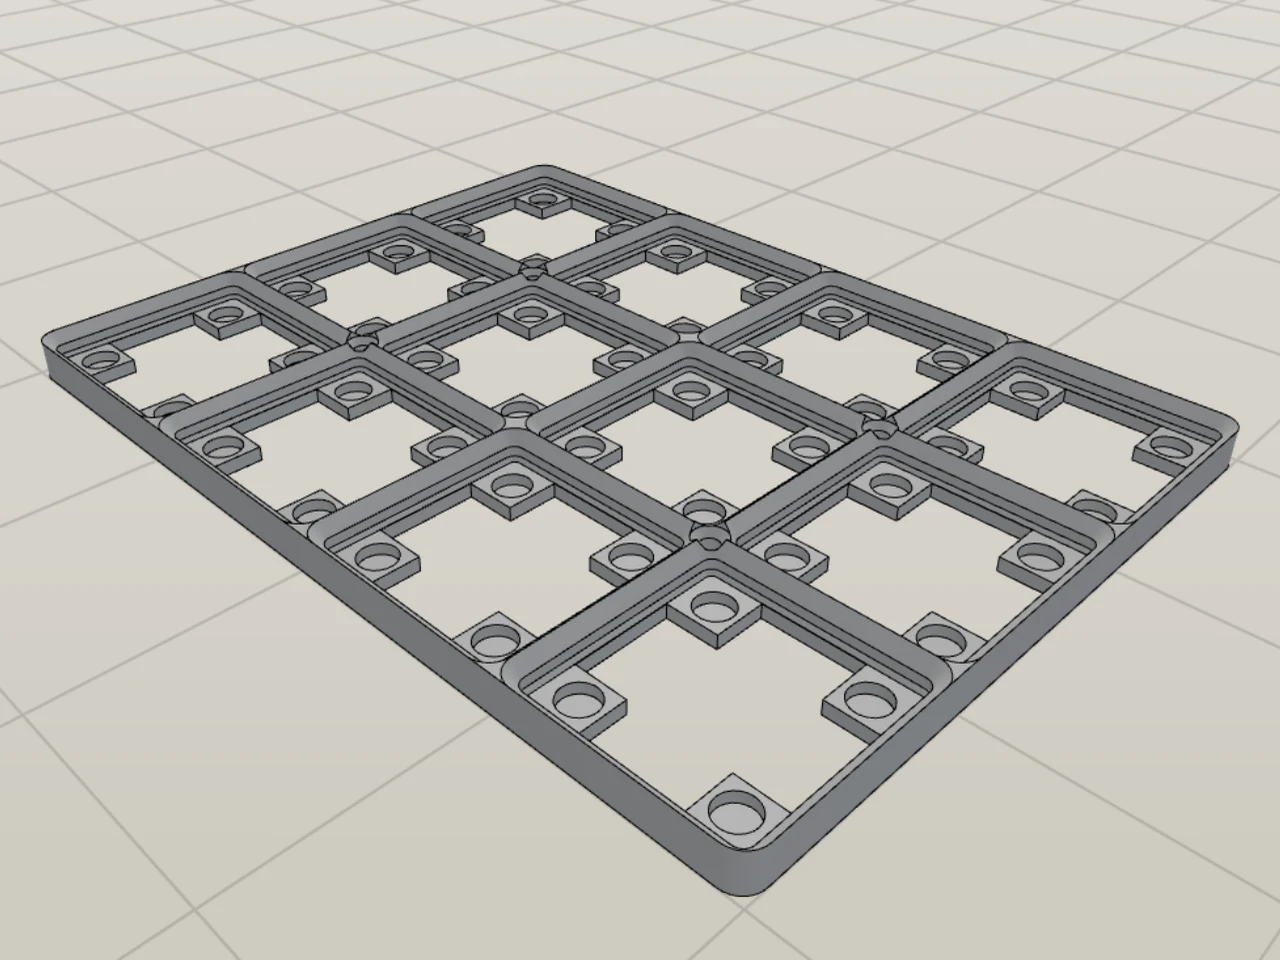
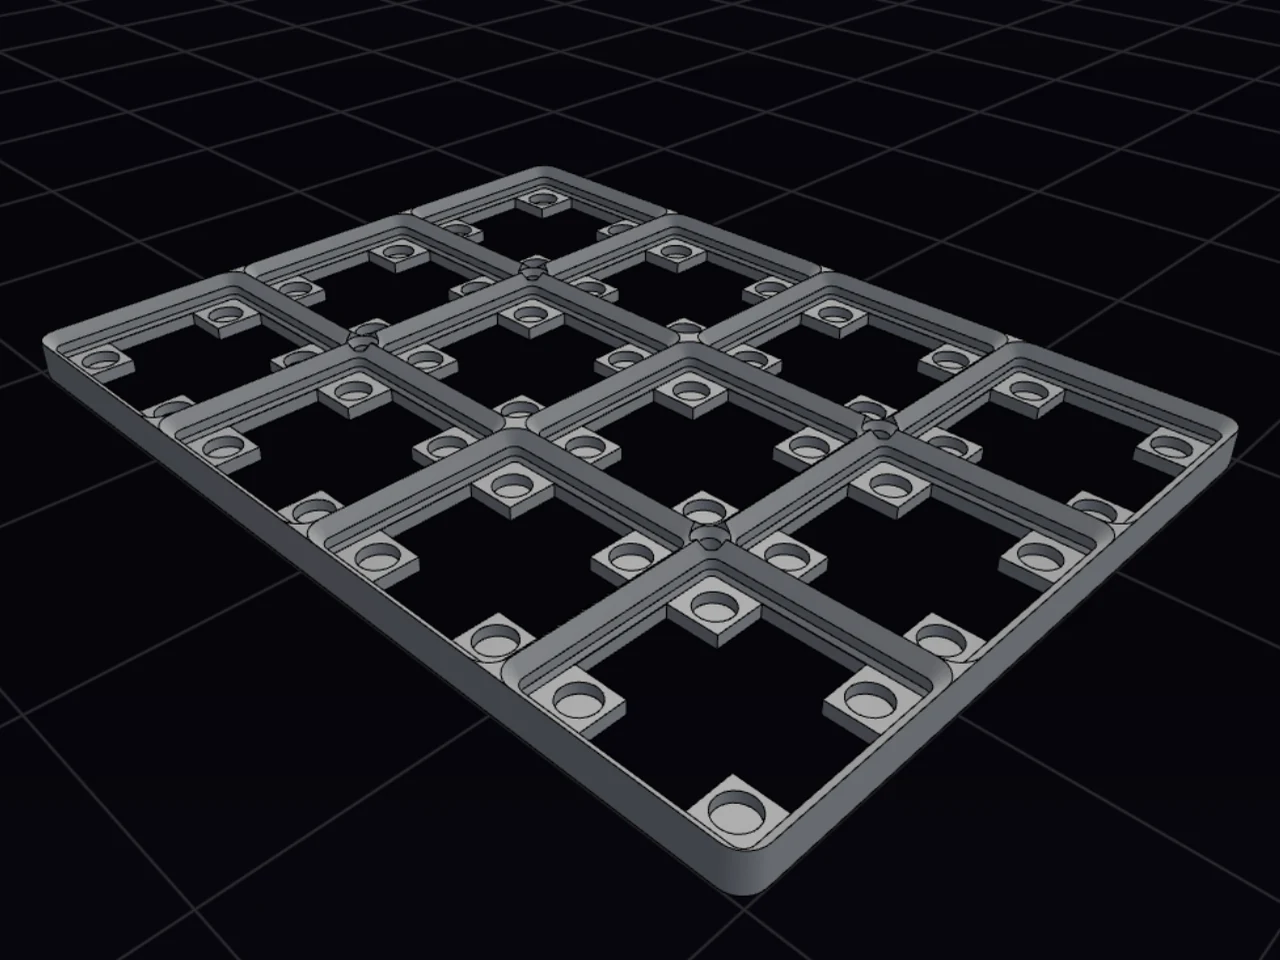
Add magnet holes for the bins
- In Base, turn on Magnet holes.
- Set Magnet diameter. The default of 6.5 mm fits a standard 6 mm magnet.
- Set Magnet depth. The default of 2 mm suits a 6 by 2 mm magnet.
Not sure? Keep the defaults. Gridfinity magnets are 6 by 2 mm discs.
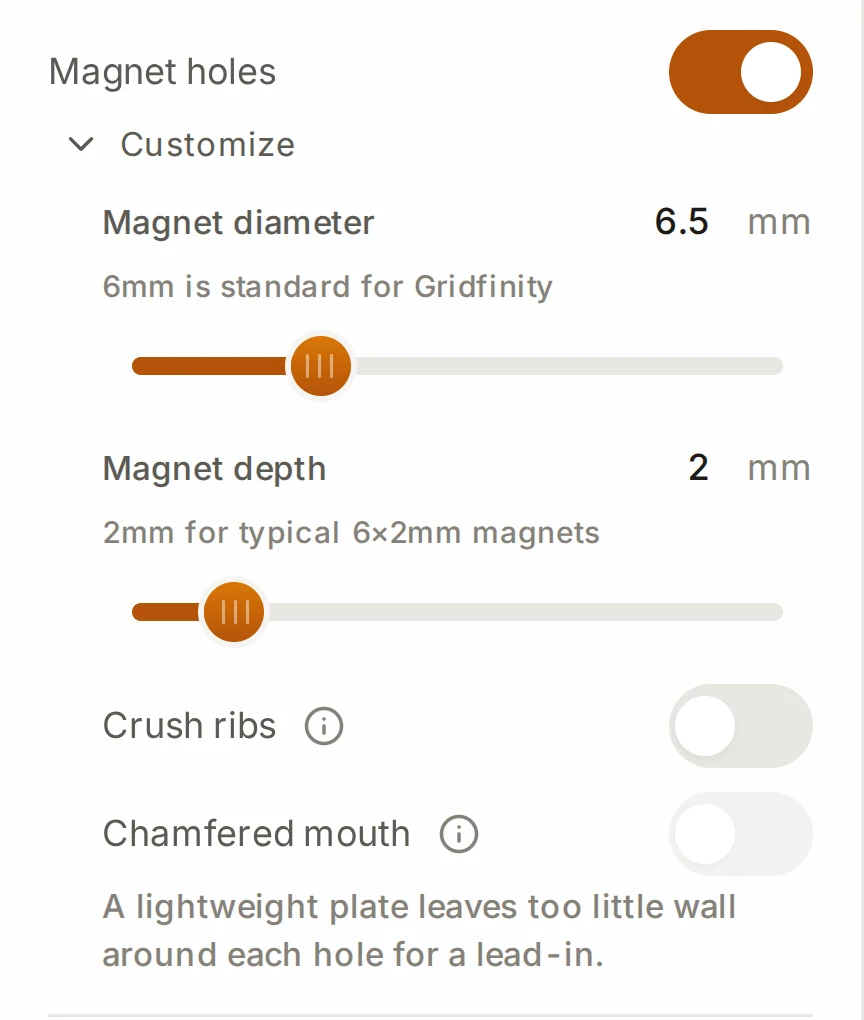
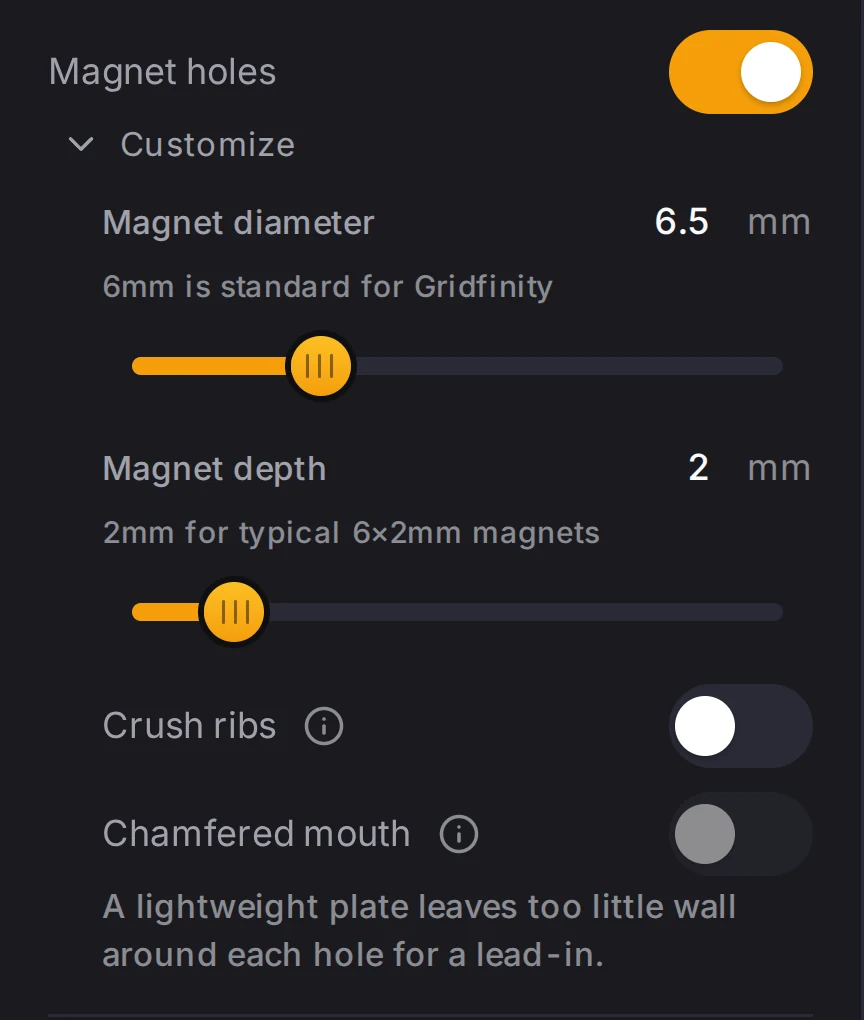
Your bins need magnets in the same places. In the bin designer, open Base and turn on magnet holes. See The base. For a big bin, turn on Corners only under Mounting. The bin then gets holes only at its outer corners, so it needs fewer magnets and lifts off the plate more easily.
Magnet holes make the plate taller by the magnet depth plus 0.5 mm. That extra 0.5 mm is the floor under each hole.
Fit settings for magnets
Want the magnets to stay in without glue? Two options help:
- Crush ribs adds eight ridges inside each hole. The ridges crush as you push the magnet in.
- Chamfered mouth adds a 45° lead-in at the top of each hole, so the magnet goes in straight.
If you can't turn on Chamfered mouth, the plate has too little wall around each hole for a lead-in.
Magnet position on large grids
When the Grid unit is more than 42 mm, Physical units shows Magnet anchor. This one setting applies to the plate, the bins and the lids together, so their magnets stay lined up.
| Choice | Magnet position |
|---|---|
| Corners | 8 mm from each cell edge, the standard Gridfinity position |
| Legacy | 13 mm from each cell center, to match parts that you printed with an older version |
Not sure? Pick Corners. It's the standard position.
Hold the plate to steel with underside magnets
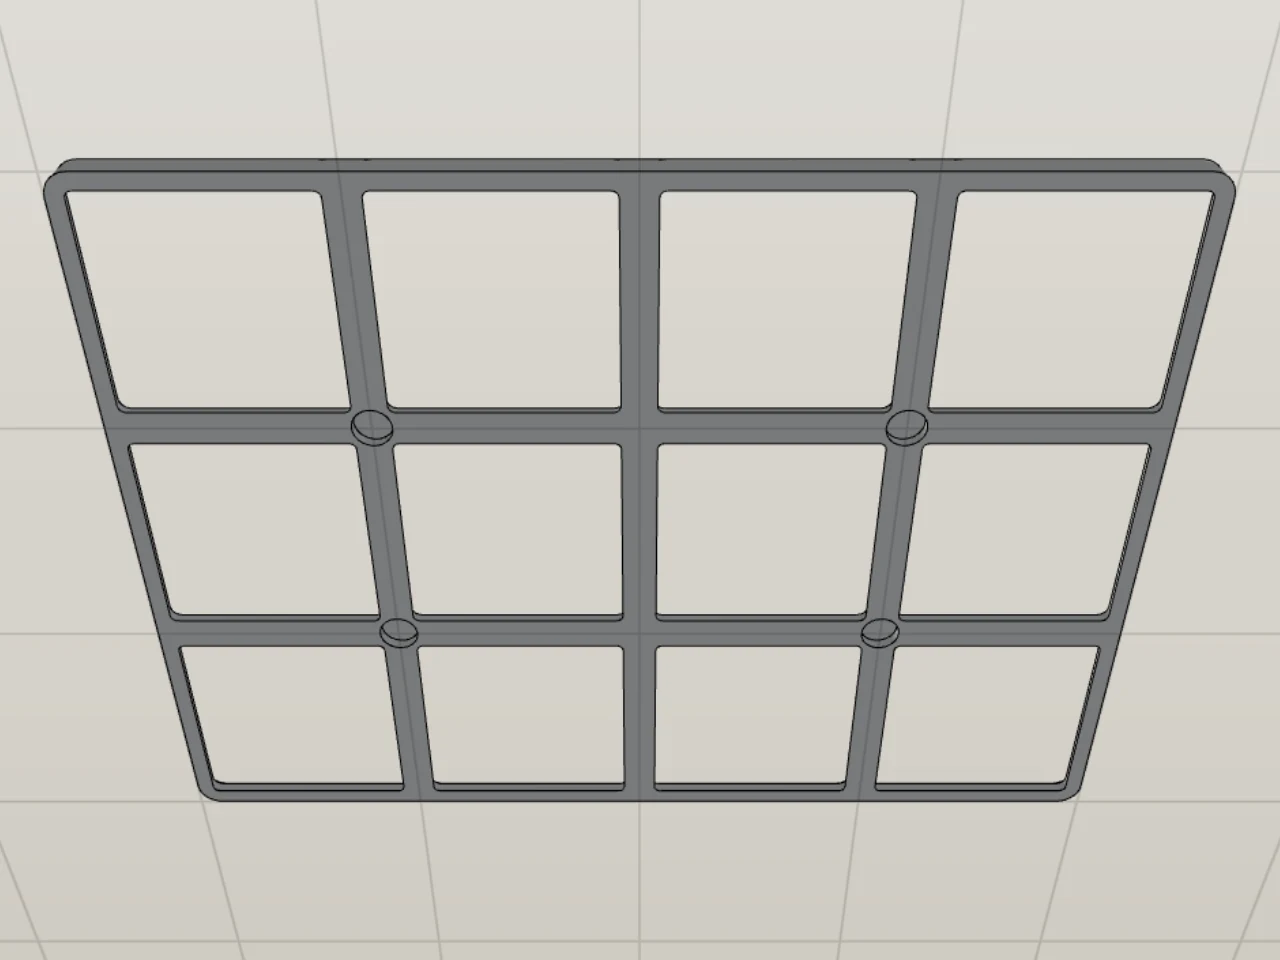
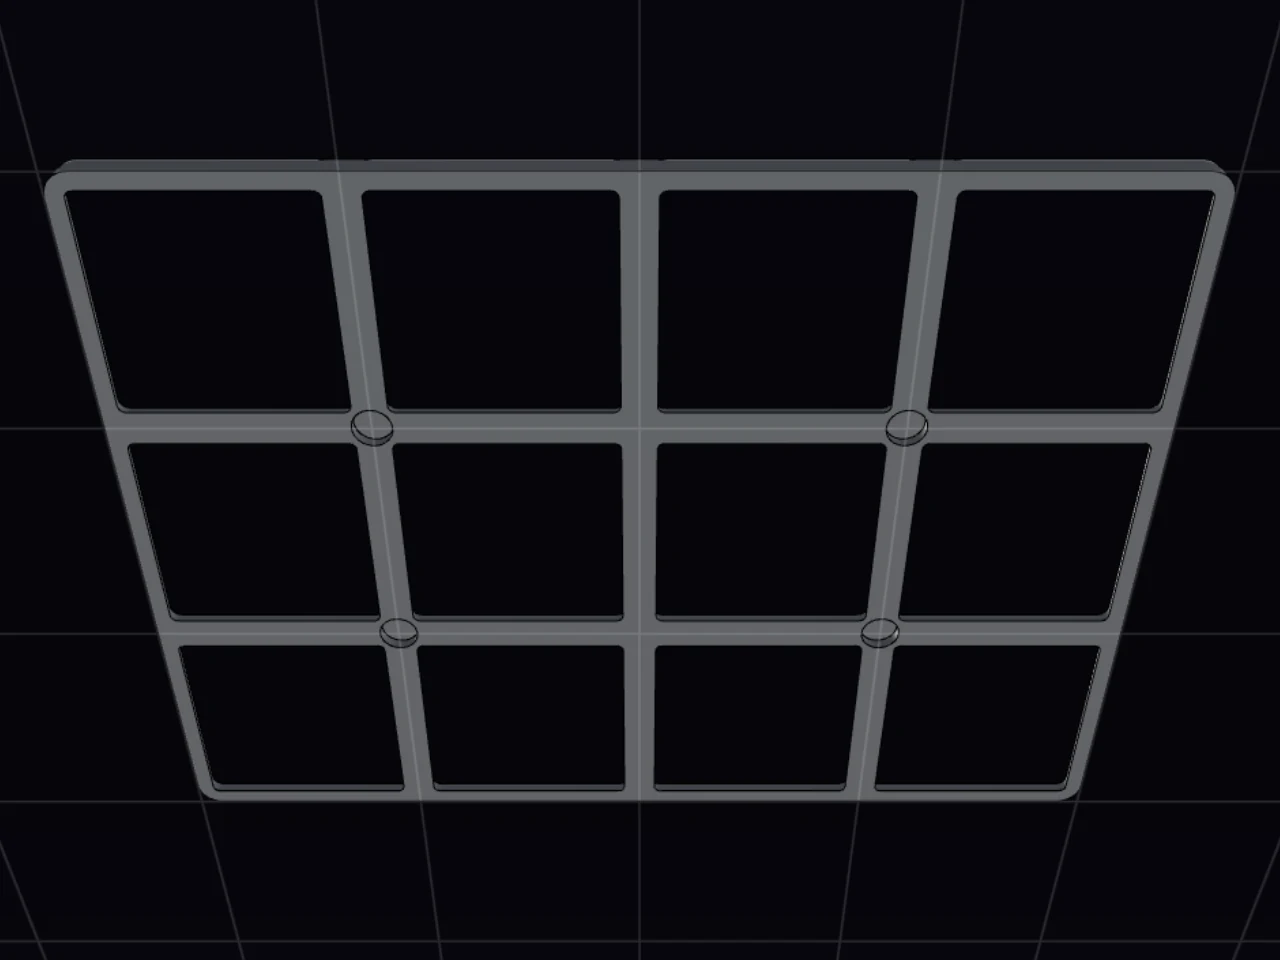
Got a steel drawer or tool chest? Underside magnets cuts magnet holes into the bottom of the plate, so the whole plate holds to the steel. The holes sit where four pockets meet, so the plate doesn't get any taller.
| Setting | Default | Range |
|---|---|---|
| Magnet diameter | 6.5 mm | 2 to 6.5 mm |
| Magnet depth | 2 mm | 0.5 to 2.5 mm |
| Magnets per piece | 4 | 1 to 64 |
Set the diameter to the magnet diameter plus the clearance for your printer, usually 0.2 to 0.5 mm. The depth starts at the underside, so a magnet of that height sits flush with the bottom. The Layout Tool spreads the magnets evenly over each printed piece, and a high count fills every place that it can.
It skips a crossing on a split seam, on the plate edge, or where a screw goes. If a hole is too deep or too wide for the plate, a warning appears below the depth.
Screw the plate down
Screw down adds vertical holes, so you can screw the plate to a drawer bottom, a bench or a wall. They're clearance holes, not pilot holes, so the screw goes through freely. A thread that bites into the plastic holds the plate off the surface.
| Setting | What it does | Default |
|---|---|---|
| Hole diameter | The shaft hole. 3.4 mm lets an M3 screw through. | 3.4 mm |
| Head recess | Countersink for a flat-head screw, Counterbore for a socket head cap screw | Countersink |
| Head diameter | The recess width at the surface | 6 mm countersink, 5.5 mm counterbore |
| Counterbore depth | The pocket depth. Make it the height of the screw head. | 3 mm |
| Screws per piece | Screws in each printed piece, from 1 to 8 | 4 |
| Edge inset | Grid units along each piece edge with no screws, from 0 to 4 | 0 |
| Corner in cell | The cell corner for a pocket-floor screw | Outer |
For the head diameter, use 6 mm for an M3 flat head and 8 mm for an M4 flat head. Use 5.5 mm for an M3 socket head cap screw. The head must sit flush, because a head that sticks up lifts any bin above it.
Put screws only at the corners
With 4 screws for each piece, the screws go in the corners of each piece. Higher counts add screws at the middle of each edge. Each split piece gets its own screws, so no printed piece stays loose.
Does your drawer have a lip? Set Edge inset to 1 to keep screws away from it. Above 0, no screw goes in the margin. A piece that is too small for the inset gets no screws.
Keep the plate at standard height
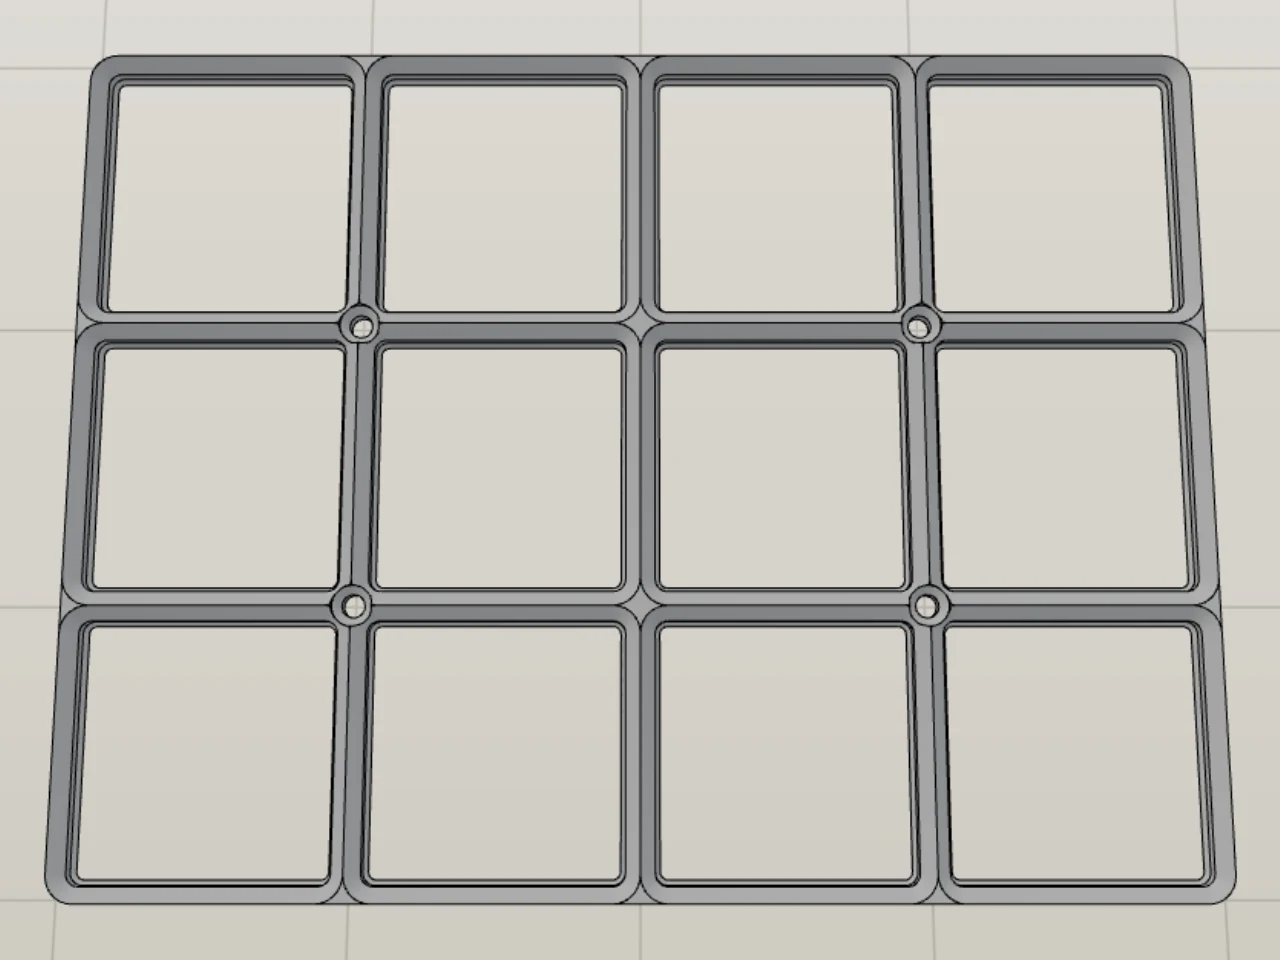
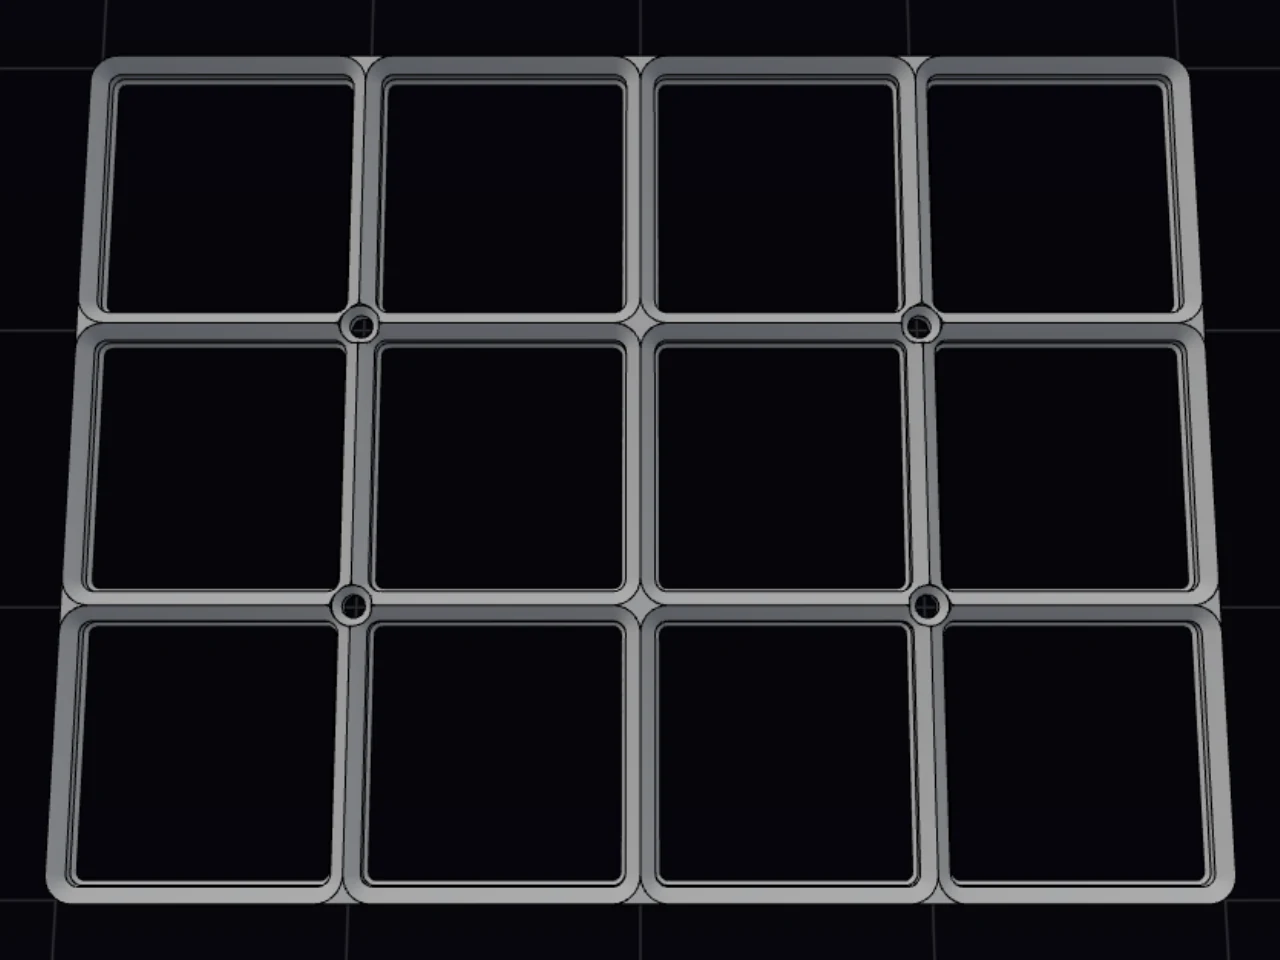
Each screw goes in one of three places:
- In the solid margin, when the margin is wide enough.
- In the solid corner where four pockets meet, when the head fits there.
- In the pocket floor. The plate then gets a little taller, so that the floor can hold the head.
If one piece of a split plate needs a pocket-floor screw, all the pieces get the same taller floor. That way the pieces stay flush when you put them together.
To keep the standard plate height, use a Countersink with a 6 mm head diameter. A countersink of 6 mm or less fits where four pockets meet. M3 flat-head screws with these settings are a safe pick.
When it goes wrong
The magnet and screw settings are gone
Turn off Vertical stack. The settings come back with the values that you set.
A stack prints most plates upside down, and the holes can't print that way without supports. So while the stack is on, Base hides all three options. See What a stack changes.
Some underside magnet holes are missing
Read the warning below Magnet depth. It gives the deepest hole that fits at your diameter. Make the depth that value or less, or use a smaller magnet.
The holes sit in the solid corners where four pockets meet, and a wide or deep hole doesn't fit there. The Layout Tool then skips that hole. It also skips a corner on a split seam, on the plate edge, or where a screw goes. Magnet holes and Solid floor make the plate taller, so a deeper hole fits.
A piece of the plate gets no screws
Lower Edge inset until the piece gets its screws.
The inset keeps screws away from each piece edge, by the number of grid units that you set. On a small piece, the inset covers the whole piece, so no place stays for a screw.
A bin sits high on the plate
Look for a screw head or a magnet that stands up from the plate. See A bin sits high on one spot.
Next steps
- Split for your print bed: every split piece gets its own screws and underside magnets.
- Eco plates and stack printing: see what makes a plate taller, and which options a stack removes.
- The base: add the matching magnet holes to your bins.
- Fit and tolerances: tune the fit of parts for your printer.