
Plan your first drawer
Let's take one real drawer from a tape measure to a ZIP of print files. You'll enter the drawer size, draw a few bins, check them in 3D, and get a list of what to print. Along the way, you'll link a bin to a design so it has a file to print.
This page teaches the clicks in the layout editor. For advice on which bin sizes to pick, read the planning guide.
Before you start
Grab a tape measure and measure the inside of your drawer in millimeters: the width, the depth, and the height under the closed drawer. Use the smallest value on each side.
Step 1: Open the layout editor
Open the layout editor in your browser.
On your first visit, you get an empty layout. On a desktop screen, the grid is 10 grid units wide and 8 grid units deep. An animated hint on the grid says Drag to draw your first bin, and it stays until you draw your first bin.
Step 2: Set the drawer size
- In the left sidebar, find the Grid size group, and click Add your drawer's measured size under the steppers.
- Type the sizes that you measured, then press Enter:
- Measured width (mm)
- Measured depth (mm)
- Measured height (mm)
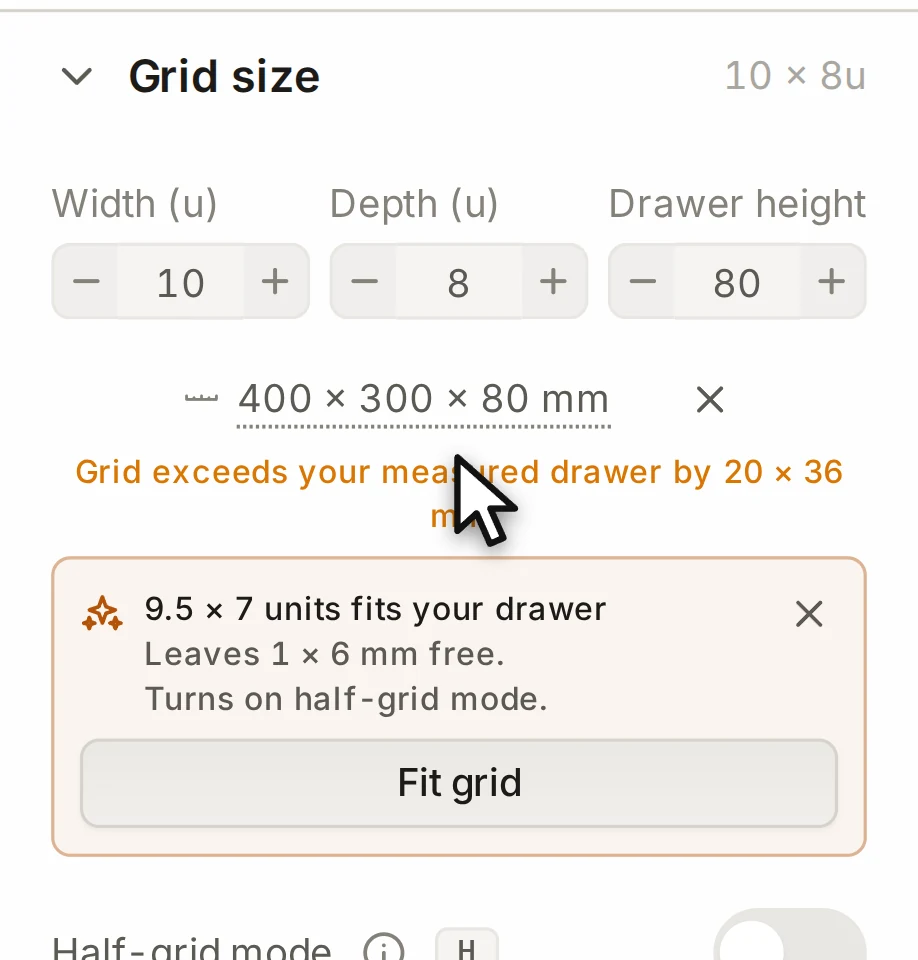
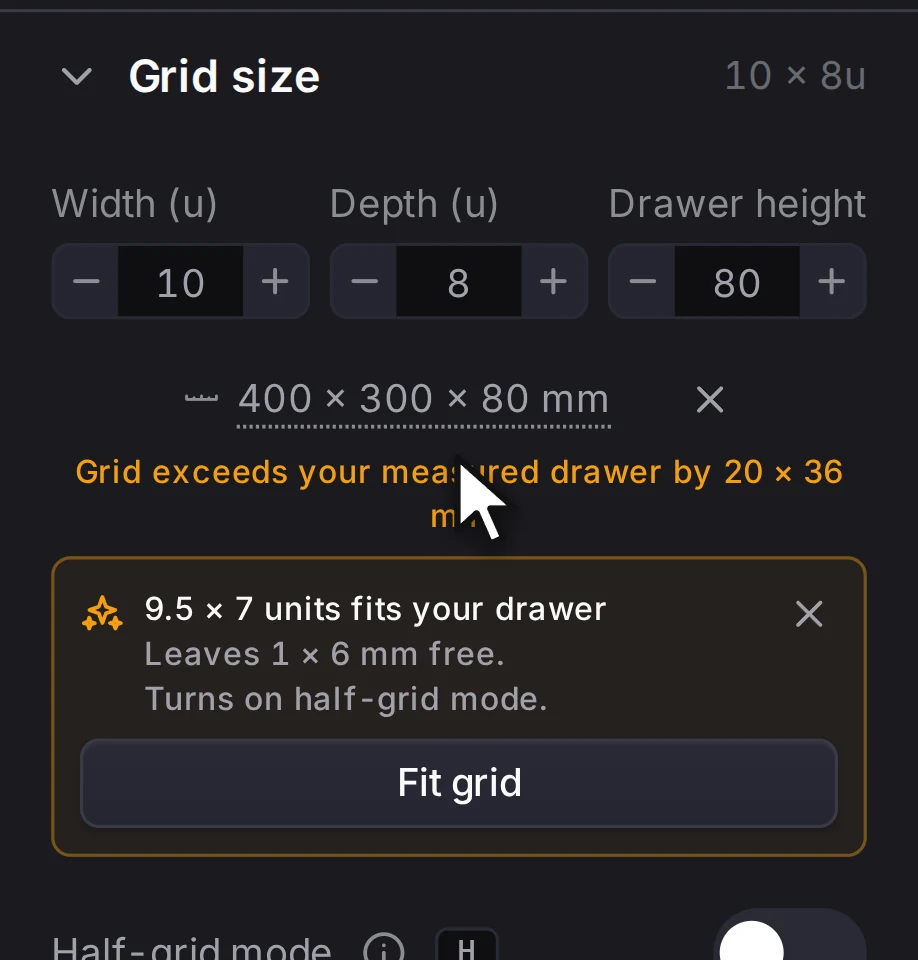
Your measurement doesn't resize the grid on its own. Instead, a card suggests the largest grid that fits, and shows how much spare room it leaves.
- Click Fit grid on the card. The grid snaps to the new size.
The line under the steppers shows the grid size in millimeters and the free space. If the fit needs half units, the Layout Tool also turns on Half-grid mode for you.
TIP
No card? Then the grid already fits your drawer. You can also set the size with the Width (u) and Depth (u) steppers, or drag the edges of the grid.
The measured height also sets Drawer height. Once you place bins, a line below the size tells you if the tallest stack fits under the closed drawer.
Step 3: Draw your first bin
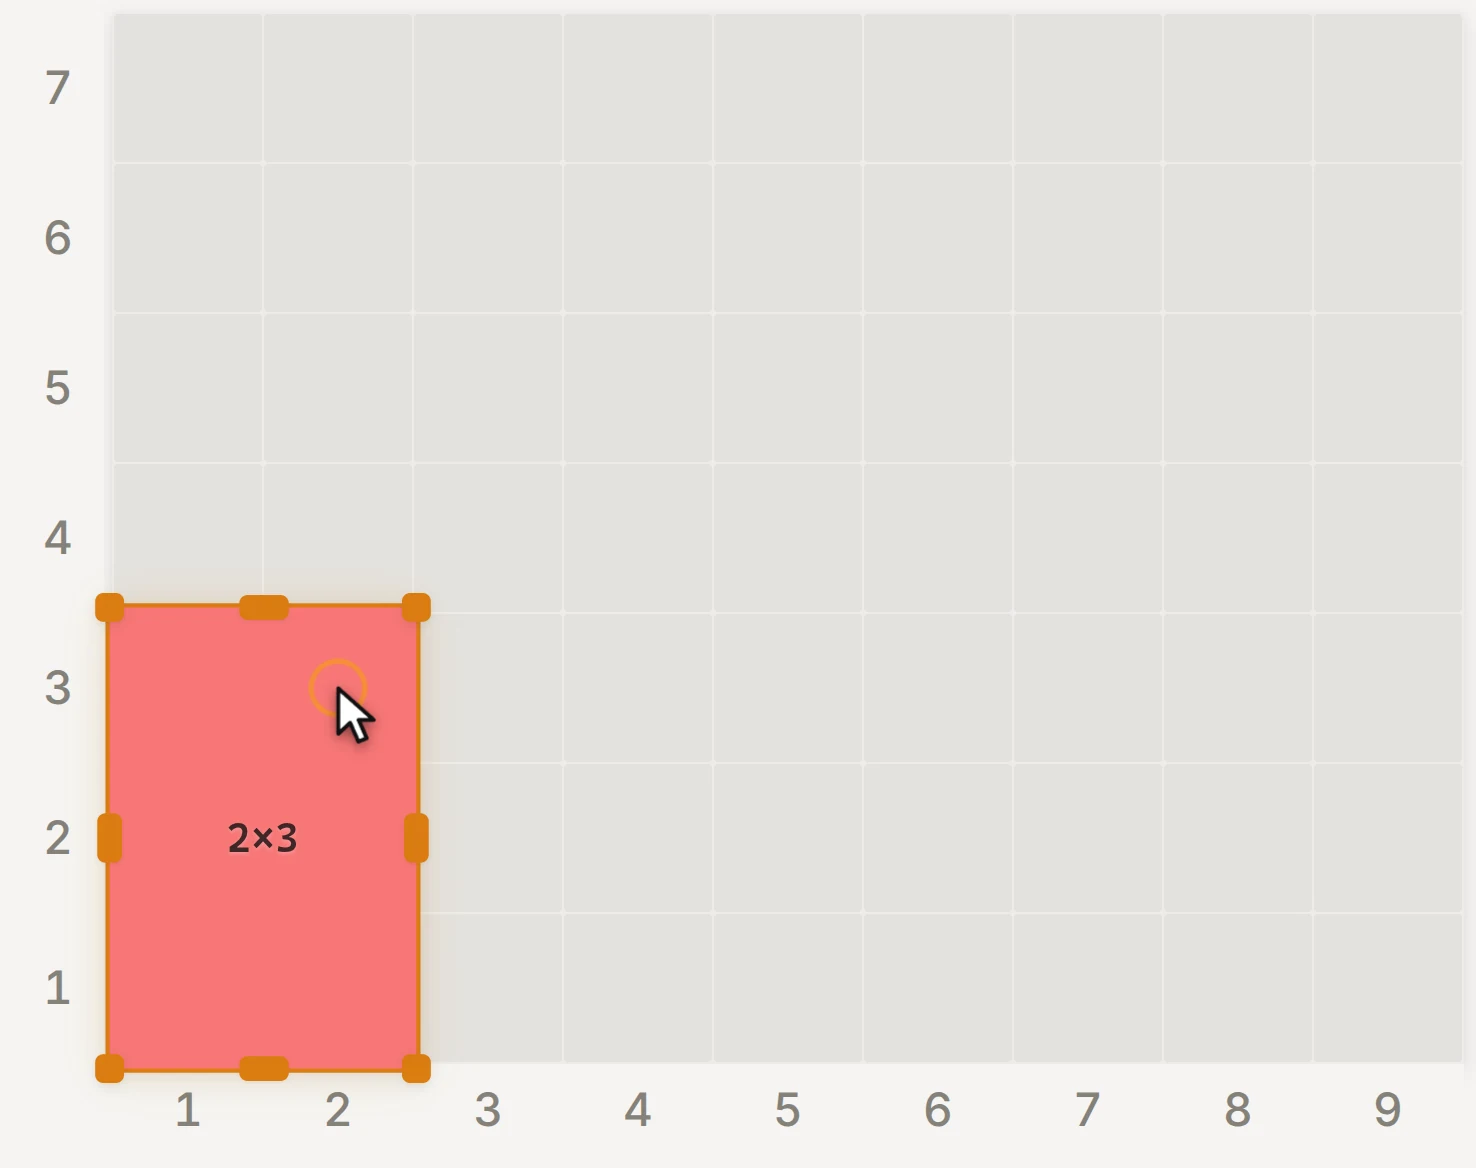
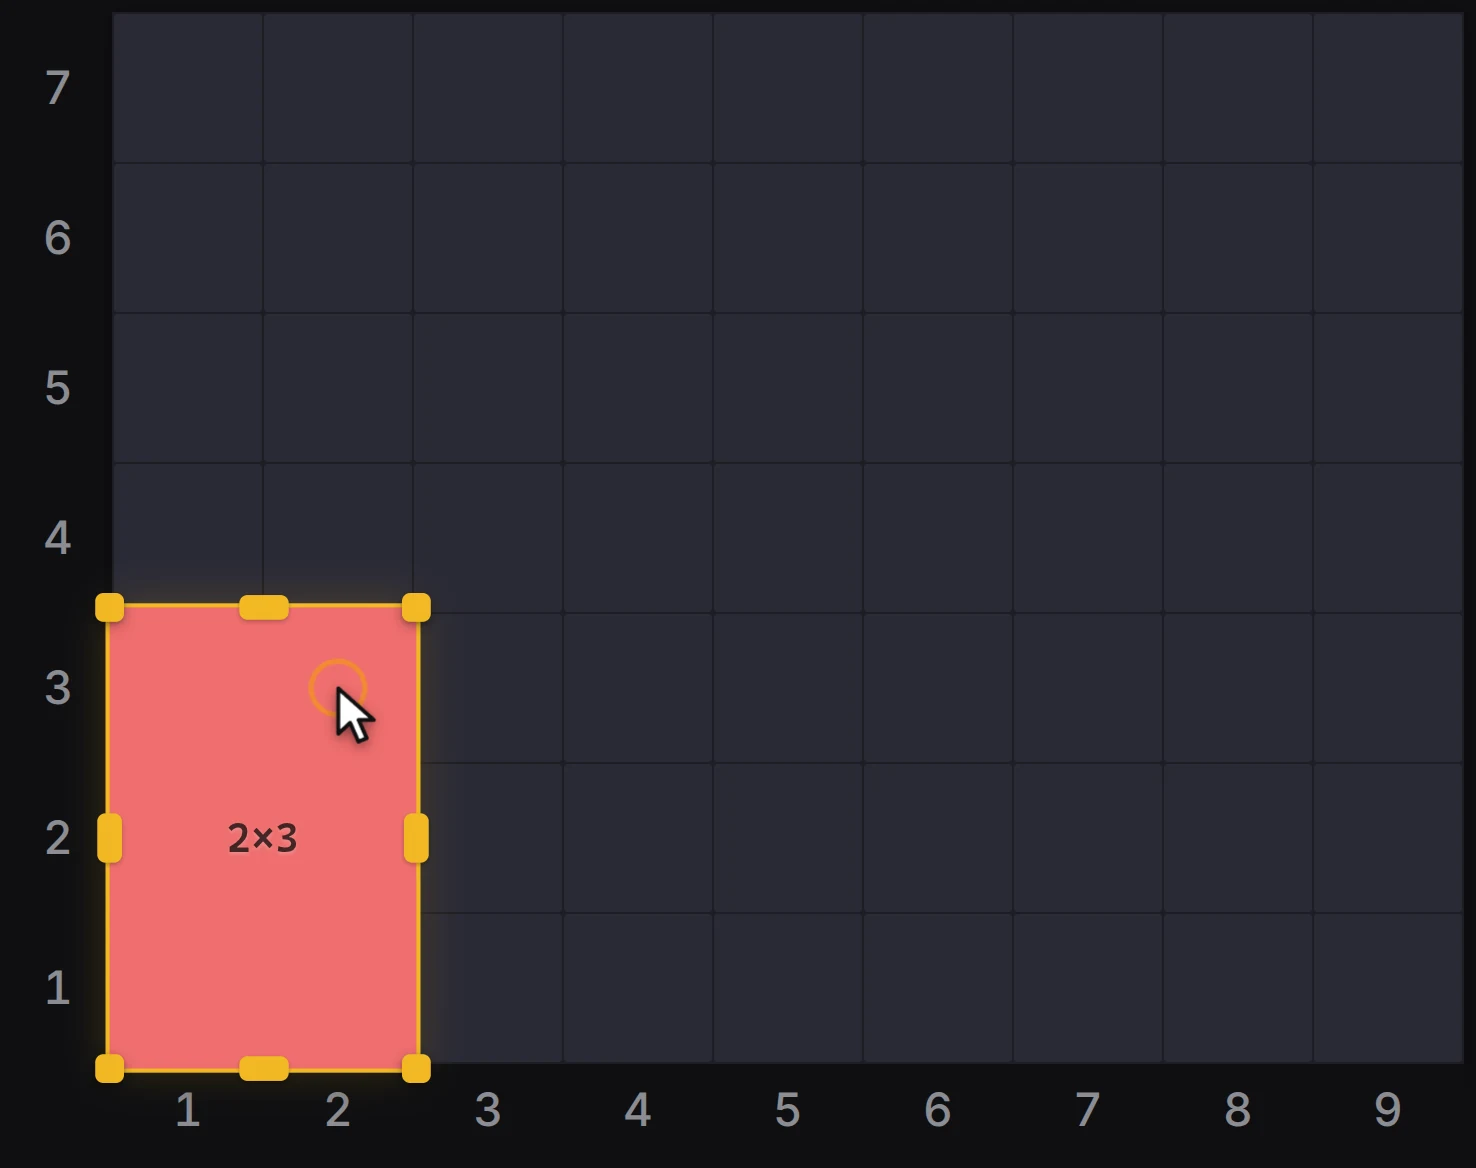
Drag across the empty cells you want the bin to cover. The bin appears and stays selected, so you can edit it right away. It gets the height of the active layer, and the right panel shows Bin properties.
Step 4: Edit the bin
With the bin selected, change it in the right panel:
- Width and Depth: the size in grid units.
- Height (mm): the height in millimeters. The same height shows in height units below the field.
- Label: a name, for example "Screws".
- Category: a group for the bin. The category gives the bin its color on the grid.
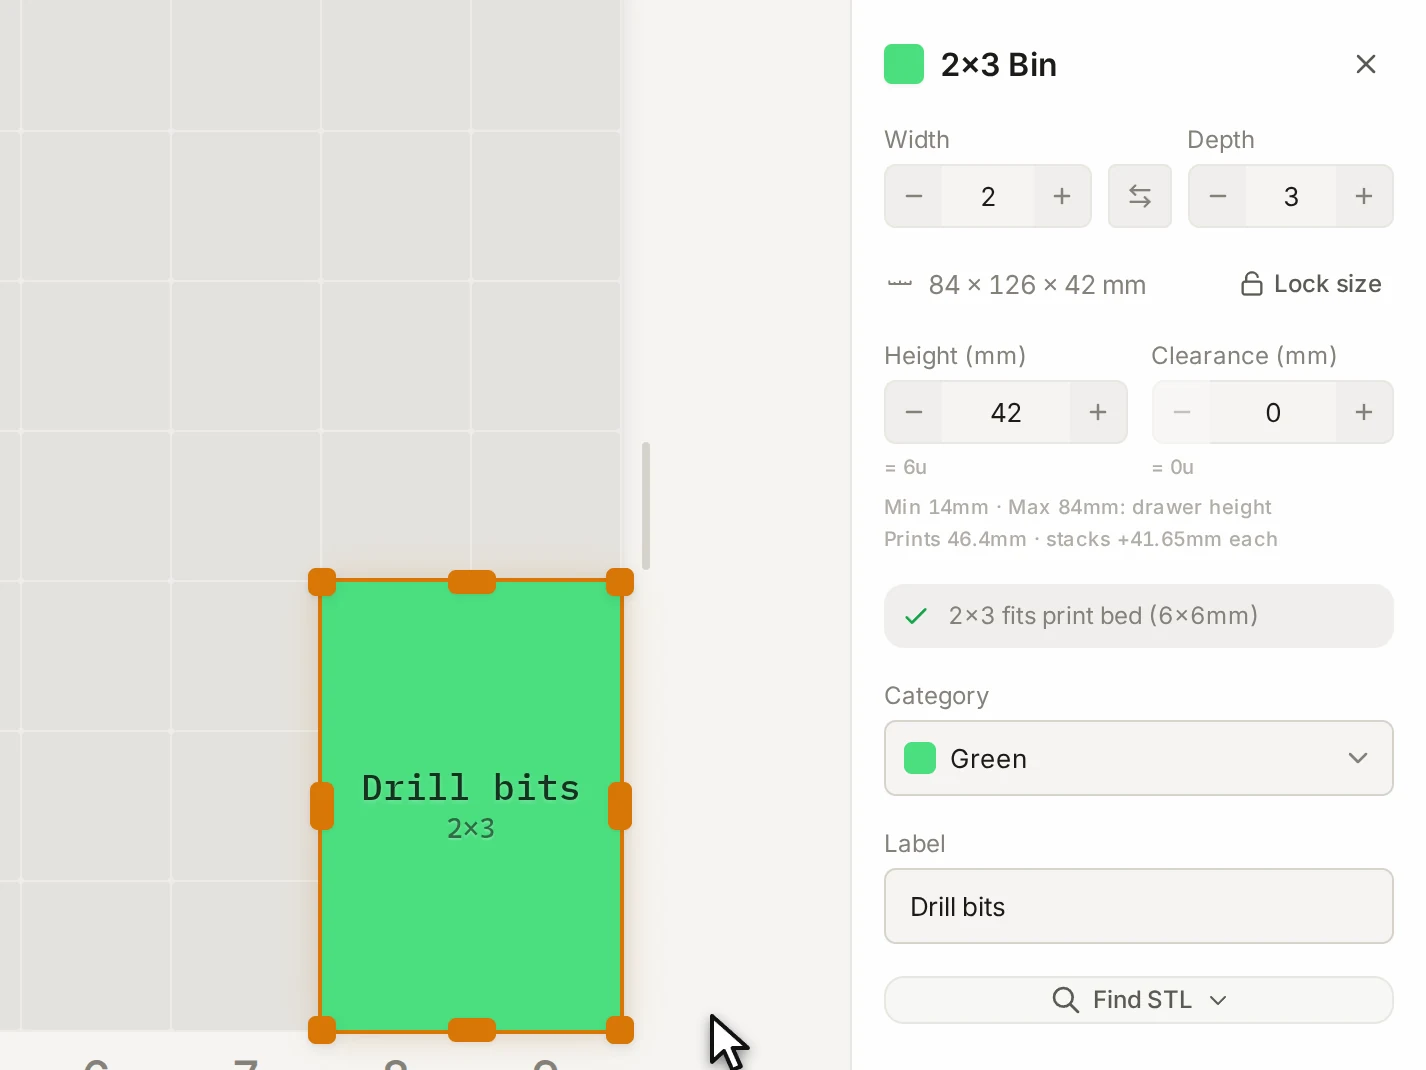
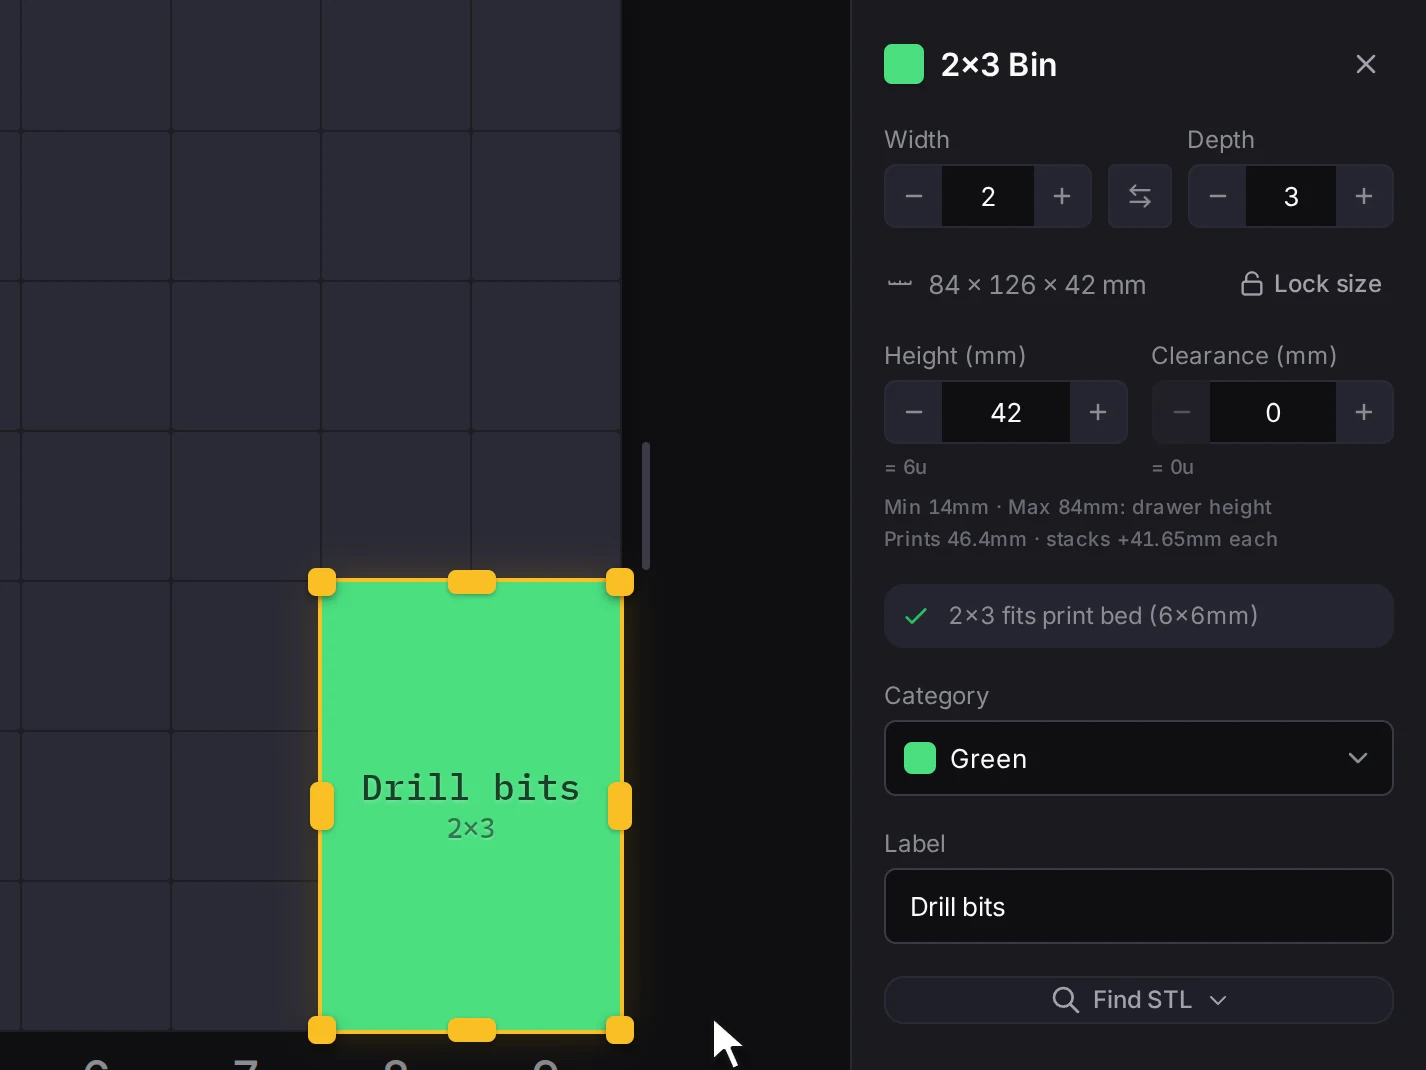
You can also change a bin right on the grid:
| To do this | Do this |
|---|---|
| Move a bin | Drag the bin to a new position. |
| Resize a bin | Drag a handle on the edge or corner of the selected bin. |
| Turn a bin 90 degrees | Press R. |
| Copy a bin | Press Ctrl+D (Cmd+D on a Mac). |
| Delete a bin | Press Delete. |
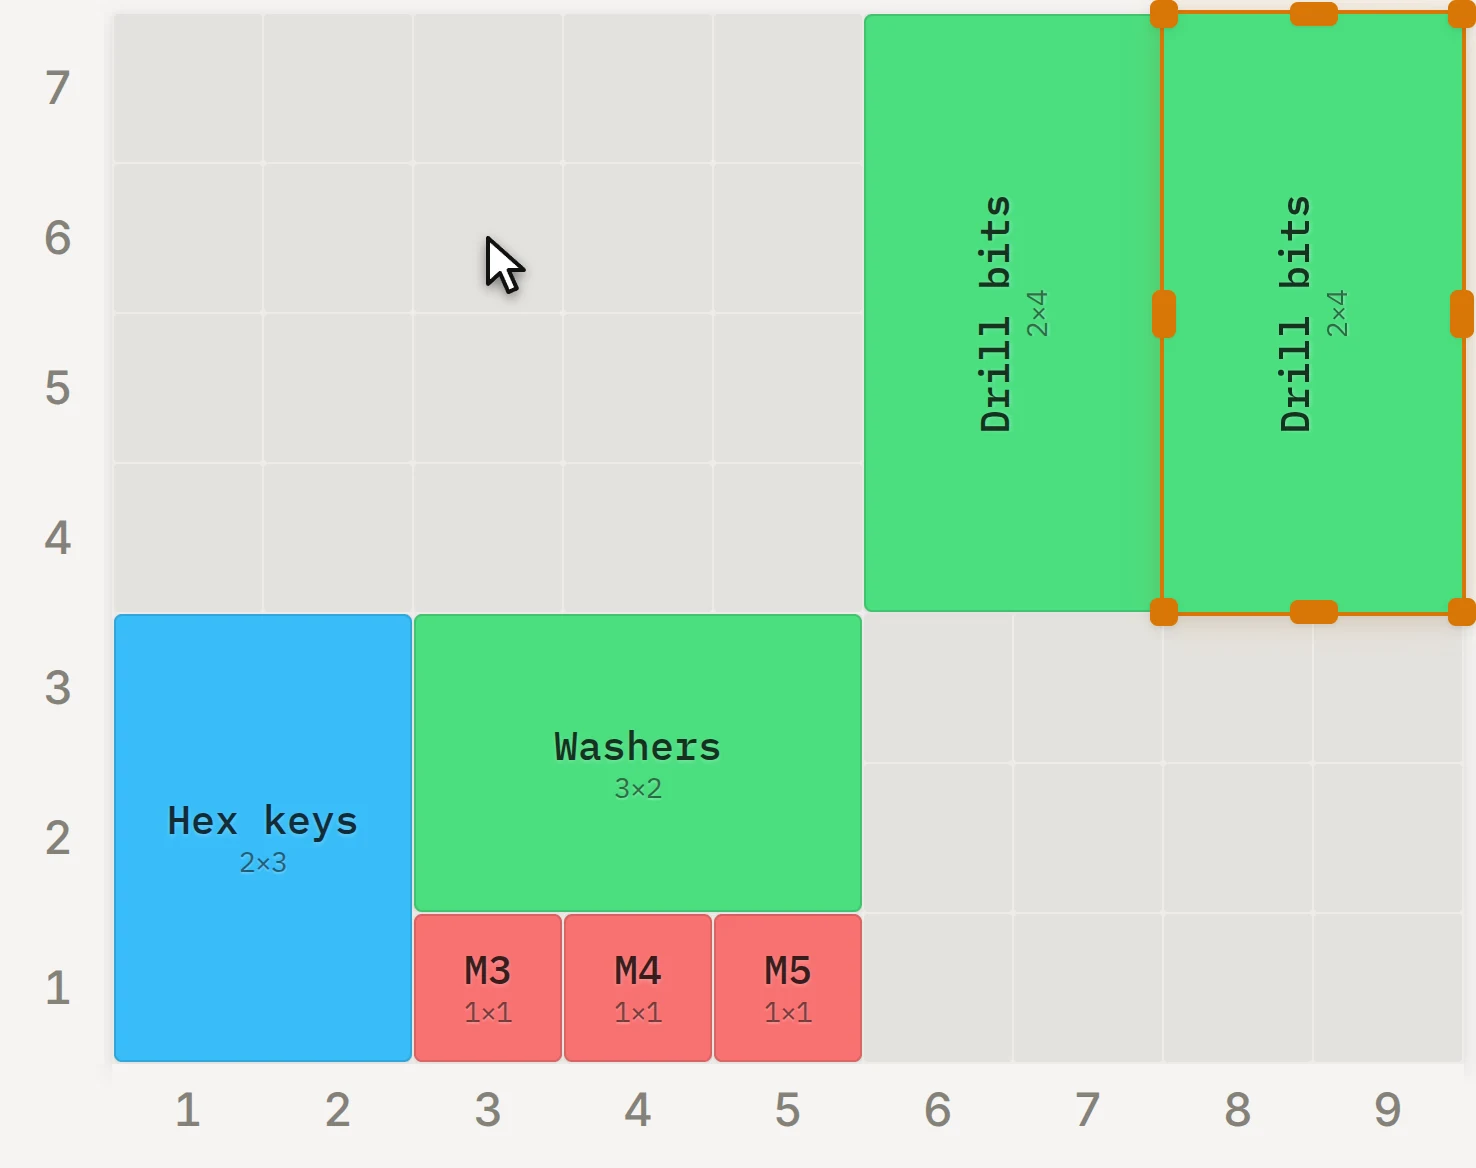
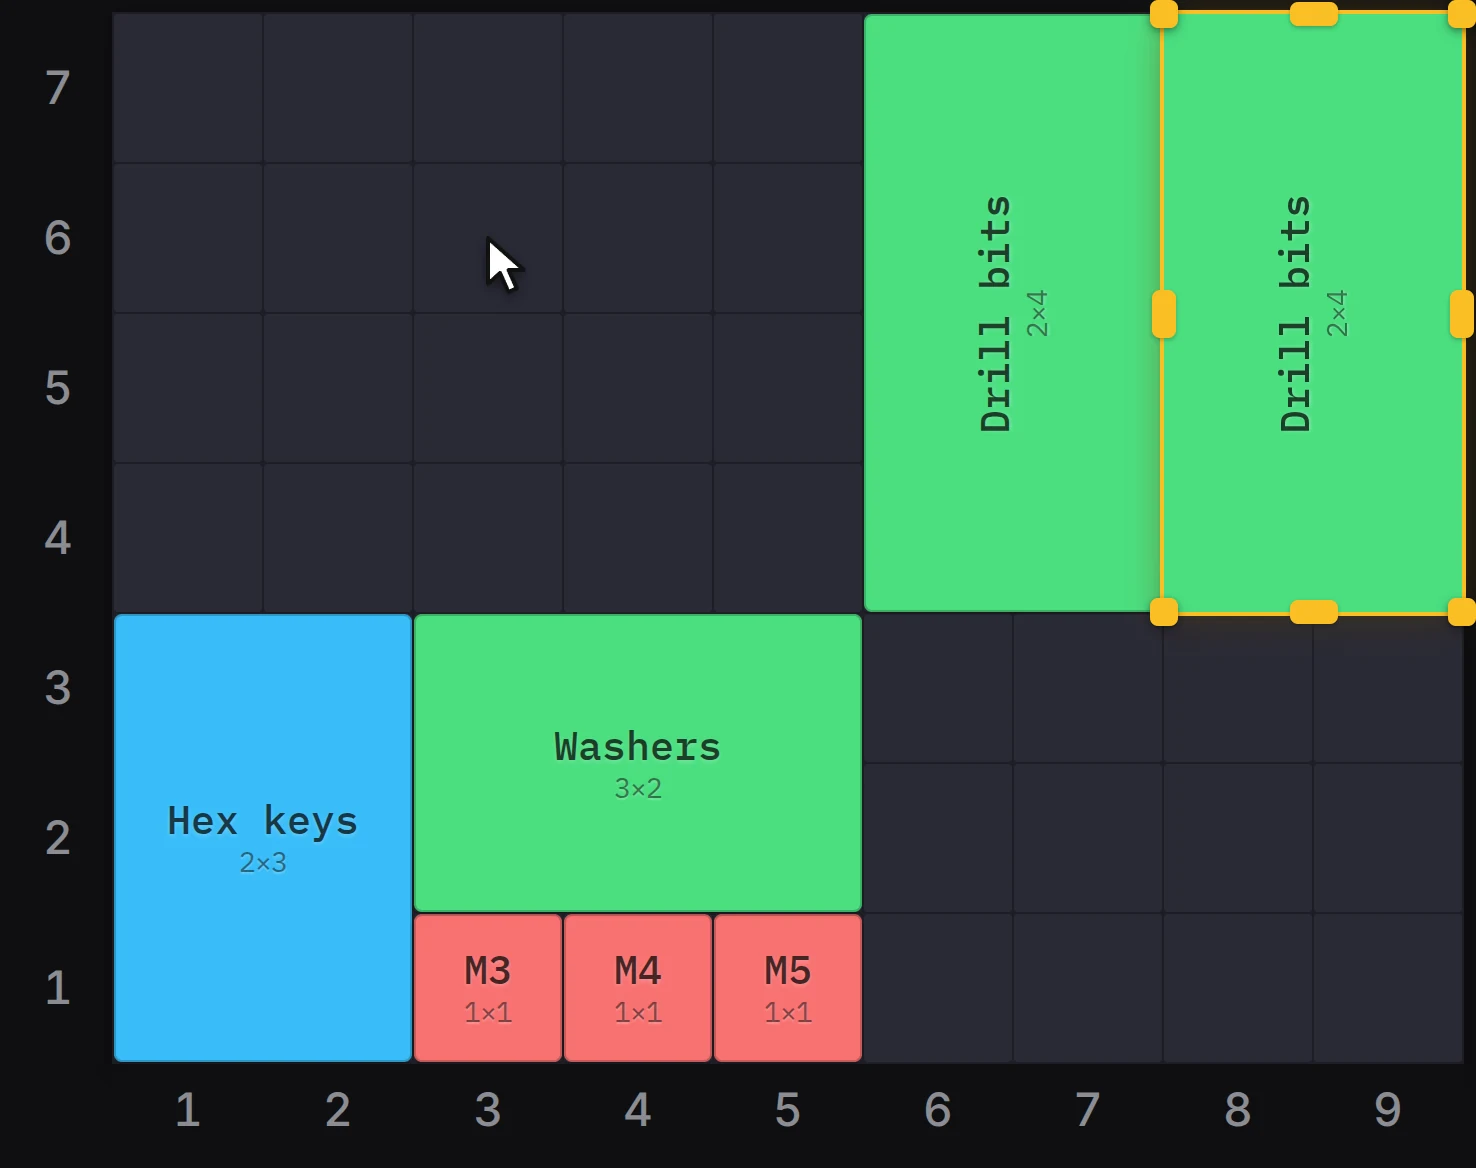
Keep drawing until the drawer looks right. Made a mistake? Press Ctrl+Z (Cmd+Z on a Mac) to undo it.
Step 5: Look at the drawer in 3D
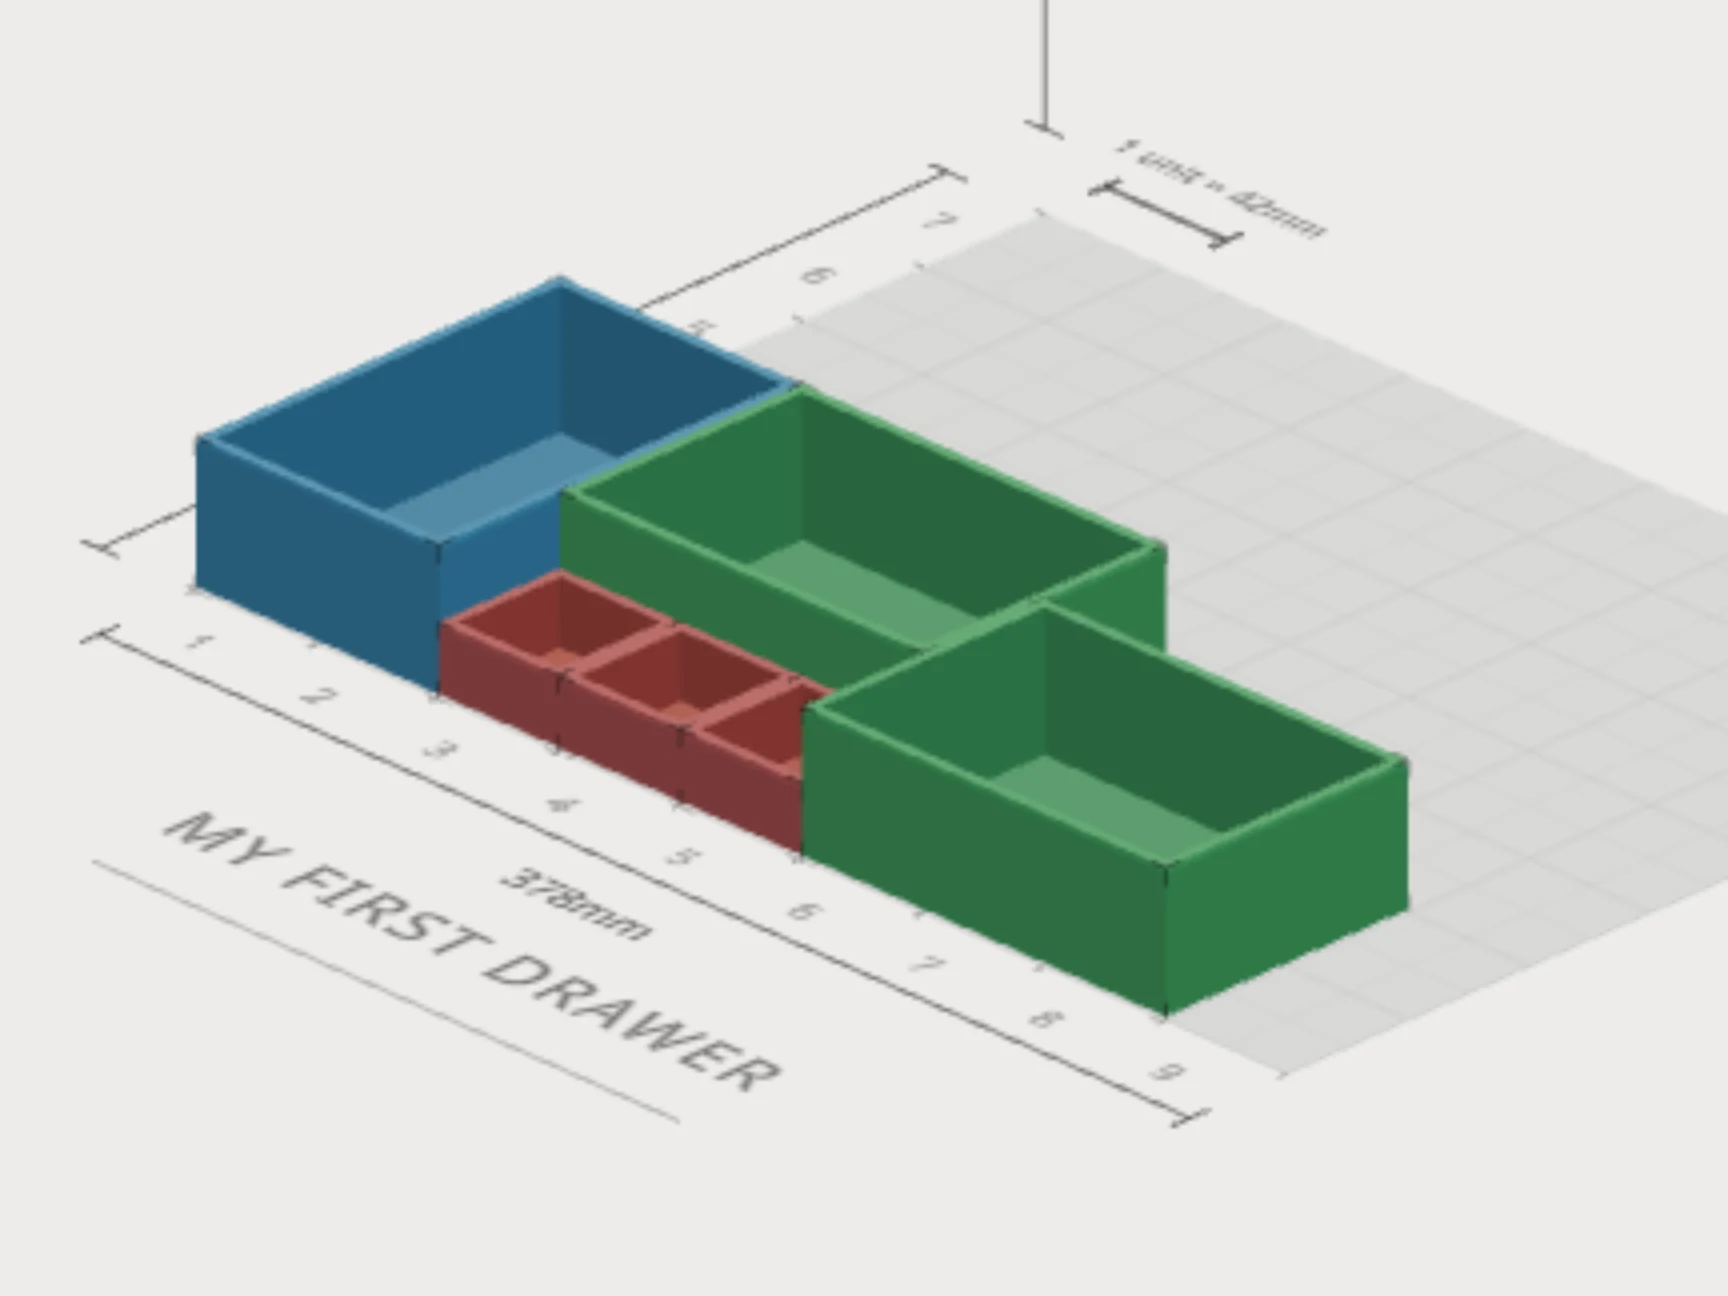
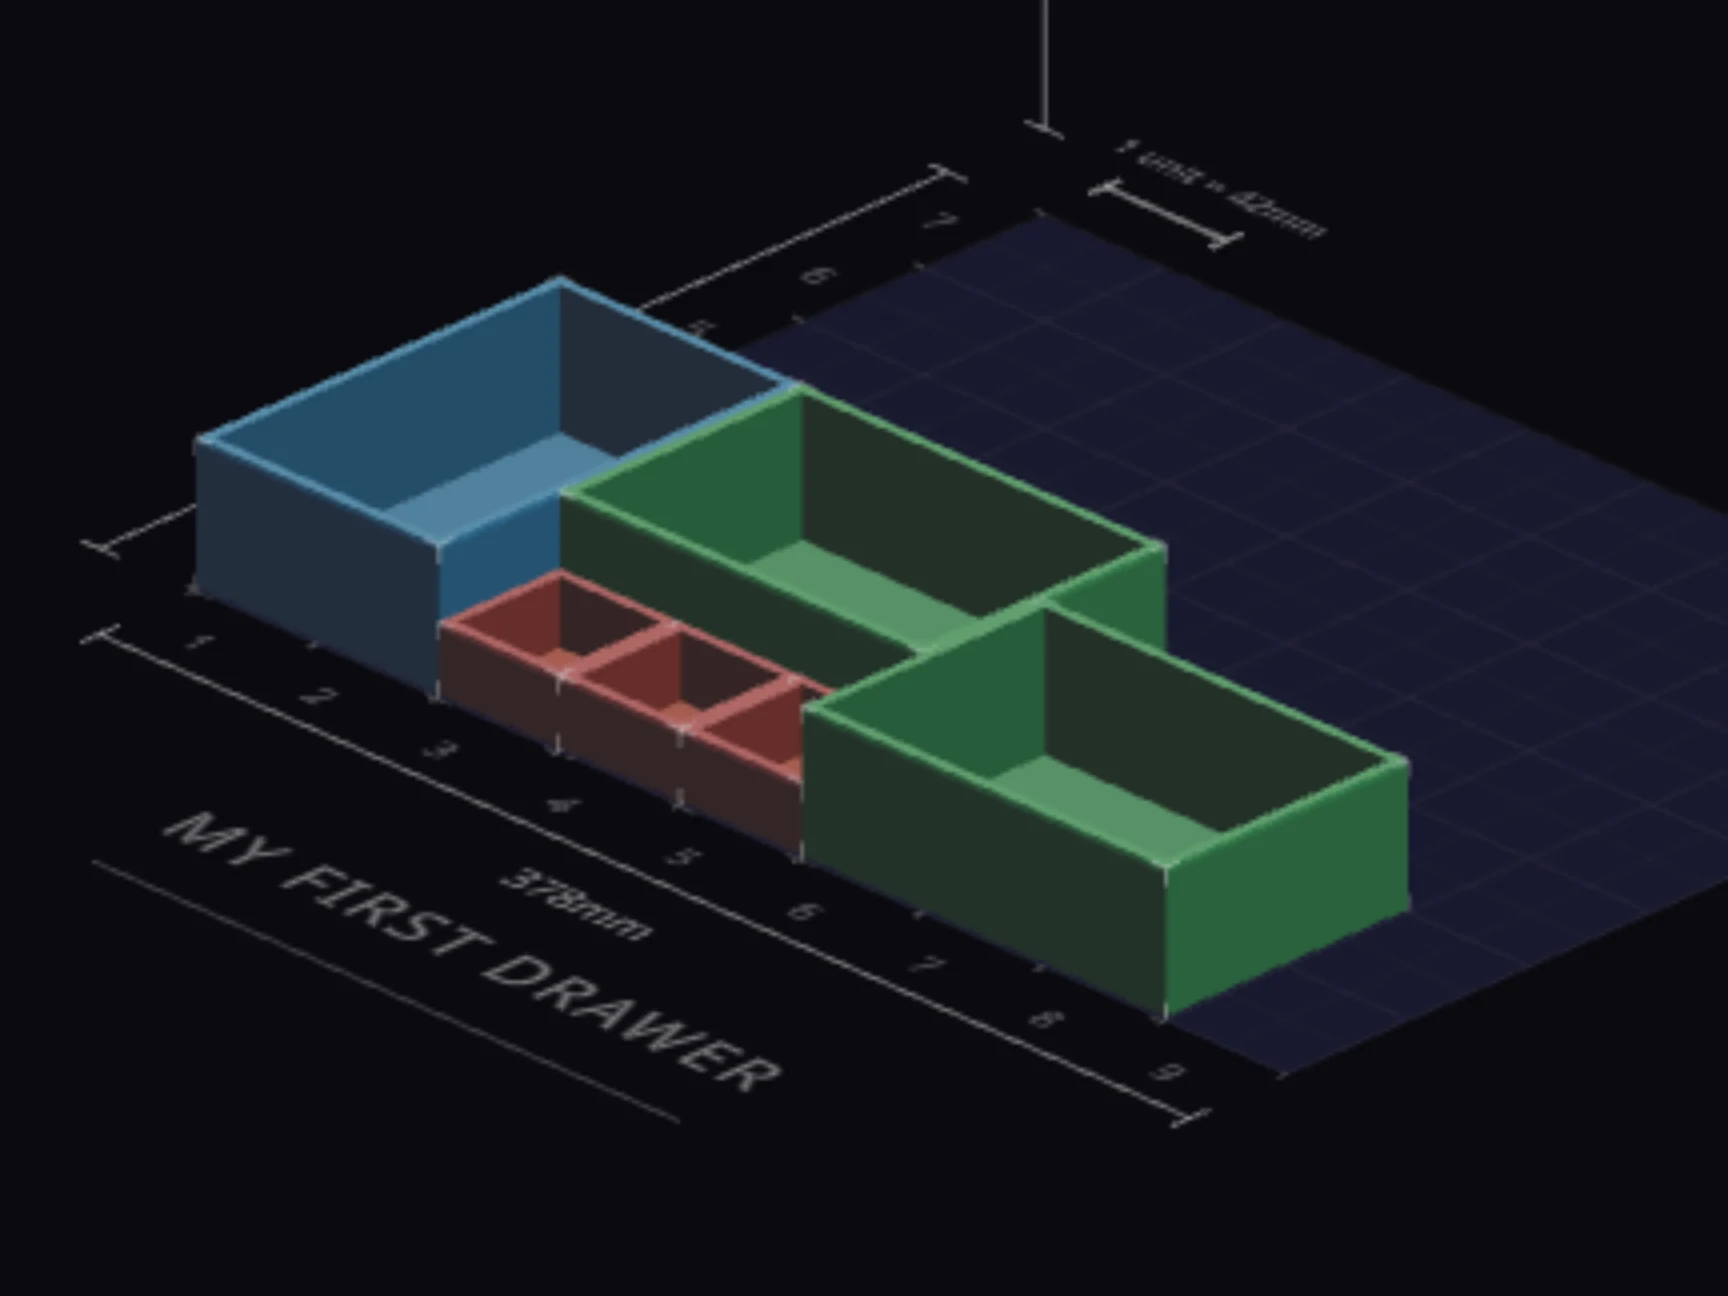
Click 3D View in the toolbar above the grid, or press V. The 3D preview opens next to the grid and shows your bins at their real heights. It's a quick way to spot a bin that is too tall.
Step 6: Read the print list
The Bin list section in the right panel is your print list. It groups the bins that print the same, and it shows how many of each you need. Below the list, a summary estimates the filament, the print time and the cost.
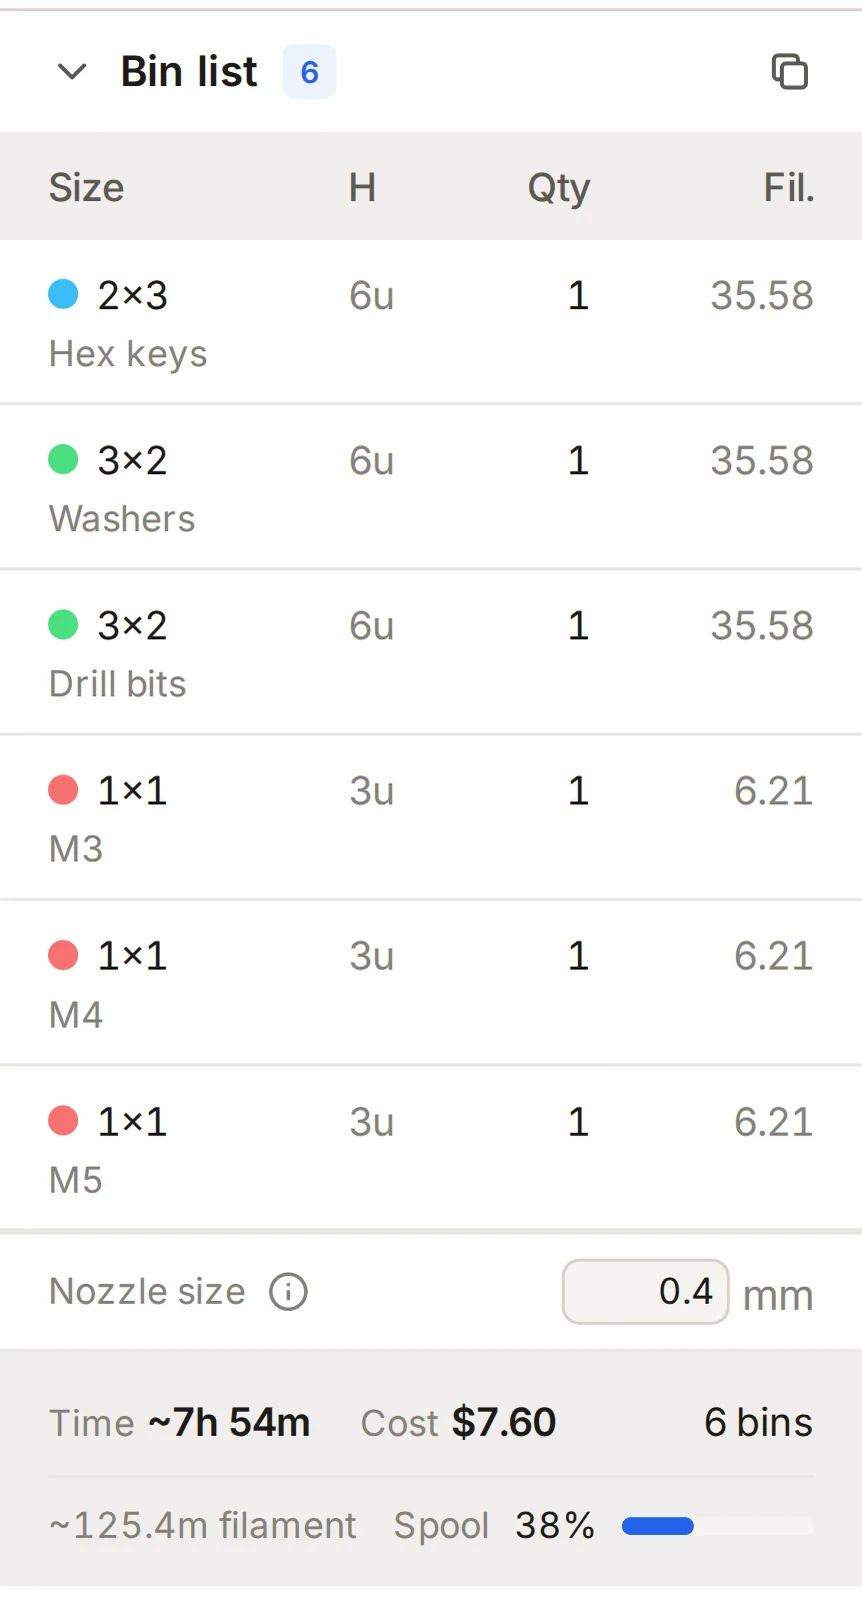
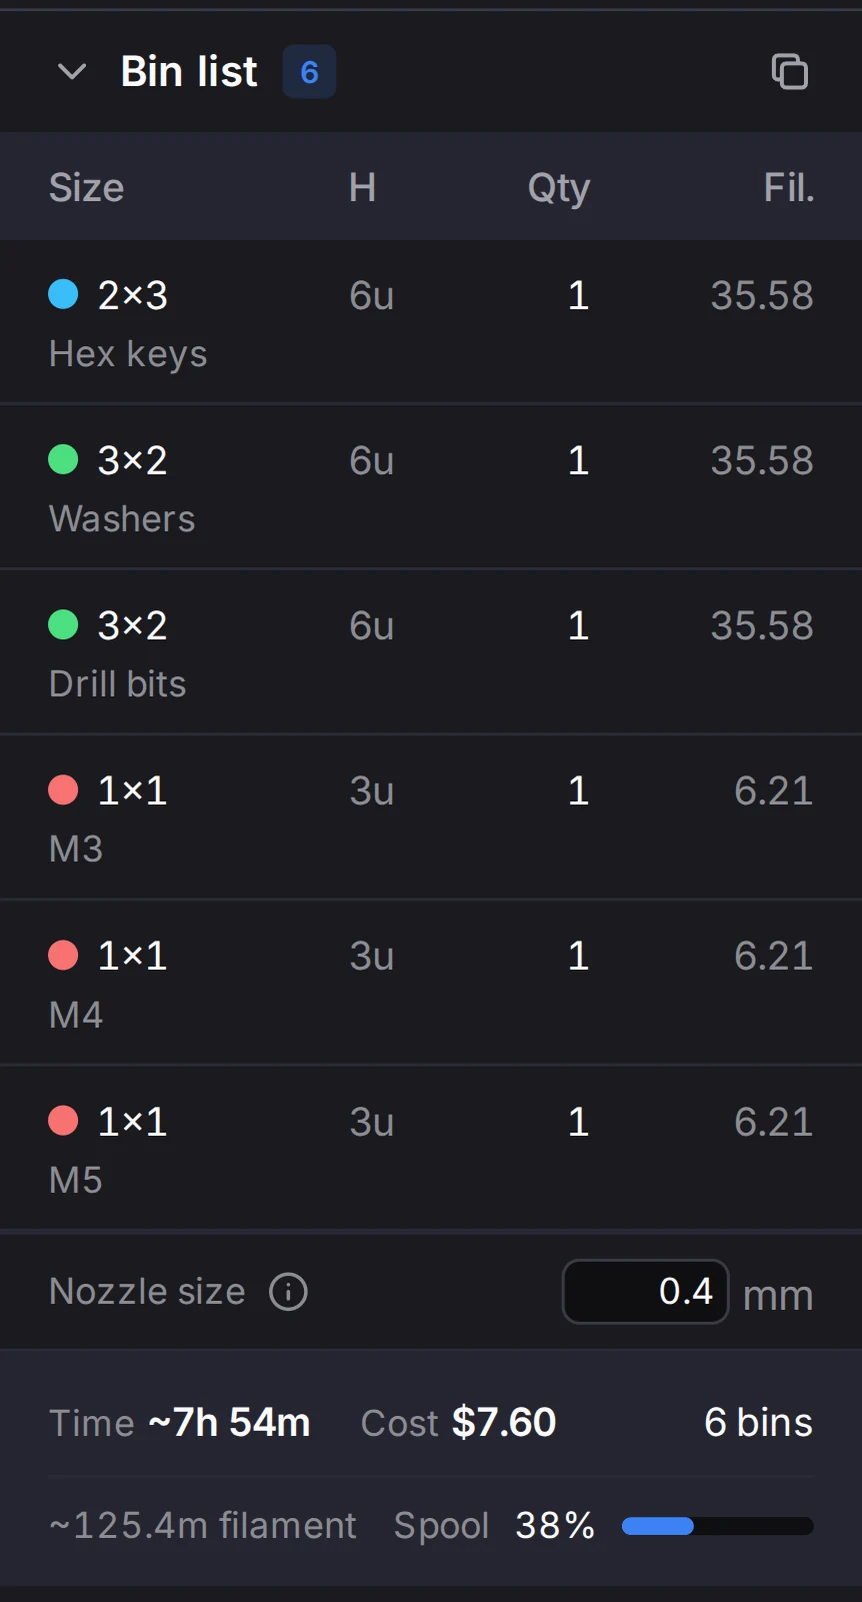
- To paste the list into a spreadsheet, click Copy bin list as TSV (the copy icon in the list header).
- To print a paper plan of the drawer, click Print in the header.
Step 7: Get the print files
A bin on the grid has no print file until you link it to a saved design. Here's how to make one:
- Select a bin on the grid. In the right panel, under Linked design, click Create.
- A window titled Create design from bin opens. Type a name, or click Use bin label.
- Click Create & open designer. The bin designer opens with a new design at the size of the bin. The Layout Tool saves the design and links it to the bin for you.
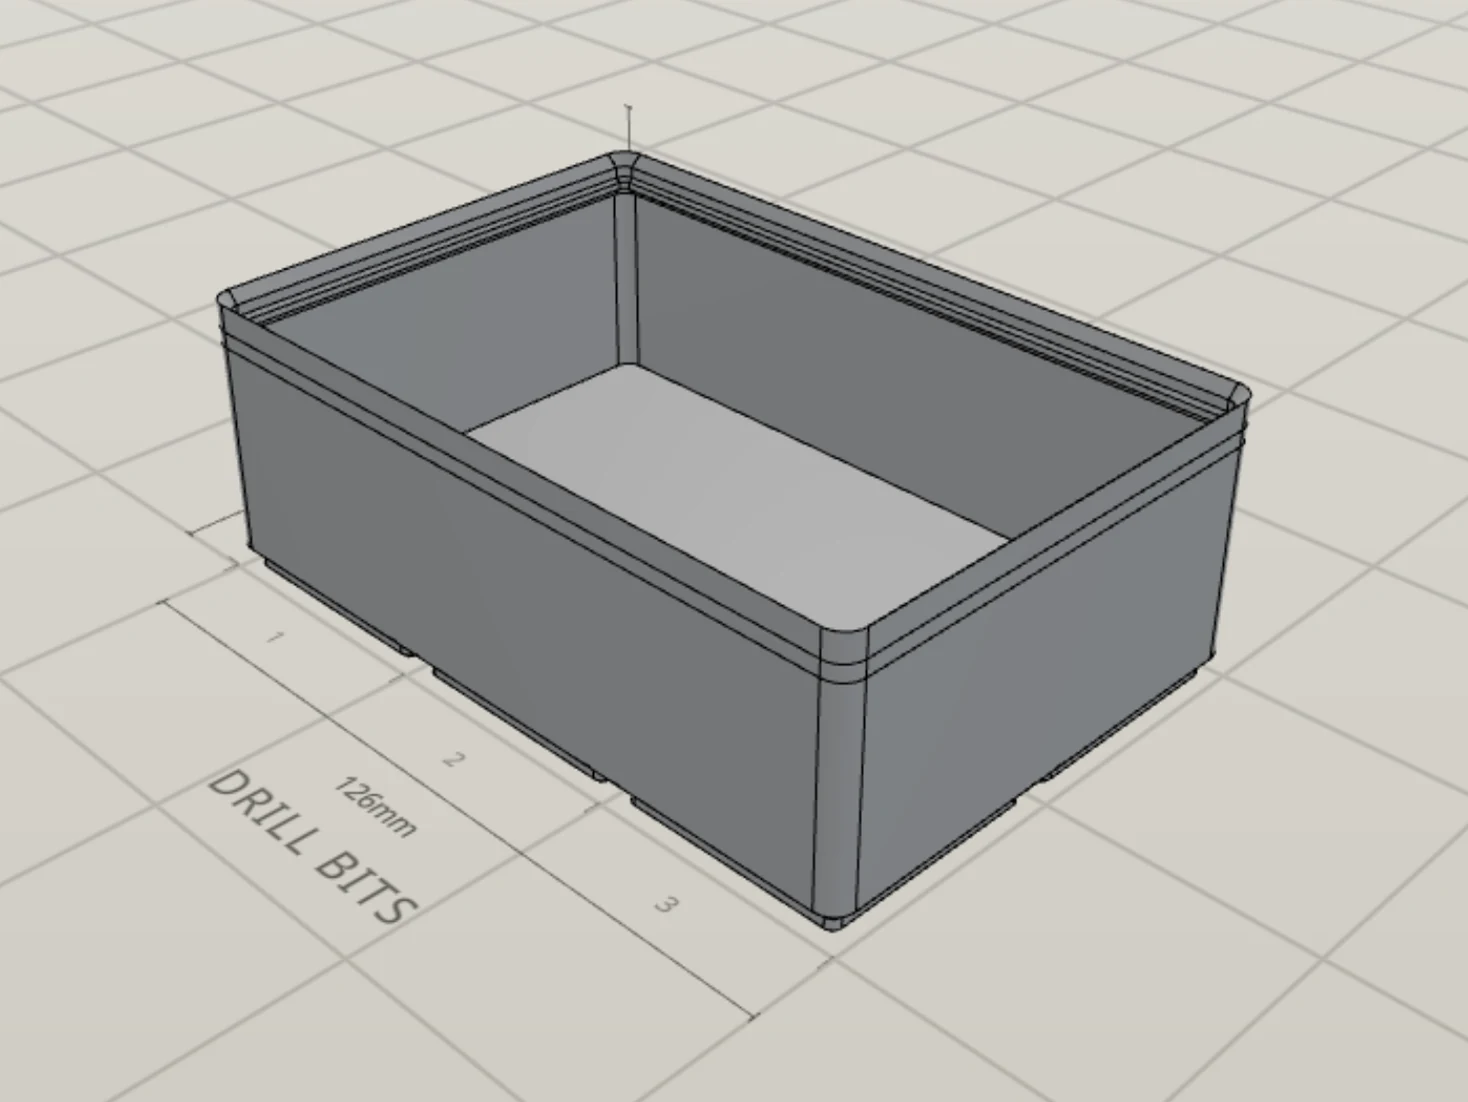
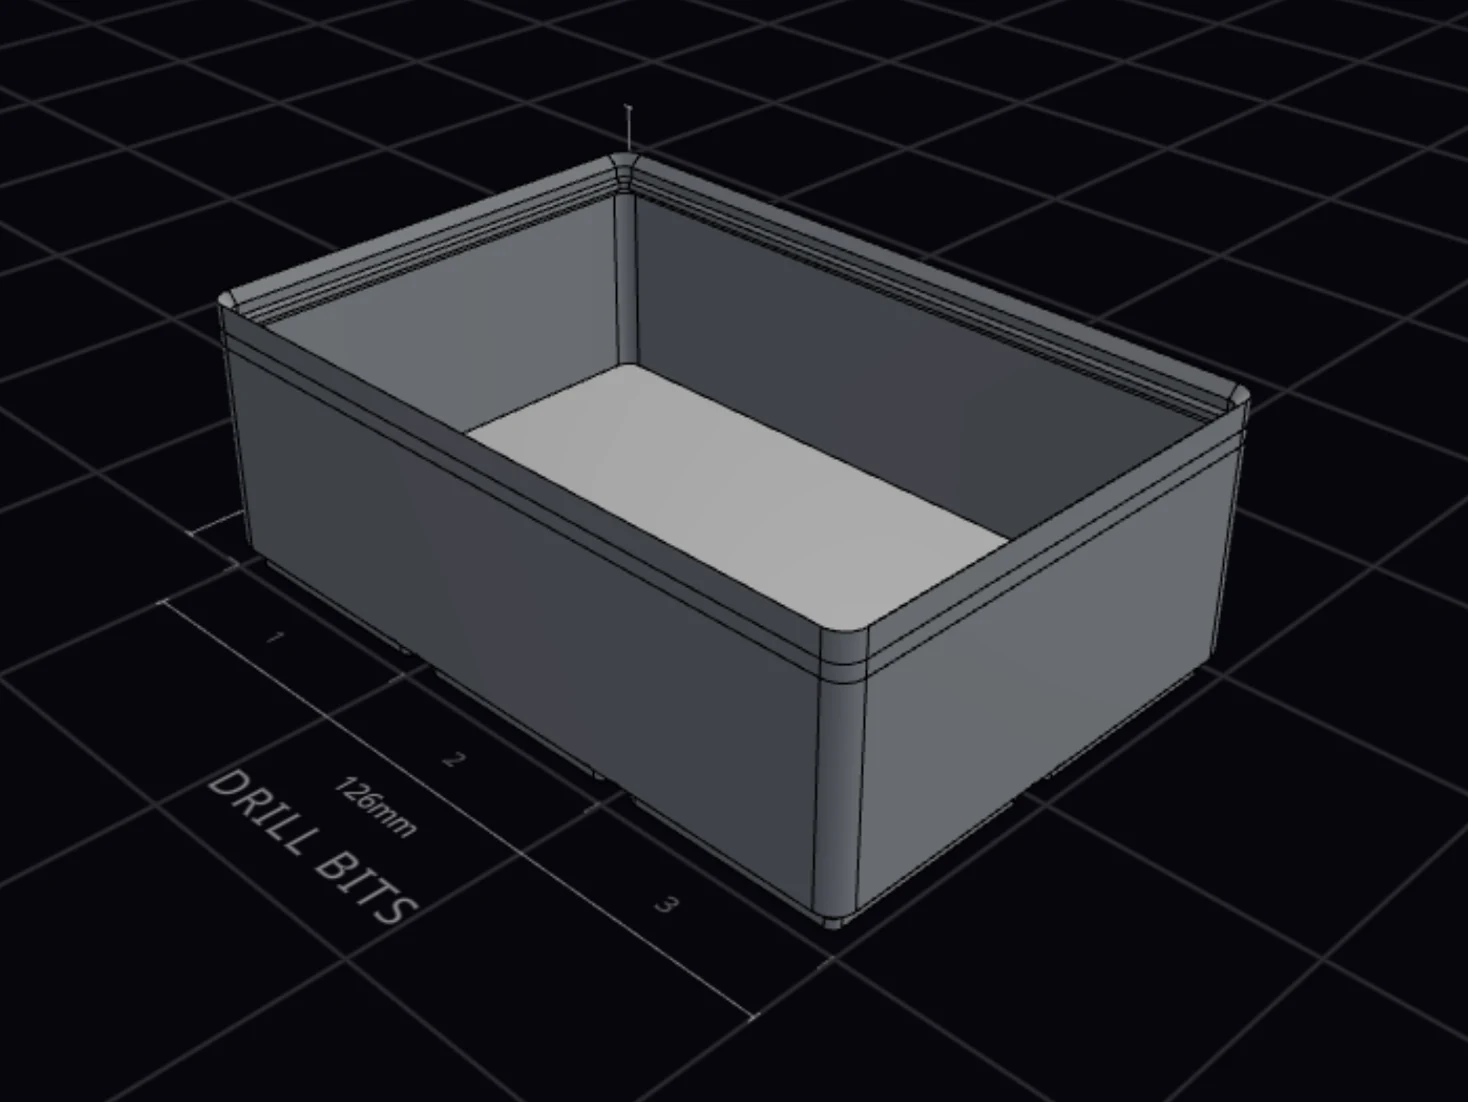
- Click Layout in the tool switcher to go back to the layout editor.
- Click Export in the header, then click Download ZIP.
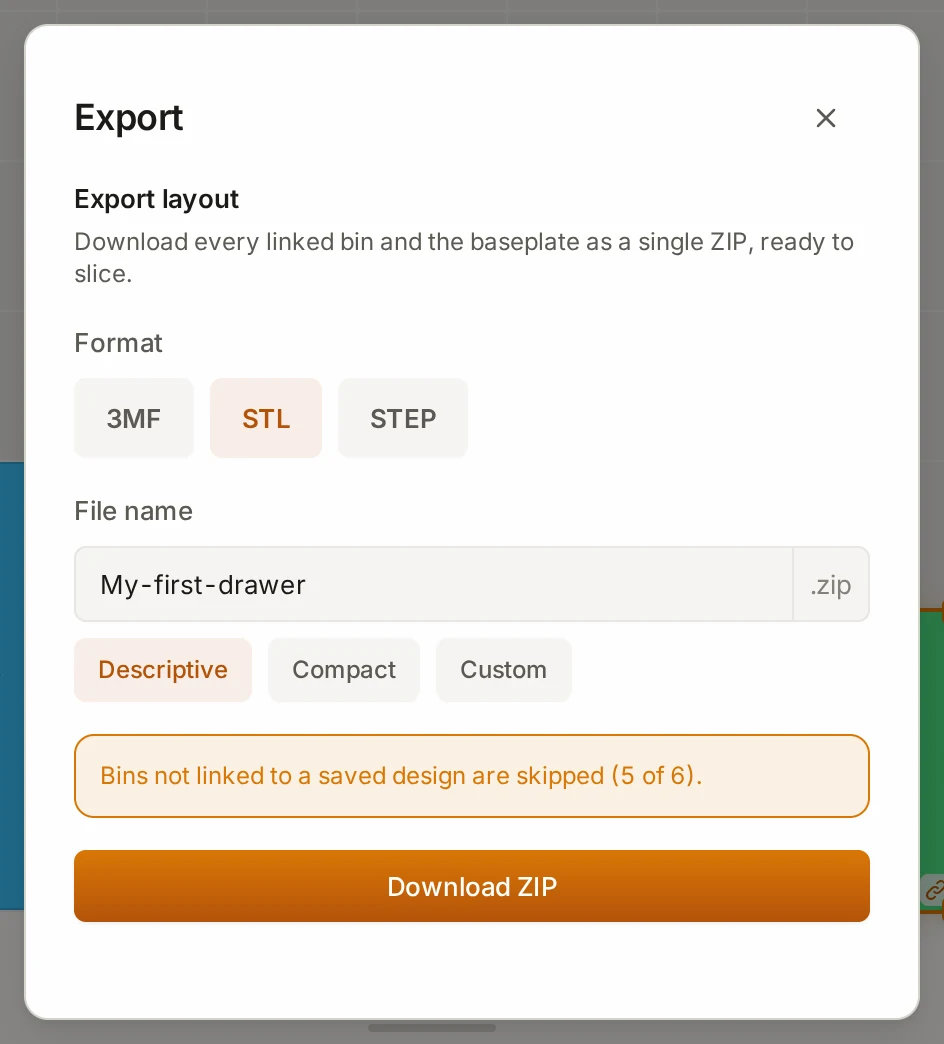
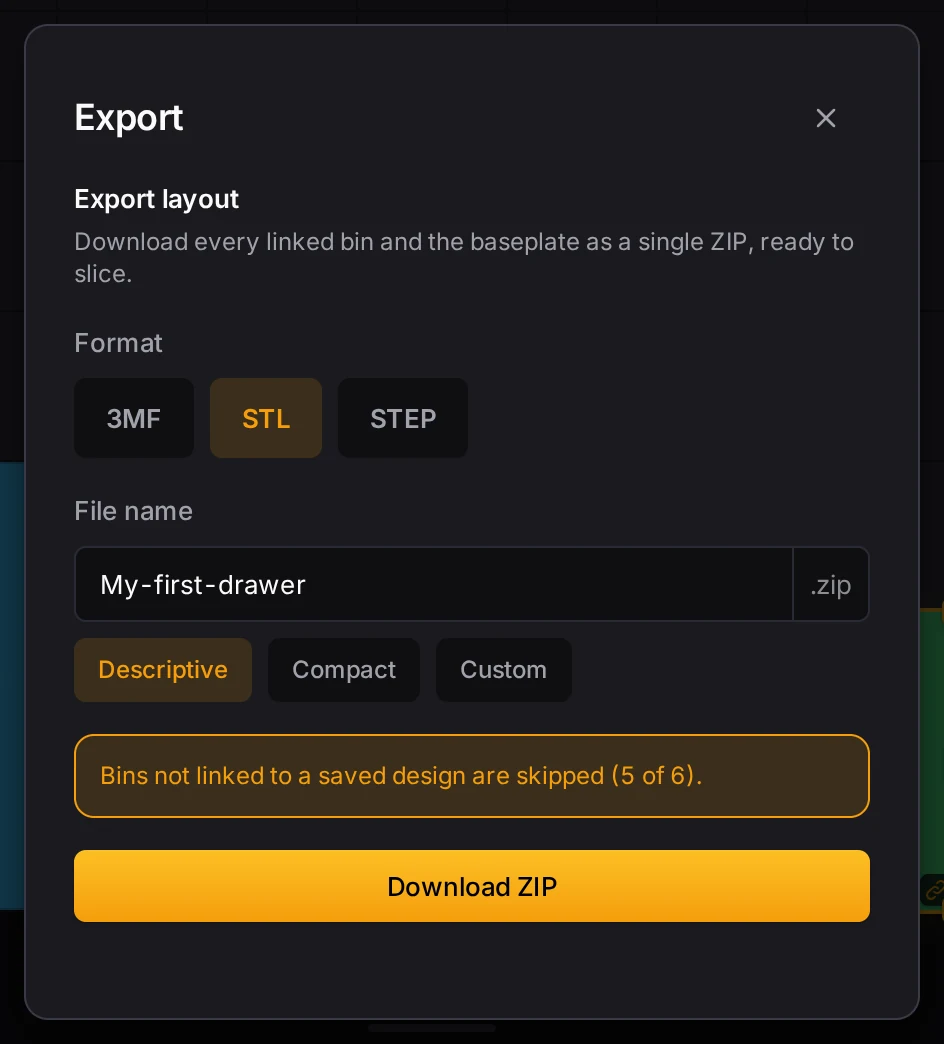
The ZIP file holds each linked bin and the baseplate for the drawer. The export skips bins without a linked design and tells you how many it skipped. Design your first bin shows what you can change in the design.
TIP
Print one bin before you print twenty. A single test bin tells you if the fit and your print settings are right.
Want the draw hint back? Click Settings in the header, then click Reset onboarding at the bottom of the window.
Next steps
- Design your first bin: add compartments and a label tab to the design that you linked
- Make your first baseplate: make the plate for this drawer
- Place and edit bins: all the ways to draw, move and resize bins
- The print list and ZIP export: what each column and file in the export means
- A screw and small-parts drawer: a full drawer of labeled bins, from tape measure to print