
Split for your print bed
Most drawers are bigger than a print bed. That's fine. The baseplate generator cuts a big plate into pieces that each fit your printer, and it can add connectors to lock them together. Here's how to control where the plate splits and how the pieces join.
Set your print bed size
- In the baseplate generator, open Physical units.
- Type your bed size in Print bed size. The default is 256 mm.
- Is your bed not square? Click the link button and type the width and the depth.
Any plate that is bigger than the bed splits automatically. The print bed size belongs to the layout, so the bins of the layout use the same value.
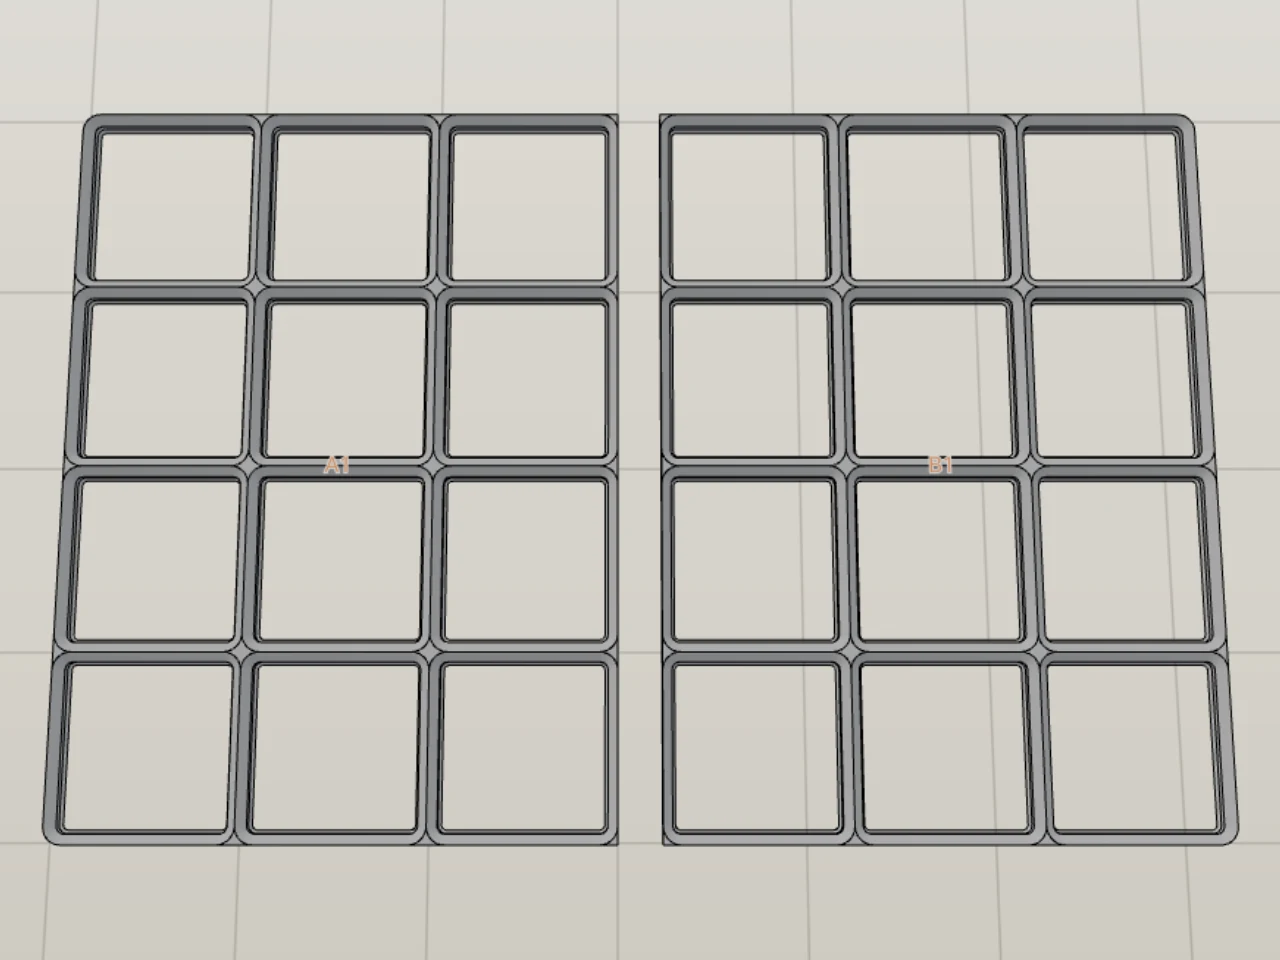
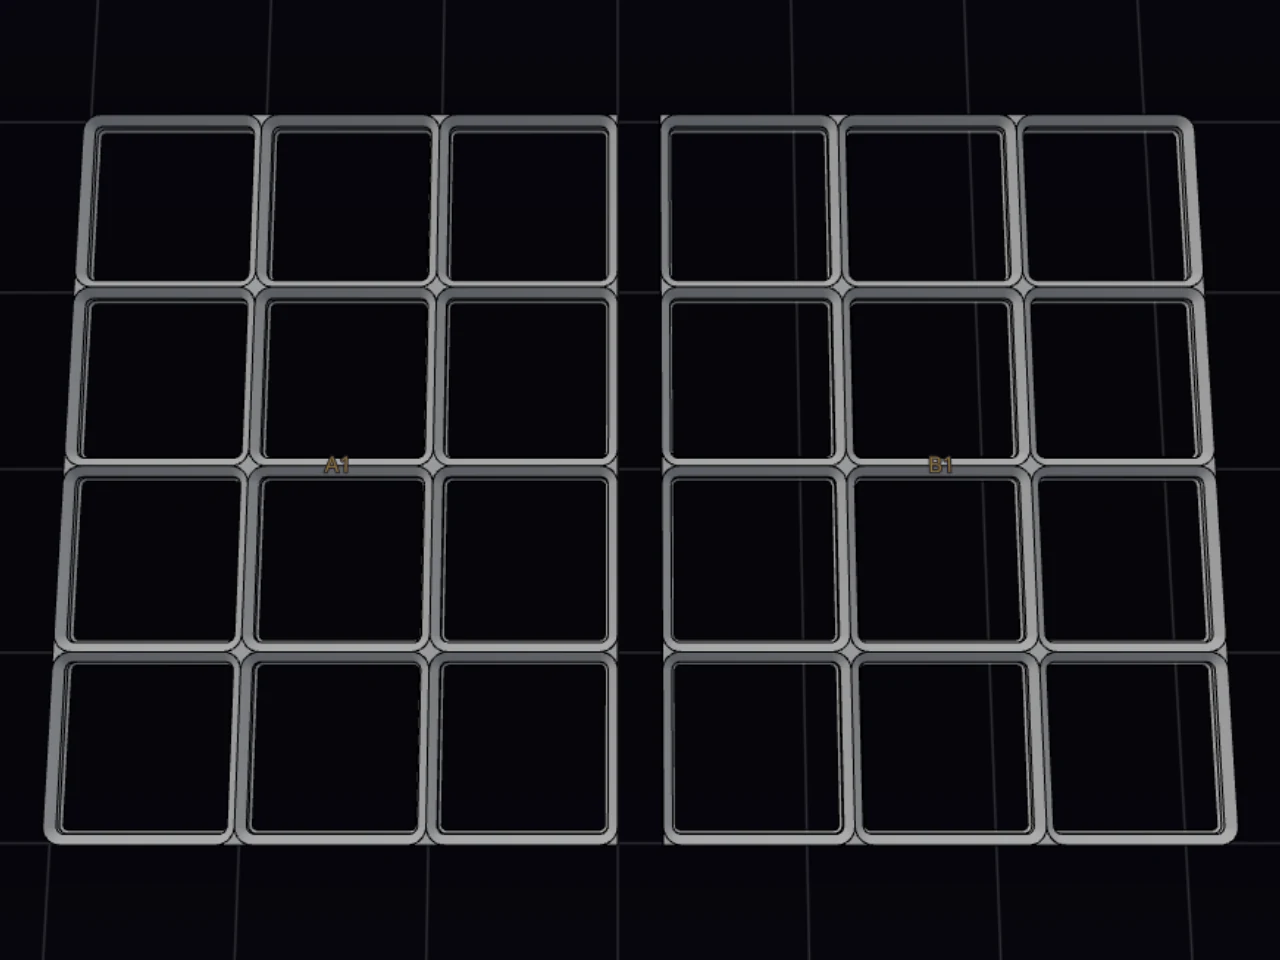
Read the automatic split
When the plate splits, a map of the pieces appears at the bottom of the panel. It shows how many pieces you get, the bed size, and how many build-plate loads they take.
The Layout Tool aims for the fewest build-plate loads, not the fewest pieces. So it can pick more, smaller pieces when they pack onto fewer beds. It also counts the connector tongues in the size of each piece, so a piece with a tongue still fits the bed.
Each piece has a label, such as A1 or B2. The letter counts the columns from the left, and the number counts the rows from the front. Hover over a piece in the map to find it in the preview.
If a smaller margin can save pieces, the map tells you how much to remove and from which sides.
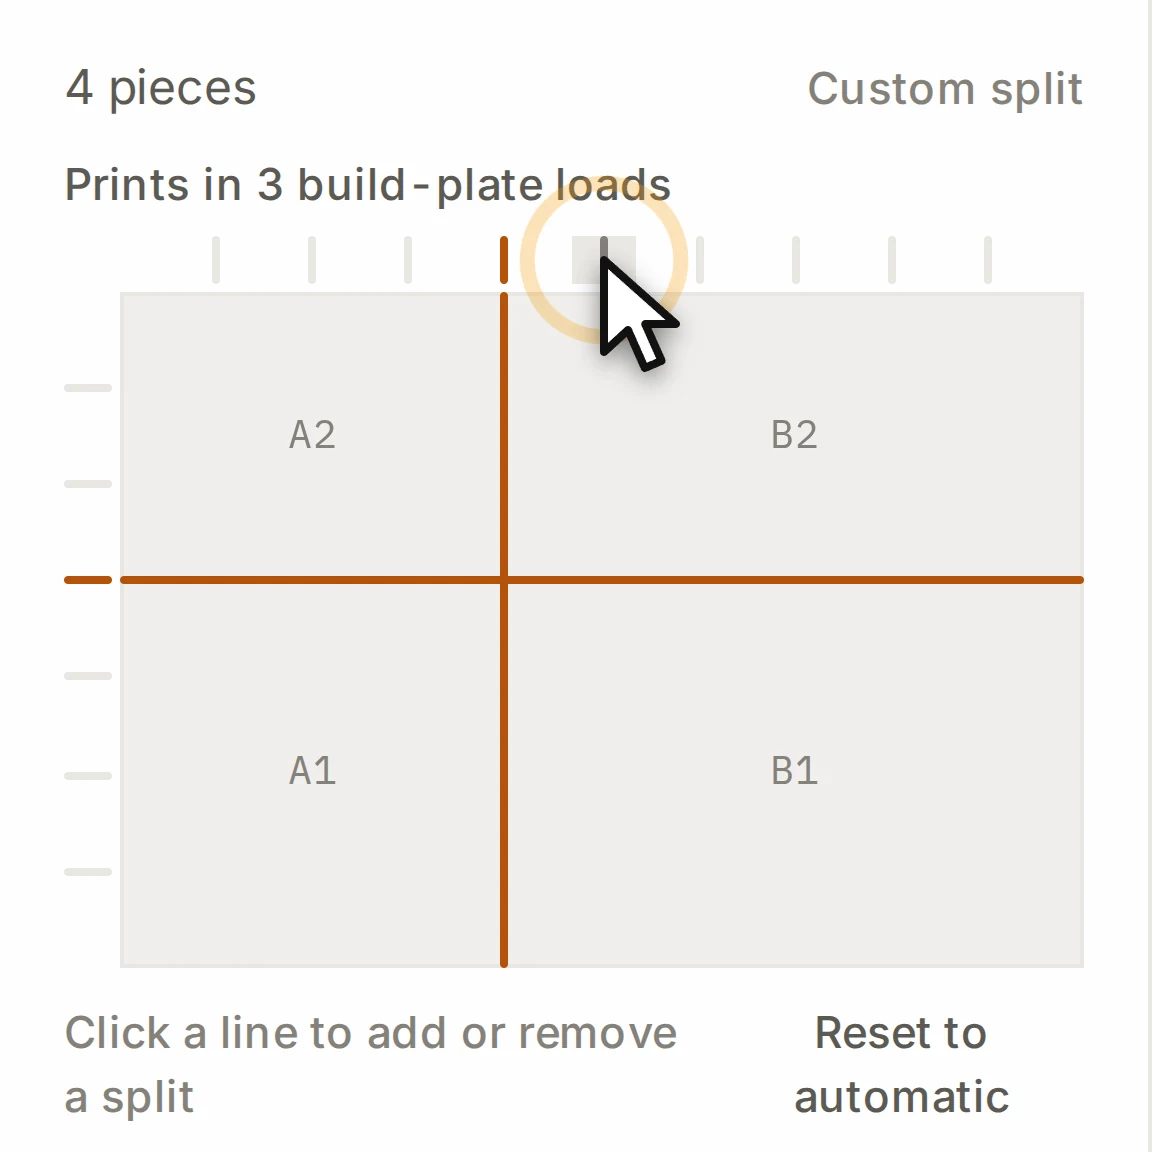
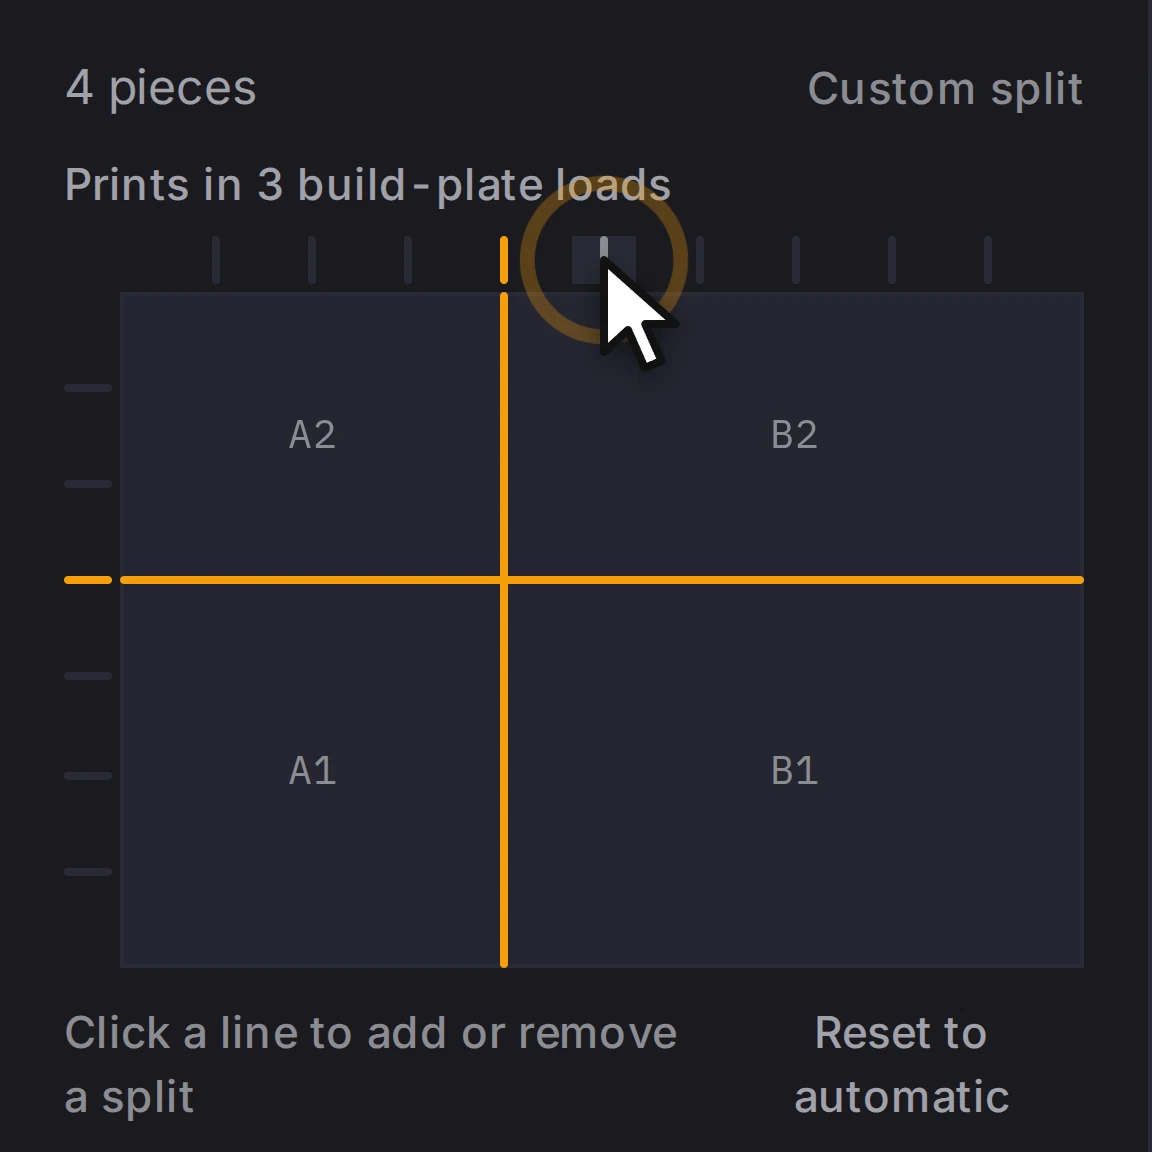
Draw your own split lines
Want a seam somewhere else, for example away from a heavy bin? You decide where the plate breaks.
- Find the rulers above and to the left of the map. Each tick is a line between two grid cells.
- Click a tick to add a split on that line. Click the split again to remove it.
- To go back to the automatic plan, click Reset to automatic.
A split can only go on a line between cells. While your own plan is active, the map shows Custom split. If you change the plate size, the Layout Tool drops your plan and splits the plate automatically again.
WARNING
If a piece of your plan is bigger than the bed, the map shows a warning and you can't export the plate. The bed check doesn't turn a piece by 90°. Add a split, or reset to the automatic plan.
Lock the pieces together
By default, Connectors shows None, and the pieces sit loose next to each other. To join them, pick a style under Connectors in the Base section. Connectors appear there only when the plate splits.
| Style | How it joins |
|---|---|
| None | Pieces sit loose |
| Dovetail | Printed sliding joint |
| Puzzle | Locks pieces together |
| Puzzle key | Separate locking key |
| Snap clip | Snap-in seam clip |
A Puzzle key or a Snap clip is a separate small part. The export includes its file and tells you how many copies to print. You put one into each seam junction from the top, as the print guide shows.
Pick a style, and more settings appear:
- Tolerance changes the connector gap, from −0.3 to +0.3 mm in steps of 0.05 mm. A higher value gives a looser fit.
- Invert connectors swaps the tongue and groove sides on the seams. It works with Dovetail and Puzzle.
- Slots on all edges also cuts slots into the outer edges, so each piece can key onto a plate that you print later. It works with Puzzle key and Snap clip. Edges with a margin get no slots.
- Fewer unique parts makes opposite pieces the same shape, so the print guide can group them. This works only when opposite margins are equal.
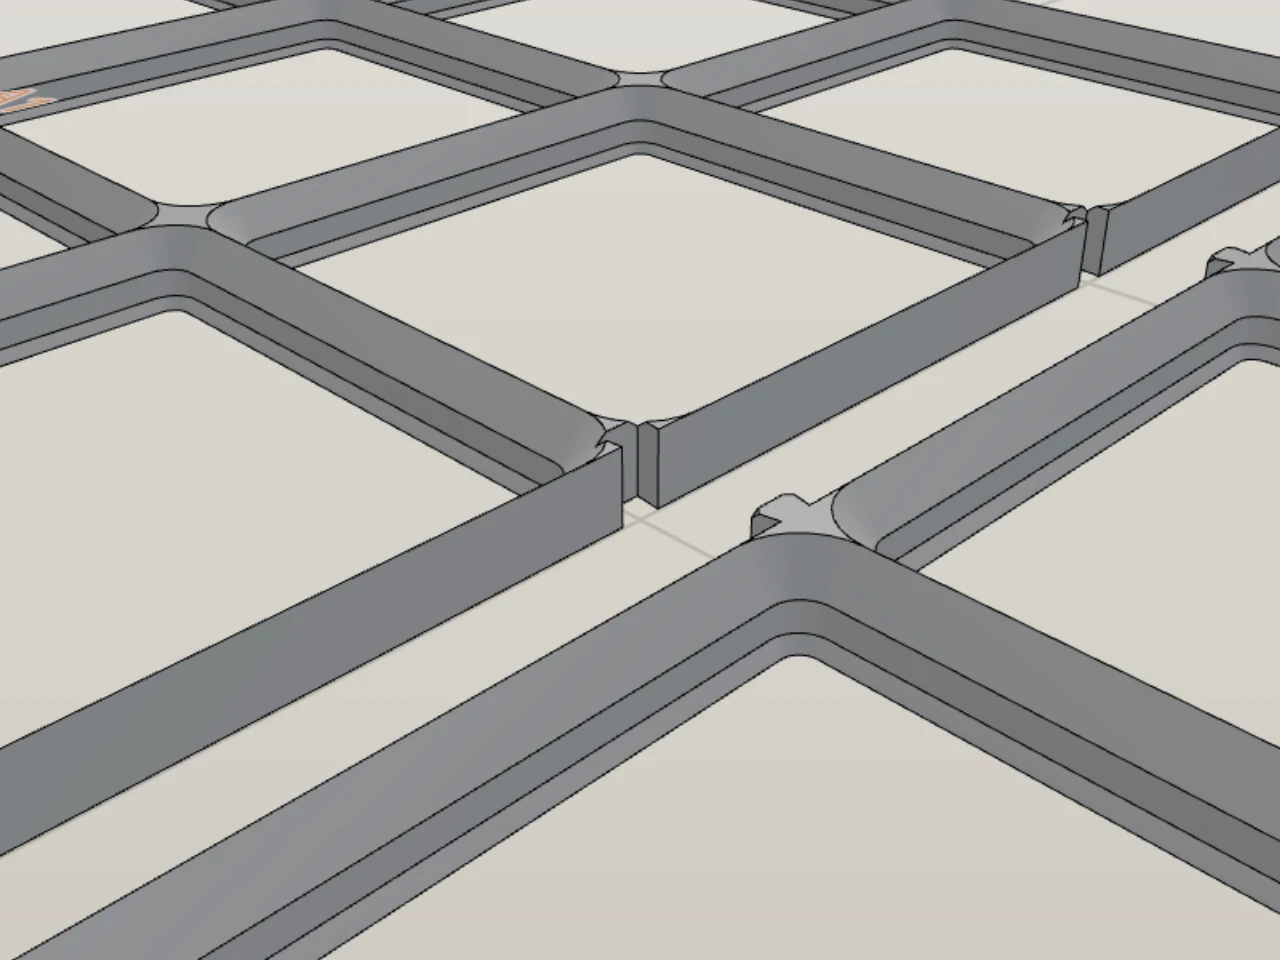
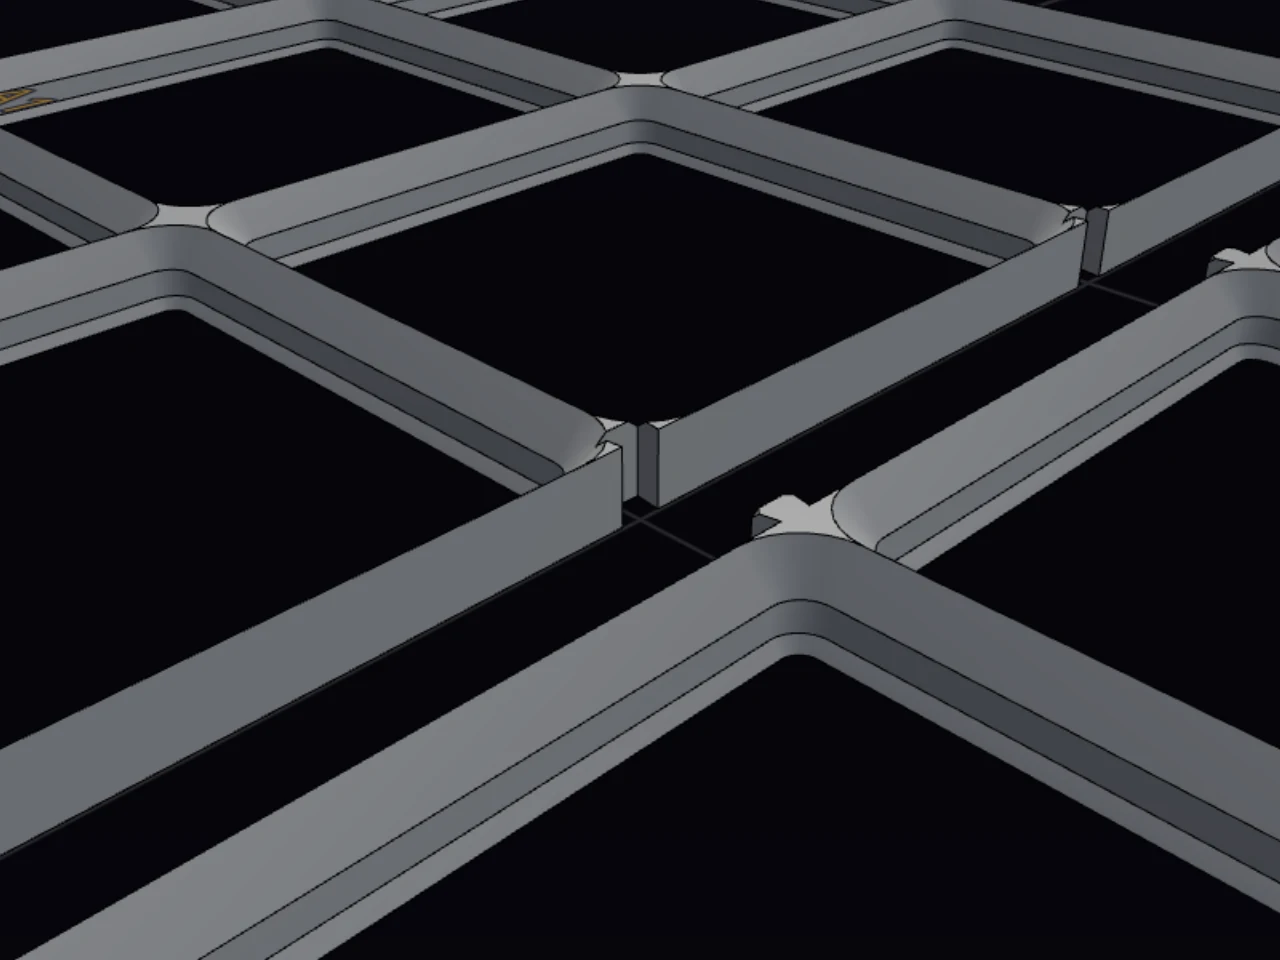
A Snap clip needs a plate that is tall enough. A low-profile plate without magnet holes or a solid floor is too thin for clips. Snap clips also don't work with Vertical stack.
With a Nozzle size above 0.4 mm, the Layout Tool makes the connectors bigger, so that your nozzle can print them.
Test the fit first
Before you print a whole drawer of pieces, print a small test. Click Print fit test below the connector settings. You get your connector style at a range of fit values, and each coupon shows its value on the surface.
- Print the test flat, with no supports. Use the same printer, filament and nozzle as for the plate.
- Find the coupon that fits best.
- Set Tolerance to the value on that coupon.
Detach the margins
Wide margins make big pieces. Turn on Detach margins as separate pieces in Dimensions to print each margin as a separate strip. A margin must be at least 8 mm wide to detach. A bonus: if one strip prints badly, you can print that strip again by itself.
Turn on Add connector to join each strip to the plate with the seam connector. This needs a connector on the seams, of any style except Snap clip. Without it, the strips stay in place by friction. A plate with a custom drawer shape can't detach its margins.
Export a split plate
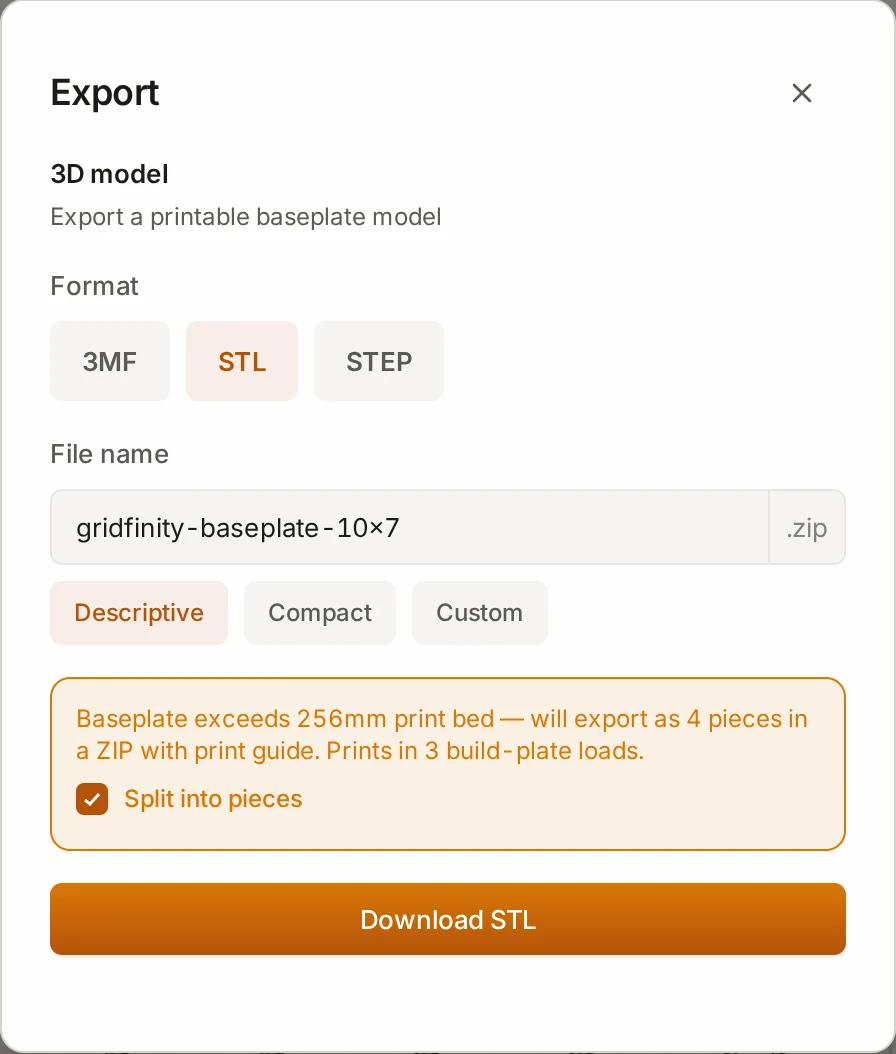
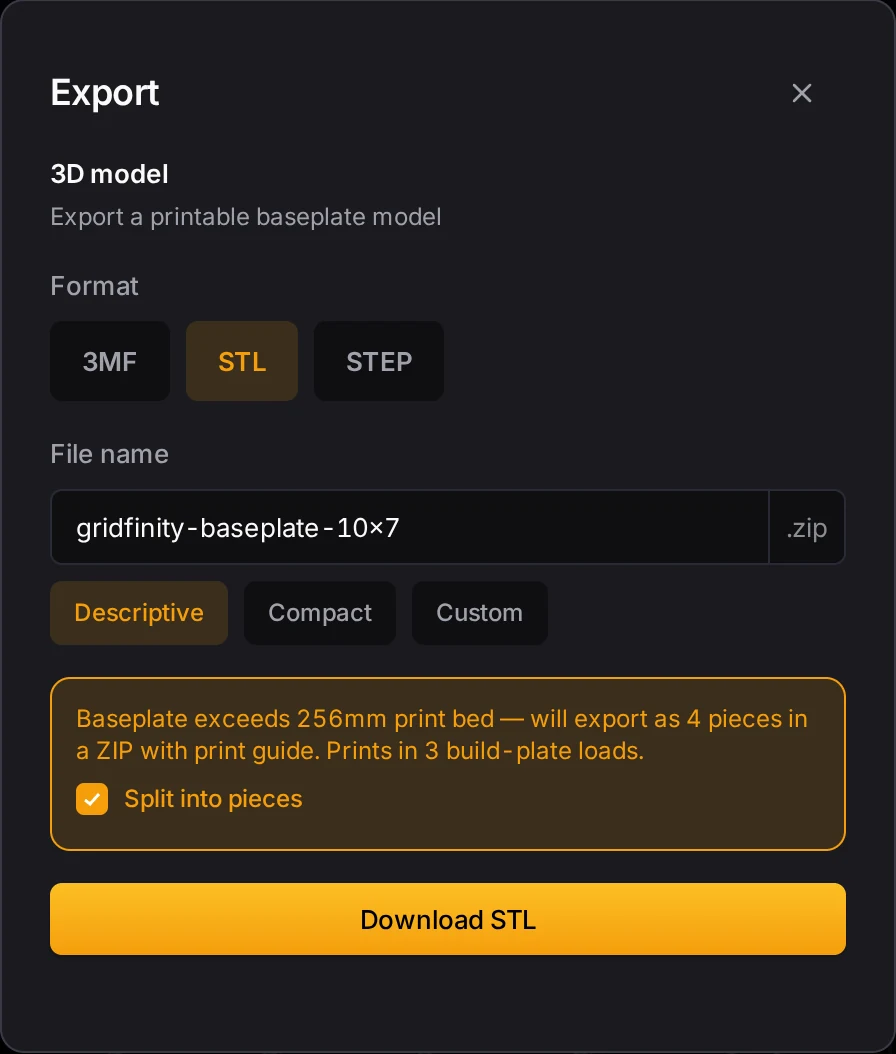
Click Export in the header. The export dialog tells you that the plate is bigger than the bed, and it selects the Split into pieces box for you. Click the download button to get a ZIP with these files:
- One file for each piece, named by its label, such as A1. Print each file once.
print-guide.txt, with the piece sizes, the connector notes and a map of the assembly.assembly-map.png, a top view that shows where each piece goes.
The guide groups pieces with the same shape, so you can print any copy again later. Want one file of the whole plate instead? Clear Split into pieces.
When it goes wrong
The plate splits into more pieces than you expect
Read the notes above the map. If a smaller margin saves pieces, a note tells you how many millimeters to remove, and from which sides. You can also turn on Detach margins as separate pieces, so the margins print as strips. And check that Print bed size matches your printer.
The margins and the connector tongues count toward the size of each piece. A wide margin can make an edge piece too big for the bed. The plan also aims for the fewest build-plate loads, so it can pick more, smaller pieces.
Your own split lines are gone
Draw them again on the map. Change the plate size first, then draw the splits.
Your plan holds splits between particular cells. When the plate size changes, the old plan no longer fits the grid, so the Layout Tool goes back to the automatic split.
You can't pick a snap clip
Read the line under Snap clip. It gives the reason. Then do one of these:
- Turn off Vertical stack. Stacked plates can't hold clips.
- On a low-profile plate, turn on Magnet holes or Solid floor. The clip needs a taller plate.
- Pick a different connector style.
The pieces or the keys are too tight
See The connector keys are too tight. Print the connector fit test first, and set Tolerance from it.
Next steps
- Eco plates and stack printing: stack the pieces into towers and print them in fewer jobs.
- Drawers that are not rectangles: see how a custom shape changes the split.
- Fitting the print bed: learn how bins split for the same bed.
- Fit and tolerances: find the other fit tests in the Layout Tool.