
Swappable label plates
The contents of a drawer change. With swappable label plates, you print a new label, not a new bin. A plate is a small printed tag that clicks into a socket on the bin. The Gridfinity Layout Tool cuts the sockets, makes one plate for each socket, and exports all the plates as one file.
The sockets follow a common click-in label standard, so plates from other makers that follow the same standard fit too.
Turn on label sockets
- In the bin designer, open the Interior group and turn on Label tabs.
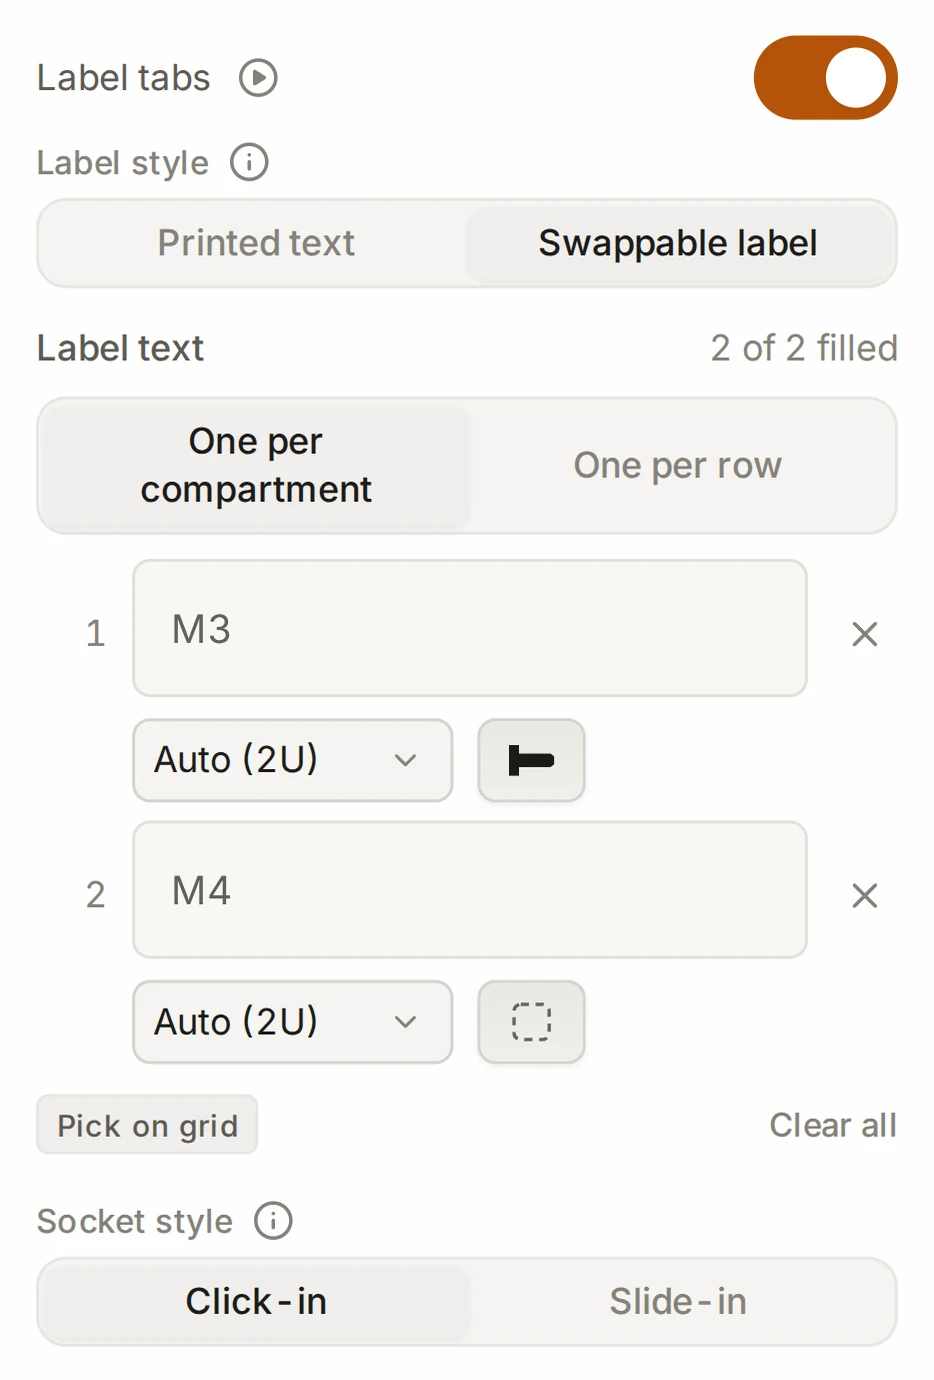
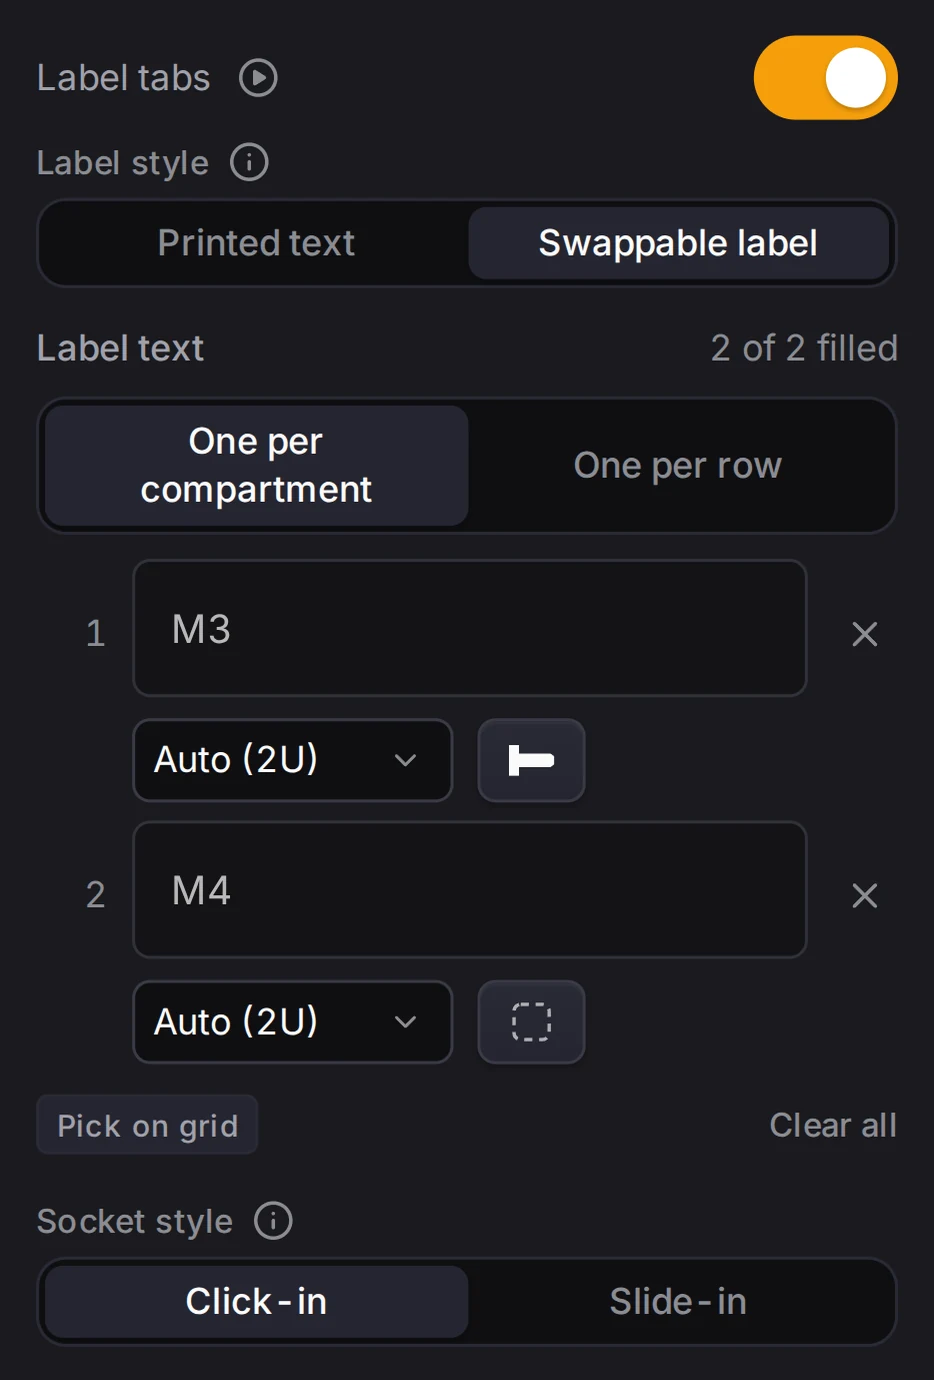
- Under Label style, select Swappable label.
- Type the text for each plate in the Label text list.
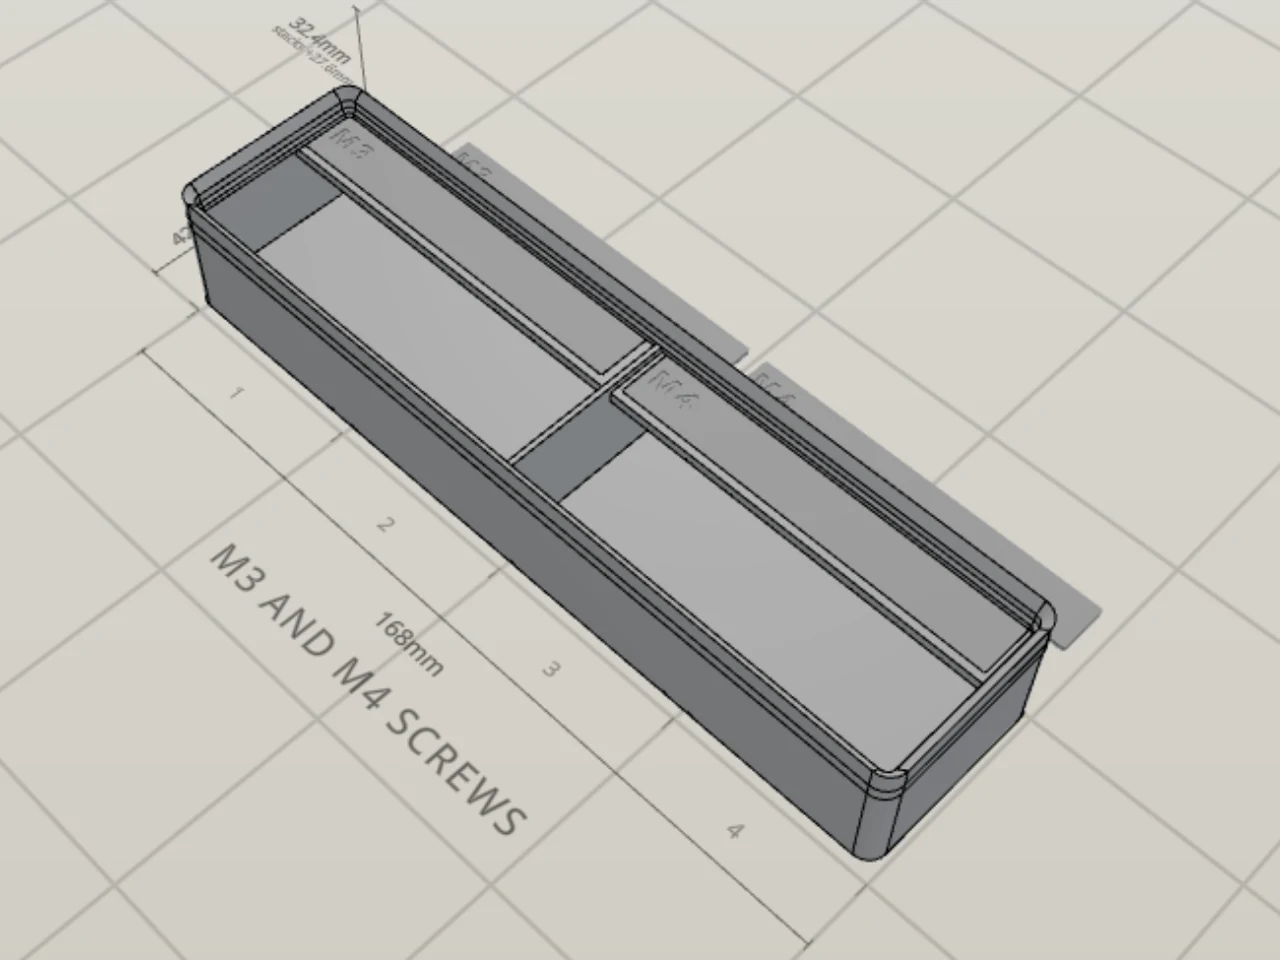
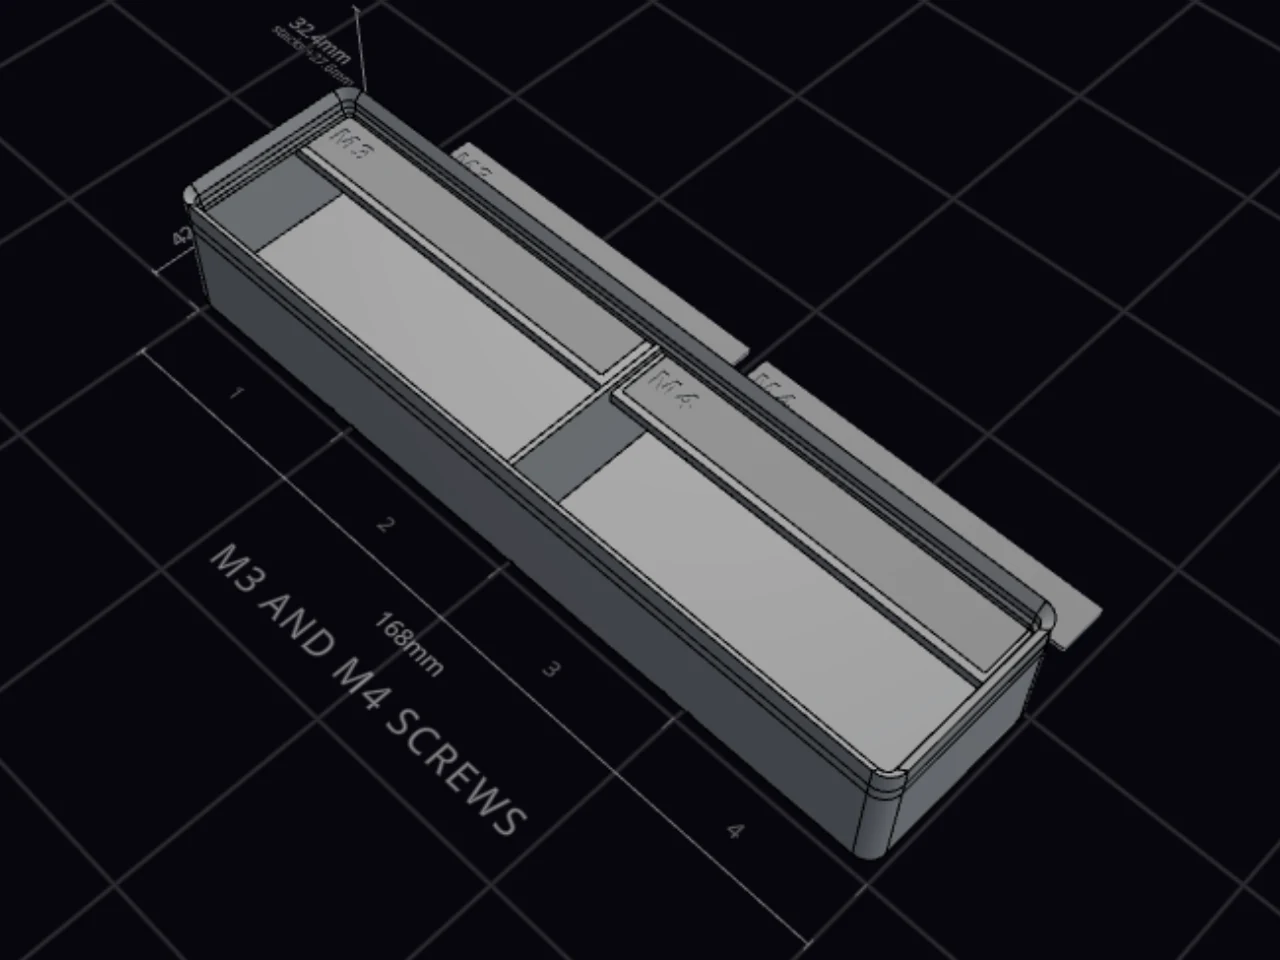
Each label tab then gets a socket in its top face. A socket tab must be at least 14 mm deep, so the tab can get deeper when you switch. If no standard plate fits in the bin, you can't select Swappable label, and the panel tells you that the bin is too narrow.
Pick a socket style
Under Socket style, pick one of two styles. Both take the same plates, so you can change your mind later.
| Style | How the plate goes in |
|---|---|
| Click-in | You press the plate down into the socket, and small ribs hold it. This is the default. |
| Slide-in | The plate slides in from the compartment side, under retaining lips, and stops behind a small bump. |
To lift a click-in plate out again, turn on Removal hole. It cuts a small notch at the socket edge, so a tweezer tip can reach under the plate.
Set the plate width and icon
Plates come in three standard widths. Under each caption, a menu shows the widths that fit that compartment. Auto picks the widest one that fits. Not sure? Keep Auto.
| Width | Plate size |
|---|---|
| 1U | 36 × 11 mm |
| 2U | 78 × 11 mm |
| 3U | 120 × 11 mm |
All plates are 1.2 mm thick. If the compartments are too narrow for one plate each, each row gets one full-width plate.
Next to the width menu, an icon picker adds a small picture to the plate. It holds 45 icons in three groups: Fasteners, Tooling and Kitchen. Type in Search icons to find one, or pick No icon. A full-width row plate carries text only.
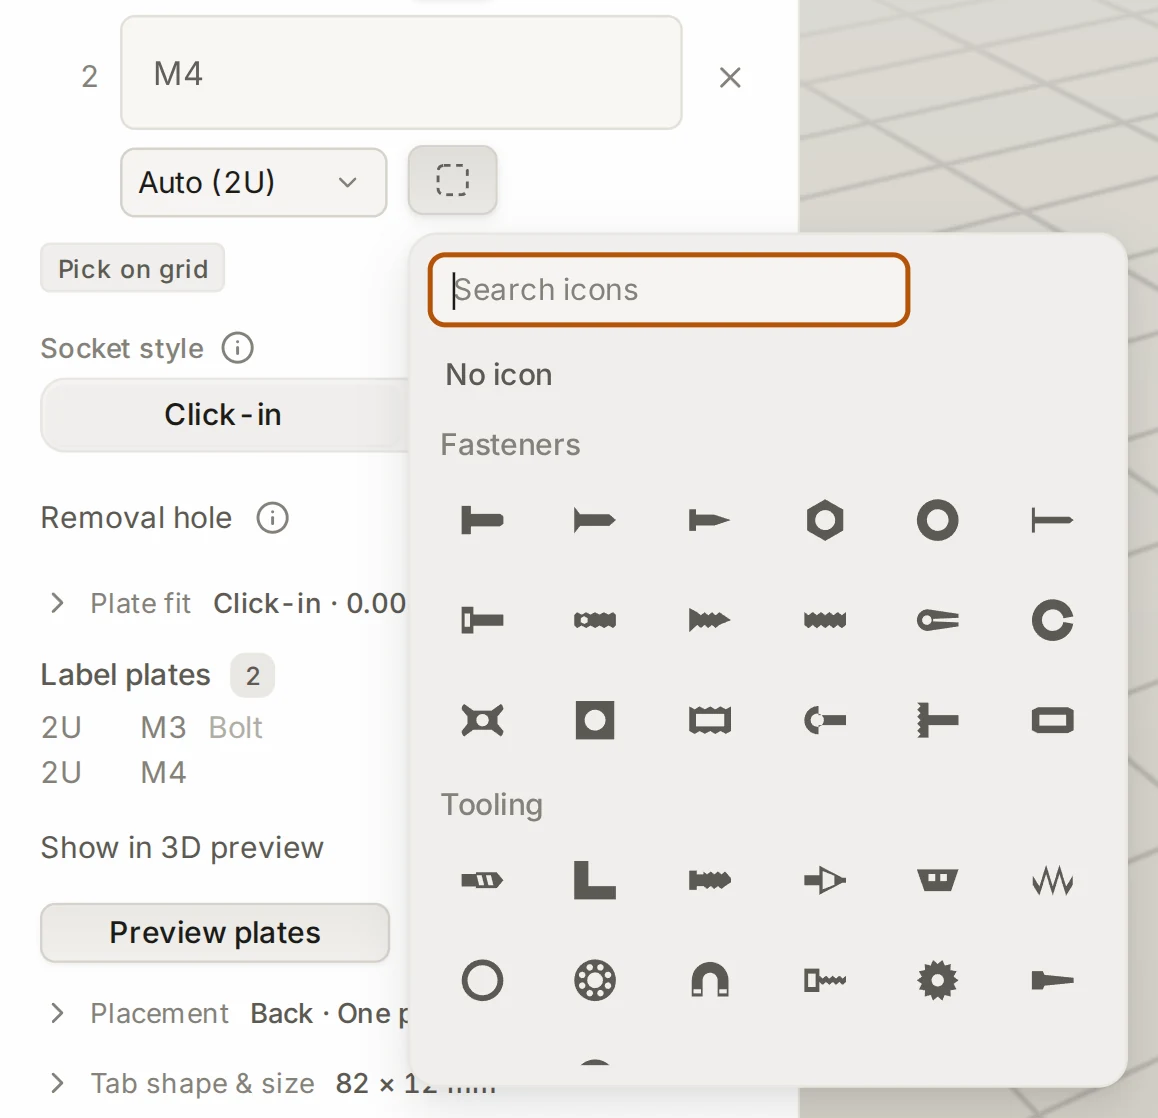
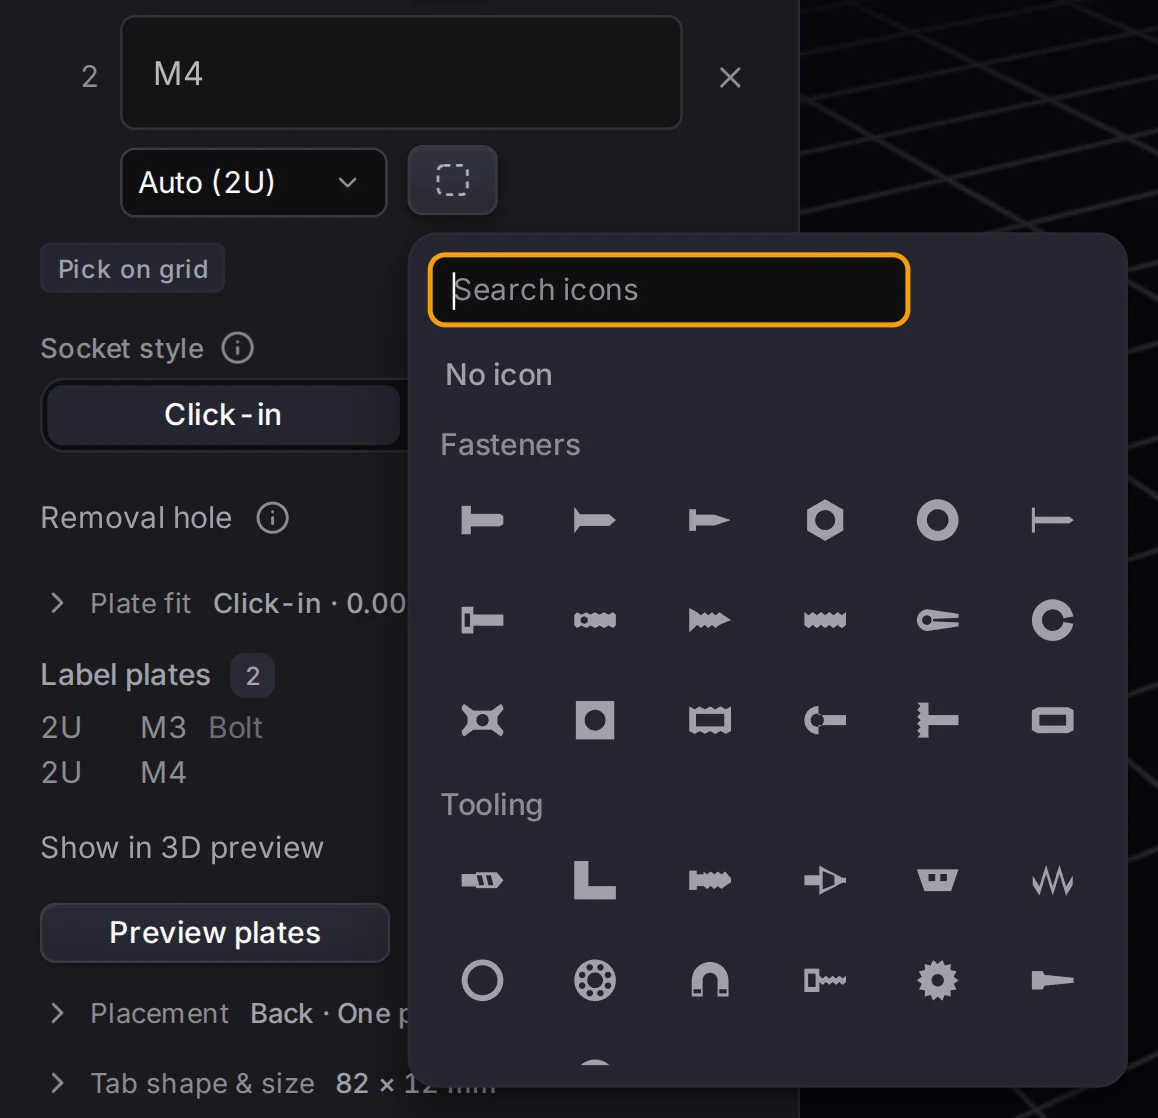
The plate text follows the Typography section and its finish:
- An emboss finish gives raised letters.
- A flat finish gives letters level with the plate.
- Every other finish cuts the letters into the plate.
See Labels and text to change the font and the finish.
Tune the fit for your printer
Every printer prints a little bigger or smaller than the next. A plate that clicks in nicely on one machine can be loose on another. A small fit card sorts this out once, before you print a whole set of plates.
- Open the Plate fit group in the label section.
- Click Print fit test and download the card.
- Print the card flat, without supports, with the nozzle, material and settings that you use for your bins.
- Click the plate on the card into each socket. Find the socket that holds the plate firmly and releases it cleanly.
- Type the value embossed on that socket into Plate fit offset.
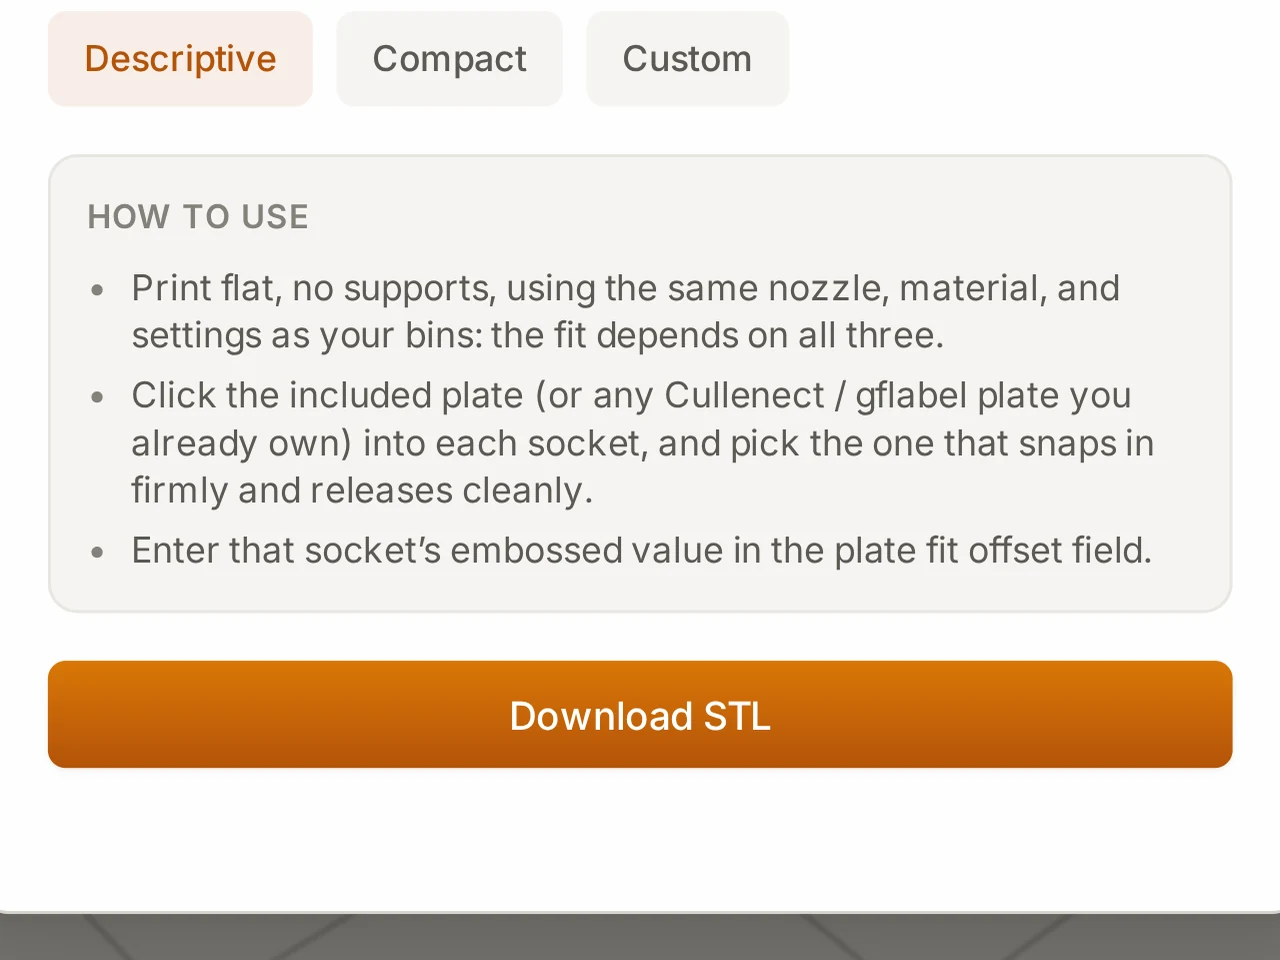
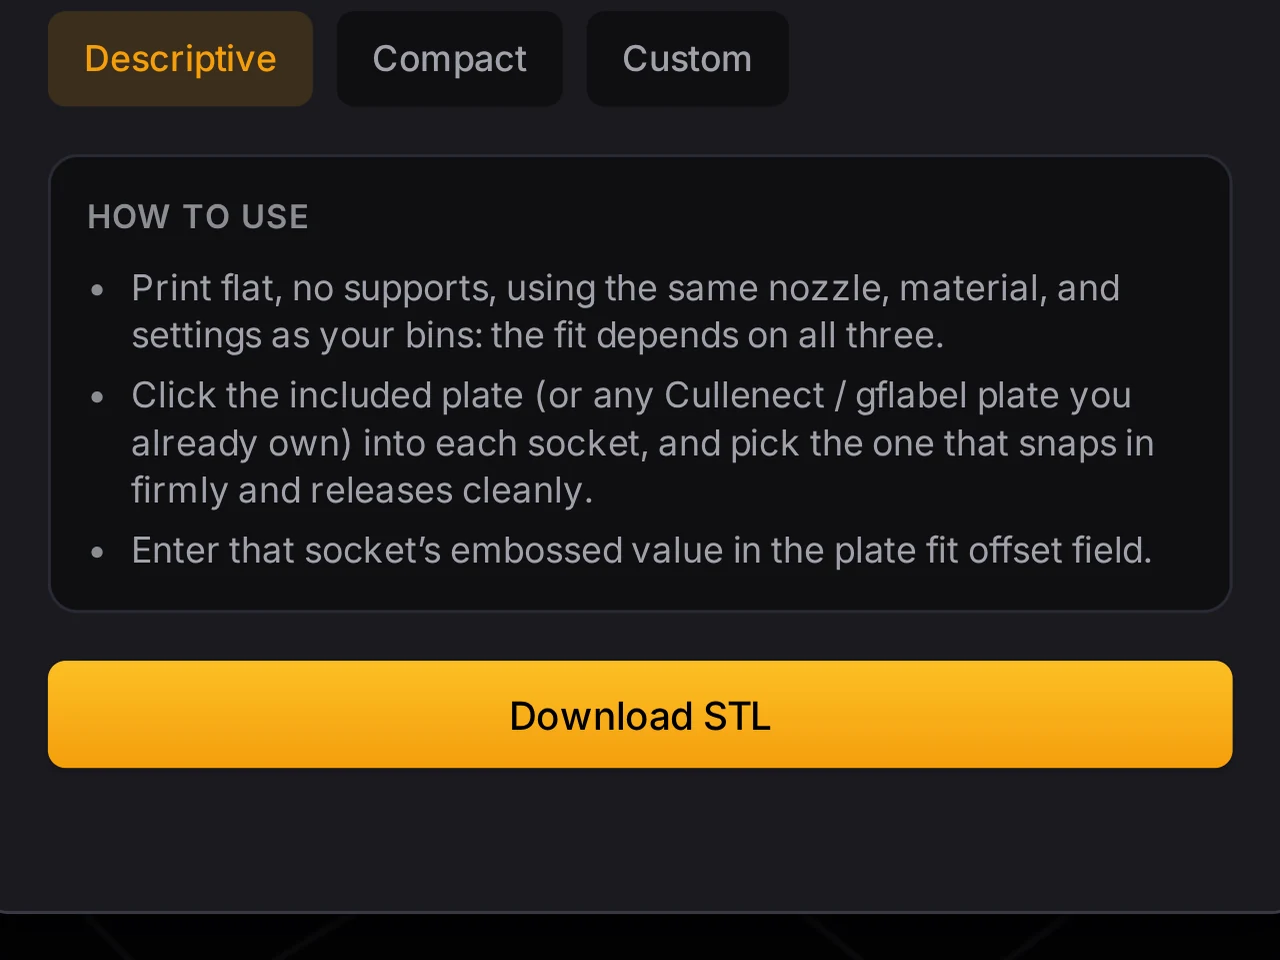
The card has five sockets that step the offset from −0.10 to +0.10 mm. The offset field goes from −0.20 to +0.50 mm. A negative value makes the fit tighter, and a positive value makes it looser. Each design keeps its own offset, so set it in every design that uses label plates. The cutout sockets below use the same value.
Export the plates
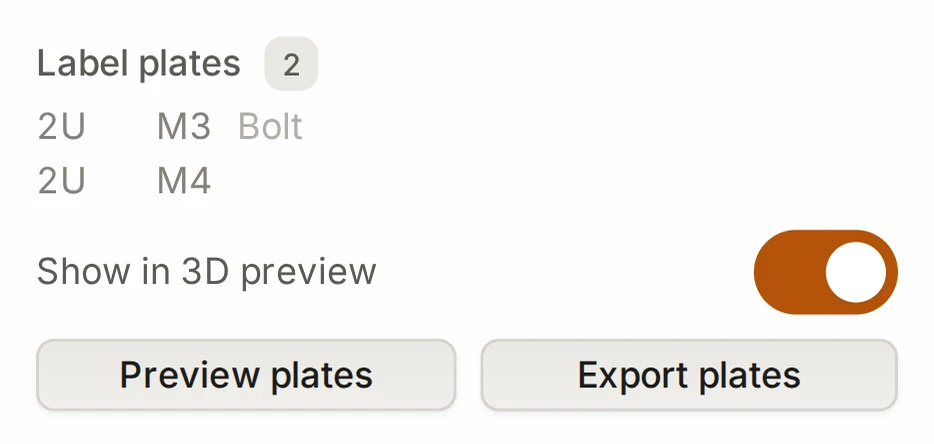
The label section lists every plate under Label plates, with its width, text and icon.
- Turn on Show in 3D preview to see the plates seated in the bin.
- Click Preview plates to turn the plate set around in a small 3D view.
- Click Export plates, pick 3MF, STL or STEP, and download one file with a plate for each socket.
The exported text depth snaps to whole layers. That means one filament change at the right layer gives you two-color labels. With multi-color on, a 3MF file prints the plate in the label tab color and the text in the Text color. See Colors.
A layout export also includes the plates for every bin that has sockets, and the print list shows how many plates to print. See Print list and ZIP export.
Add label slots to the outer walls
A label slot is a vertical slot in an outer wall that takes a 1U plate. The plate drops in from the top and shows through a window in the wall. Add label slots gives the steps and the limits. The plates for the slots appear in a plate list with the same export buttons.
Add sockets on cutout bins
A bin with custom cutouts can carry label sockets too, right beside each cutout.
- Open the cutout editor and select a cutout.
- Open the Label section and select Socket.
- Type the plate text.
- Set the Plate width, the Icon and the Plate orientation.
The socket goes at the label position beside the cutout, in solid material. If there's no room, the panel tells you to move the cutout or try a different position. One bin holds up to 32 sockets, and all copies in a repeat share one plate. With no cutout selected, the board settings show the plate count, the plate fit and the export buttons. For the other label options of a cutout, see Add a label.
When it goes wrong
Label sockets won't turn on
Make the bin wider. Even the smallest plate, 1U at 36 mm wide, must fit on a tab.
Sockets come only in the standard plate widths. When no standard plate fits, even one plate across the whole bin, you can't select Swappable label.
The plates fall out, or won't click in
Print the fit card, and type the value of the best socket into Plate fit offset. A negative value makes the fit tighter, and a positive value makes it looser.
Every printer prints a little larger or smaller than the model. Each design keeps its own offset. See Tune the fit for your printer.
No socket shows beside a cutout
Read the message in the label settings of the cutout. Move the cutout, or try another label position or Plate orientation. If the fill is too shallow, lower Top offset or make the bin taller.
A socket needs solid material beside the cutout. One bin holds up to 32 sockets, and the message tells you when you go past that limit.
The plates are not in the bin file
Download them on their own. In the export dialog, use the second download button. Or click Export plates in the label section.
The plates are separate prints, so the bin file never holds them. See Troubleshooting prints.
Next steps
- Labels and text: set the font and finish that the plates use.
- Colors: print the plate text in a second filament.
- The print list and ZIP export: print the plates for a whole drawer at once.
- Fit and tolerances: tune other fits for your printer.