
Labels and text
A label tells you what's in a bin before you open the drawer. You can print text on label tabs, walls, floors and lids. All the text on one bin shares one type style, so a drawer full of bins reads as one tidy set.
Add label tabs
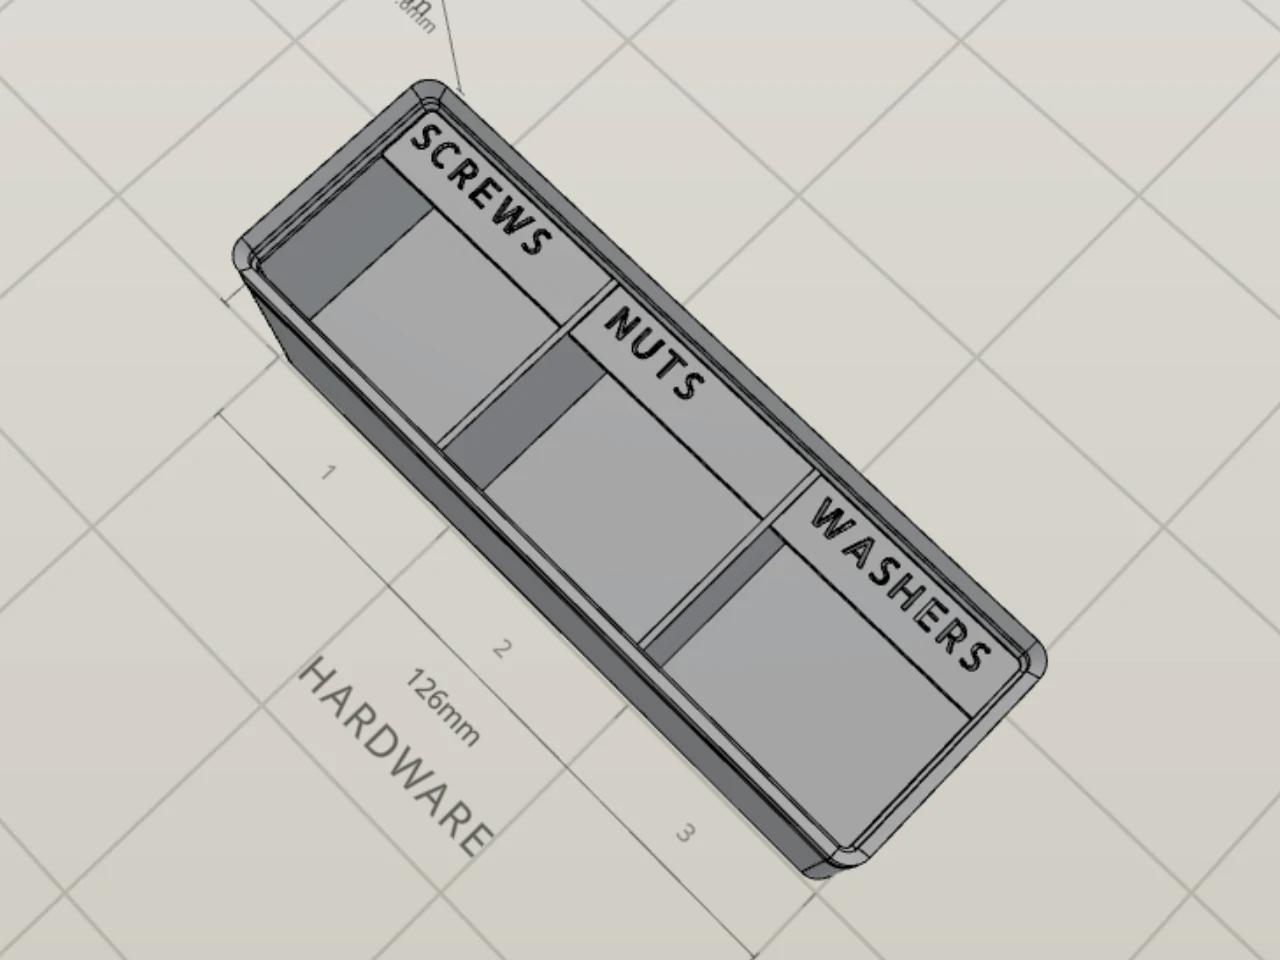
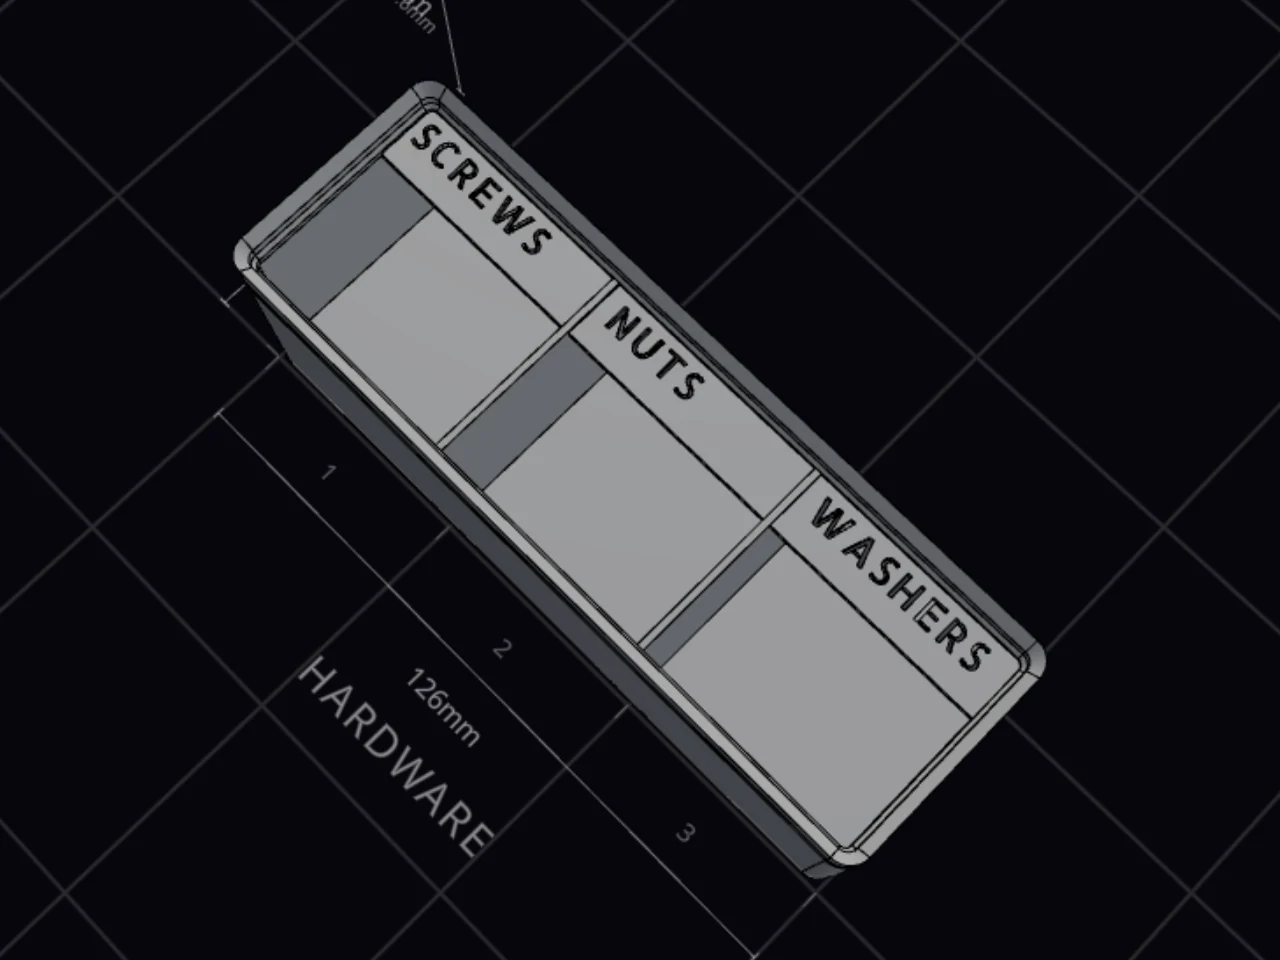
A label tab is a small ledge along the top of a compartment wall. Print a caption on it, stick a paper label on it, or give it a swappable label plate.
- In the bin designer, open the Interior group and turn on Label tabs.
- Under Label style, keep Printed text.
- Type a caption for each compartment in the Label text list.
Each row in the list matches a compartment number on the grid. Not sure which row is which? Click Pick on grid, then click the compartment. Press Enter to jump to the next row. A blank row prints a bare ledge, which still takes a paper label.
You can also type a caption right on the compartment grid. Above the grid, select Add labels, then click a compartment. Set up the compartment grid explains the grid.
A tab needs compartment walls to hang from. That's why the section shows only for the Grid dividers and Bento interiors. A custom-shape bin or a very shallow bin can't carry a tab.
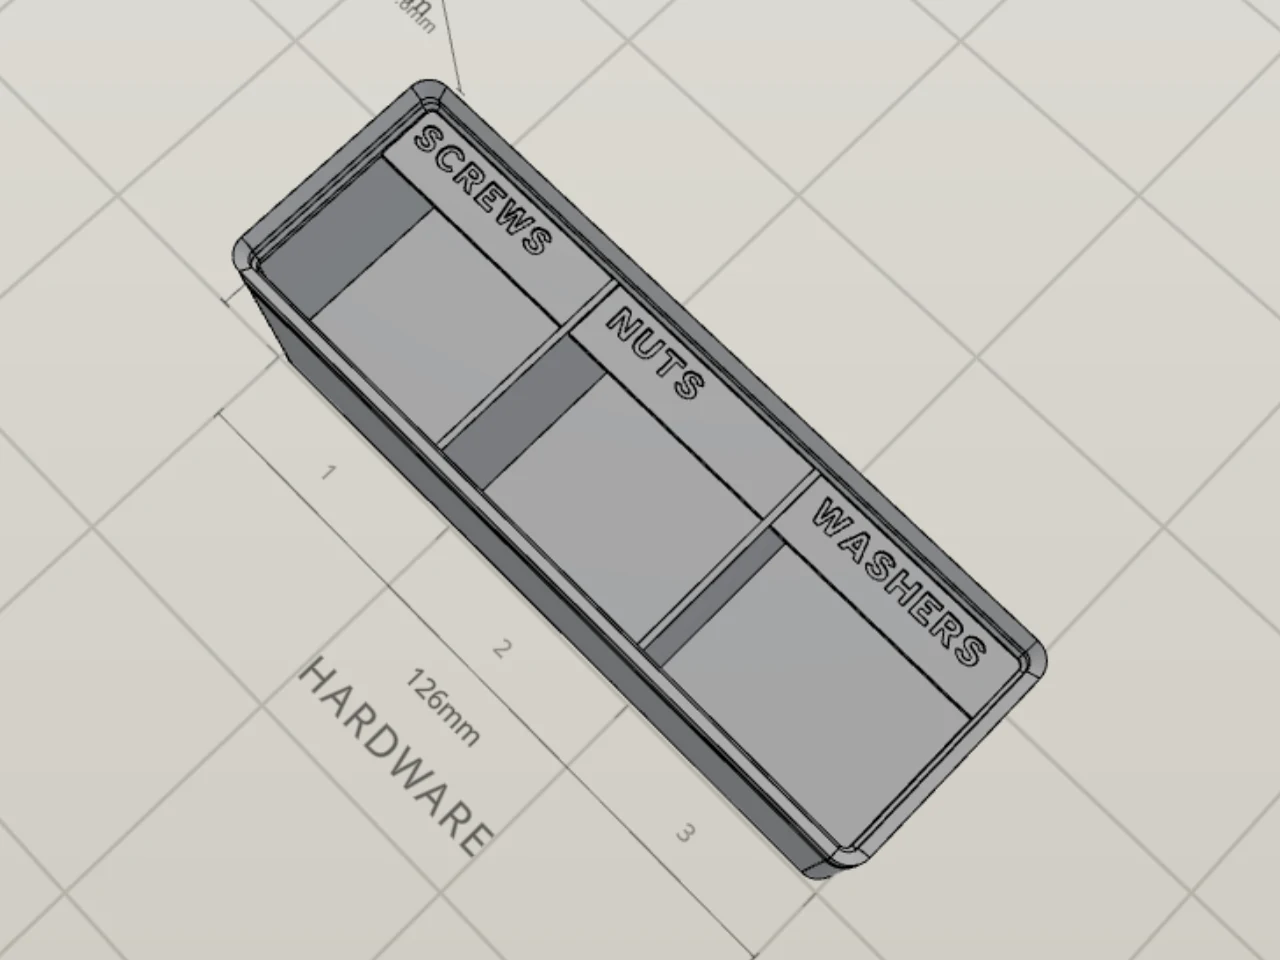
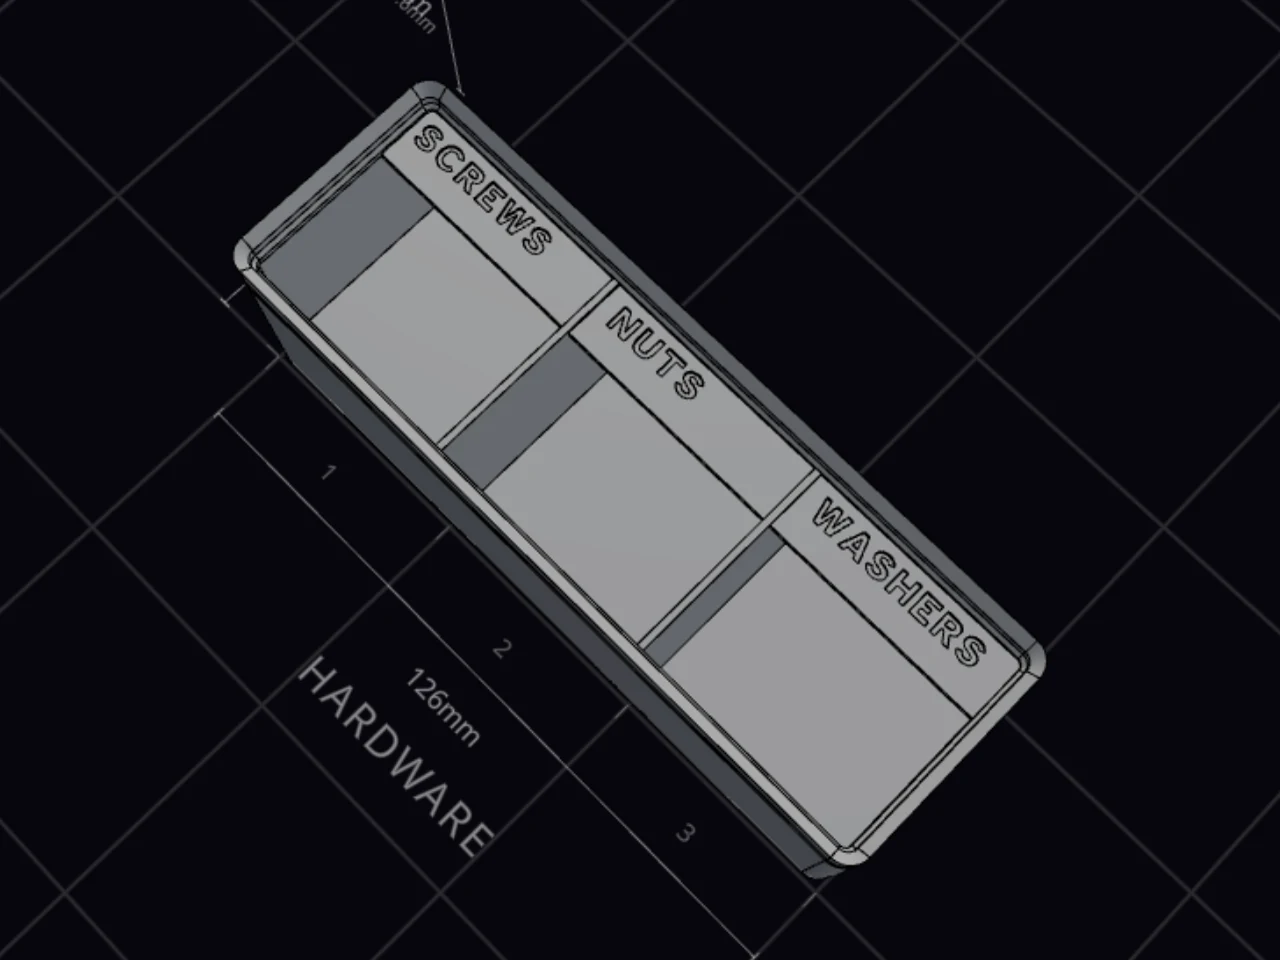
One tab per compartment or per row
Above the list, pick One per compartment or One per row. Pick one per row when the compartments are too narrow for a legible caption. Each row then gets one full-width tab. A row gets a full-width tab only where a wall runs the full inner width behind it.
Place and shape the tabs
Two folded groups below the list set where the tabs go and how big they are. Not sure? Keep the defaults: a full-width tab on the back wall, on a bracket.
| Group | Control | What it does |
|---|---|---|
| Placement | Tab edges | Puts the tab on the Back wall (the default), the Front wall, or Both. |
| Placement | Tab alignment | Moves a tab that is narrower than its compartment to the left, center or right. |
| Tab shape & size | Support | Sets the support under the ledge: Bracket, Solid or Curved. |
| Tab shape & size | Tab width, Tab depth, Tab height, Tab inset | Width is a percent of the compartment. Depth is how far the ledge reaches in. Height sets how high the ledge sits. Inset moves it away from its wall. |
| Tab shape & size | Label lip | Adds a raised rim on the front edge, so a loose paper label can't slide off. |
A shallow compartment can't hold two tabs. If you pick Both on one, the panel warns you. Click Auto-fix to sort it out: it sets the inset to zero and reduces the depth, or moves the tabs to one wall.
Write a second line
A caption can have up to three lines of up to 50 characters each. Lines after the first print smaller, like a subheading.
- In the label list, press Shift+Enter for a new line.
- In a wall, floor or lid text box, press Enter.
If one long line doesn't fit, the Layout Tool can wrap it onto more lines. If a caption is too long to print at a legible size, its row shows a warning. Click Widen tabs, or shorten the text.
Set the type style
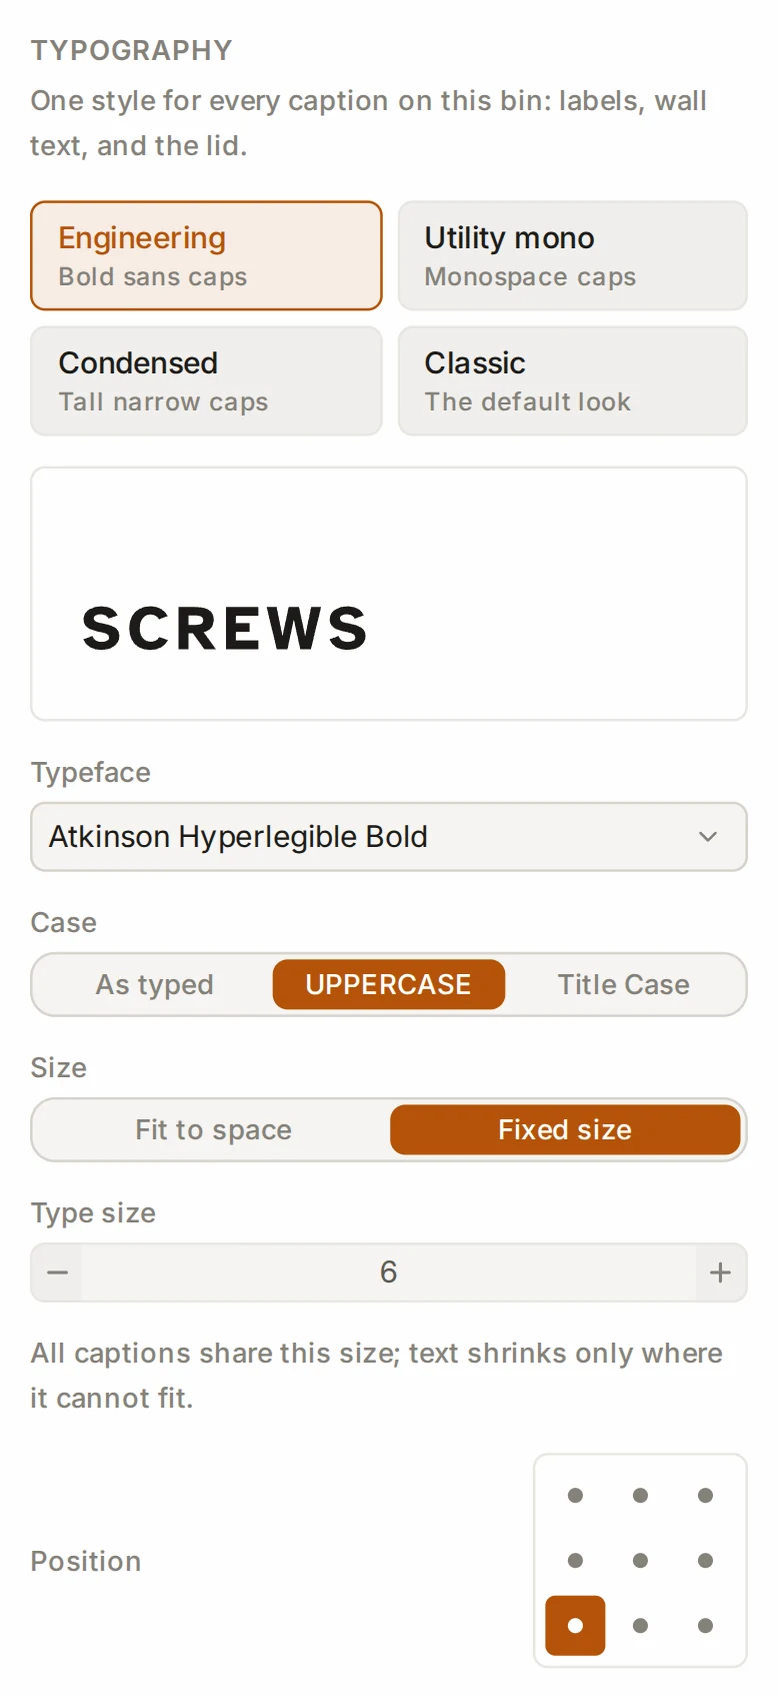
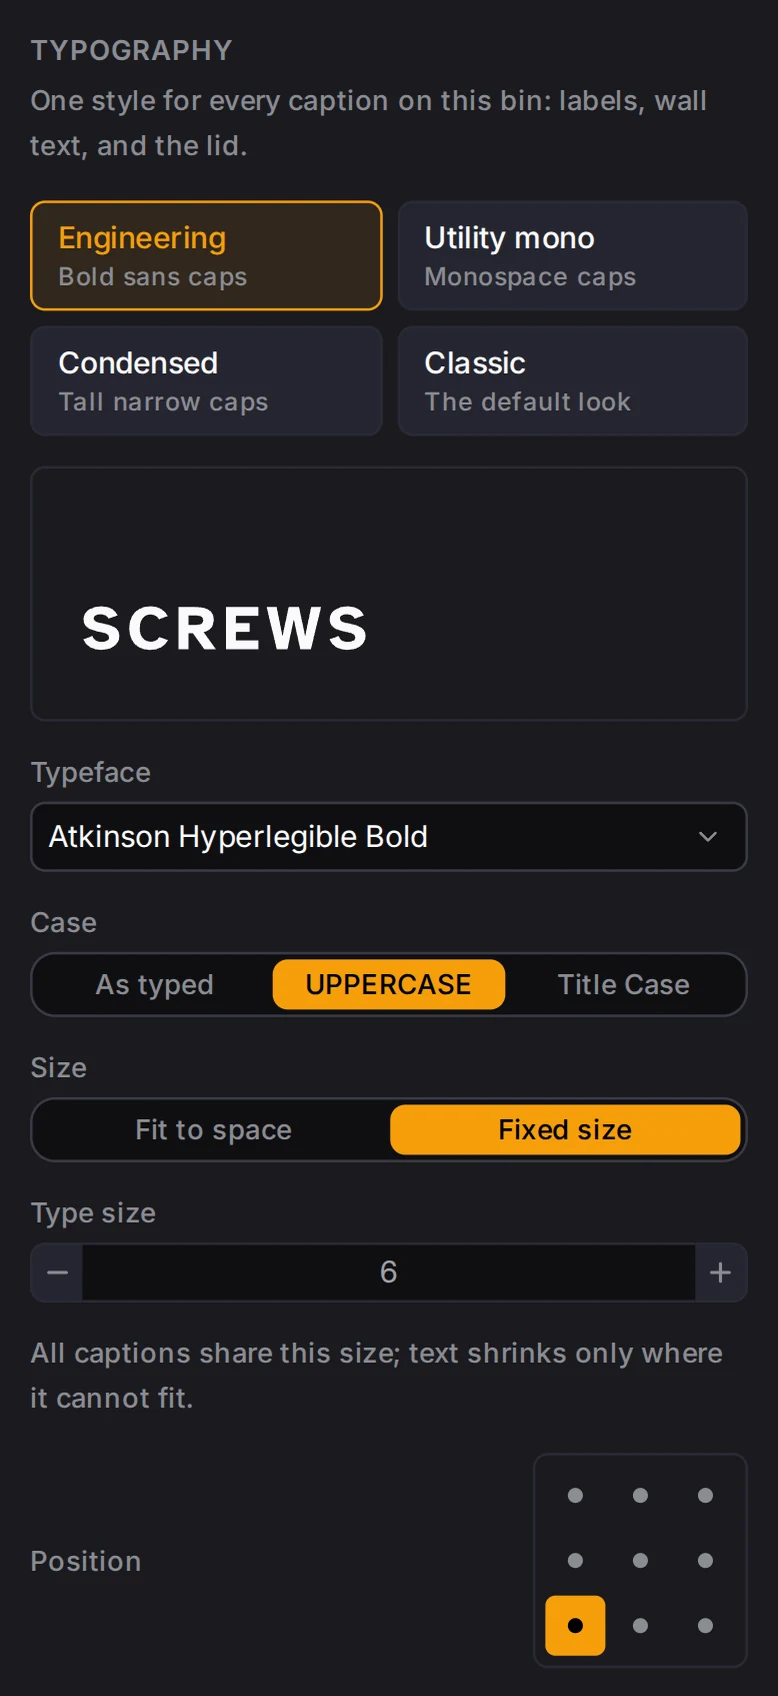
The Typography section, in the Finishing group, sets one style for every caption on the bin. It shows up once the bin carries some text.
The quickest way in is a preset. Every new design starts with Engineering.
| Preset | Looks like |
|---|---|
| Engineering | Bold capitals at one fixed size |
| Utility mono | Bold monospace capitals at one fixed size |
| Condensed | Tall, narrow capitals at one fixed size |
| Classic | Letters as you typed them, sized to fit |
Want every label in the drawer to match? Pick one of the first three. Want each caption as large as its space allows? Pick Classic.
Below the presets, you can change each part of the style yourself:
- Typeface: seven fonts, for example Atkinson Hyperlegible and JetBrains Mono.
- Case: As typed, UPPERCASE or Title Case.
- Size: Fit to space makes each caption as large as its space allows. Fixed size prints all captions at one size from 2 to 40 mm, and shrinks text only where it can't fit.
- Position: pins the text to one of nine points on its surface.
Fine tuning holds the finer controls:
- the finish (see Pick a text finish)
- Letter spacing and Second line size
- Relief depth and Edge profile
If the strokes are too thin for your nozzle, the section tells you and offers a fix, for example Use the bold cut.
The Tab text group in the label section also sets the finish, the Text depth and a maximum size for label tabs. Tabs in one row share one size, so a long caption makes its neighbors smaller.
Pick a text finish
Each text surface has a Finish picker. Not sure? Pick Engrave. It works on every surface and needs only one filament.
| Finish | What prints | Where |
|---|---|---|
| Engrave | Letters cut into the surface | Every surface |
| Emboss | Letters that stand up from the surface | Every surface |
| Through-cut | Letters cut all the way through, in Allerta Stencil so letter centers stay attached | Tabs, walls and lid |
| Flat | Letters level with the surface, in the Text color | Every surface, with multi-color on |
Flat letters show only in a second filament, so the picker offers Flat only when multi-color is on. If the Text color matches the surface under flat letters, the panel warns you and offers Use a contrasting color. See Colors.
Add wall text
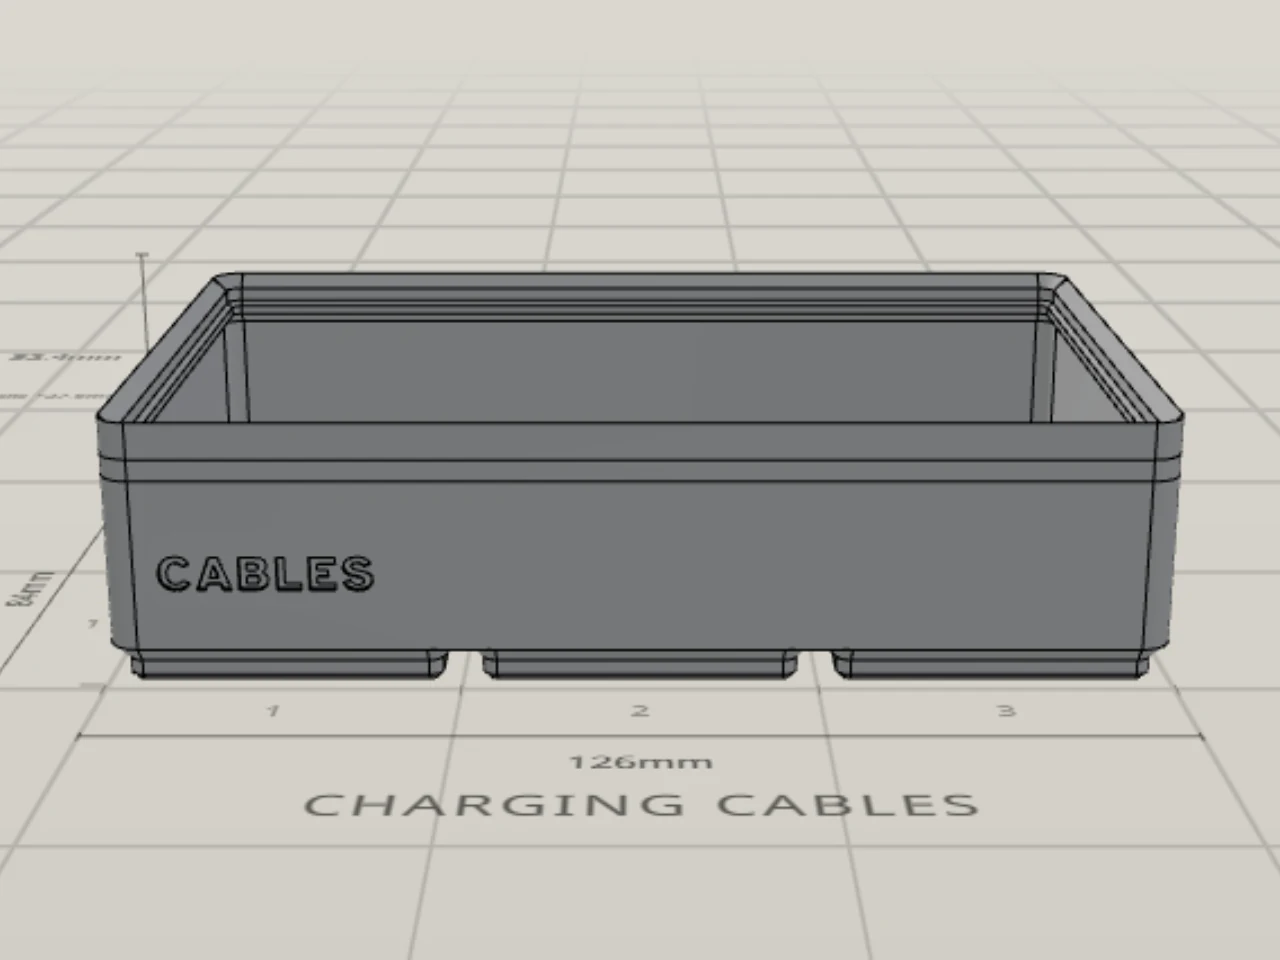
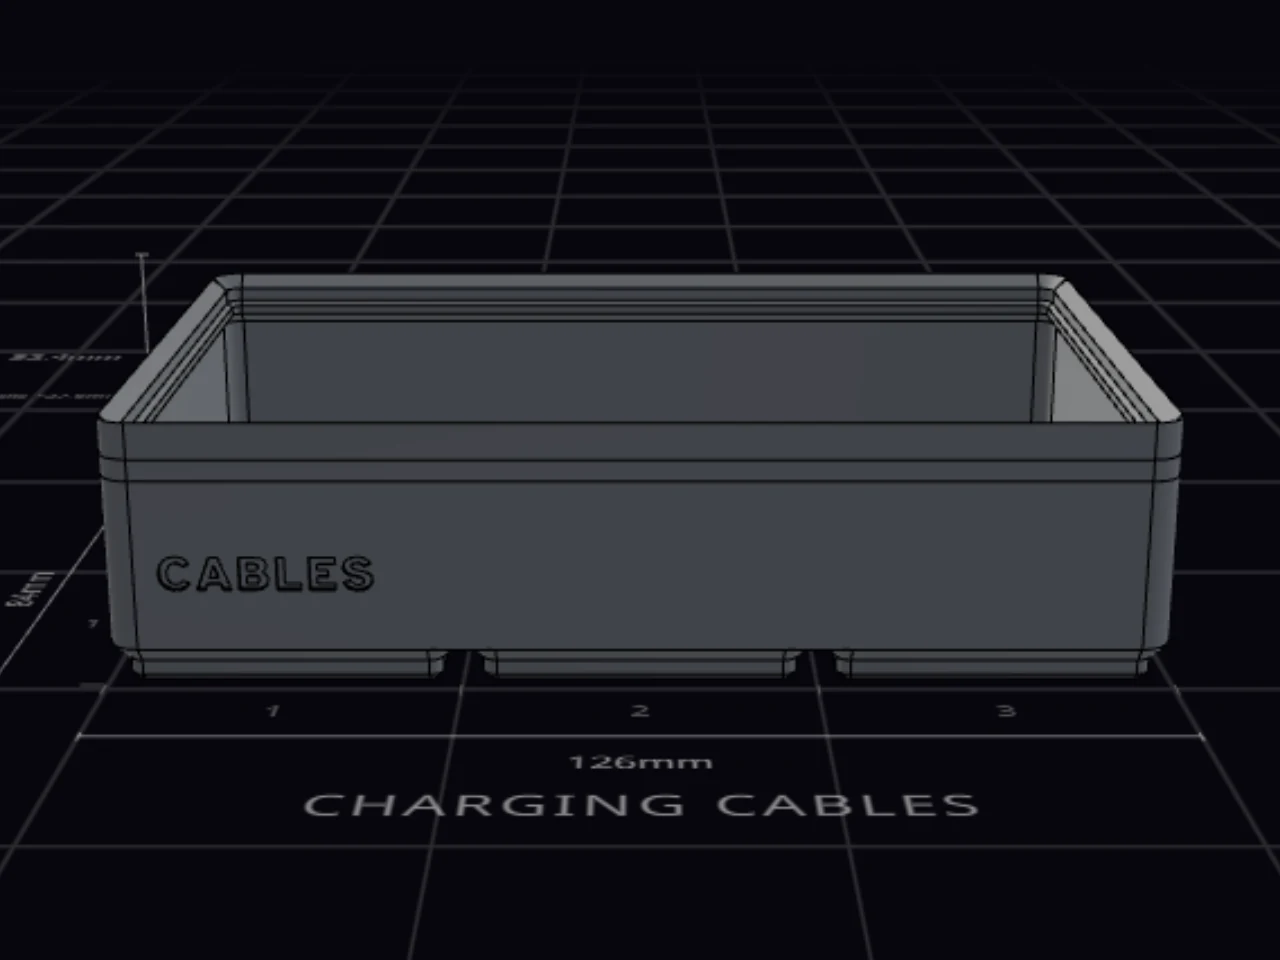
Wall text puts a caption on the side of the bin, on the outside or the inside.
- Open the Finishing group and turn on Wall text.
- Type text in the box for each wall that needs it.
- Under each box, pick Outside or Inside.
Inside text reads from inside the bin, so a caption on the back wall faces you when you open the drawer. The text goes in the clear area of each wall, away from cutouts and handles. Inside text also stays clear of dividers, scoops and label tabs. A solid bin has no inside face, and custom-shape bins take no wall text.
Add floor and lid text
For floor text, open the Finishing group, turn on Floor text and type the text. It goes on the largest clear part of the floor, away from dividers, scoops and raised floors. A floor has a base under it, so it can't take Through-cut. Rotation turns the text in quarter turns.
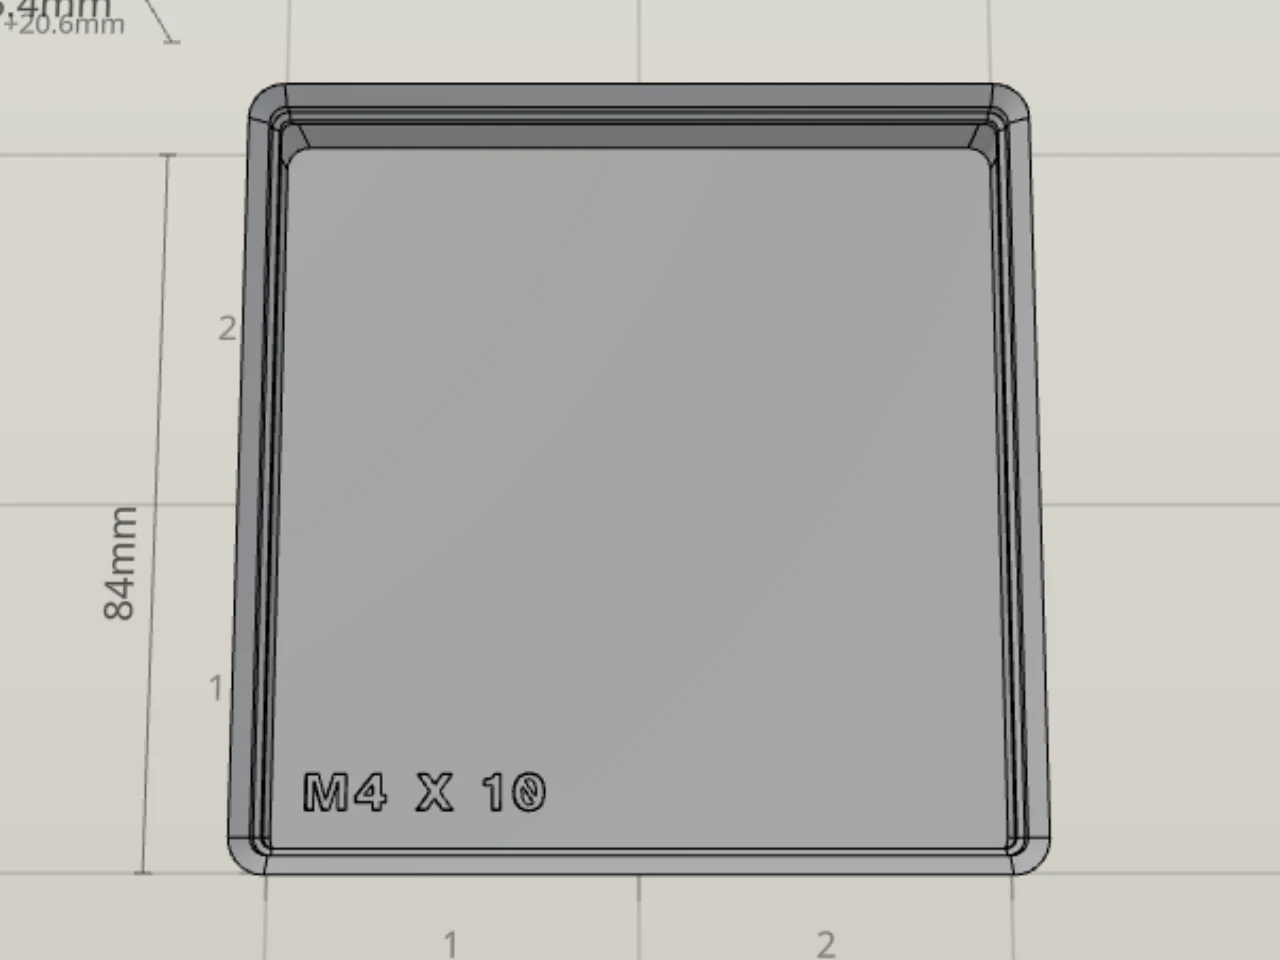
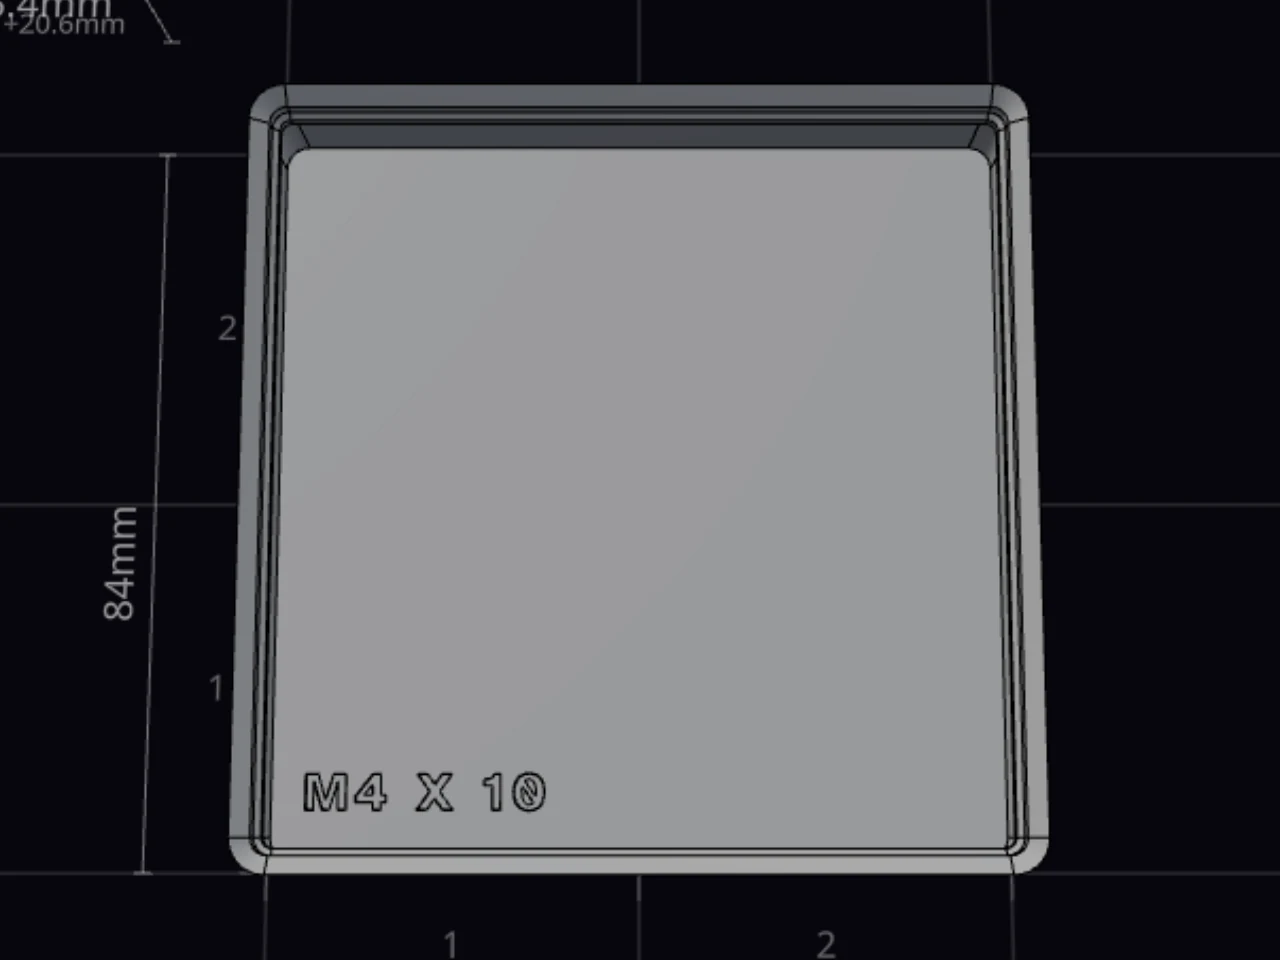
For lid text, turn on the lid in the Lid group, then turn on Lid text. A full stack grid covers the lid top, so lid text needs a flat top, a tray, or Stacking lip only. See Lids.
Use label suggestions
In the layout editor, each bin has a Bin label box in the bin inspector. Click in it or start to type, and a list of suggestions opens. Each one tells you why it's there, for example next in set. On a computer, the top suggestion shows as gray text, and Tab accepts it. Your browser makes the suggestions from your layout and a built-in catalog of common labels.
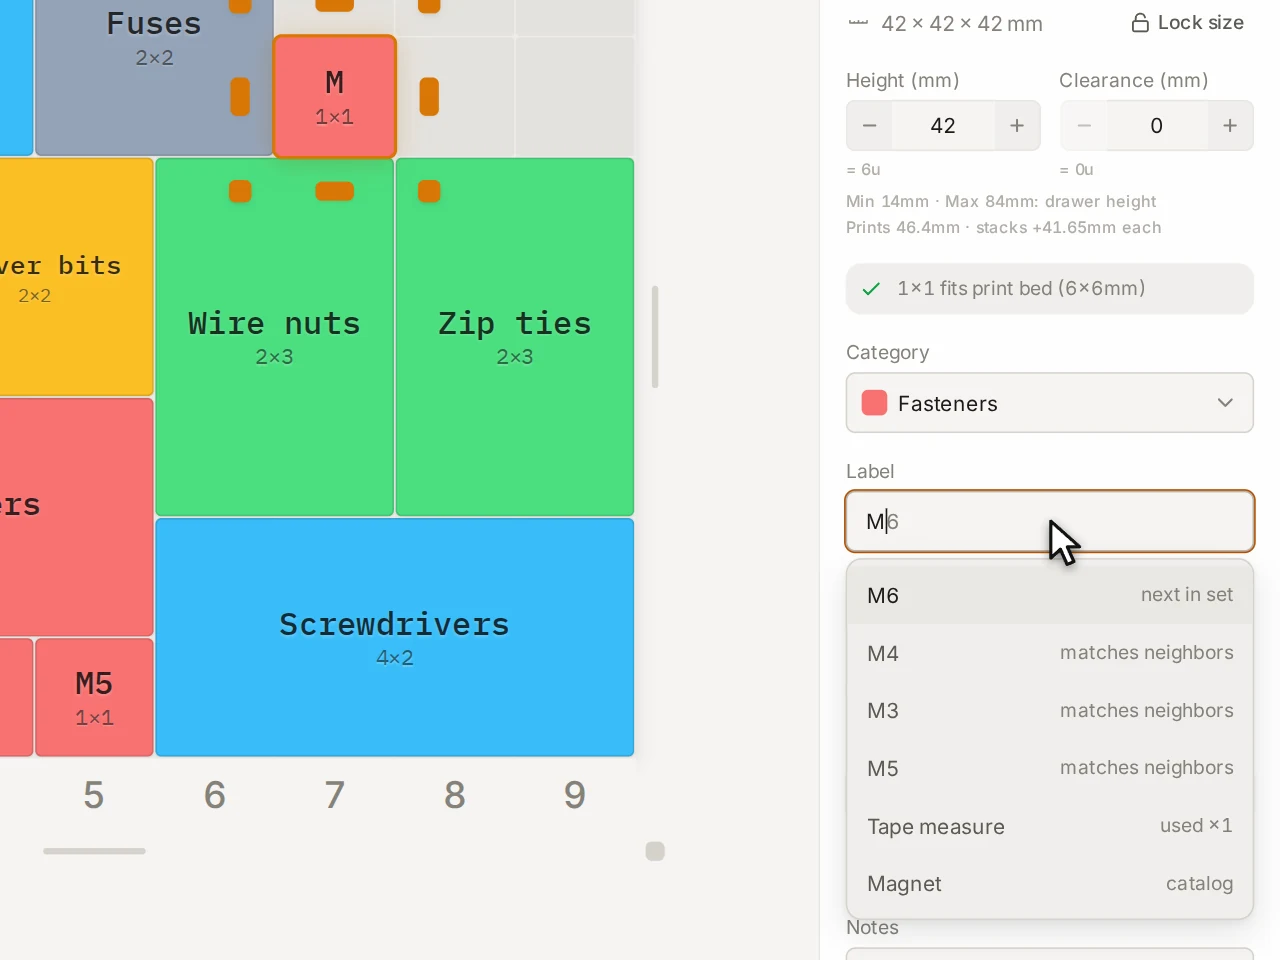
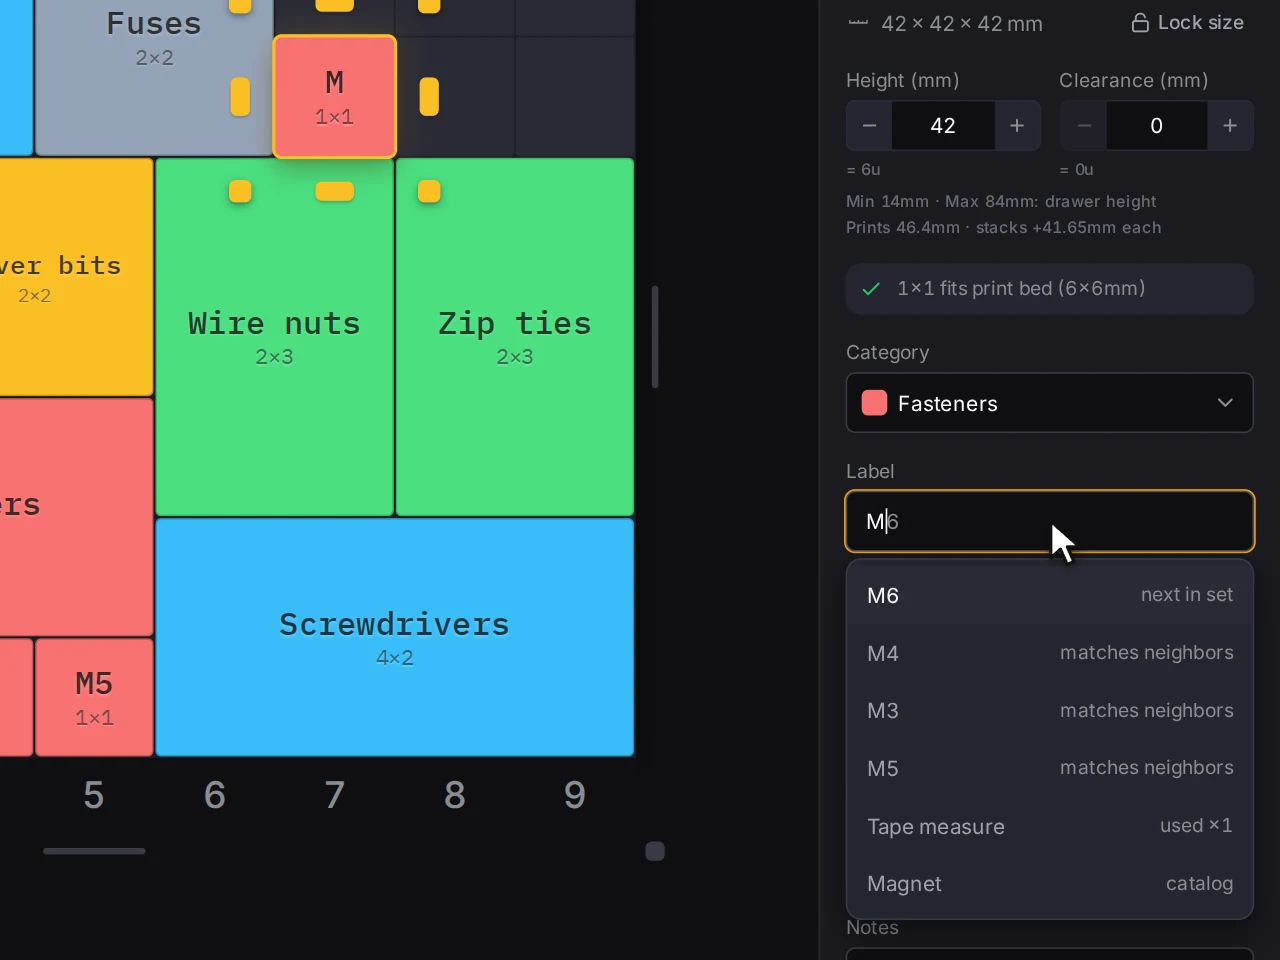
One design for many bins? If the design has only one caption, leave that caption blank. Each linked bin then prints its own Bin label from the layout.
When it goes wrong
A caption is too long to print
Click Widen tabs under the row, or make the text shorter. In narrow compartments, One per row gives each row one full-width tab.
Each caption must print at a size that you can read. A long caption on a narrow tab can't, so its row shows a warning.
You can't turn on label tabs
Make the bin taller. A label tab needs more than 9 mm of depth inside the bin. Is the section not there at all? Pick the Grid dividers or Bento interior.
A tab hangs from the compartment walls. Removable dividers, solid bins and custom-shape bins can't carry tabs. See Add label tabs.
The letters are too thin to print
Click the button under the warning in Typography. It applies the fix that suits your font: a bold cut, more space between letters, or a larger size.
The panel warns when the thinnest stroke of a letter is under 0.8 mm, about two lines of a 0.4 mm nozzle. Thinner strokes run together when they print.
The tabs print blank
Type a caption in each row of Label text. Next blank takes you to the next empty row.
A blank row prints a bare ledge. A linked bin can print its layout label instead. Only the layout ZIP, the 3D layout preview and Export under Linked design in the inspector do this. See Troubleshooting prints.
Next steps
- Swappable label plates: print labels on separate plates that you can change later.
- Colors: print text in a second filament with the Text color.
- Lids: add a lid that carries its own text.
- Multi-color printing: learn how each color reaches your slicer.