
Work in layers
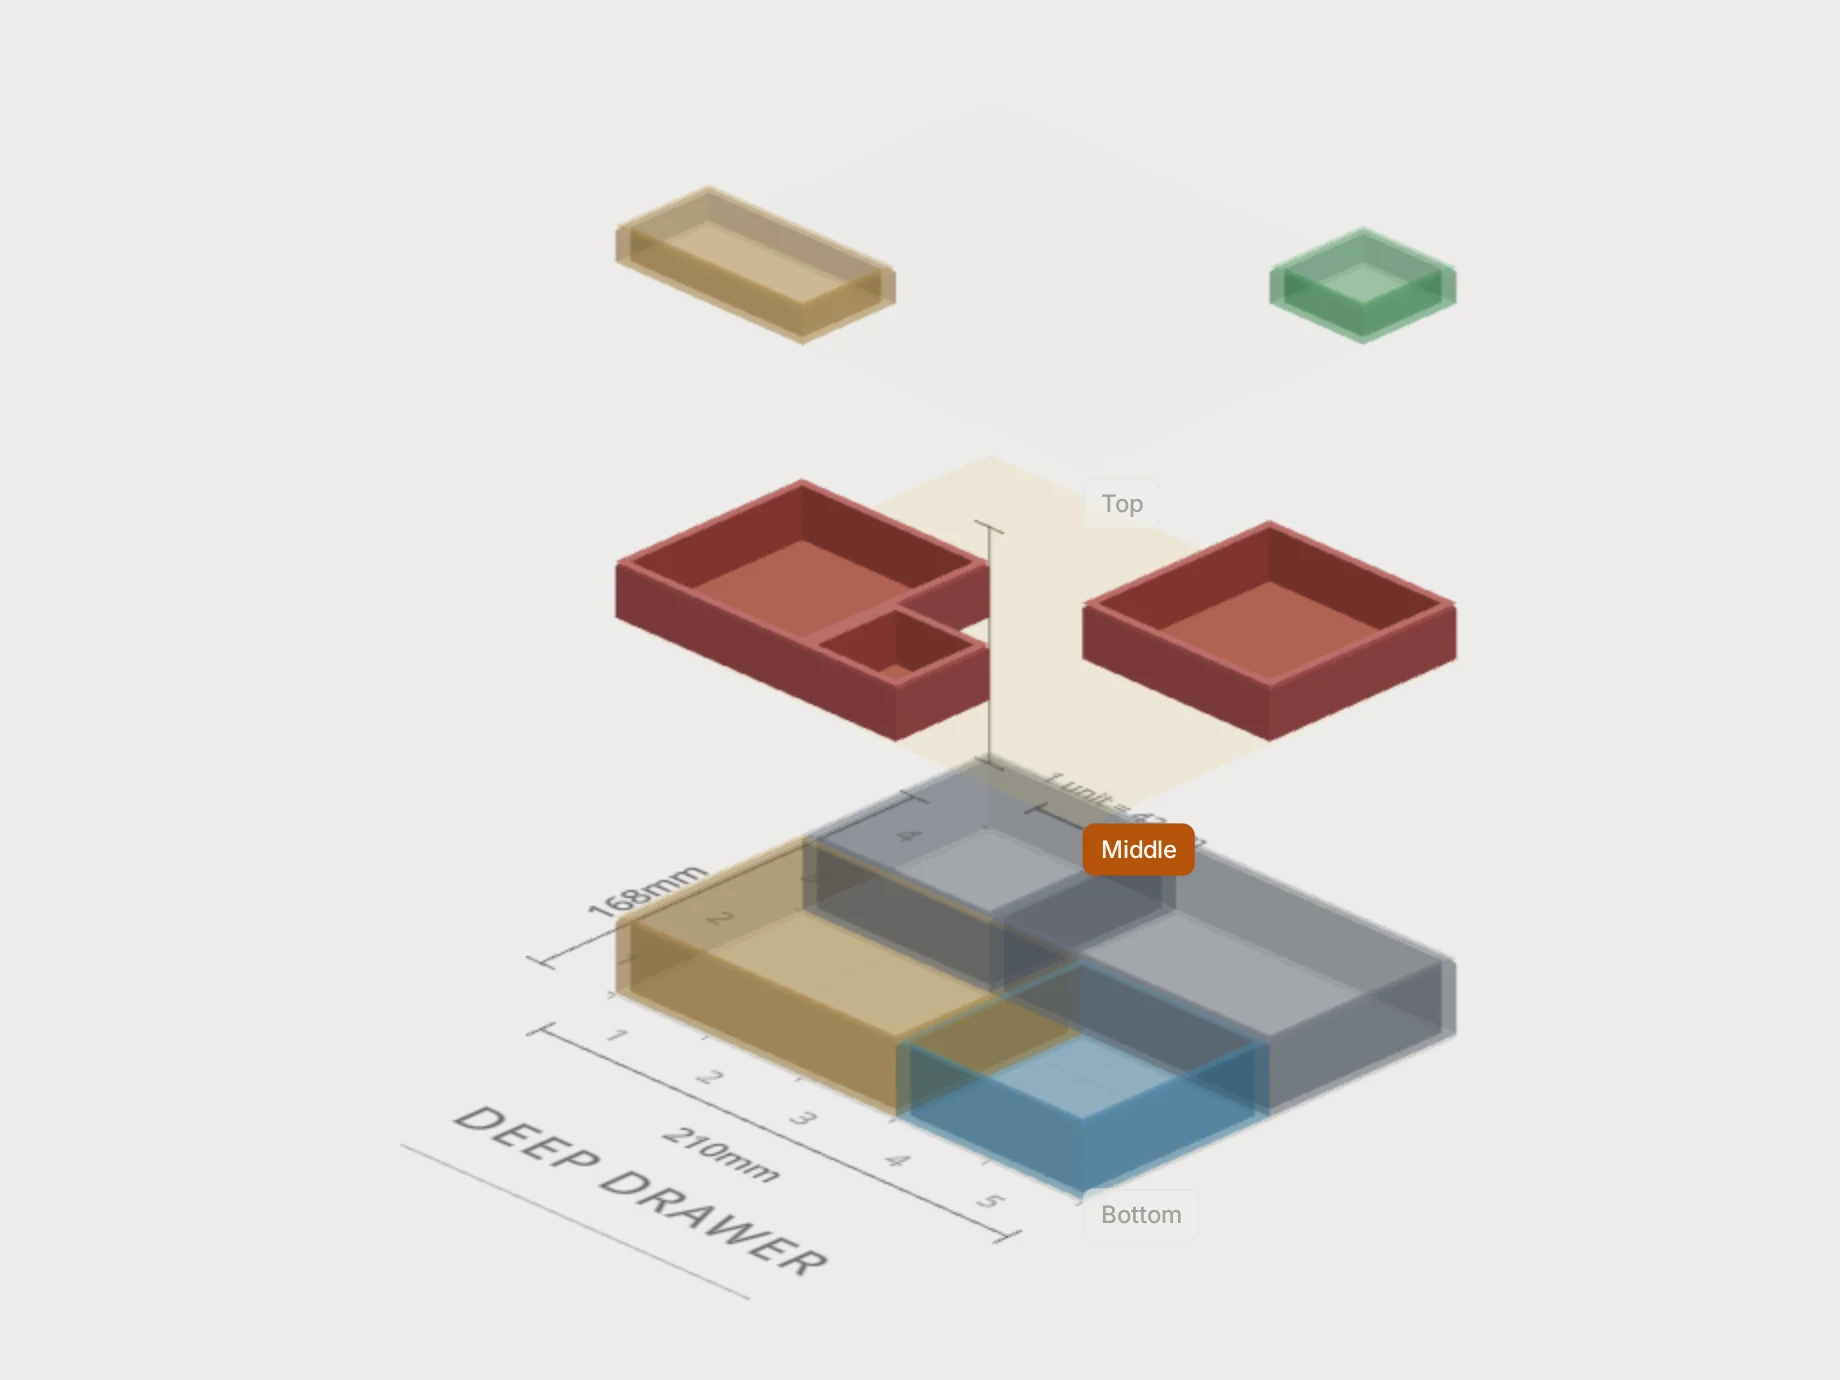
A deep drawer has room for more than one level of bins. In the Gridfinity Layout Tool, each level is a layer. Bins on a higher layer sit on the bins below them, as they do in the real drawer. Here's how to add layers, stack bins, and check your stacks in 3D before you print.
How layers work
The first layer is the bottom of the drawer. The Layers panel lists the top layer first.
A layer sets the order of the stack, not a fixed height. Each bin rests on the tallest bin under it on a lower layer. With no bin under it, it rests on the baseplate. So a tall bin lifts the bins above it, and a short bin lets them sit lower.
The height of a layer is only the height that new bins on that layer get. A change to it doesn't move or resize the bins that are already there.
Only the tallest stack must fit in the drawer. The Tallest stack bar in the Layers panel compares it with the drawer height. See Set up the drawer. For the height of one bin with its lip and lid, see Read the assembled height.
Add, rename and order layers
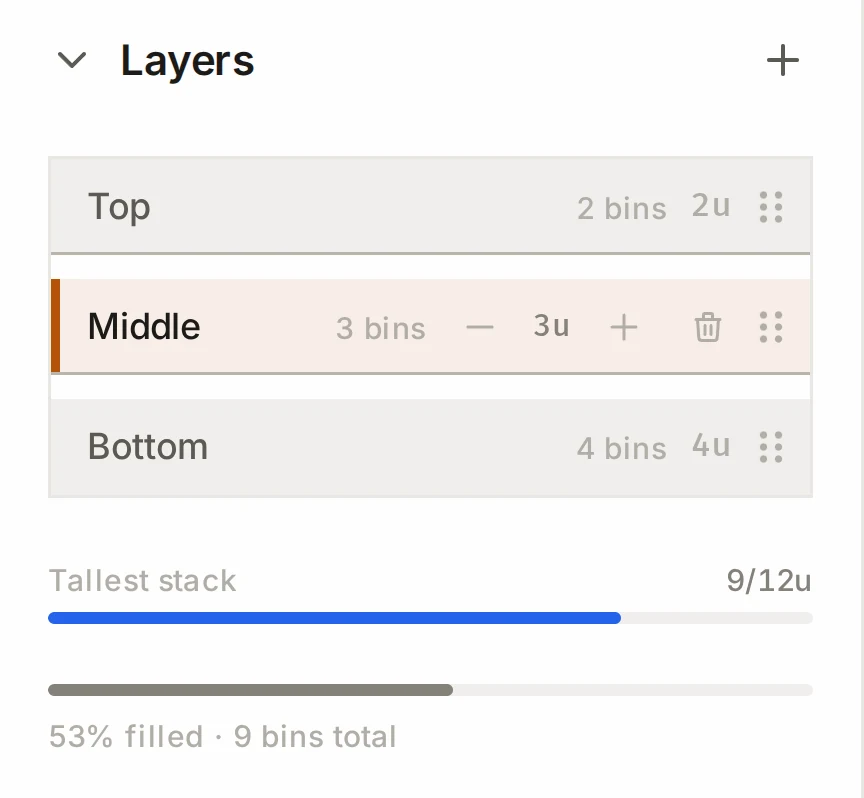
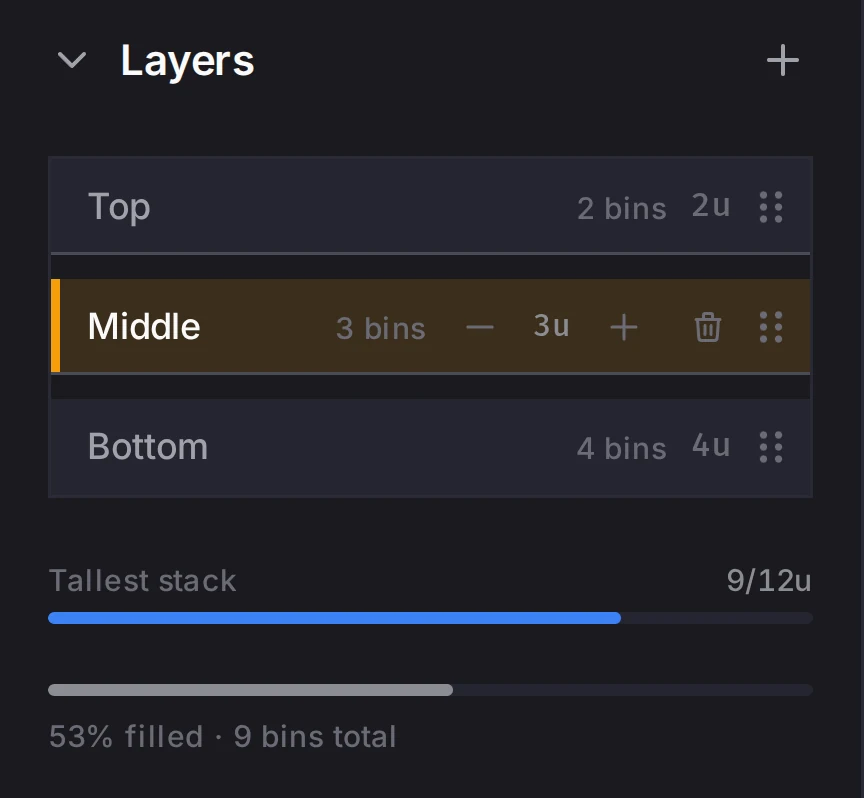
- To add a layer, click Add new layer (the plus button) in the Layers panel. The new layer goes on top. A layout can have 10 layers.
- To rename a layer, click its name, type a new name and press Enter.
- To change the height for new bins, use the stepper on the layer row.
- To change the order, drag a layer row up or down. The Layout Tool stops a new order that makes a stack taller than the drawer.
- To delete a layer, click the delete button on its row (Delete this layer). Its bins move to the stash, so you keep them. A layout always keeps one layer.
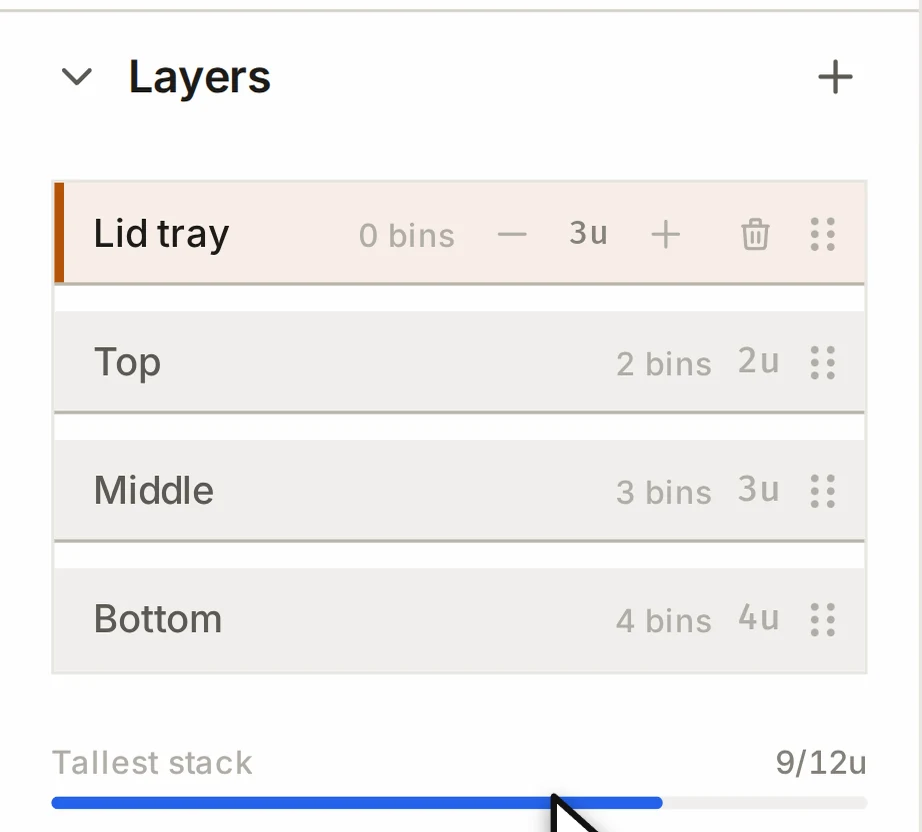
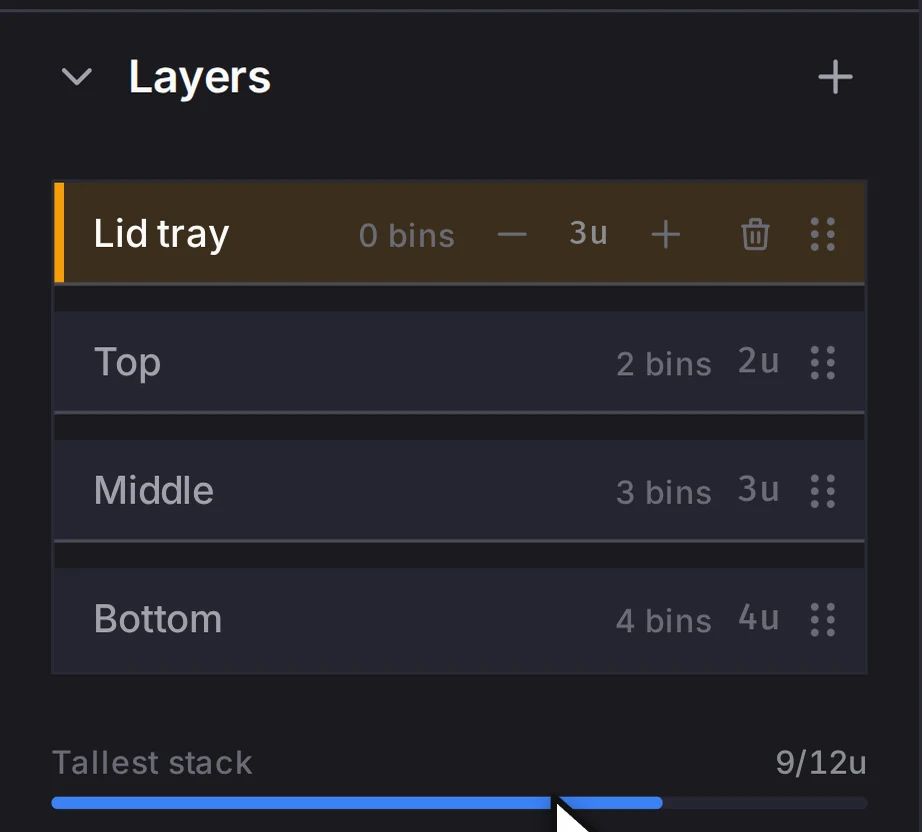
New layers get their height from Default layer height in Layout defaults.
To empty the active layer, click the clear button under the size brush, then click Clear. All the bins on the layer move to the stash, and one undo puts them back.
Change the active layer
You draw and edit bins on the active layer only. To change it, click a layer row, or press W for the layer above and S for the layer below. With two or more layers, the toolbar above the grid shows the name and height of the active layer.
When you change the layer, the Layout Tool clears the selection. To move bins to a different layer, select them and use Move to layer. See Work with several bins.
Stack bins on bins
Draw or drop a bin on an upper layer, over bins on a lower layer. The bin then rests on the tallest bin under it.
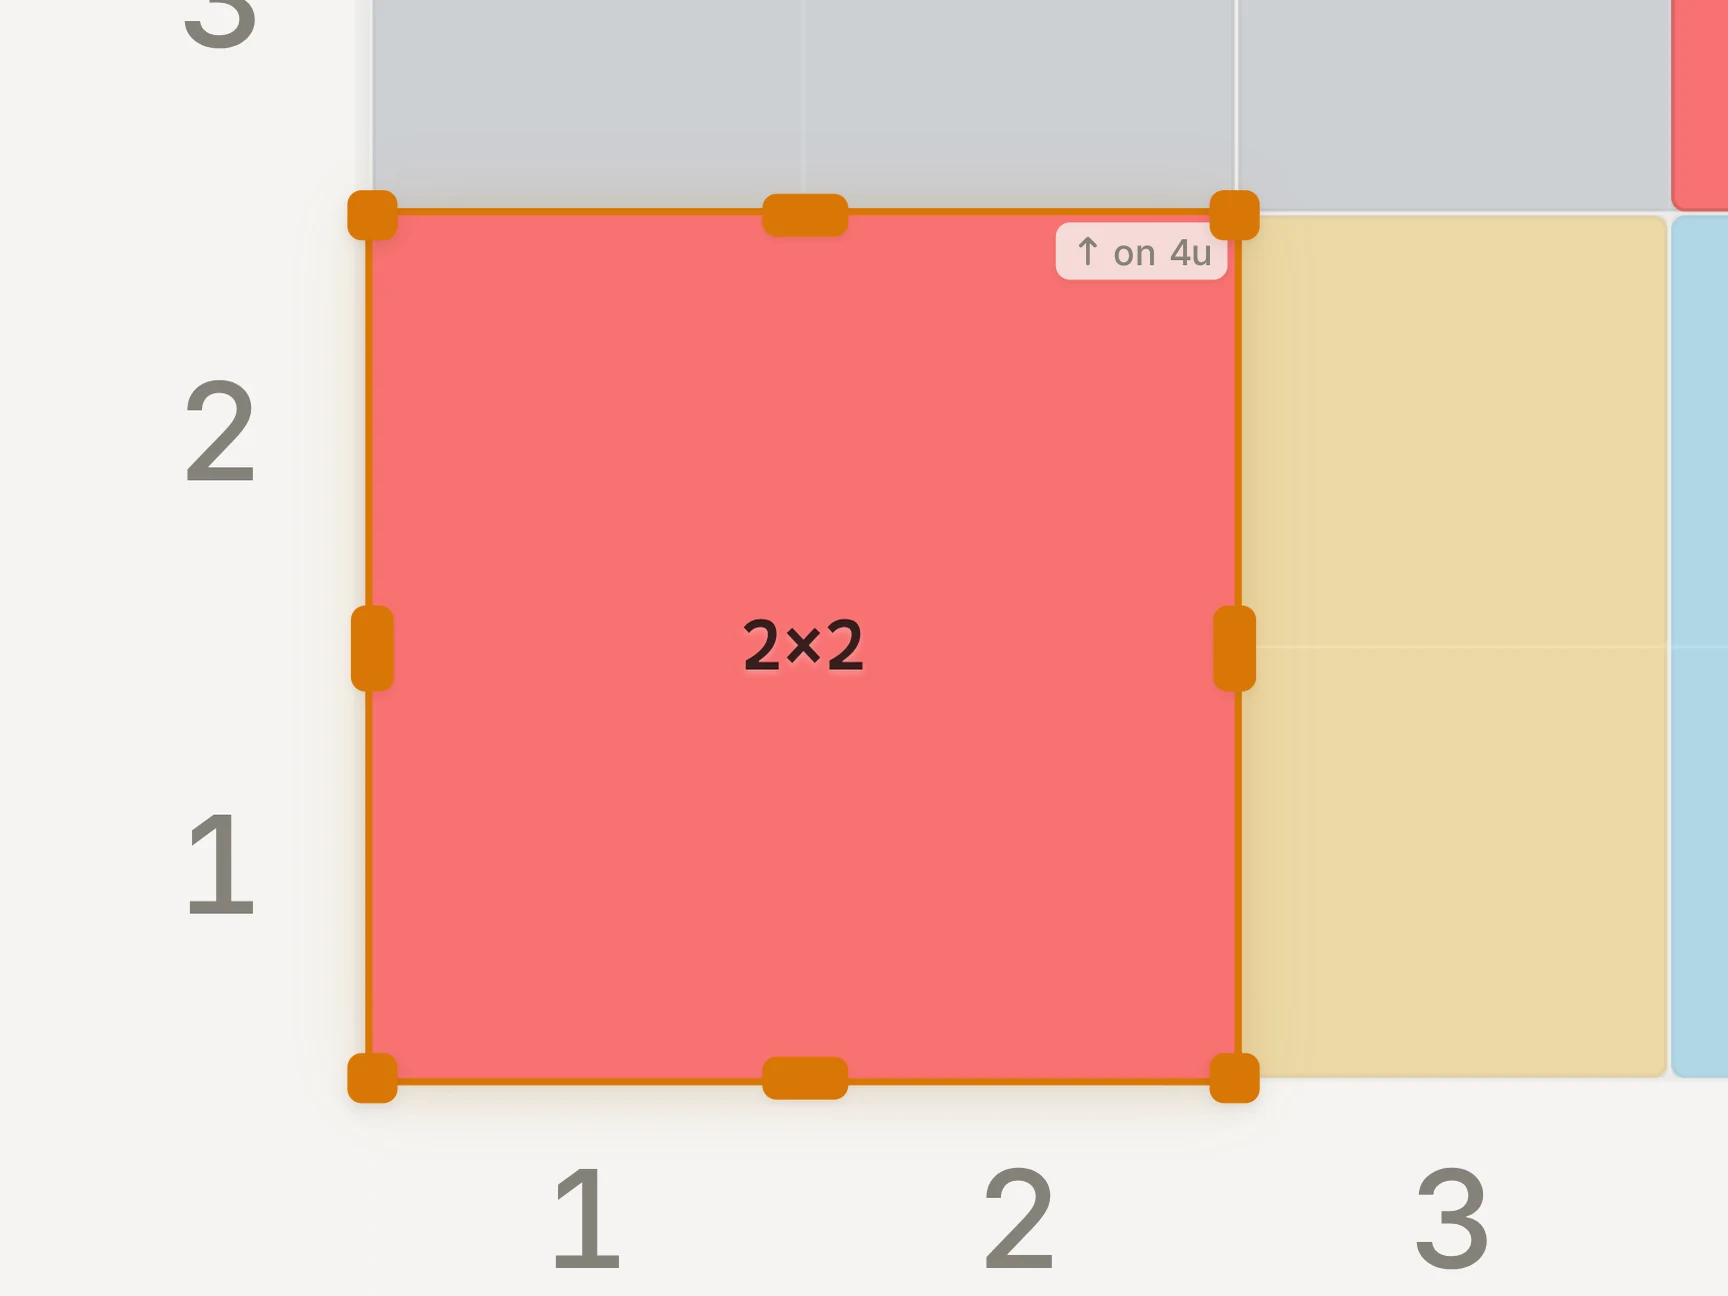
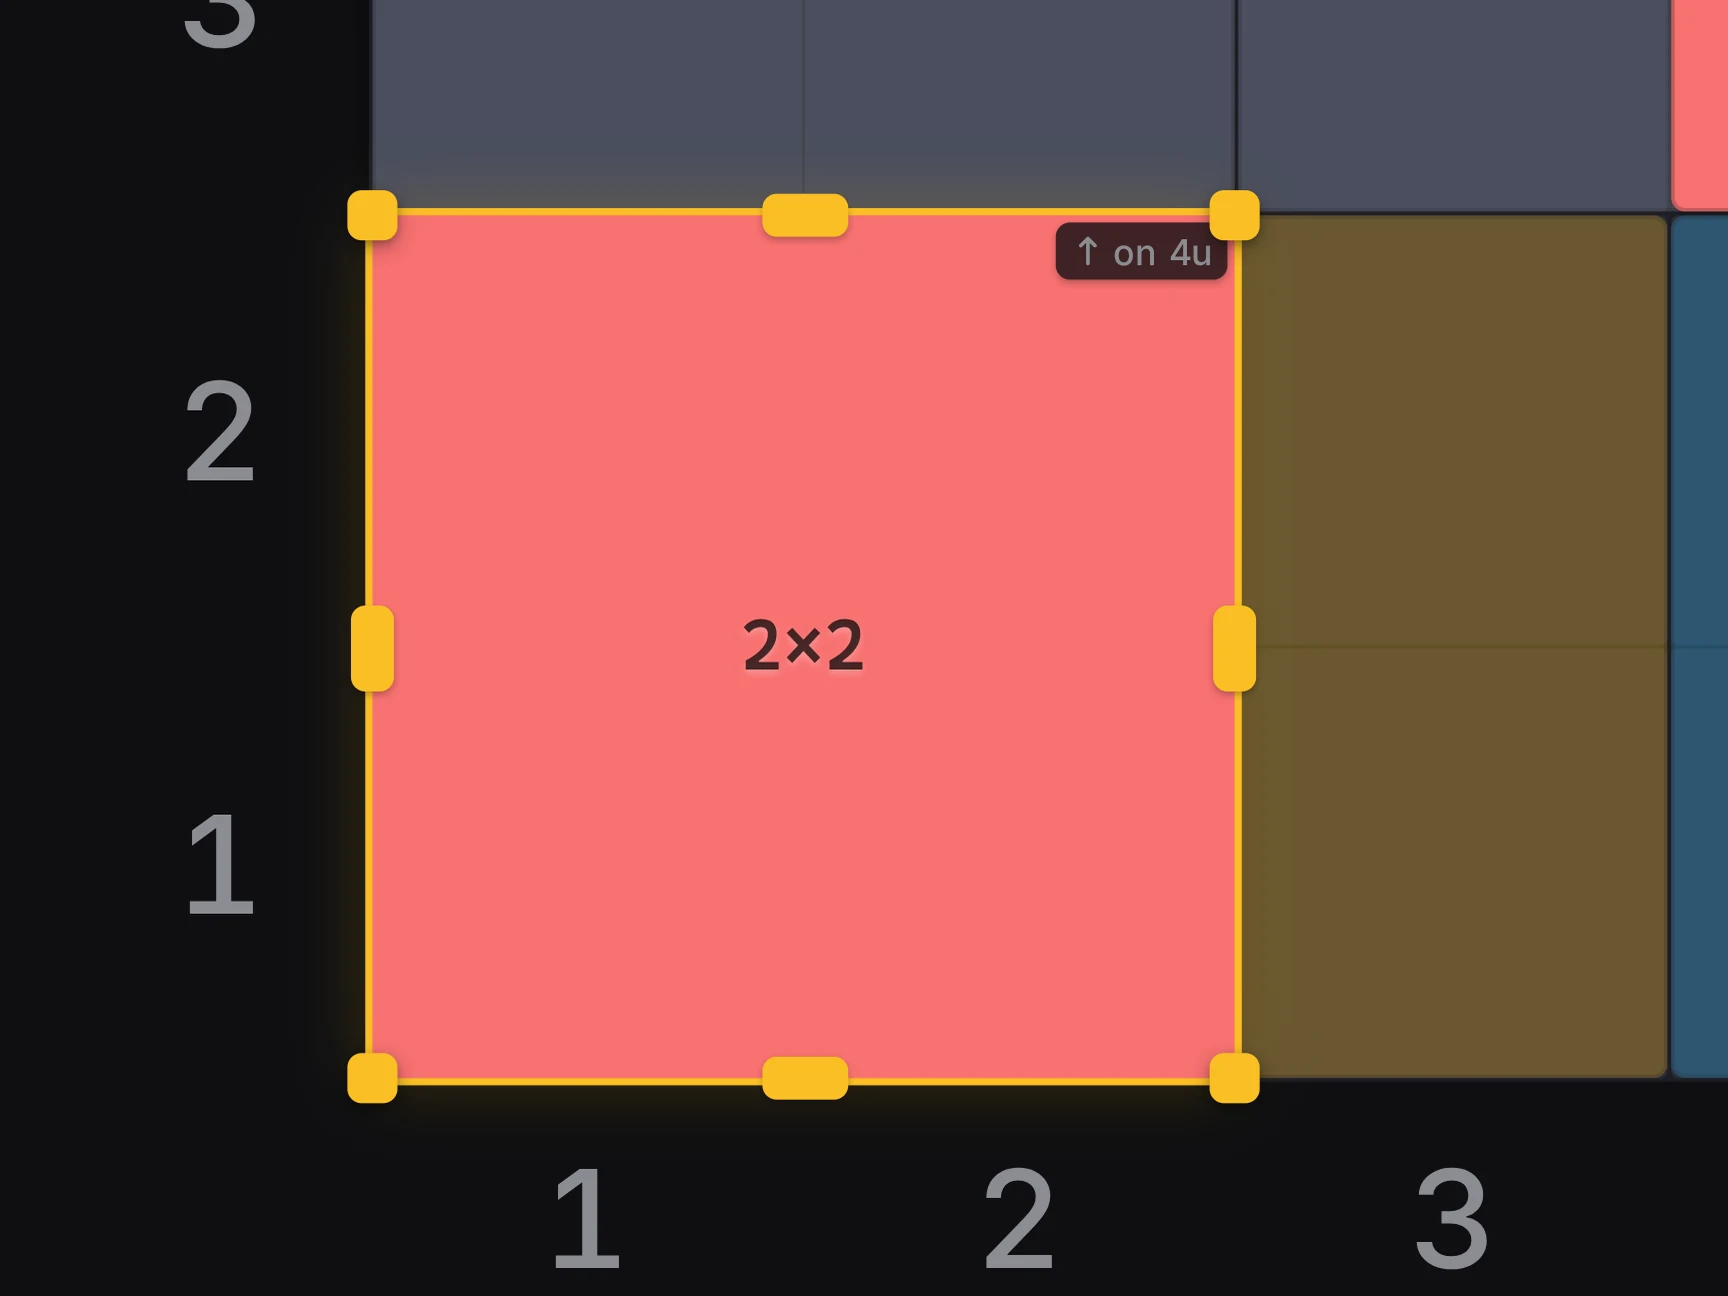
A bin that rests on another bin shows a small tag on the grid, for example "on 6u". If part of its base has nothing under it, a warning icon shows next to the tag. The inspector shows the same facts: the height that the bin rests at, and Part of its base is unsupported.
Reserve space above a bin
Some things stand taller than their bin, like scissor handles. Set Clearance (mm) in the inspector to keep space free above the bin. The clearance doesn't make the printed bin taller.
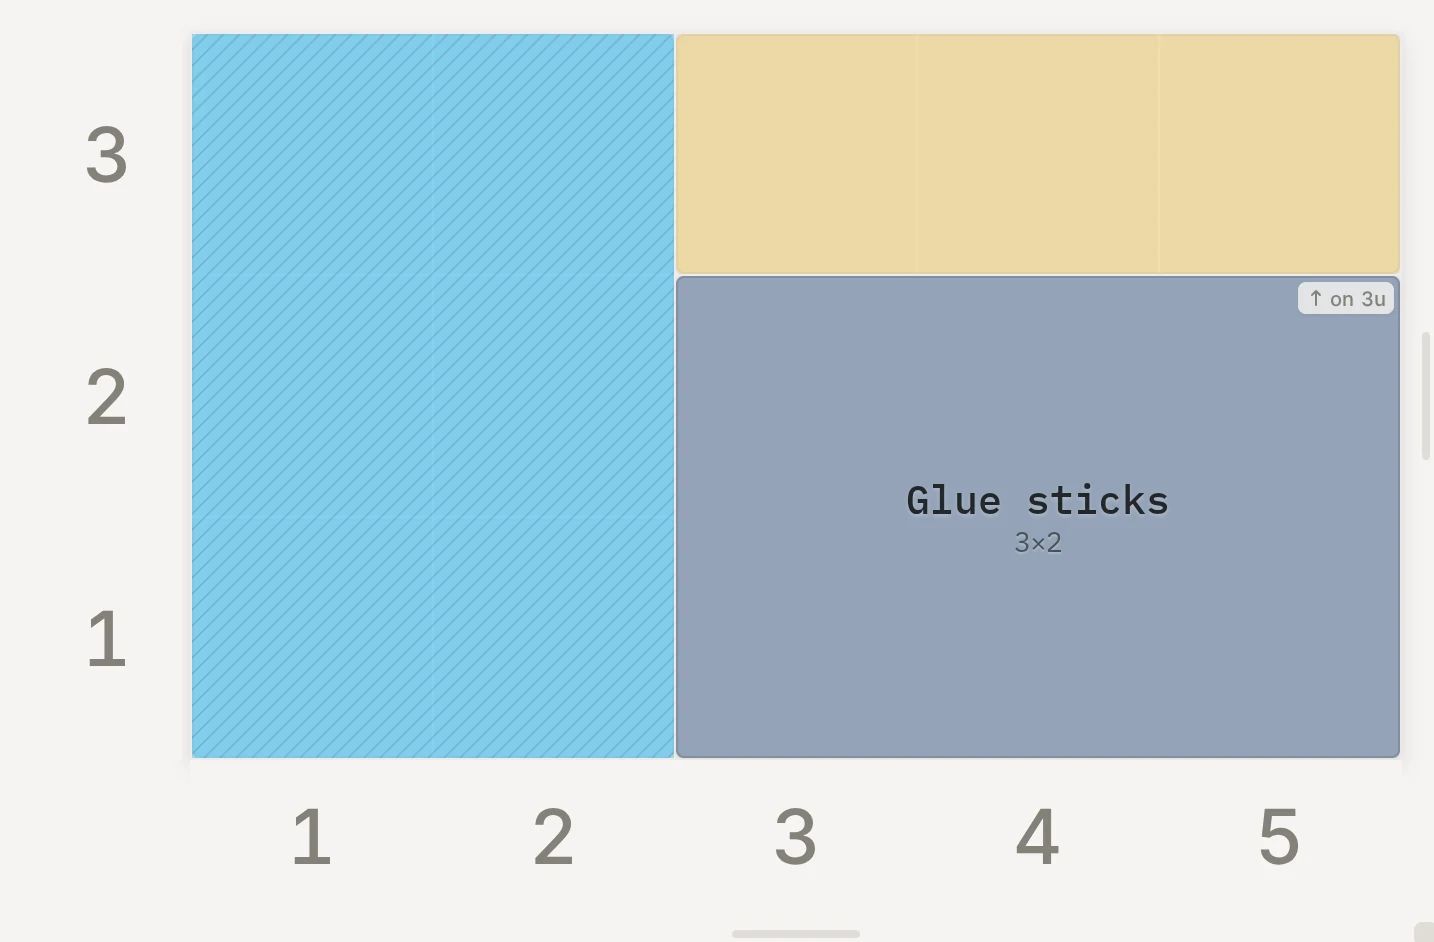
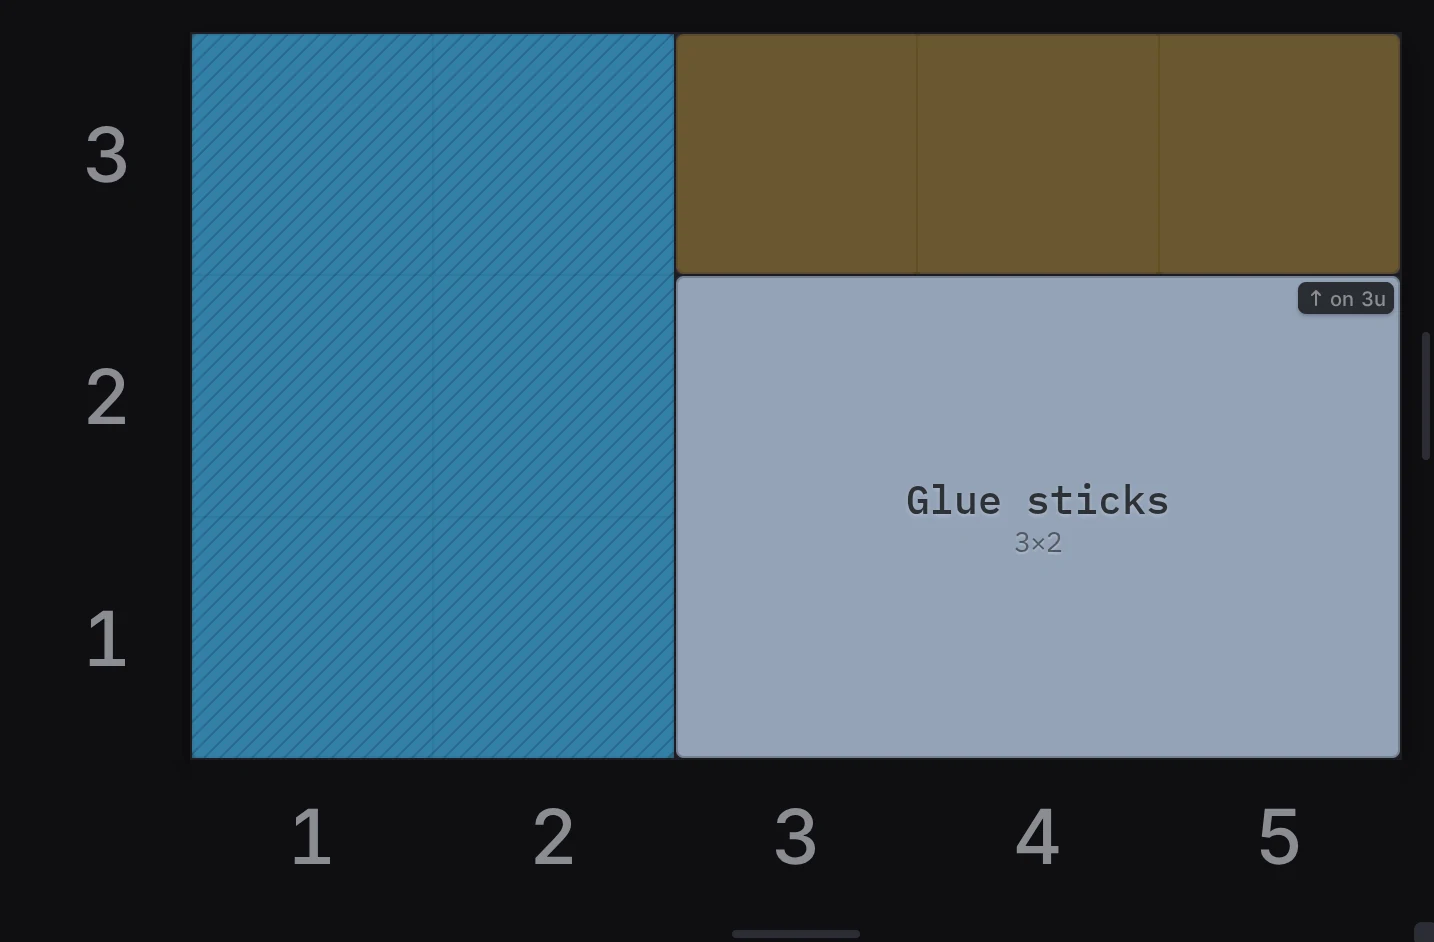
On the layers above, striped cells mark the clearance, and no bin can rest there. Click a striped zone to jump to the bin that reserves it.
Make short bins finish flush with spacers
Want a short bin to sit level with its tall neighbors? Put a spacer under it. A spacer is an open frame with feet and no floor.
- In the bin designer, open the Base group.
- Under Body type, choose Spacer.
- Set the height of the spacer. The bin designer saves the design for you.
- In the layout editor, put the spacer on the lower layer.
- Put the short bin on the layer above, over the spacer.
A spacer counts like a bin of the same height. For example, a 2u spacer under a 2u bin reaches the top of a 4u bin. At the standard 7 mm height unit, a spacer can be 1u tall. See Pick a body type.
See the layers
With two or more layers, these views help you check the stacks.
On the grid, turn on Show layers below in the toolbar. The bins of the lower layers then show as faint shapes under the active layer.
In the 3D preview (open it with 3D View), three buttons pick the layers to show:
| Button | What the preview shows |
|---|---|
| Focus | The active layer only |
| Stack | The active layer and the layers below it |
| All | All the layers |
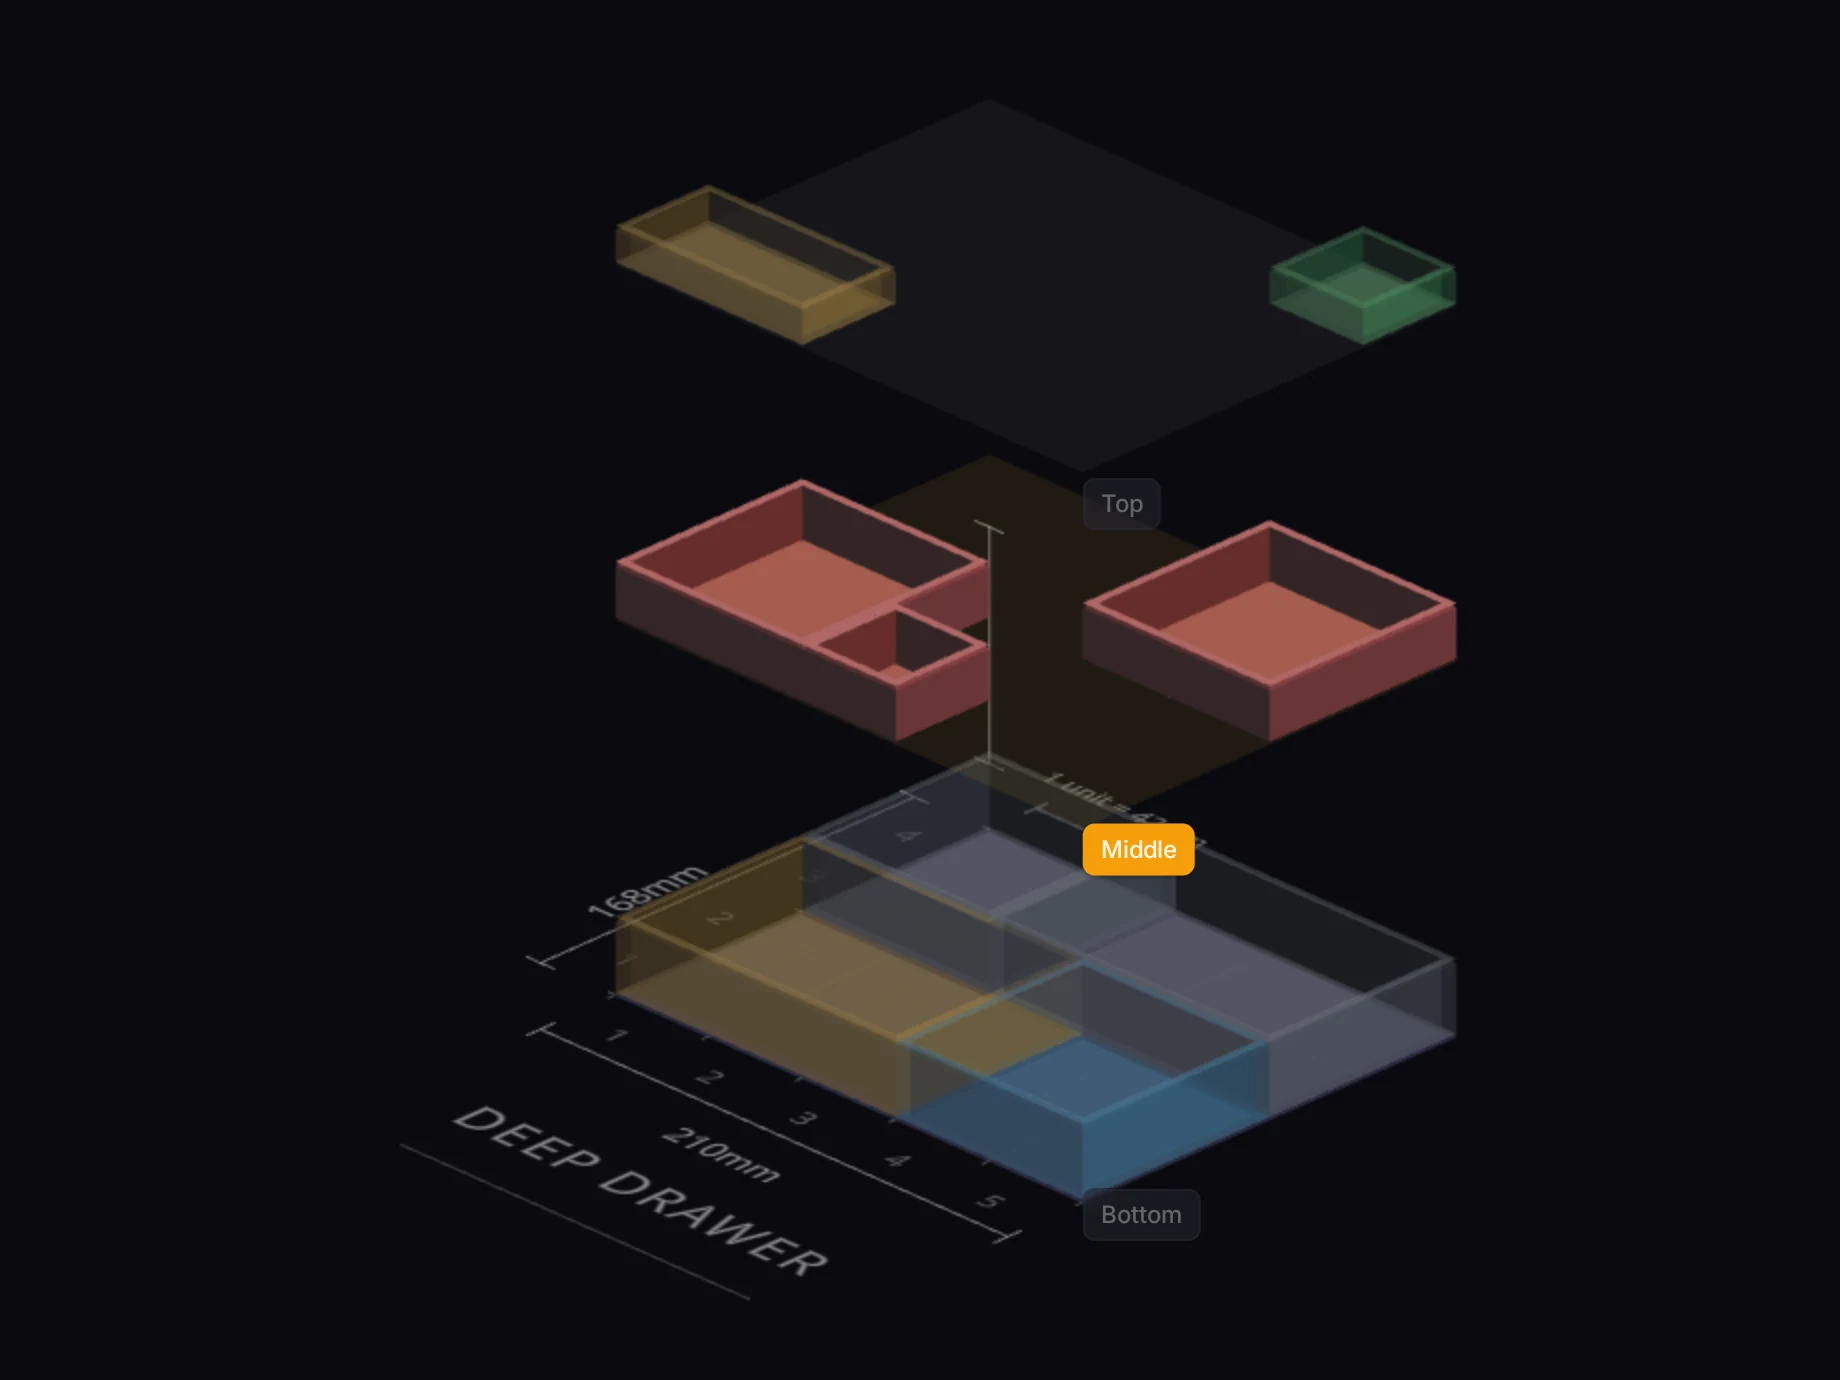
To look between the layers, turn on Explode or press E. It lifts each layer apart. The exploded view shows all the layers, and it works on a computer screen only.
When it goes wrong
A layer won't move up or down
Make room in the drawer first, then drag the row again. Lower the tallest bins, or raise Drawer height if your real drawer has the room.
The Layout Tool stops a new order that would push a stack past the drawer top. It also stops an order that would rest a bin in space that another bin reserves. The row goes back to its place, and an error message shows.
A bin won't go on the upper layer
Read the red tag over the bin while you drag it. Stack would be taller than the drawer means the bin would stand above the drawer top. It rests on the tallest bin under any part of it, so one tall bin below is enough. Use a shorter bin, or move it over shorter bins.
A tag that names a bin on a lower layer means the striped cells are clearance. That bin keeps the space free for its items. Click a striped cell to jump to that bin, and lower its Clearance (mm) if its items don't need the space.
A warning icon shows next to the height tag
Move the bin so that its whole base sits on bins of one height. Or fill the gap under it with a spacer.
The bin leans on a taller neighbor, or part of it hangs over an empty cell, so it can rock in the drawer. The inspector shows Part of its base is unsupported for the same bin.
Next steps
- Set up the drawer: measure the drawer height for an exact check.
- Layouts, layers and the stash: the ideas behind layers.
- Stacking: the stacking lip and how bins sit on each other.
- Size and shape: spacers and the other body types.